When you click on links to various merchants on this site and make a purchase, this can result in this site earning a commission. Affiliate programs and affiliations include, but are not limited to, the eBay Partner Network.
Honestly, if i'm at least a second faster at each track that means i haven't screwed up the car... but i haven't really shared the big update to come that will take me some time getting dialed in (both car and driver).
While that last bit is still being designed and then build... i have managed to put things back together a bit.
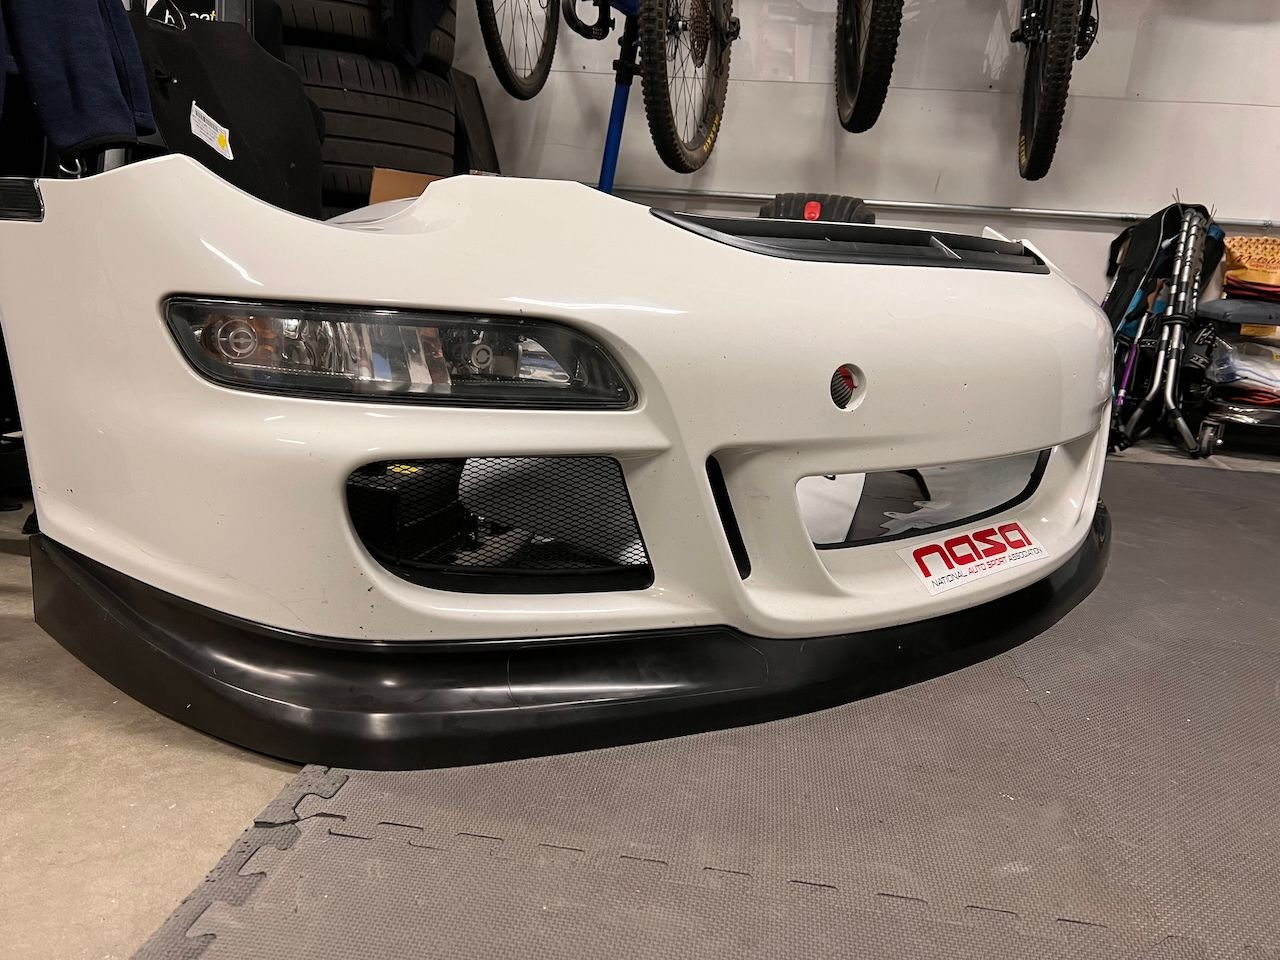
I replaced my severely scuffed, scraped and dragged lower lip or chin spoiler. The car came with the aerokit installed and some scuffing on it predated me but i definitely added so so much more to it, with scraping in and out of my driveway and other places when street driving it as well as having taken some agricultural excursions at the track.
I was surprised at how easily it folded up in the box it came in, and then almost without assistance it just laid into its proper shape... didn't have to heat it or manipulate it look right or contour correctly. kudos on this little bit of wear-item. it literally snaps in place (although they are not easy to get out or in... which is probably good, just difficult looks fresh. nice flat bottom again.
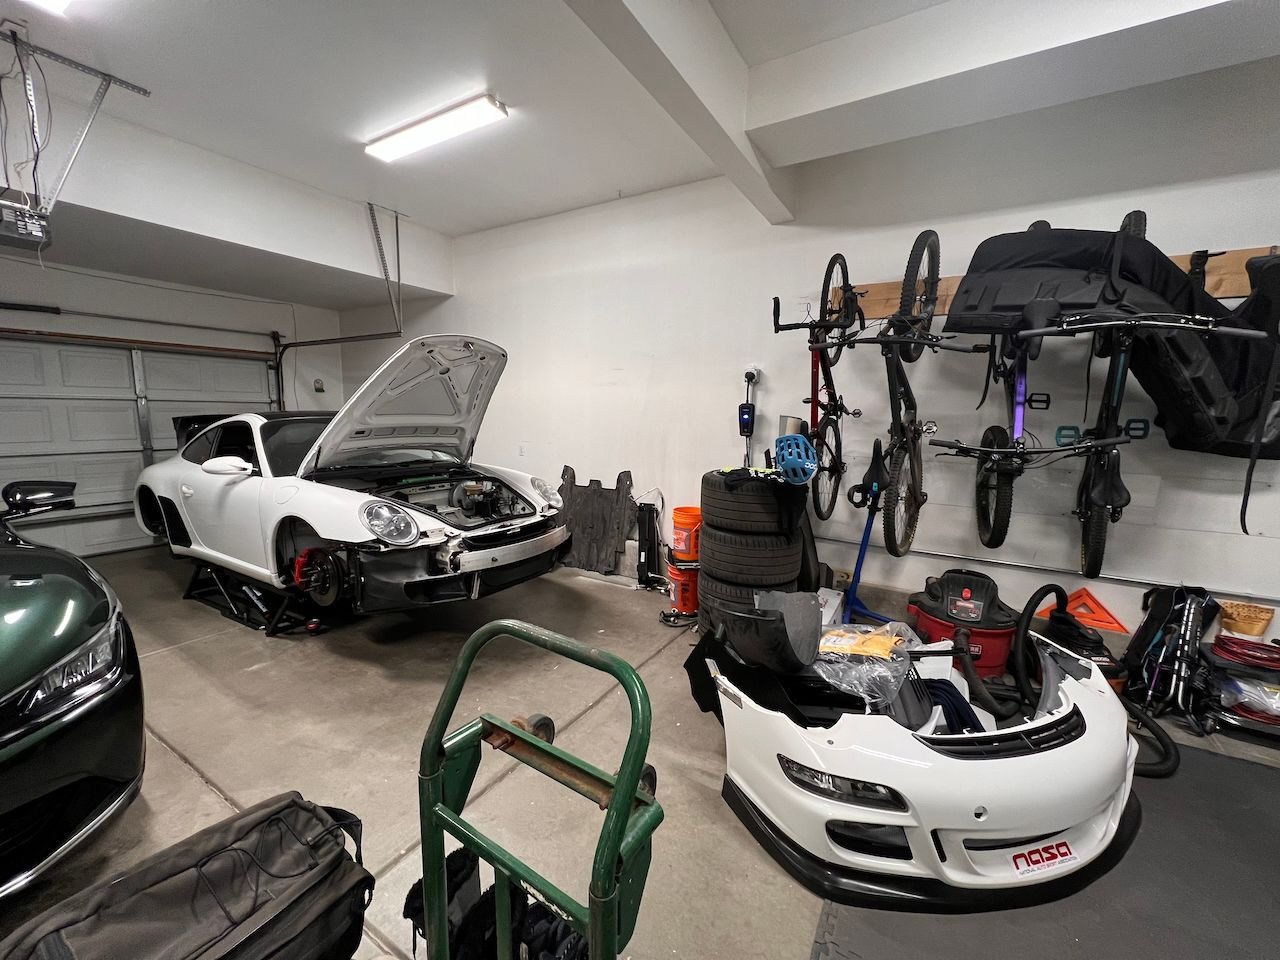
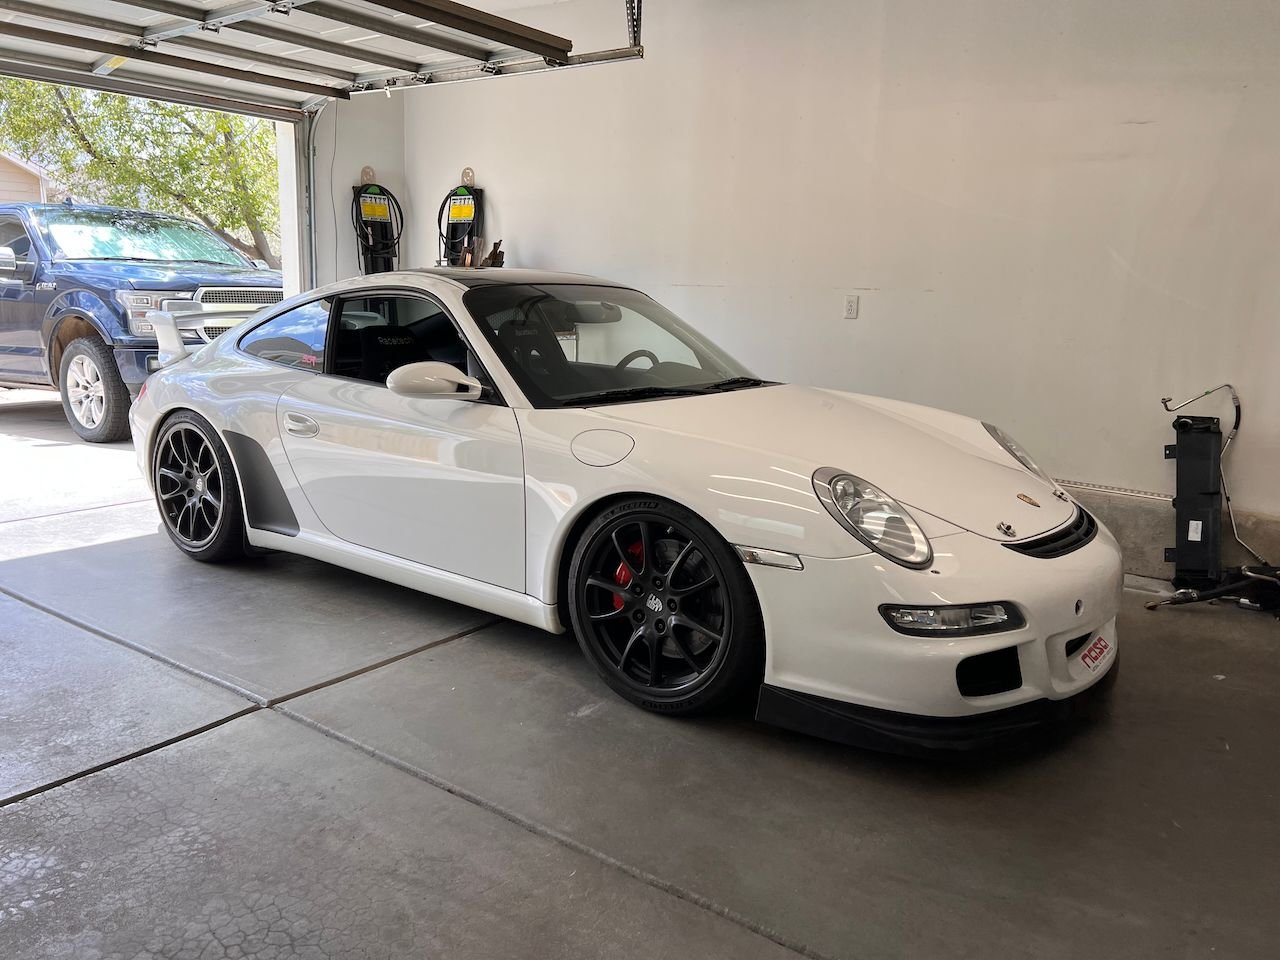
The current state of my garage... things are really cleaning up nicely and now it's time to put it back together and see what we've got.
And just like that... it looks like a car again.
I didn't take pictures, but i set some baseline ride heights now that i've been able to put the fender liners and under panels back on, along with the bumper.
It's still sitting on 2x8's so i can easily use the quickjack to set and reset the rideheights... i'll get some proper height shots once its actually on the ground.
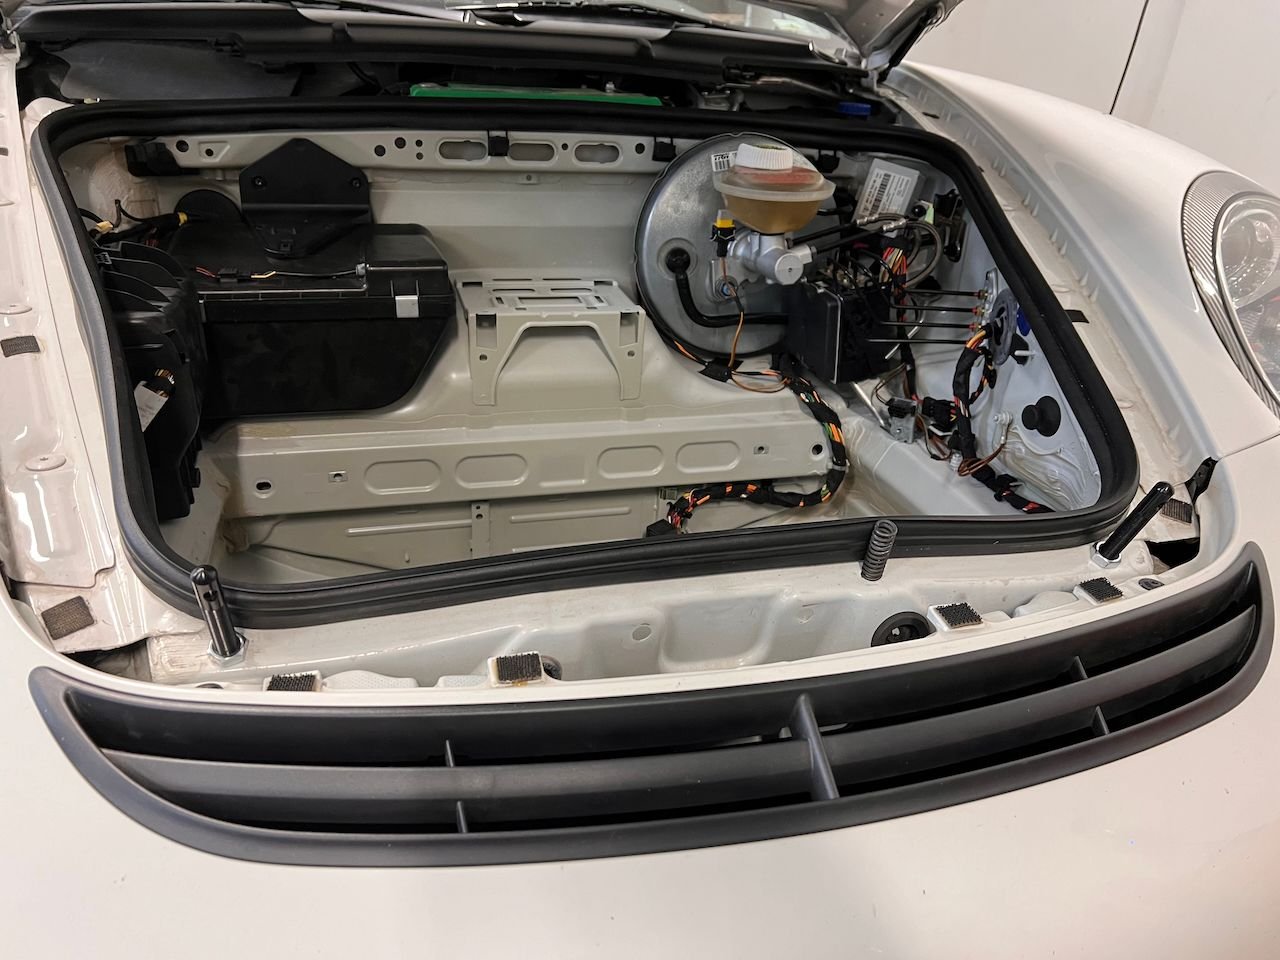
But since i know this car is going to get gutted and stripped down this coming winter for a full cage build, i can get started on some of those bits now. So i started with never dealing with a dead battery and a stuck hood release. I will eventually need to pull the interior and i don't want switches for the hood and engine cover having to be electric operated. The hood is just an annoyance. But drilling and setting hood pins is not hard work, it just takes time and patience for someone who rarely does it.
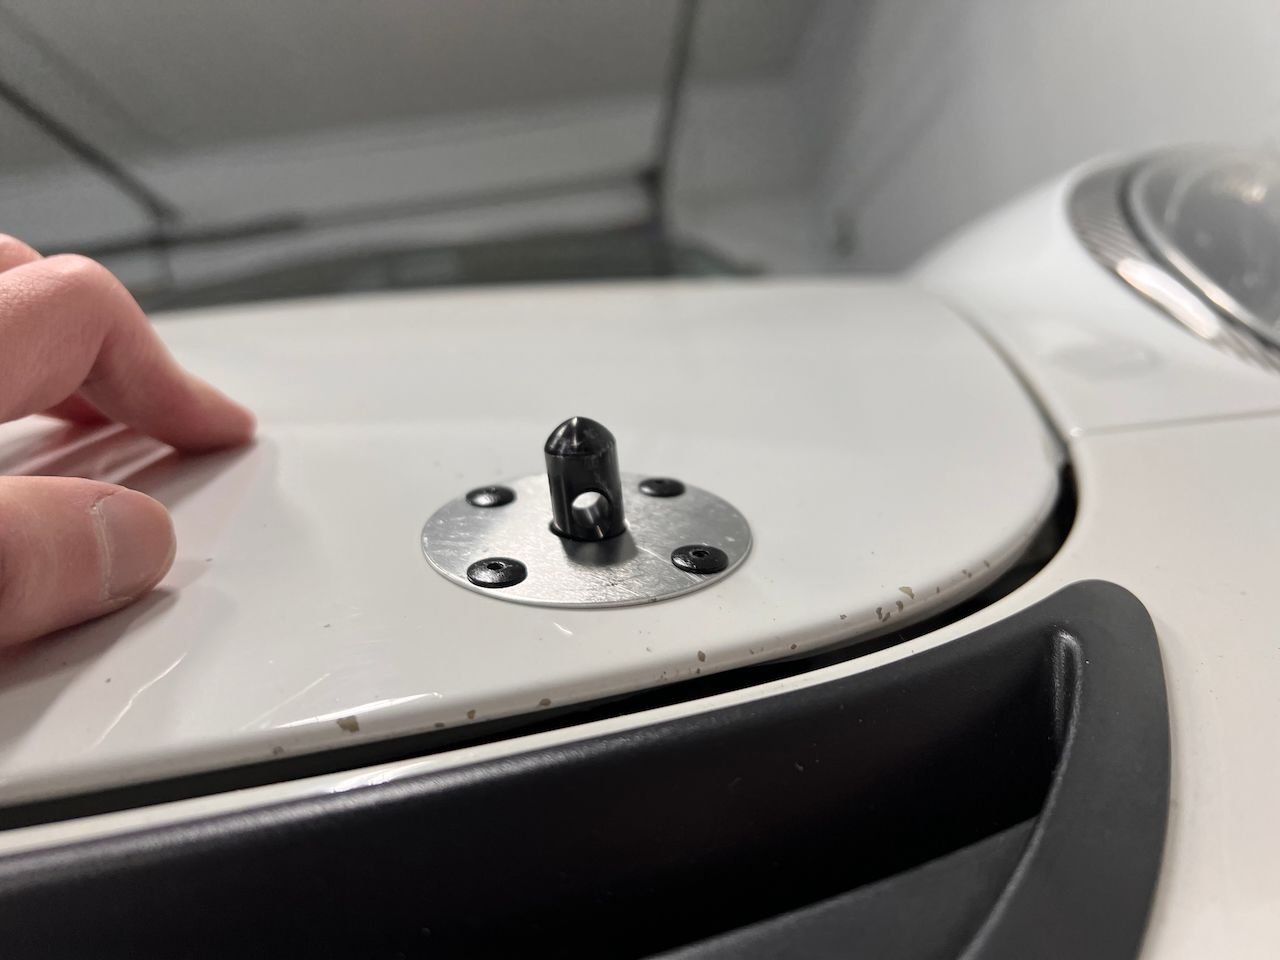
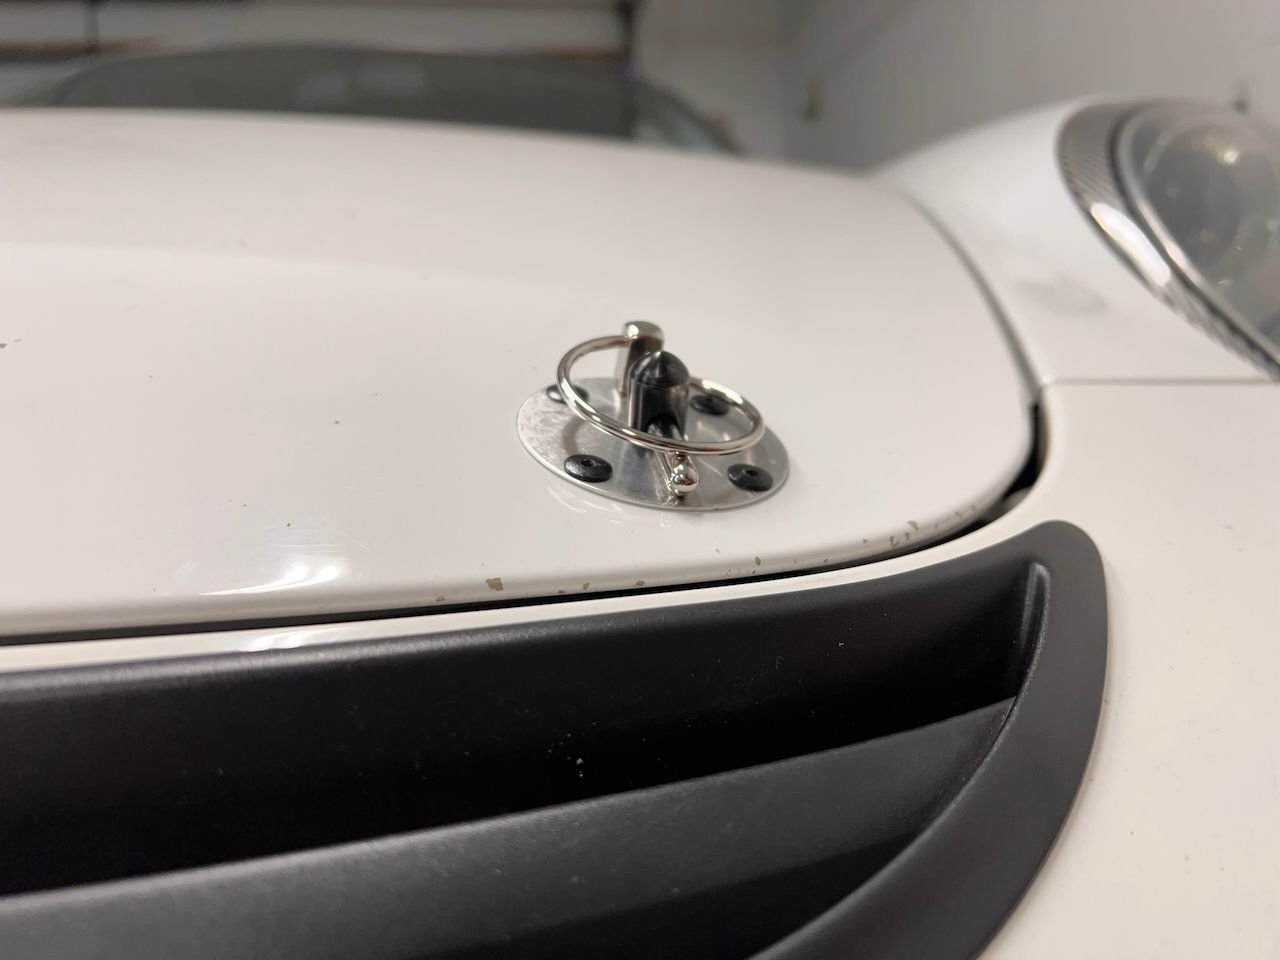
When i removed the catch on the hood first (mostly so that a hood that fell on my head would be missing its primary weapon) and then dropping it into place that there is no longer anything to 'release' and the hood is now in the closed/down position without a fingerhold to get under to open it. I don't know why i care anymore, the front edge of the hood is peppered with paint chips from on track debris, but i gently lift it with a screwdriver... yea i couldn't find anything else to use. SOOOO my next act was to create some sort of spring that would hold the hood up slightly under its weight so that i could open it, and when compressed (to the full-down position) the spring would oblige without damaging the hood (ie: good enough spring force). I found a coil spring in a household junk bin we have. A small hole drilled in the front of the tub/hood seal and then i bent the metal so that the hole was elongated up and down so that the coil spring would thread through it so i could raise/lower the spring height for how much i wanted the hood 'popped' up by it. Kinda dumb looking, but mechanically perfect and exceedingly spartan. Spring popper right of center, and the two hood pins installed
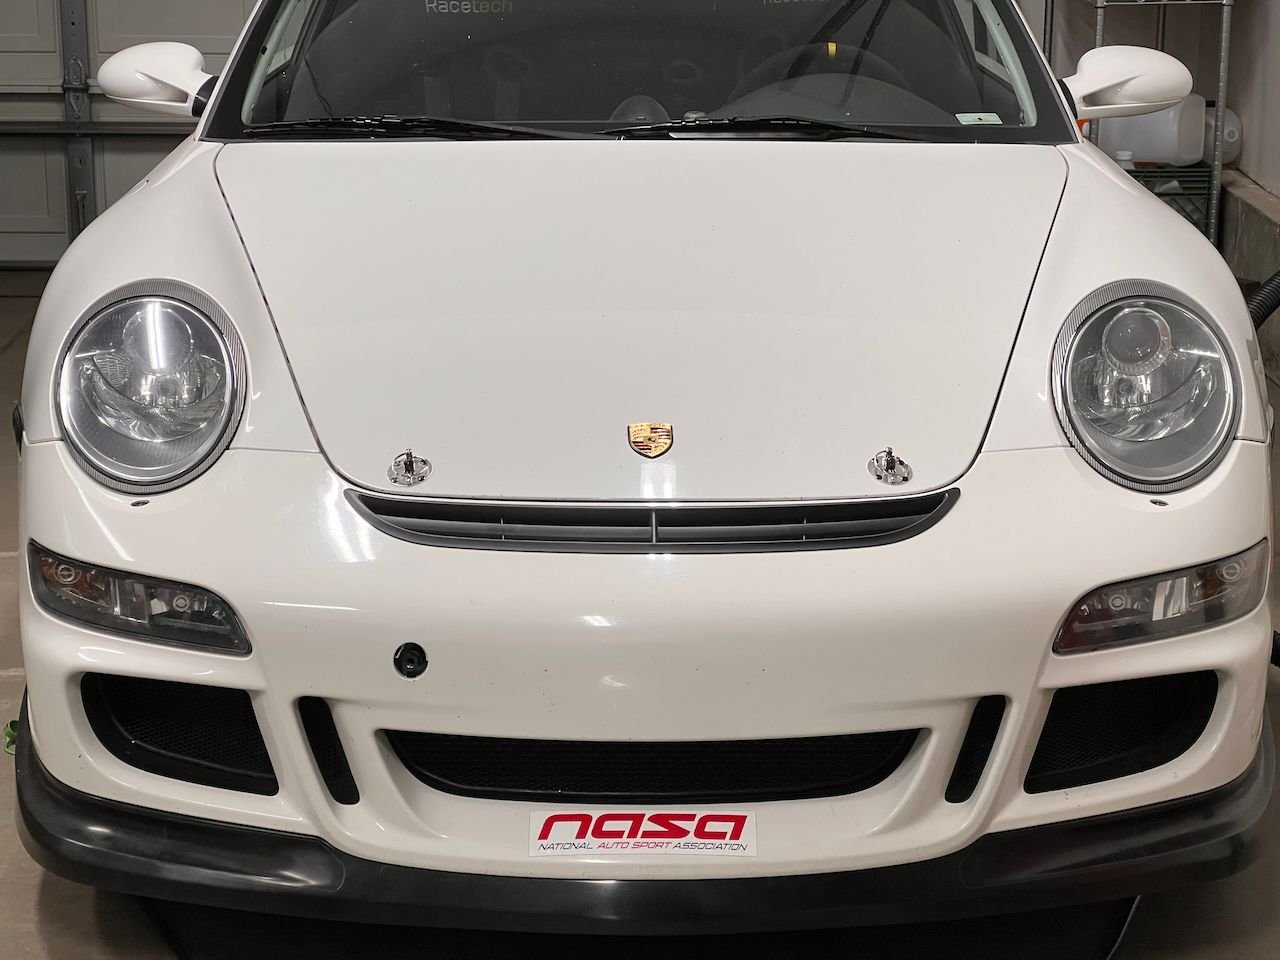
Drilling through the hood and then riveting on the scuff plates... the pins are in and all the latch and release mechanism is out! Feast your eyes on my ultra-chipped hood edge, feast! Looks natural enough on this car
Last time i built a race car i used Aerocatches and they look great and give you something to lift the hood with, if you don't have a spring.
But after much internet image searching and comparing and staring at the car's shapes and sizes under the hood, there isn't enough flat space to make them work well. I also couldn't find an example of Porsche cup cars using anything but this style of hood pin, until the 992 series race cars.
I got hungry after all that and didn't do anything more than start the staring process over the engine cover and body to try and place pins back there, too, so that i'll be rid of the electric dependence on opening these hatches.
If this snow keeps up, i'll be pretty bored tomorrow... maybe i'll make documentable progress.
hey man any updates comeing soon? just curious i love reading what you have been doing to it and can't wait to hear more.
hey man any updates comeing soon? just curious i love reading what you have been doing to it and can't wait to hear more.
I've been a little tied up with some travel, but mostly i've been waiting on a few parts to be shipped and some others to be made.
It looks like this season is going to end up being more of a development season than a competitive one... but i'm just happy to be able to get out there and play.
I hope to be back in the garage this weekend with some updates early next week.
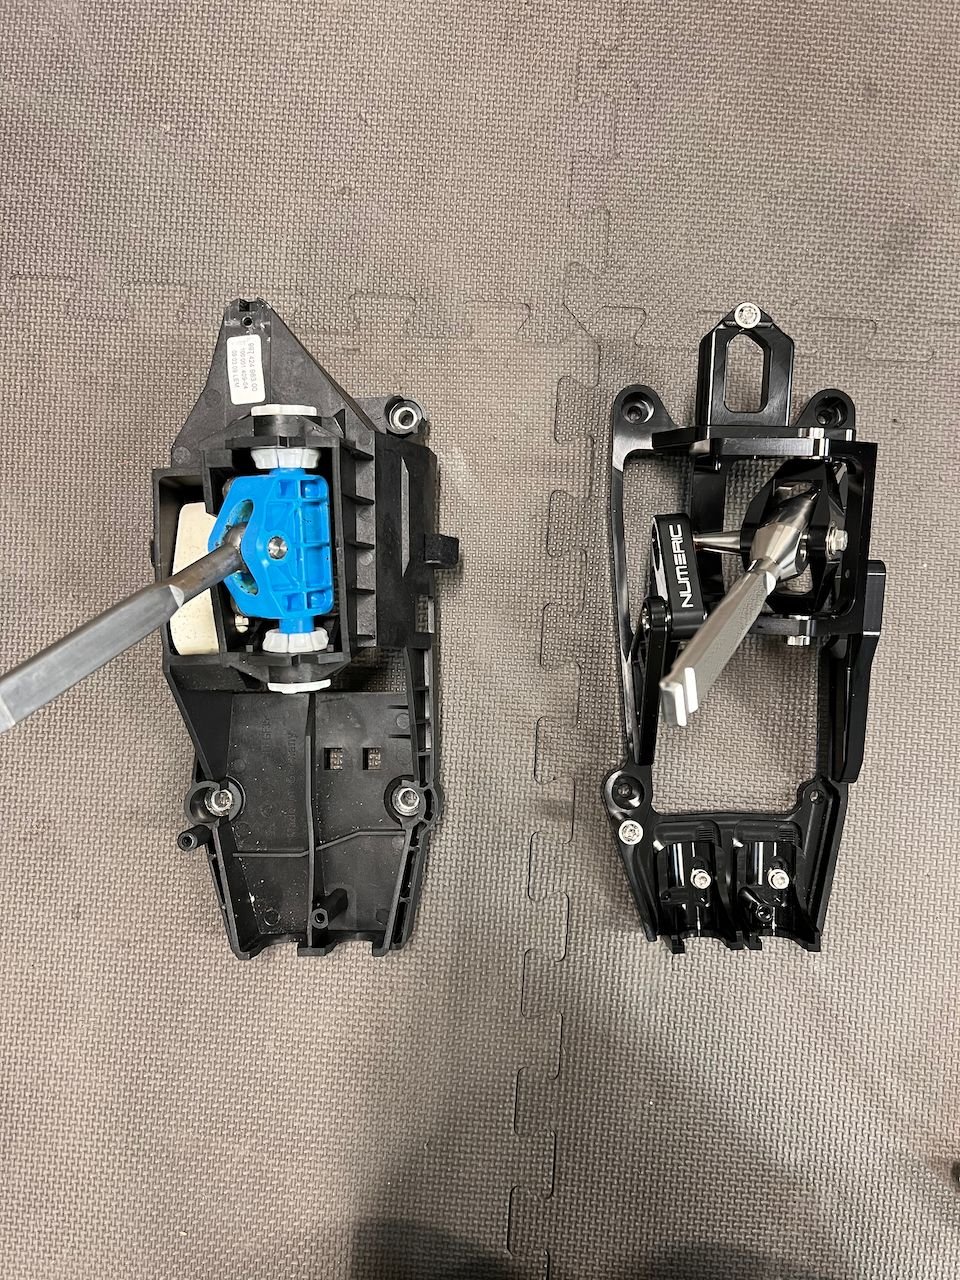
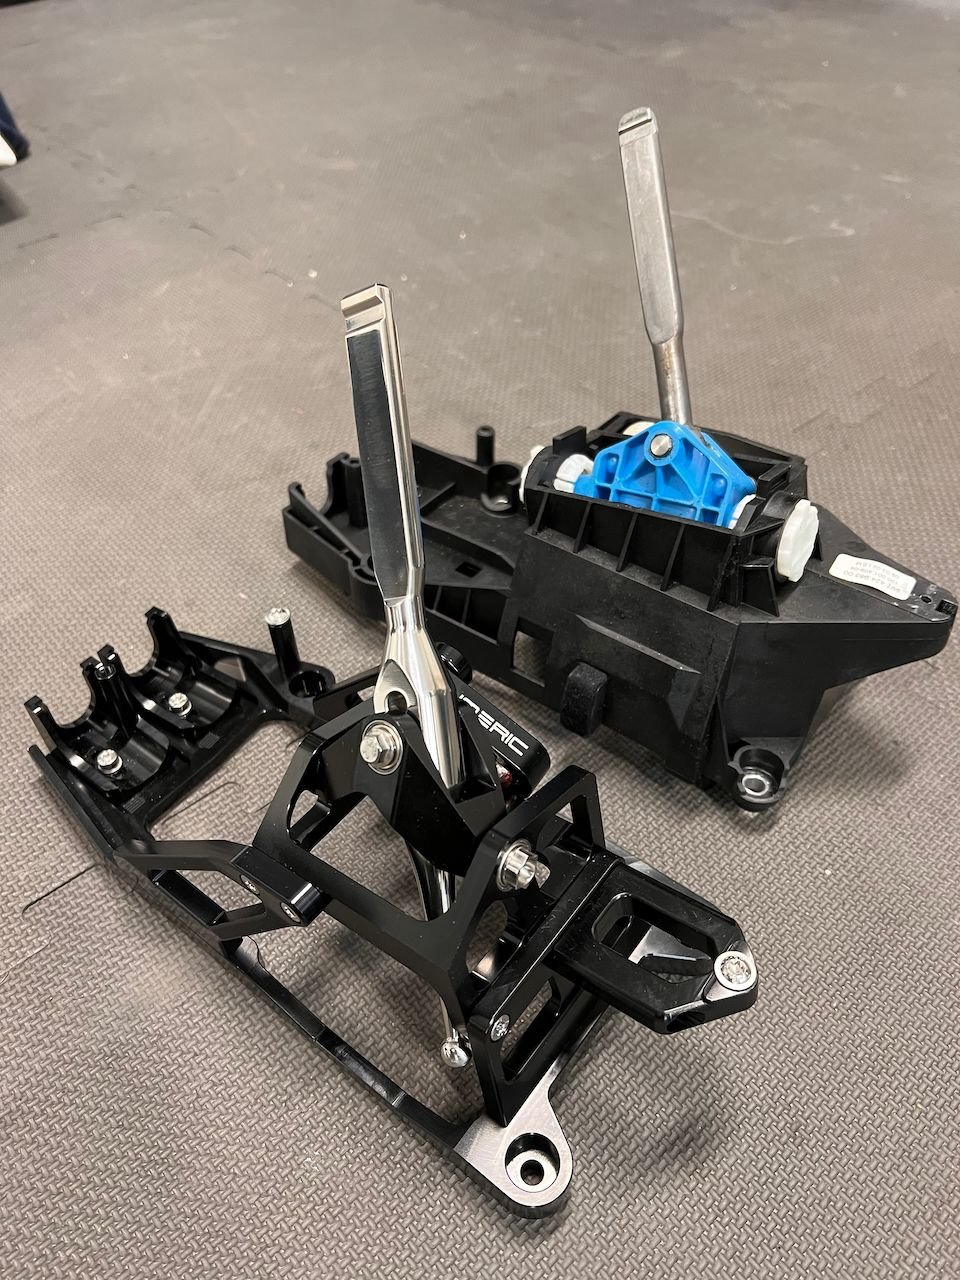
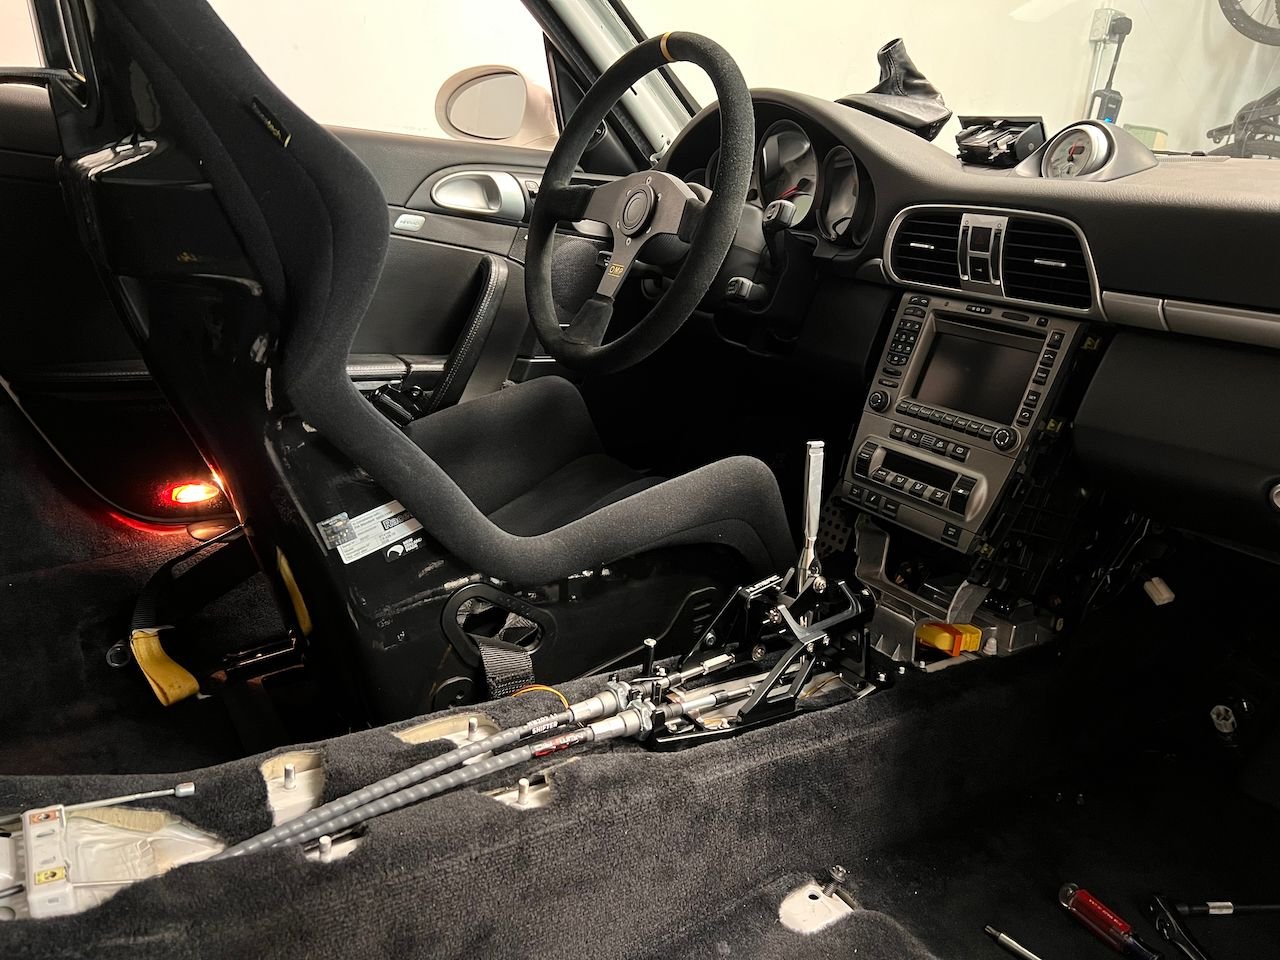
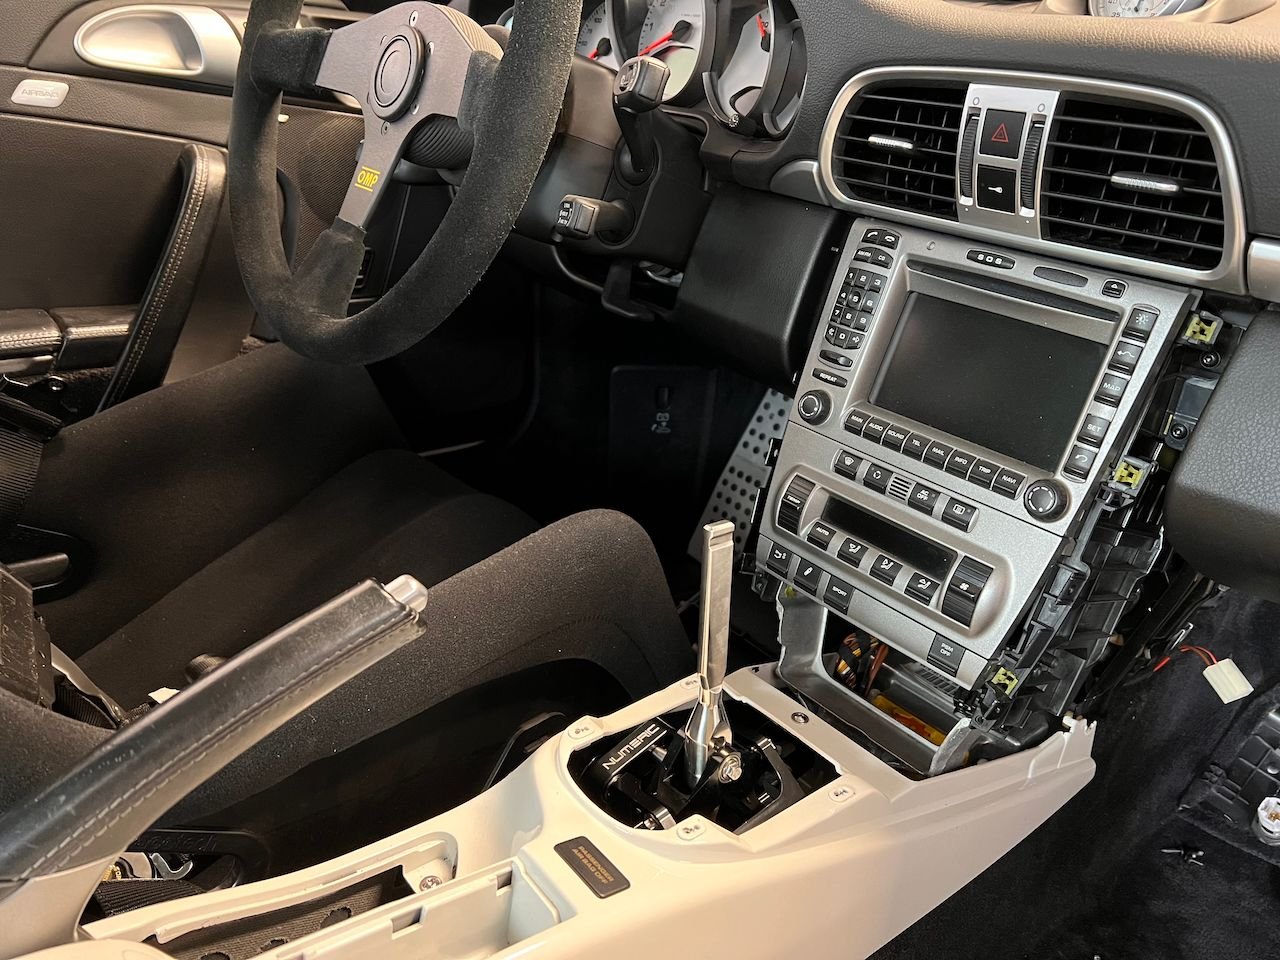
New shifty-shifter... just because. No issues with the OEM one, just wanted to find something with a little more positive engagement and feel. The Numeric Racing kit (shifter and cables) is a legit piece of hardware that is really well made and designed. A short road drive reveled a slightly shorter throw (in middle position) and a much more positive engagement feel. I could not really discern any added NVH without the cable sleeves (they came w the kit, but i did not install) but the cabin of this car already has a ton more NVH than a mostly stock car.
Some eye candy and notes about the replacement job.
The complete kit (the cable insulation sleeves did not get installed)
Couple comparison photos with OEM:
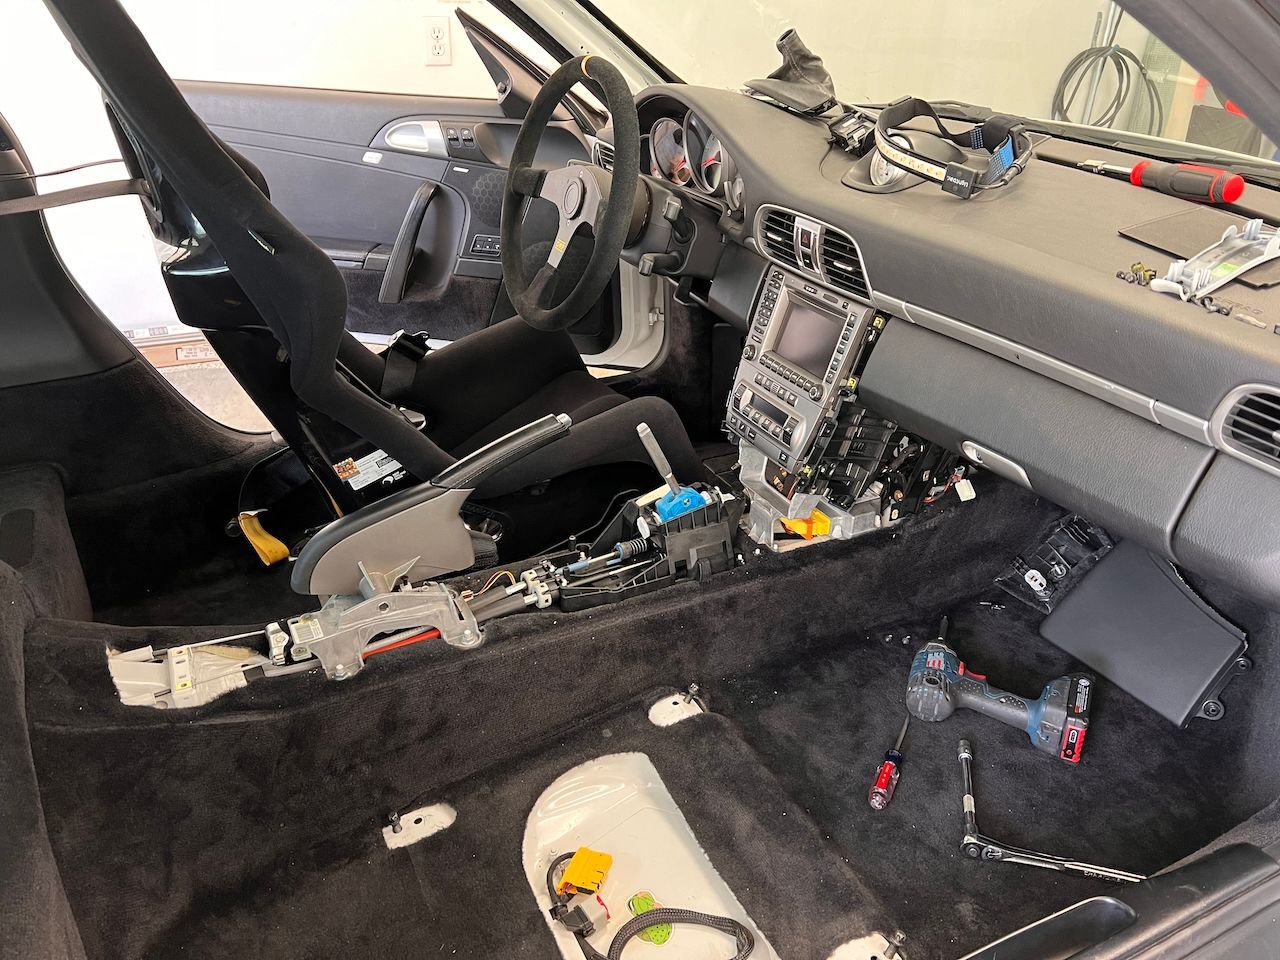
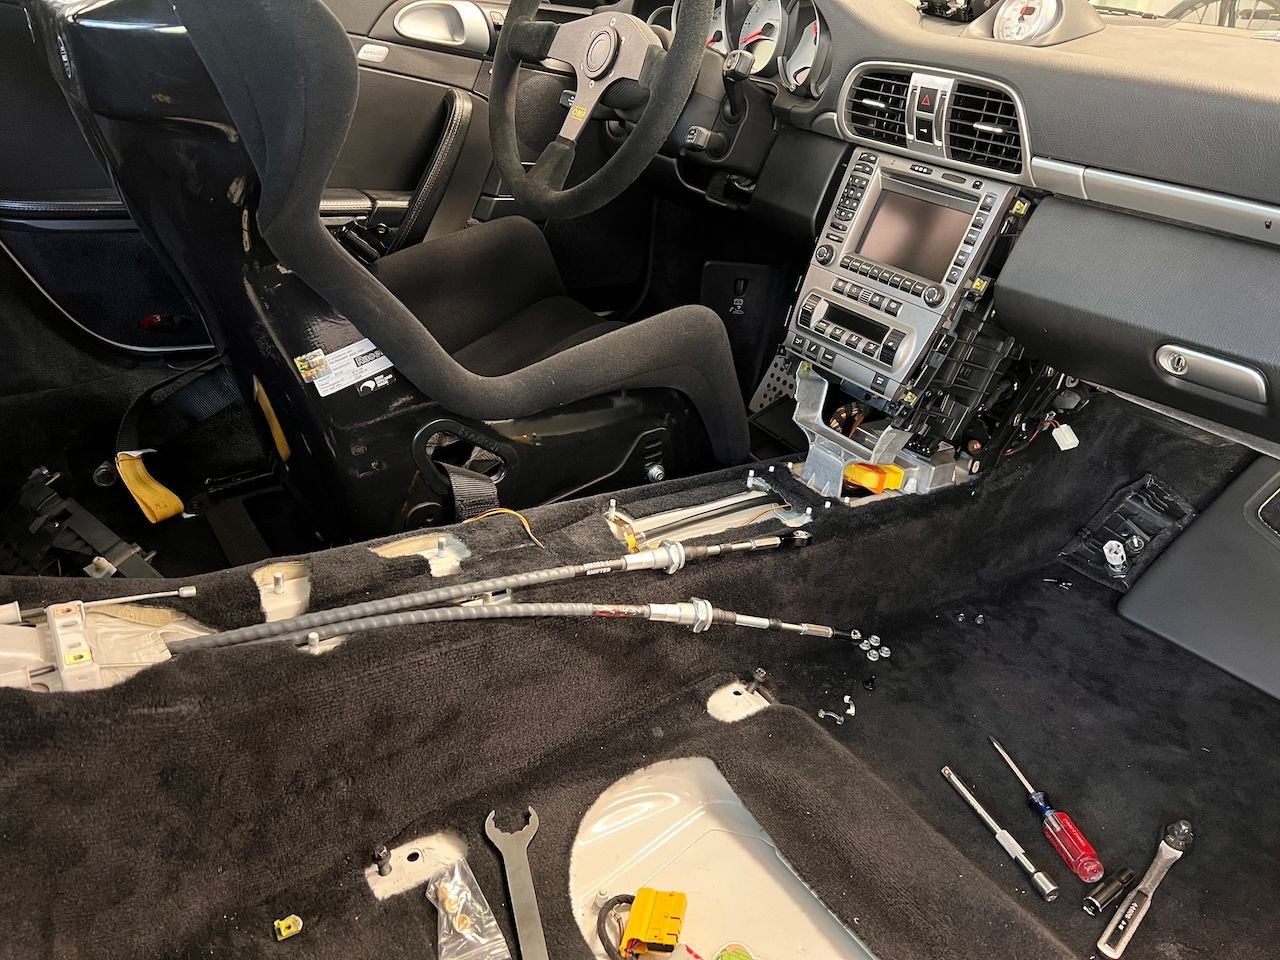
Mid-task... removing the center console to expose the OEM shifter:
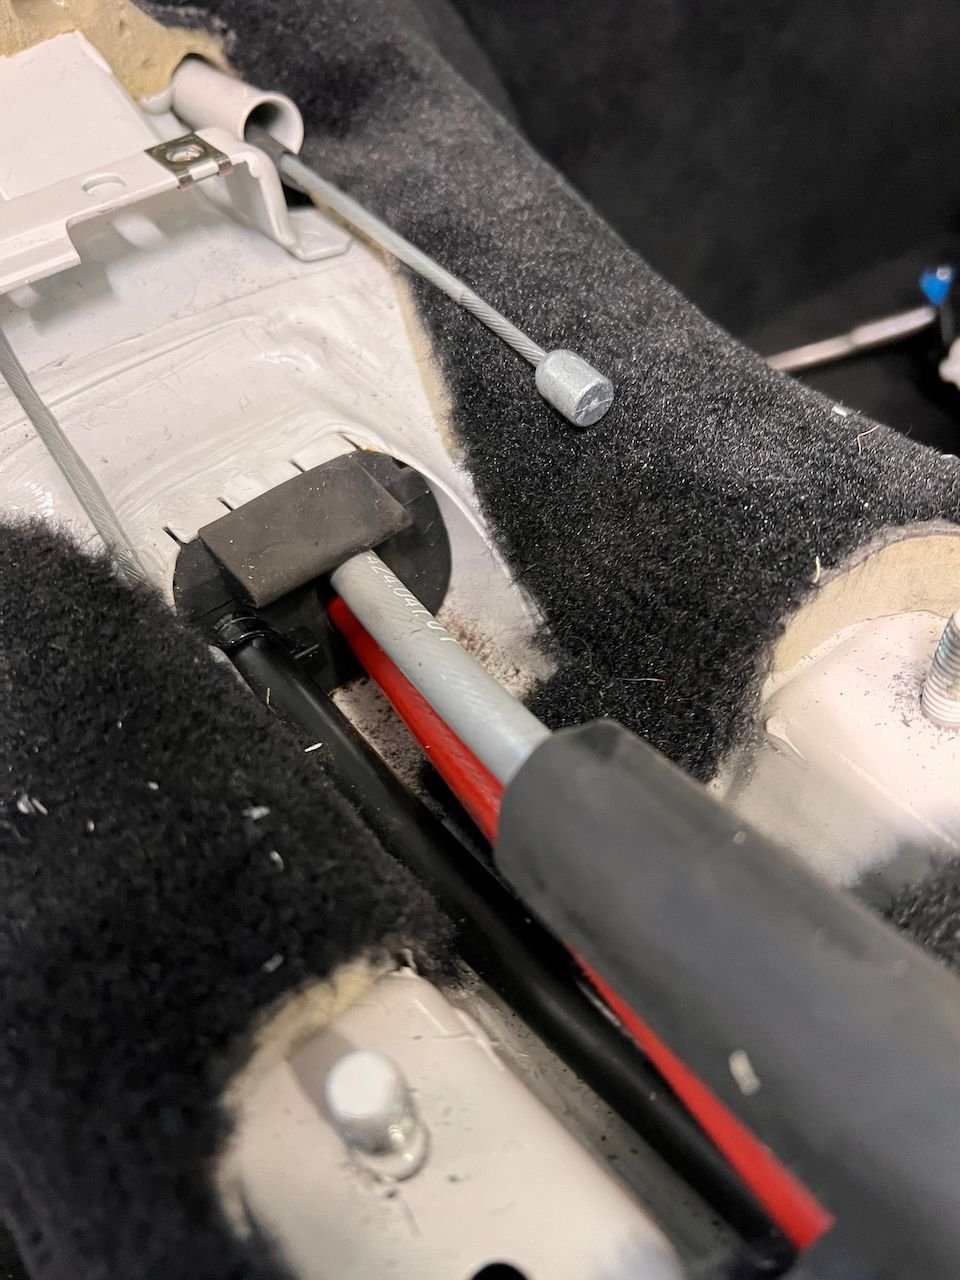
Getting the cables out of the car was a bit of a challenge, this rubber plug that keeps the outside out makes a really PITA for removal, but it does come out, just with a little persuasion from the inside.
Routing the NR cables under the car and connecting to the transmission was the easiest part. I'd say that the cables are a little longer than the need to be as i had to push them back under the car further than i'd have expected to get the to align with the shifter mount bulkhead bosses, but they did go and there aren't any issues underneath either.
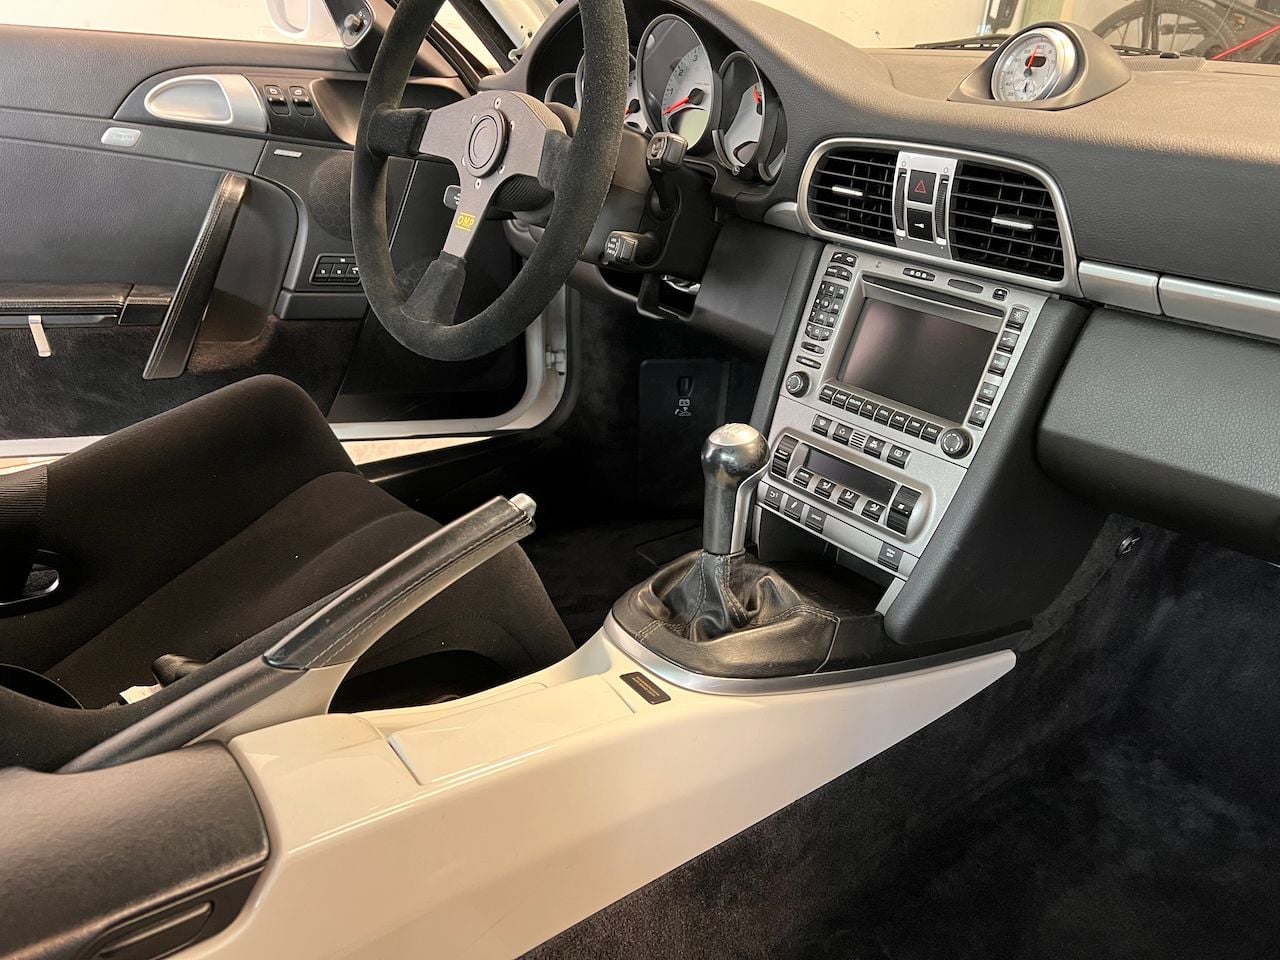
Center console installs easily with the passenger seat out of the way, and the boot and shift **** go back on like OEM.
Car back on the ground and ready for a test drive... next up is a fresh corner balance and alignment before getting out on track.
Awesome! I just got a numeric shifter as well and took it out for its first track duty at Sebring. It felt great on the street, but was skeptical that it would be too annoyingly notchy for track use. I actually like the smooth easy shifting of the OEM SS. However I was happy to note that it felt great on track as well. The feel of the engagement is very nice on downshifts and even quicker because you feel the precision of it landing where it should. I had issues before on the OEM shifter getting locked out of 2nd gear when going down from 4th or 5th. No problem with the numeric on 1st use. To note I didn't do the cables, I did just the shifter, but I also have function first solid cable ends. I think you'll like it very much!
That's great to hear, i'm after exactly what you described.
In the pictures you took i noticed that the driver seat is really far forward is that the way it is when you drive it and on the track or can you ajust it back further from the pedals.
In the pictures you took i noticed that the driver seat is really far forward is that the way it is when you drive it and on the track or can you ajust it back further from the pedals.
No, things were moved all around when pulling the dash out for wire trimming and also getting the center console out... seat goes back about midway, steering wheel went all the way toward the dash before test drive.
No, things were moved all around when pulling the dash out for wire trimming and also getting the center console out... seat goes back about midway, steering wheel went all the way toward the dash before test drive.
 04-17-2024, 12:12 PM