When you click on links to various merchants on this site and make a purchase, this can result in this site earning a commission. Affiliate programs and affiliations include, but are not limited to, the eBay Partner Network.
I thought I'd create a separate thread for the how-to on installing my GT4 caliper stud kit, sourced from Tarret Engineering. The install is well within the capabilities of anyone capable of turning a wrench, but a few specialty tools will be required, in addition to the usual fare of jack/jackstands (or hoist), ratcheting wrenches, torque wrench, etc.
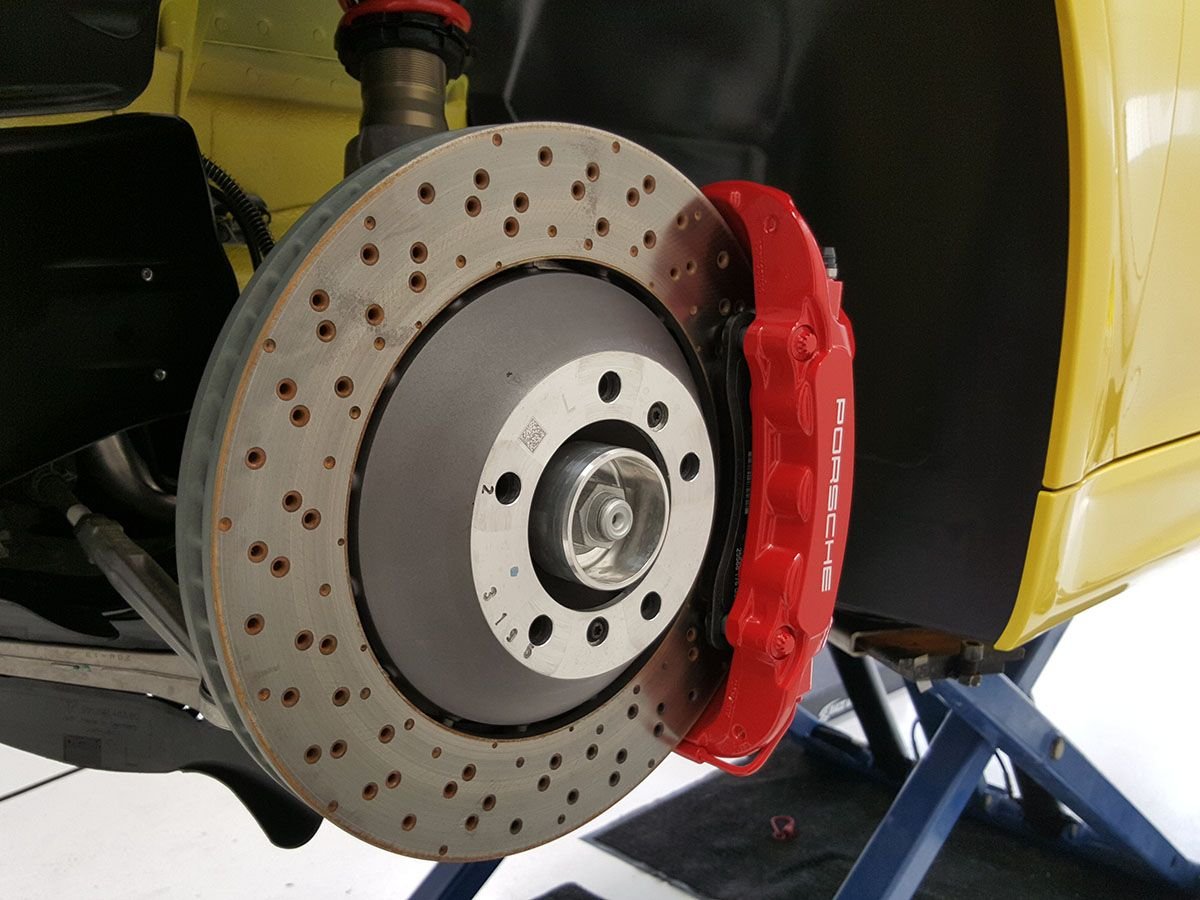
Here is the front brake assembly
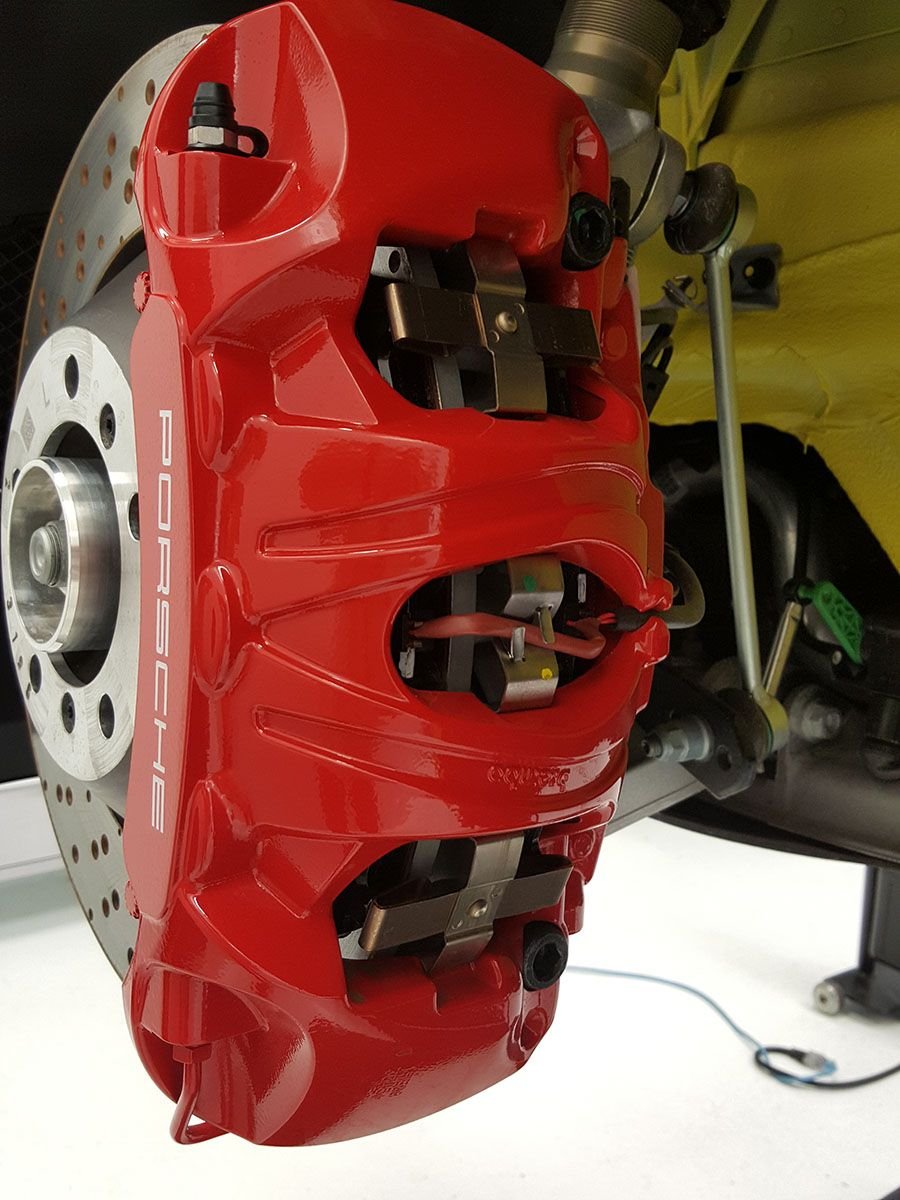
Close-up of the caliper, featuring a solid bridge (the reason it has to come off for a brake pad change)
Hex bolt (note that the OEM bolt types are different, front to back)
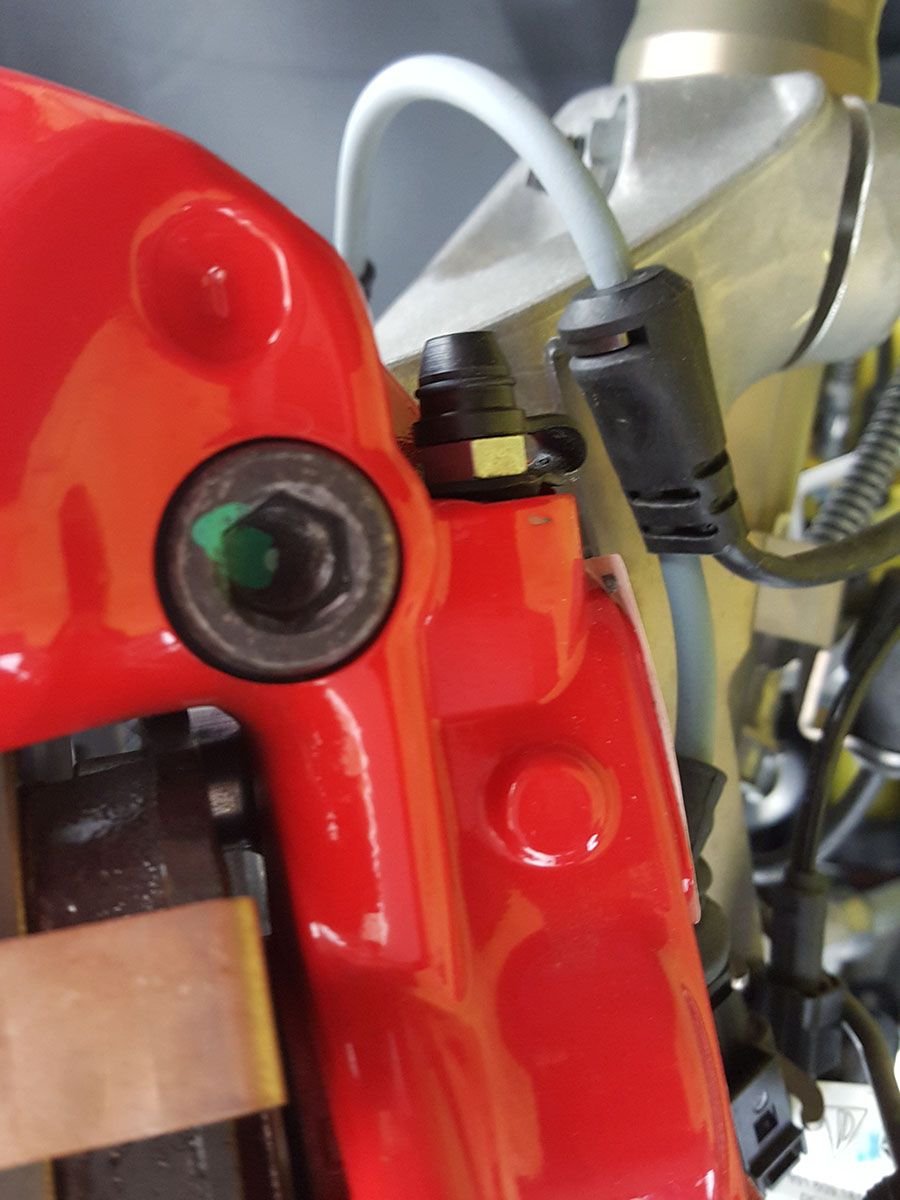
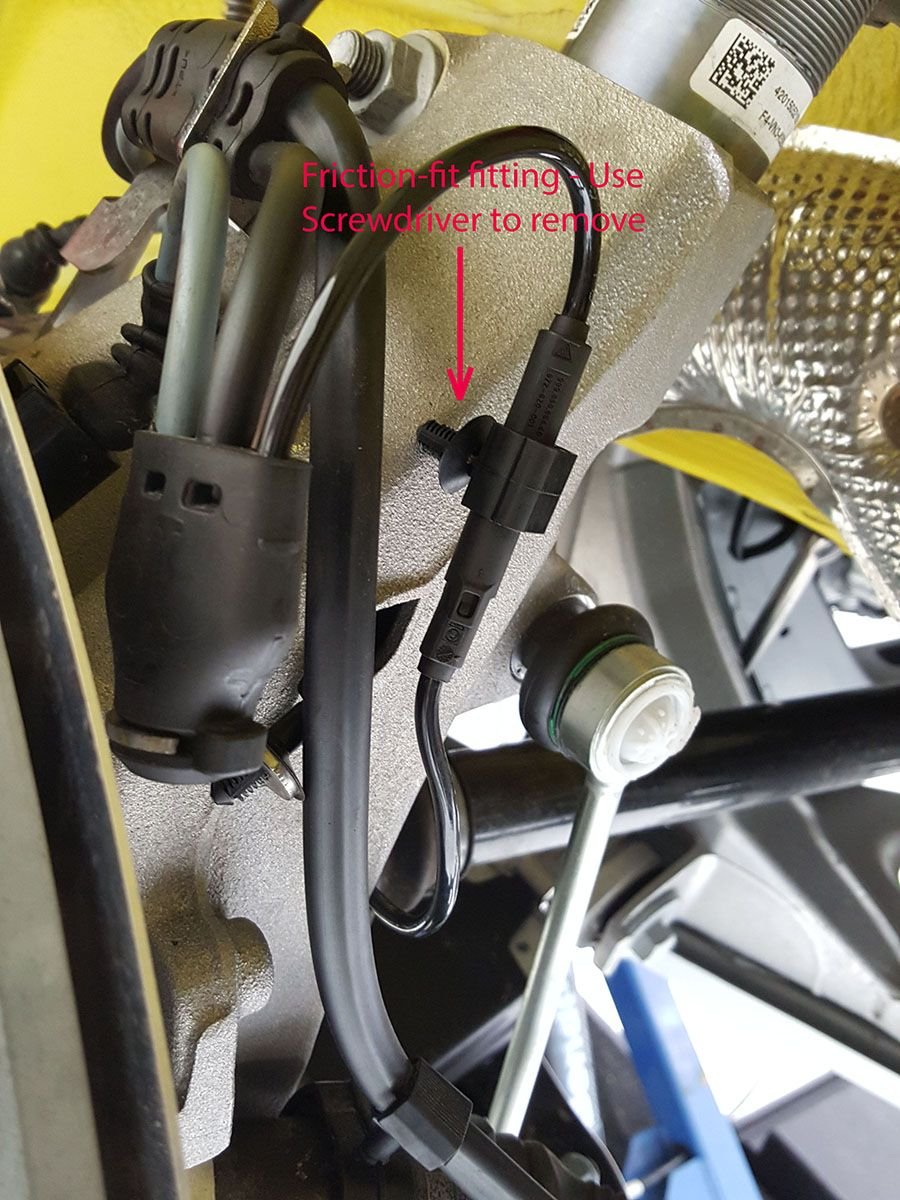
I disconnected this sensor wire, but it turns out it wasn't necessary. The photo does show the myriad sensor lines that run between the caliper and the PITA bracket (more about that below)
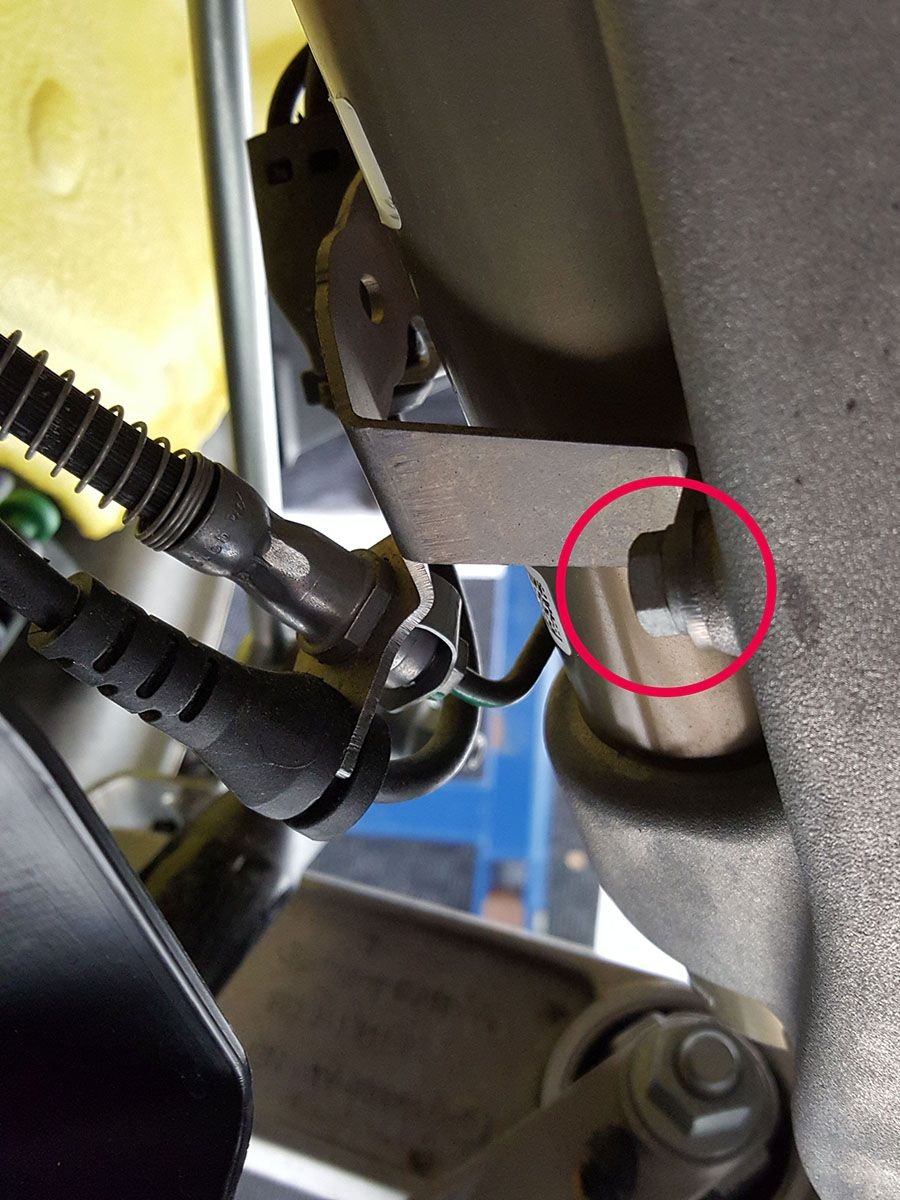
This is where the hard line (connected to the caliper) meets the flexible line (which allows suspension movement)
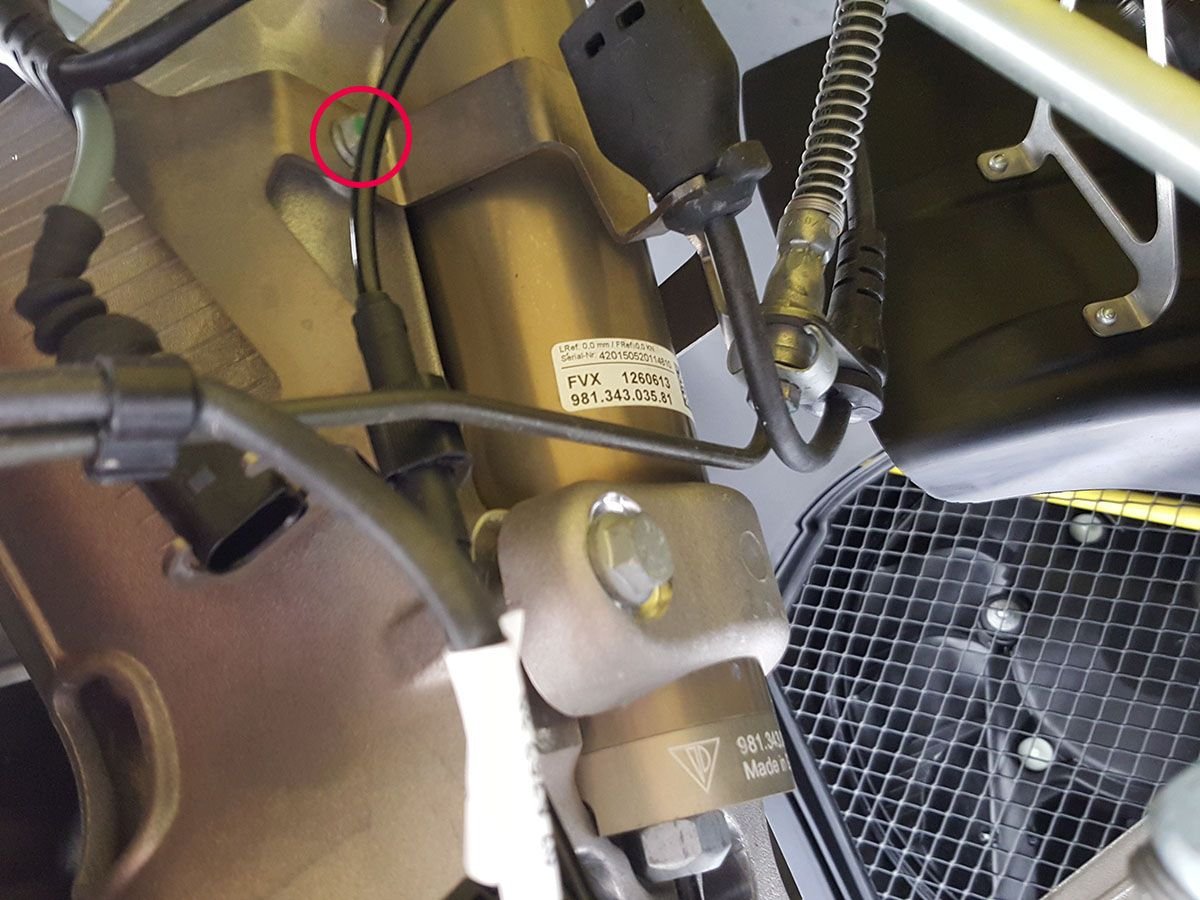
The bracket is U-shaped and held on by two 10 mm bolts. Flex in the bracket makes reinstalling these bolts a royal PITA.
Here's the small bolt on the other side of the bracket
After disconnecting the U-shaped bracket, remove the two large bolts holding the caliper in place, making sure to hang it securely in order to avoid stressing the brake line or any of the sensors
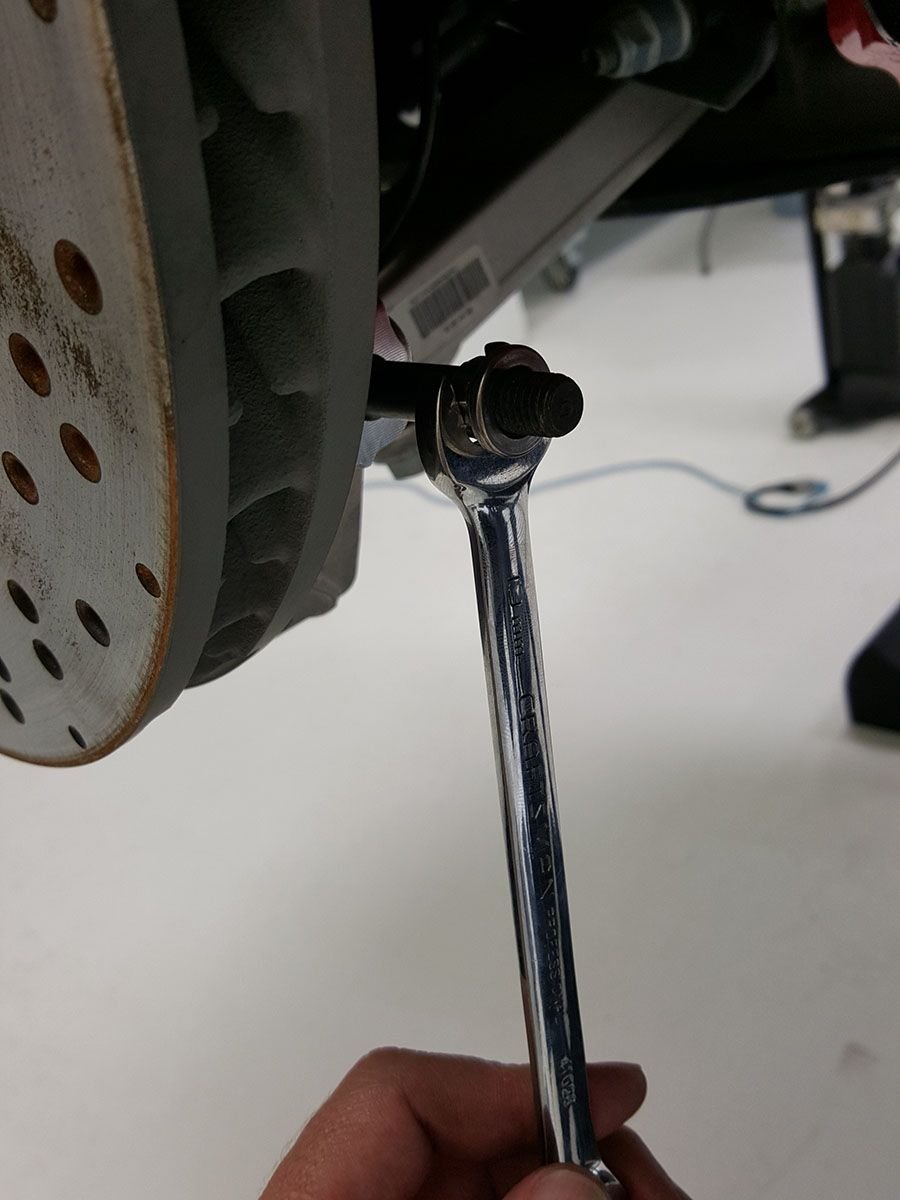
Check that the bolt holes are clean and deep enough (more on this later). The front studs come with pre-installed thread locker, so you can insert directly using the double-nut method. You will need a 12 mm 12-point socket for the ARP nuts provided. Screw in until the shank makes contact, then torque to 5 lb-ft (I used my calibrated hand for this instead of a torque wrench).
You'd be better off sourcing a hex nut to use as the back half of the double-nut (reason shown further on). If you don't, it should still be loose enough to remove with a 13 mm wrench. If it's not loose, you'll likely ruin the nut, so be cautious.
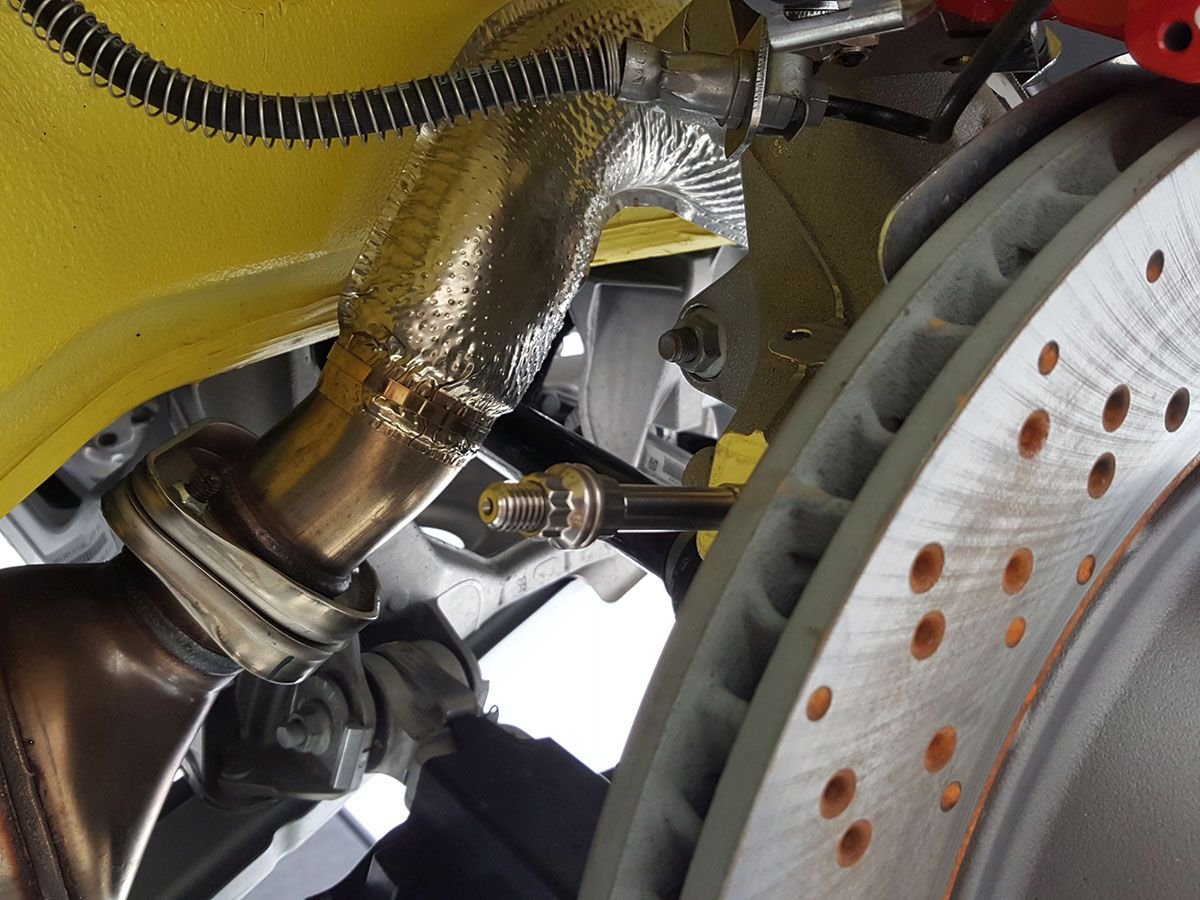
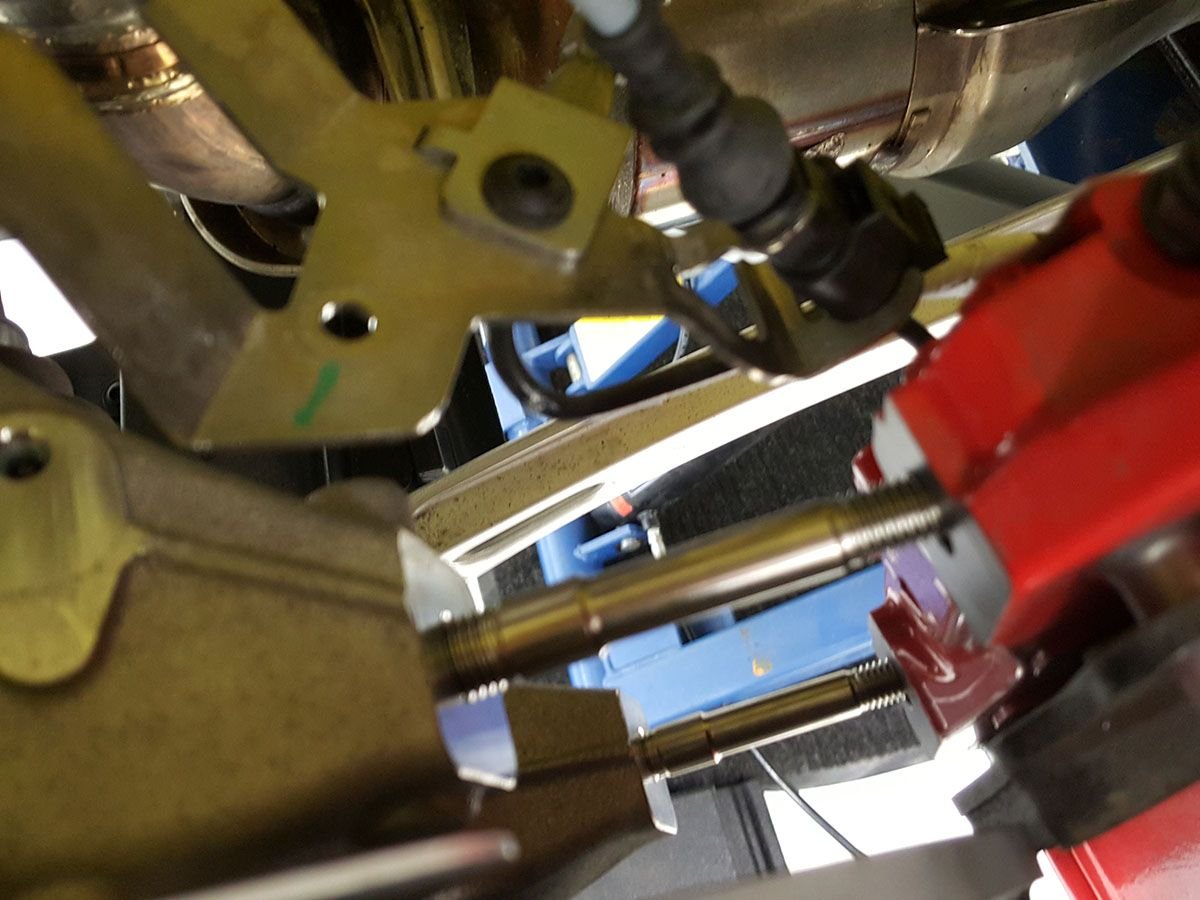
Both studs installed
Another view
Placing the caliper on the studs might be a bit of a stretch, but there should be enough slack in the bracket assembly. Remembering to add the supplied washers, torque the ARP nuts to 53 lb-ft (use a torque wrench for this part) and then reinstall the PITA bracket. Be careful not to cross-thread the 10 mm bolts (I did on one and had to re-tap).
Despite my specific installation instructions, I wasn't drinking on this particular job (performed at the detailer's shop). However, things can still go wrong. When doing the passenger-side rear caliper, I noticed that the factory bolts were a little difficult to remove. I didn't think to investigate further, which was a mistake.
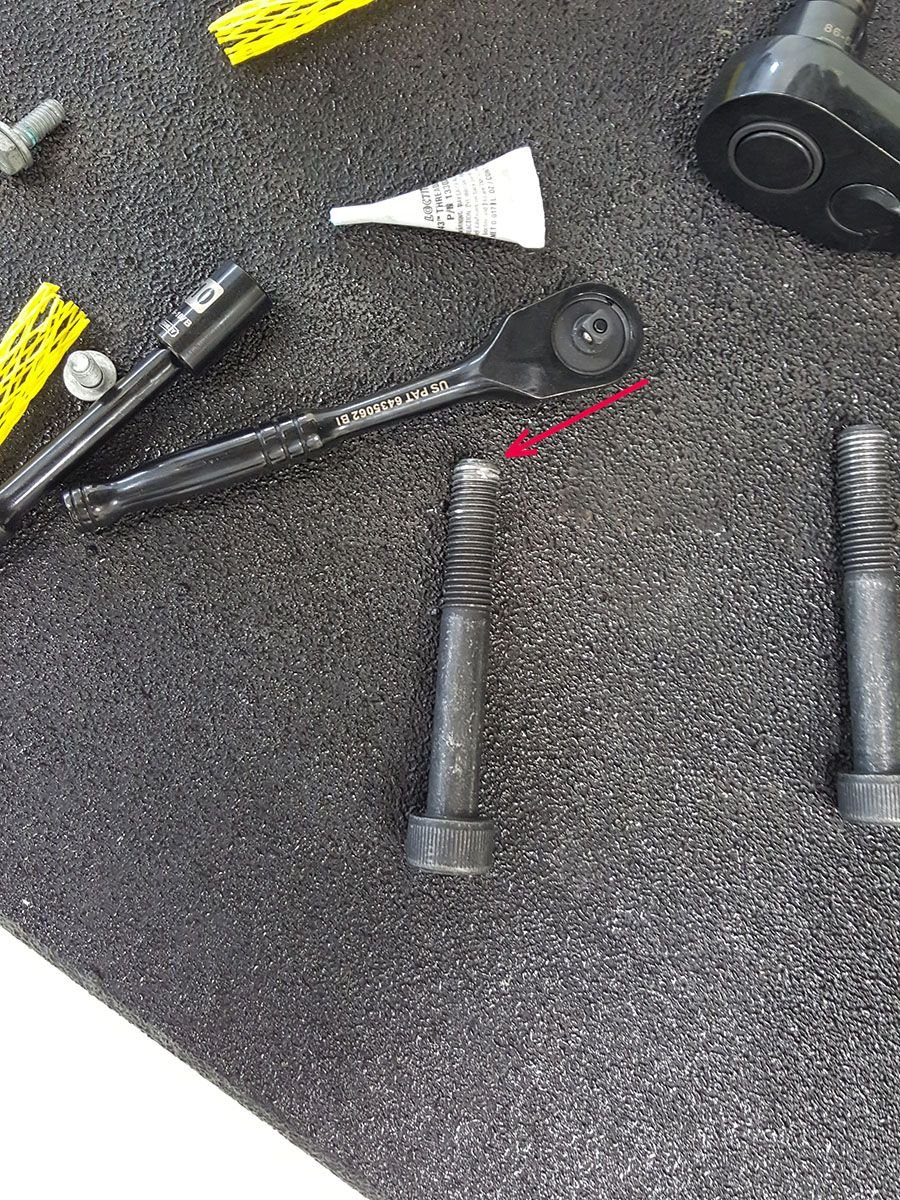
Notice the galled end on this bolt
I suspect that the upright wasn't drilled and tapped properly from the factory, As a result, the studs would not insert all the way. Because I didn't have a hex nut on hand (remember, you can't apply any torque to the rear 12-point nut with a wrench), I was unable to remove the stud and will have to re-do this corner again later.
Another view. Not ideal, by any stretch, as the caliper is now resting on threads instead of the shank.
Next week, I'll bring out my trusty tap set and (hopefully) fix this issue. Good luck to everyone on your own project. Let me know if you have any questions.
Nice write-up and pics!
Excellent point about the nuts. I ran into the same problem myself during the install. Everyone doing this should get a pair of 6 sided nuts to advance the studs in. Don't use the ARP 12point nuts. You need a specific 12point socket to advance those. Don't use a regular hex socket to advance them. It wont work.
You are bringing back bad memories. I had the same problem with not being able to advance the studs all the way in on the GT3. You will have to clean and re-tap/thread chaser to get those studs all of the way in. Once you do this, the studs go all of the way in by hand easily
The rear 10mm bolts for the brake line brackets on the GT3 were much easier to deal with as well. It's the front that are really difficult and easy to cross thread.
Sounds like everyone may need to drill/tap some holes?
This is disconcerting, because it seems that the studs aren't at fault here, which would mean that even people who stuck to the OEM bolt replacement might end up having to do this. That seems ridiculous.
Sounds like everyone may need to drill/tap some holes?
Would there per chance be enough threads already in place to warrant a reduction in the length of the stud's threads rather than drill/tap further into the factory piece?
Porsche 911 GT3 Artisan Edition Pays Homage to Japanese Culture
Slideshow: Porsche has created a Japan-only 911 GT3 Artisan Edition that blends track-ready hardware with design cues inspired by traditional Japanese craftsmanship.
Porsche Reveals Coupe Variant of the Electric Cayenne With a Fresh Look
Slideshow: Porsche's latest electric Cayenne Coupe blends dramatic styling with supercar acceleration, turning the brand's midsize SUV into a 1,139-horsepower flagship.