When you click on links to various merchants on this site and make a purchase, this can result in this site earning a commission. Affiliate programs and affiliations include, but are not limited to, the eBay Partner Network.
Preface: This audio system adds 2.5 pounds of weight to your GT4. So, if you obsess over the weight of your car, you may need to shed 2.5 pounds of body fat before considering this audio system
I’m a bit of an audio (and video) nut, so after purchasing my GT4, I started looking into some of the options. I thought I’d share my experience with the option I went with: Musicar Stage 2 Audio Upgrade
Quick background: When I was in high school, I worked in a high-end home and car audio shop. I’ve gone through several different systems in several different cars, including a 4Runner with 2 15” subwoofers, component speakers, 3 amps, and a secondary battery + capacitors; and then a 350Z with 2 10” subs, components, and 2 amps (no secondary battery), with a custom amp rack. At home, I run a hi-fi system with B&W 800 series speakers and a Musical Fidelity amp; as well as a home theater system with separates, etc. I like audio. With this car, though, I wasn’t looking to add subwoofers or thump down the street, for various reasons. But I did want something I’d enjoy on a 2 hour cruise to the track, that wouldn’t make me cringe.
Prereqs: I wanted something that was not complicated to install/uninstall, and would not require taking apart the doors. In prior cars, once I pulled the door panels off, the car never felt the same again. Perhaps that was my own lack of skill, or the fact I was driving lower end cars; the 981 door is actually easy to pull off; either way, I didn’t want to pull it. I wanted to be able to turn the volume up without any clipping, without the tweeters becoming too bright, and without the low-end bass response tapering off. Also, I wanted the stereo to be notable, not just something that exists. But that’s just me.
Components: The Musicar system is popular in the 991 crowd. I spoke with @12v Nick, who definitely provided a first class experience. I bought the Stage 2 upgrade from him, which is a “bolt on” system for the Sound Package Plus system, which is the base option that our GT4s come with. This upgrade included:
1) Amp and DSP upgrade: a Mosconi amplifier that replaces the factory amp; has a built-in DSP, which Musicar already programmed/tuned for the 981. This amp has a discrete channel per speaker, so each speaker is individually tuned/timed. Musicar provides wiring harnesses that connect to the factory ones; no cutting, etc.
2) Tweeter upgrade: drop in tweeter replacement (Musicar provides custom mounts); mounts in factory location (on the dash), with no visible change to interior.
Install: Took me and a friend @benben01 about 3.5 hours at a leisurely pace. The short of it is, remove passenger seat (4 bolts + wire harness), replace amp, run wires to tweeters (pull off trim along edge of car), replace tweeters. Musicar provides detailed instructions with pictures, and includes everything including a panel pry and fishing string. One thing I’ll say is, the wiring/mounts/packaging that Musicar made are very high-end. I was very pleasantly surprised; I knew the shop was high-end given their pricing and level of service, but the craftsmanship still surprised me.
Result: Sound is great! The timing of the system is vastly improved; they tune with ears and equipment that most shops do not possess. I actually want to turn it up, versus the old system made me cringe. The bass response is vastly improved. Vocals sound so much better. It’s a real high-end aftermarket audio system; on another level from what OEM offers.
Downsides: Only downside I can think of is, if you listen to bass-heavy music, you may want to also buy their sound insulation kit, which is precut for the car. I don’t hear any vibrations even if I put on some bass-heavy rap, but you can tell that the bass depth would be better with some sound insulation in the door panel. Their insulation kit weighs ~5 pounds if you care (if you’ve read this far, I’m guessing you don’t). I only didn’t purchase it because I didn’t want to take the door panel off. After watching
Interesting that the stock door speakers don't rip themselves up with the higher power amplifier.
I wouldn't worry about taking the door panels apart, if the center console is any indication.
I've had that apart several times without anything breaking off or getting loose.
Noticed improved sound quality just replacing the stock head unit with an Alpine, will eventually do this upgrade as well.
Thanks for the tip. I'm probably going to do the sound insulation when I get some time.
Re: aftermarket amp on the OEM speakers: the factory speakers handle it well. It's crazy how much better they sound with more power, honestly. It might just be the fact that the power is cleaner; plus the DSP is vastly improved. Musicar's stage 3 kit upgrades the woofers and mids in the door panel; but it's costly, and was out of my budget given other mods. Probably sounds phenomenal, though.
Re: Alpine head unit sounding better: prior to installing the Musicar Stage 2, I installed a JL Audio bluetooth adapter (MBT-RX) which then plugged into the OEM Aux port; this sounded better than even the CD player in the OEM unit. I believe that's because the DAC in the JL Audio unit is much better than the OEM head unit's DAC. I tried out the same track via BT and via CD, and the difference was notable. I liked being able to keep the factory head unit in place.
Interesting that the stock door speakers don't rip themselves up with the higher power amplifier.
I wouldn't worry about taking the door panels apart, if the center console is any indication.
I've had that apart several times without anything breaking off or getting loose.
Noticed improved sound quality just replacing the stock head unit with an Alpine, will eventually do this upgrade as well.
Putting the sound treatment kit in this weekend. Supposedly this will make a big difference.
Interesting that the stock door speakers don't rip themselves up with the higher power amplifier.
While it is certainly possible to damage speakers with too much clean power, it is far harder on a speaker to play an amplifier into clipping (beyond its undistorted limit) - this happens when you want to have the stereo loud, but the amps have too little power...
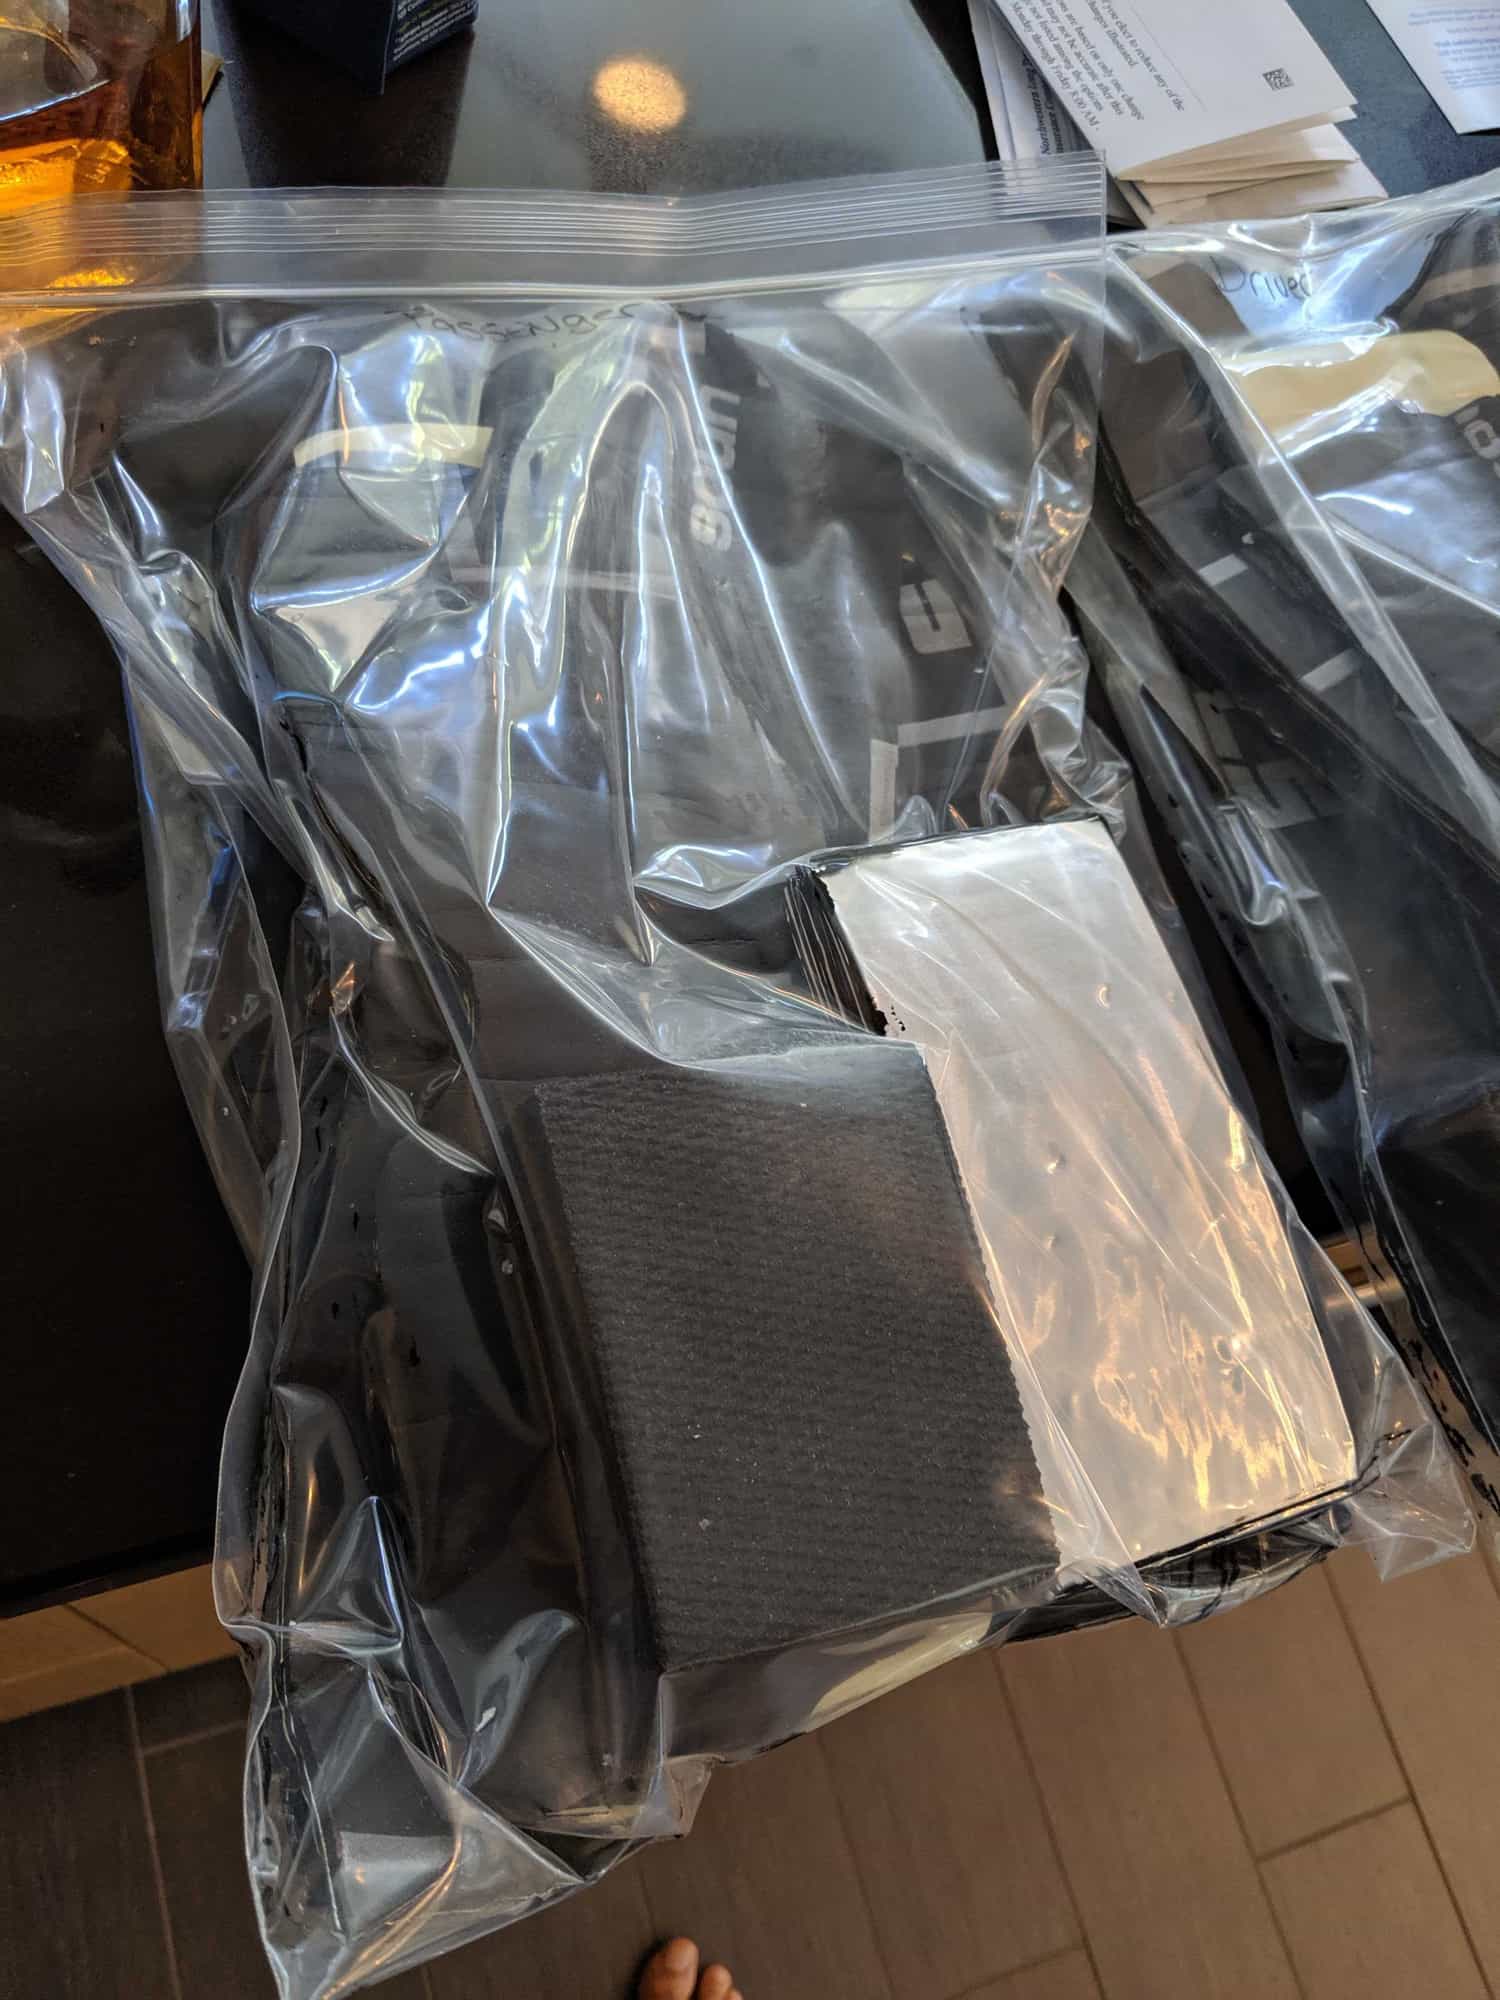
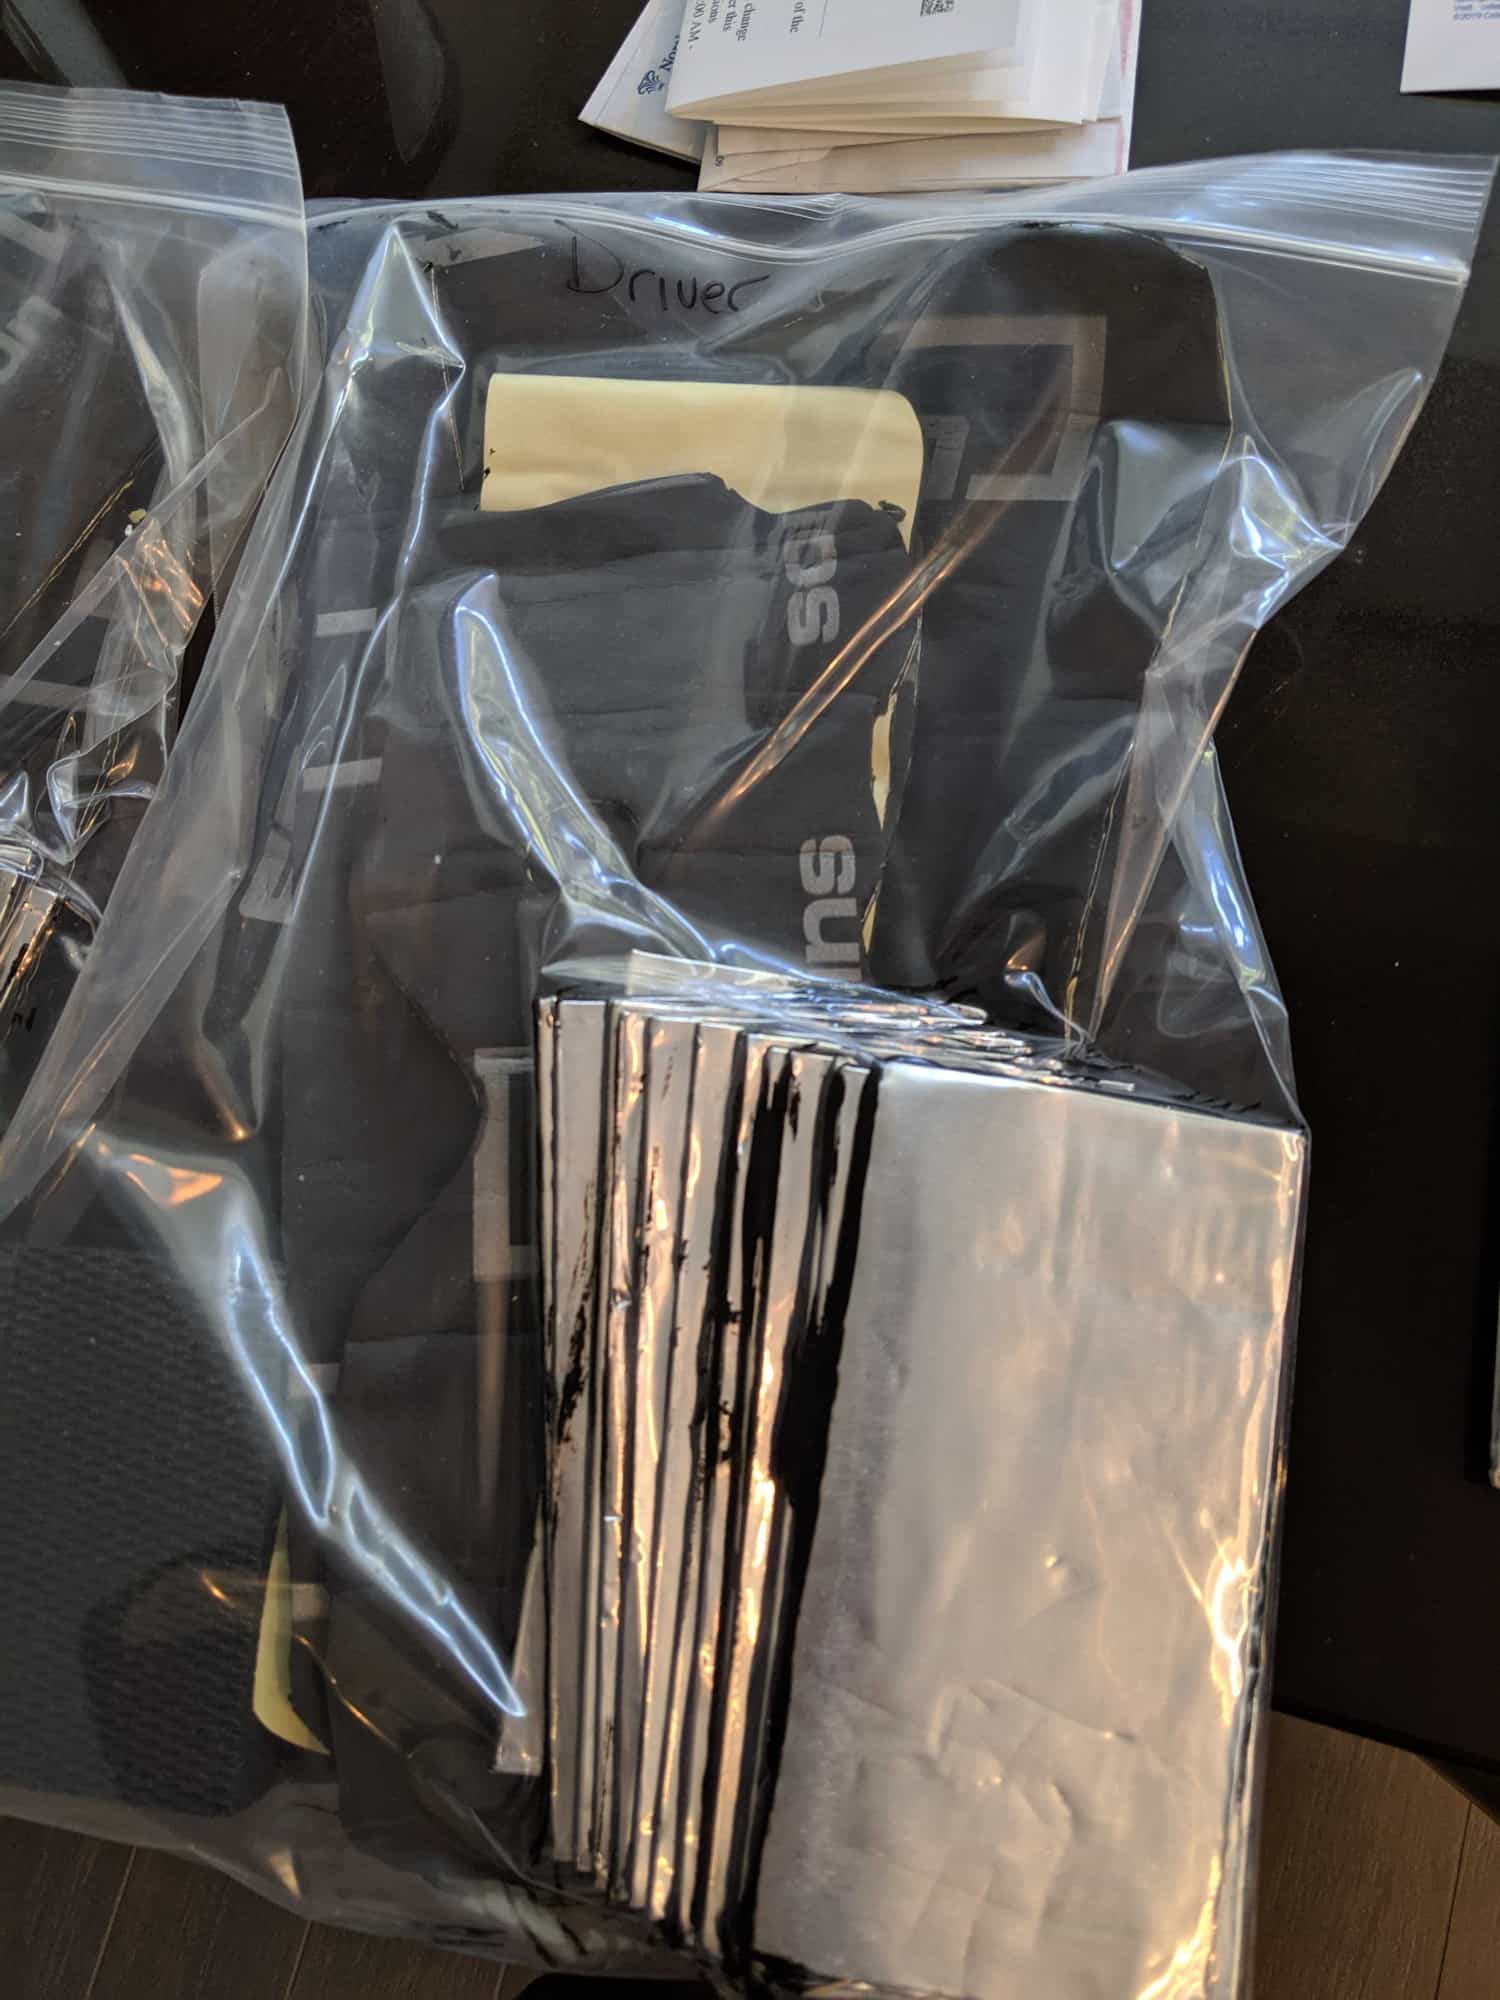
I installed the insulation kit today. It takes about 1 hour per door. The upgrade in the bass response is vast. If you do the Stage 2 kit, definitely get the insulation kit. I took some pics; you get one bag per door, including 3 types of insulation: this big spongy thing that absorbs sound waves that would otherwise have a cancelling effect; the silver type of insulation you likely saw back in the day in form of "Dynamat"; and this foam-ish stuff. I weighed this out; weighs 2.8 pounds per door. All precut:
Taking off the doors is quite easy. You need a T25 torx bit and a squeegee or other thin pry tool.
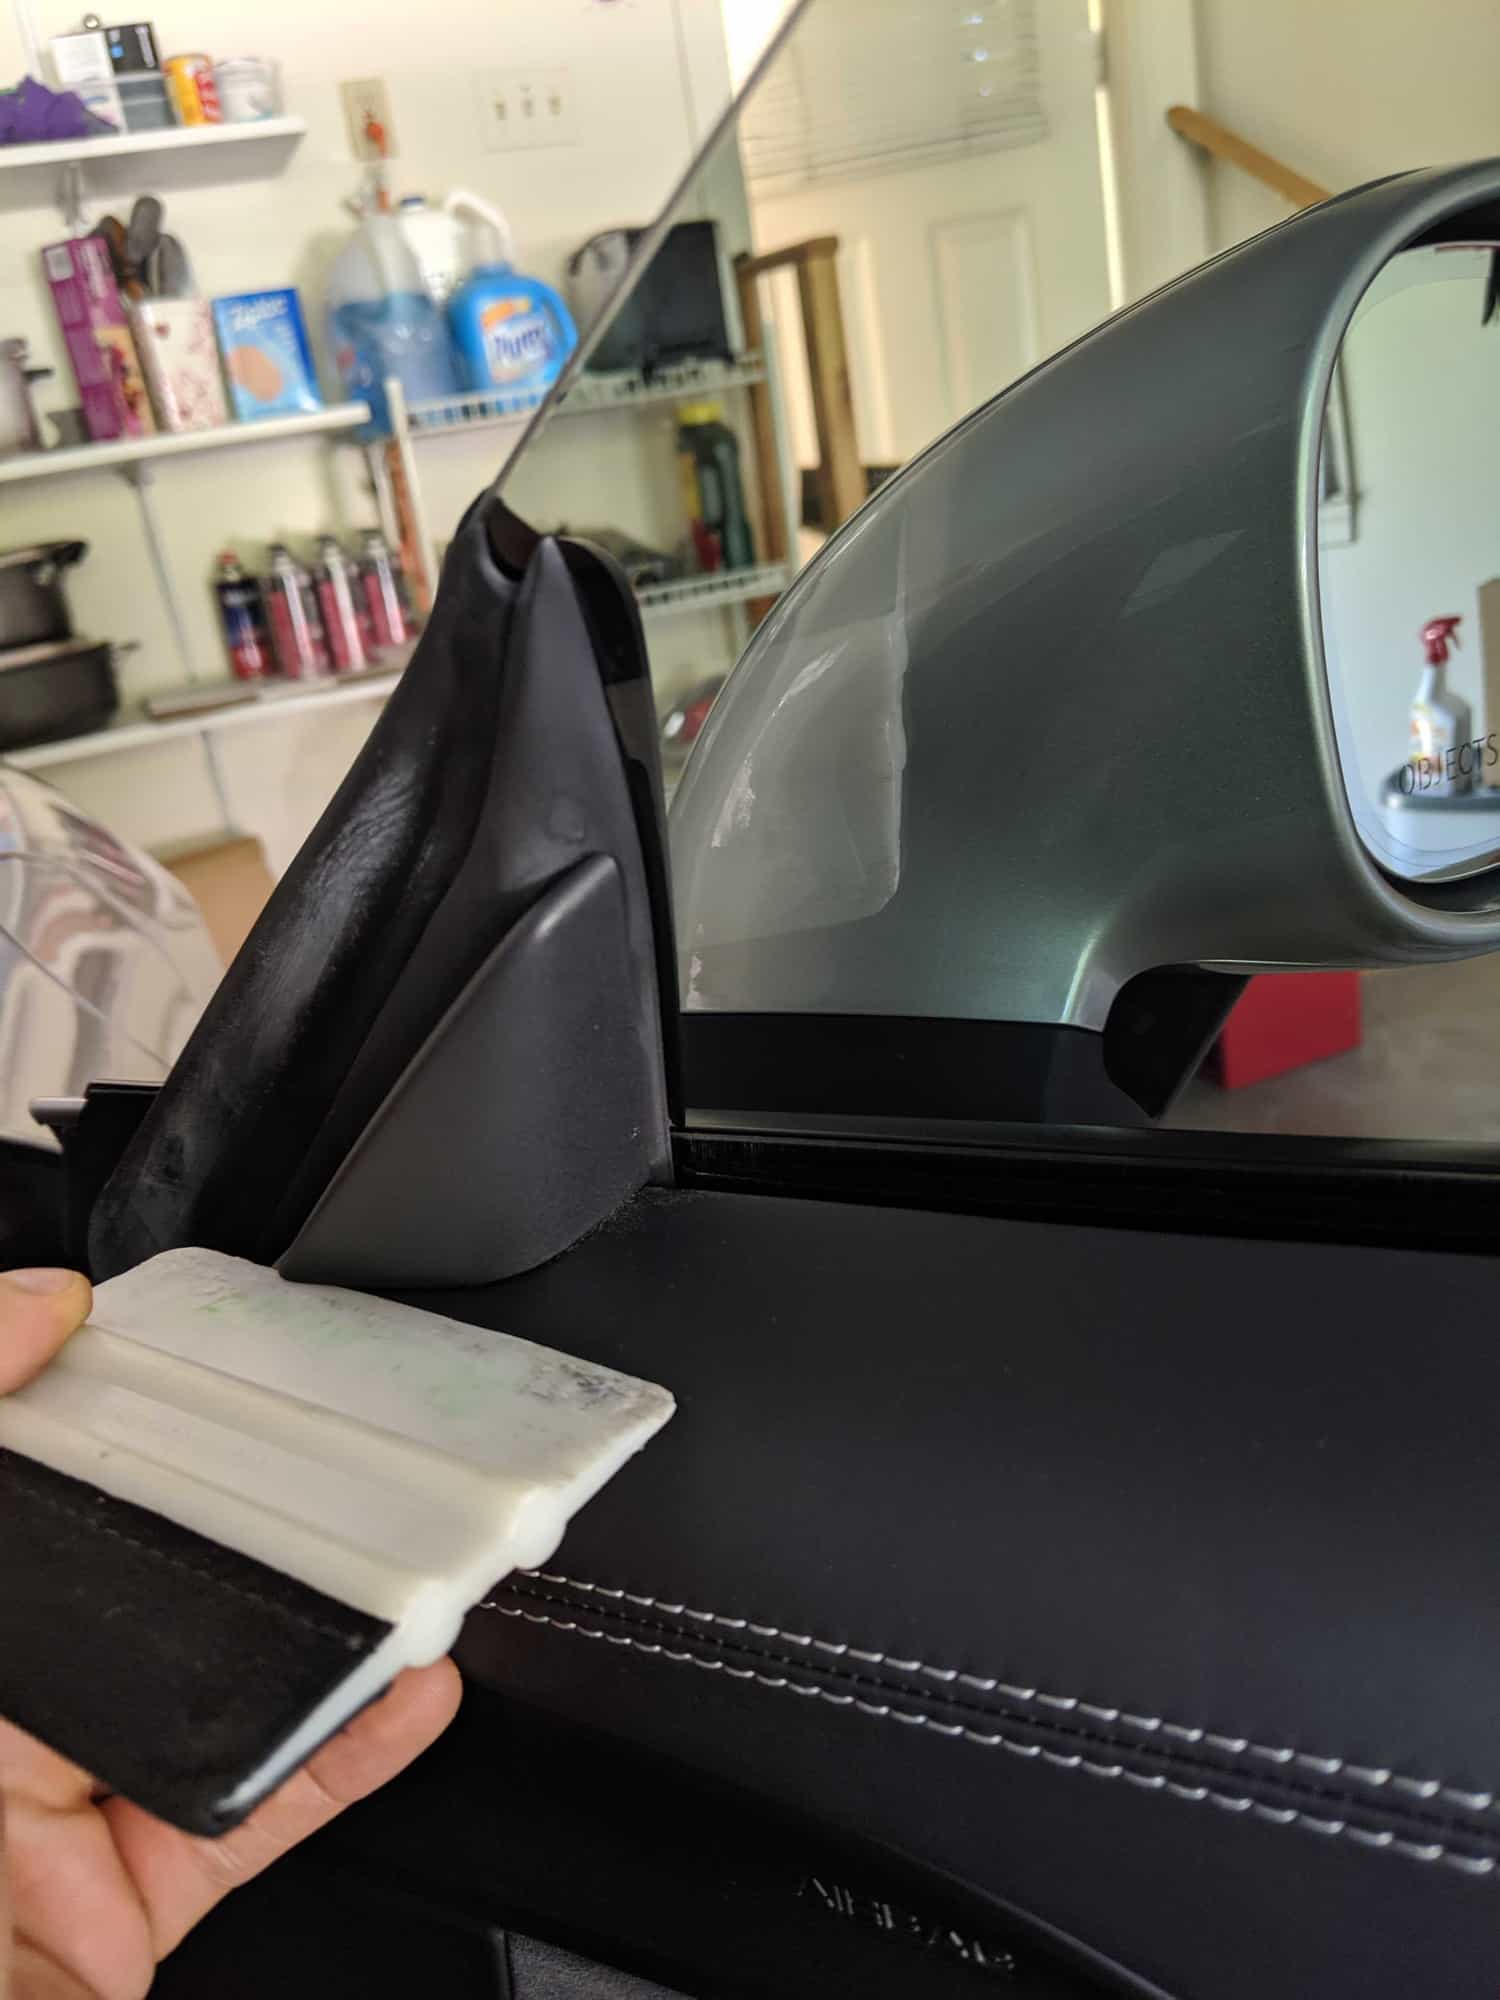
1) Use a credit card type of tool to remove the panel on the outboard side of the door; I used the squeegee that I use to put my track numbers on:
2) Use a very small screwdriver (I used the smallest flathead in an eyeglasses set) on the bottom pulling upward on the circular tab behind the door pull. There will be a T25 behind it.
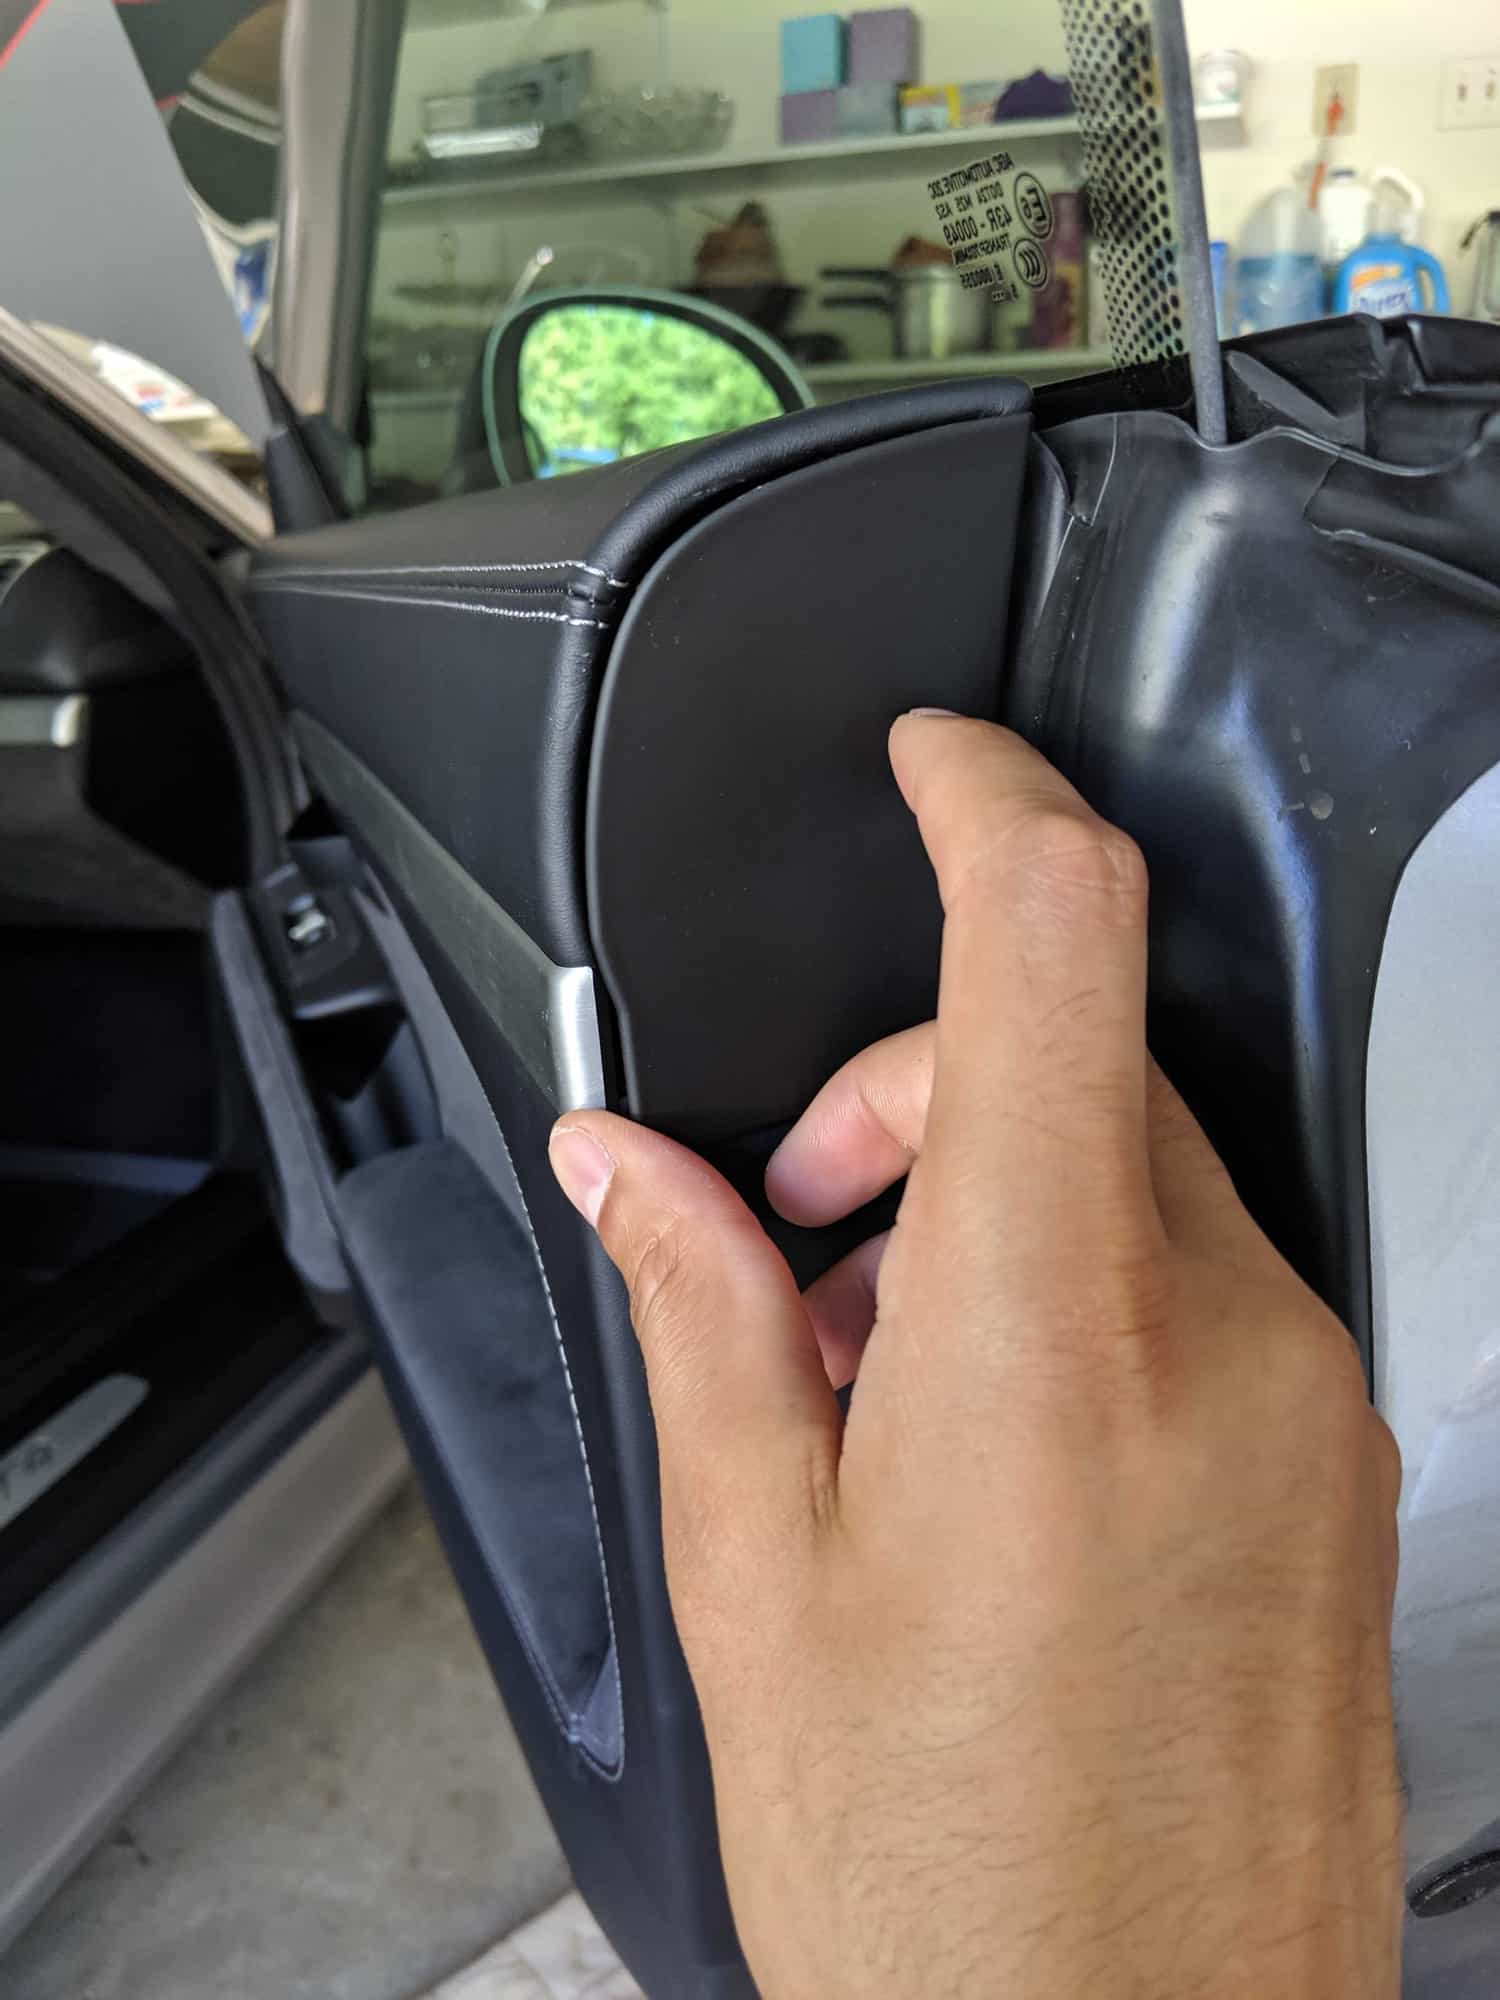
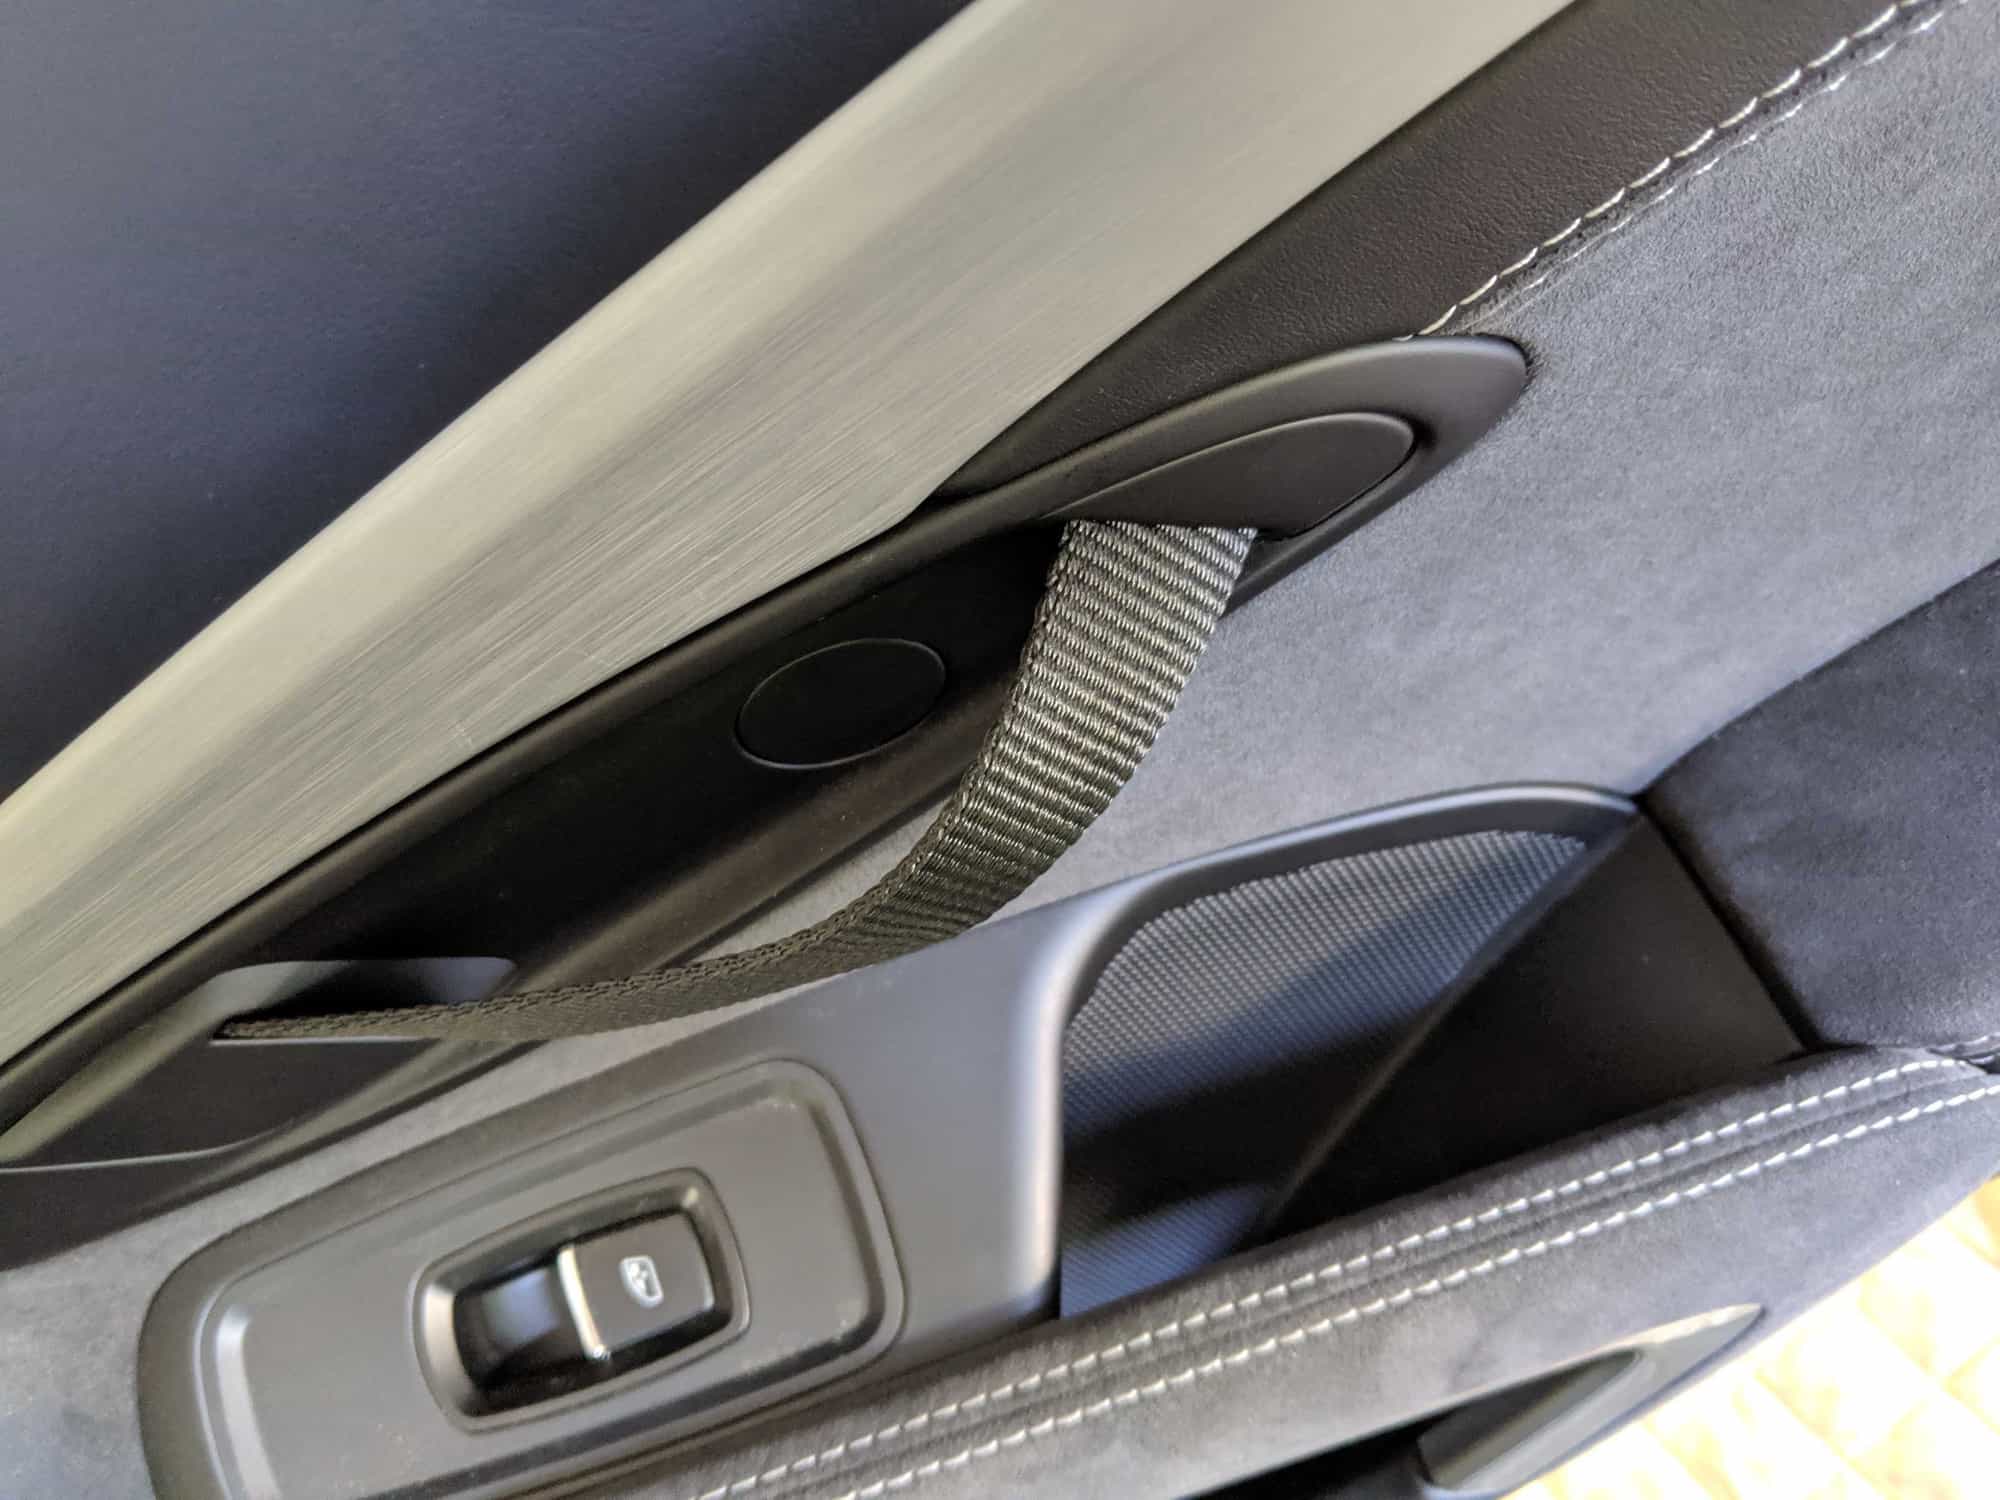
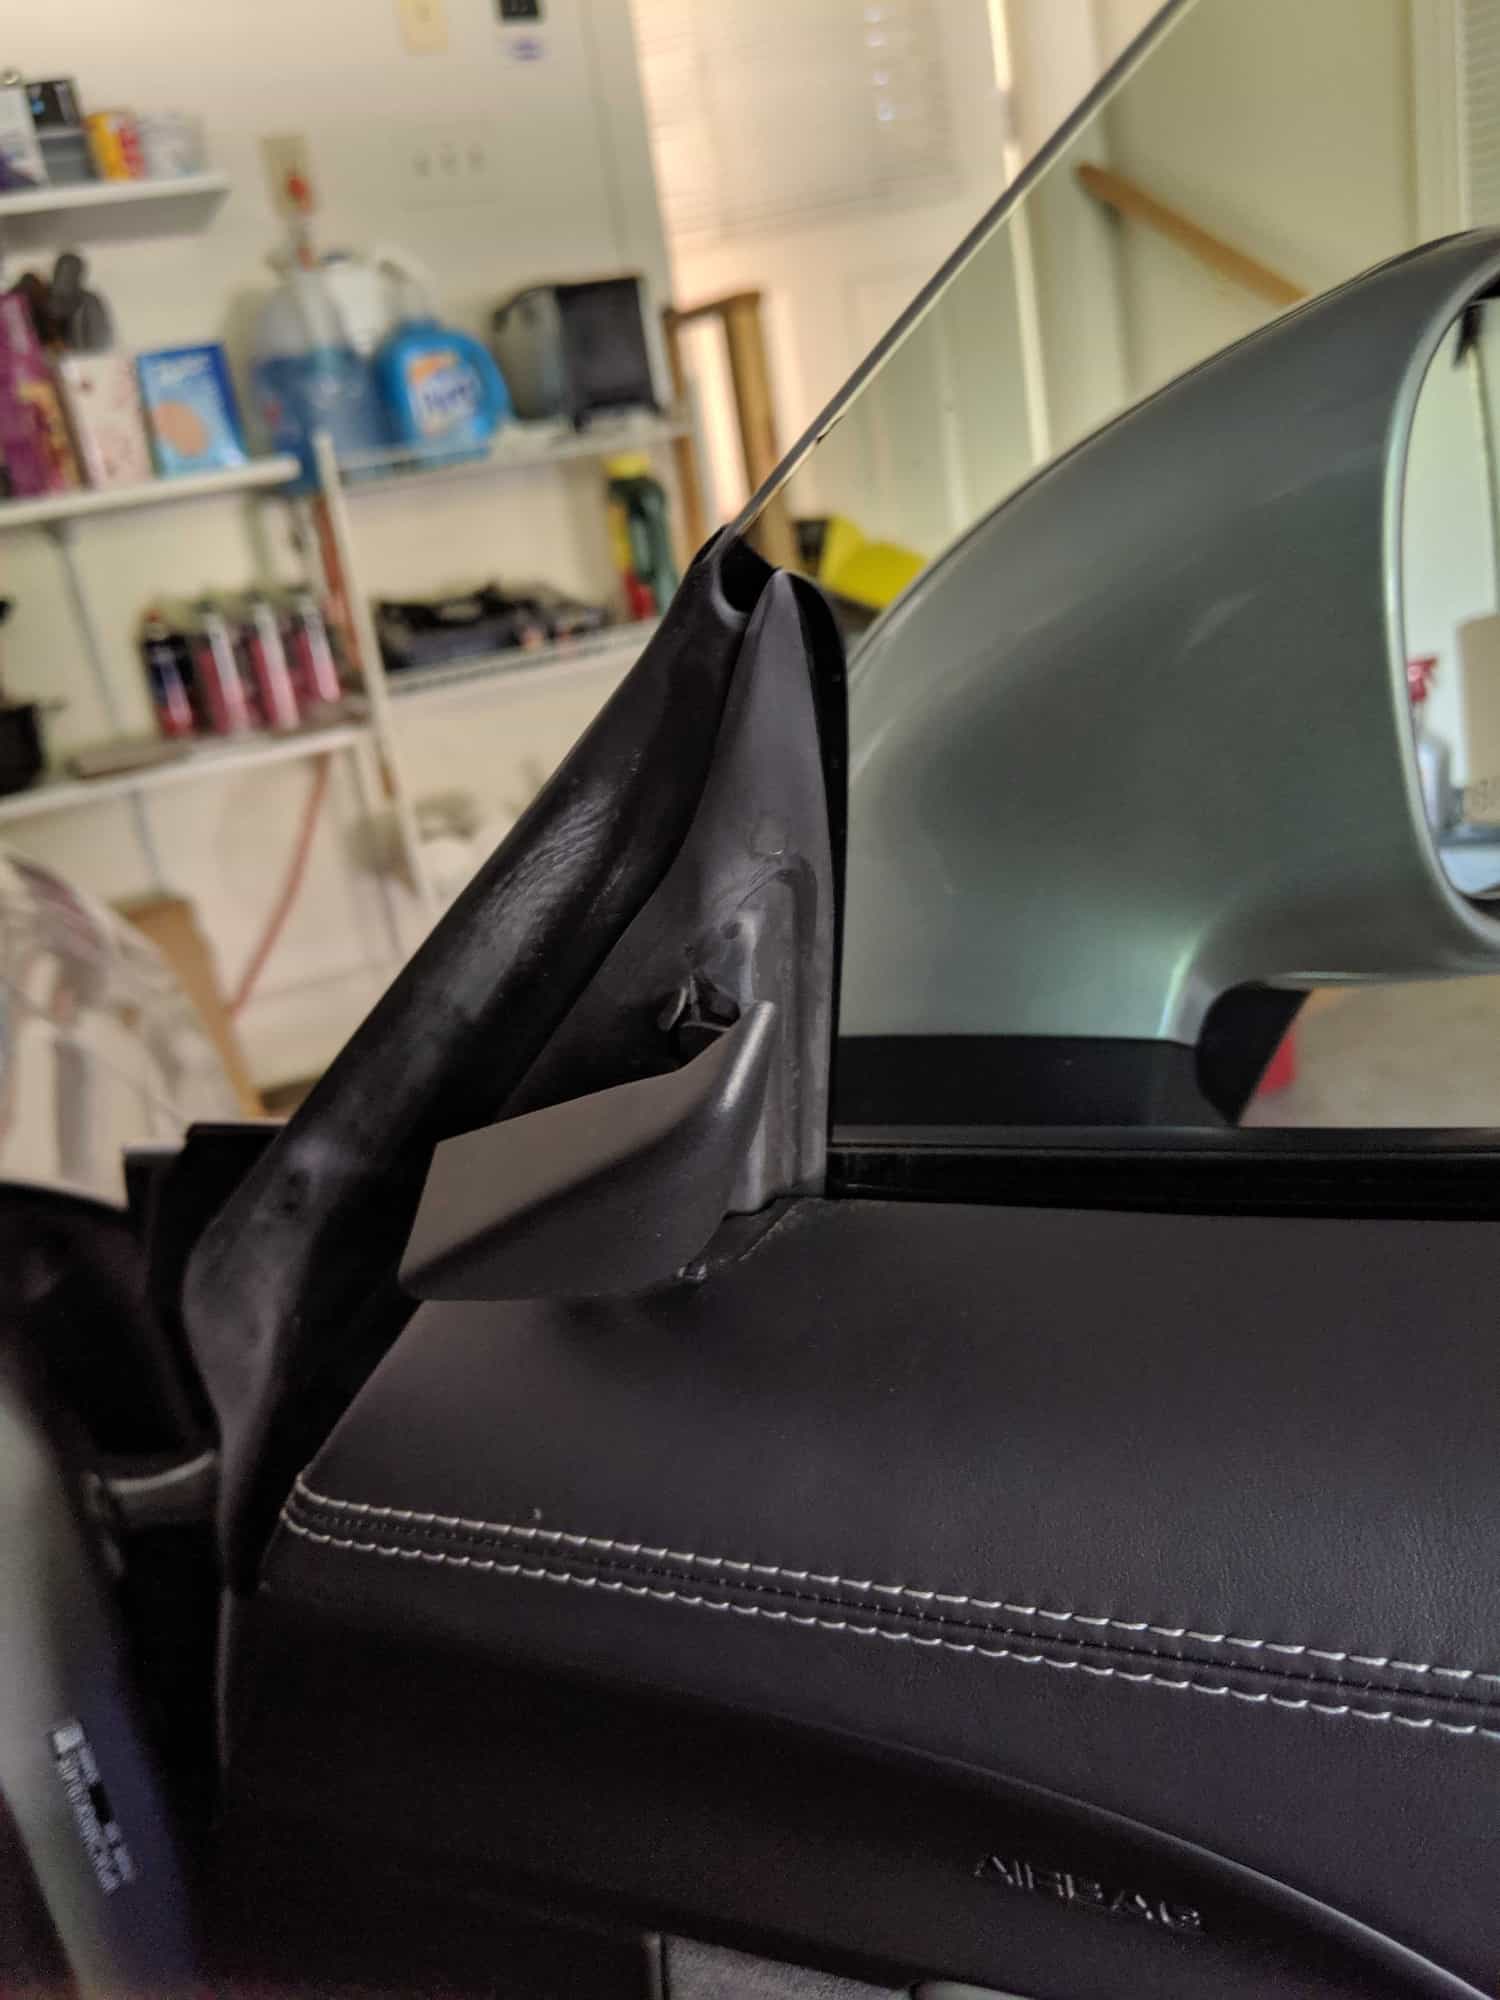
3) To remove the triangular piece on the top of the inboard side of the door, stick your squeegee tool underneath it and push upward
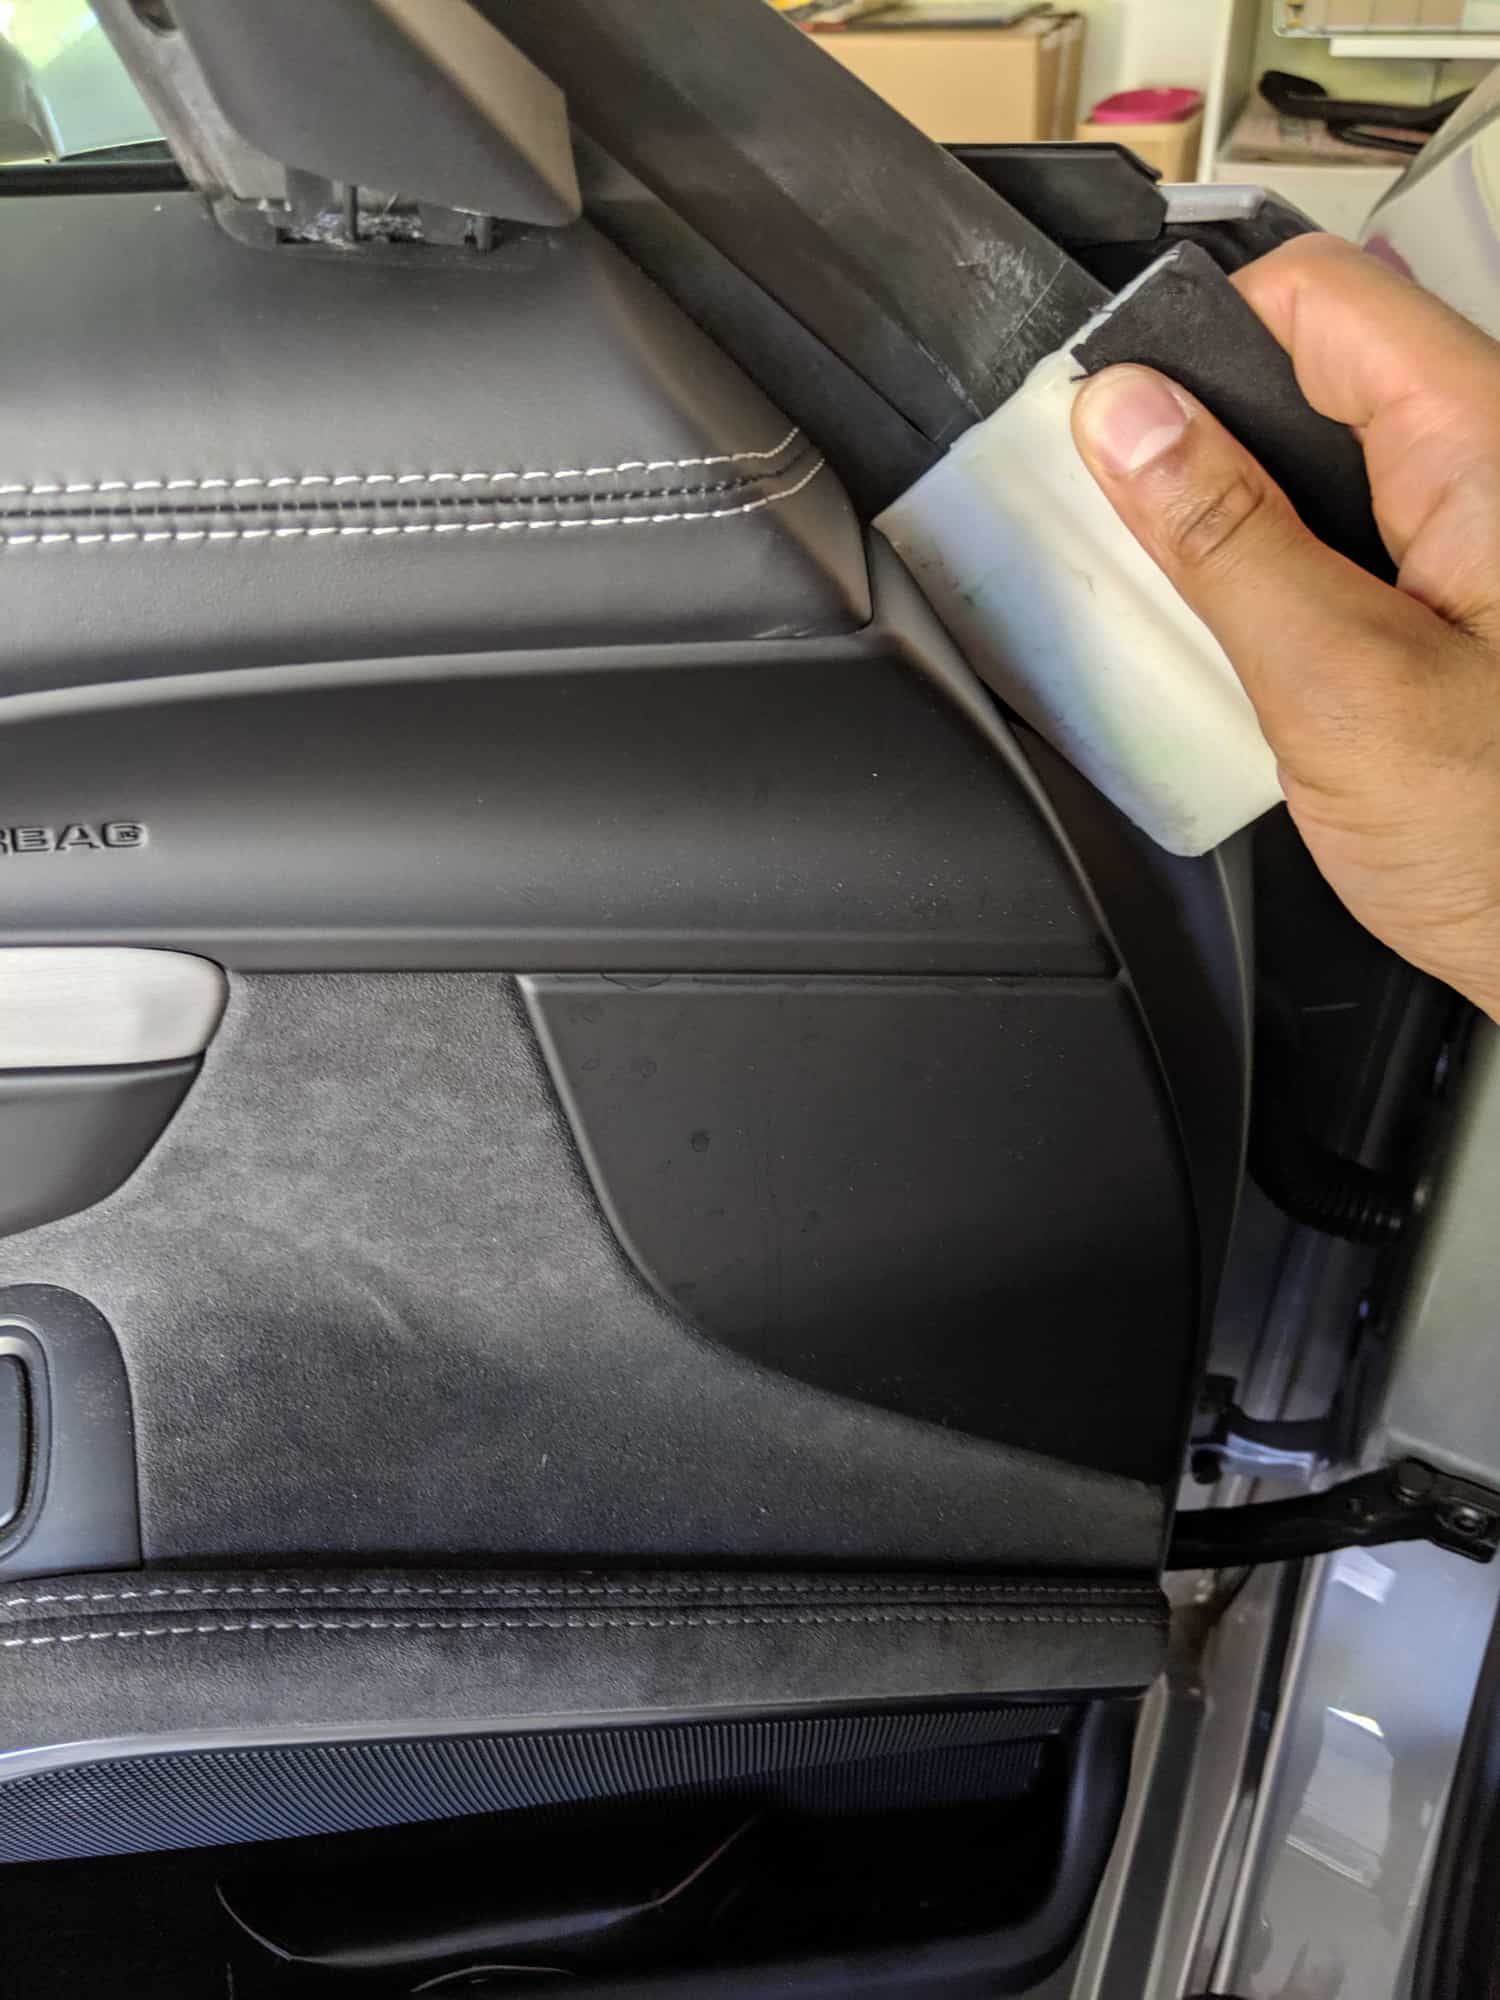
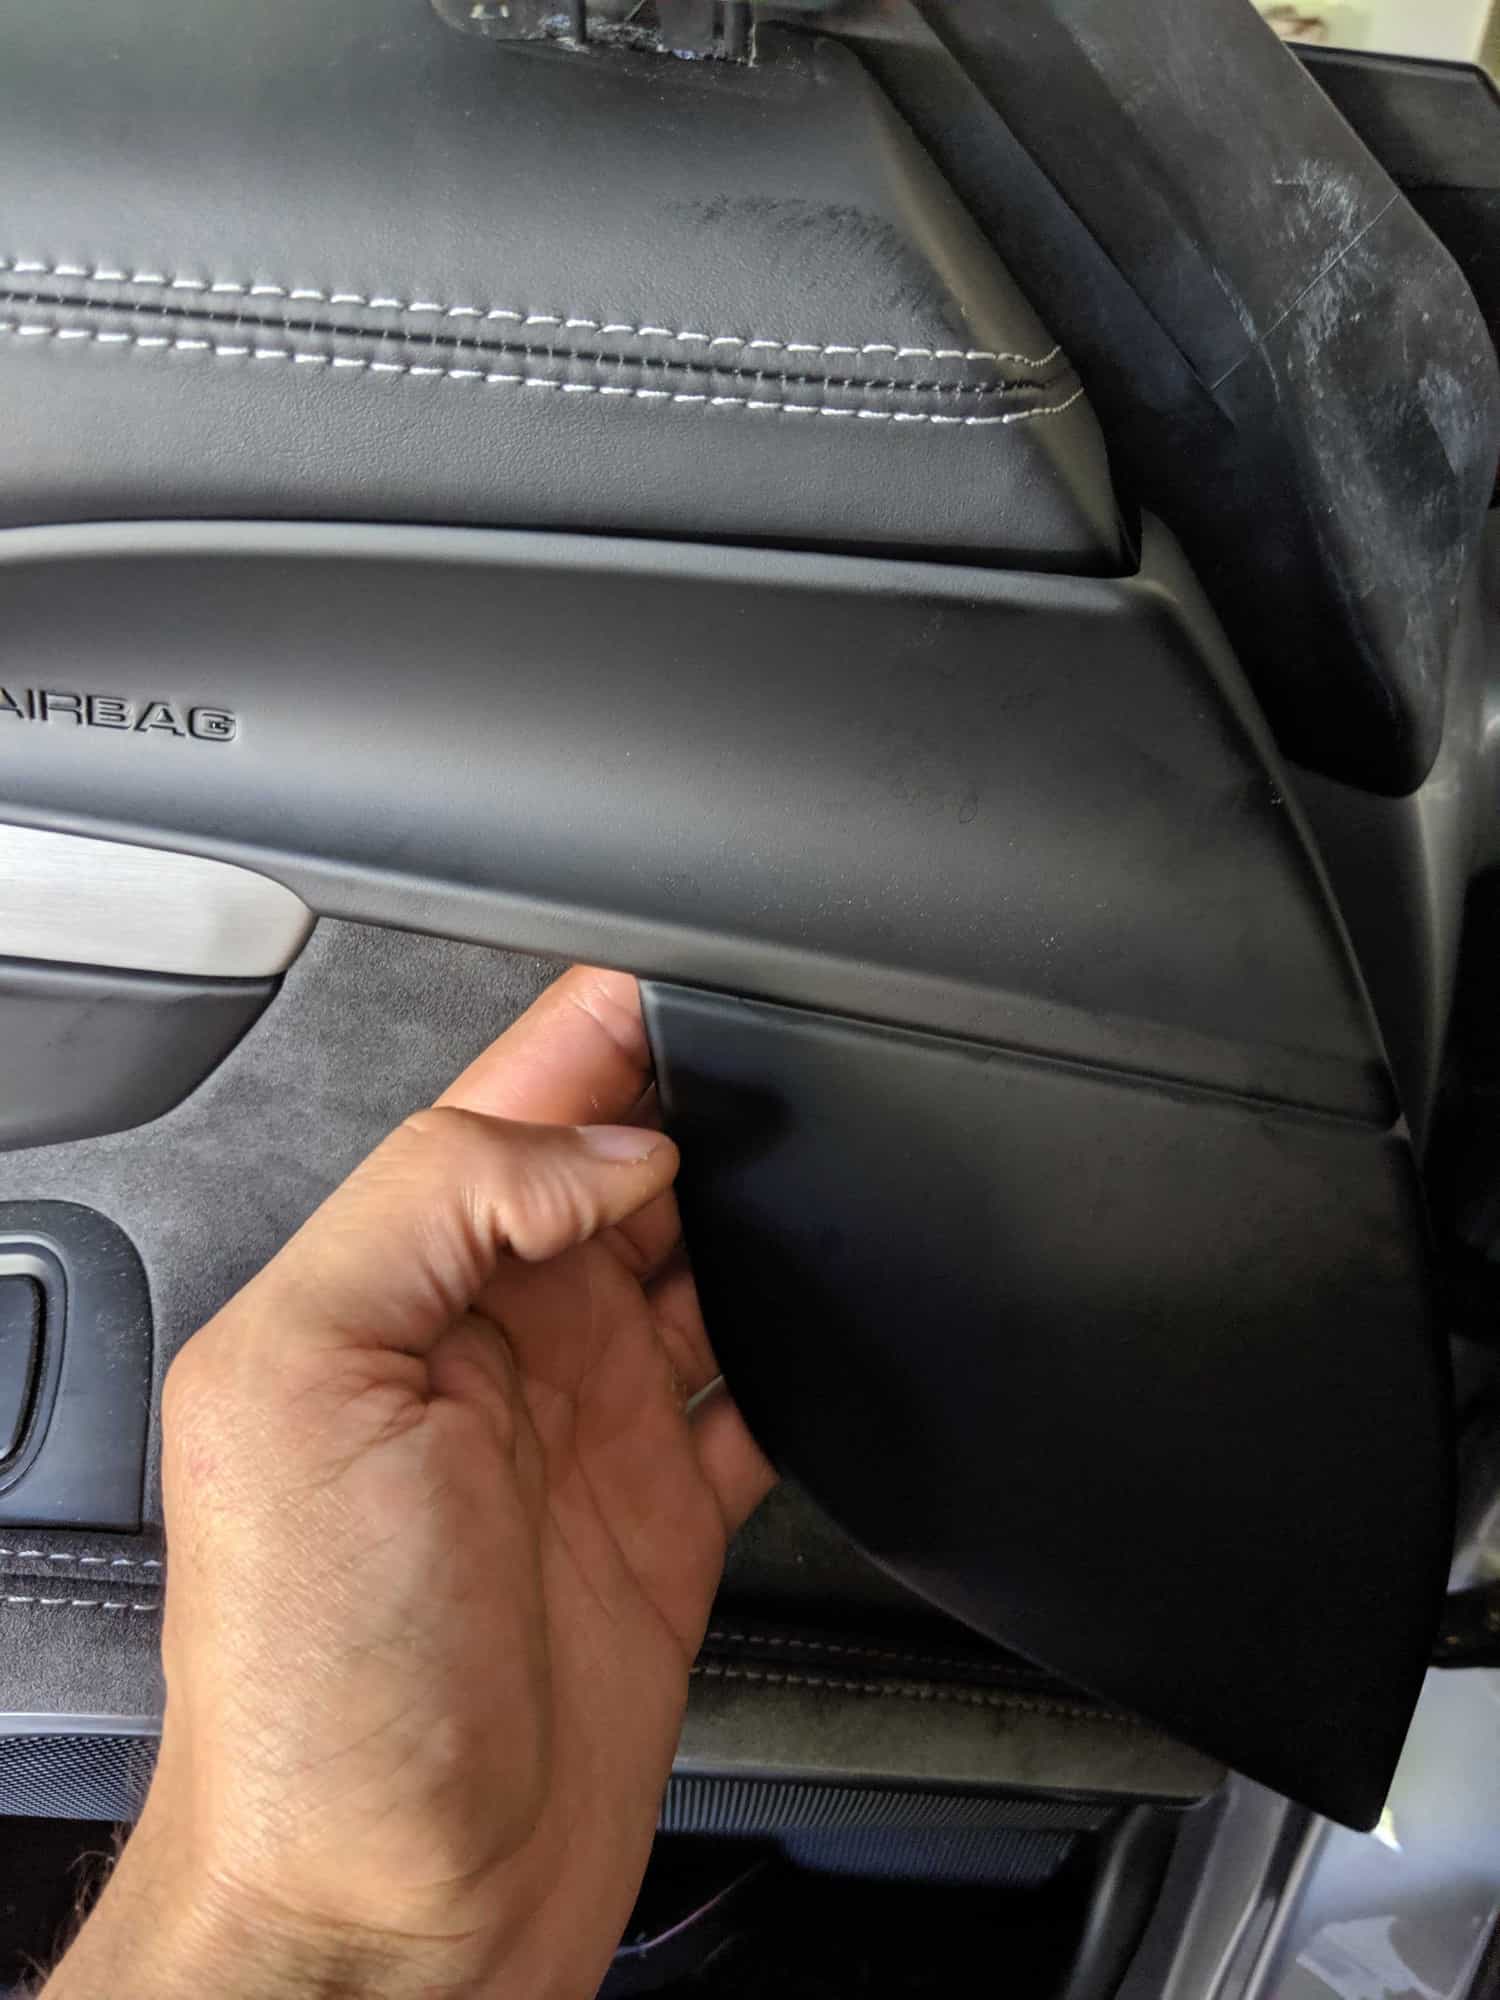
4) Pull off the piece that says "Airbag" on it. Sounds scary, but it's not . I used the squeegee tool to initiate the pry, then stuck my fingers in there and pulled without much pressue
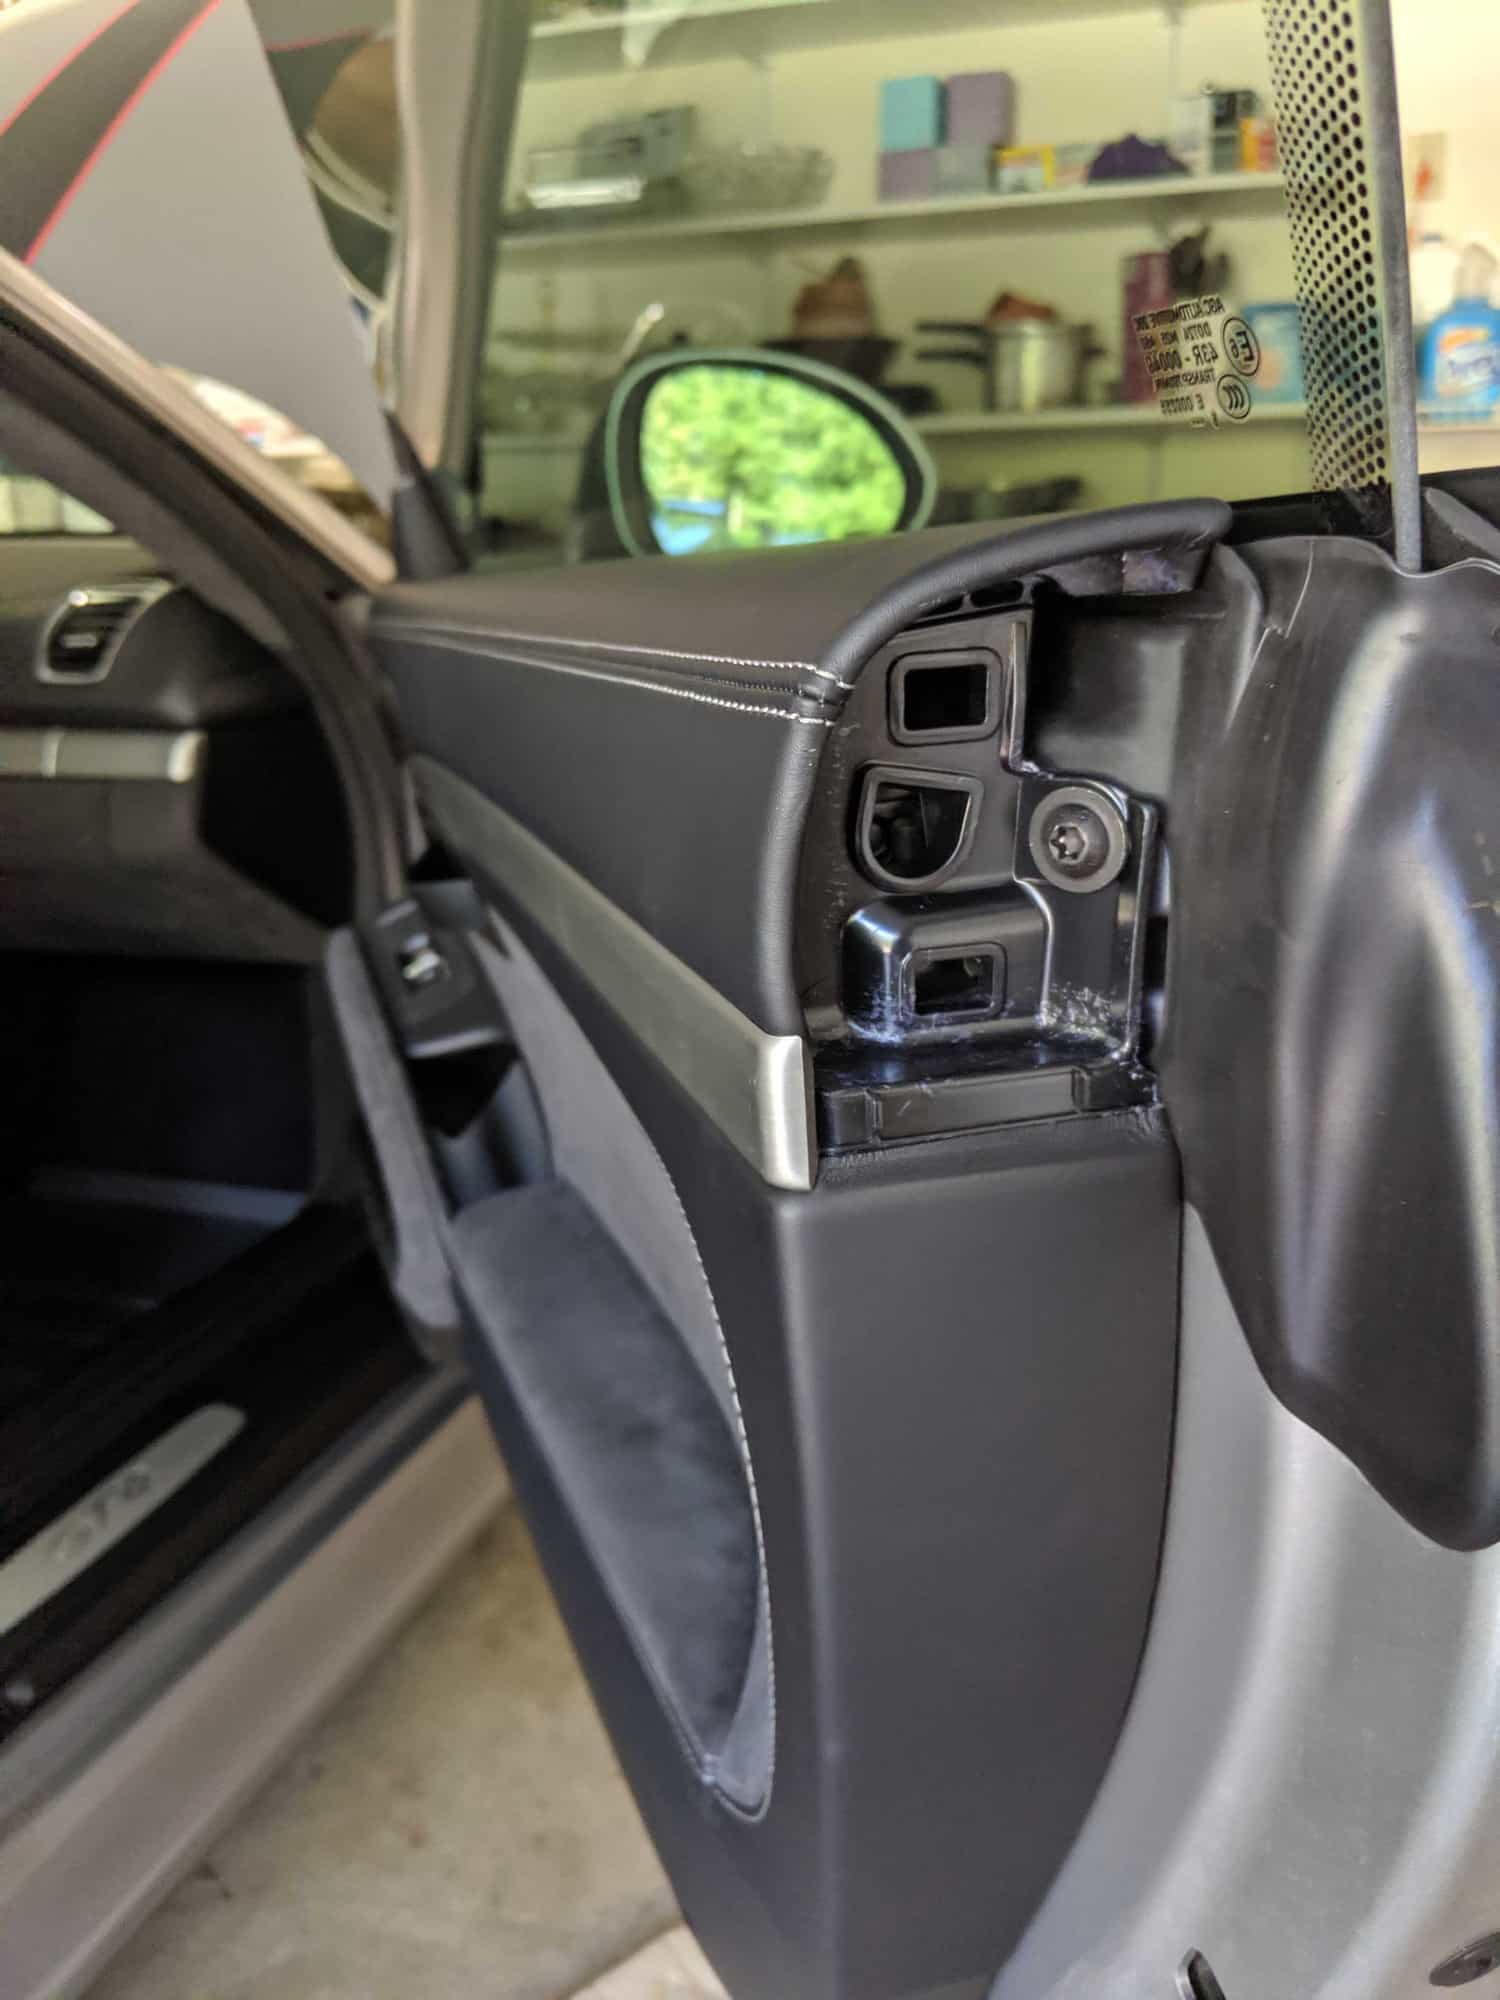
5) Now, you need to use your T25 bit to pull out 4 screws: 1 behind Step 1; 1 behind Step 2; and 2 behind Step 4
6) Pull upwards on the door from the bottom of the door, and then pull the top of the door upward
7) Behind the door panel, there are 2 attachments: a wire harness, and the door pull. It's pretty straightforward how to take those off. Try not to touch the end of the door pull connector, as it's covered in lube.
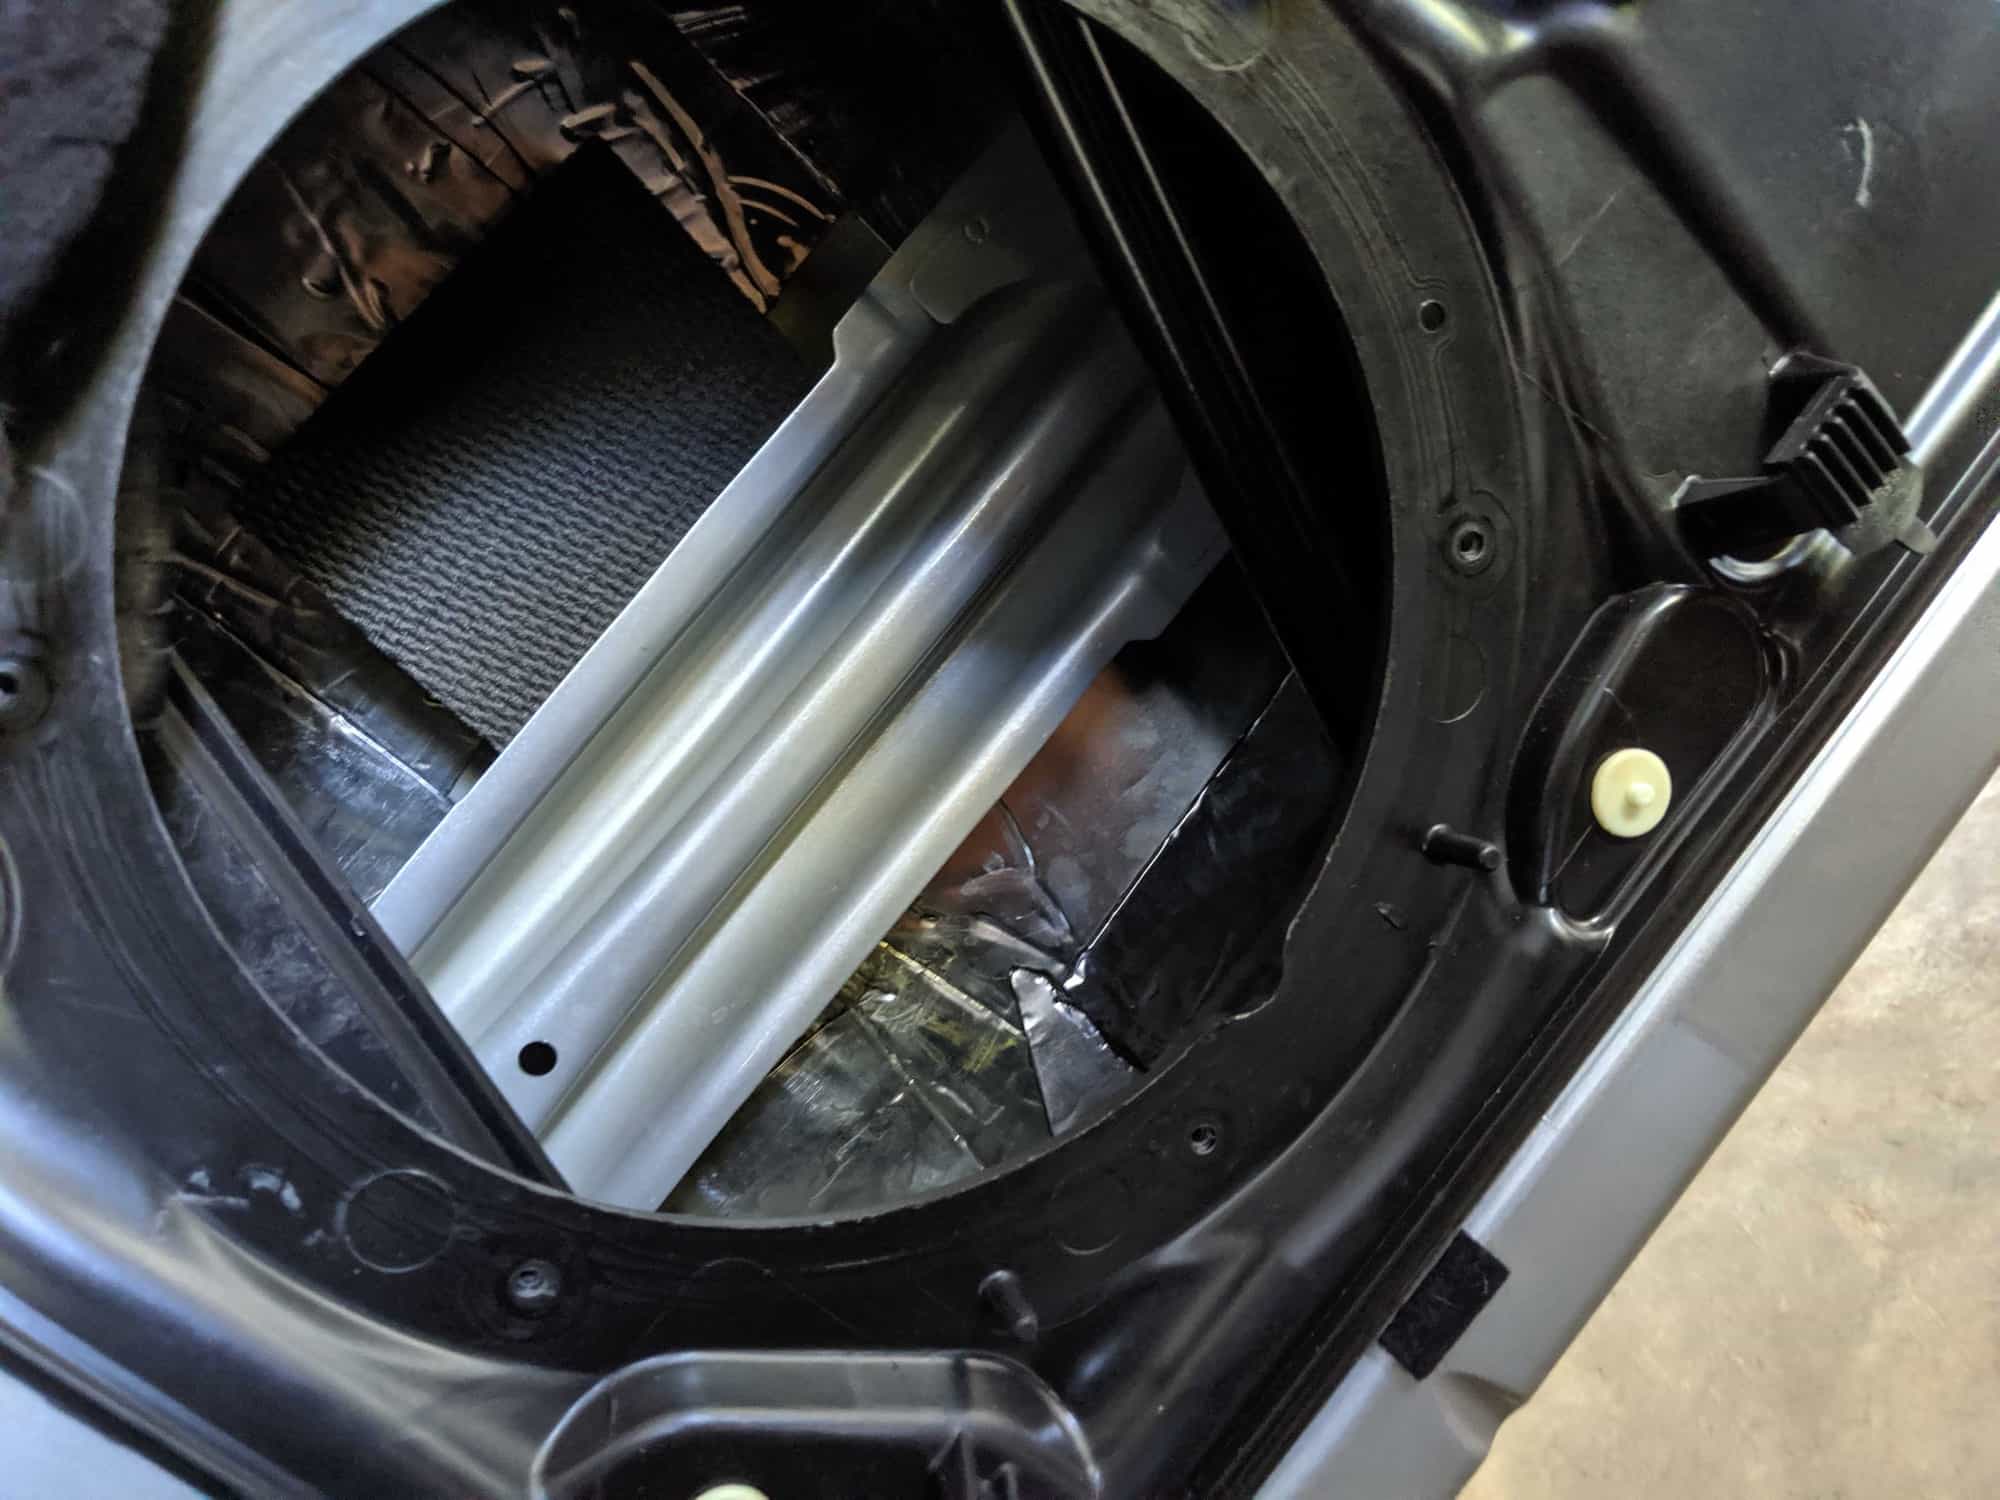
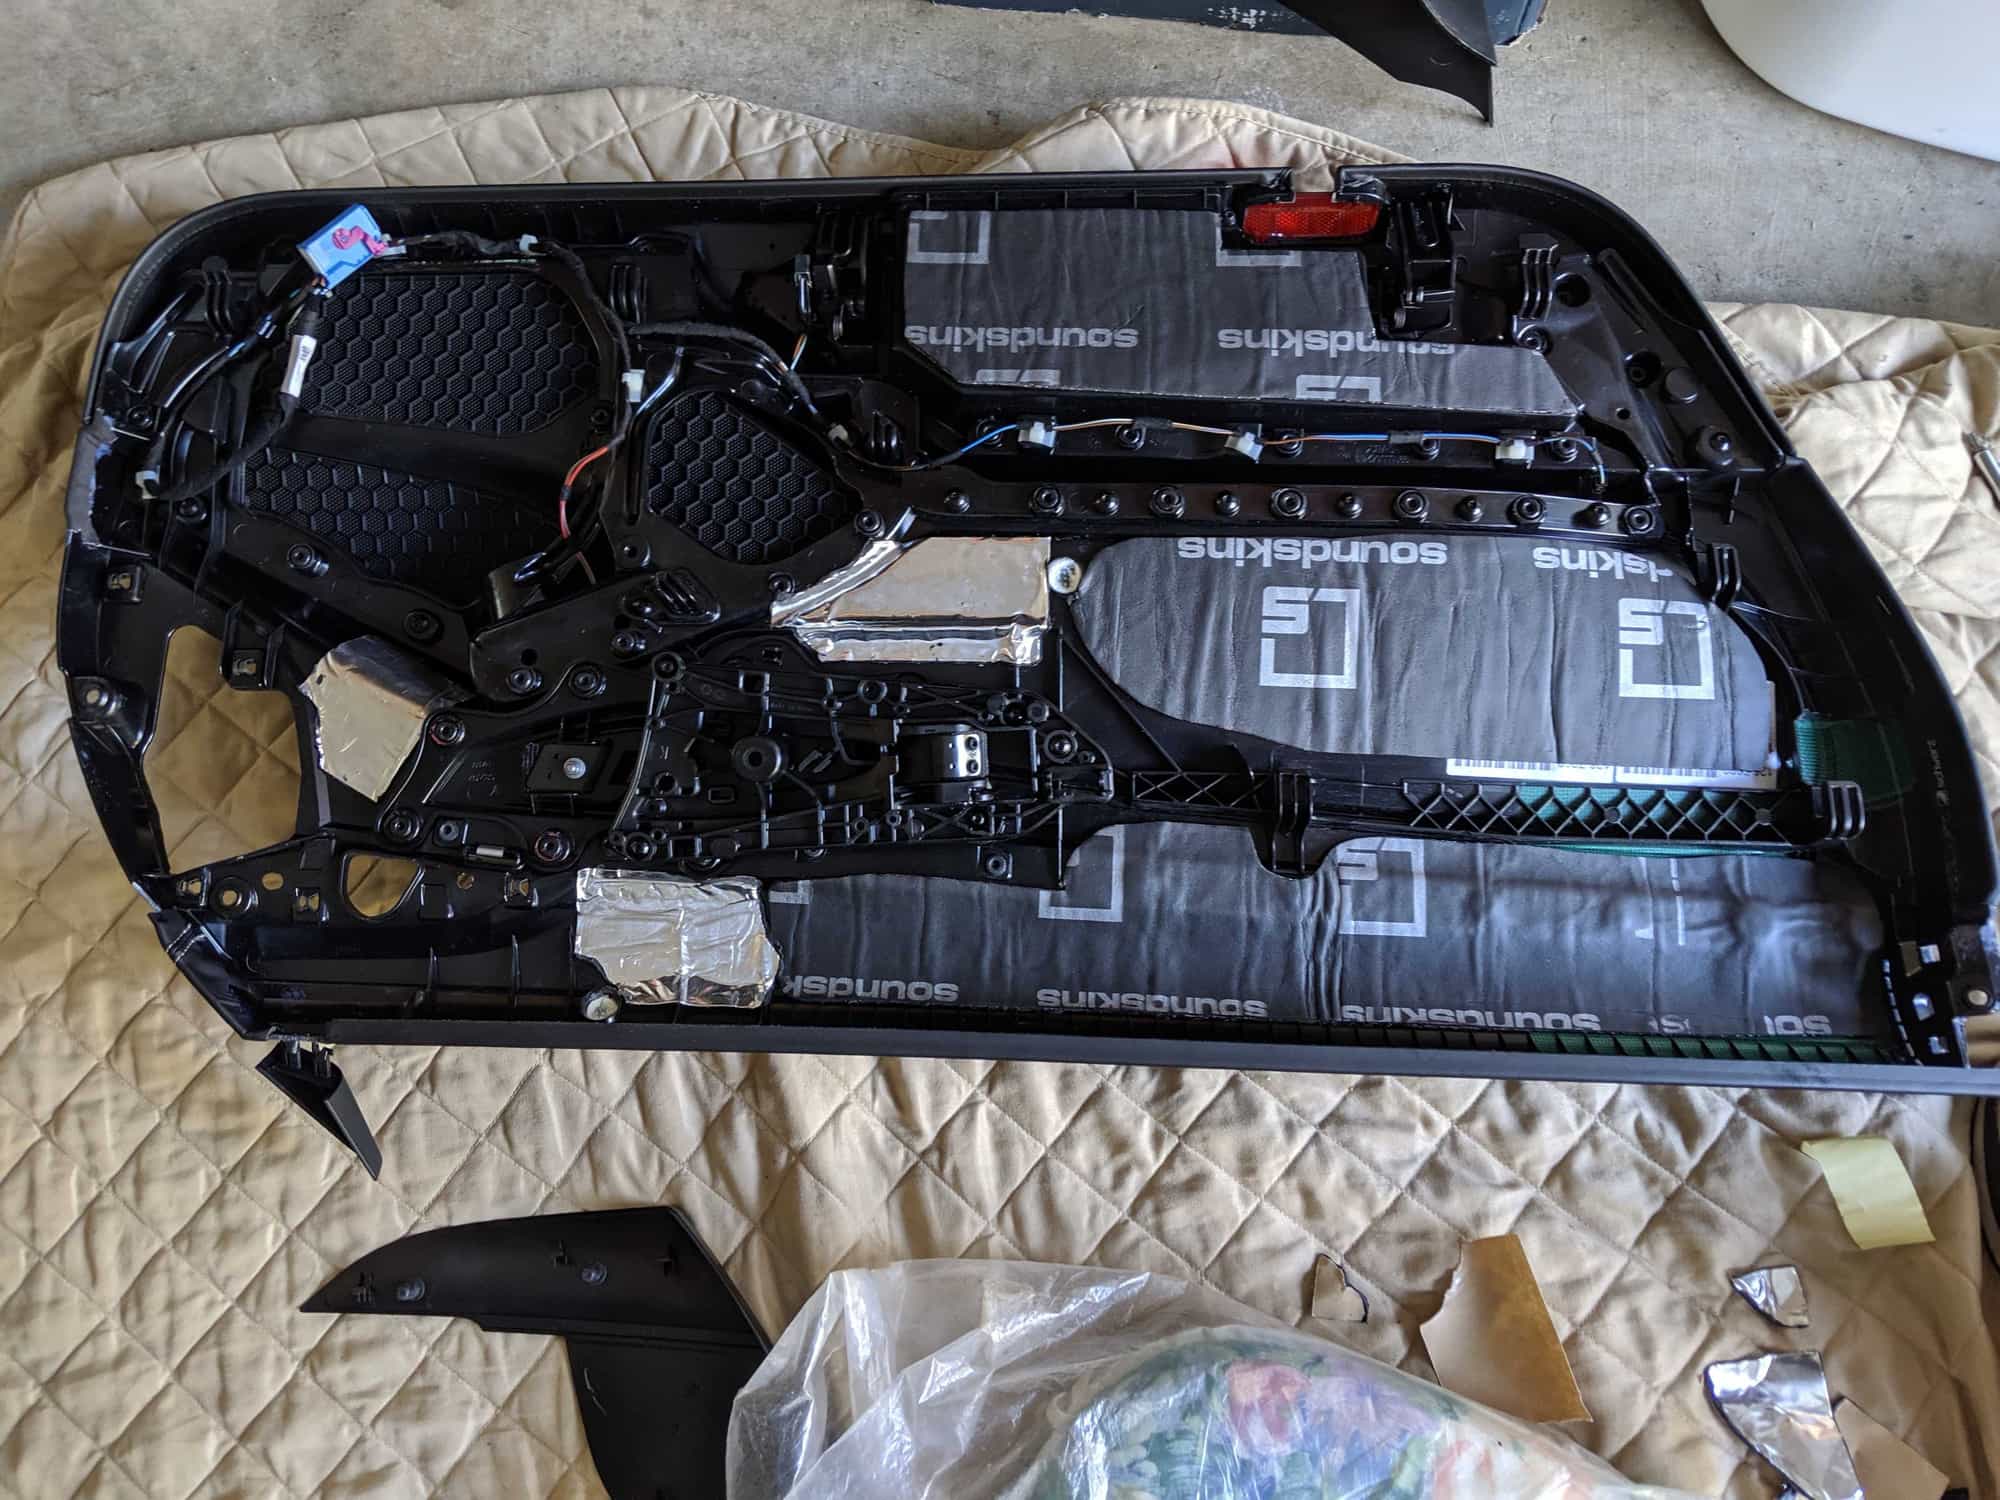
After the above, I put the insulation on the outer part of the door (2 precut pieces of foamy stuff), as well as on the inside of the panel that comes off the door (3 precut pieces of foamy stuff). Thirdly, I put insulation inside the door (10-ish tiles of silvery stuff), against the bare metal of the door. That was a bit tedious, because you're effectively reaching inside the door into places you can't see or reach clearly. The pieces of insulation were cut small enough that this was manageable, but it's still a hassle trying to apply pressure on them. I used the back of a round-ish pry tool to get this done. The spongy sound dampening goes directly behind the woofer. Also, I used some of the left-over silvery stuff on patches of the door that were un-dampened.

 06-14-2019, 03:08 PM