When you click on links to various merchants on this site and make a purchase, this can result in this site earning a commission. Affiliate programs and affiliations include, but are not limited to, the eBay Partner Network.
You shouldn’t have a problem running a flat cable. I had been running mine with the Savvy run down the drivers A-pillar and plugged into the Savvy in the OBDII port but kept having my car alarm go off randomly while parked.
Great, I'm thinking of just chopping one end off a longer flat RJ cable and stripping back the wires. I've got a multimeter, so I can easily find (verify, anyway) a switched 12V source.
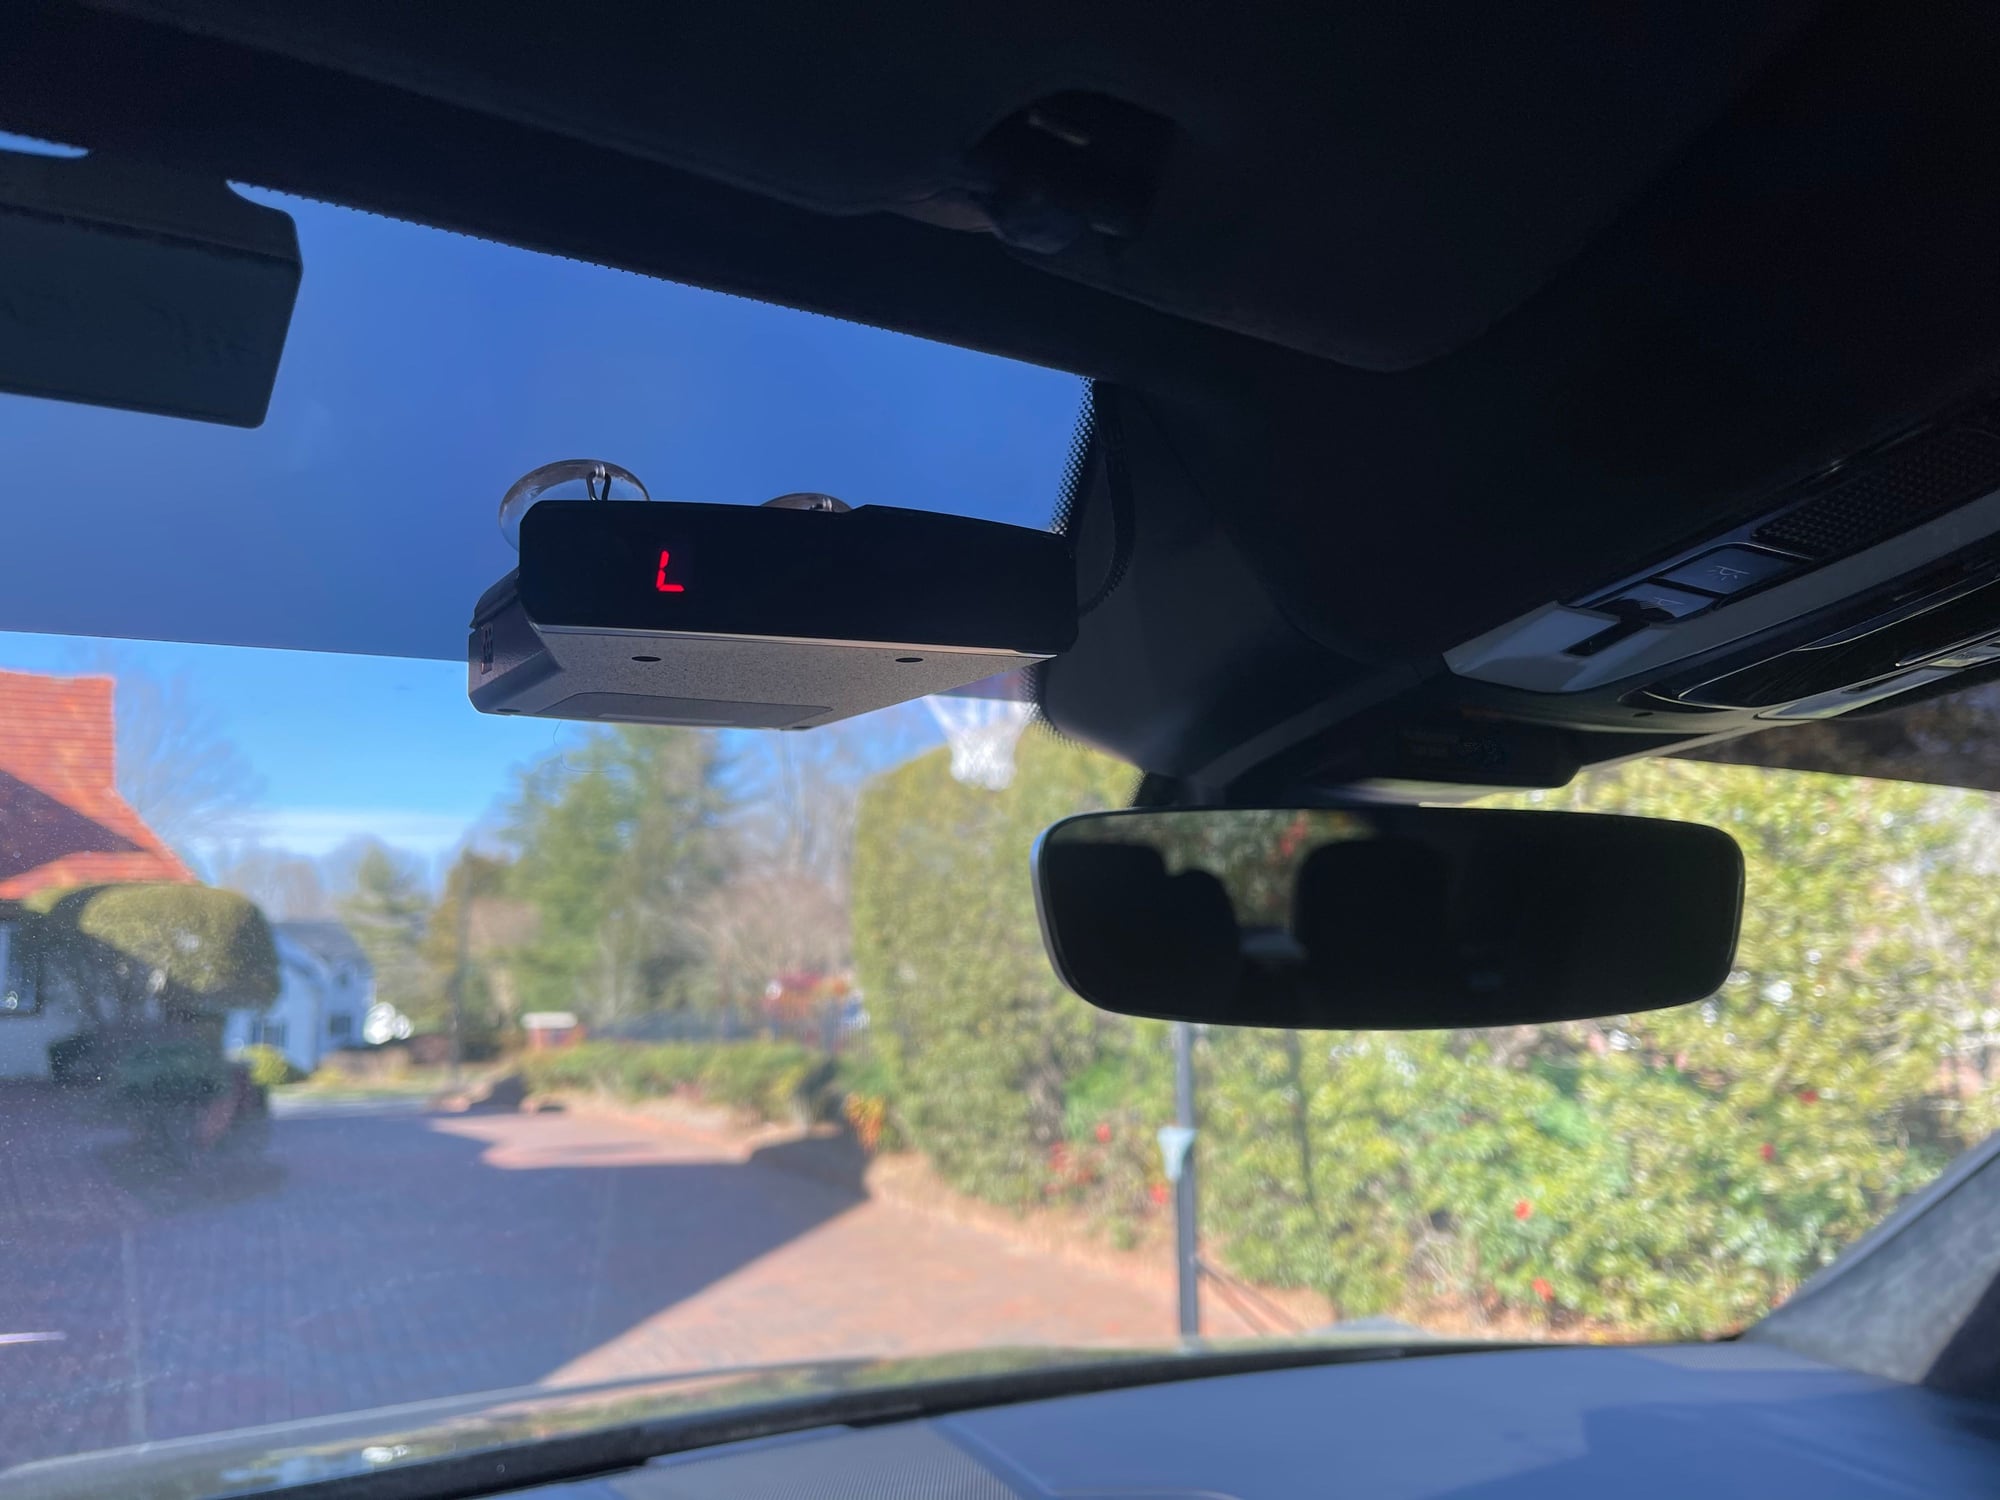
You must not have a heated windshield. My Cayenne does and I have to mount any RD as high as possible, immediately adjacent to either side the console housing. It's stealthy up there, but I also need to use a remote display (my phone). Even with the visor up, the V1 up (signal ahead) arrow is blocked. Visor down you can't see the RD at all, of course.
Last edited by David Mackintosh; 10-20-2020 at 11:18 PM.
The usual way to approach mirror tap is to find where the mirror is connected to the harness, and find a switched 12v there using multimeter. Just like A4EP did!
So I took the plunge and hard wired my V1 Gen 2 using a mirror tap this weekend overall it was fairly easy to do but I always get a little nervous as the force it take to remove some trim pieces in this car. The guides posted above in the thread didn't help that much except that tap black to brown wire and look for a blue wire. With that being said below are my observations and what worked for me:
1: You need a set of plastic trim removal tool
2: Get a mirror tap kit that has different tap sizes (I ended up using two different sizes). I used the Radar Mount brand from Amazon (PN#: 4005201V for the V1) There are a few of these for the V1, not all have different connection sizes. This was 1/2 the price of the other brand, thought I would give it a shot to save $20 and it worked.
3: You don't need to remove the dome light. Don't even try to do that via the video link in this thread, it won't come out of the clips, I felt too much force was being applied.
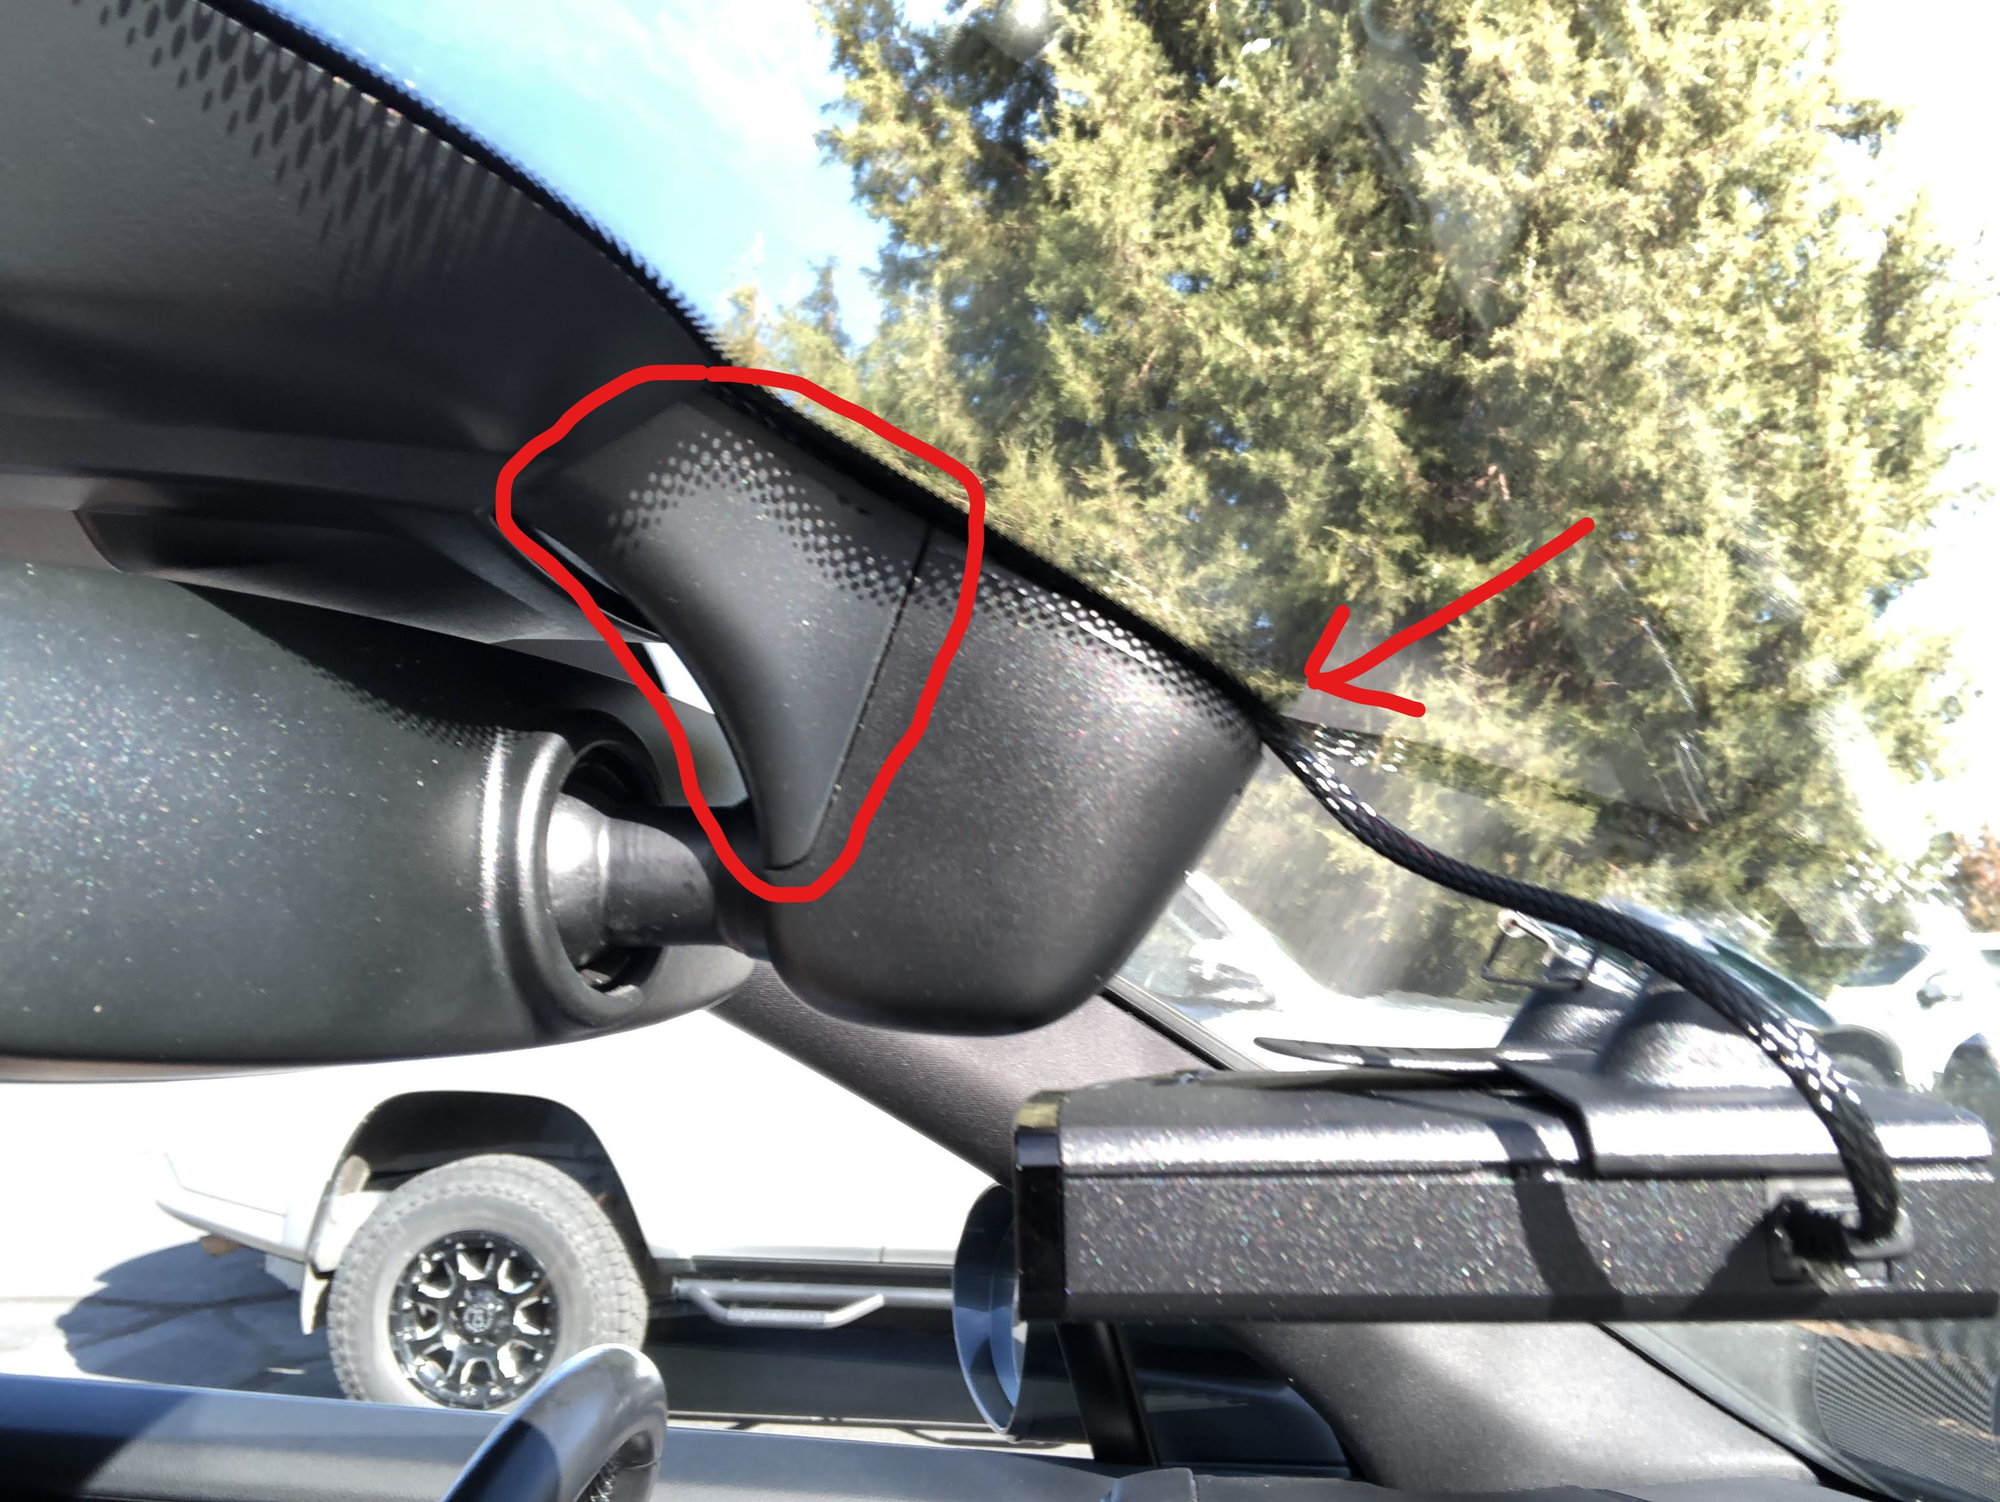
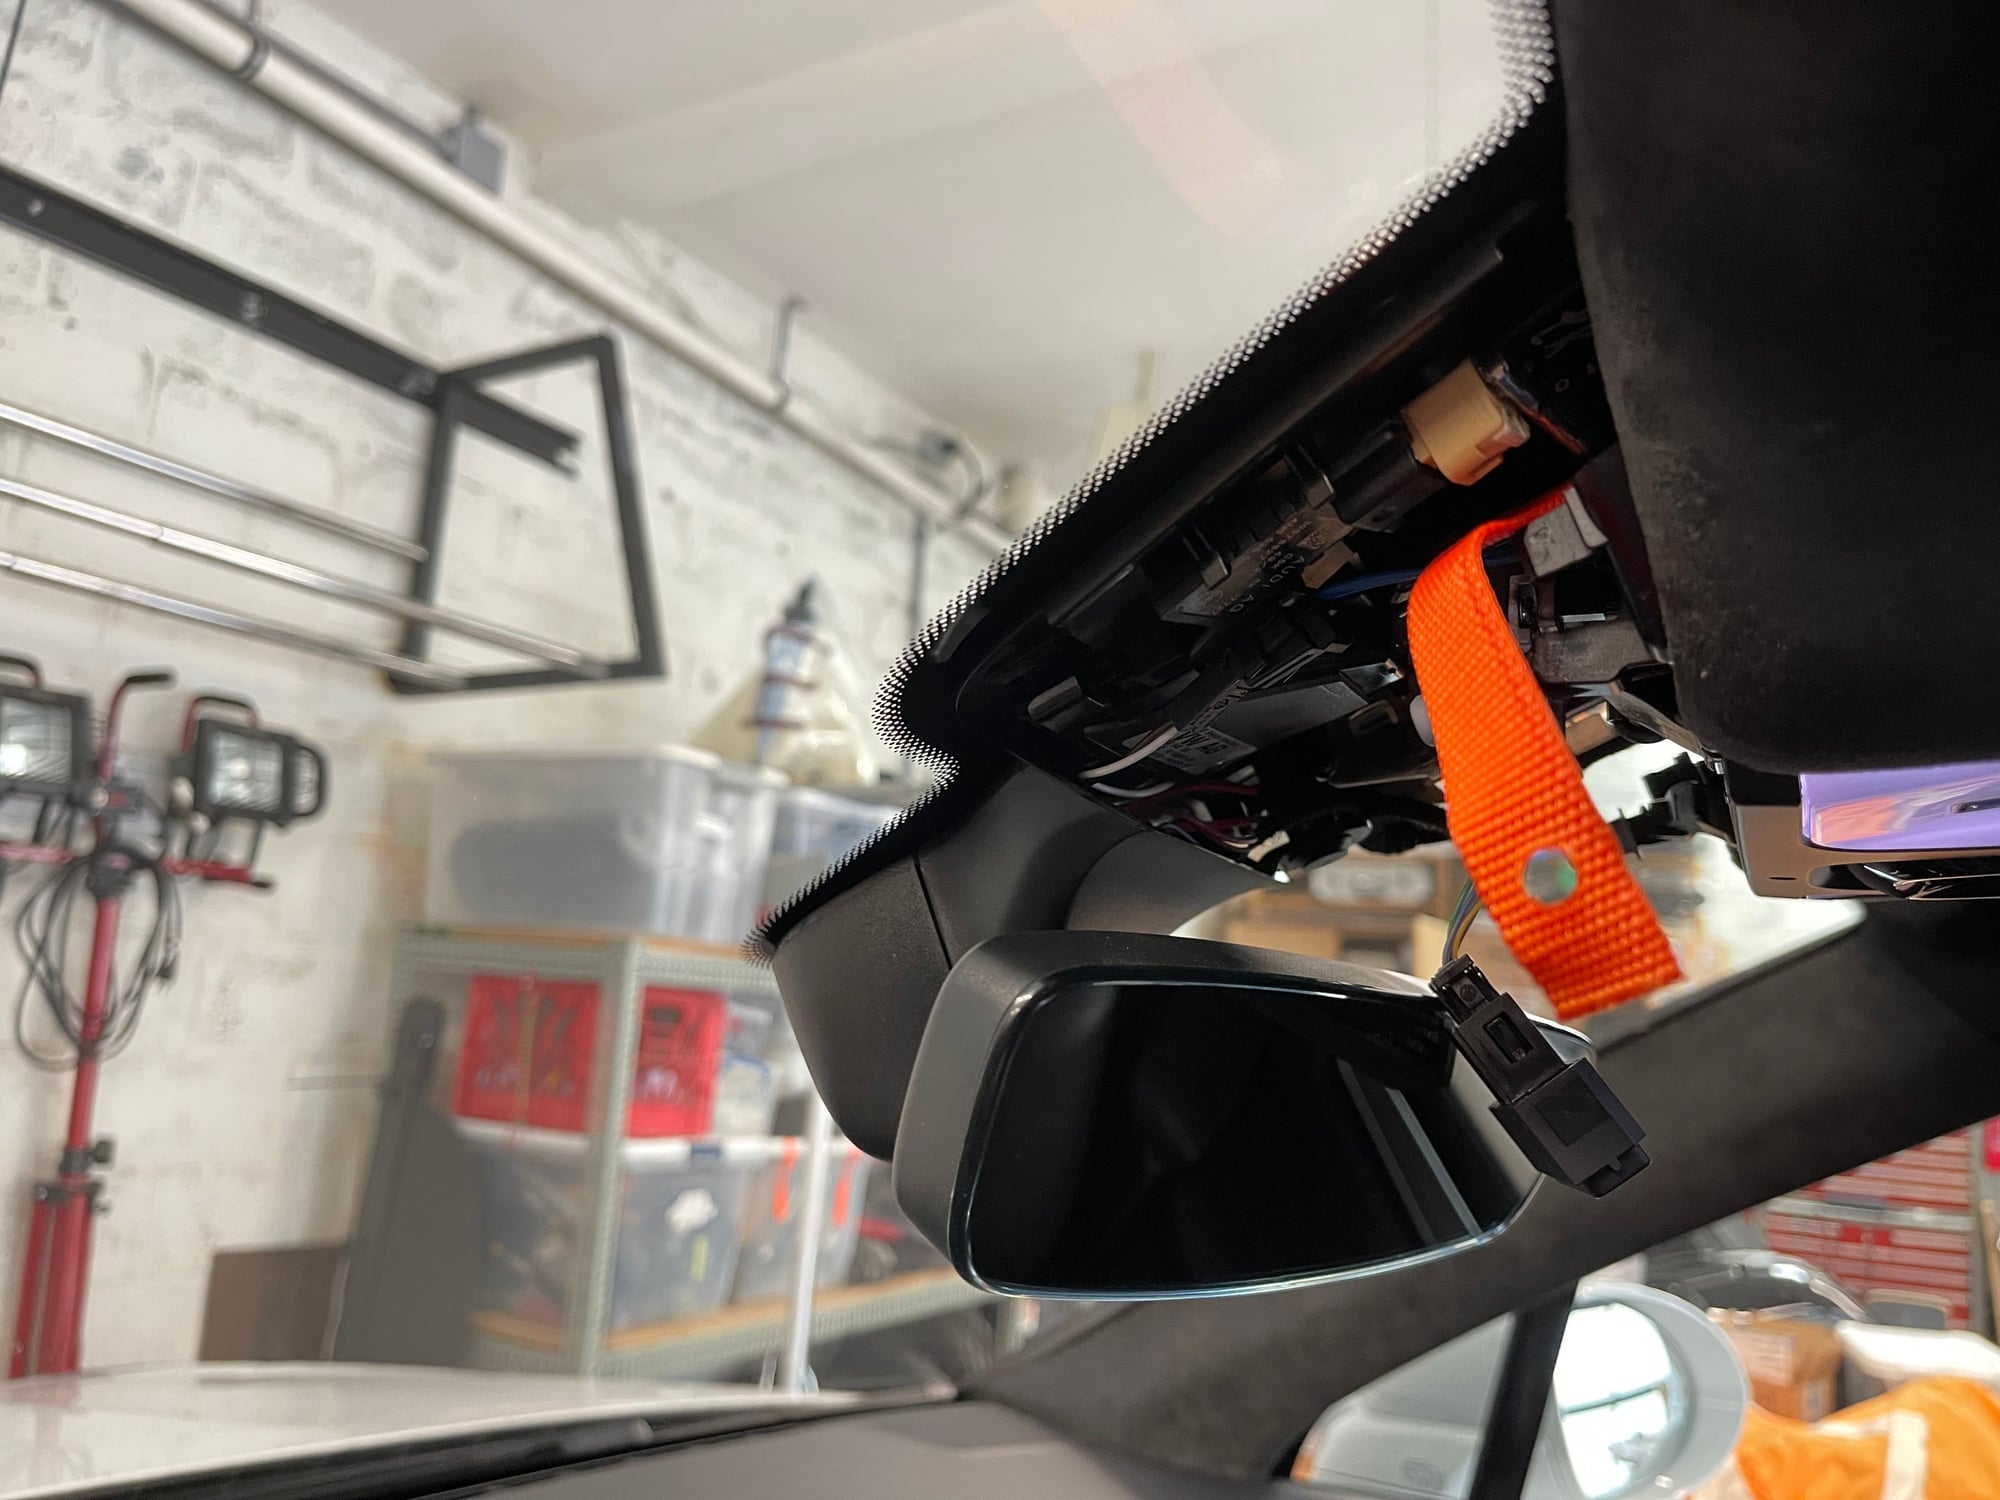
4: Start by removing the plastic trim right above the mirror, the one that houses the Passenger Airbag Light (see first pic below)
a: It took some force to remove. Just use a trim tool and work from the left side against the windshield over to the right. There are a lot of little bits that help keep it attached. You will have to slide it forward to the windshield to drop it down, at times I thought I broke it (maybe I actually did) and it hangs on by a red belt so it will just dangle once off.
b: You will need to unplug the Passenger Airbag Light connection to gain enough room. Just make sure you put that back in before you start the car otherwise it will through an airbag error that is easily rectified once you plug it back in and restart the car.
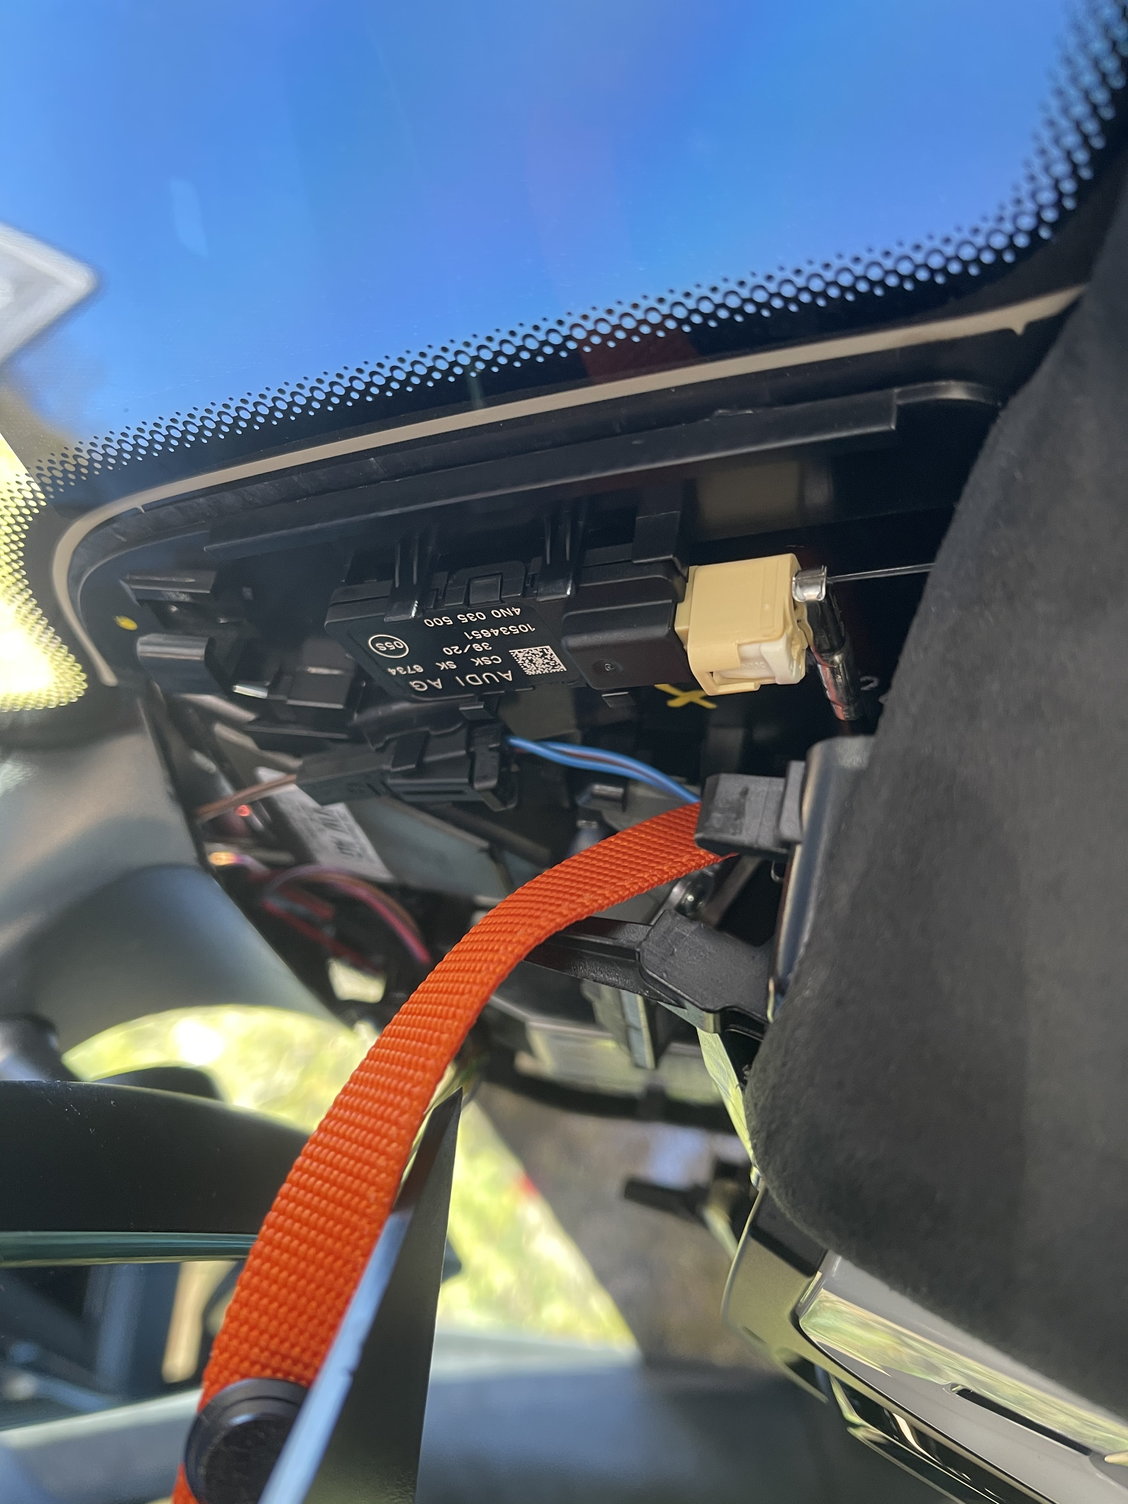
5: Remove the next piece of trim right behind the mirror (see second pic below).
a: This one is also a pain to remove. There is a rubber ring attachment that holds the right side onto the car inside the trim piece. I don't have a photo of it but it is attached a plastic piece and I couldn't pop the entire bit off so I had to stretch the rubber and just remove that.
b: I had a real hard time stretching this back on during reassembly, it started to tear so I stopped since the entire piece seemed very solid once it all snapped back together. I may order a new one but in 40 miles of driving it does not move or make a noise.
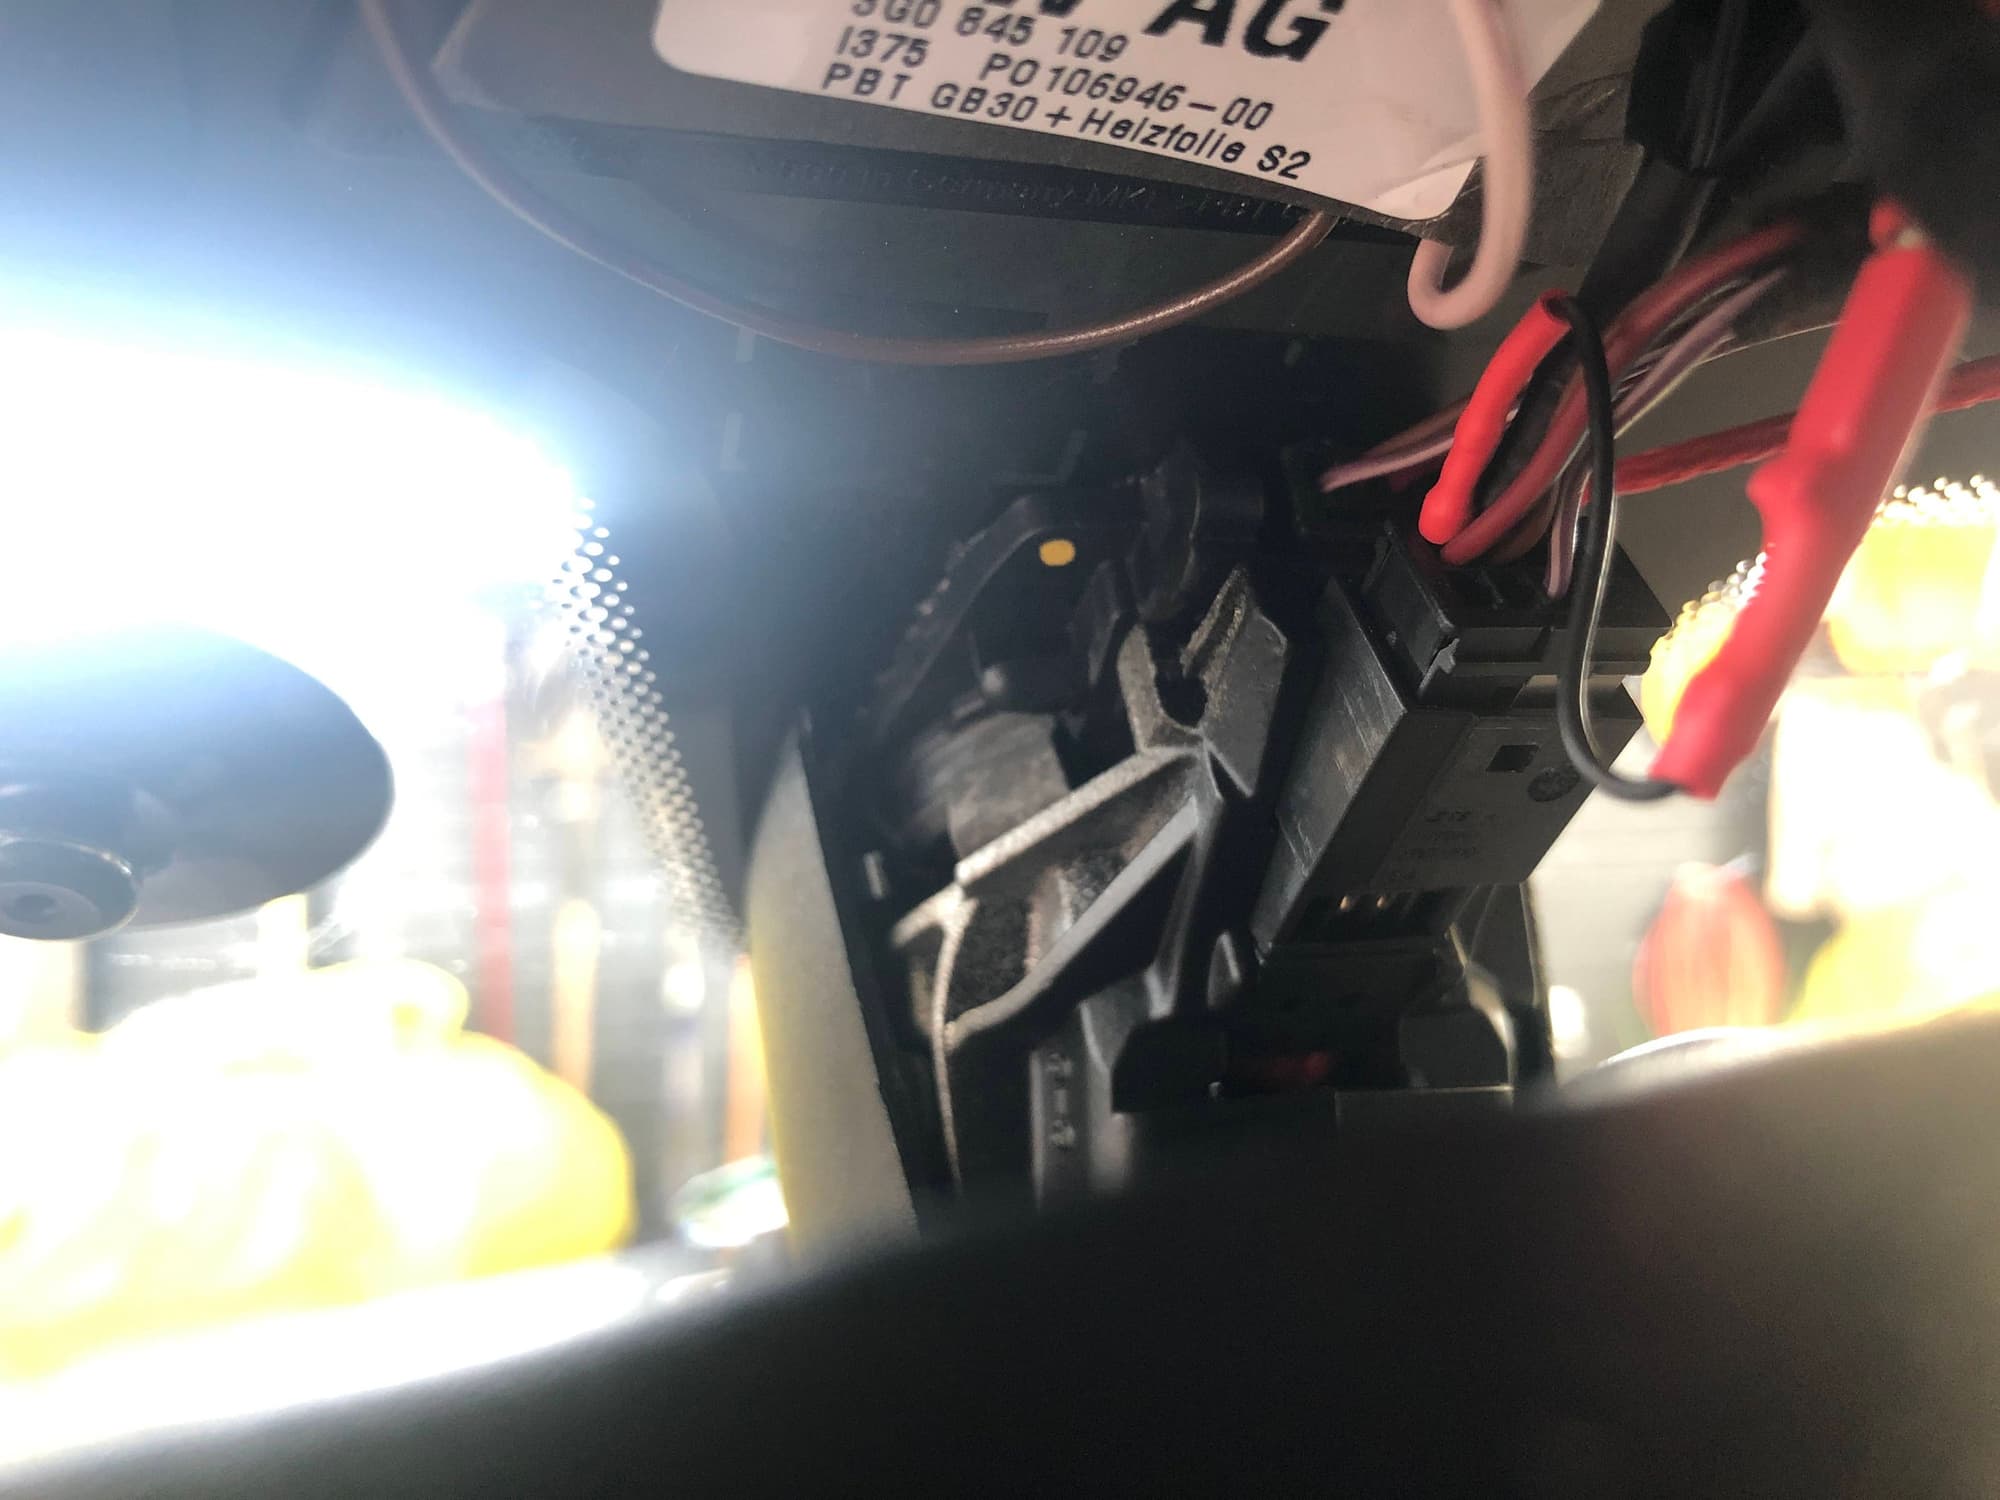
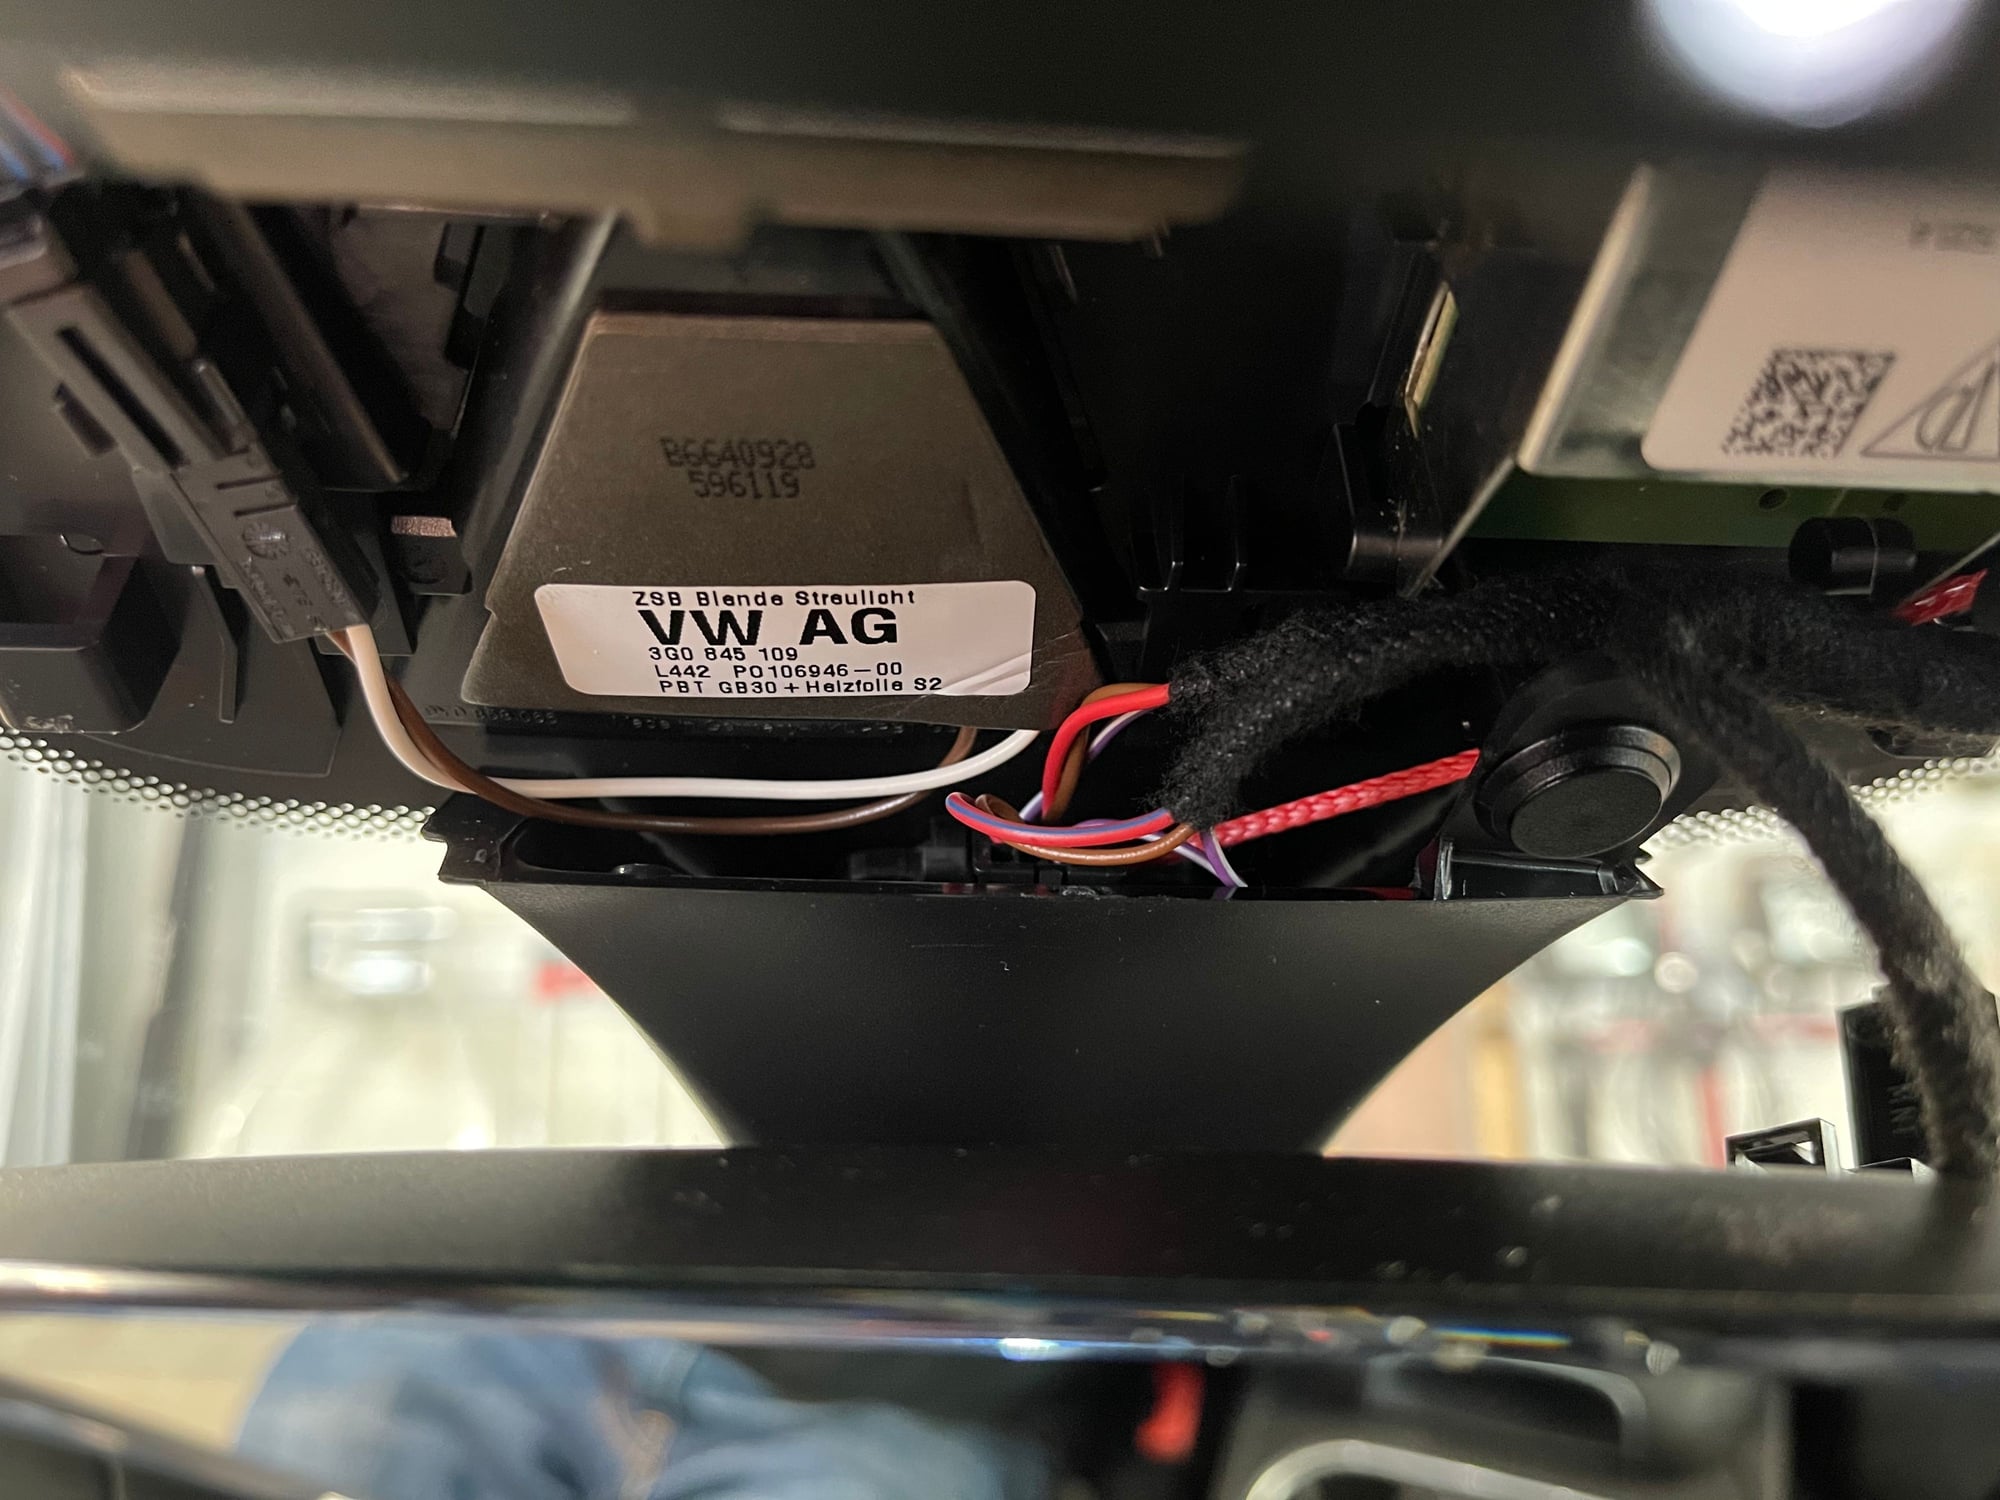
6: Once these pieces are off you will clearly see the connector smack dab in the middle with wires going up (see third pic)
a: I found it easiest to unplug the connector and work on it in front of the rearview mirror
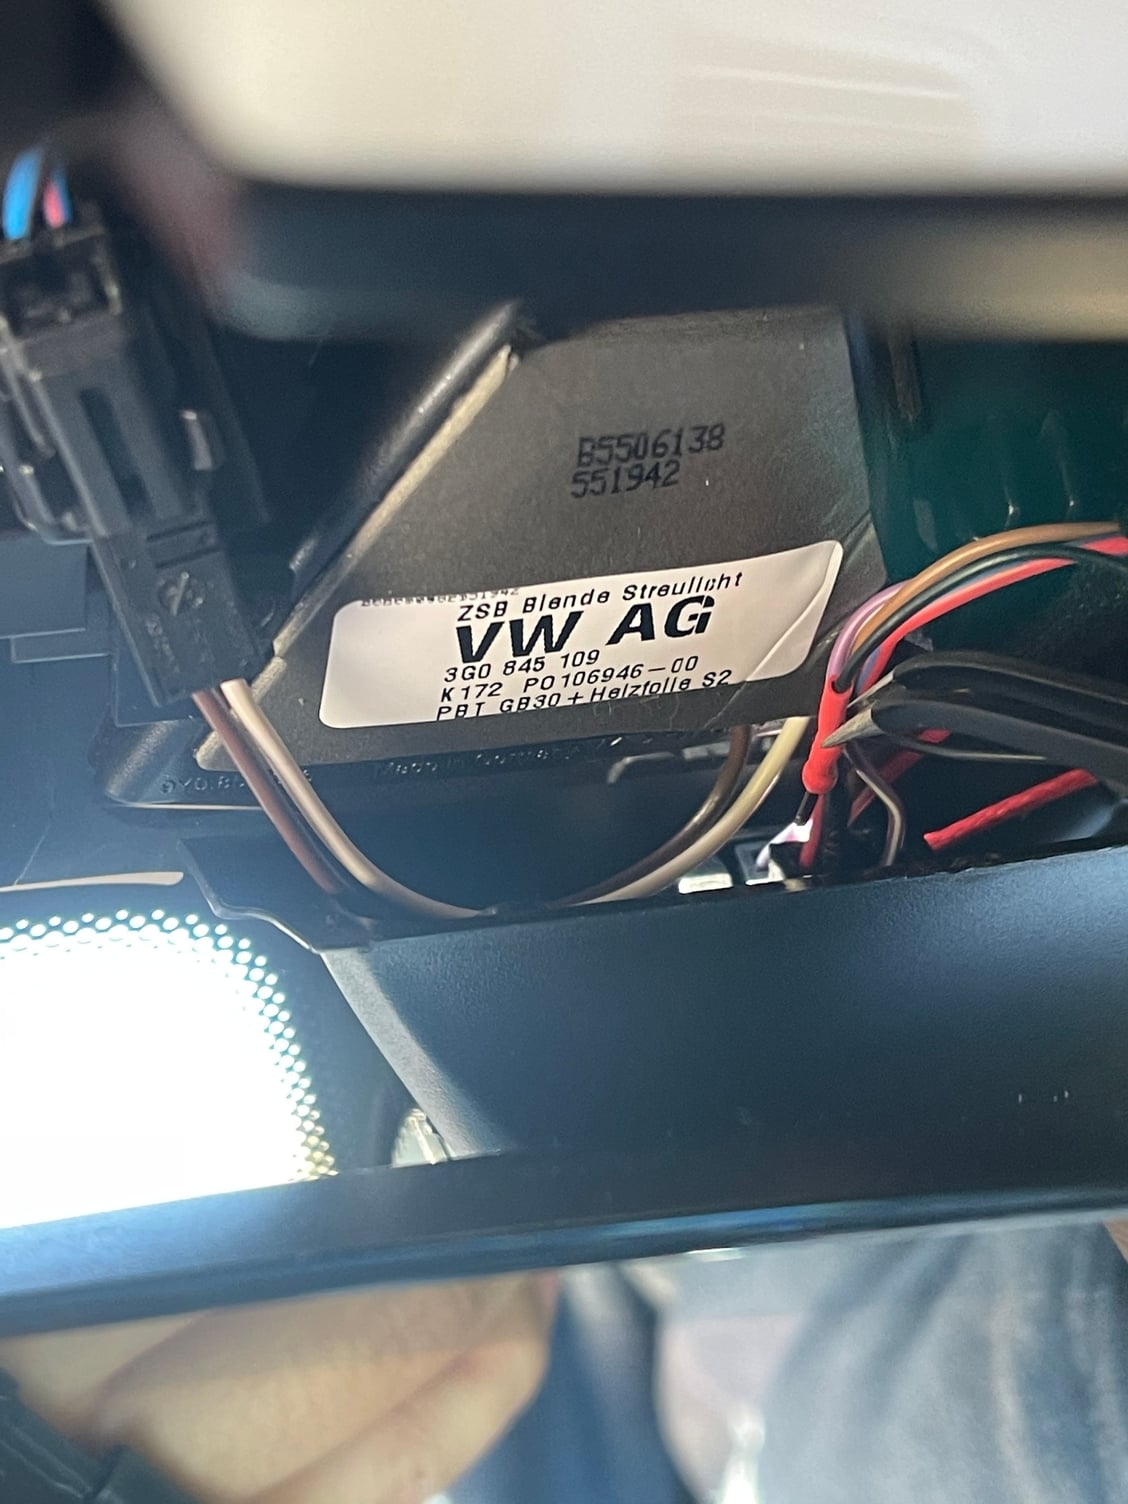
b: There is a BROWN wire, tap this with the black connector (see fourth pic below), I tapped into it with the thicker of the tap connections as the thinner one kept falling out. I also tapped it on the windshield side of the wire. (see fifth pic below)
c: There is a RED with BLUE STRIPE wire right next to the brown wire that takes the red connector (see fourth pic below). I used the thinner tap here as it would not take the larger tap I had, again tapped it on the windshield side of the wire. (see fifth pic below)
7: Slip the RJ cable into the bottom mirror trim piece that was not removed, there is a rubber bit between the plastic and the windshield so the cable fits perfectly at the bottom (see second pic below)
8: Reassemble in reverse order and you are good to go.
I hope this makes sense and is helpful to someone!
I can confirm that the below method works perfectly. I was able to tap my radar detector in no problem using this guide and the suggested tap locations. I used the blendmount mirrortap product for my 2019 Cayenne Turbo
IMPORTANT: They sell a "pre wired" mirrortap product for the Cayenne. It has tap prongs that are TOO LARGE and will NOT FIT in the mirror wiring connector! Do not buy this product. What you need is their "Universal" mirrortap product, which contains a kit of many different sizes of prongs. I found I needed a small prong for the red wire and a small-medium prong for the brown wire. You will need to experiment a bit to see which fit. Do no attempt to force these in as they may break when trying to take them out for fitment or to apply the heat shrink tubing.
Thank you A4EP!!!! . I also followed your instructions with very minor changes...
I had a V1 gen 1 hardwired in my 991 and upgraded to the gen 2... and decided to also hardwire my cayenne 9Y0
I took off the larger plastic piece just like you instructed with the appropriate tools. however I didn�t take off the second smaller piece...
I was able to see the location of where the wires would go... I gently pulled the native wires caudally (towards the floor of the car)- and with a pair of slanted tweezers - I was able to slide the wiretaps along the dorsal aspects of each wire...
I tested the detector prior closing up... and confirmed..took about 20 mins to install.
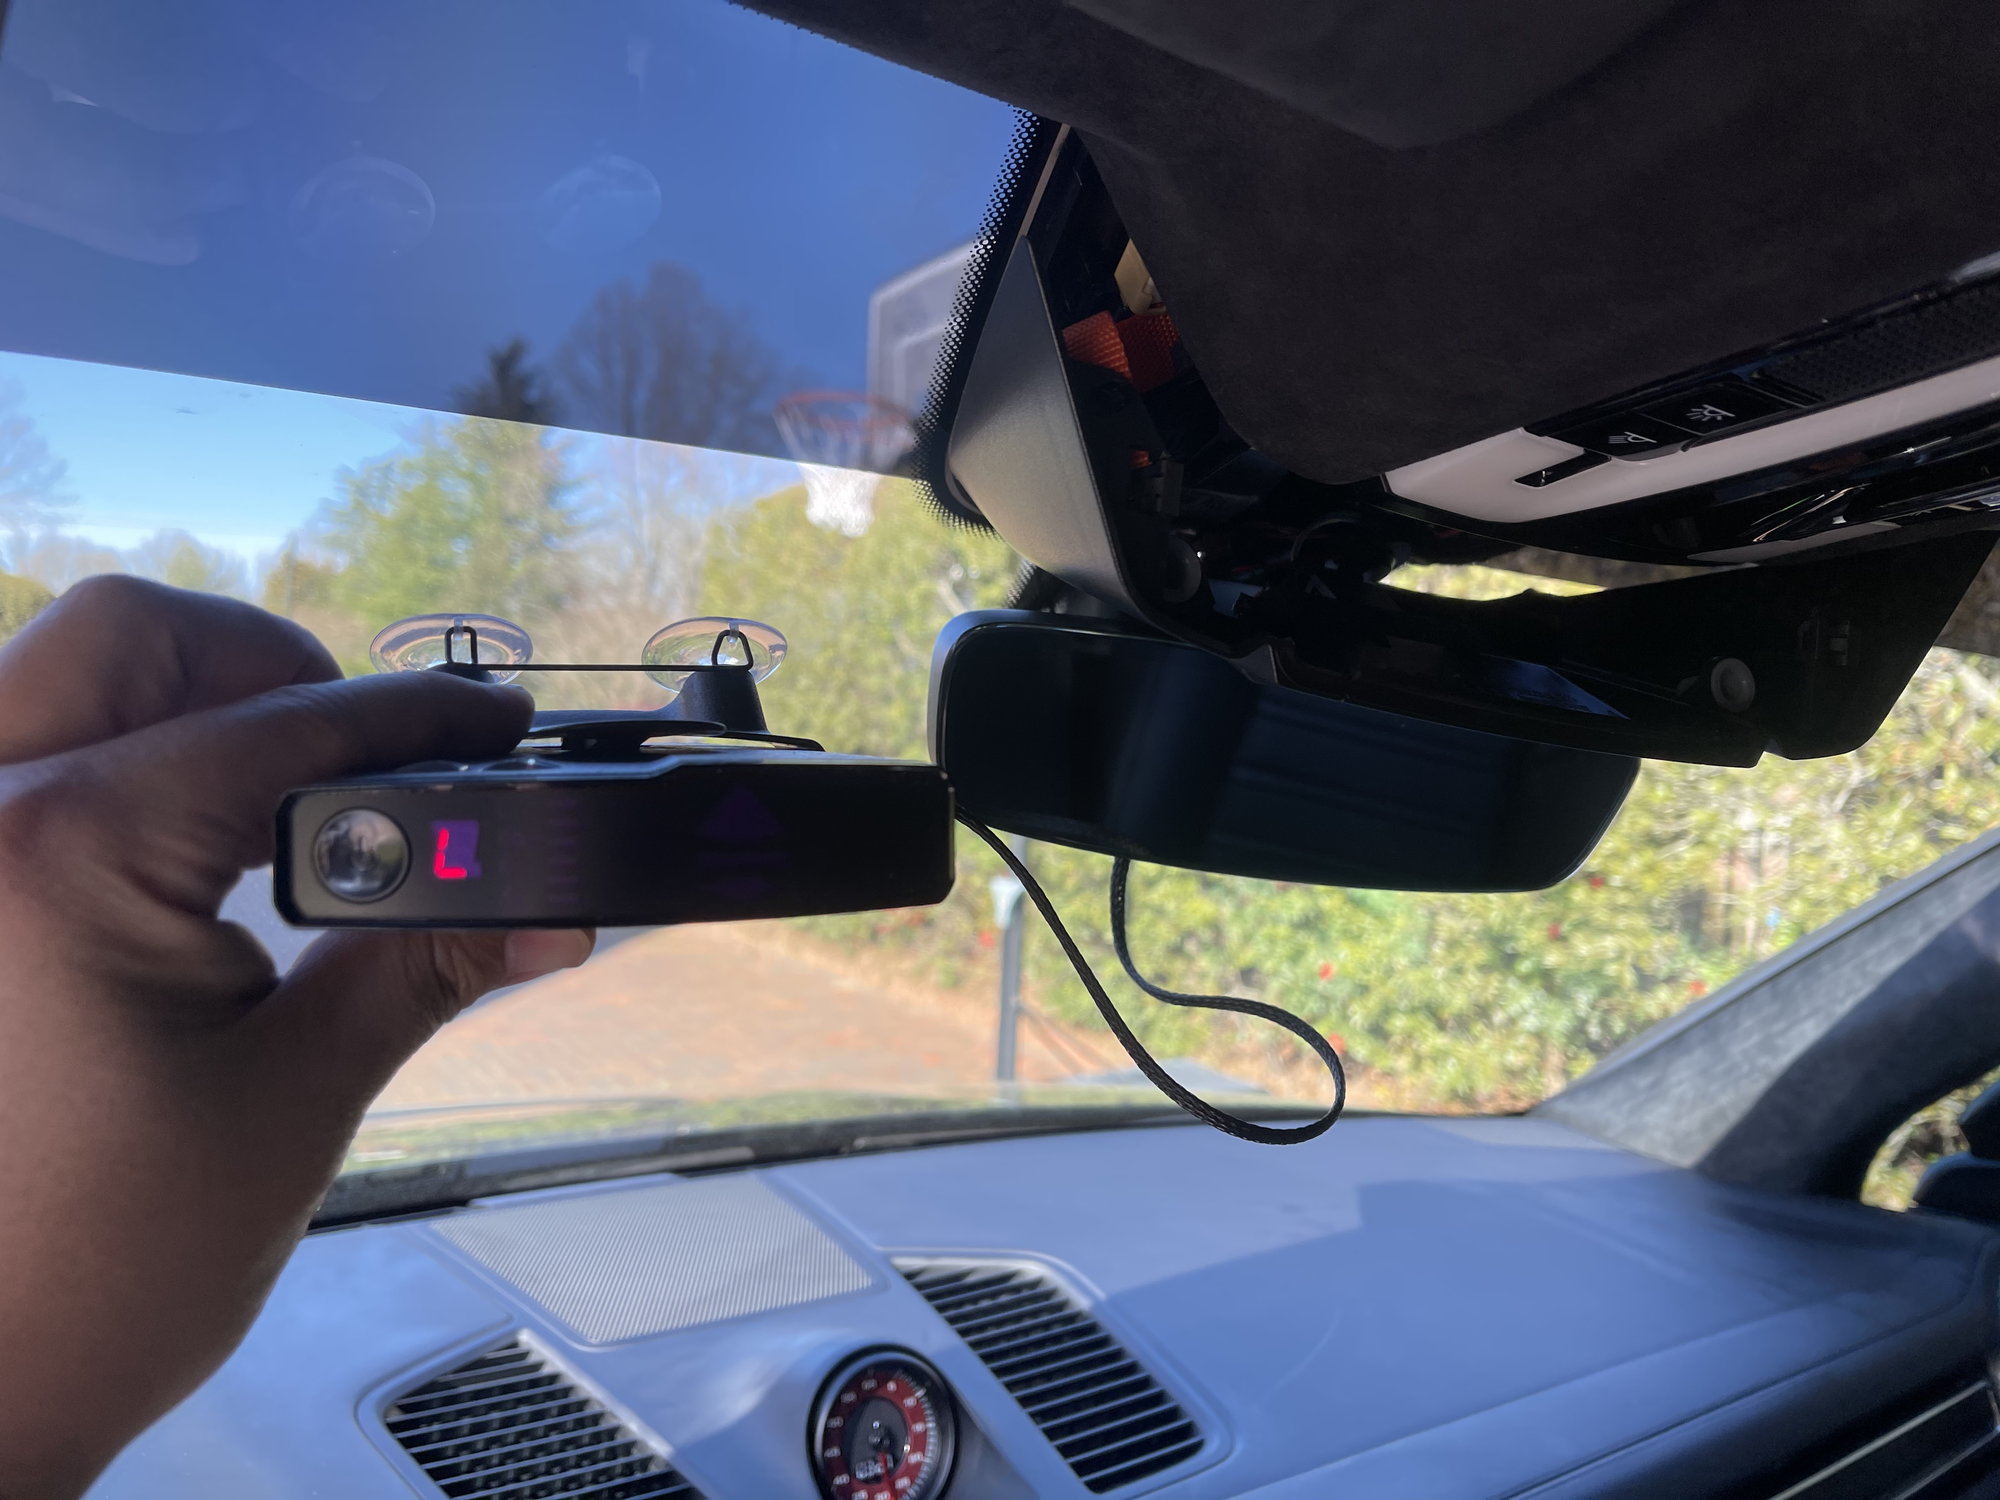
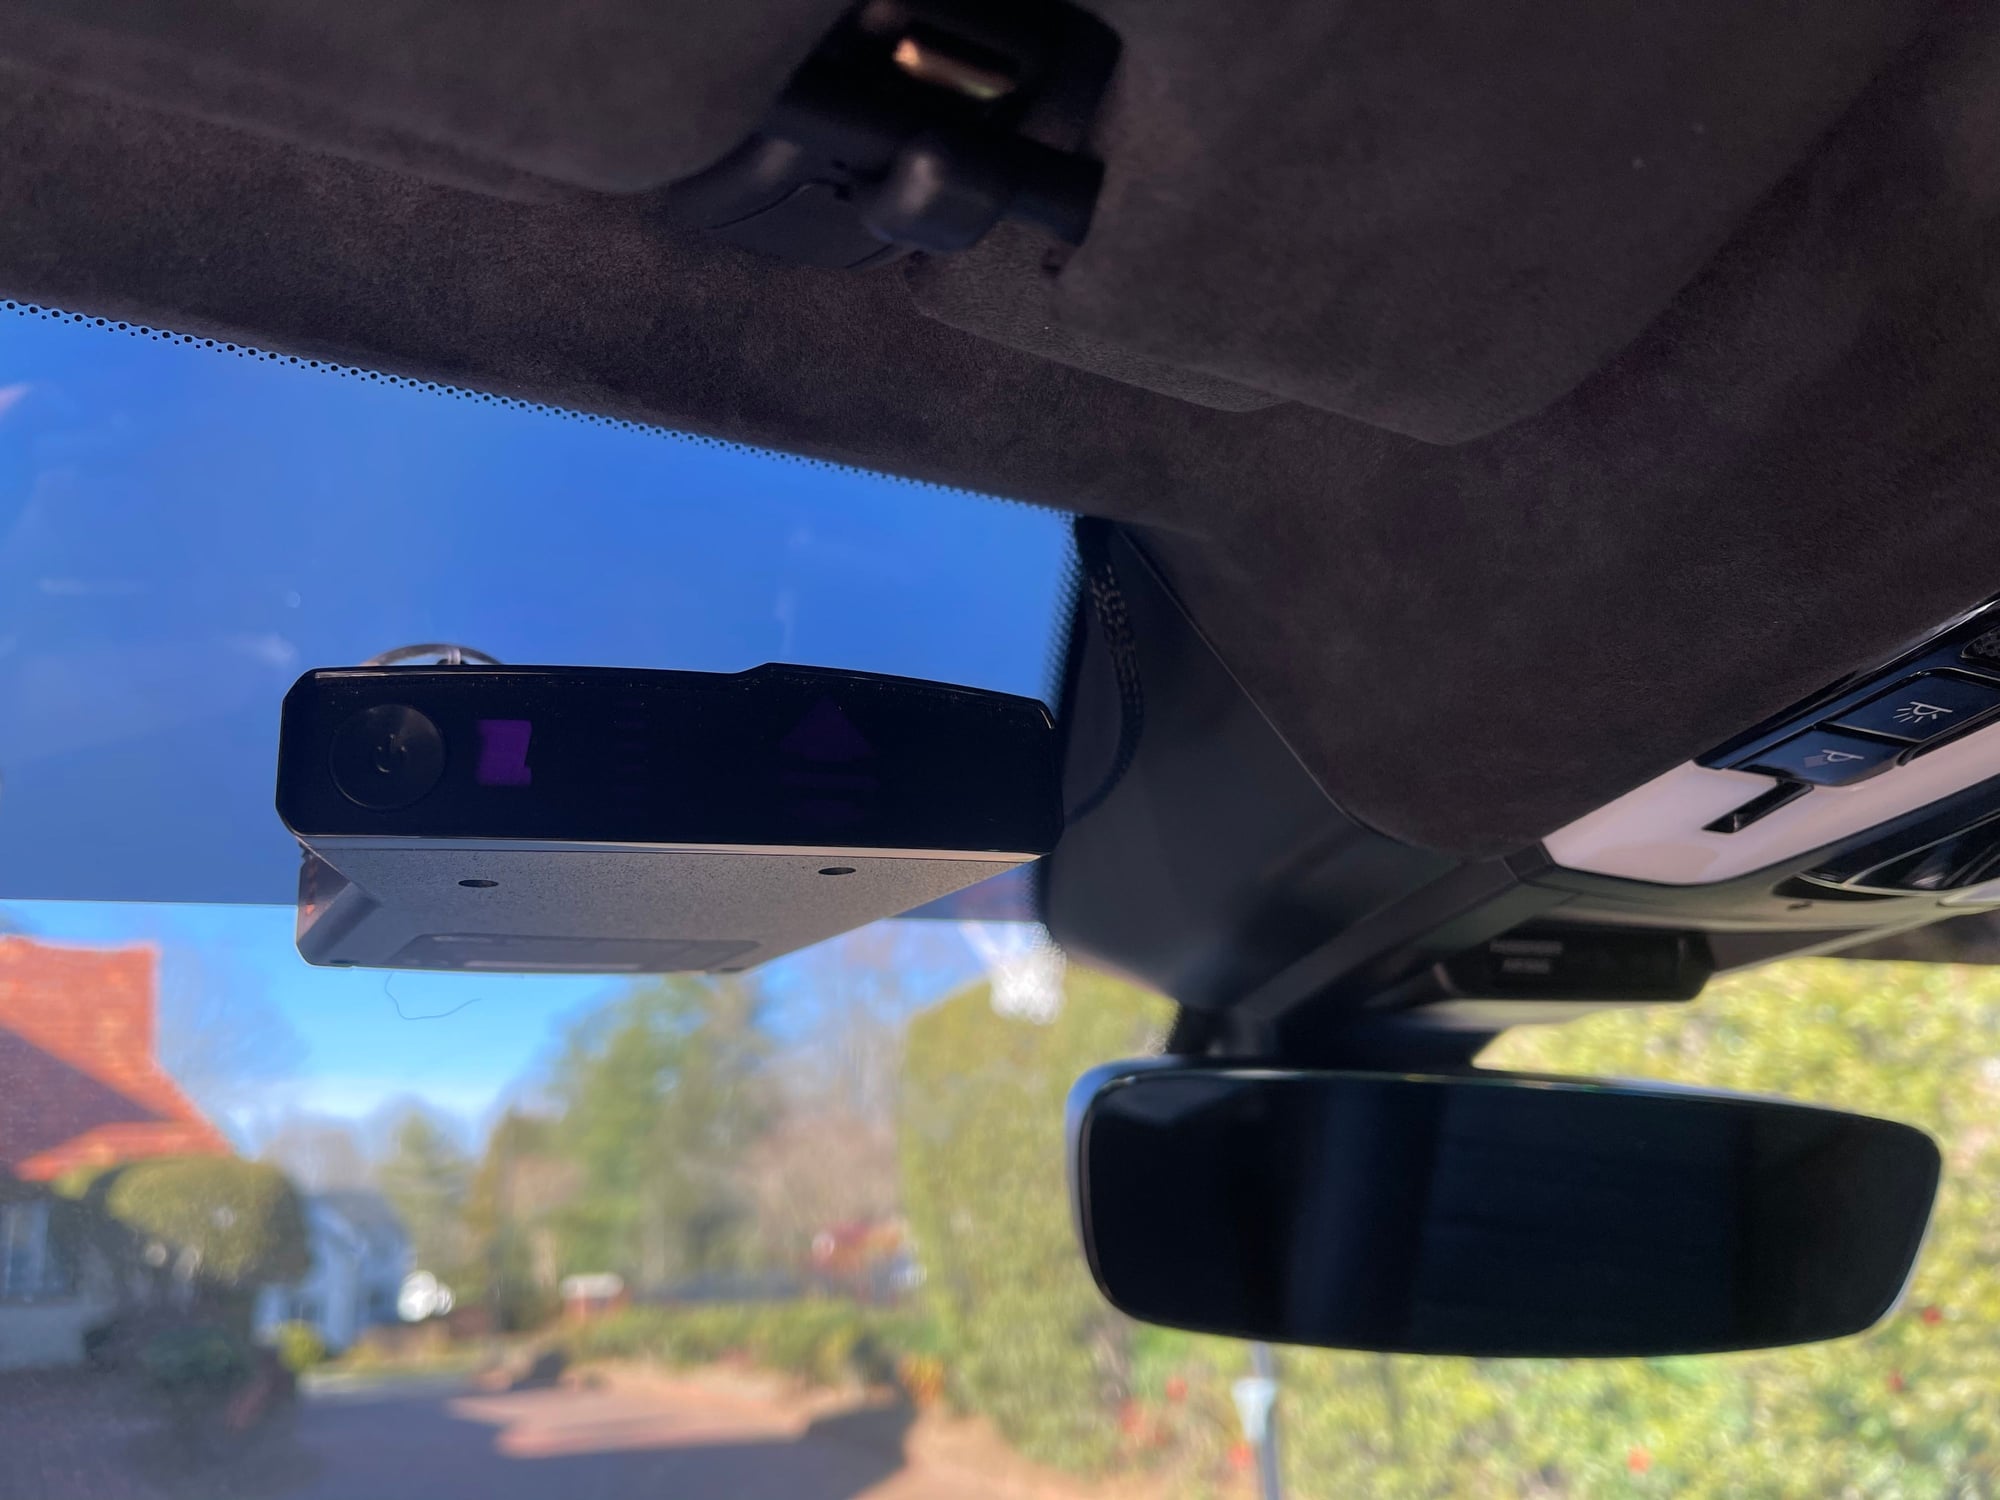
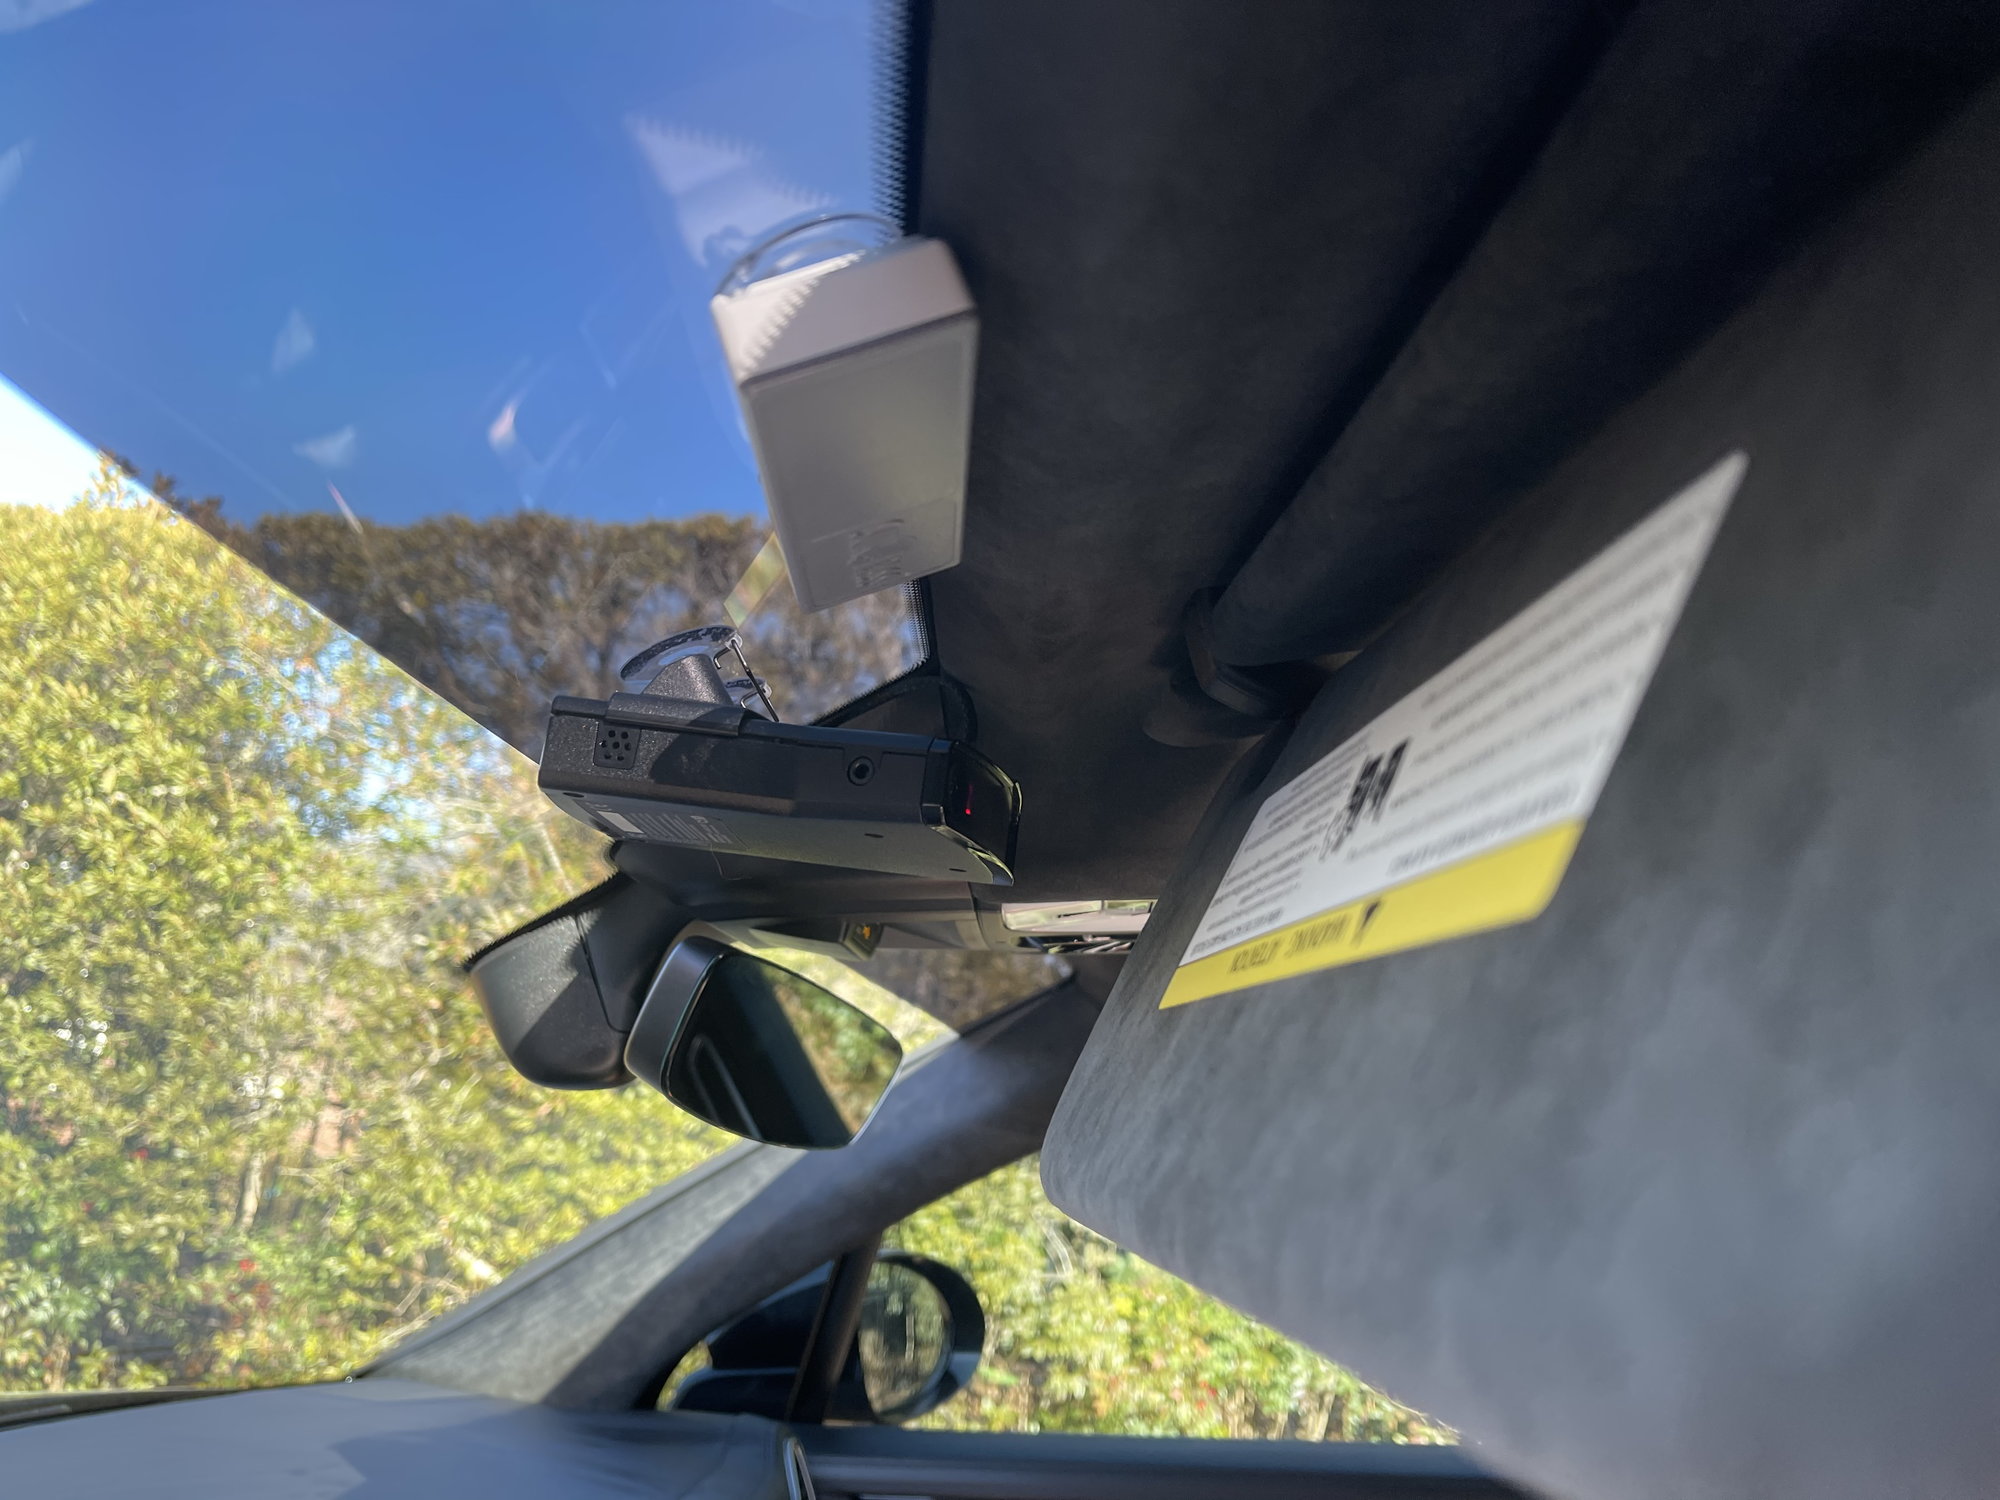
I don�t mount mine on the mirror, cause it seems too low and in the way.... I keep mine on suction (switch between cars) and up behind alittle tint.... might sacrifice alittle performance... but i like the stealthy look...
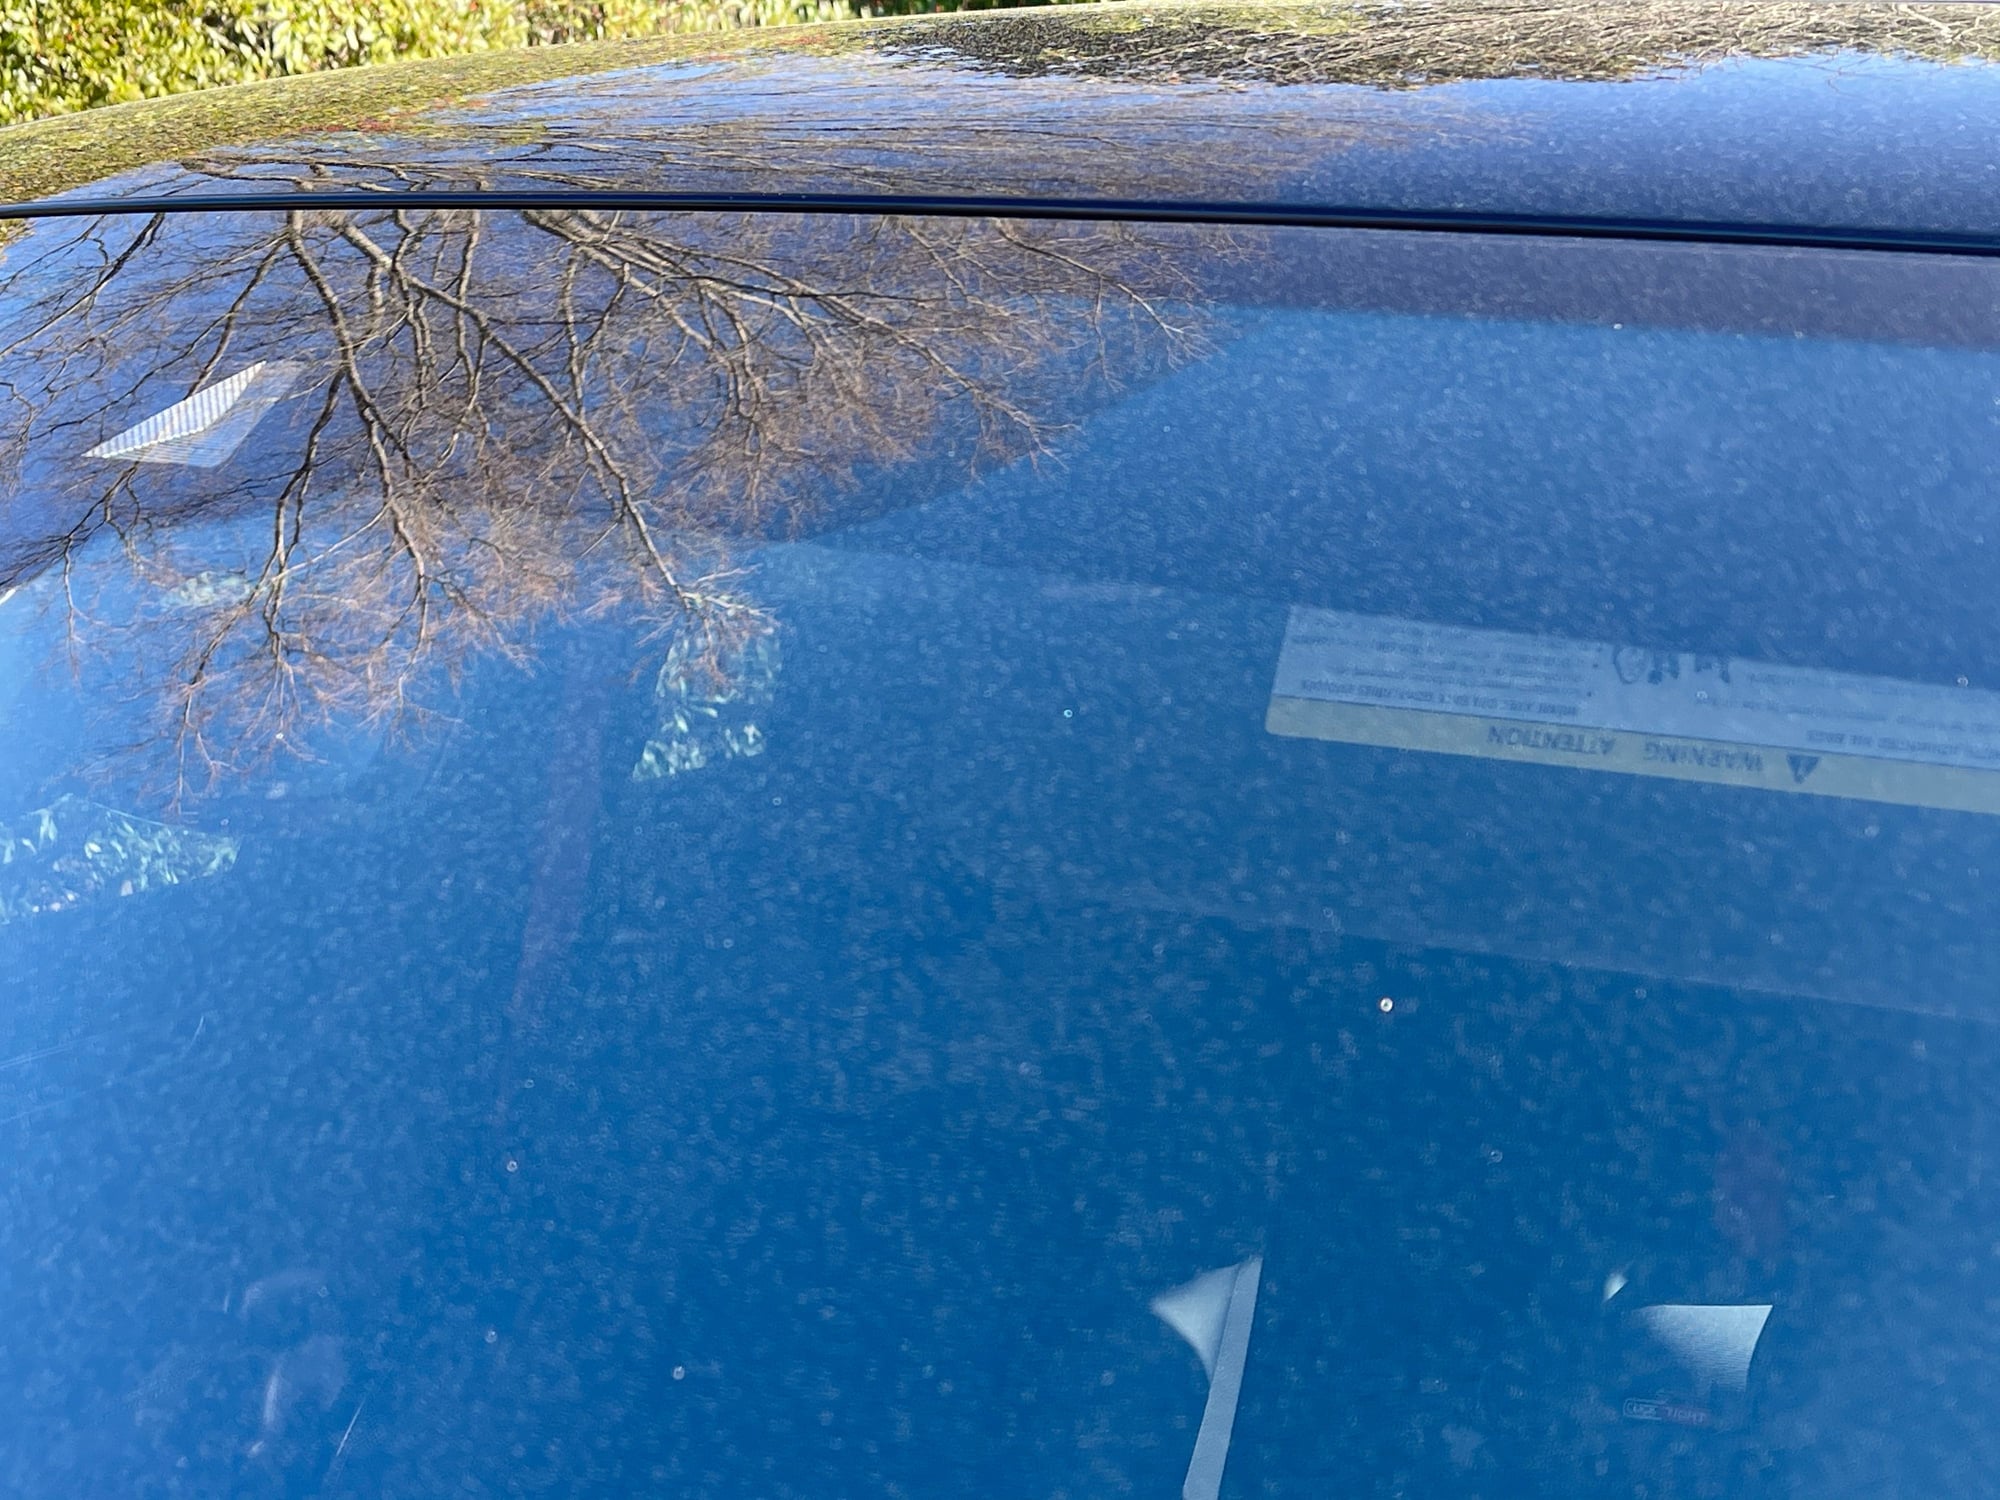
ps... sorry about the dirty car... it�s actually pollen... everything is blooming.... Needing steady hands Needed steady hands Testing with ignition on Confirmed with ignition off Will adjust angle... testing the sunvisor... which I rarely use cause of my tint Pretty stealthy... and tons of pollen
Well I've tried pulling the piece off and the front is find but the back near the light I can't figure out where to get it off. Afraid I'm going to break it. Any other ideas?
Thanks for the tips! I�ve done this many times, on many cars, and this was the easiest by far. Took maybe 15 minutes. Just popped off the cover described above (helpful to have a good array of trim removal tools). Start at the windshield and pry down, then push everything forward. I just pulled out the passenger airbag indicator and removed the pop rivet so that I could completely remove the cover. Used long pickups (tweezers) to position the taps into the respective slots (used the smallest taps). Badabing. Thanks again.
Great thread, appreciate the detailed instructions @A4EP@bhudda@ninjabones 👍. Going to give it a whirl this afternoon.
One thing I was curious about is running both a RD and dashcam (like a BlackVue) off the mirror tap. Anyone tried that? Not sure if that might cause issues though with power draw.
Thank you A4EP for posting these directions! On that second trim piece (in your step 5), that rubber ring on the right side of the trim is held on with a pop rivet. Just pull out the pin, and the rivet will drop out. No stretching of the rubber required. This looks to be the same type of pop rivet holding the orange strap to the first trim piece.
Originally Posted by A4EP
5: Remove the next piece of trim right behind the mirror (see second pic below).
a: This one is also a pain to remove. There is a rubber ring attachment that holds the right side onto the car inside the trim piece. I don't have a photo of it but it is attached a plastic piece and I couldn't pop the entire bit off so I had to stretch the rubber and just remove that.
b: I had a real hard time stretching this back on during reassembly, it started to tear so I stopped since the entire piece seemed very solid once it all snapped back together. I may order a new one but in 40 miles of driving it does not move or make a noise.
Great thread, appreciate the detailed instructions @A4EP@bhudda@ninjabones 👍. Going to give it a whirl this afternoon.
One thing I was curious about is running both a RD and dashcam (like a BlackVue) off the mirror tap. Anyone tried that? Not sure if that might cause issues though with power draw.
Did you ever power them both off of the mirror? I would like to install both, and i am wondering if it worked. Thanks!


 10-20-2020, 11:15 PM