When you click on links to various merchants on this site and make a purchase, this can result in this site earning a commission. Affiliate programs and affiliations include, but are not limited to, the eBay Partner Network.
There's a wrong way to do it, which easily kills the o-ring... so have a couple spares.
I don't think I've ever quoted myself, but I thought it would be helpful and possibly to save you the headache of a repeat rebuild with further info: the wrong way is to use the shock nut to seat the o-ring into the top mount. The right way is to fully seat the top mount evenly over the o-ring - get the feel for when it gently gets into place, then install the top shock nut and tighten it down without knocking loose the top mount. Sounds trivial, but due to its design, you can't check it to see if it's pinched, and it's easy to knock loose when reassembling if it's not held together.
Garrett, THANKS to you and all the other contributors to this thread. Saved me a lot of resources and frustration.
Time to pay it forward with my lessons learned and some pics:
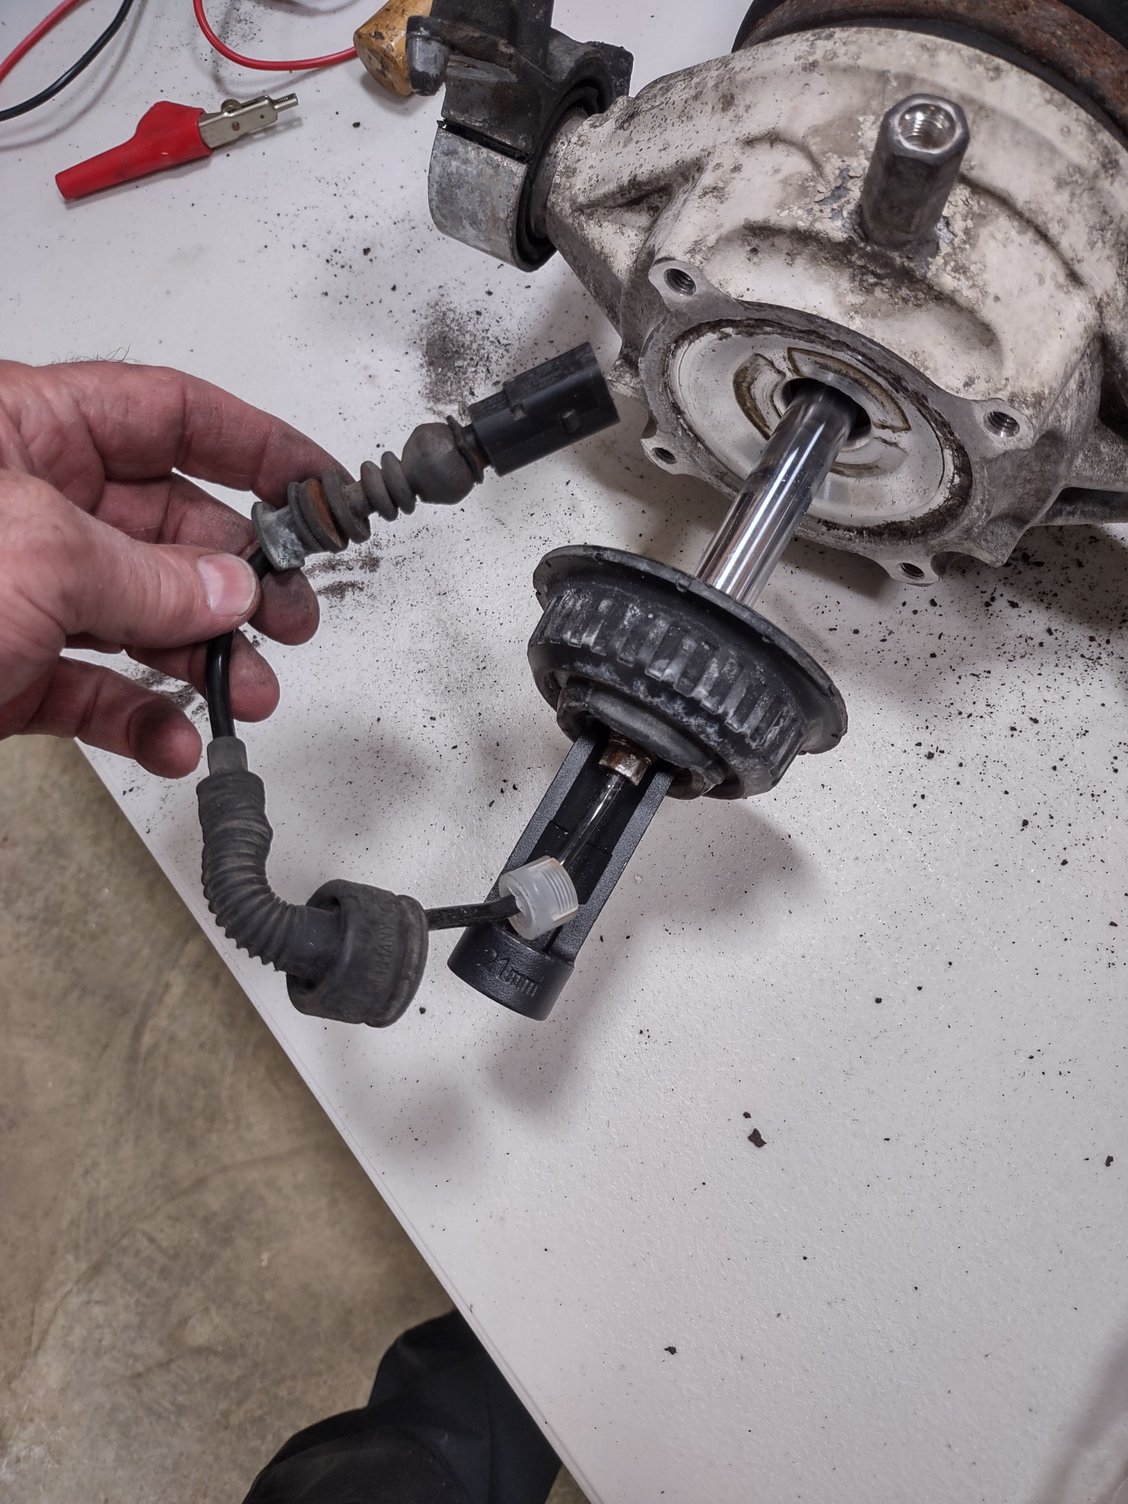
- I still have not figured out how to release the pins on the VW 1J0973802 connector for the shock. A cut a splice job was executed. I have a decent set of de-pin tools but it looks like this connector needs an even smaller profile than what I have. So instead of breaking a functional connector, I have ordered a pair of connectors from alien-express and will figure it out. It tasks me.
- Porsche shop manual recommends wrapping the threaded end of the shock with some tape before slipping the new o-ring on. Excellent idea
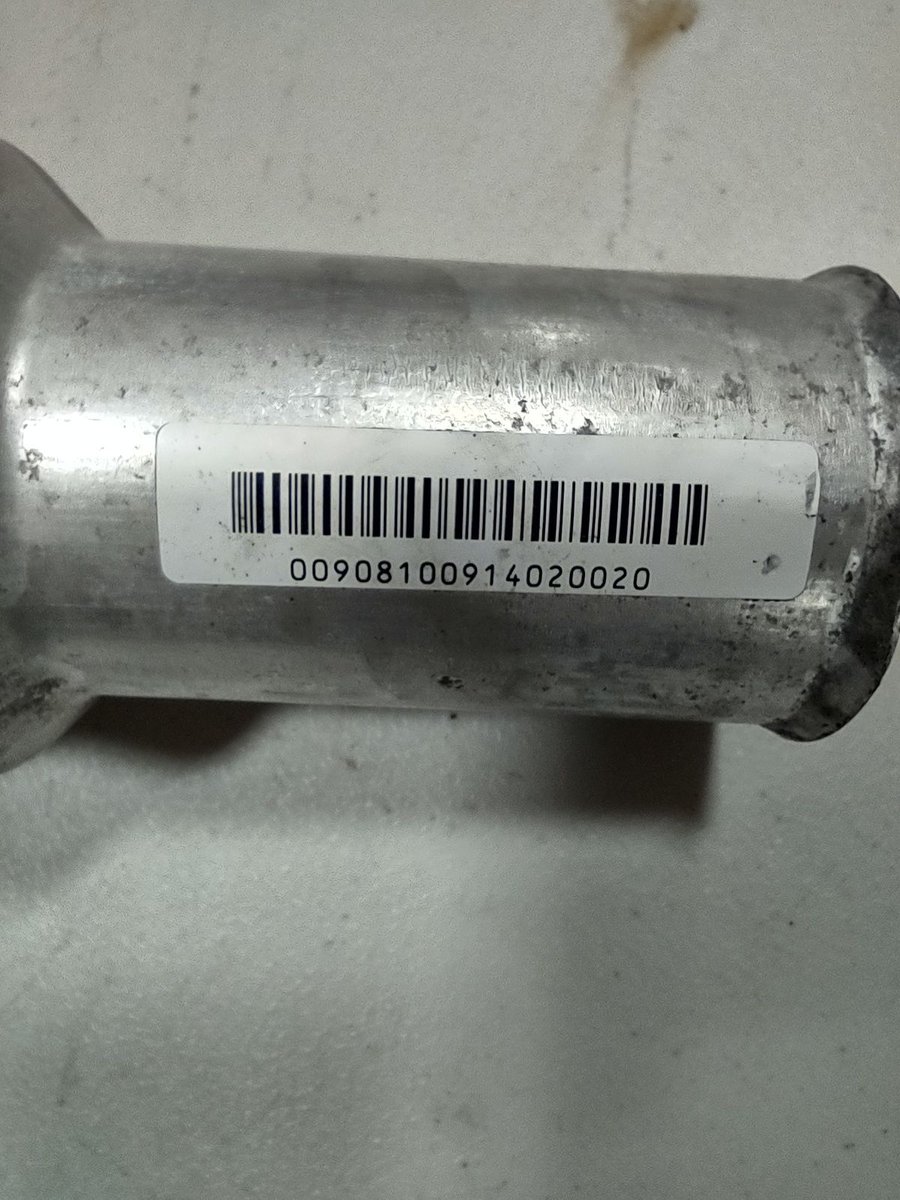
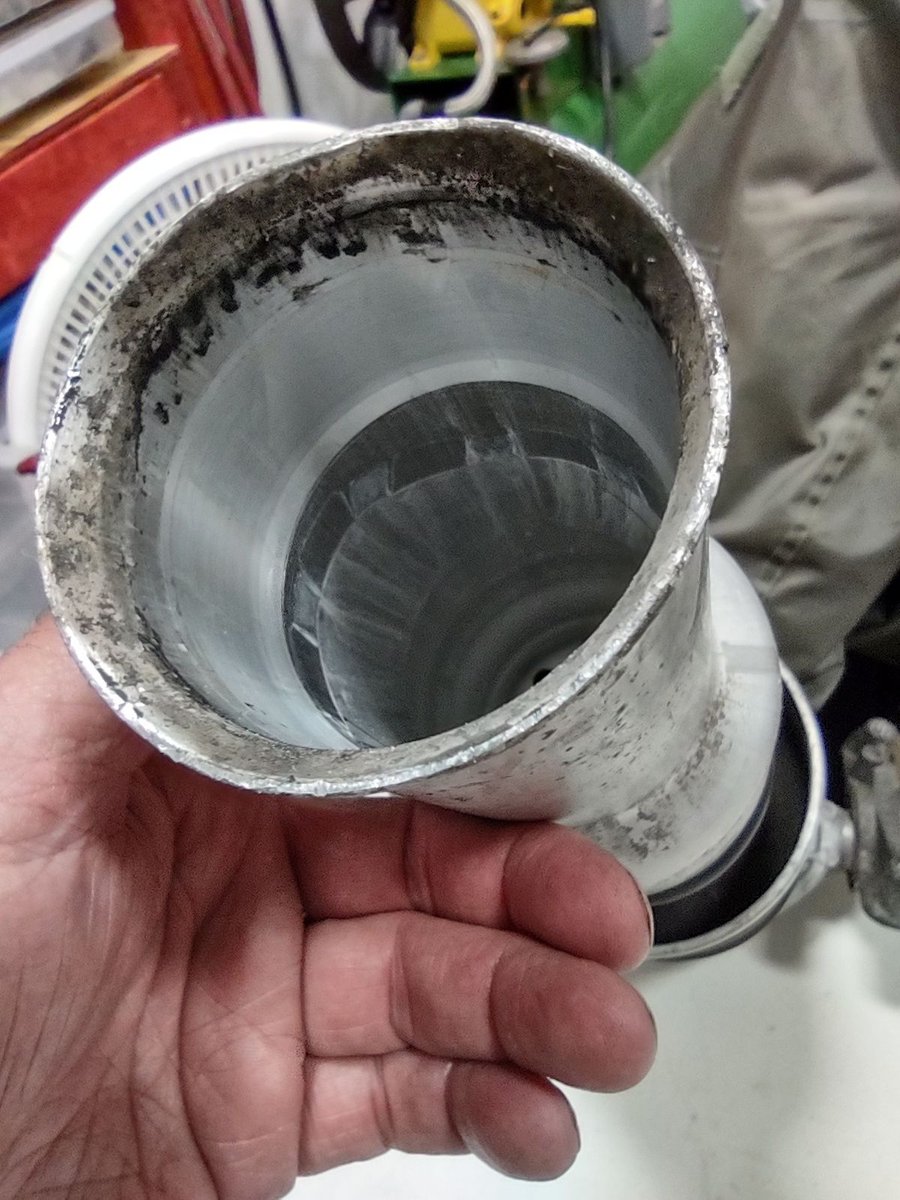
- The right side assembly that sprung an air leak had some corrosion underneath the larger rubber seal.
- I did one side at a time. Needed the learning curve before I progressed to the other side.
- I felt that I could have completely removed all four upper mount bolts with no concern about the air spring causing any problems once on the lift.
- once on the lift, after you have removed the air line and electrical connector, unscrew the valve a bit and let it bleed its air off. unbolt the shock and give it a few strikes at the mount with a dead blow hammer and here it comes.
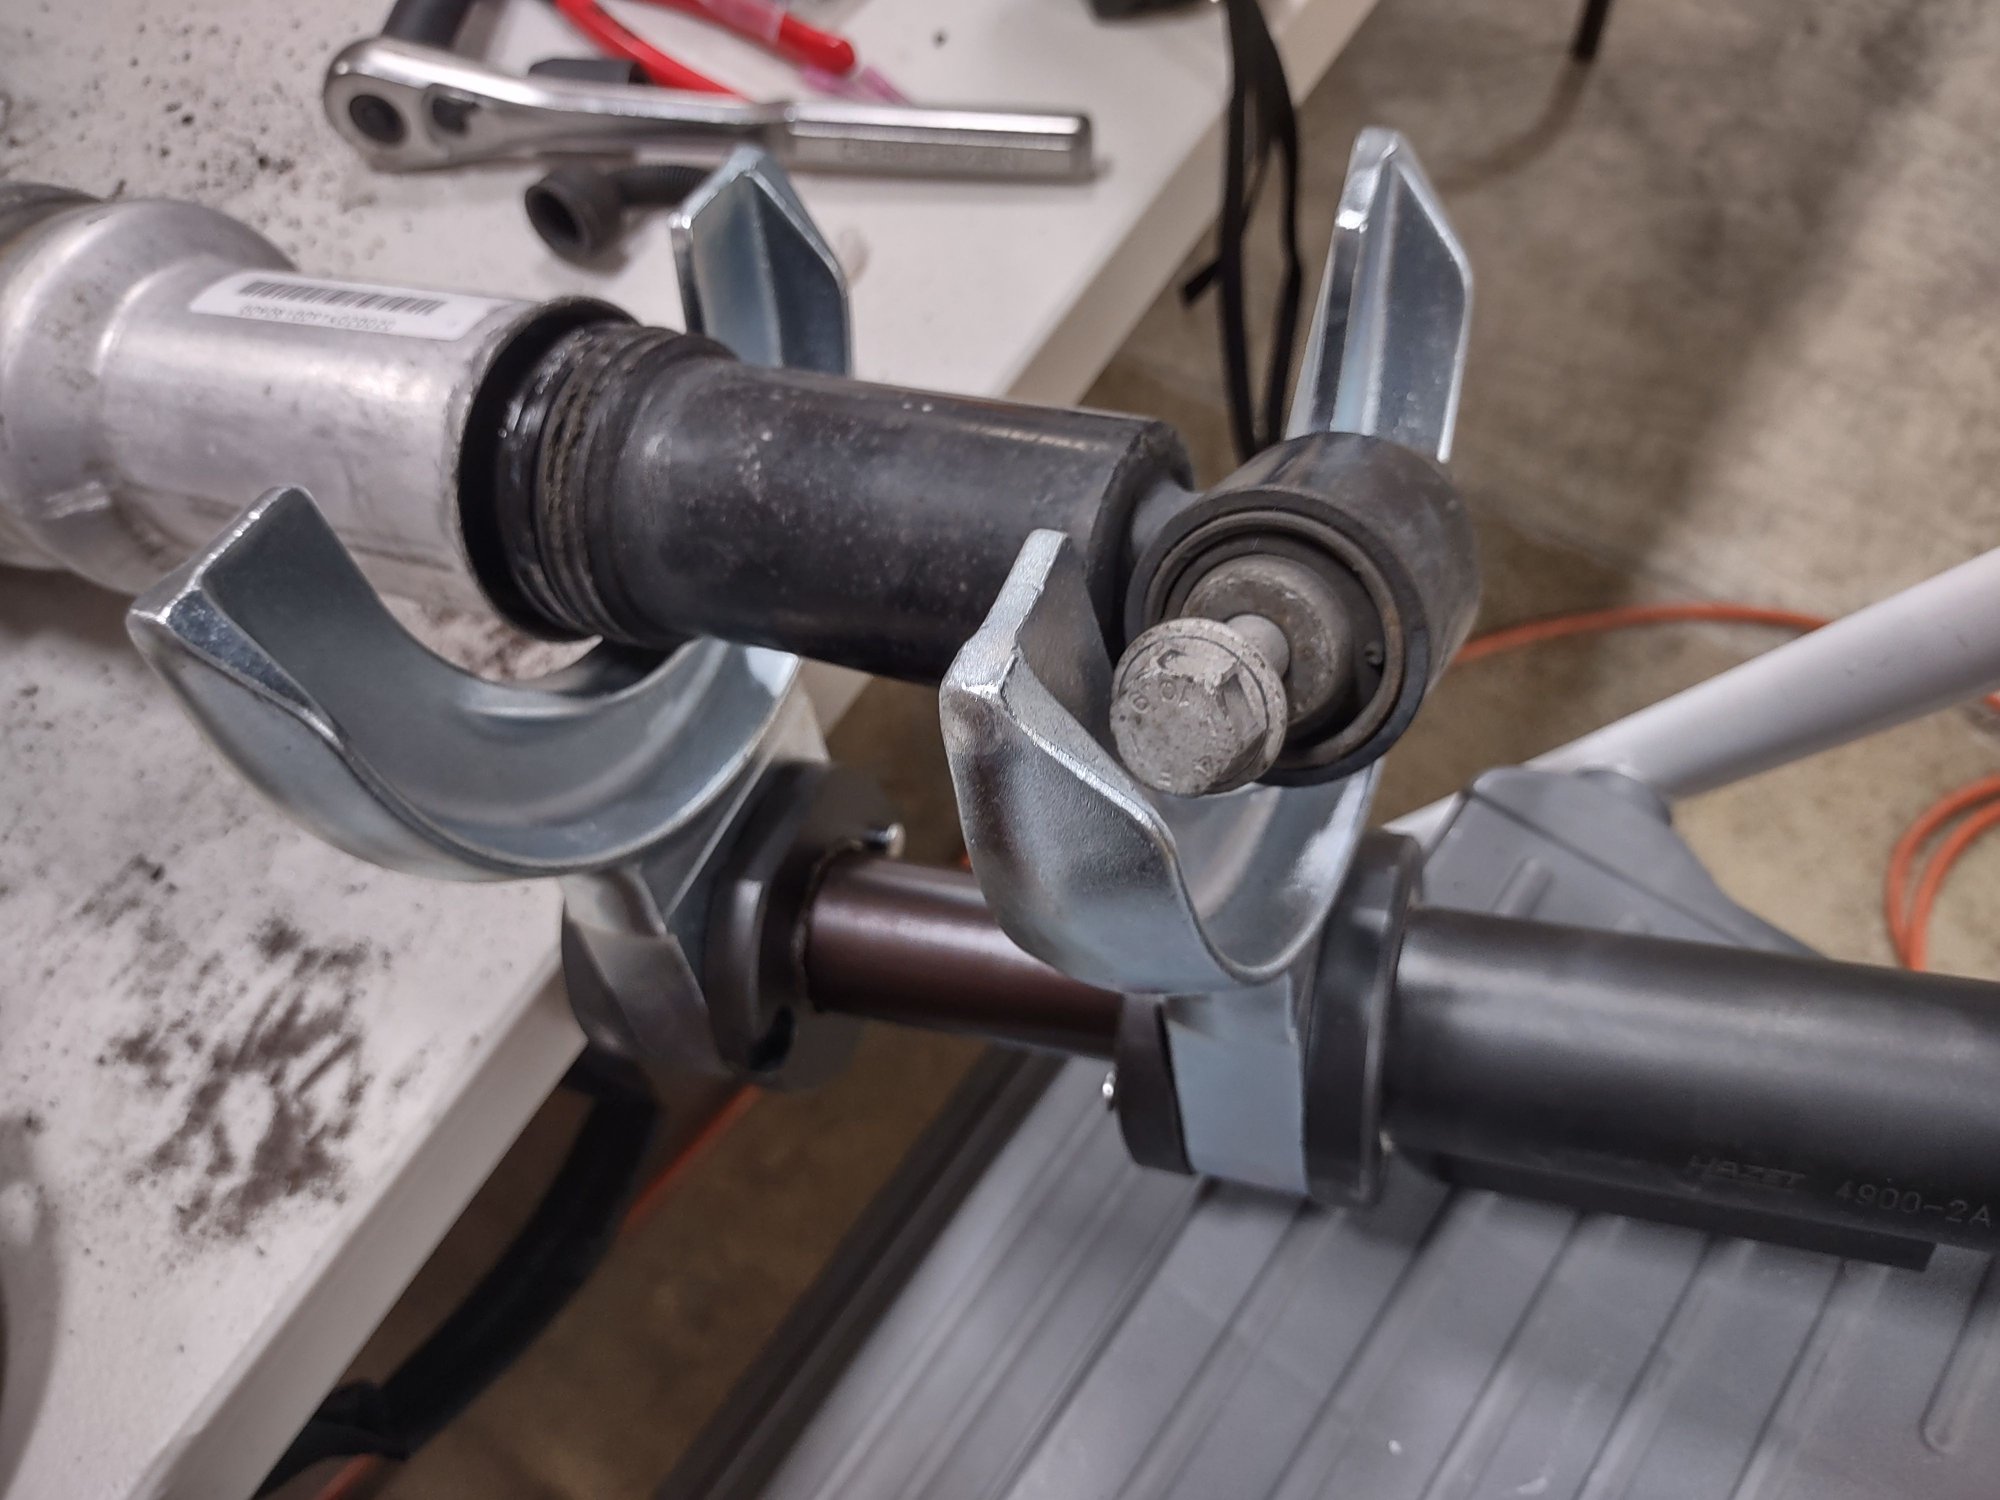
- I had to use a spring compressor/extractor to remove the shock from the air spring housing.
- when reassembling, there is an unique lower shock mount orientation to the right and left side. Life is so much easier during reinstallation if you get it right before the shock gets mounted into the air spring.
- Which air spring is right or left? There is a convenient R and L cast in the mounts on the bottom side.
- when mounting the air spring assembly, I found that if I unscrewed the air spring valve, compressed the assembly a couple of inches, screwed the valve back in and then installed, I could line up the upper alignment studs and get the shock bolted at the base. The air spring would then slowly expand and finish mating at the top awaiting its 4 screws. Pay attention to the position of the 2 long and two short screws.
- My compressor's 175 psi air is run through a series of filters and air dryer, and reduced to the max BAR which is what I topped the air tank off with. It had not lost as much air as I thought it would have so I must have caught the air leak early. It uses a R134 low pressure valve assembly and can be easily made into a shop made tool for future use. Yes, I know Nitrogen is preferred but Porsche also has dry filtered oil free shop air listed.
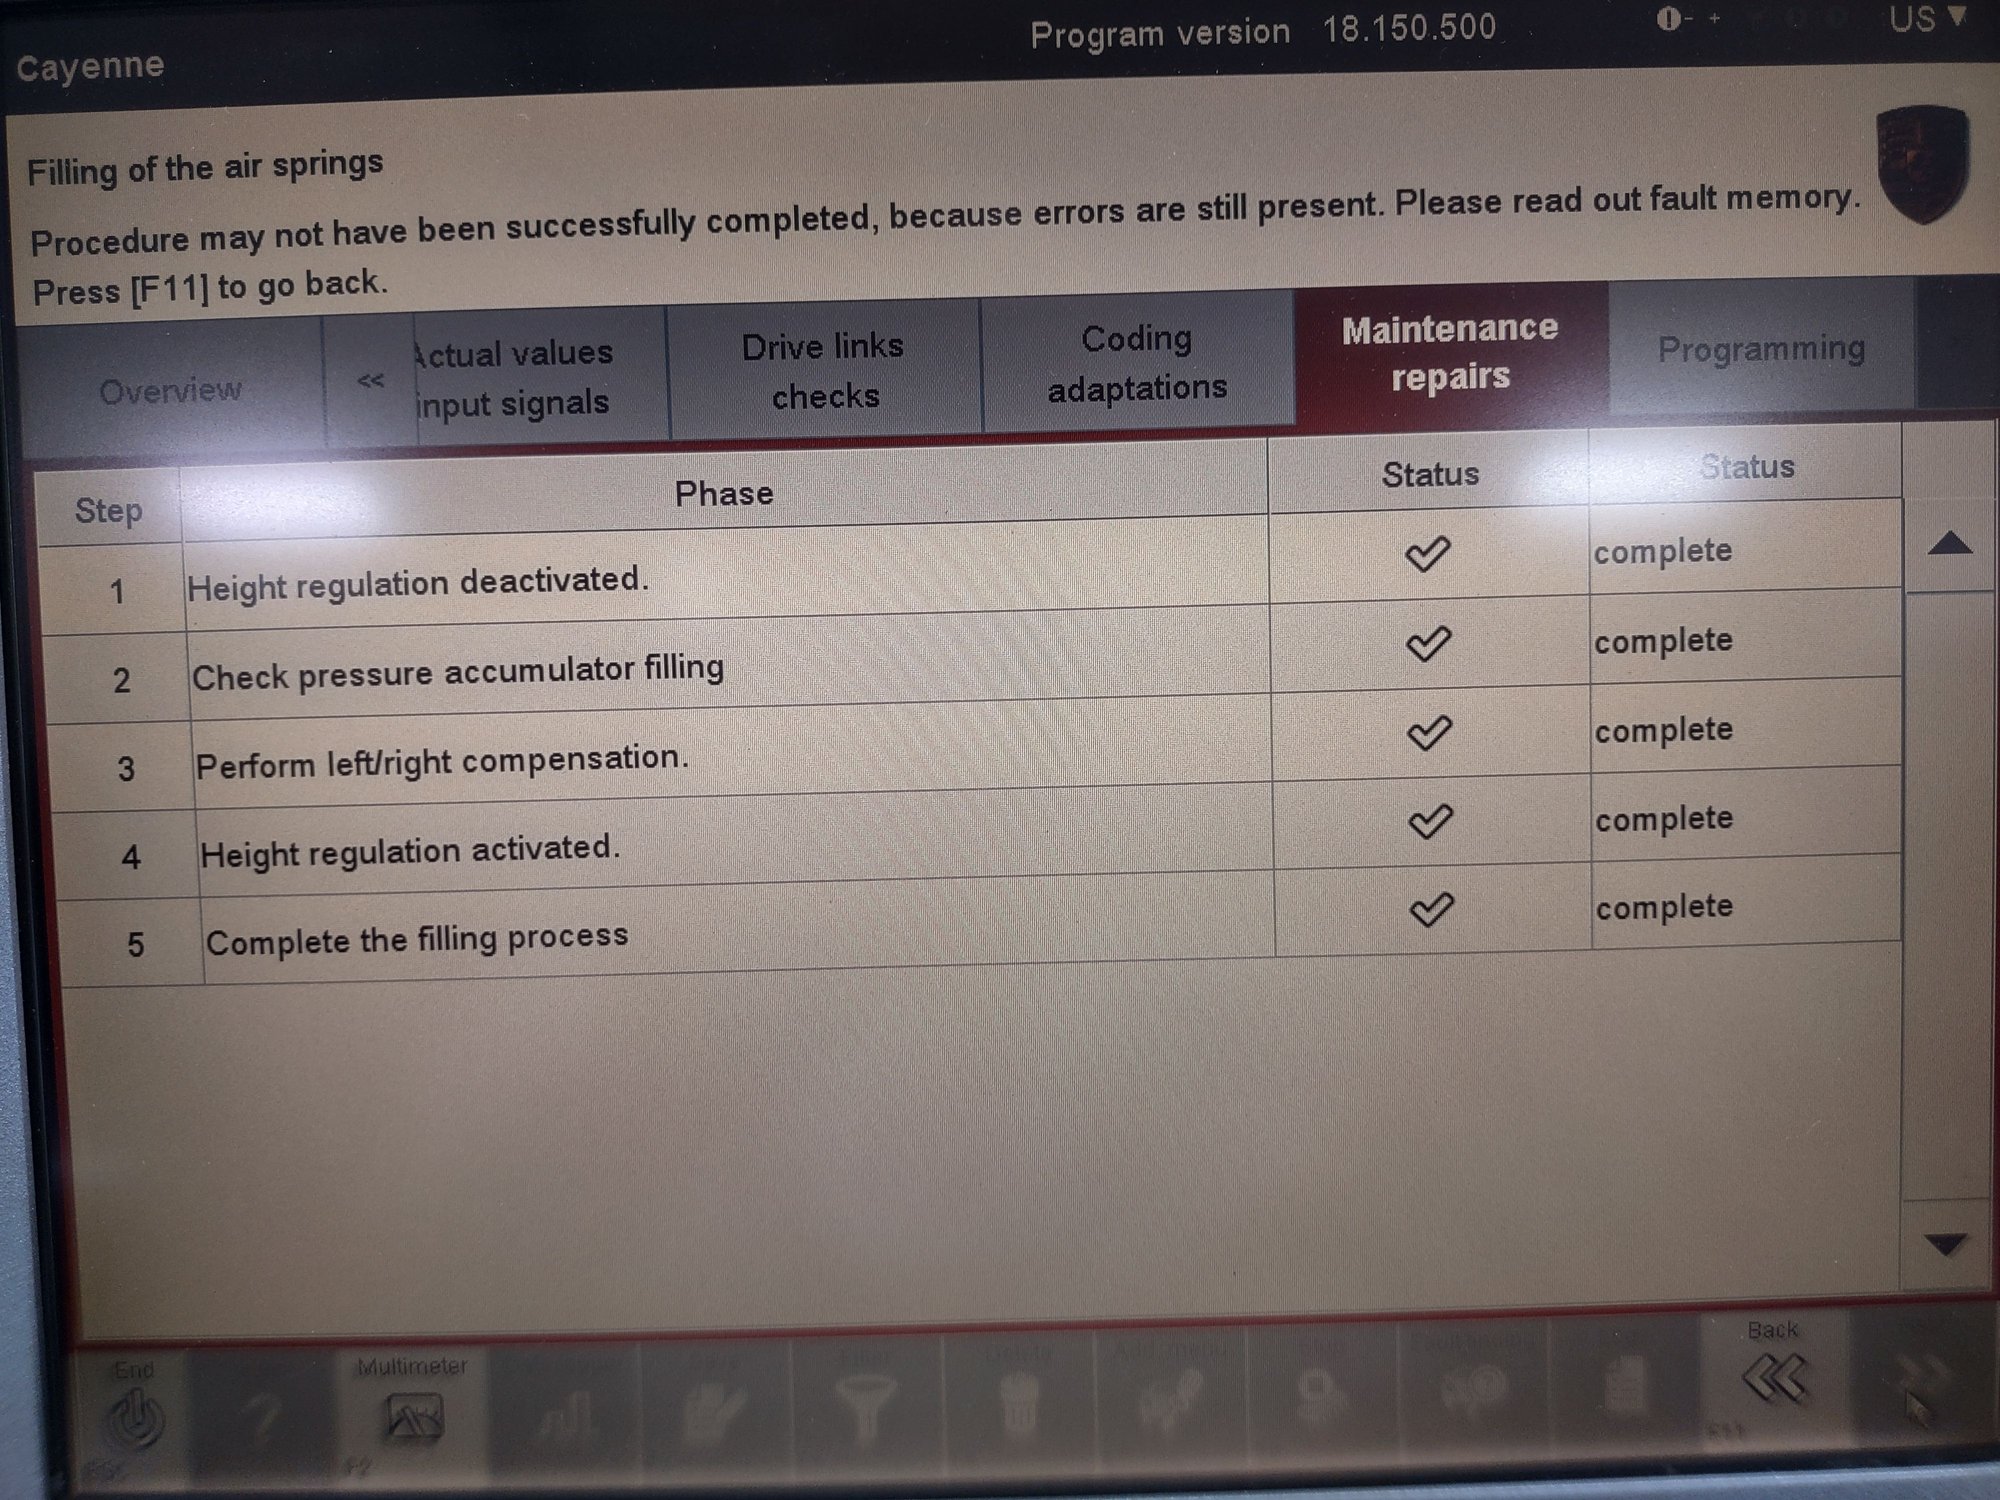
- PIWIS or its equivalent made life so much easier to refill the air springs correctly. Tires have to be off the ground the entire time PIWIS goes through its steps.
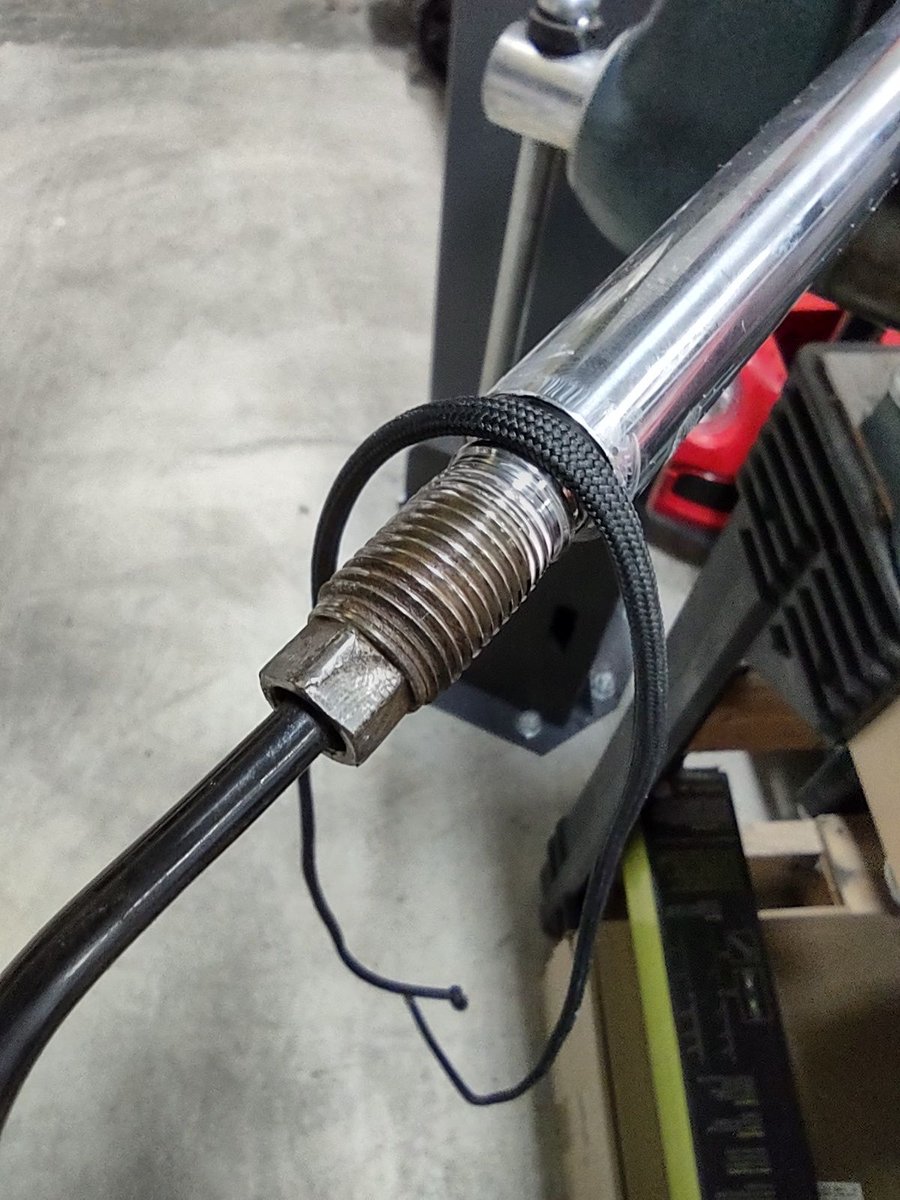
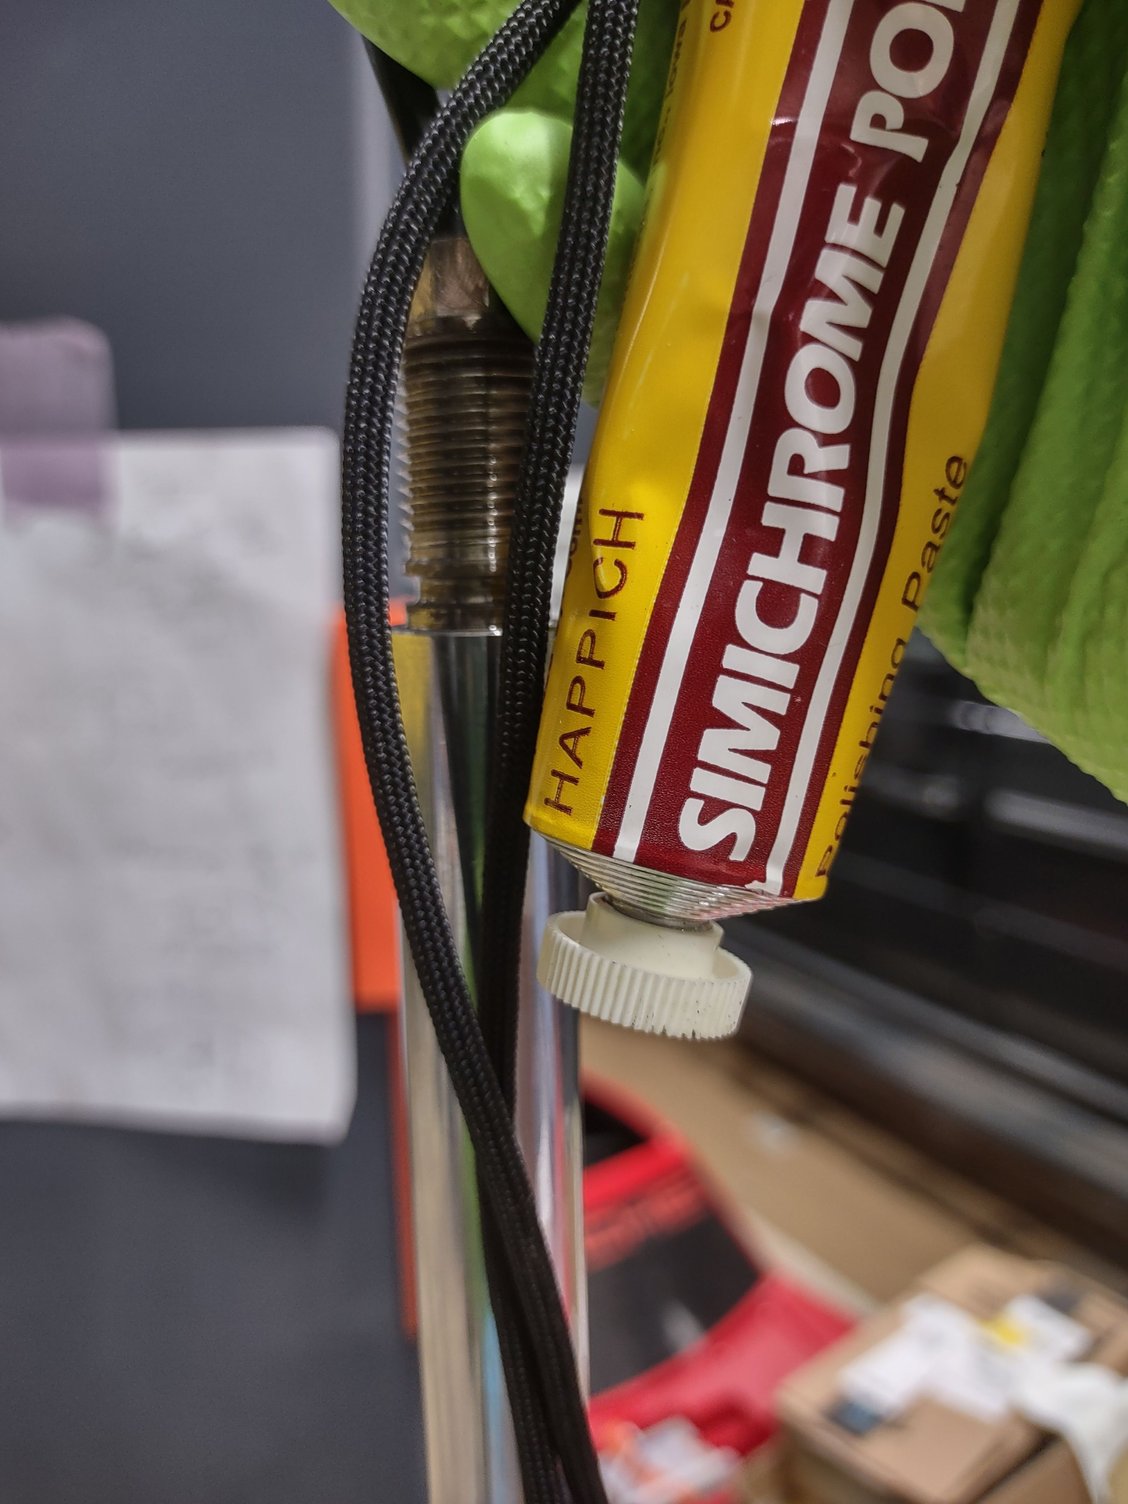
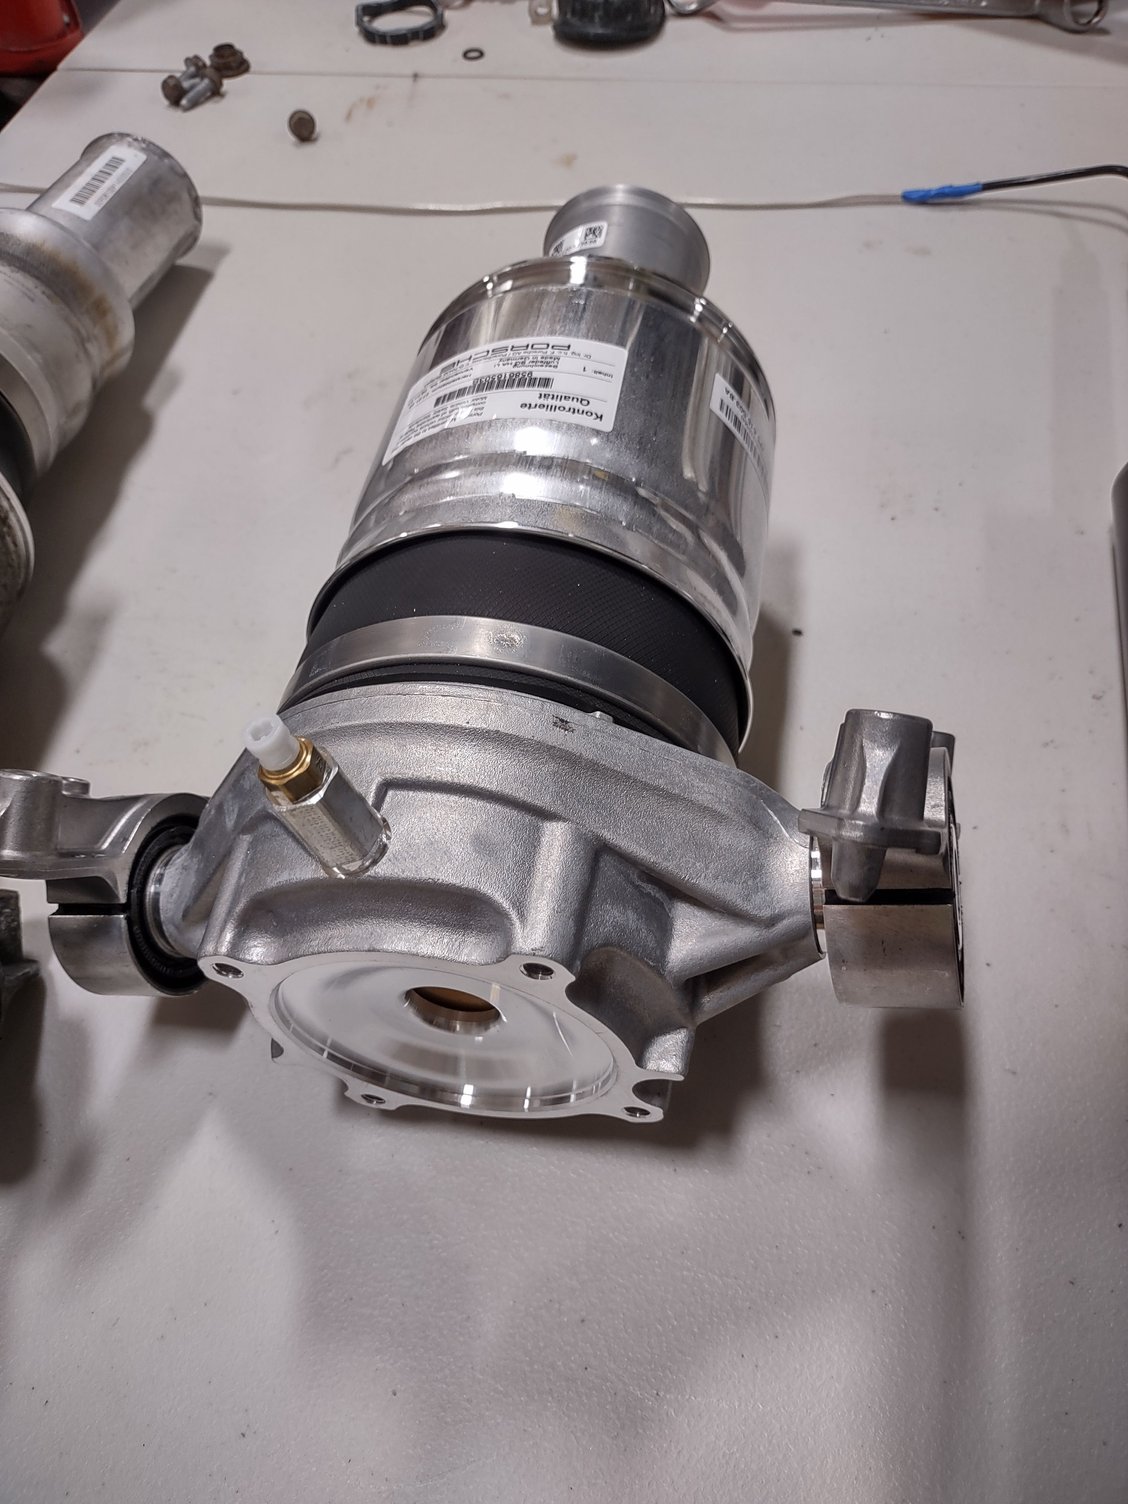
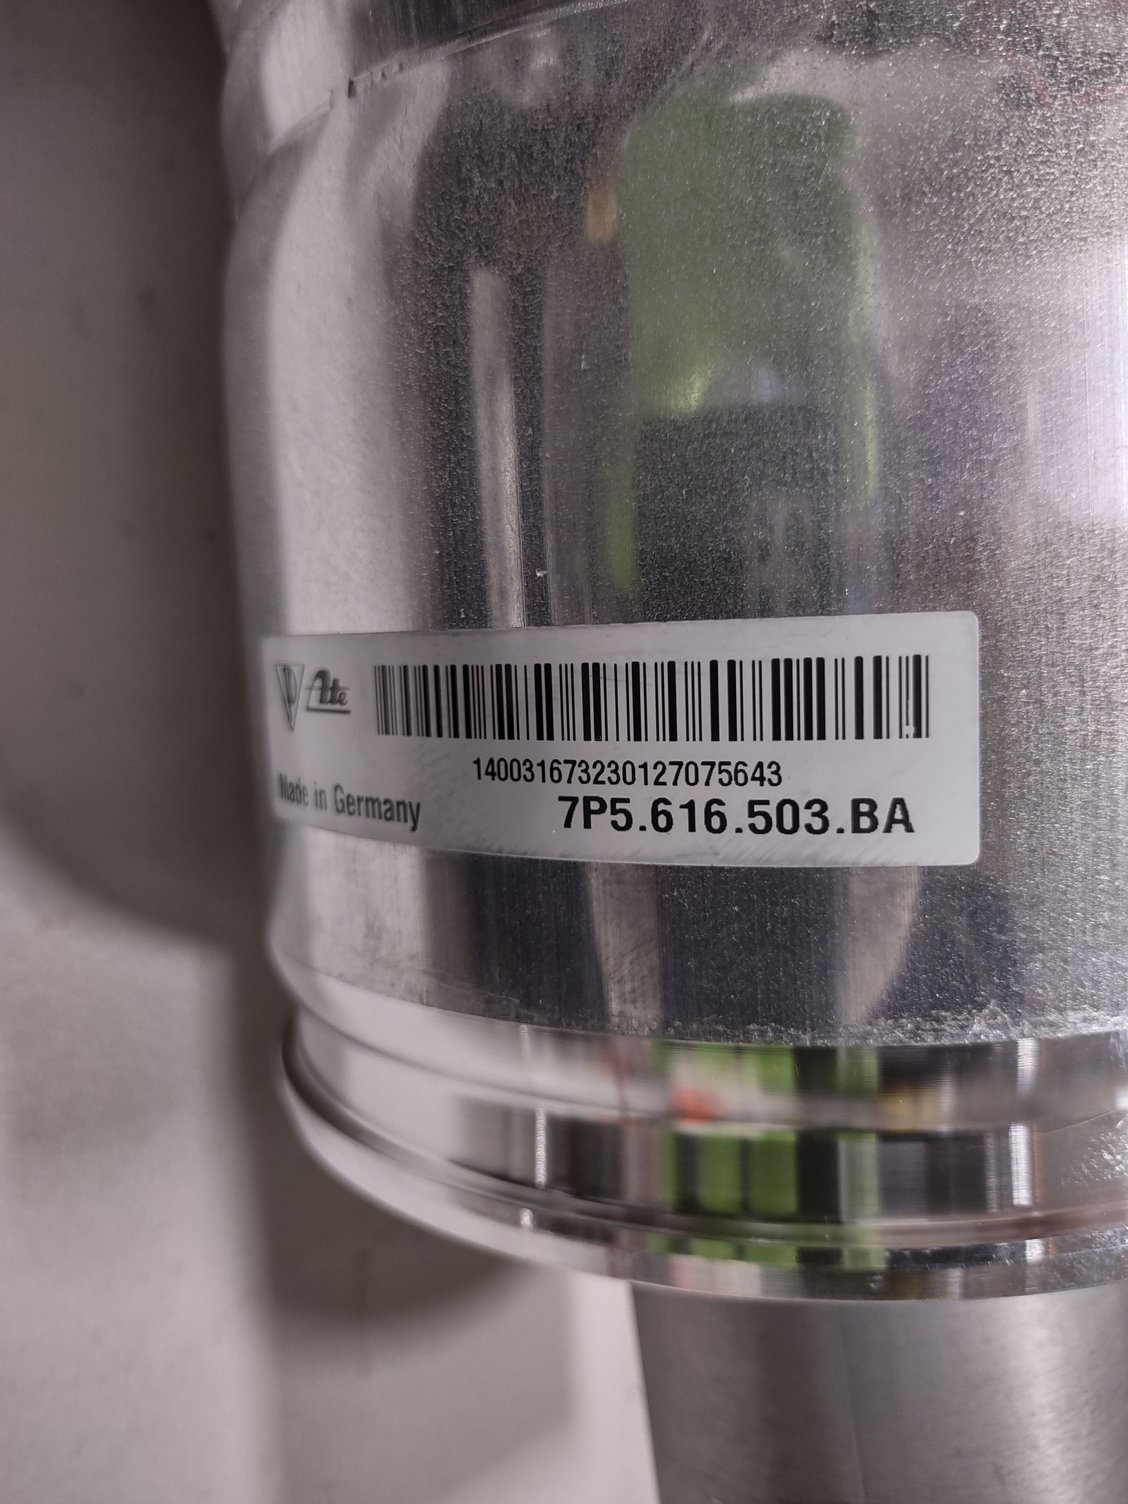
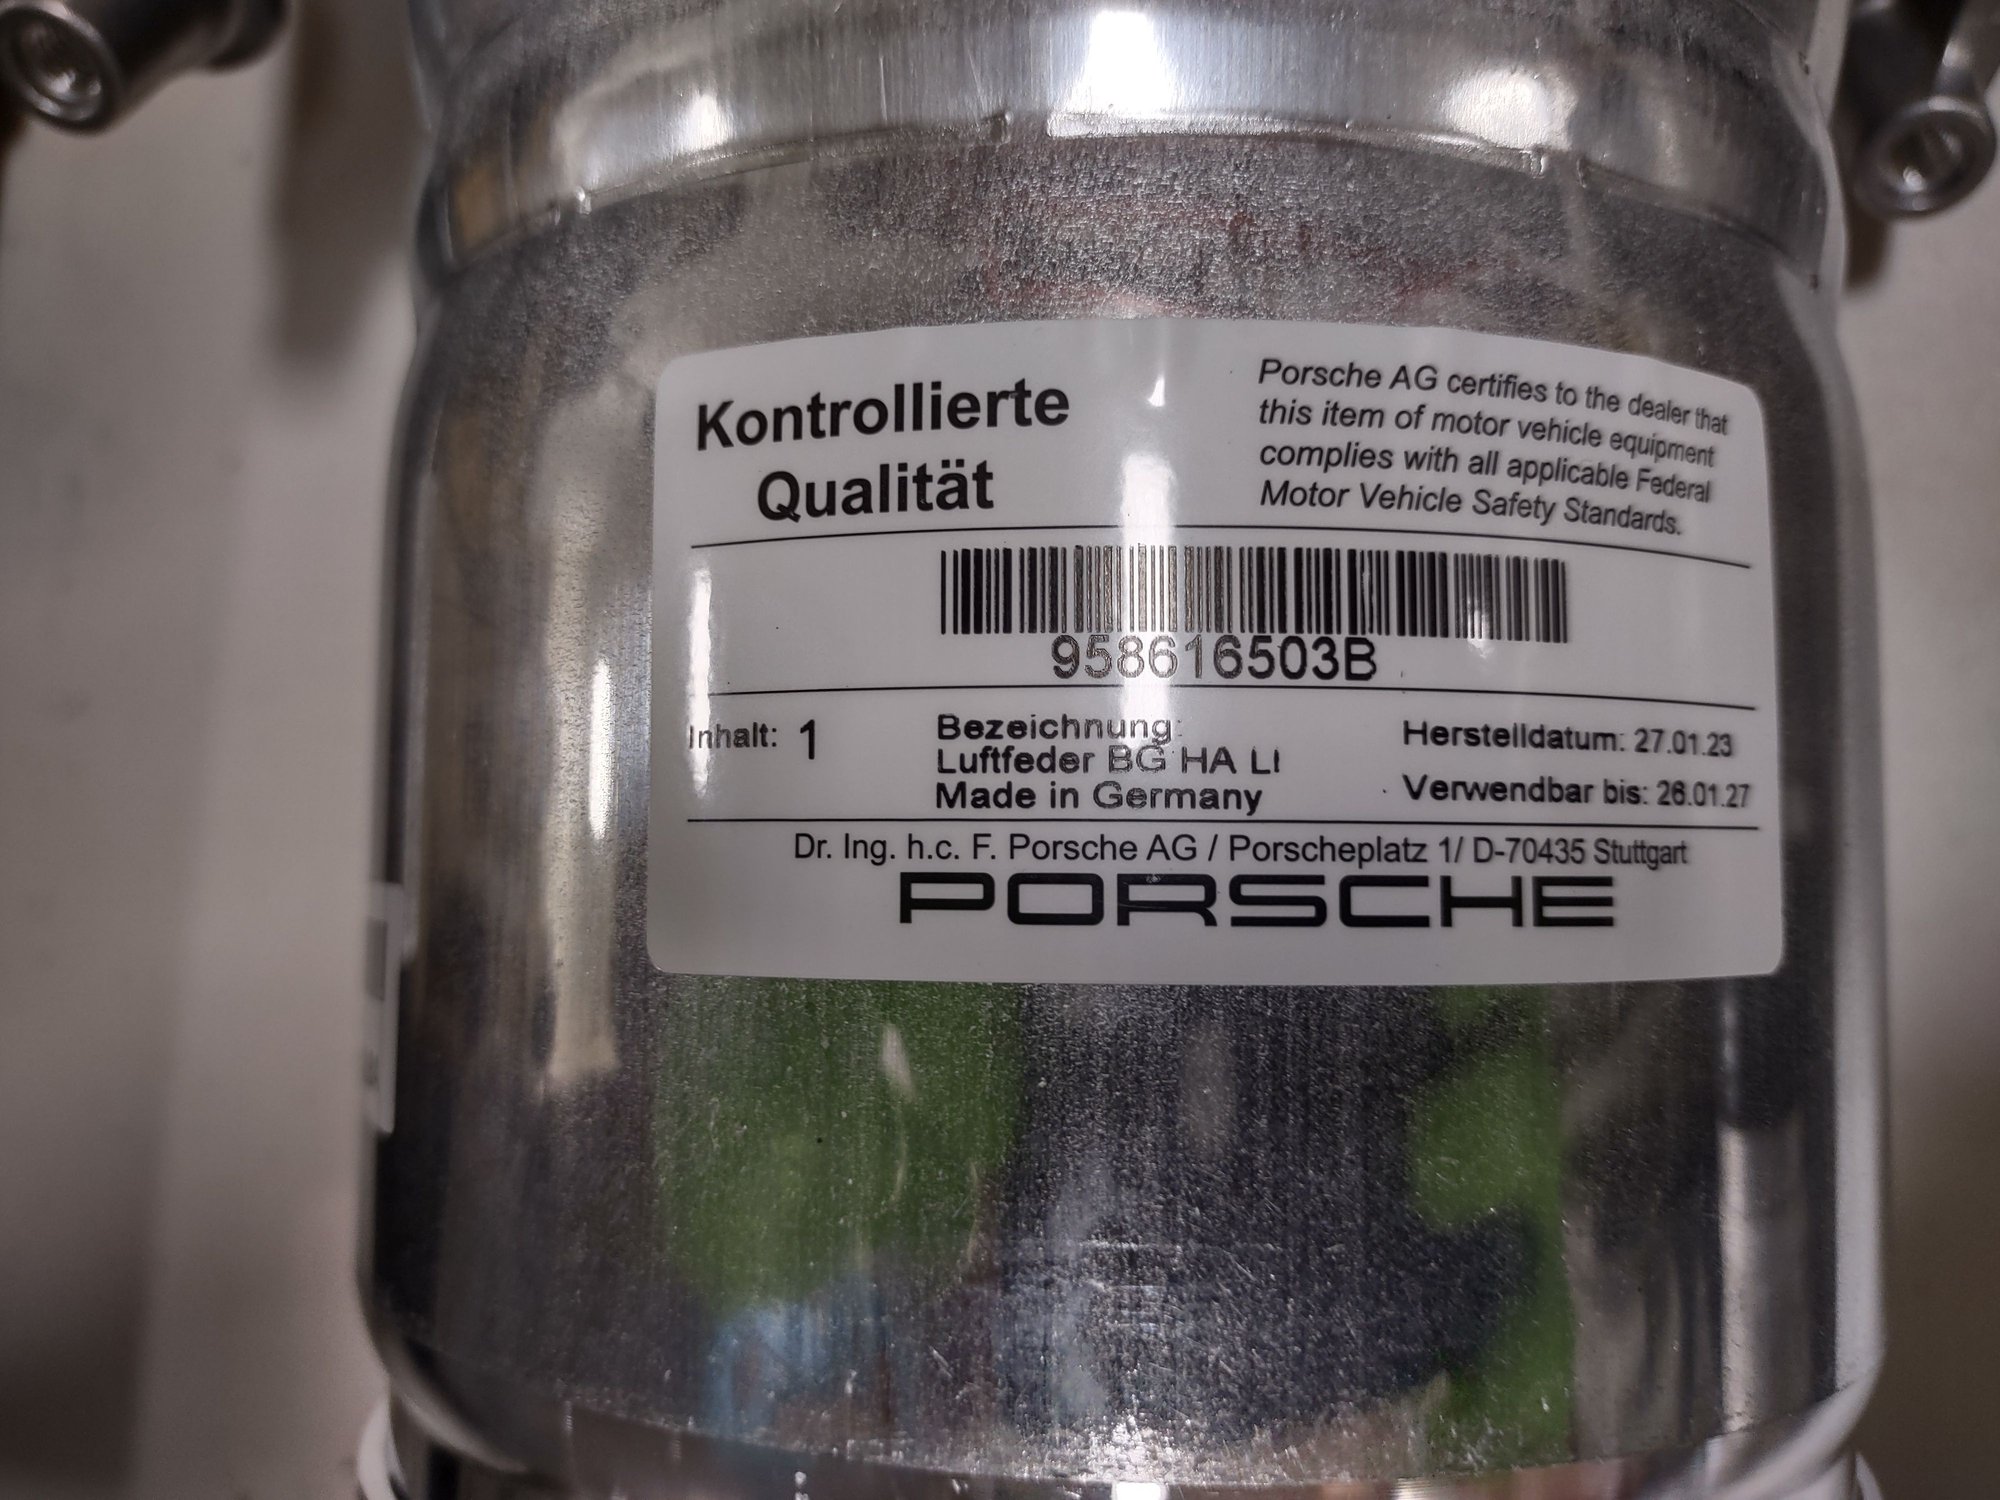
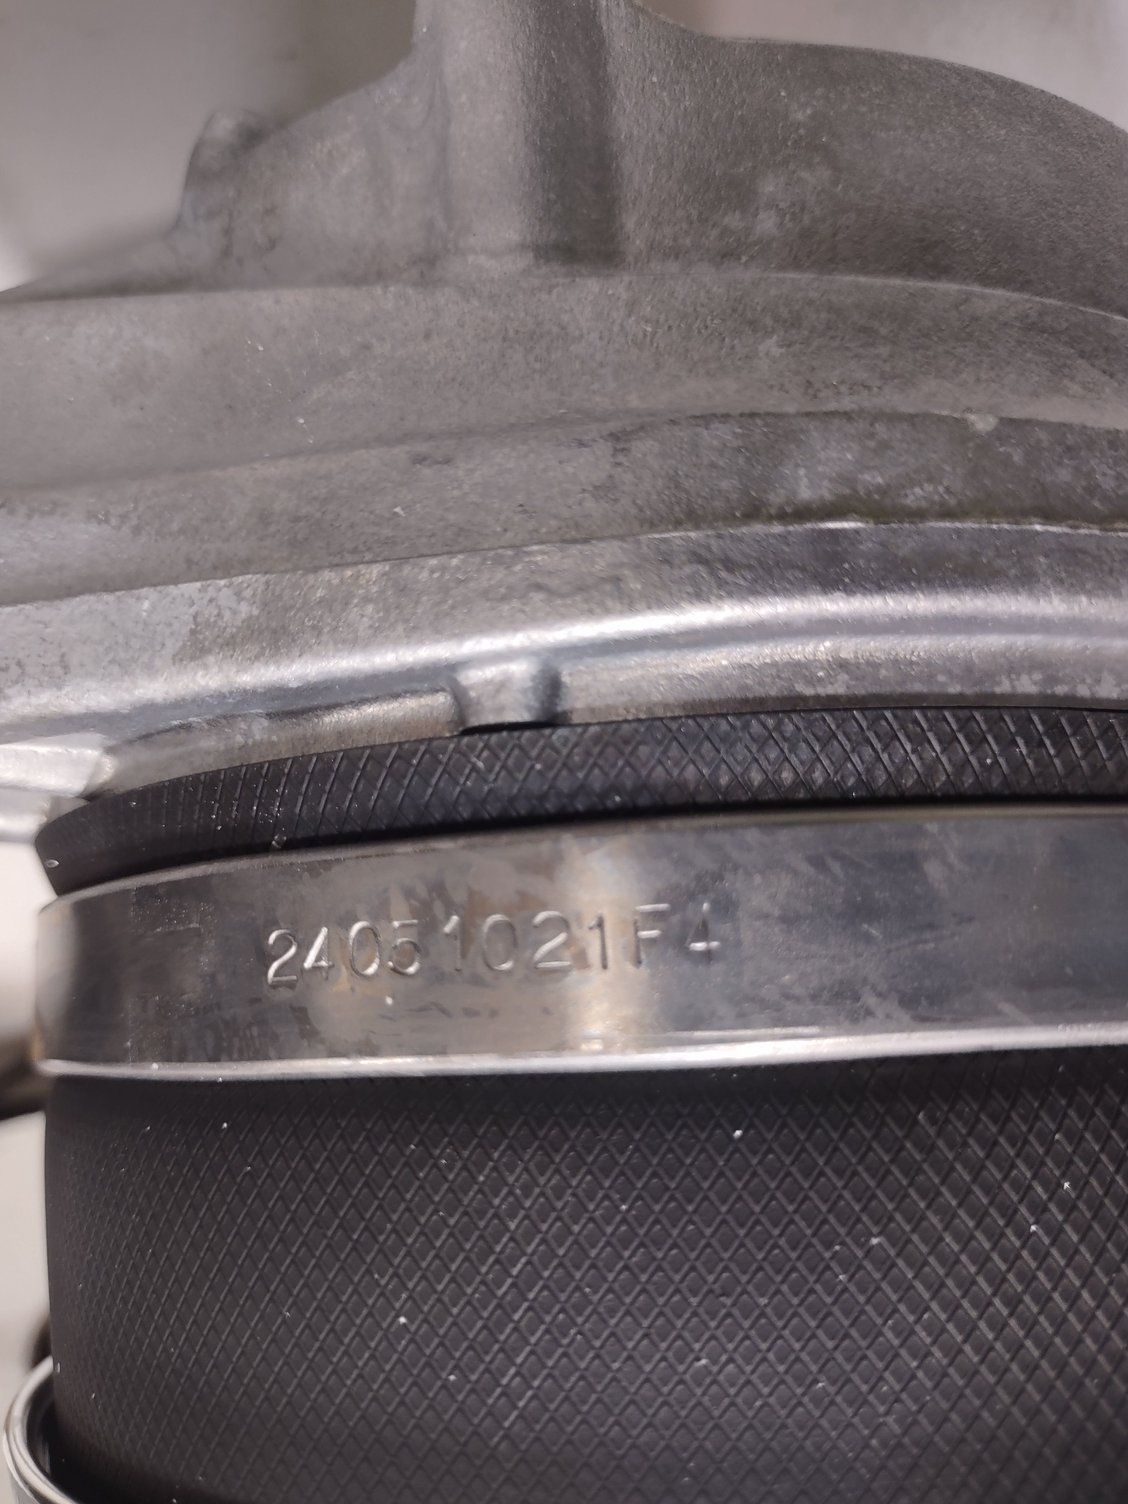
As ordered from the the dealer Porsche's assembly lube Use a length of parachute cord along with some polish to deep clean the o-ring gland on each shock, otherwise a new leak would appear. Took a few minutes and looked like new. my choice of metal polish. Good stuff! Gonna have to cut and splice the electrical. Oh well. I am sure there are multiple strategies to pull the shock out of the air spring, but remembering that the front shock has to be removed with a spring compressor/extractor tool and since I had one on hand, why not use it. Easy stuff when you have a mechanical advantage Shock info. Still fully functional More shock info Old right air spring Old right air spring Old right air spring Old right air spring. Note the machined area a few inches in. That is what limits how far the shock can be pushed in during installation Left Air Spring Left Air Spring Left Air Spring Left Air Spring Left Air Spring Left Air Spring "R" for right air spring This was all automatic once I started it. Wheels have to be off the ground the entire time it goes through the cycles.
Yes, Bilstein supports the PASM (adjustable dampening) functionality. But the quality and longevity does not match OE parts.
I've done this enough different ways to conclude that the most reliable way to go is to rebuild your existing strut: from the dealer buy 2 o-rings, the top mount/seal, new airbag, plastic spacer and rubber ribbed ring, and rebuild it yourself (if you're handy) or have an independent do it. That has the best chance to last another 10 years, while providing the same overall functionality, and durability.
Garrett376, appreciate your guidance, curious on how exactly does one rebuild existing strut? I�ve got a 2014 gts cayenne, air suspension seems fine, it�s just the damping has worn out at 130k on original struts. Is this a dyi or send somewhere? Alternatively would it be worth buying from Porsche or does aftermarket support just strut options?


 09-06-2023, 10:23 PM