When you click on links to various merchants on this site and make a purchase, this can result in this site earning a commission. Affiliate programs and affiliations include, but are not limited to, the eBay Partner Network.
I changed the plug and put everything back together (minus the bolt holding that coil down). Should have thought of taking a picture but didn't. I don't have enough metal left to try cutting a slot in it for a screw driver. I warmed the engine before trying the first time with the extractor. Put PB blaster on again and then used a heat gun to warm it up again to no avail. I'm really surprised that it is that stuck. There doesn't appear to be any corrosion around the area. Maybe I'll give it one more try and let the engine get up to operating temp and then let it start cooling down and try again (it's a little difficult with a heat gun as this is cylinder 5 and there is an added wire going to a sensor along with the wire that runs beside each coil).
I guess I could always redneck a fix and find an aluminum screw to fit int the hole I already have since it's just securing the coil from coming loose!
If you have a soldering iron with a smallish tip that would fit into the threaded hole - that's a better way to try to heat up the screw without heating up the area around it.
Ideally - if the screw was cooled, and the area around it was heated it should help break the bond (the screw would shink and the threaded hole would get bigger.
Very frustrated. I worked on this again today. I warmed the engine up before trying more coil bolts but snapped the second one. I guess this would be cylinder 6 (driver's side, second from the front). I also tried drilling and using an ez out to remove with no luck. I have used a torch and soldering iron to heat the immediate area. I started with the smallest easy out and have no worked my way up to the next size. All I do is continue to scrap away at the aluminum screw to make the hole bigger.
I'm not so worried about the first two cylinders because there is enough room to get drill and tools in there to re-tap as a last resort. But when I get back to the rear two, If I snap those I'm not sure how I would have enough room to work with drills if they broke. I tried those coil bolts as well but I didn't wrench very hard as I didn't want to snap all of them. I get pretty good bite with the easy out and both of those screws are in there solid. Also repeatedly used pb blaster. For know I just have the coils on those two cylinders pushed on the plug with no bolt. The car has 70K miles on it so I don't believe anyone has taken off those coils before. I'm stumped and not sure what to do next. If I snap those last two bolts (I haven't even got to the other bank yet), the only way I see getting a drill to them is some kind of flex shaft.
Any other ideas on how to approach the remaining bolts to prevent them from snapping?
If I have to retap screw threads in this area, can anyone advise on how this the cover is in those areas? Remove the valve cover to get at it?
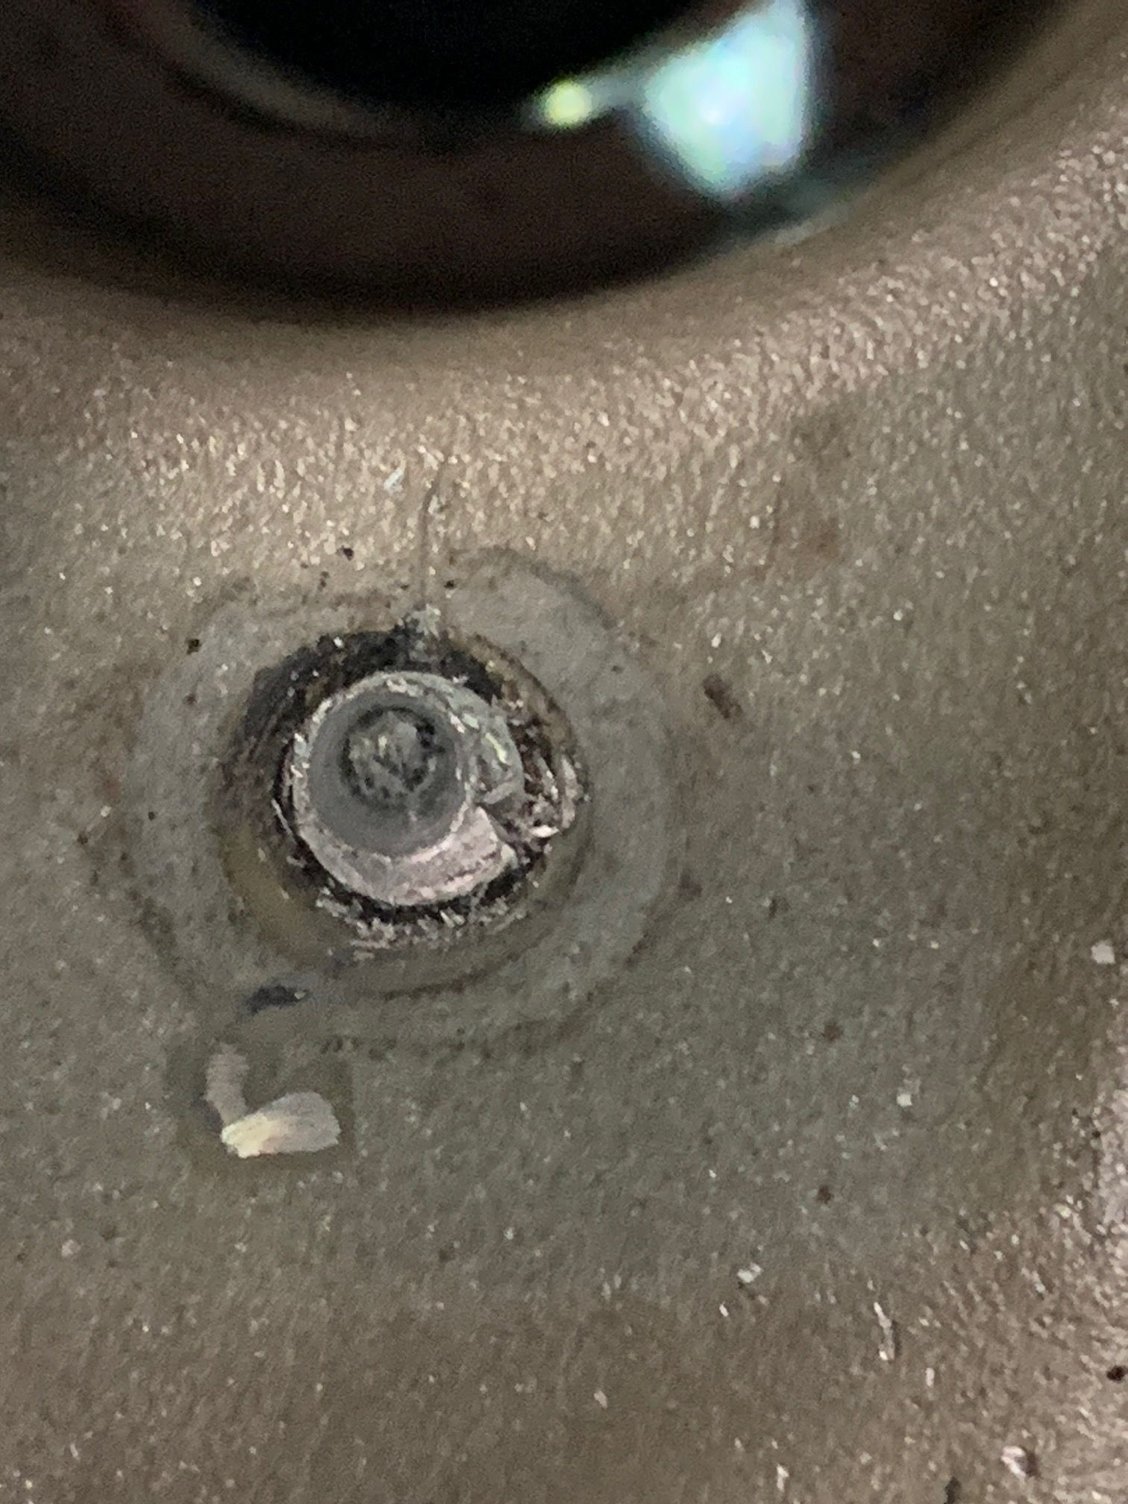
Here's a picture of the screw hole for the latest one.
By this point my frustration would have led me to find a small enough flat blade screwdriver, sharpened the tip, and then hammered it into the broken aluminum screw so I can turn it counterclockwise by hand. It's really odd that you've had so much trouble because these really shouldn't be fused in there so tightly unless someone replaced them and used some Locktite during the install (I doubt that though).
As for your last two bolts closest to the firewall, my advice would be to carefully hand tighten those during install and snug them up ever so lightly with the smallest socket you can find. When I say lightly, I mean using your thumb, index and middle finger only as leverage. These bolts aren't really holding anything together so there's no need to torque them down much at all.
What a pain... sorry you're having to deal with such a headache. Keep us updated on your impending success though. I bet the next time you touch it it'll come loose as if none of this ever happened. Just the way it works out sometimes...
They bolt into the cover. My workshop manual shows that you can remove the cover with the engine in but some of the cover rear most bolts require a short profile socket. It looks straight forward but then again so is changing the spark plugs! All these bolts do is hold down the coil and provide a fastening hole for the decorative cover. What a pain in the *** for something that should be so simple.
Anyone remove the valve/timing cover that can comment on difficulty or tricks to doing so? Maybe I will resort to some redneck way of holding down the coil and decorative cover for now.
I've snapped off the coil retention bolt on the rear-most passenger side cylinder (2014 CTTS). Very difficult location to work in any kind of screw extractor, sharpened screwdriver, etc. What I ended up doing was taking the residual bolt head (i.e. the part of the coil retention bolt *not* in the valve cover) and attaching that to the decorative cover with the screw that goes in the top of the coil retention bolt. I just put the coil back in, then only tightened the remaining coil retention bolts by hand. The decorative cover on that side is now held in place with 3 screws (instead of 4), and the residual coil retention bolt head on the rear-most passenger side cylinder is held against the coil by the decorative cover. It's been about 15K miles and I haven't had a problem with coil movement. About once a month or so, I check under the hood, press on the decorative cover in that area, and haven't noticed any backing out.
When I change the plugs in another 15K miles, I'll try fiddling around with the snapped bolt and see if I can free it up.
Dan - at this point - I think I'd get the dealer to replace the plugs.. if they break the things getting them out their problem fixing it. There is a DIY on the valve cover for the 955/957 V8 in the DIY forum. It will give you some idea of the work (I think the newer V8 is slightly different, but not hugely - mostly how some of the PCV hoses hook up to things.) I'm sure you thought of this - but in getting these replaced I'd suggest replacing ALL of them, and use some anti-seize on the threads. plus not much more than finger tight. The screw holding the beauty cover on will keep them from loosening up. Porsche does spec these things as one-time-use. I have a set of plugs ready to go in, I think I'm going to order a complete set of replacement bolts/standoffs.
A Porsche dealership had the engine out to replace the heads on my Cayenne and put it back together with 2 coil retaining bolts snapped off in the valve cover and gave it to me like that. Not sure if they broke off during disassembly or it was like that when they got it. In any event, I gave them a talking to and made them fix it. Reminded to them of course how much easier it would have been if they would have done it properly the first time with the valve covers off and the engine out.
I've had good success at removing really stuck or broken bolts by tig welding a machined dowel pin to the left over pieces of the bolt and using the welded on pin as a lever to remove the bolt once welded on. The intense heat from the tig welding though applied to the bolt was able to break the bolt loose. I did this on a set of 993 brake calipers where the allen bolt holding the steel slide for the pads would not come out.
Found something interesting while searching for the PN for the damn screws.. (it's 948-105-146-00 if anyone needs the #..)
Sounds very much like they had a problem - and there is a repair kit to save the valve cover. Drill/tap thread-insert. Bet it's covered in a tech bulletin somewhere.
Thanks Don. I am sceptical though that my dealer will only charge me for the cost of replacing plugs even if they had the same issue. I'm guessing I would also be paying them to pull the valve covers and put in new screw inserts. Now that I have broken two, I really doubt that they would just charge me standard rate for changing plugs. I haven't had a lot of service work done so maybe I'm just a skeptical person. I would love to hear if people who deal with service dealers think otherwise.
If I know the dealer is going to charge me for extra work anyway, I'll take the valve covers off myself and take it to a machine shop. The worst case scenario that I see is botching the screw repair so badly that the valve cover is ruined. As everyone has said, i just need a fastening mechanism to lightly hold the coil down and decorative cover on. It's function is just not that critical, which is why this is so frustrating to me.
For now, I just let my wife drive it as is. I have the engine and tranny out of my spare car (911) in my garage so I don't have a 4th car to keep us going. That is until it warms up and i can start riding my bike again!
here's an idea. If the aluminum bolt is so tight in there, and you have a hole drilled in there already...just tap threads into the old bolt, and use a stud/nut combo to hold the whole mess together. There is basically no load on this assembly, so if the old bolt is truly that stuck, it shouldn't go anywhere, and with the stud, it won't have to be removed again.

 12-16-2018, 07:37 PM