When you click on links to various merchants on this site and make a purchase, this can result in this site earning a commission. Affiliate programs and affiliations include, but are not limited to, the eBay Partner Network.
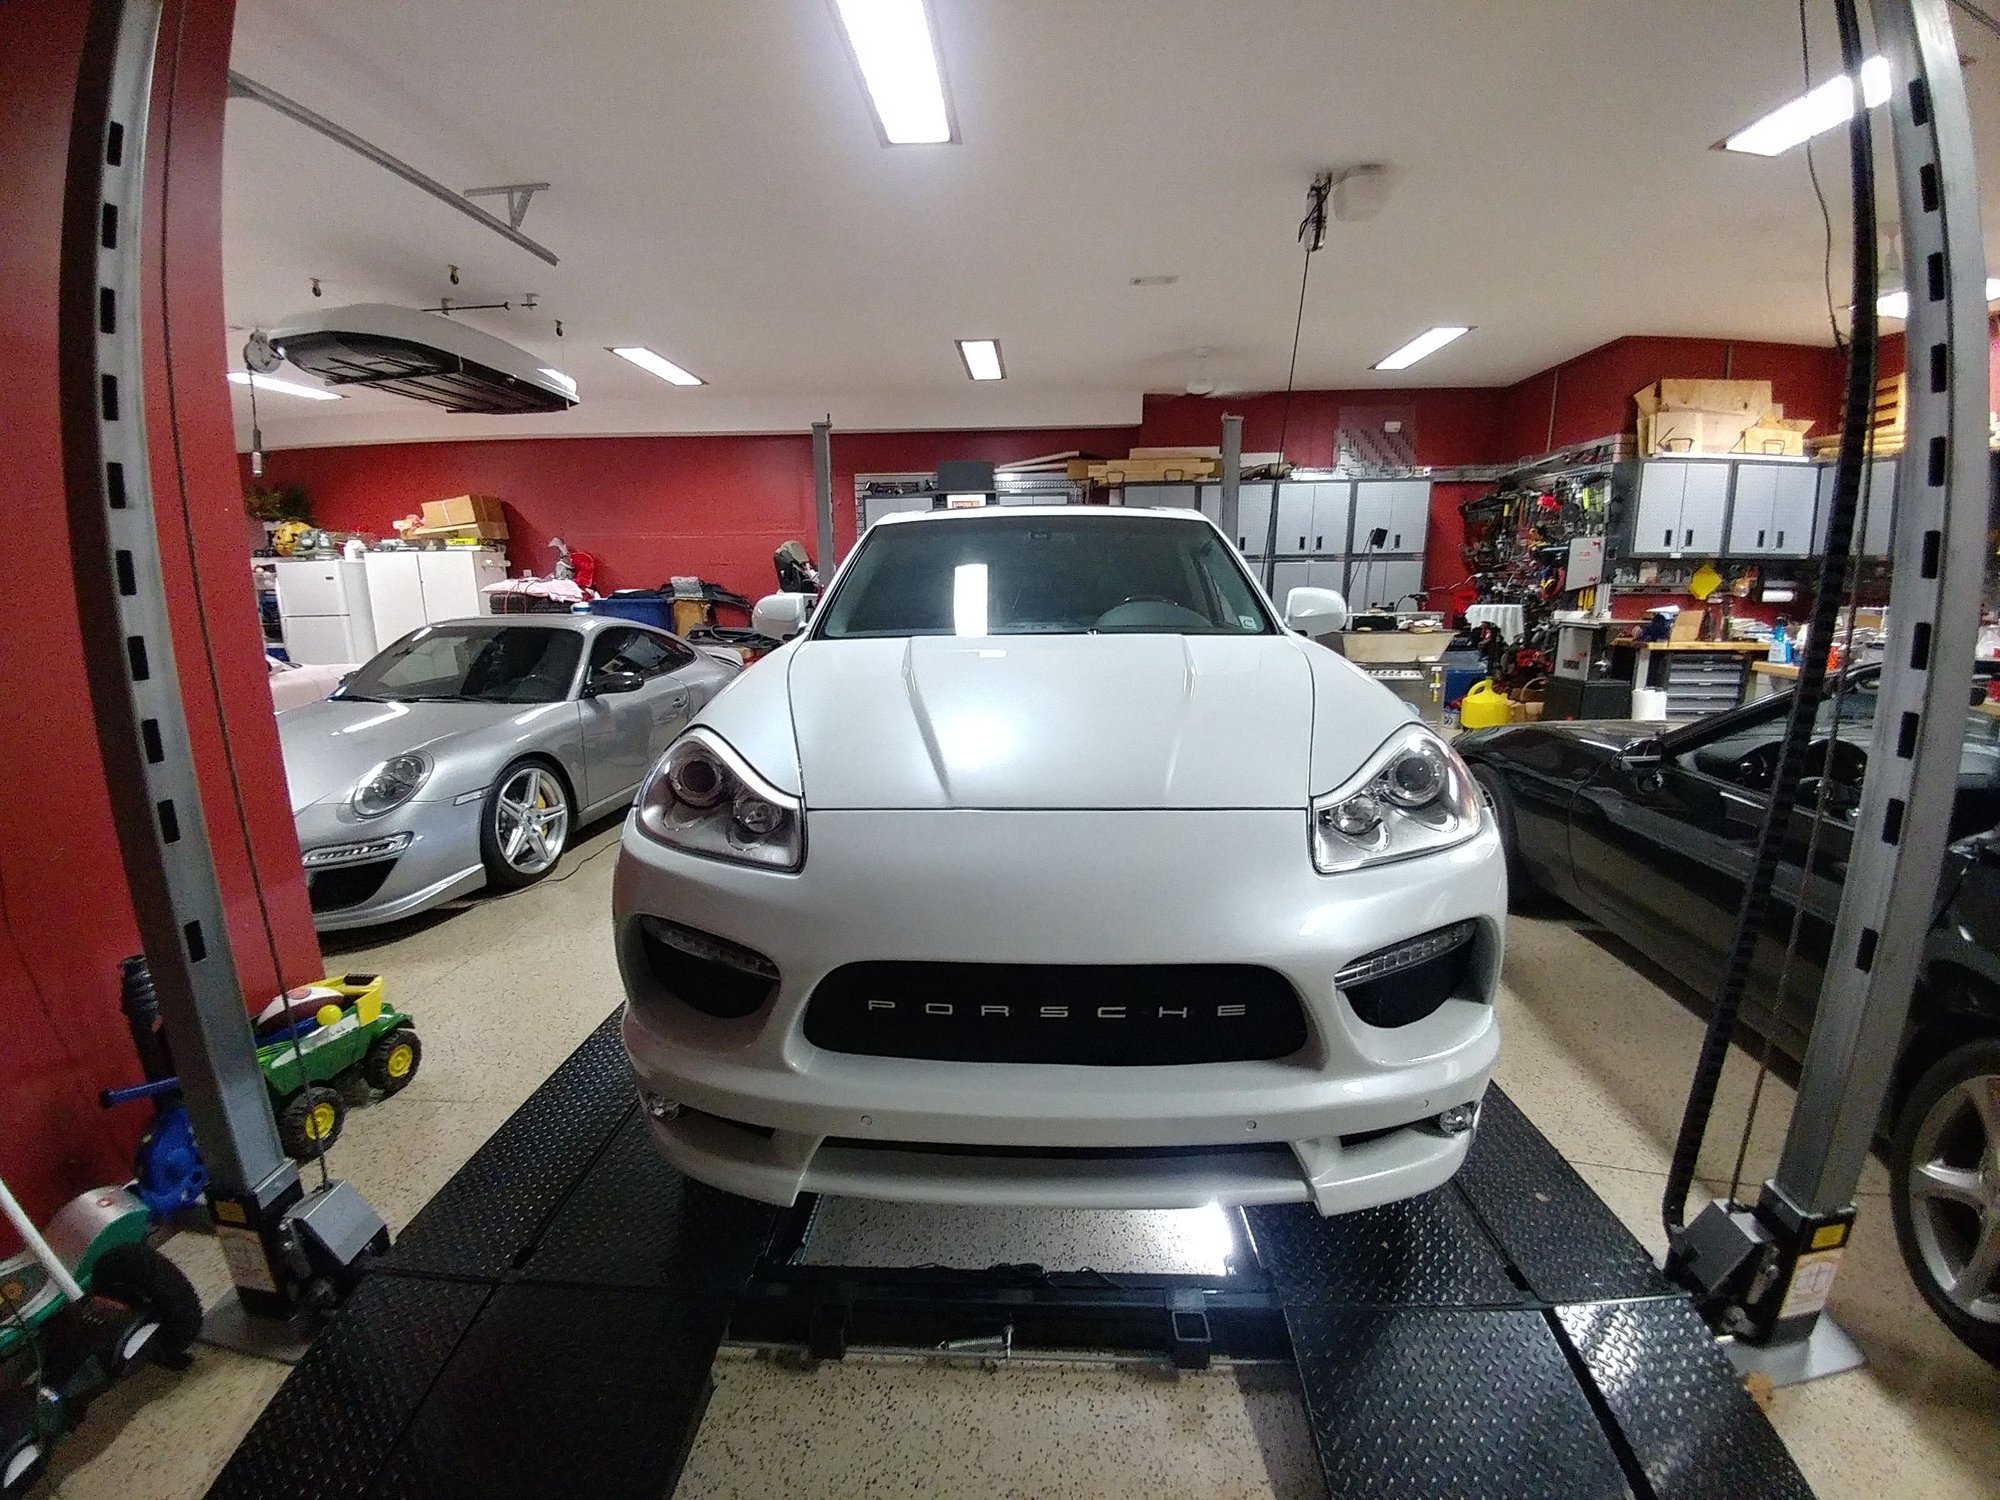
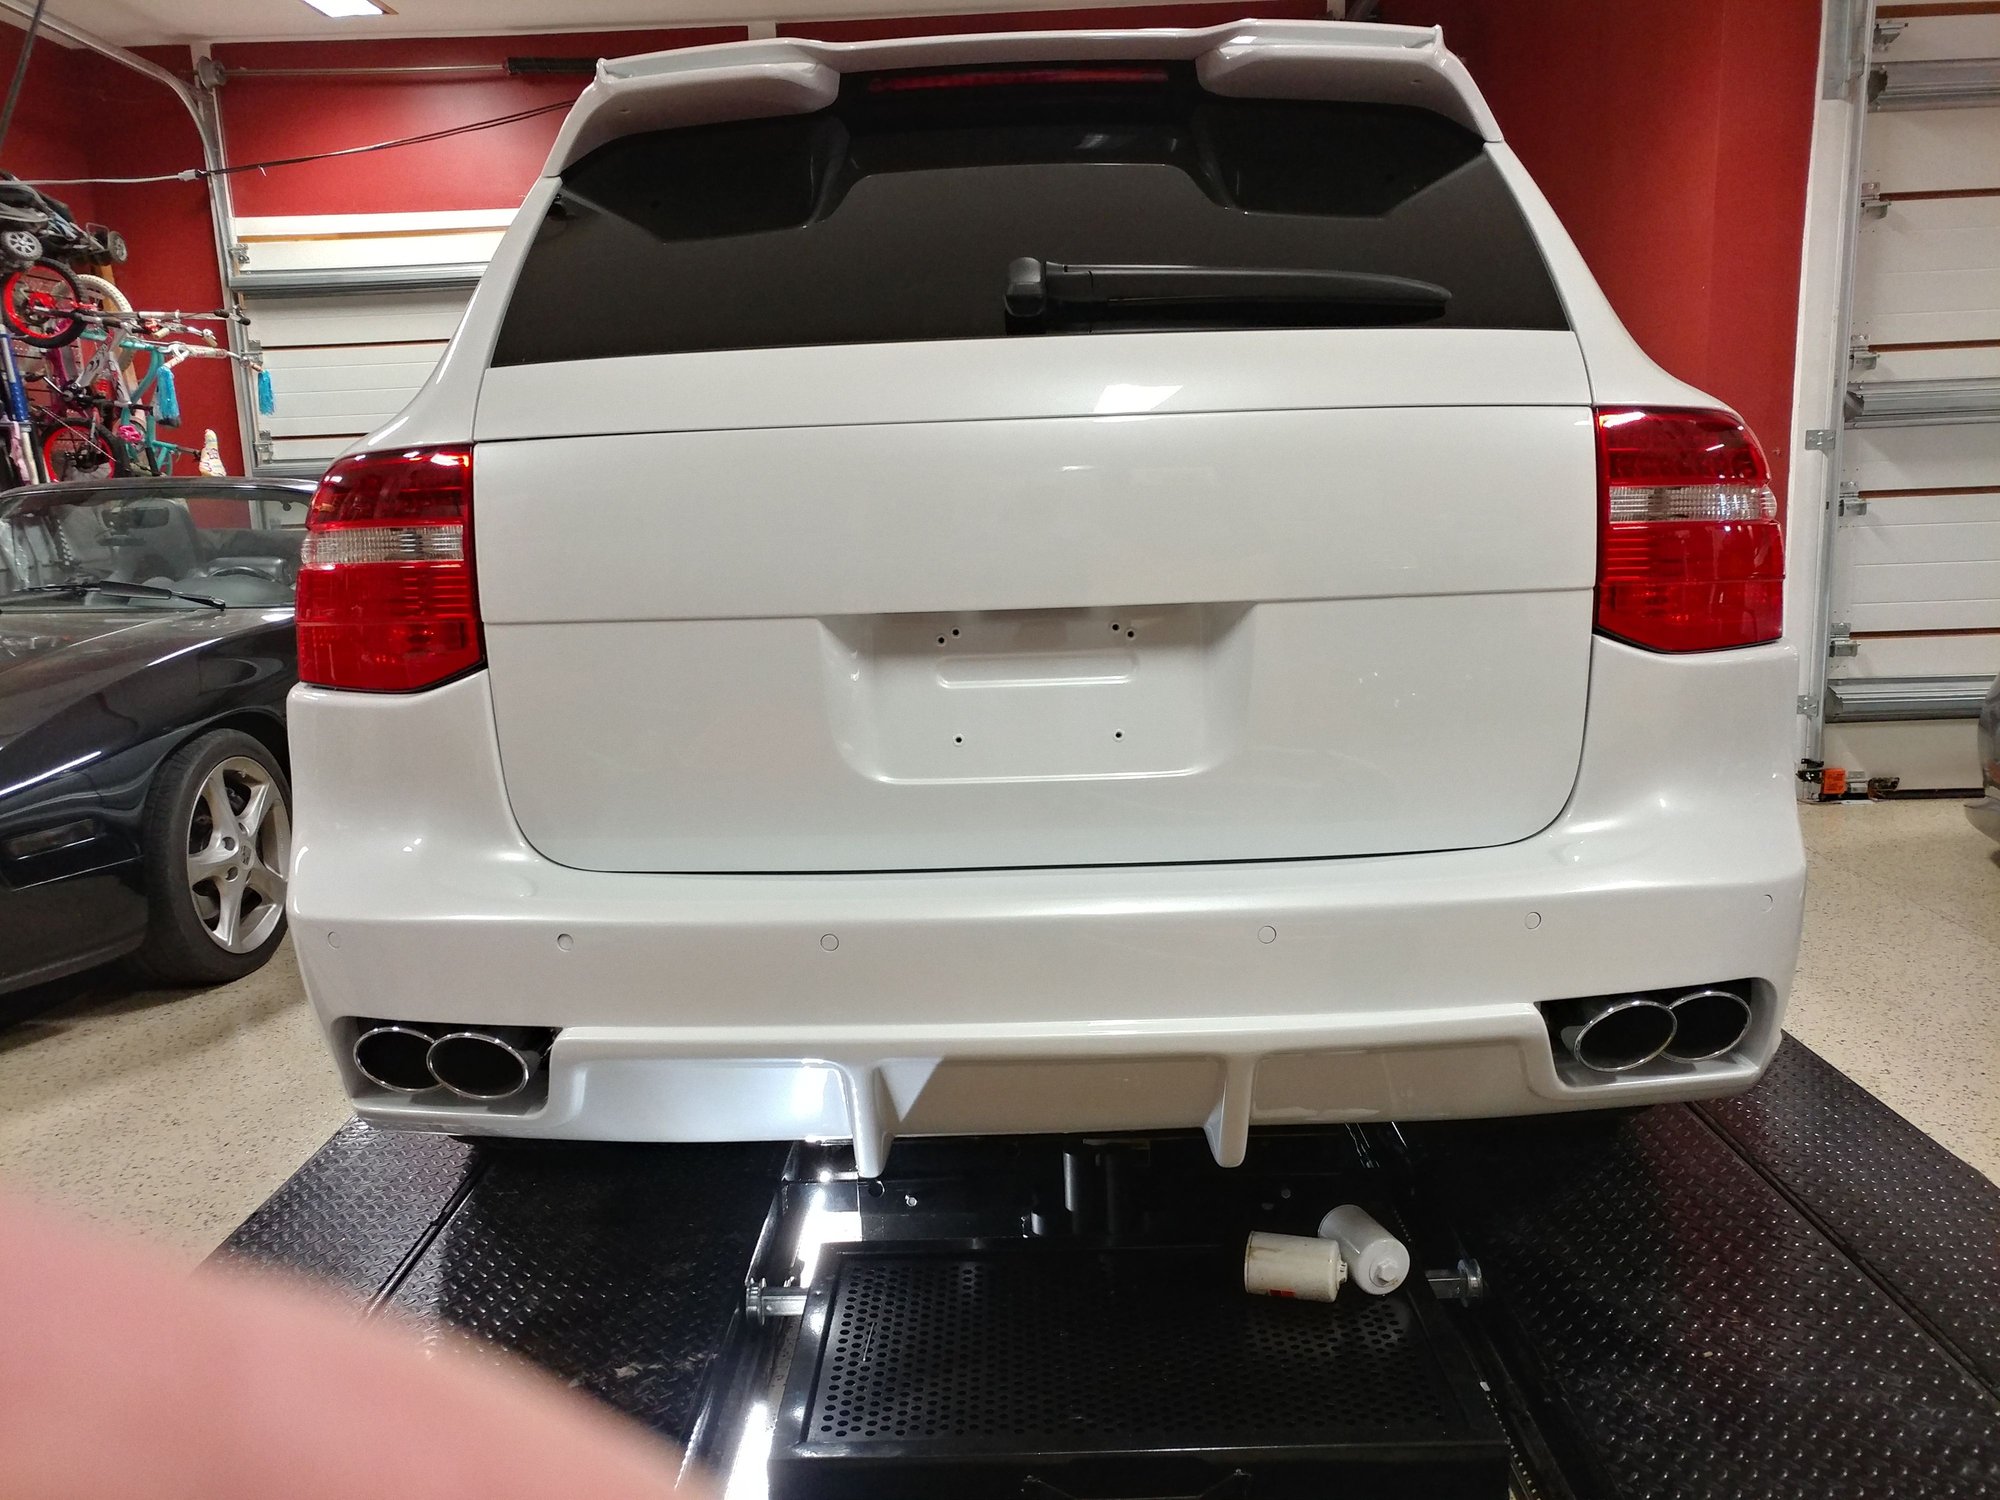
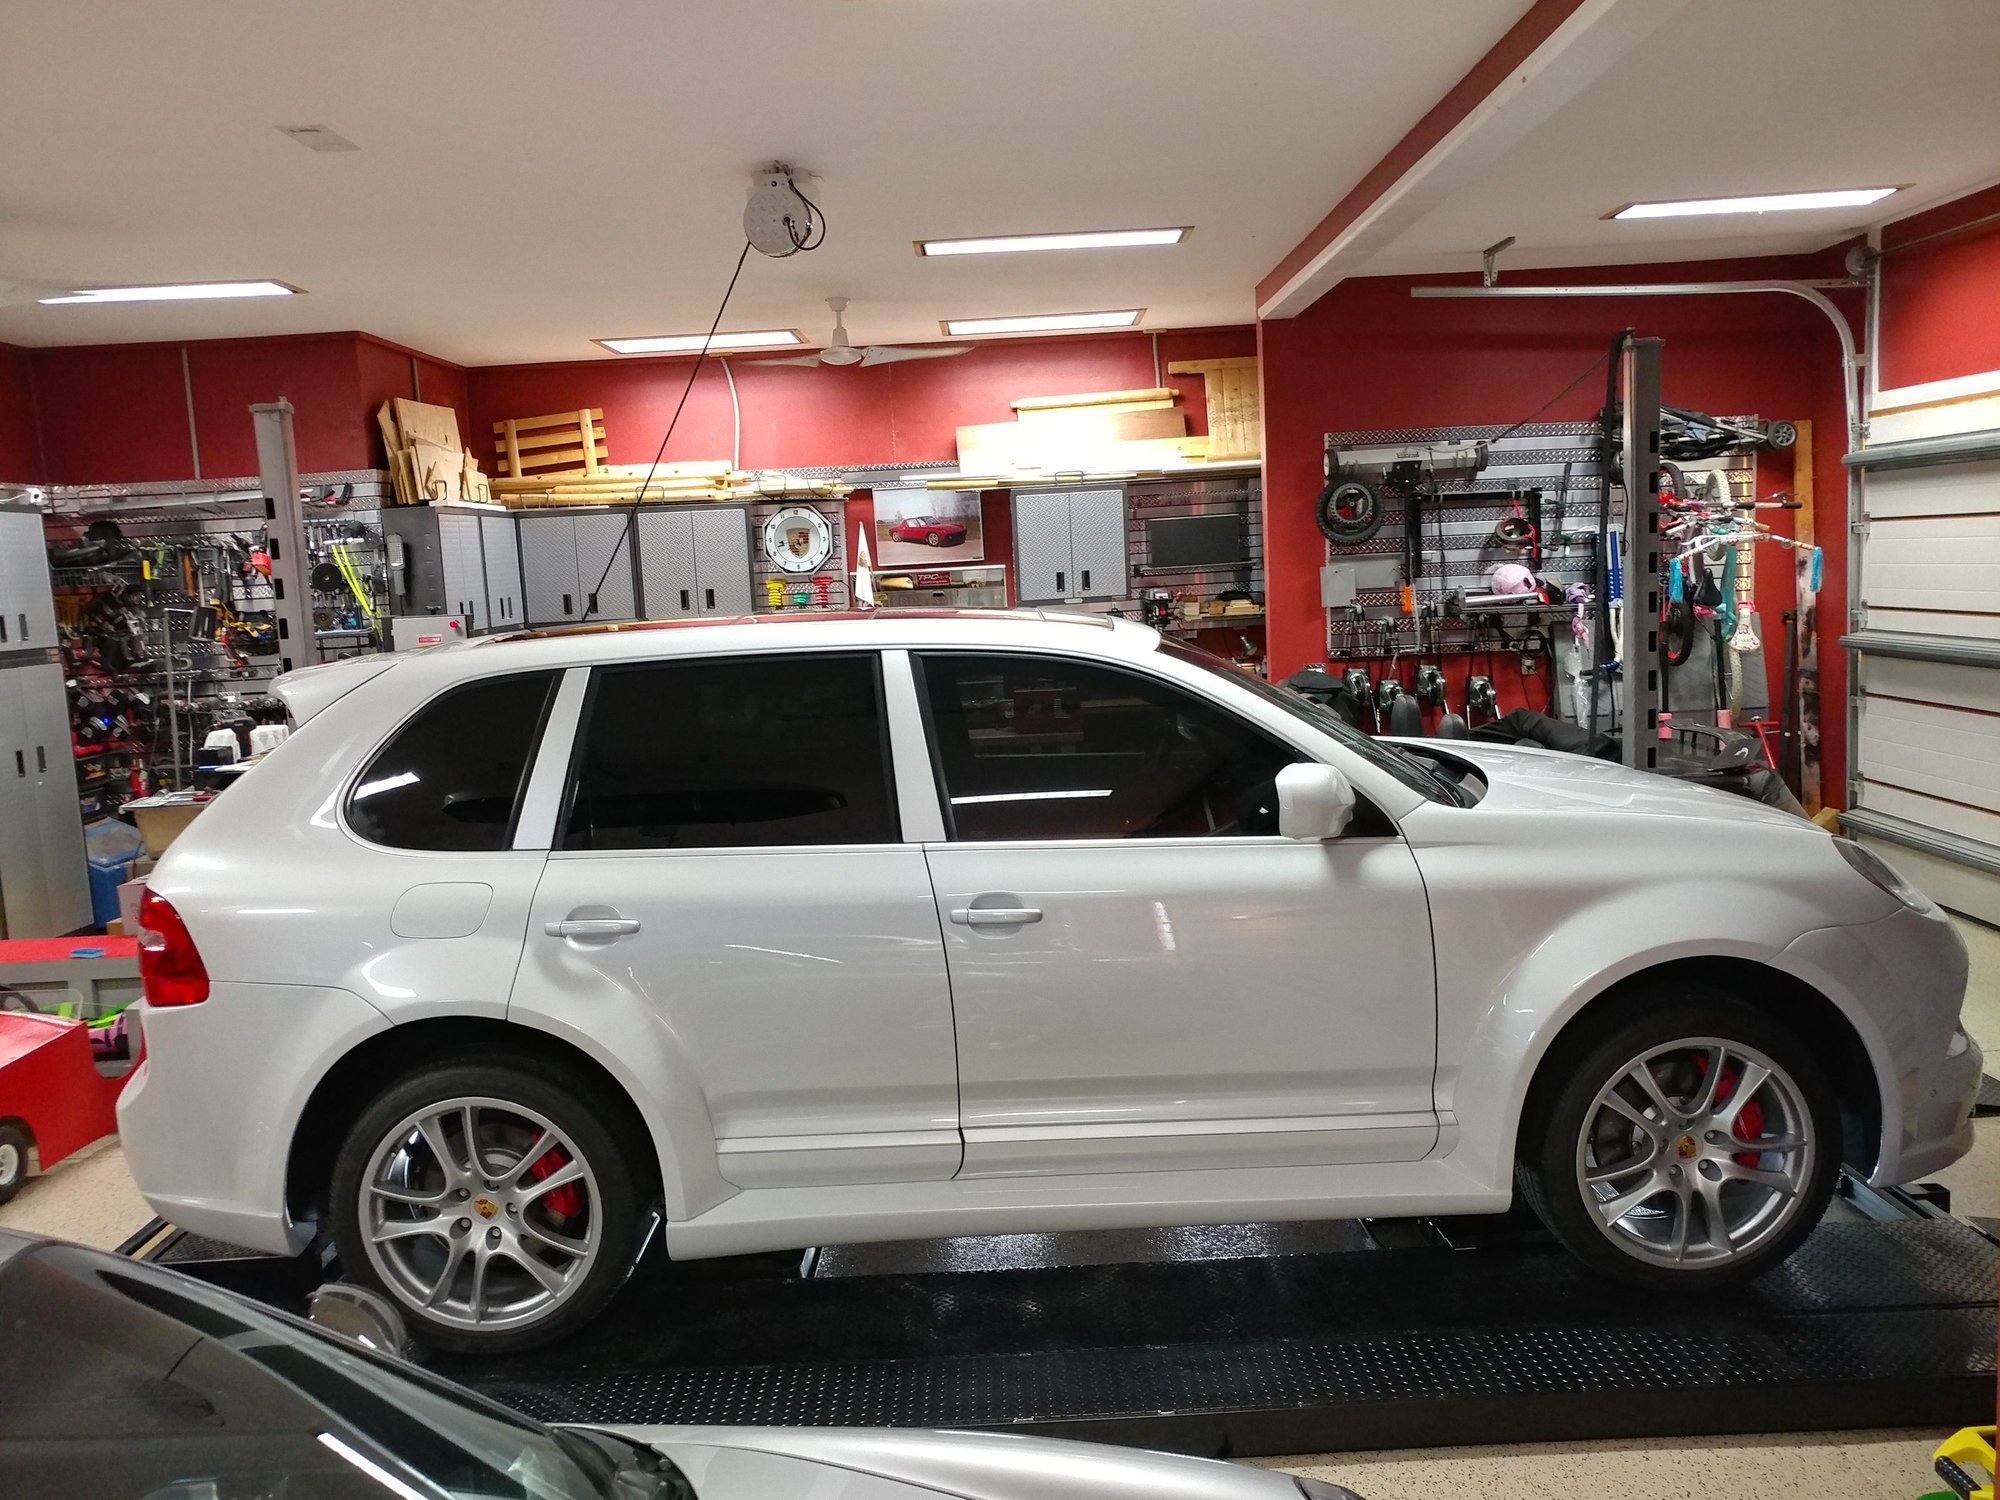
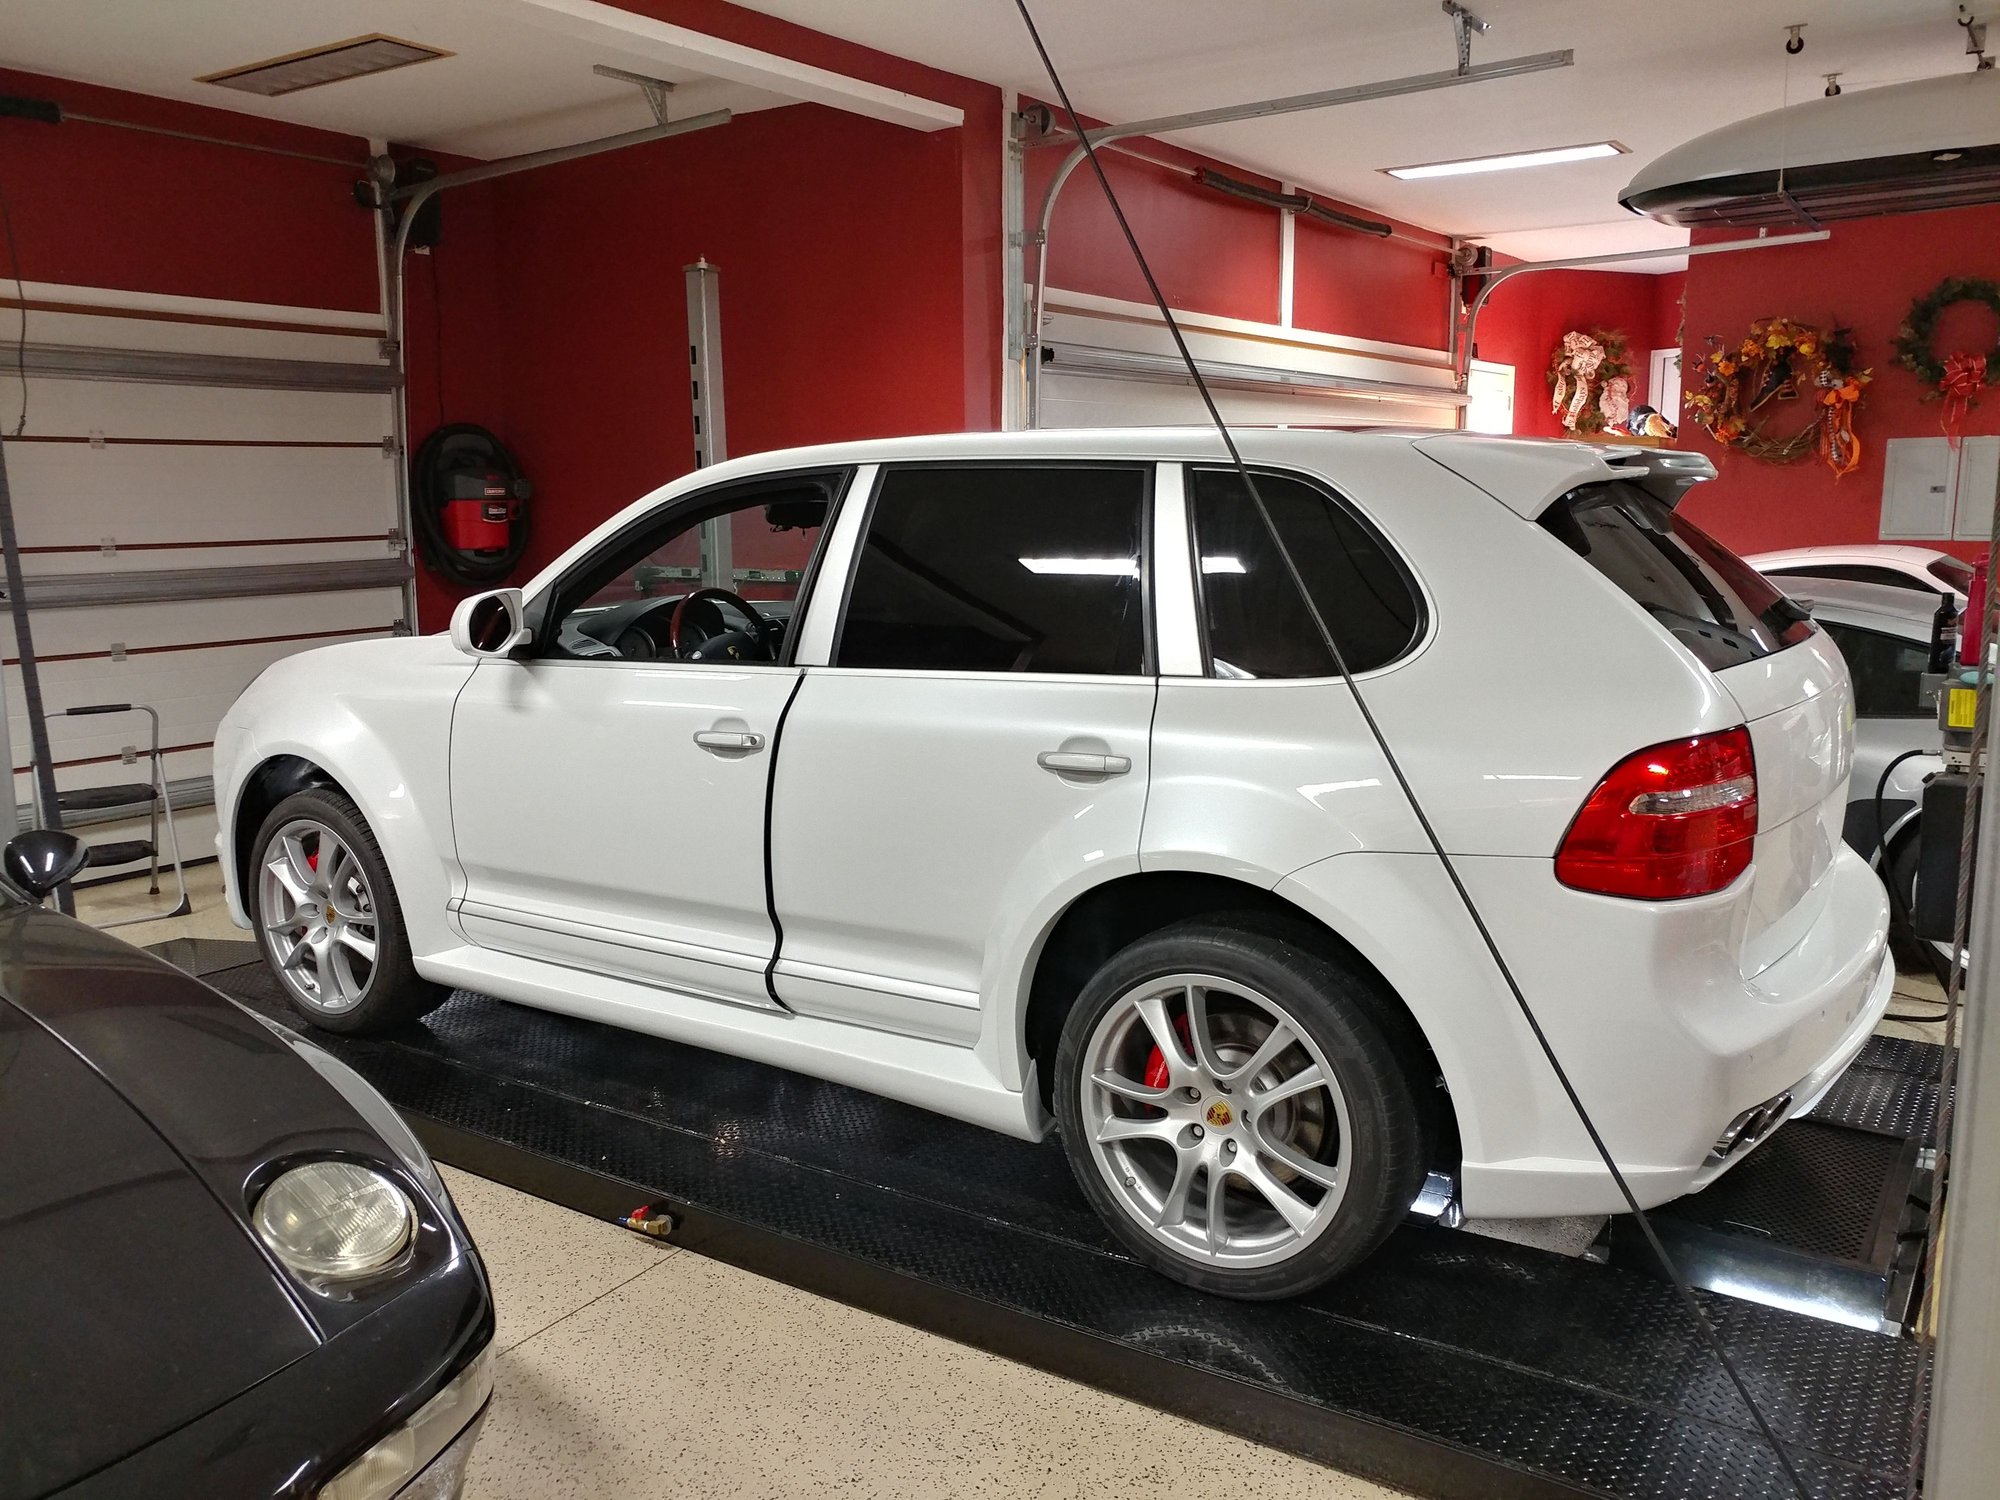
Snapped a couple more pics after yesterday's exterior detailing. Driver's door release mechanism is being temperamental so it's ajar in the pic and I'll have to pull it apart and see what's going on as neither the inside or outside handle will open the door but I can hear the lock moving when I lock and unlock with the key fob and inside buttons - maybe there's an adjustment for the cable.
On the door release, I had a similar problem while replacing my left rear door lock actuator. Perhaps similar to your case.
In my case, it was the little cable that attaches to the outer door handle. I had foolishly thought that the best thing would be to adjust that cable with all the slack out of it so the latch could be released with a minimum pull on the outside handle. Turned out that since this did not let that cable go completely slack when released, somehow the door lock mechanism would not release the latch.
Luckily for me, I still had access to that cable so I was able to adjust. I don't know what I would have done if I was not able to access the cable. Is that the situation you're in? If so, is there a way to get access when the door won't open with either inner or outer handle?
It can be most easily accessed when the thing with the door lock key cylinder in it is removed - on the rear door I worked on, there is a similar thing there, but no key cylinder of course.
Great and thank you. Can I get to the adjustment or remove the key cylinder with the door assembled from the edge of the door with it open, or does the door panel and inside door panel need to be removed to access the cable and exterior handle.
I am able to get it open by gently banging on the door near the edge while pulling the interior handle through the open window. I tripped the door latch mechanism so the interior light would turn off.
If that's the case, lucky you. I have not actually had my front door apart at all, but if it is similar to the rear door, you need to remove the plug thing containing the door lock cylinder. No need to touch anything from the interior side.
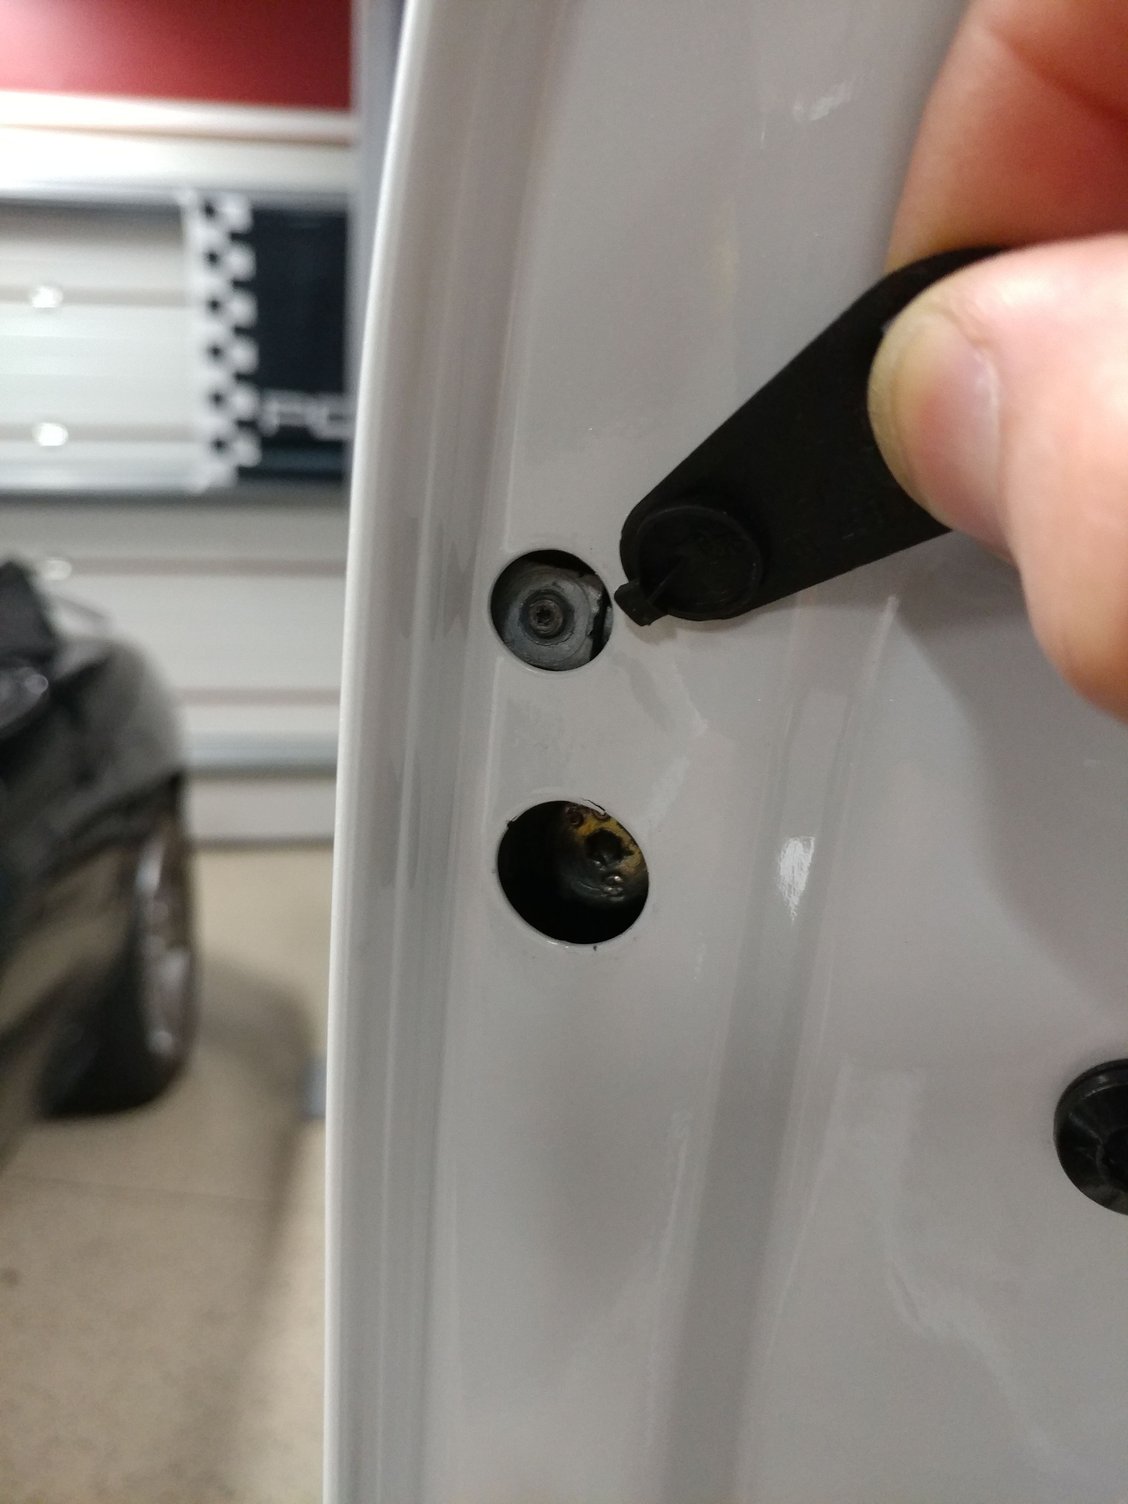
On the door, inside the door jamb, there will be a little (circular?) black plastic cap. Remove that, and there will be a Torx T20 screw. Loosening that about 6 full turns (but not removing it completely, since that would make reinstallation a little tricky) will allow that plug (painted, to the rear of the external door handle) to pull straight outwards for removal. Now on the driver's door, things will be a little more complicated since the lock cylinder is there, and will of course be connected to the door lock actuator assembly. So I'd look up what to do regarding that - i.e., find the instructions to remove the door lock cylinder and follow those.
Once you have that plug out, you'll see the little cable attached to the external door handle. It is a serrated channel, and you can just plug in the cable end wherever you want in there, with about 6mm of total adjustability. If it's too tight, you'll be in the situation I think you're in. If it's too loose, worst case is that the door won't open externally, but will still work with the internal handle. So adjust carefully. And of course, the whole thing can be tested without actually closing the door. Just use a screwdriver or similar thing to simulate the door striker pin that the latch closes around.
If that's the case, lucky you. I have not actually had my front door apart at all, but if it is similar to the rear door, you need to remove the plug thing containing the door lock cylinder. No need to touch anything from the interior side.
On the door, inside the door jamb, there will be a little (circular?) black plastic cap. Remove that, and there will be a Torx T20 screw. Loosening that about 6 full turns (but not removing it completely, since that would make reinstallation a little tricky) will allow that plug (painted, to the rear of the external door handle) to pull straight outwards for removal. Now on the driver's door, things will be a little more complicated since the lock cylinder is there, and will of course be connected to the door lock actuator assembly. So I'd look up what to do regarding that - i.e., find the instructions to remove the door lock cylinder and follow those.
Once you have that plug out, you'll see the little cable attached to the external door handle. It is a serrated channel, and you can just plug in the cable end wherever you want in there, with about 6mm of total adjustability. If it's too tight, you'll be in the situation I think you're in. If it's too loose, worst case is that the door won't open externally, but will still work with the internal handle. So adjust carefully. And of course, the whole thing can be tested without actually closing the door. Just use a screwdriver or similar thing to simulate the door striker pin that the latch closes around.
Based on your input, I found this video on a Q7 exterior handle removal.
https://youtu.be/wyBjEnOgMLA
I'm assuming the Cayenne would be the same and this would give me access to the cable adjustment you were referring to?
Fixed it. This micto-torx screw is an adjuster for the latch mechanism. It was fully tight. After 1.5 turns counterclockwise, both interior and exterior handles pop the door open. Going too far made the interior handle feel like it was on the verge of not popping it at the end of the handle travel. This position seems to work well for both.
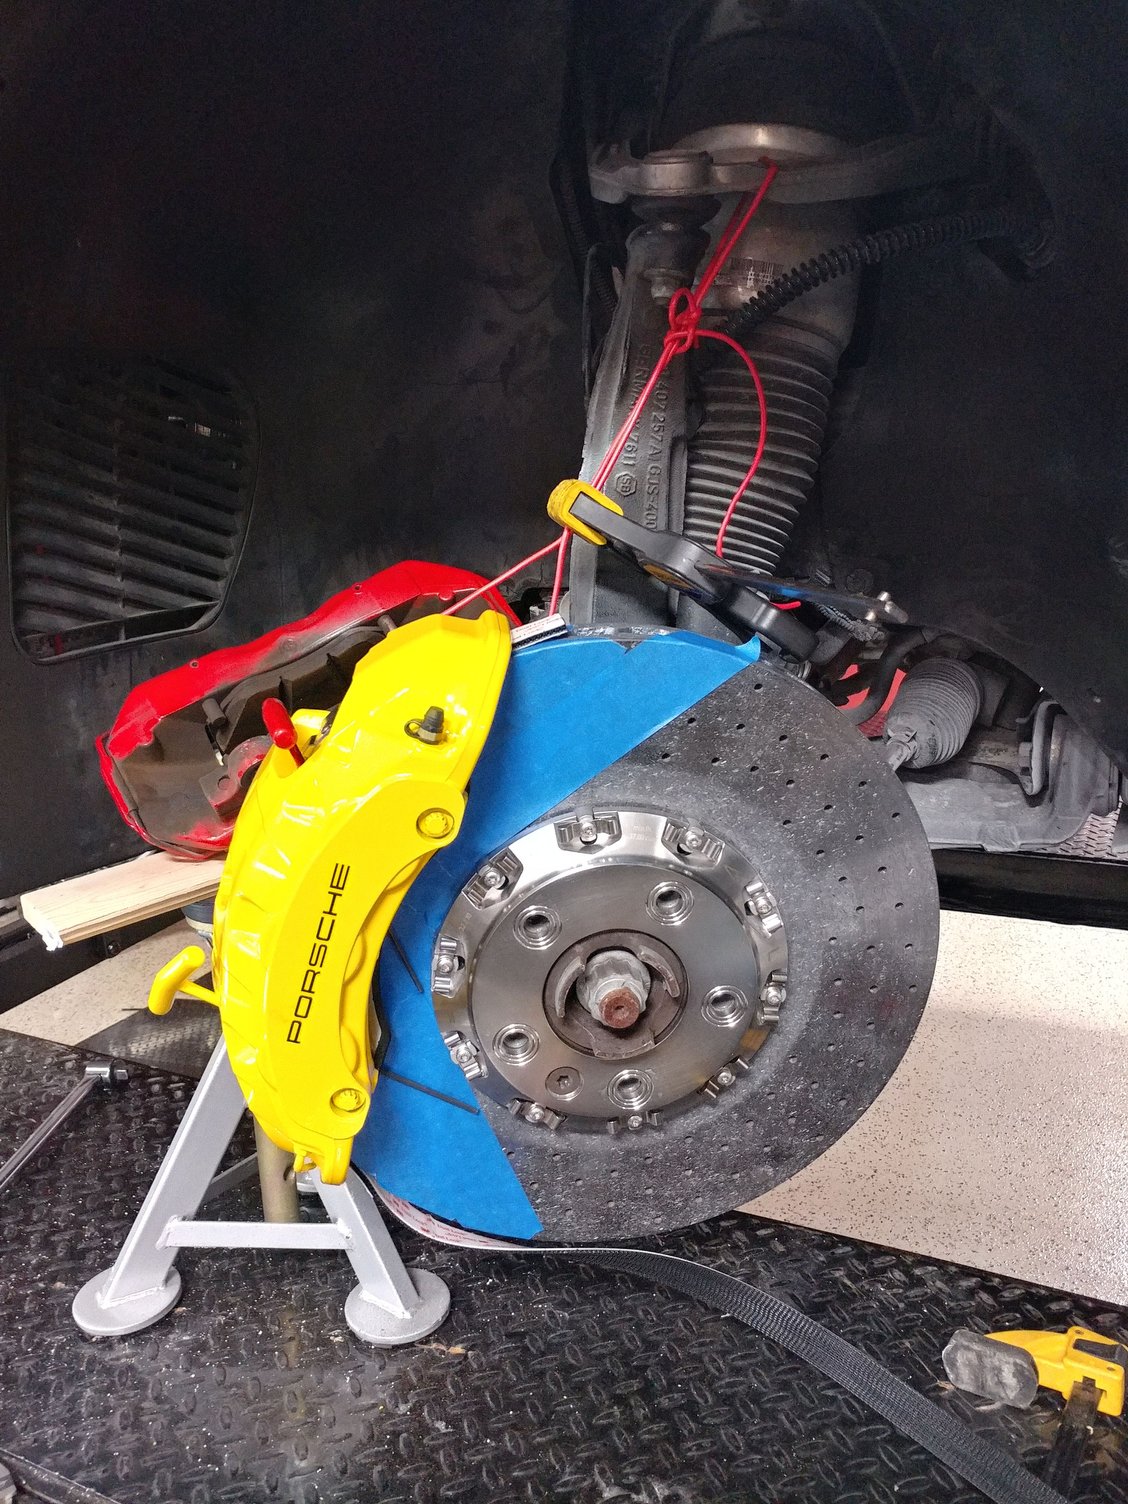
Looks great Pete! LOVE the color! Its soo soft and sweet from some angles looks almost satin. Gorgeous.
Thanks a lot. It really is pretty with the pearl effect metallic and I really like the silver trim with it that we decided to leave to add some character, as it should go really well with the new silver wheels that have painted spokes but a machined then cleared face.
Fixed it. This micto-torx screw is an adjuster for the latch mechanism. It was fully tight. After 1.5 turns counterclockwise, both interior and exterior handles pop the door open. Going too far made the interior handle feel like it was on the verge of not popping it at the end of the handle travel. This position seems to work well for both.
Thanks for pointing me in the right direction 👍
Yesterday's fix didn't actually fix it. Drove it to reset the air suspension so I could lock it in normal to put it up on the lift and once the doors locked, neither the inside or outside handle would open the door. I got it to open again by tapping the door while pulling the handle.
So, on the picture I posted of the edge of the door, the large torx fastener is attached to kind of clamp assembly that tightens the back section of the door handle in place. One finger goes behind the torx head screw to pull it tight when you tighten the screw and the other finger remains in front of it so when removing the handle section, you can loosen the screw and then pry under that exposed finger to loosen the clamp. The small one above it is just a screw that locks into an indentation in the lock mechanism, but not any sort of adjustment as I previously thought.
Once I had the back section of the door handle pulled I now understand what oldskewel was trying to explain to me with the cable. There is a serrated track and the small plastic piece that attached to the cable can fit anywhere into that track. Following oldskewel's advice, I moved it a little further in, making the cable looser, and now it works all the time, even after locking then unlocking the doors and with the double handle pull from inside.
Thanks again as I would have started by pulling the door panel without your guidance.
Yes, nice work. That's exactly the fix I was pointing you to, with modification needed since yours was on the front door. I don't know how I figured out that it was a tension-related issue, but it was 100% the fix for me. Hope it holds for you too.
And wow was I scared when I had the door closed and unable to open. You are so lucky that you were able to get it open. Any ideas what you would have done otherwise?
It is not accessible from the interior, even if removing the panel. You need to then remove the door unit carrier, which is the window, window frame, and internal frame containing the window regulator and door lock actuator (which is itself screwed into the aft surface of the door, by the door latch). Impossible to remove all that with the door closed, so you'd be stuck. The only thing that saved me was that I had done a quick test installation where I put the door lock actuator in without the door unit carrier. In that case, I was able to reach in and access most things including the little cable.
No, not really. Those 2 release mechanisms for the handle are on the hidden edge of the door when it's closed, so like you said, glad I was able to get it open to access the cable and the handle assembly that holds it.
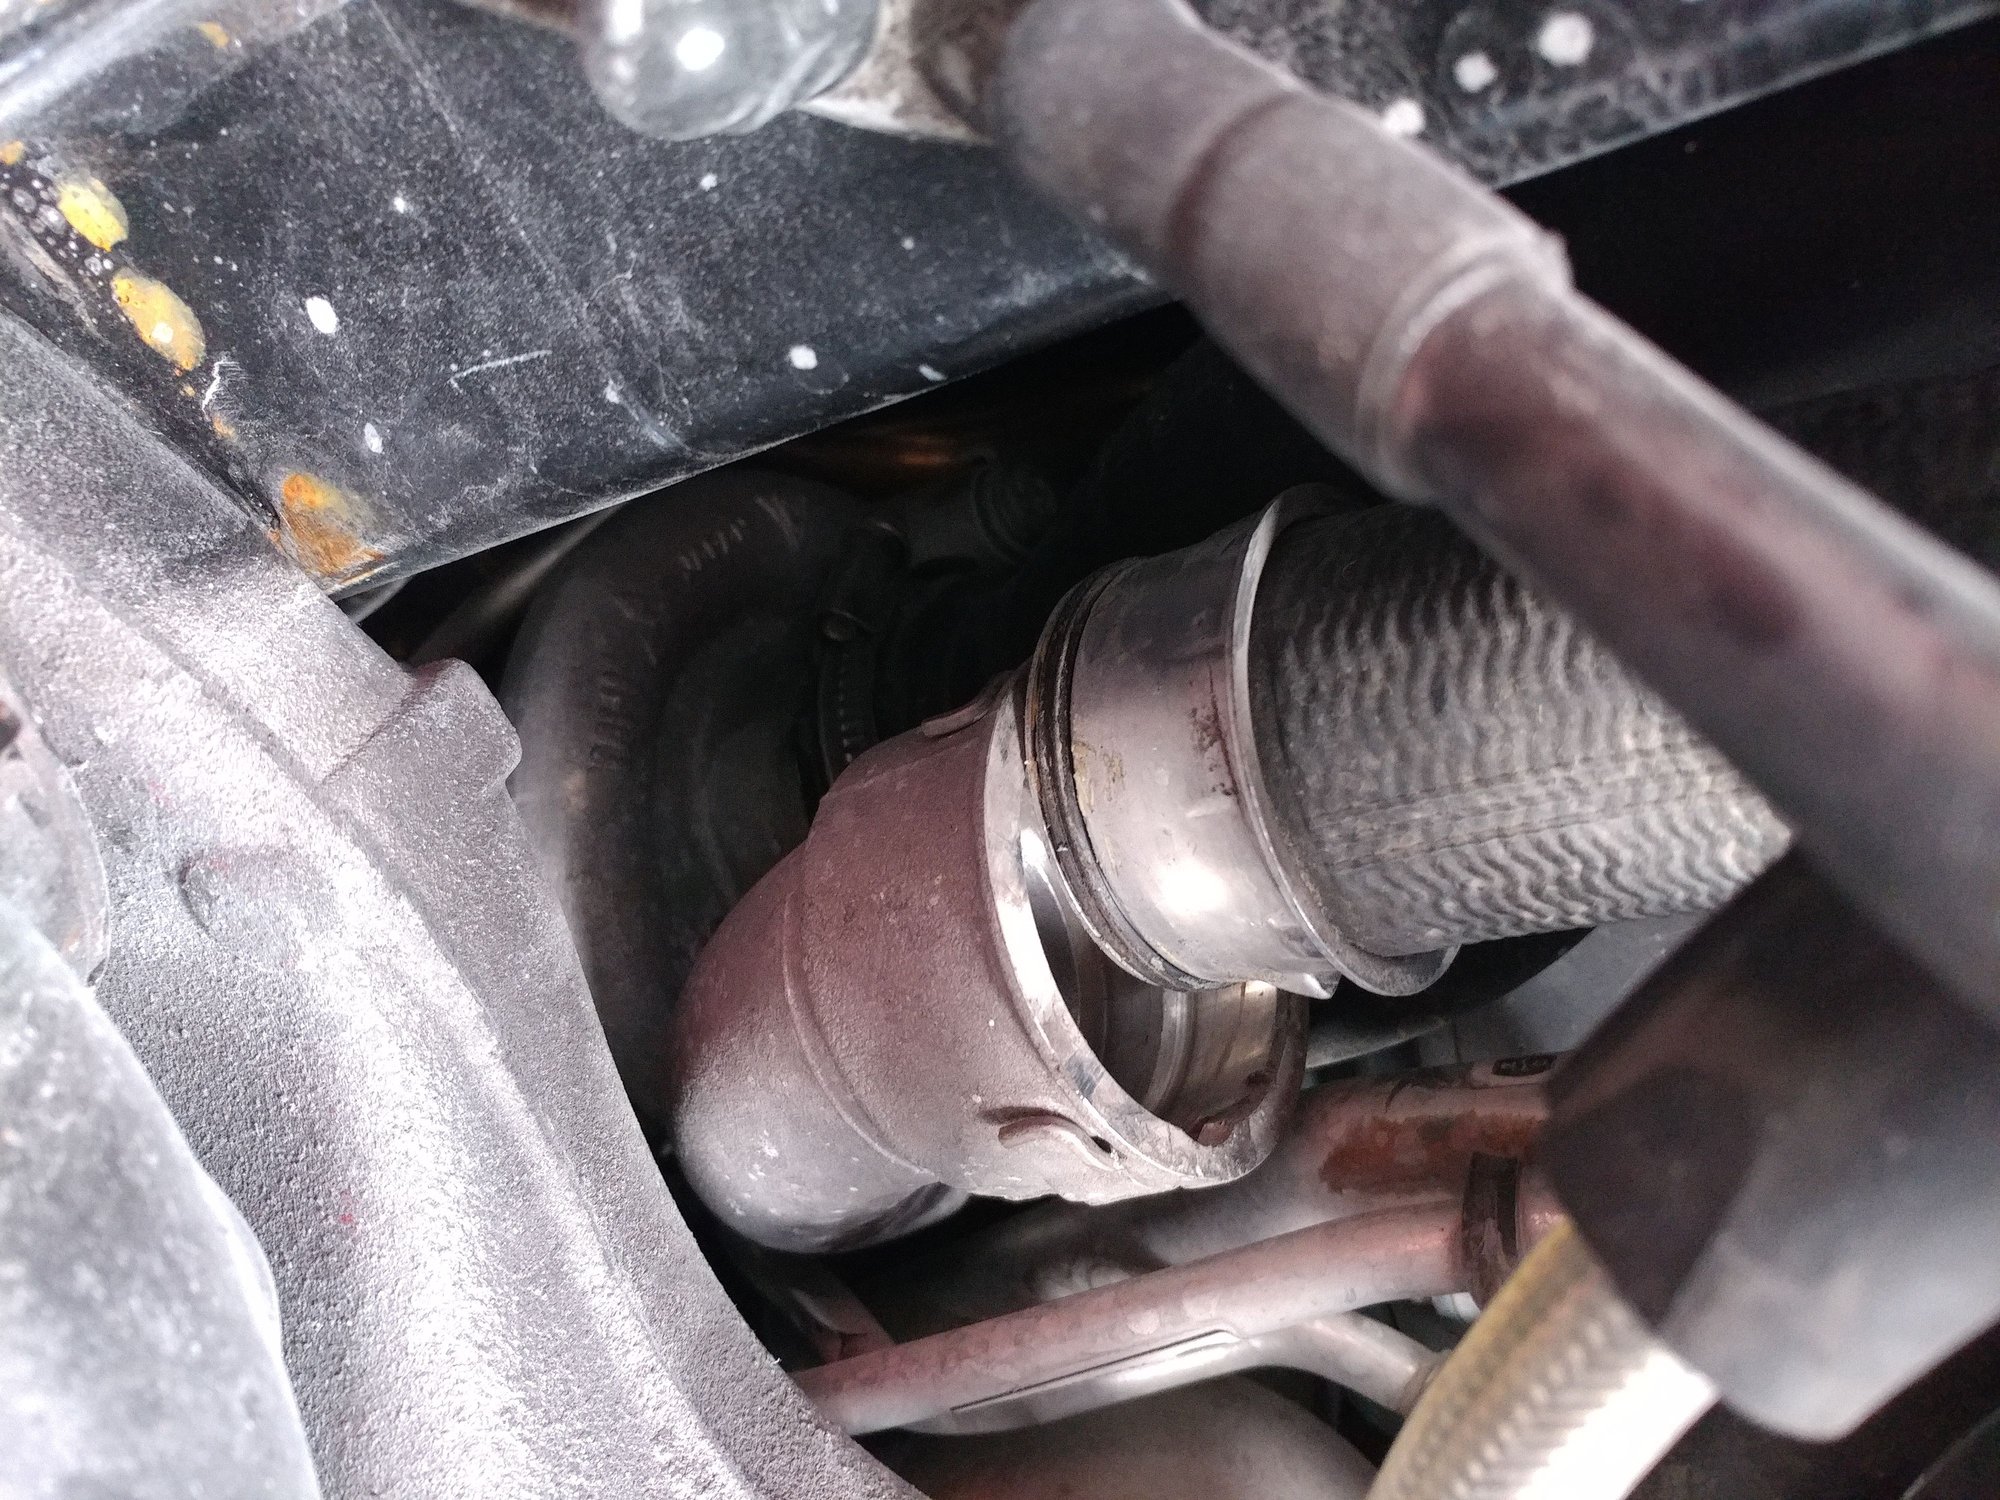
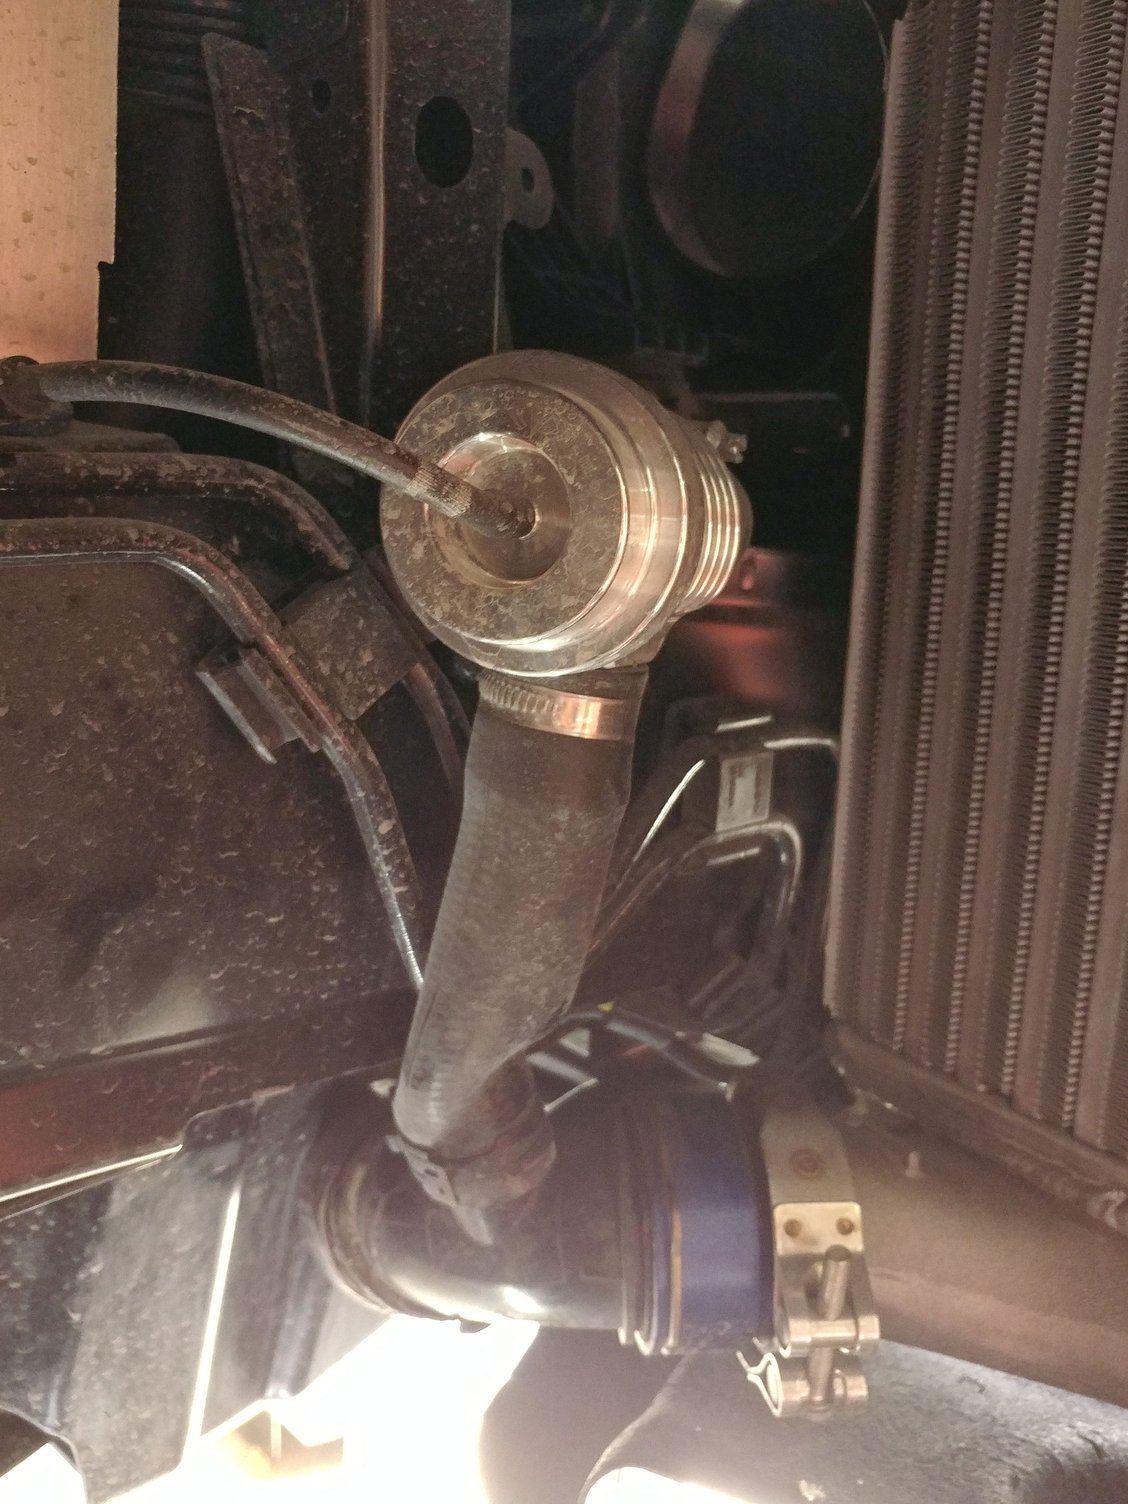
During the drive home from the body shop under boost, I heard a pop and then had no boost on the gauge (I hadn't l looked at it to know if it was working before the pop though) and the car didn't feel very strong either. Pulled the front wheelwell liners and found the problem, err, problems...
The pop was surely this one
but investigating further there were a number of issues with the way the body shop installed the HHR Intake, EVOMS Diverter Valves, and the FVD Intercoolers.
The o-rings at the junction between the intercoolers and the factory plumbing was in the wrong place and prevented the factory tube from going into the FVD collar far enough for the snap ring to lock into the groove.
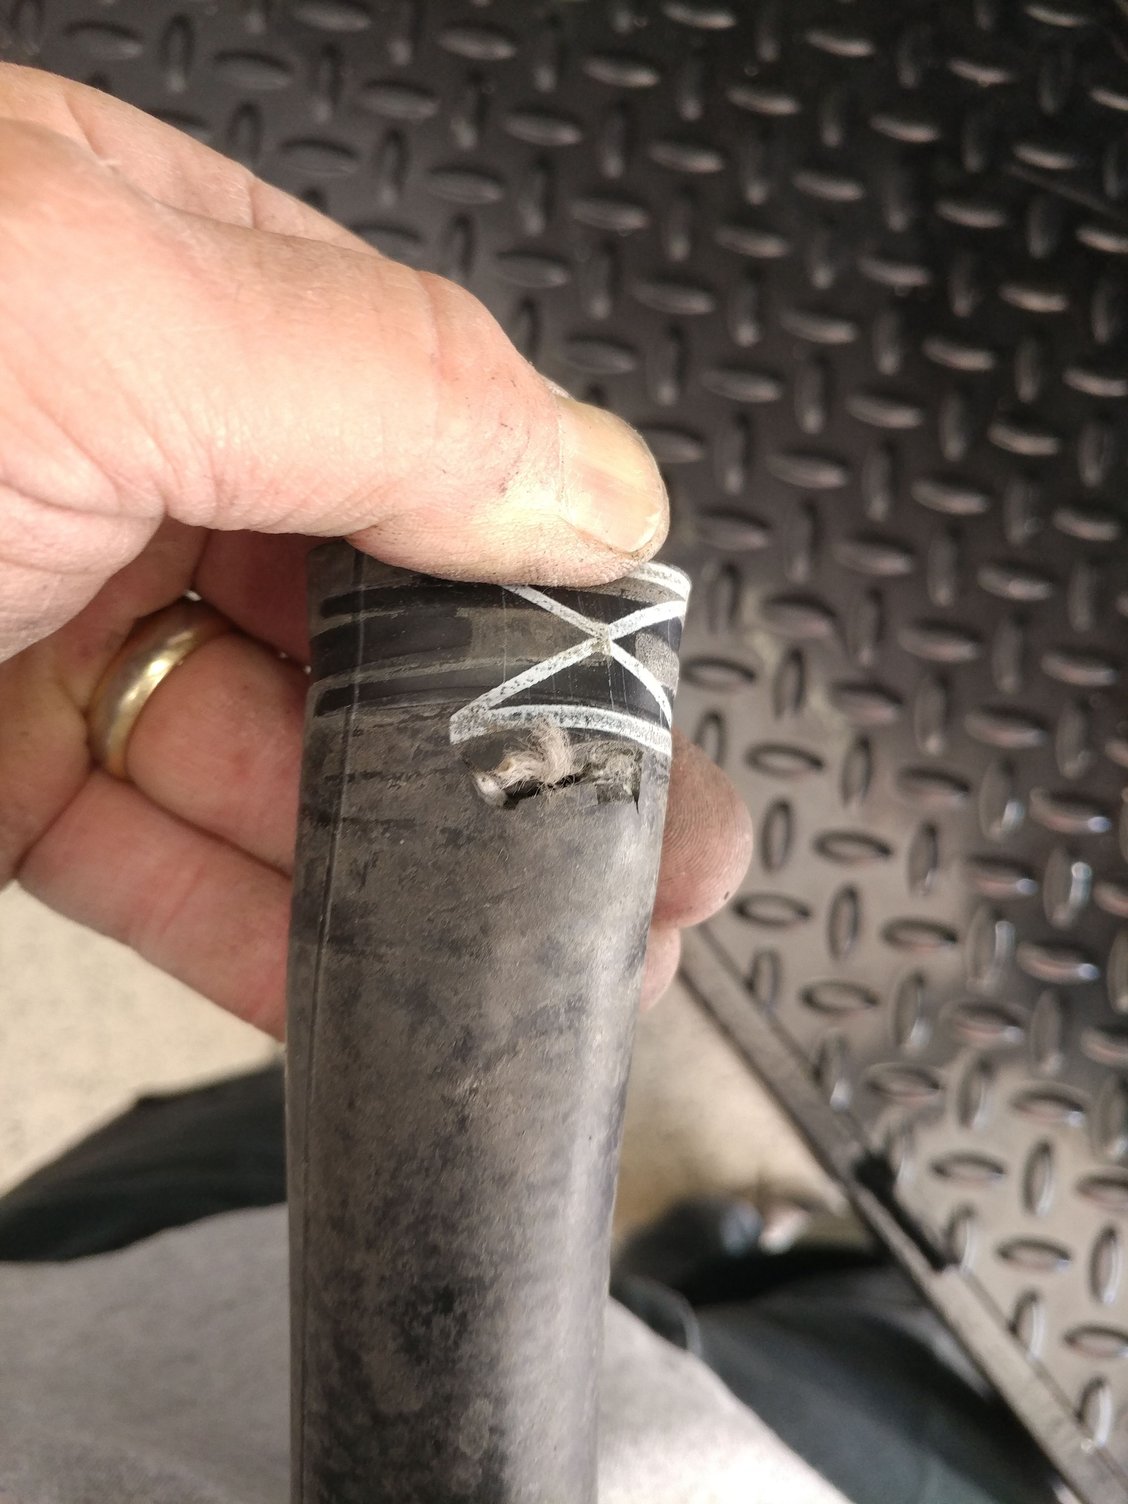
The plastic elbow that has the rubber line to the diverter valve wasn't oriented correctly and was pinching that rubber line, so I readjusted all that and also added a loose coil spring inside the rubber hoses which is larger than the fittings on the elbow and the diverter valve, but gives the rubber lines structure.
The passenger side rubber line to the diverter was cut by the clamp so I bought a new hose to replace it and installed the clamps properly.
The blown off connection wasn't locked into the spring clip properly so I fixed that and put a wire toe around the ends of the spring clip to hold it together, but it will probably be fine without it and just want put together correctly initially. Checked the Driver's side too and did similar fixes to it as well. The FVD collar on that side didn't have an o-ring at all, so added that on the proper place and that clip locks in now too.
... guess they should stick to paint and body work and leave the mechanical stuff alone :-/
I cleared the DME and the car relearned the fuel trims, though I didn't drive it, but even with some light revving on the lift, the boost needle isn't even twitching, so I'm curious if in your Turbos the boost needle moves at all when not driving without any load on the motor. If so, they must have knocked the vacuum line that reports boost to the gauge off during the bodywork if anyone can point me to where those connections are under the hood.

 03-30-2018, 09:07 PM