When you click on links to various merchants on this site and make a purchase, this can result in this site earning a commission. Affiliate programs and affiliations include, but are not limited to, the eBay Partner Network.
Hey All - I am a new 04 Cayenne S owner and I was just trying to check my coolant pipes with my phone camera. I think I may be in luck based on this attached video. Do you guys agree? I think the aluminum pipes are already installed, right?
No video attached. Usually, two reasons - low post count means you can't attach anything, and sometimes it's better to host it off site (YouTube) and give us a link to it.
No video attached. Usually, two reasons - low post count means you can't attach anything, and sometimes it's better to host it off site (YouTube) and give us a link to it.
Fixed it, it was 5mb file limit for AVIs. I just cut the video down to the important part.
Hey All - I am a new 04 Cayenne S owner and I was just trying to check my coolant pipes with my phone camera. I think I may be in luck based on this attached video. Do you guys agree? I think the aluminum pipes are already installed, right?
Can anyone verify I am correct that this does look like the aluminum pipe was previously installed?
I took a few screenshots to make it easier from the video. Is that the aluminum pipe for sure?
Question for the coolant pipe masses. I test drove at an '06 a couple of weeks ago and was curious to know if the coolant pipes had been swapped. I tried going down the path with the dealership who performed the service to see if they could tell me if they had been done but they refused to release any info unless I was the registered owner. I'm now wondering if I had the aid of a automotive video inspection camera, would I be able to poke it down in the back the engine far enough without removing any engine covers to possibly see? Or is there zero gap between the cover and the back of the engine and around the intake runners to get anything back there to see? I don't think the dealer will let me take engine covers off and really dig down in there to look.
Chensley - we built a DIY subforum just for things like this that get asked repeatedly. I'd suggest looking there for your answer. Or earlier in this thread, I'm certain there are photos explaining it all. Removing the covers won't do a thing for you.
BTW - there is also a thread on buying a used Cayenne - I seem to recall having that same thing answered in that thread too - it's a sticky.
Thank you all, for your imput, I checked mine today using the phone at the back of the motor and found I have the aluminum pipes the only to drop the phone down the back, thank god I had the torch on so I could find it.
My 05 Cayenne Turbo has been displaying all the signs of a bad plastic heating pipe under the intake manifold, puddle of coolant under the back end of the engine. So I dug into it and the heater pipes have already been replaced with alloy pipes. I�m wondering what else could be the problem so if anyone here has an idea please let me know.
On my 2006 Cayenne S, the problem was the large pipe underneath the smaller heater pipes. There is a rubber coupling that connects the pipe to the back of the engine. The coupling was split on the bottom side. The only way I found it was to borrow a cooling system pressure checker from an auto parts store. Under pressure, the coolant began squirting out of the split coupling.
Due to mice, we had to have the rear coolant hose replace a while back on our 2006 Cayenne S.
It took the dealer a while to find the problem as the aluminum pipe upgrade had been done already
What was surprising is the dealer suggested we get our home owners insurance to pay for the repair, and to our surprise they did
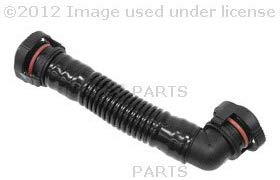
Thank you all for this thread. 04 CTT 135K. I was in to do the starter (it's only been slow for two years so, yeah it was suddden with no warning..lol), swapped in the pipes, and owing to its age and my ham-fistedness, I cracked the plastic tee at the back that vents both banks through a 10mm OD /8mm ID, PA12 nylon vent pipe that feeds a vent crossover between the two banks. The long skinny portion of the vent pipe assembly broke as well, at a clip point. I'm guessing the metal clip heated up and caused a localiszed hot spot on the nylon (?) vent pipe over 15 years making it more brittle there. I'll attempt making a new nylon pipe with a heat gun, maybe fill it with sand so it doesn't collapse and this stuff:
for $9.00. It strikes me as insane to spend $100 plus for a vapor hose, when the fittings are fine, but the pipe cracked. Another poster just used some fuel line rated for temperature and that should be fine too.
And for good measure I broke the vent hose between the PCV (? left front) and the valve(?) at the top of the intake manifold just behind the throttle body. This part, 948-107-214-51, is maybe 6 inches long. It sells for $125. No thanks. The corrugated pipe cracked in the middle. I used a heat gun to warm up the brittle pipes and extracted the end fittings. I'm looking for a suitable hose.
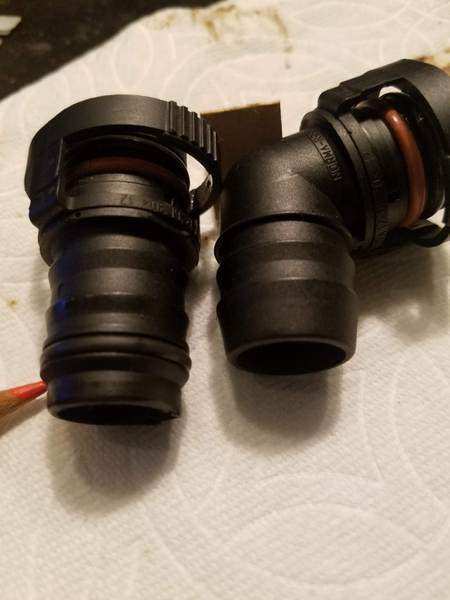
I've got the alloy tees from JagsThat Run and the new hoses for the Turbo-only plumbing out back. I also grabbed a brass fitting for the little broken plastic tee at the back, measuring 10mm x 8mm x 10mm for the barbs.
. The old tee just crumbled as I tried to separate it so I gave the hoses a crunchy squeeze with a pliers and it pulverized the remains. Dental pick and a good shake, and all the barb bits fell out. Not a coolant tee, so brass is fine, no dissimilar metals reaction with the coolant and aluminum.
I'm busy as heck for the next few days, then out of town for a week, but I'll post up photos of the fixes. Point is, you can repair the existing vent lines to be as new or better for a few bucks. Extract the ends and make your own.
First of all, I want to sorry for my bad english. Im from Turkey✌
I have bought a porsche turbo 2003. However 2 days ago I saw a black leak on the ground. Firstly, I thougt that is oil, but I realized it was coolant 😭😭
I need your ideas about that. We can say it is certainly to leak from valley of engine, or we can say it can come from another place?
The big vacuum port at the back of the manifolod has been problematic. The "push in to release" end of the elbow fell apart when I attempted removal, but was otherwise sound. When you push in, it translates that motion into an upward push on the sealing ring. I emulated that upward push with a long trim removal tool. All good.
I remember using a scrap piece of 1 by 3 with the dead blow hammer to remove the upgraded alloy rear coolant pipe out so as to gain access to the starter? So I thought it might come in handy the other night, around midnight, in my driveway to coax that 10mm vacuum elbow back on to the intake manifold. Just a little tappy tap tap tap. Ahh there it goes, sliding down nice and snug...just one more tap and ... crack...aww nuts. I managed to break the 10mm port/nipple off the manifold.
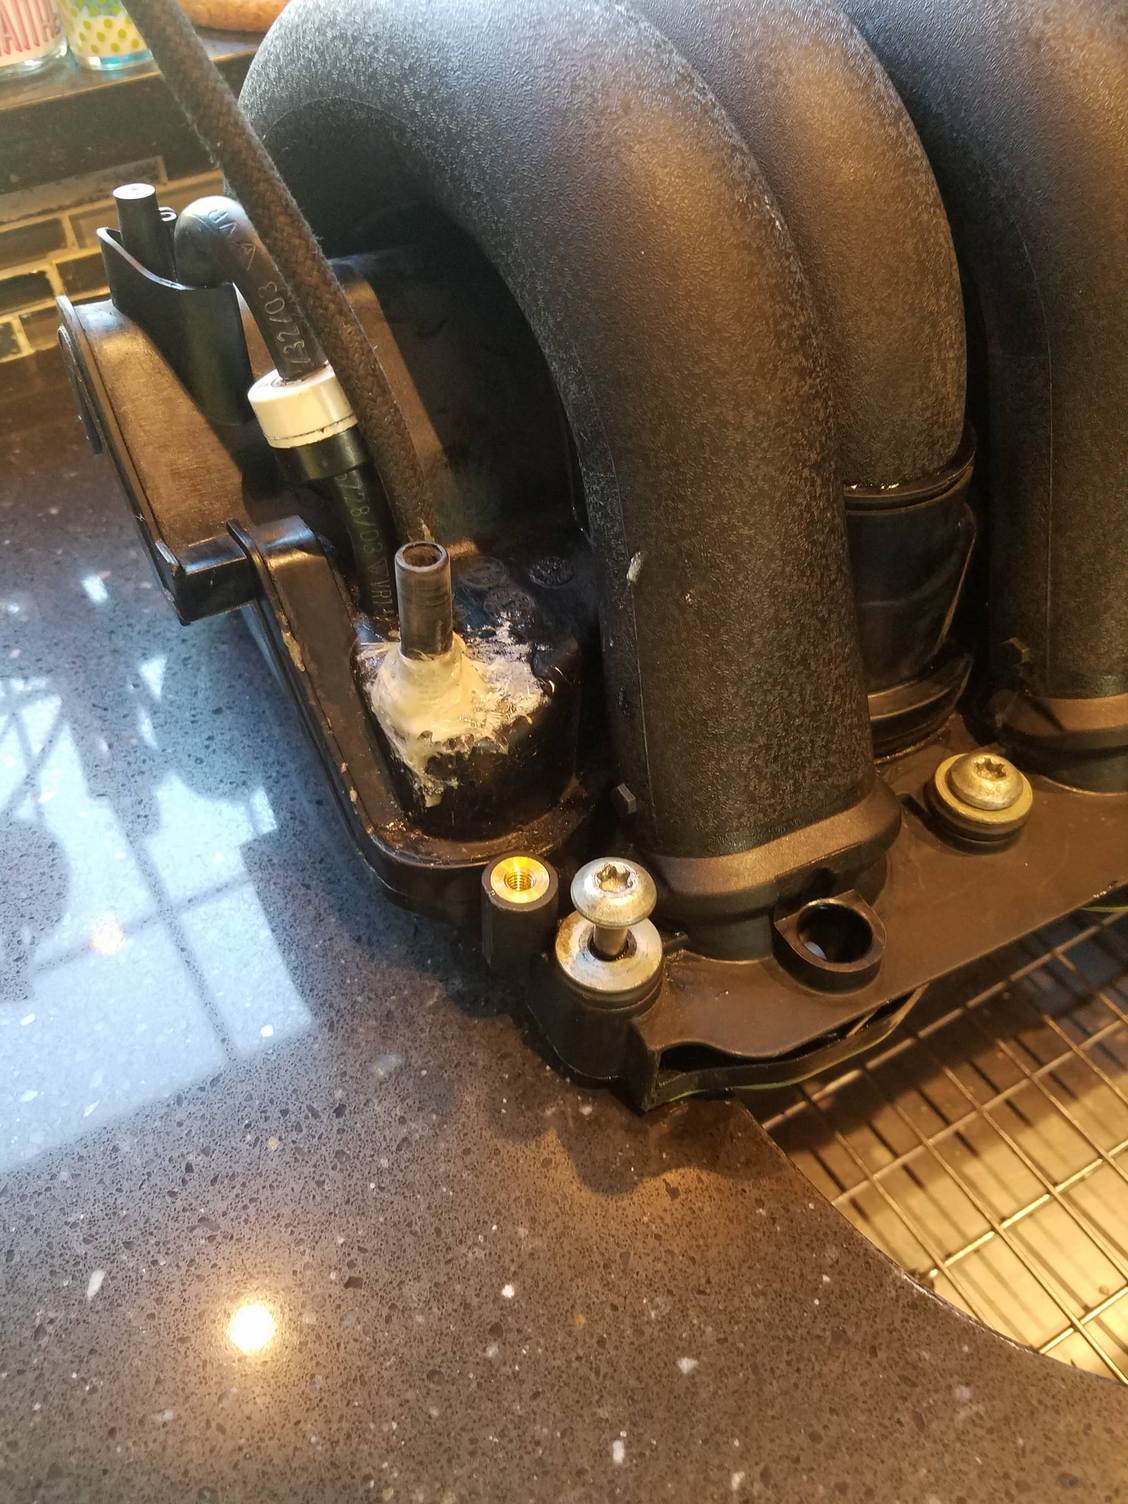
The fix, while not pretty, is strong as hell. I sleeved it with an alloy sleeve then reinforced the base with 2-part urethane epoxy and fiberglass mesh.
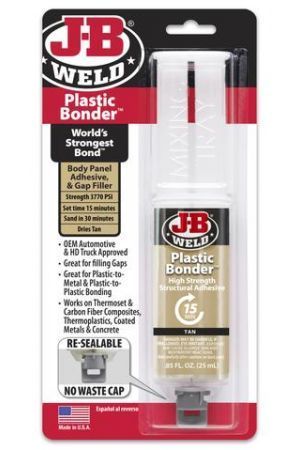
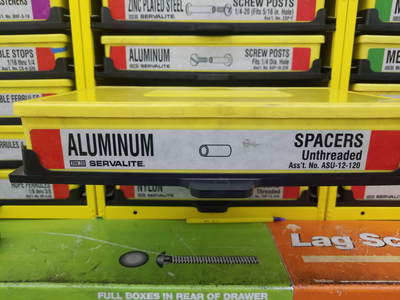
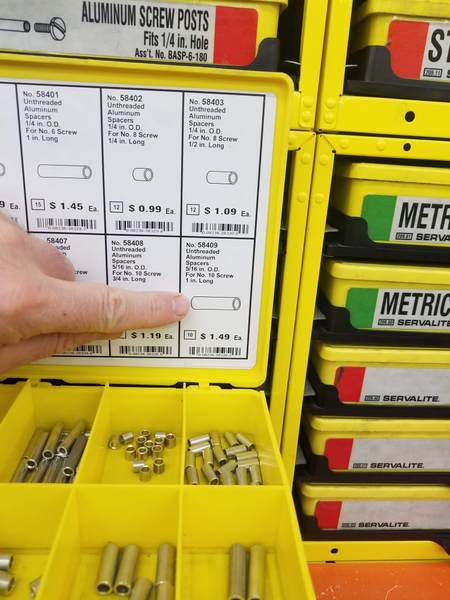
The OD of the port measures a few thousandths over 10mm exactly. ID is around 6.5 mm . So i used the next larger sized drill bit ..just under 7mm and drilled up from the break about an inch and then down into the manifold. The local ACE hardware provided an aluminum collar about two inches long for a $1.49 The OD was a little too fat. Turned it down on the lathe to 7mm, slathered it in JB Plastic Bond ( a 2 part urethane epoxy) and pressed it in to the broken nipple. Then as the epoxy began to firm up, I squeezed it into the manifold. Then I slid a perfectly sized center punch down through the center to ensure any excess epoxy wouldn't obstruct the inside of the port. After that set all up, i roughed up the outside of the break with sandpaper, washed it with Isopropyl alcohol, and wrapped it with fiberglass mesh. mixed up a second small batch of the two part urethane and troweled it in with a popsicle stick.
I tidied it up a bit after this shot, and may yet sand it and squirt it with a lick of flat black paint. Ugly, but strong. It is also sleeved inside with a 2" alloy tube. 2-part urethane, intended for a variety of automotive plastics and composites. ACE Hardware for a sleeve to repair broken plastic port. This little guy for a $1.49 got slimmed down on the lathe, then sleeved inside the broken plastic port on the back of the intake manifold.
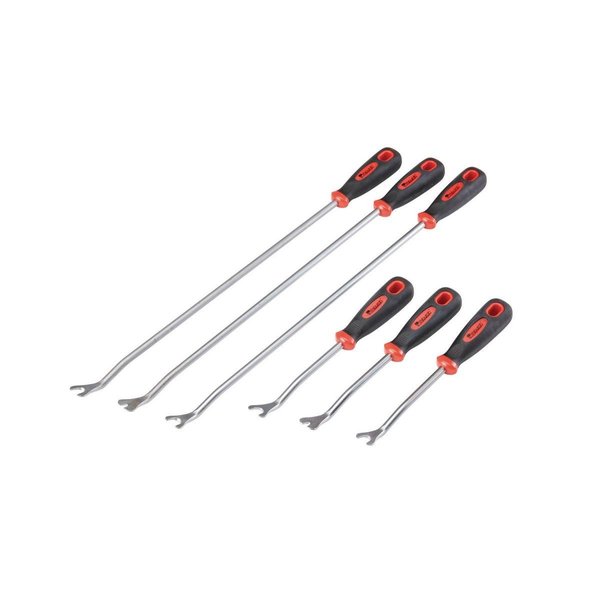
Harbor freight trim removal tools. The flat "Y" shape came in handy to remove quick release fittings and the cooling hose feeding the driver's side turbo.
Also, if you are replacing the plastic Turbo coolant tees buried by the firewall, remove the air pump AND the bracket on the driver's side. The access from above is much better with the bracket removed.
Last edited by BrianC72gt; 01-16-2020 at 03:43 AM.
The big vacuum port at the back of the manifolod has been problematic. The "push in to release" end of the elbow fell apart when I attempted removal, but was otherwise sound. When you push in, it translates that motion into an upward push on the sealing ring. I emulated that upward push with a long trim removal tool. All good.
I remember using a scrap piece of 1 by 3 with the dead blow hammer to remove the upgraded alloy rear coolant pipe out so as to gain access to the starter? So I thought it might come in handy the other night, around midnight, in my driveway to coax that 10mm vacuum elbow back on to the intake manifold. Just a little tappy tap tap tap. Ahh there it goes, sliding down nice and snug...just one more tap and ... crack...aww nuts. I managed to break the 10mm port/nipple off the manifold.
The fix, while not pretty, is strong as hell. I sleeved it with an alloy sleeve then reinforced the base with 2-part urethane epoxy and fiberglass mesh.
The OD of the port measures a few thousandths over 10mm exactly. ID is around 6.5 mm . So i used the next larger sized drill bit ..just under 7mm and drilled up from the break about an inch and then down into the manifold. The local ACE hardware provided an aluminum collar about two inches long for a $1.49 The OD was a little too fat. Turned it down on the lathe to 7mm, slathered it in JB Plastic Bond ( a 2 part urethane epoxy) and pressed it in to the broken nipple. Then as the epoxy began to firm up, I squeezed it into the manifold. Then I slid a perfectly sized center punch down through the center to ensure any excess epoxy wouldn't obstruct the inside of the port. After that set all up, i roughed up the outside of the break with sandpaper, washed it with Isopropyl alcohol, and wrapped it with fiberglass mesh. mixed up a second small batch of the two part urethane and troweled it in with a popsicle stick.
I tidied it up a bit after this shot, and may yet sand it and squirt it with a lick of flat black paint. Ugly, but strong. It is also sleeved inside with a 2" alloy tube. 2-part urethane, intended for a variety of automotive plastics and composites. Harbor freight trim removal tools. The flat "Y" shape came in handy to remove quick release fittings and the cooling hose feeding the driver's side turbo.
Also, if you are replacing the plastic Turbo coolant tees buried by the firewall, remove the air pump AND the bracket on the driver's side. The access from above is much better with the bracket removed.
thank you veri much for your detailed explanation.
Yesterday, I left my vehicle to service. They Will call me for solution, I hope that it Will be solved cheaper
This part of the repair was a self-inflicted wound. My fault. Your English is better than my Turkish. This is not your problem, but yes, the most likely source of your leak on a V8 engine is the plastic coolant pipe in the center under the intake manifold or if turbocharged, one of the pipes behind the engine and above the transmission.
A helpful way to locate the leak is to pressurize the cooling tank to 15 or 20 psi (1 Bar or so) and listen & look for the leak. Good luck.


 01-12-2019, 03:48 PM