When you click on links to various merchants on this site and make a purchase, this can result in this site earning a commission. Affiliate programs and affiliations include, but are not limited to, the eBay Partner Network.
Kevin gave me a lot of advice on other aspects of this project. Thanks for the tip and thanks for the help Kevin. I didn't ask Kevin for the timing numbers. I assumed he uses the plate instead.
Waiting for a call back from Kelly Moss to see if they have the numbers. I heard they use the dial gauge rig and several years ago the numbers were proprietary. Also I heard Andial was using dial gauges.
One complication is that I heard the dual pattern cam has different lobe angles for high lift and low lift. So if I got the numbers I would have to know if that's for high lift or low lift and I'd have to get the foot of the dial indicator to rest on the correct high or low cam lobe.
I would be happy with either method. Two things I feel are in favor of the Stomski timing rig:
1. Steve Stomski feels his instrument is more accurate. You see that setup a lot on GT3's.
BTW Steve had some interesting info that the factory ECU is designed in a way that the error that's induced when you use the plate can be zero'd by the ECU when it measures cam deviation.
2. I heard that some techs were not happy with the quality of the affordable Baum 9661 plates. And some were not happy with the price of the factory plates. Were they over $2k a set?
Was thinking I could set timing with the Stomski rig and check it with the affordable Baum plates. That's an excellent comment that the plate ensures the cam won't move. You would of course still counter the cam tightening with a 2nd wrench. I read that it's possible to snap the cam if you don't counter with a wrench and just counter with the plate.
baum plates work just fine. the only adjustment that may be needed is a slight dremel to the mounting holes. the plates fit extremely tight and the holes may impeded a close complete fit. enlarging the mount holes allow for the plates to sit tight against the end of the cam. its also better to have 2 people to set the cams. one on the torque wrench and 1 on the cam hold tool. almost impossible to hold the tool and torque the cam bolt to 115 ft/lbs by one person. the cam will inevitably move while torqueing if you try to do it yourself
Trying to clear up some confusion I have on this. Is timing the 996tt and 997.1 tt the same procedure?
I have a 996 tt pdf and 997 gt3 cam timing pdf, is the procedure the same? Also stromski racing sells the gt3 cam profile plates (for roughing the cams in at 110/110) , do these work or not work with 997.1tt?
Im trying to get a setup in place where I can remove and retime my own cams, I fully get the procedure on the 996tt but I am thinking I will get the Baum cam timing plates, as the OE porsche ones are a bit overkill for my needs. Just want to know if anyone has a 997.1 tt cam timing manual they could share or confirmation if the ones I have will work.
Does the 997.1 tt need rotating 360 degree after timing bank one? if anyone can clarify 997 t cam timing using plates, would be most appreciated.
The main difference I recall between GT3 and 997.1 tt is the GT3 procedure requires you to rotate the cam left or right until it hits a stop, according to Stomski's excellent video. But the 997.1 tt manual makes no mention of this step. So I ignored this (GT3) step on my 997.1 tt. Now my deviations are 1 degree. They were 2 degrees before I opened it up!
Yes, after you time one bank, rotate the crankshaft exactly 360 degrees. Then time the other bank. The 997.1tt manual is a pretty nice reference.
Went to the Porsche PIWIS technical website and downloaded the 997.1 tt engine assembly manual. Paid $30 for one hour.
Used the Baum plates. Worked fine. DId it with engine in car! The oil tank has to be moved forward a little to clear the plates. Plus I modified the plate a little.
Reused the oil control housings that slip over the rings on the end of the cams, but probably should have replaced them. I heard they can wear out and cause problems.
Reused the "diamond grit" washers behind the cam sprockets but probably should have replaced them. Heard they should be replaced.
Replaced the 4 large bolts for the cam sprockets.
Purchased a degree wheel that fits on the torque wrench.
You did well doing that with the engine in!!
I am primarily taking the engine out to give it a good once over and also to remove the turbos because the coolant lines are seized in and I have given up trying to do it on the car!
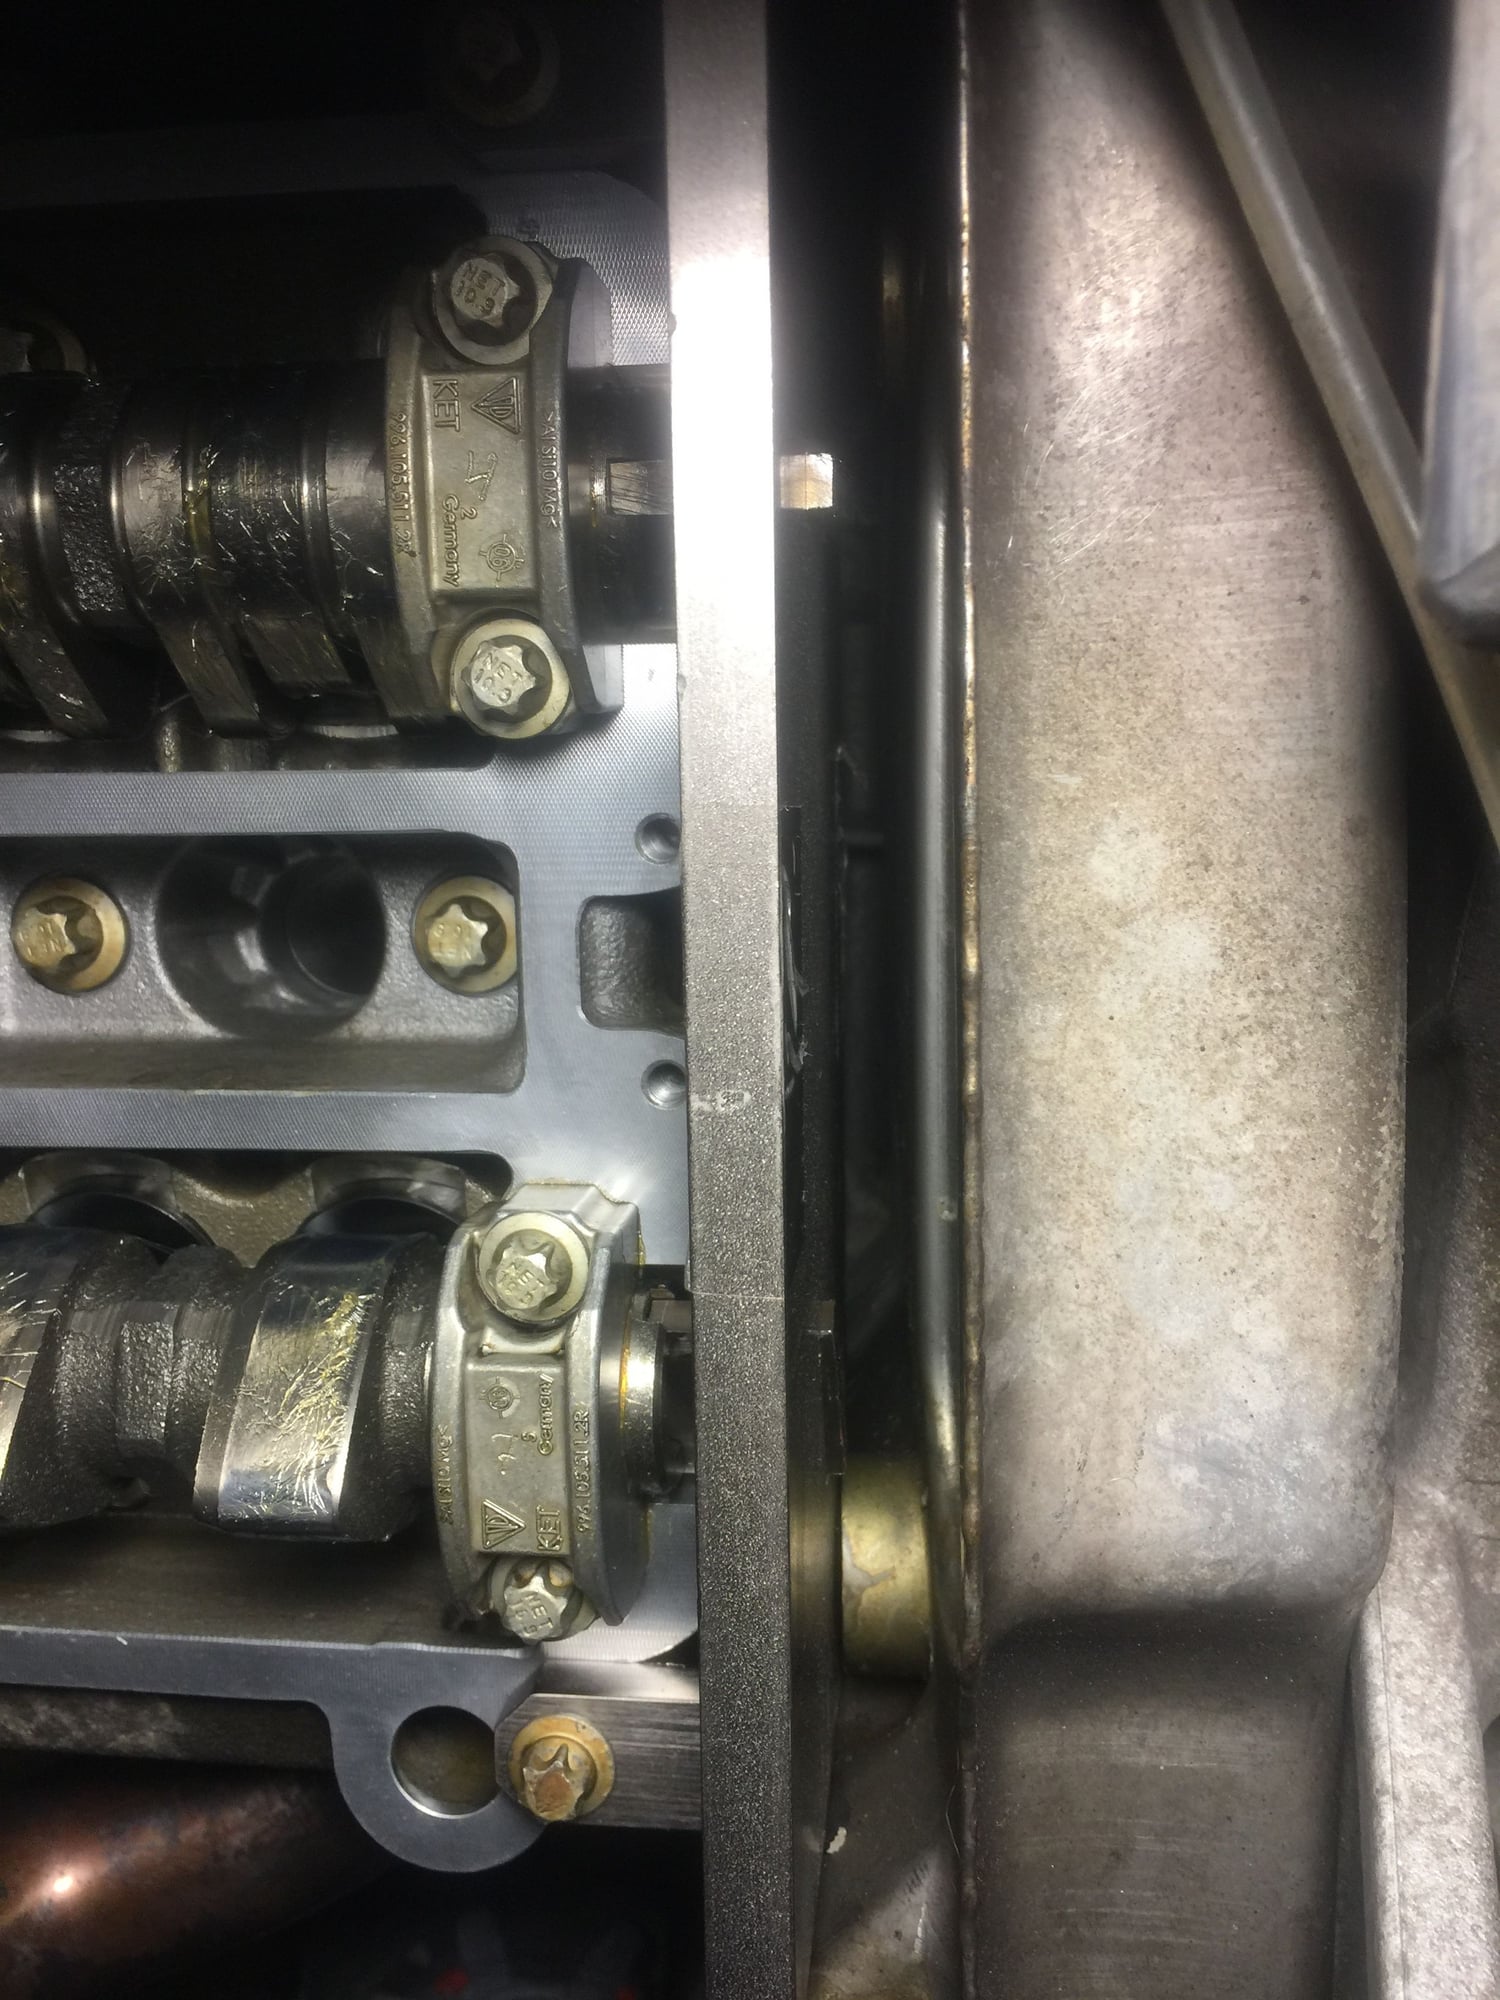
The other issue I have is on bank 1, I have a leaking washer on a chain guide bolt, and may end up taking the cam gears off to free the chain up to replace the guide bolt washer.
It seems a bit overkill so if anyone has a better idea please let me know! I did think I could set the engine to TDC on cylinder 1, then try and remove the guide bolt, or at least unwind it some way, clean it all up and use some high temp sealant. Any suggestions are appreciated!
thanks
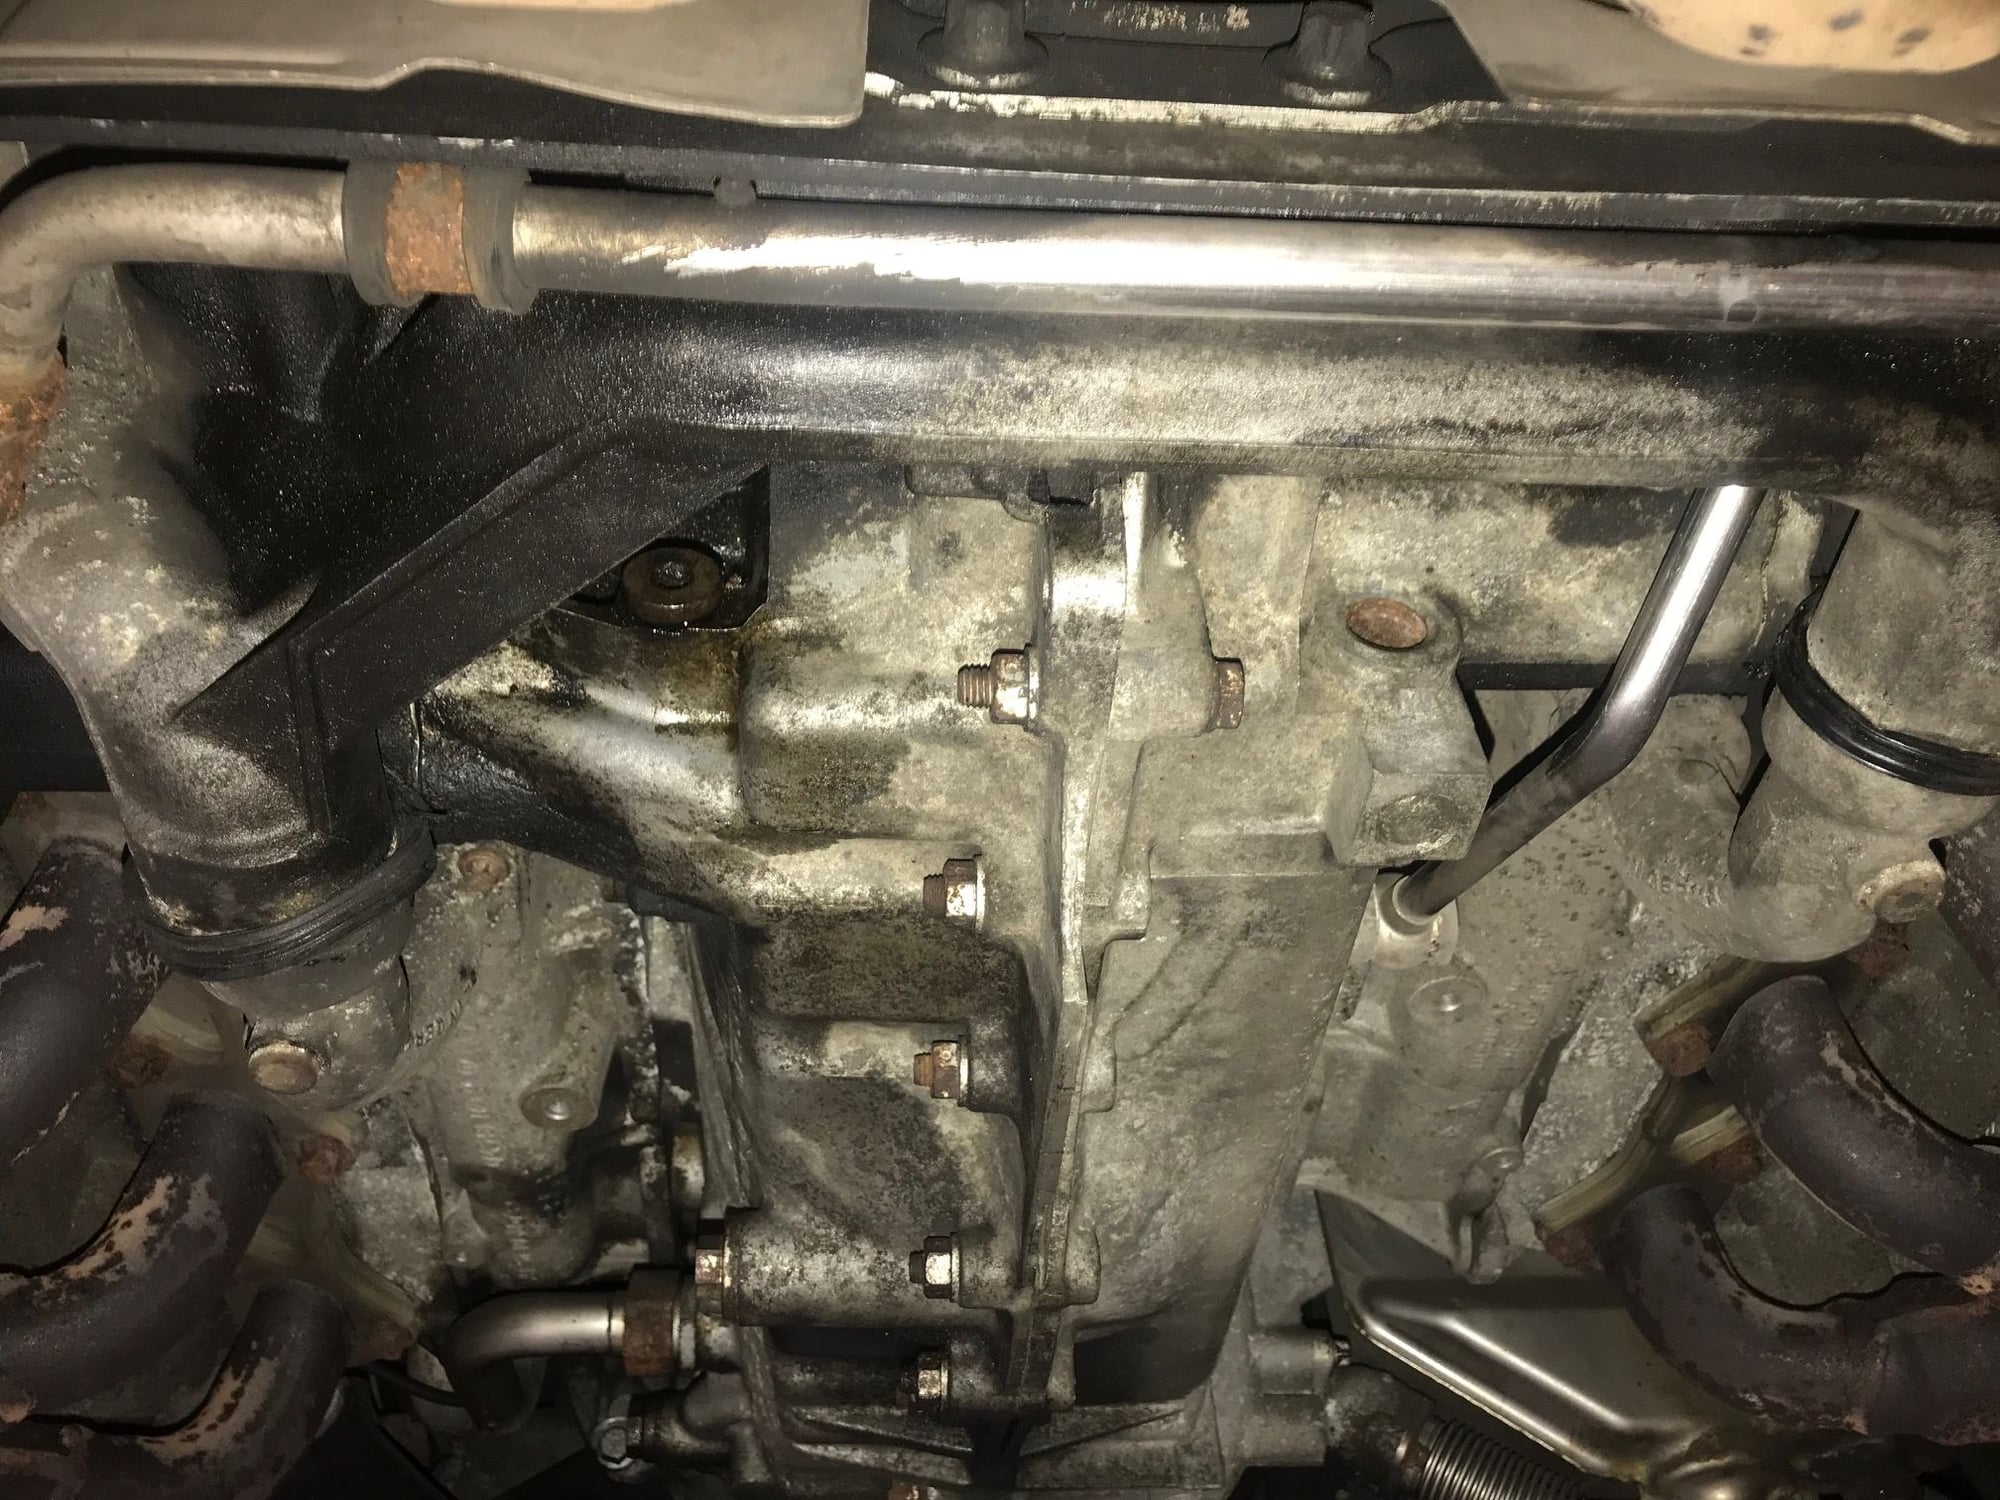
I am also planning to replace the distorted looking rubber seal on the coolant manifold . I have no idea what this involves as I have not worked on this engine yet, but I guess it should be ok with the engine out. It doesnt leak but I cant leave it like that if I have the engine out!
Leaky chain guide bolt!
Last edited by theanalyst; Jul 12, 2019 at 04:02 PM.
Would you consider the Sharwerks stainless coolant elbow upgrade while engine is out? With the intake removed, you have access to the other end of the turbo coolant pipes plus many other hoses that could be replaced.
Yes that distorted seal is no trouble to replace. It may be OK to just cut it away. I recall there are orings inside that actually do the sealing job.
Here's an idea regarding the chain ramp. Remove the oil pump that is driven by the exhaust camshaft. Optionally remove the round cover that is at the end of the intake cam. That reveals a gap at the edge of the cam sprocket. It's long reach, but maybe it's possible to insert a stiff wire to hold up the chain ramp while its bolt is out. Those covers have to be removed anyway to dig any deeper.
THanks Mike,
Yes, I had thought about the 'things to change' items when the motor is out and that seems definately worth doing. I have emailed sharkwerks and hopefully they will ship to the UK!
Thanks re the seal, think I will replace it just because it looks a bit crappy like that!
Regards the chain ramp, thanks again, that definately sounds a good way to tackle things.
It would save me a shed load of hassle initially because I am having trouble getting cam locking tools (baum are not in the uk) and I dont have the cam specs for using stromski tools, additionally that is overkill really for my needs of just wanting to replace this damn washer!!
thanks guys
Originally Posted by Mike Billings
Would you consider the Sharwerks stainless coolant elbow upgrade while engine is out? With the intake removed, you have access to the other end of the turbo coolant pipes plus many other hoses that could be replaced.
Yes that distorted seal is no trouble to replace. It may be OK to just cut it away. I recall there are orings inside that actually do the sealing job.
Here's an idea regarding the chain ramp. Remove the oil pump that is driven by the exhaust camshaft. Optionally remove the round cover that is at the end of the intake cam. That reveals a gap at the edge of the cam sprocket. It's long reach, but maybe it's possible to insert a stiff wire to hold up the chain ramp while its bolt is out. Those covers have to be removed anyway to dig any deeper.
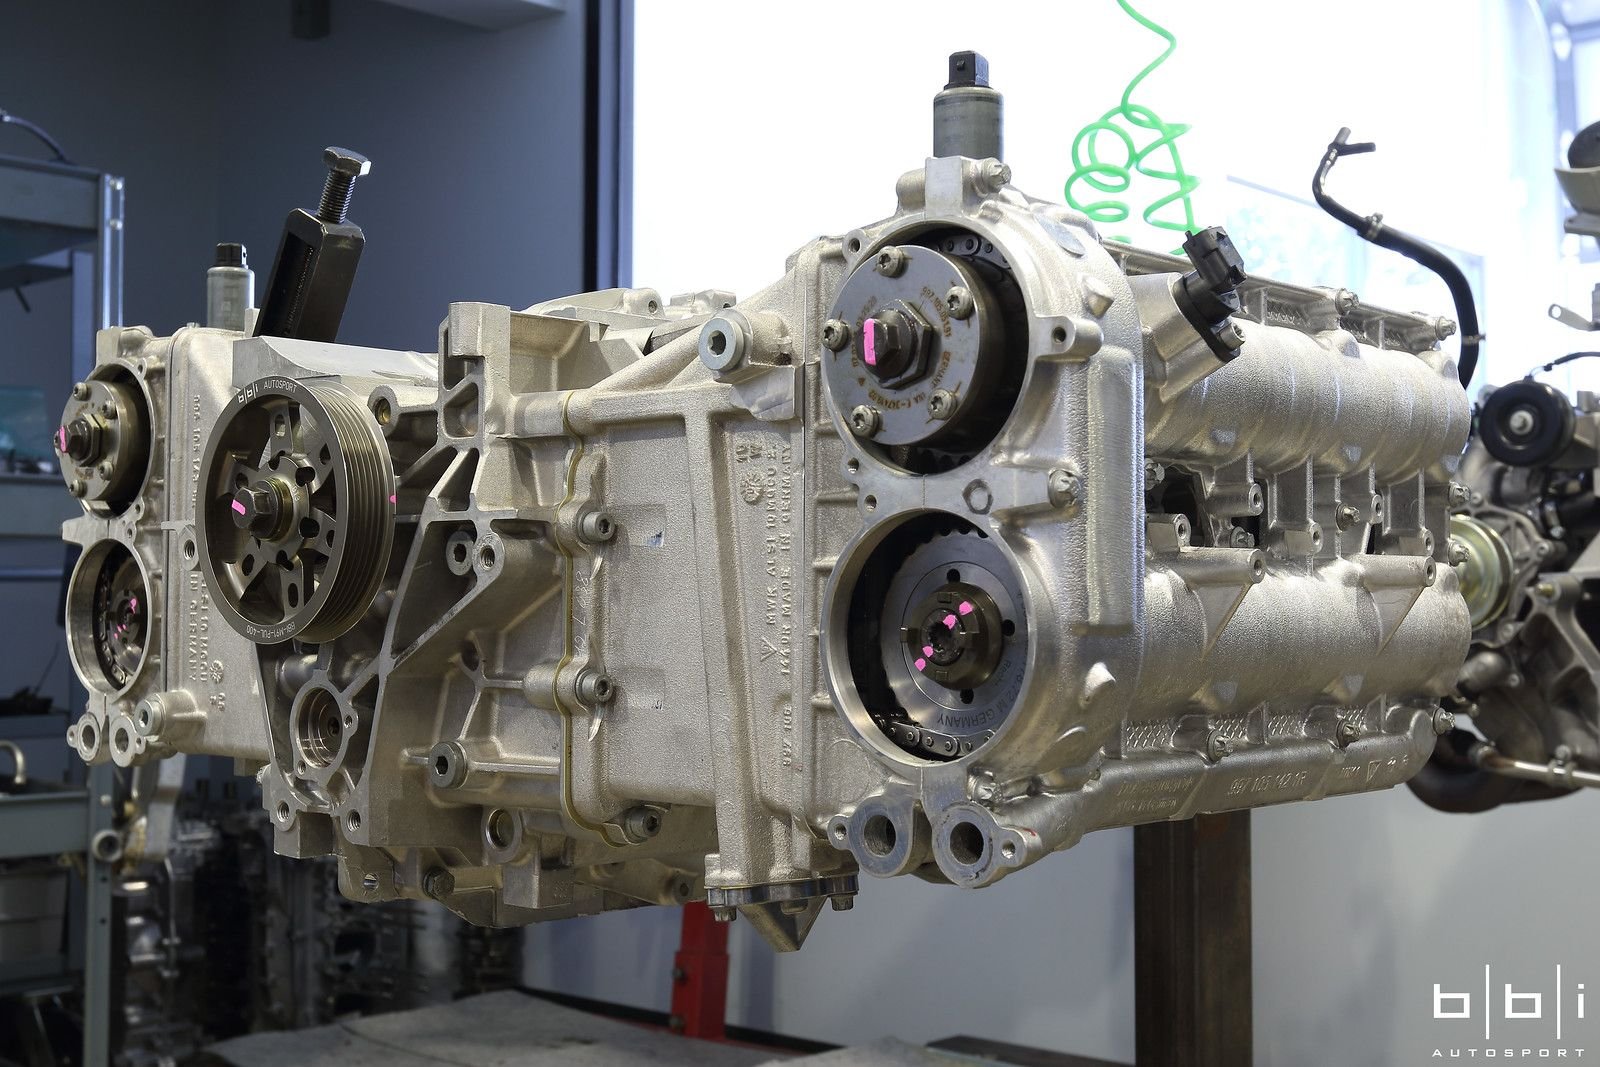
You can see the gap in BBI's photo below.
Last edited by theanalyst; Jul 31, 2019 at 09:11 PM.
I reviewed the manual for 996tt and 997tt. It says when a cylinder bank is set to TDC overlapping, the tensioner and cam for that bank can be removed without tension.
I use a cylinder whistle in the spark plug hole to check for overlap. Overlap is when it does not whistle as the piston comes up to TDC (exhaust stroke). If it whistles with piston coming up, then you are on the compression stroke/firing. If firing, rotate the crank another 360 degrees. I put a whistle in #1 and another in #4, that way it's impossible to not realize when one cam is installed 180 degrees out.
Thanks Mike
Really appreciate the help. I think I read about a cylinder whistle on your thread!! Will try and find one (two!).
It sounds like a great idea. I was going to use a dial gauge with a long probe waiting for the piston on its upstroke on cylinder 1.
edit/ I see how the whistle works now.
I would have thought I needed to be finding tdc at the compression stroke though? when there is no valves open at all? Is this in the OPC manual?
Last edited by theanalyst; May 27, 2019 at 05:03 PM.
We must ensure the cam is rotated to the overlap position, but the crank turns twice for each rotation of the cams. If the crank indicates TDC, then the cam is either correct at overlap or not correct at firing. The cam position can only be determined by sight or by measuring whether there is compression (whistle). So rotate the crank into TDC position and if you heard a whistle on the that bank, then it's wrong it's on firing so rotate the crank another 360. With two whistles you can't go wrong because when it's correct the whistles will alternate when you spin the crank.
It's the same with all multi-cam, multibank engines, including aircooled BTW.
Glad you mentioned the dial gauge with the long probe. I made a holder for a dial gauge and purchased a long probe. Will look for a photo. Or you can buy an excellent rig from Stomski. The factory manual mentions that it is necessary to use a dial gauge.
One step better than the dial gauge is to use dial gauge plus degree wheel. The degree wheel is attached to the flywheel or crank pulley and measures the number of degrees of crank rotation where the piston stops briefly at TDC and crank is still rotating. When you know at which points on the wheel the piston was not moving, mark the center between those points and that is exactly TDC. But it's TDC either overlap or firing, 50/50 chance so you have to check the cam to determine which. This method is surely explained on the internet. One step better than the degree wheel is Stomski's digital degree wheel called DIGIDX. Same concept but more accurate. Worth watching the Stomski videos even if you don't buy. And I'll bet Steve Stomski would be very happy to help you on the phone.
This is fun typing all of this stuff. Thanks for the good conversation. Really hoping everything goes smoothly for you.
9 Vehicles Porsche Helped Engineer that Aren't Porsches
Slideshow: Long before engineering consulting became trendy, Porsche was quietly helping other automakers build everything from supercars to economy hatchbacks.
9 Features and Characteristics That Only Porsche People Understand
Slideshow: Some brands build cars. Porsche builds traditions, obsessions, and a few habits that stopped making sense decades ago but somehow became part of the charm.
This Builder Is Turning Heads With Its Slantnose 911 Creation
Slideshow: A small Polish tuner has reimagined the Porsche 911 Slantnose for the modern era, blending 1980s nostalgia with widebody tuning culture and serious performance upgrades.
Porsche 911 GT3 Artisan Edition Pays Homage to Japanese Culture
Slideshow: Porsche has created a Japan-only 911 GT3 Artisan Edition that blends track-ready hardware with design cues inspired by traditional Japanese craftsmanship.
Porsche Reveals Coupe Variant of the Electric Cayenne With a Fresh Look
Slideshow: Porsche's latest electric Cayenne Coupe blends dramatic styling with supercar acceleration, turning the brand's midsize SUV into a 1,139-horsepower flagship.