When you click on links to various merchants on this site and make a purchase, this can result in this site earning a commission. Affiliate programs and affiliations include, but are not limited to, the eBay Partner Network.
Finally getting around to posting up some pics of my steering wheel set up. Ever since I've been running the Recaro Profi Spa seats I've been a bit nervous about the ability to get out for the car in case of an accident. The super light Profi Spa Carbon Kevlar seats are phenomenal and have very high thigh bolsters that keep you pinned in place. The only problem is the fact that there is very little room to squeeze your legs in between the steering wheel and seat on entry and exit. In case of a bad accident it could be very difficult if not impossible to get out of the car with the stock steering wheel. I also wanted to get rid of the airbag as I don't want it exploding in my face while wearing harnesses and a helmet.
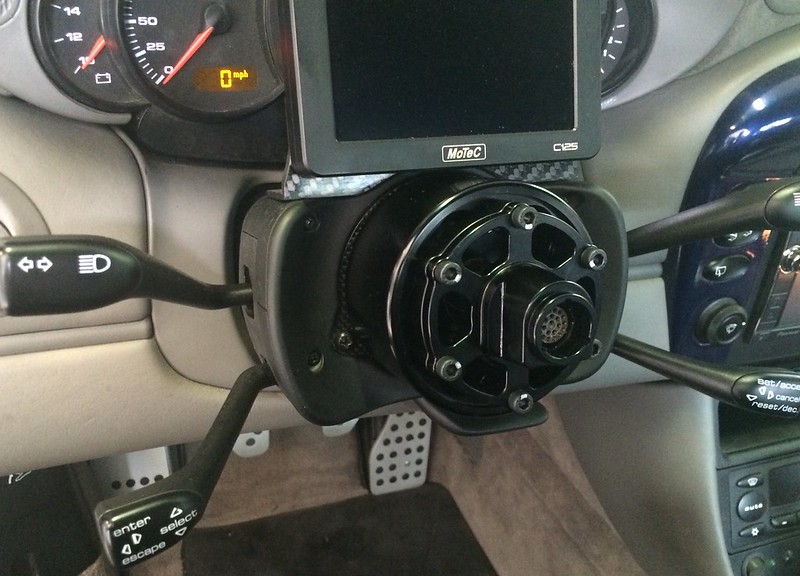
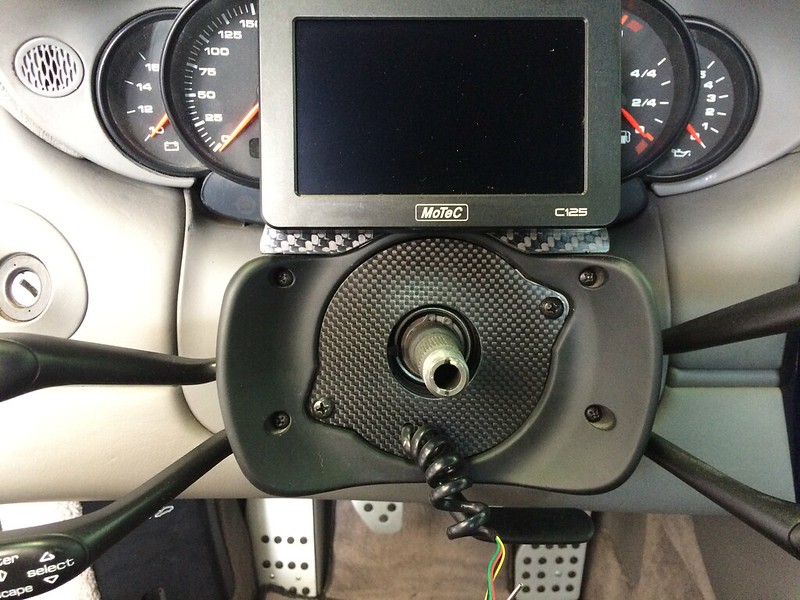
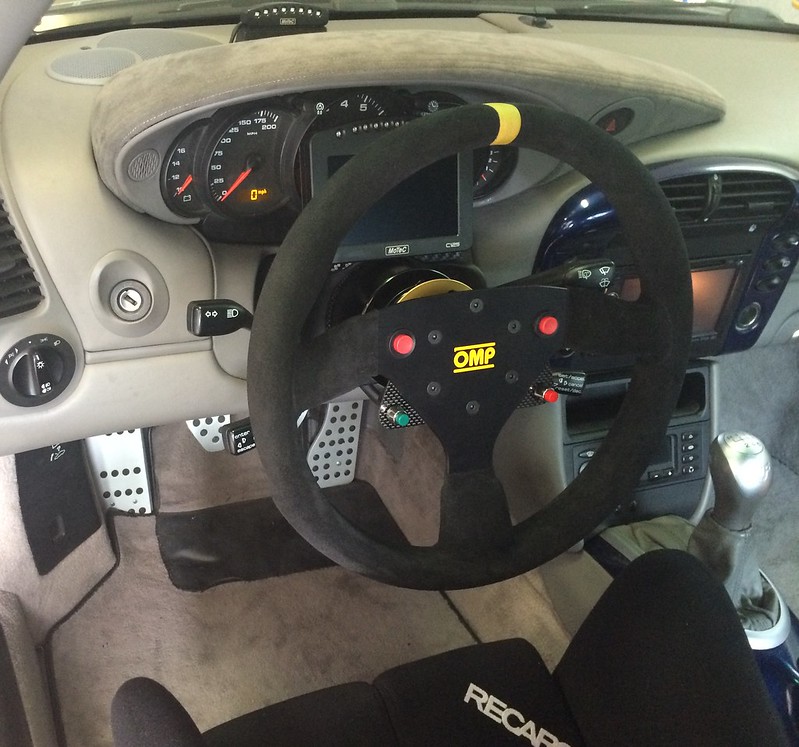
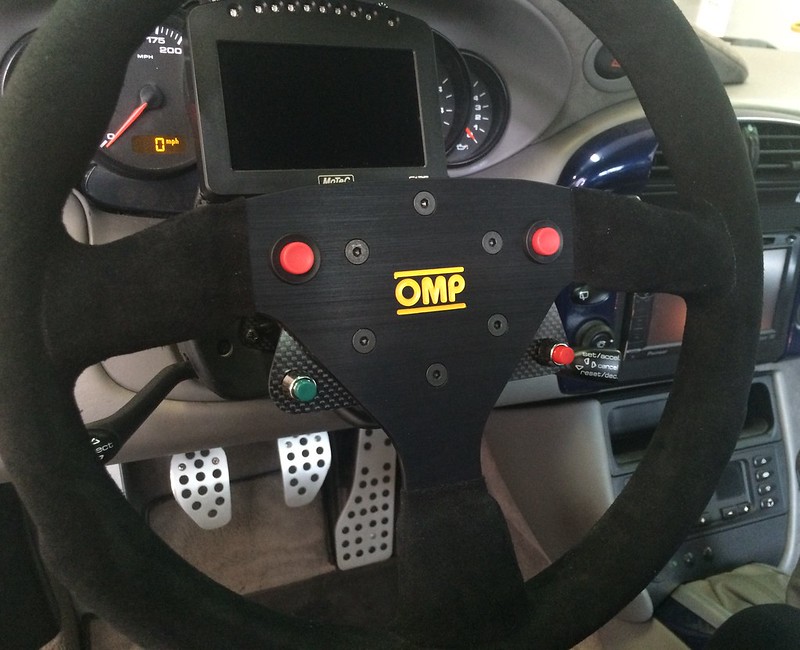
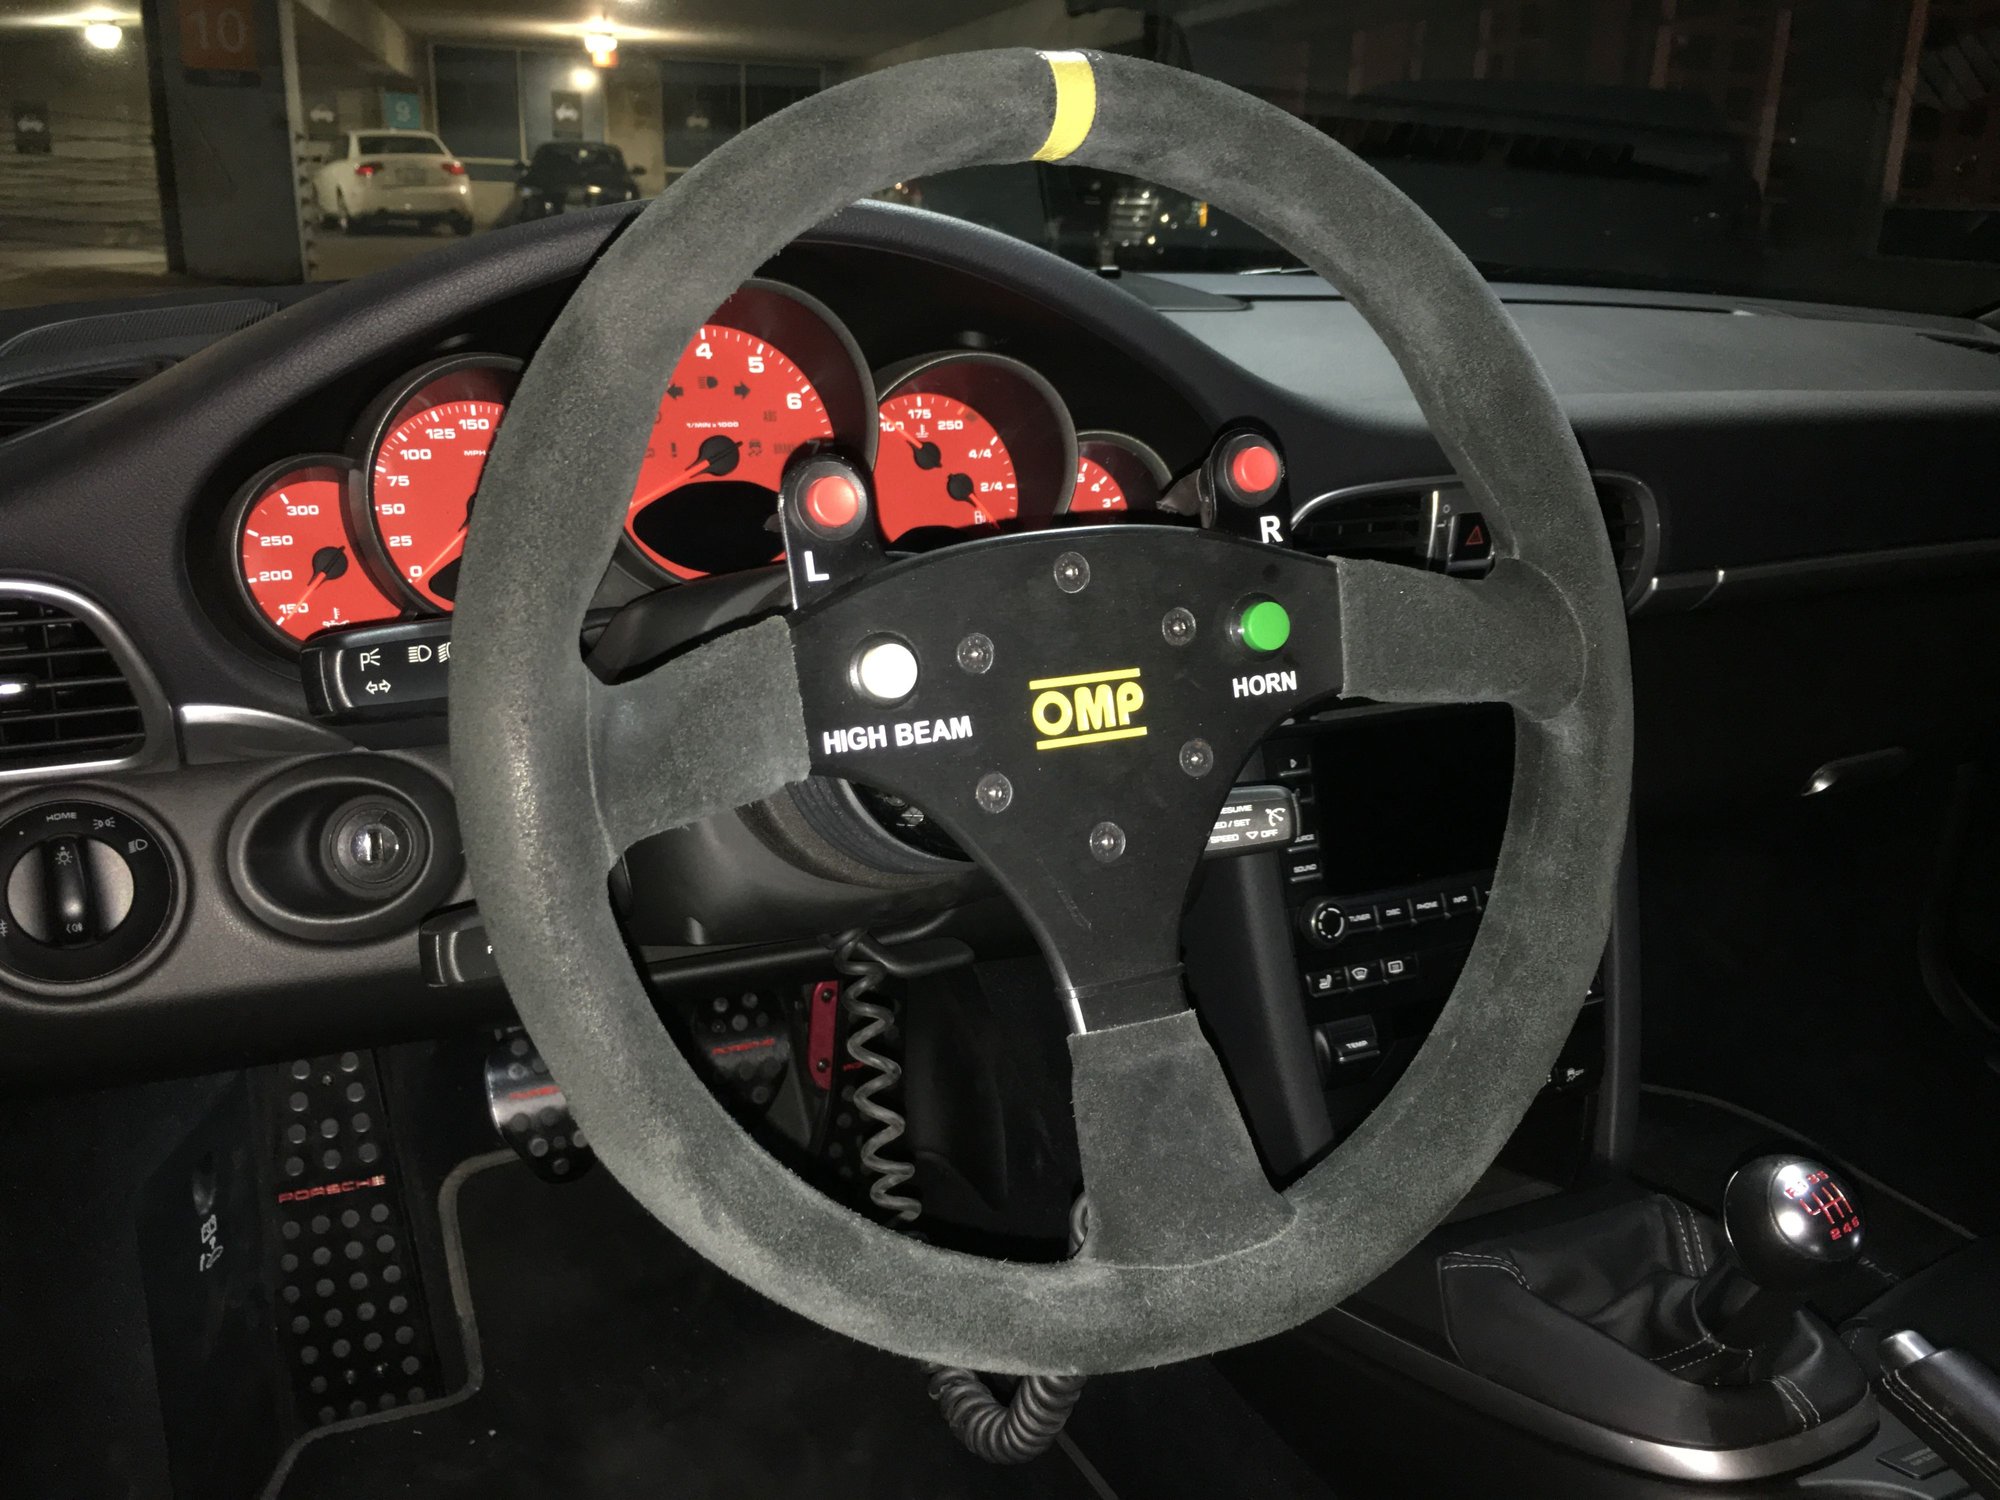
My car came with the RUF steering wheel which is 365mm compared to the stock 380mm Porsche wheel. After looking at a bunch of options, I decided to replace the RUF wheel with a Porsche Motorsport 997Cup steering wheel. This wheel is light as a feather since it has an aluminum frame and is covered in alcantara. It has a 320mm diameter which makes it very small making for vary fast steering inputs and corrections. The feel of this steering wheel is absolutely amazing. It changes the whole feel of the car. The wheel comes with two button which can be used for various functions. I chose to have both operate the horn as the car still sees very limited street use. I also wanted to have my MoTec control buttons installed on the steering wheel allowing easy on the fly control of the MoTec dash display. The other key element, and the whole reason for doing this, is that I wanted to have is a quick disconnect on the steering wheel to allow for quick removal for fast egress in case of an accident. This also makes a great anti theft device as you can remove the steering wheel and take it home with you. We initially decided to use the factory 997Cup quick disconnect as they are the best QDs on the market. The traditional set up on a QD wheel is to run a curly cord which allows one to remove the steering wheel but it stays tethered to the car as the curly cord carries the cables for the various control that are on the steering wheel including the horn. The traditional curly cord which hangs below the steering column is a real pain in the **** as it naturally gets tangled up in the turn signal stalks as the wheel is rotated during tight turns. Race cars don't have turn or wiper stalks and their steering angles are much more limited so the curly cord is much less of on issue for them. There had to be a better way.
[url=https://flic.kr/p/HL55YJ]
After consultation with Chris Cervelli (Cervelli Technical Service), we decided to take it up a notch and install a really trick QD set up which would bypass and eliminate the traditional external curly cord while retaining the horn and MoTec functions and having a fully detachable steering wheel. Once again, Chris pulled out all the stops in making this happen.
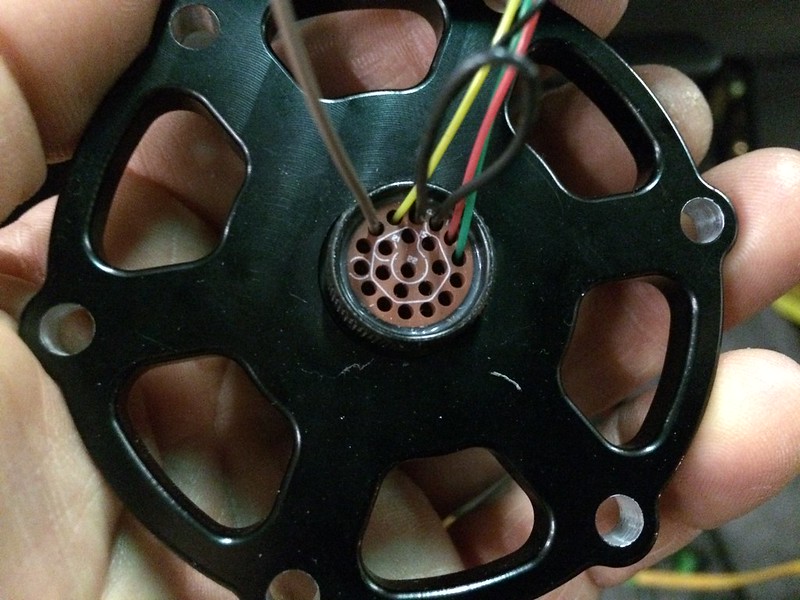
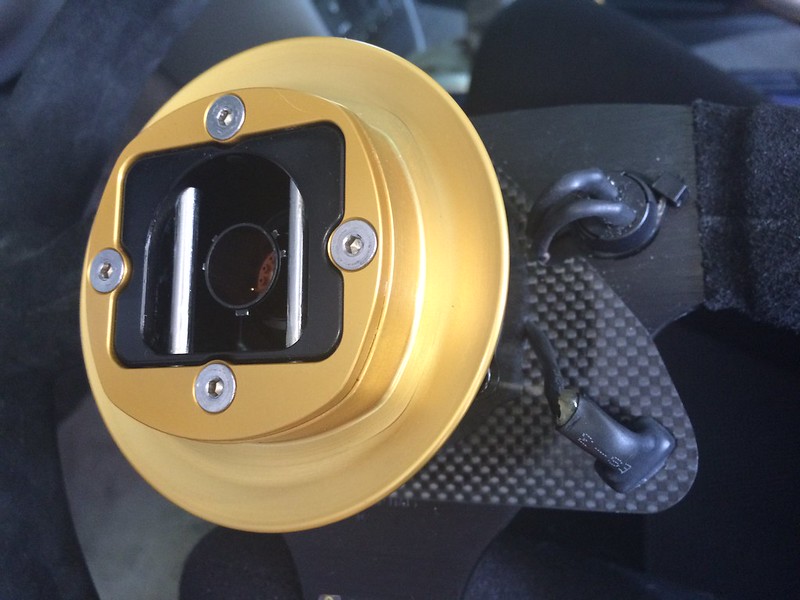
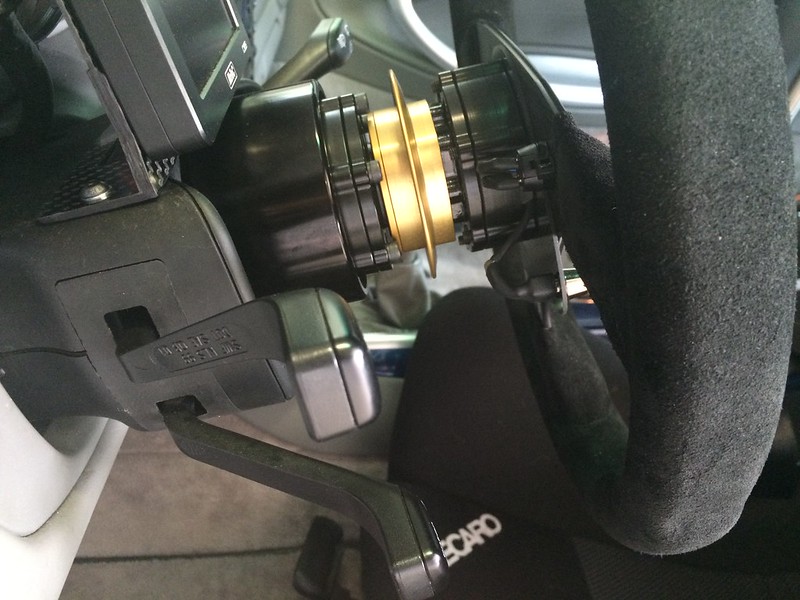
After looking at all of the options, we sourced a QD that is manufactured by the German manufacturer that makes the factory QD for Porsche Motorsport. They also make QDs and other parts for F1 and other top level motorsports segments. The difference in their top of the line offering, while physically the same as the Porsche Motorsport QD, is the fact that they add a 23 pin electrical connector which allows you to run 23 functions through the QD with the use of a built in trick connector. The QD itself is very beefy with heavy duty spring loaded locking pins. Compared to the traditional off the shelf QD offering like Rothsport, Momo, and Rennline, well, there is actually no comparison. It's like comparing a Rolex to a Timex. The locking action is very positive with zero play. The quick release function is tight and solid. The other QDs feel downright Mickey Mouse when compared side by side. Even though the QD has a very solid feel, every bit of extra material is machined away by the manufacturer to make the QD feather light. The other benefit of this QD is the fact that it is very slim, about 3/4" slimmer than the other offerings. This is important so that it does not place the steering wheel too far out (with this set up the steering wheel is 3/4" closer to the driver than the stock wheel which worked out perfect for me). I also fabricated a carbon fiber plate that is bolted on the backside of the steering wheel so that the MoTec control buttons can be cleanly attached. A couple of QD spacers were used between the steering wheel /QD / hub itself to allow the wiring room to tuck away with room to spare. One of the spacers was machined down to get the perfect wheel distance I wanted. The full length spacer would be used for taller drivers.
[url=https://flic.kr/p/HiVhBc]
[url=https://flic.kr/p/GTf8go]
[url=https://flic.kr/p/HL4HJE]
[url=https://flic.kr/p/HP6mMr]
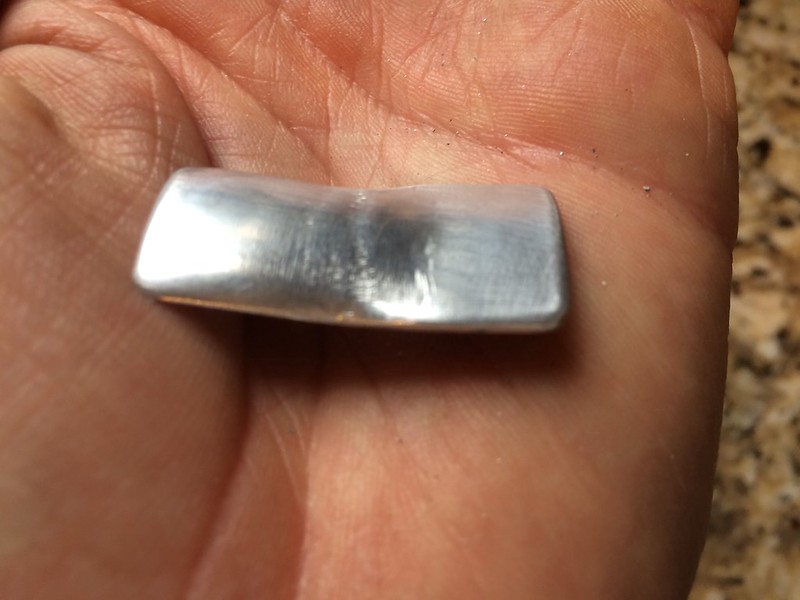
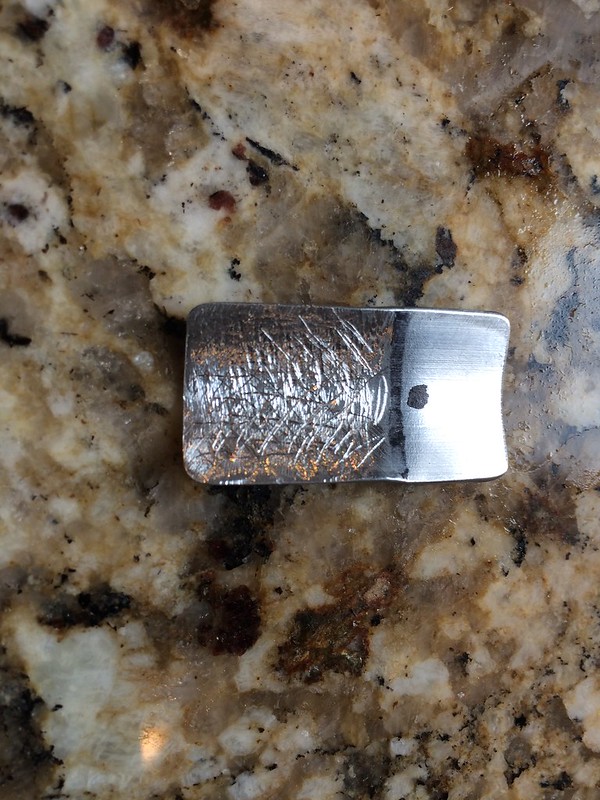
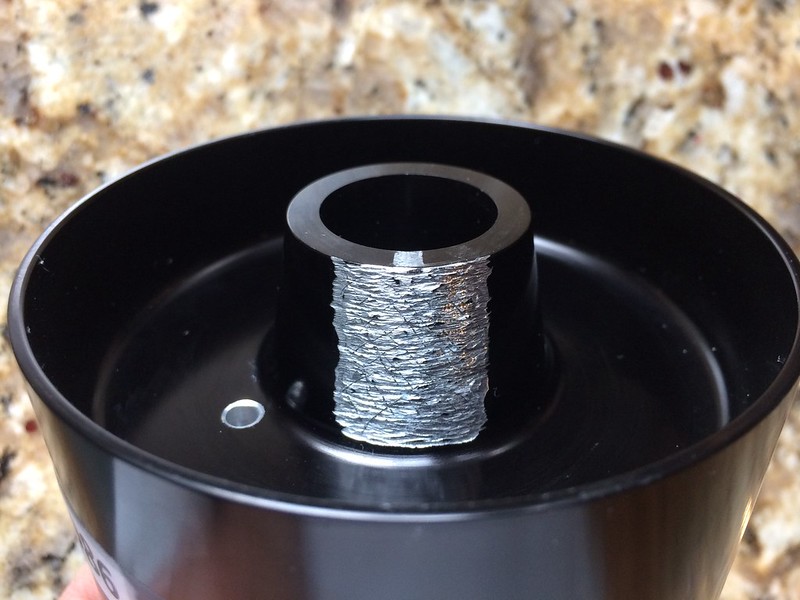
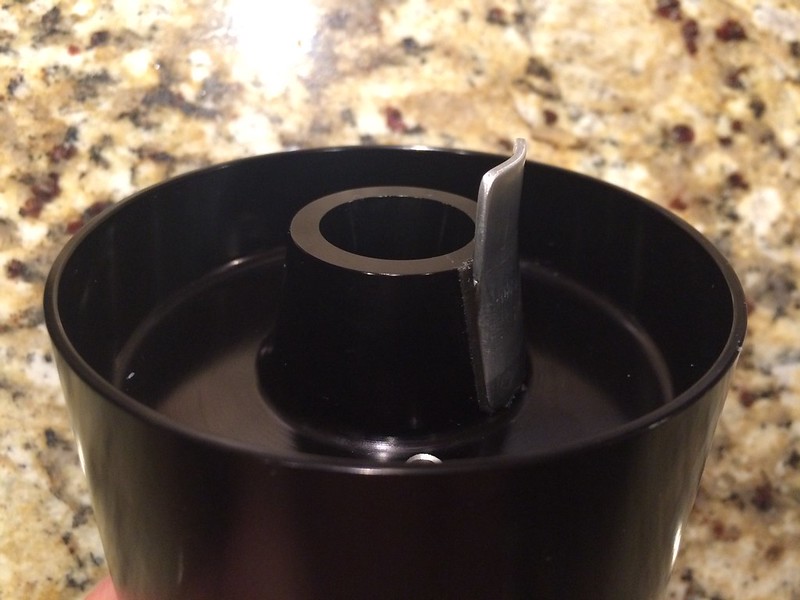
The last thing we needed was the hub itself. We ended up using a Rothsport aluminum hub. This a nicely finished lightweight CNC part. The only issue is the fact that it does not have the turn signal cancel tab that is normally a part of the OEM clock spring (which is removed). After a little head scratching, I ended up making the tab out of aluminum 1/16"x3/4" stock. I cut a piece down to size and bent it to the proper radius by using a 24MM socket and worm clamps to provide the bending force. I heated the aluminum with a blow torch to make it softer and more easily pliable. After the tab was shaped, I used a belt sander to thin it out at the edges to make it a seamless transition with the hub. The tab and the area on the hub where the tab is attached was roughed up with a dremel and the two parts were mated with JB Weld.
[url=https://flic.kr/p/HGK1tn]
[url=https://flic.kr/p/HP6AjM]
[url=https://flic.kr/p/HGJZZr]
[url=https://flic.kr/p/HL5117]
After Chris performed his behind the scenes trick wiring, we were ready to get everything installed. A curly cord was used as part of the wiring. It is fed though a custom made carbon plate (that neatly caps the front side of the control column) and is fed through the back side of the hub where a hole was drilled. There is enough room in the back of the Rothsport hub to allow enough slack so that the curly cord can stretch as the steering wheel is rotated during steering inputs. A resistor was also used to get rid of the airbag light. In the end the project truly exceeded my expectations, which generally happens when Chris works his magic. For those that may be interested in a similar set up, I have a couple of these QDs on hand as I purchased a few extras.
[url=https://flic.kr/p/HoDQT7]
Additionally, for those wondering, the factory RUF steering wheel with hub weighted in at 9 lbs 10 oz. The 997Cup wheel with the QD and hub including all wiring weighs in at 3 lbs 6 oz. This is a net saving of 6 lbs 4 oz. Not bad. A stock Porsche steering wheel is even heavier than the RUF wheel so the saving would be closer to 7 lbs.
Bringing this thread back as I am installing a momo hub and rennline quick relase on my 997 Gt3 but having problems and could use some help.
The Momo hub is not fitting over the clock spring so it was removed but now I have a light telling me traction control is not working. is this right?
I am using the 996 Cup wheel. Another problem is the Momo hub along with the quick release is too close to my body.
HELP?!?
What you are refering to as the "clock spring" is the Steering Angle Sensor assembly on all 997 cars. Steering angle input is essential on the 997 control system(unless you're ditching the factory ABS).
What I've done for myself and for my customers is to cut off some plastic tabs on the assembly(these tabs were meant for the factory steering wheel), use the shortest hub adater possible(MOMO 996 Cup hub is too long for this car), and then re-sync the steering angle after the steering wheel is installed.
See post #485 in this thread- https://rennlist.com/forums/997-gt2-...07-gt3-33.html
__________________
PCA National Instructor
TPC Racing stats:
2023 Porsche Sprint Challenge 992 Cup Am Champion
2023 Porsche Sprint Challenge GT4 Pro-Am Team Champion
2022 Porsche Sprint Challenge 992 Cup & 991 Cup Champion
2020 IMSA GT3 Cup Challenge 2nd Championship
2018 IMSA GT3 Cup Challenge 2nd Championship
2016 IMSA GT3 Cup Challenge Champion
2013 IMSA GT3 Cup Challenge Champion
2006 Rolex-24 @ Daytona GT Champion
2004 Grand-Am SGS Class Champion
What you are refering to as the "clock spring" is the Steering Angle Sensor assembly on all 997 cars. Steering angle input is essential on the 997 control system(unless you're ditching the factory ABS).
What I've done for myself and for my customers is to cut off some plastic tabs on the assembly(these tabs were meant for the factory steering wheel), use the shortest hub adater possible(MOMO 996 Cup hub is too long for this car), and then re-sync the steering angle after the steering wheel is installed.
See post #485 in this thread- https://rennlist.com/forums/997-gt2-...07-gt3-33.html

 06-04-2016, 04:34 AM