When you click on links to various merchants on this site and make a purchase, this can result in this site earning a commission. Affiliate programs and affiliations include, but are not limited to, the eBay Partner Network.
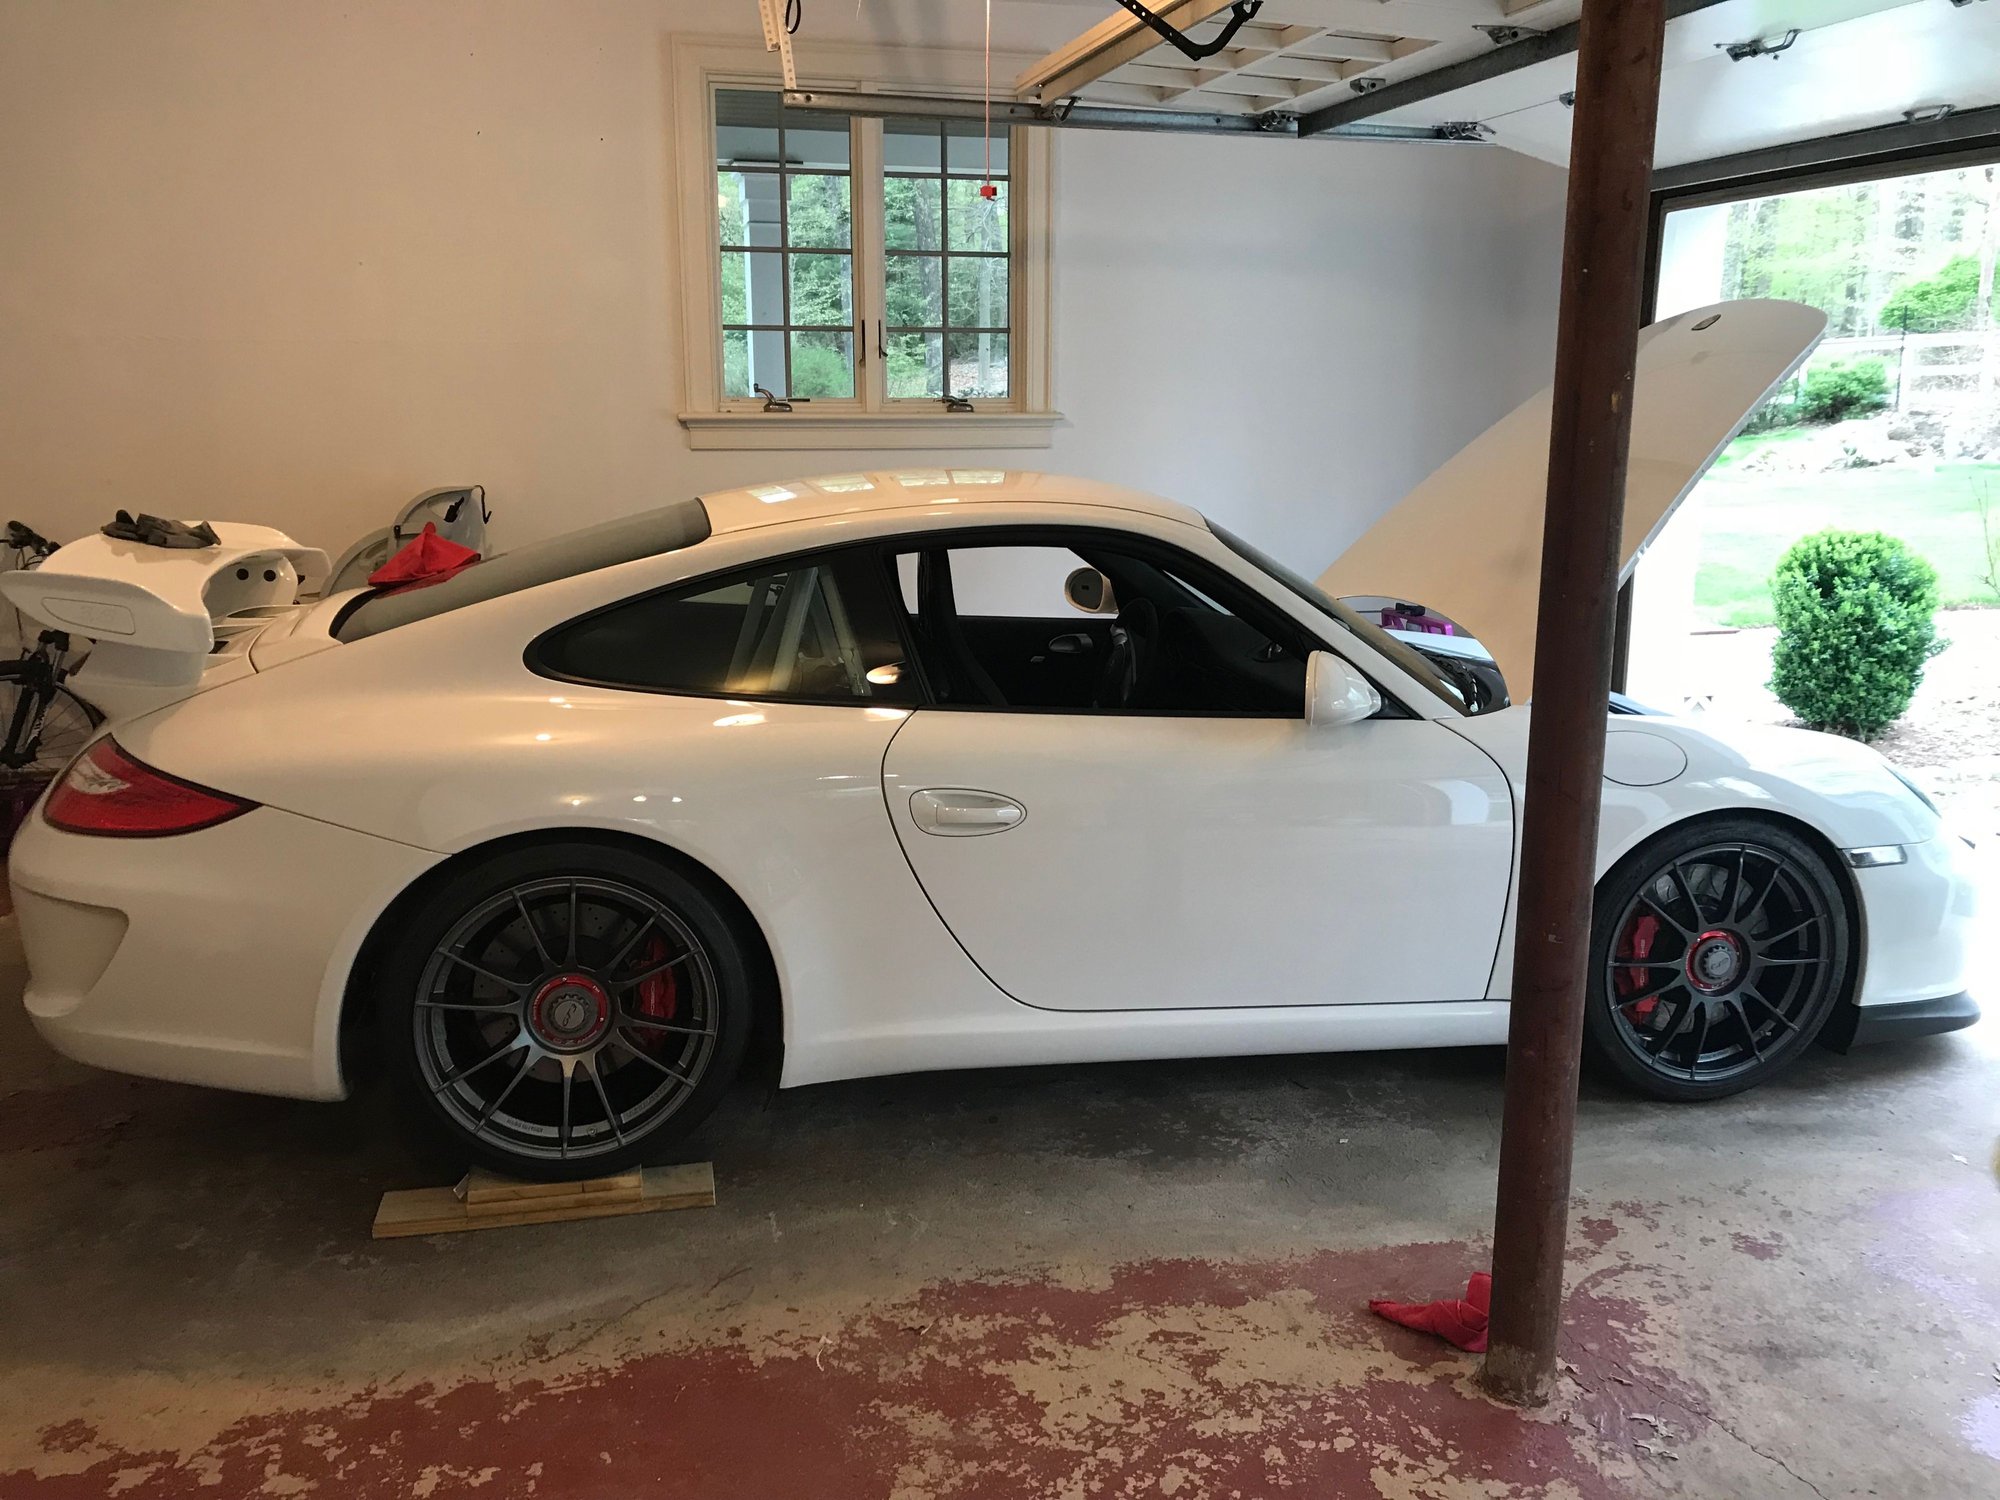
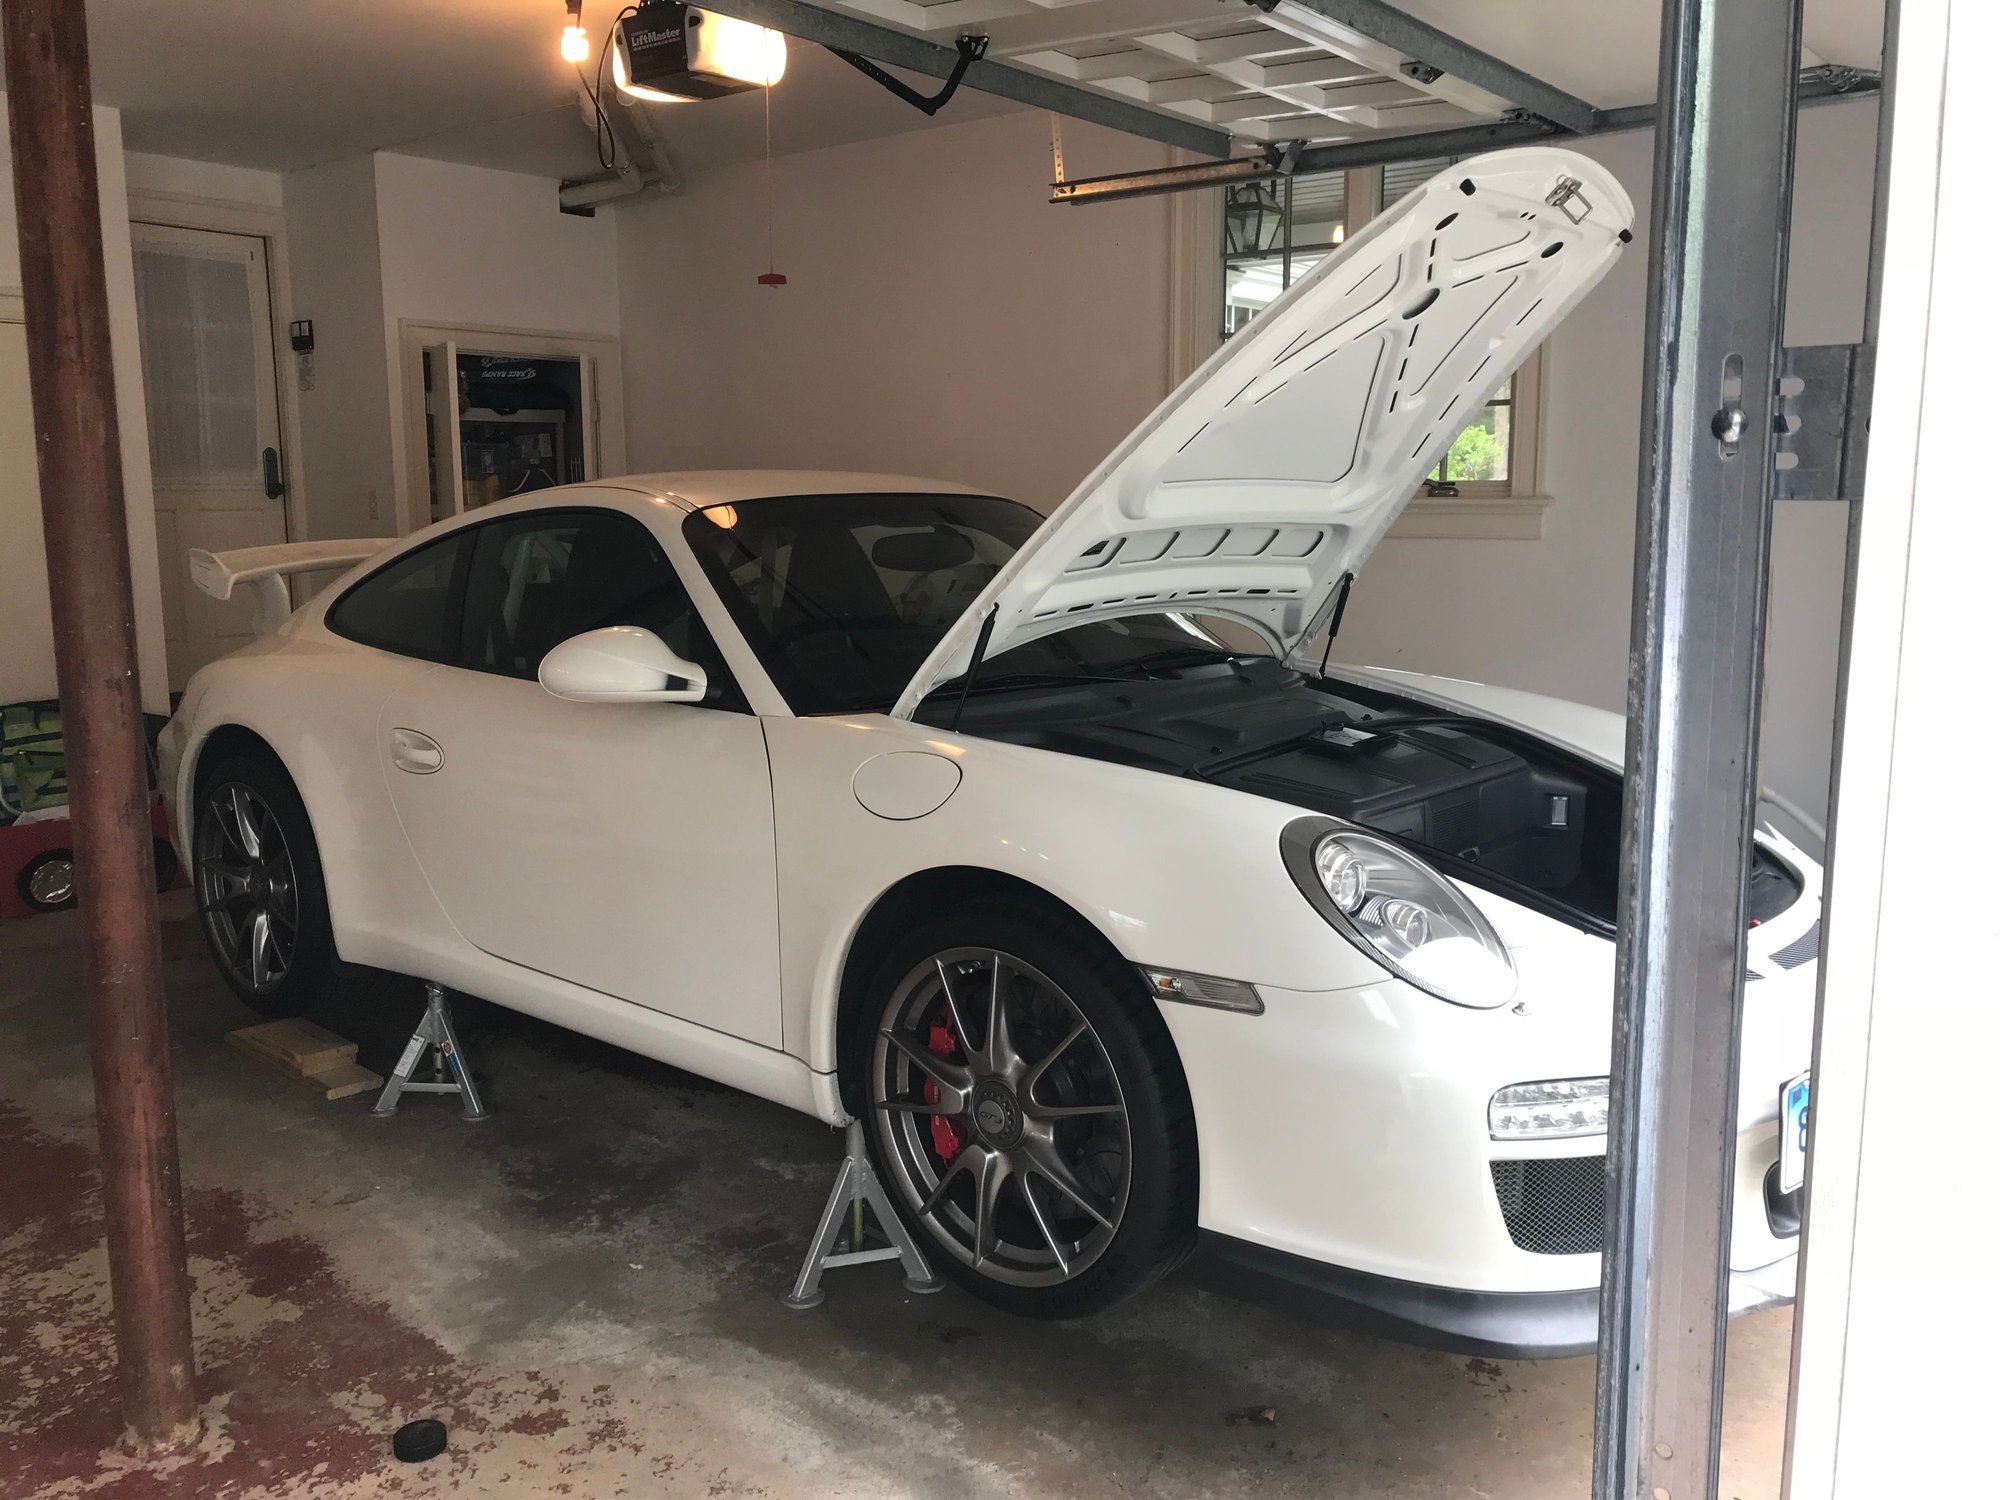
So I today I popped the proverbial Center-lock cherry on the relatively new to me '10 GT3. I raised the car just like my passed 997S except for the need to put something under the rear wheels to be able to get a jack under the car. Once raising the car successfully and using brand new Precision Instruments C4D600F & XT36H breaker bar kit, I was able to get the wheels loose and the Center-Locks off. So far so good. I inspected visually everything and it seems in good order. I will ask Mike "Mdrums" to send me the link or PDF of what to look for so i am sure i am inspecting properly. I used my Center-Lock removal tool so as to be sure that the wheels did not chip the rotors or calipers, which works great by the way and is highly recommended. I removed my factory "street" wheels and mounted the new OZ "track wheels with MPSC2 rubber. I maid sure the safety pins were working properly and lubed the hub and nut liberally with the recommended Castrol Aluminum Paste.Then it was time to tighten. Learn from my mistakes folks!
The Precision Instruments Torque Wrench middle bar the one that has the head connecting on one side and the "torque measuring end" on the other needs to be properly placed reflecting "CW" (clock wise) to tighten NOT "CCW" (counter clockwise) on the call it outside or back, this matters folks as the wrench will not measure the Torque.
I found this out the hard way as I Torqued all the wheels as hard as I could with out hearing any "clicking" informing me that I have reached the desired 444 ft/lbs. When I figured out my mistake I was mortified. I used the breaker bar to loosen all of them and inspect them. I did not visually see any issues. I properly torqued them using the Torque Wrench correctly with "CW" facing the outside and heard the distinctive click. I then used the breaker to loosen them about a quarter turn and then re-torqued them to the appropriate pressure hearing the "click".
NOT all the safety pins were deployed and flush with the "ridges" but jiggling with my finger got them to deploy and be flush with the ridges indicating they are properly engaged. Please Please do not move on to lowering the car unless safety mechanism properly engaged.
Lastly I lowered the car and went for .5 mile ride to make sure all felt ok.
I believe I have followed the instructions and the very helpful suggestions and videos people posted, but please feel free to comment as I am going on track and want to be safe. I will have my local Porsche wrench inspect to be sure i did it right. I am a little freaked out about the "over-torquing" but the car never touched the ground and I corrected the issue immediately.
All said and done, I think once you learn the tricks and do it a few times it does not seem as bad as people say, but it does need care, attention and patience for sure as there are some delicate components there.
Sounds to me like you did your due diligence and followed the process. The main issue with CL mechanism is that it takes strength and force to do it all, compared to using an impact gun with 5 lugs. I have taken the wheels apart many times at the track and always do it at home after each event to clean and inspect everything. A couple of random things I learned along the way:
Don't use too much of the paste. You can simply use your finger to re-distribute the paste that is already on the lock nuts and hubs. Too much paste will seep out from the CL nut and splatter the wheels.
My center lock caps melted a few times from the heat. I stopped using them while on the track. Also gives me easier access to the mechanism if needed and I can inspect to make sure the locking mechanism is properly engaged.
When the wheel is off, you see the safety/locking mechanism and can actually simply pull it out from the hub. That allows you to inspect the mechanism, clean the inside of the hub (dry paste gets caught there) and re-grease anything that may need it.
I purchased a new set of locking nuts as a track set (actually I have two sets). These, together with the hubs themselves, should be timed out between 2000-4000 track miles. Also, the heat on the track will ultimately discolor them (black turns to purple, red fades and gray fades). It's nice to have a clean street set.
Never had issues with over-torquing the CLs...worst case was the dealer doing it, where it took 3 adults to break the nut. I don't think that over-torquing would cause any immediate damage (obviously don't do it all the time).
Suncoast sells this center cap and CL safety mechanism removal tool (https://www.suncoastparts.com/product/SKU99XCLCC.html). It is really convenient to engage the locking mechanism. Your local dealer can order it.
Lastly, there are some tools that make things more convenient, like a brake spreader, jackpoint jackstands, small race ramps that let you drive the car on top for easier jack reach and a low profile aluminum jack (easier to move around and/or take to the track).
Thanks Adi_d - Great advice. Just do be clear, when you say “timed out” after 2000-4000 track miles I assume you mean the CL hub and nuts need to replaced? Correct? Are there any tell tale signs as 2000-4000 is kind of a wide range. Lastly cost estimate for this job?
Thanks Adi_d - Great advice. Just do be clear, when you say “timed out” after 2000-4000 track miles I assume you mean the CL hub and nuts need to replaced? Correct? Are there any tell tale signs as 2000-4000 is kind of a wide range. Lastly cost estimate for this job?
Yeah, timed-out = replaced. I did not mean to make the range so broad, it is actually very specific. Every 4200 track miles you are supposed to replace the rear wheel bearing, the wheel hub and the lock nut. Every 8400 miles you replace the front wheel bearing, hub and lock nut. At this 8400 interval Porsche also recommends replacing the rear wheel carriers. The cost of the parts is not as bad as I originally thought with the hubs being about $250 each, wheel bearings $85 each and a center lock nut set at 500-700, so to replace all four it is $1800 in materials and 4-10 hours of labor (shop dependent). Since my car has 46000 miles, I replaced all of it for a piece of mind, with the exception of the wheel carrier...that seemed excessive.
The reason I gave you a range before is that it really depends how much you track, how hard you drive your car and what other defects your mechanic notices. Some people like to maintain preventatively, some wait for things to leak or break. I have seen cars that have been driven way more than mine and had none of the maintenance, so there is a spectrum. I drive my car fast and often, so I fall in the preventative camp; PM me if you want a list of other items to look out for.

 05-06-2018, 11:15 PM