When you click on links to various merchants on this site and make a purchase, this can result in this site earning a commission. Affiliate programs and affiliations include, but are not limited to, the eBay Partner Network.
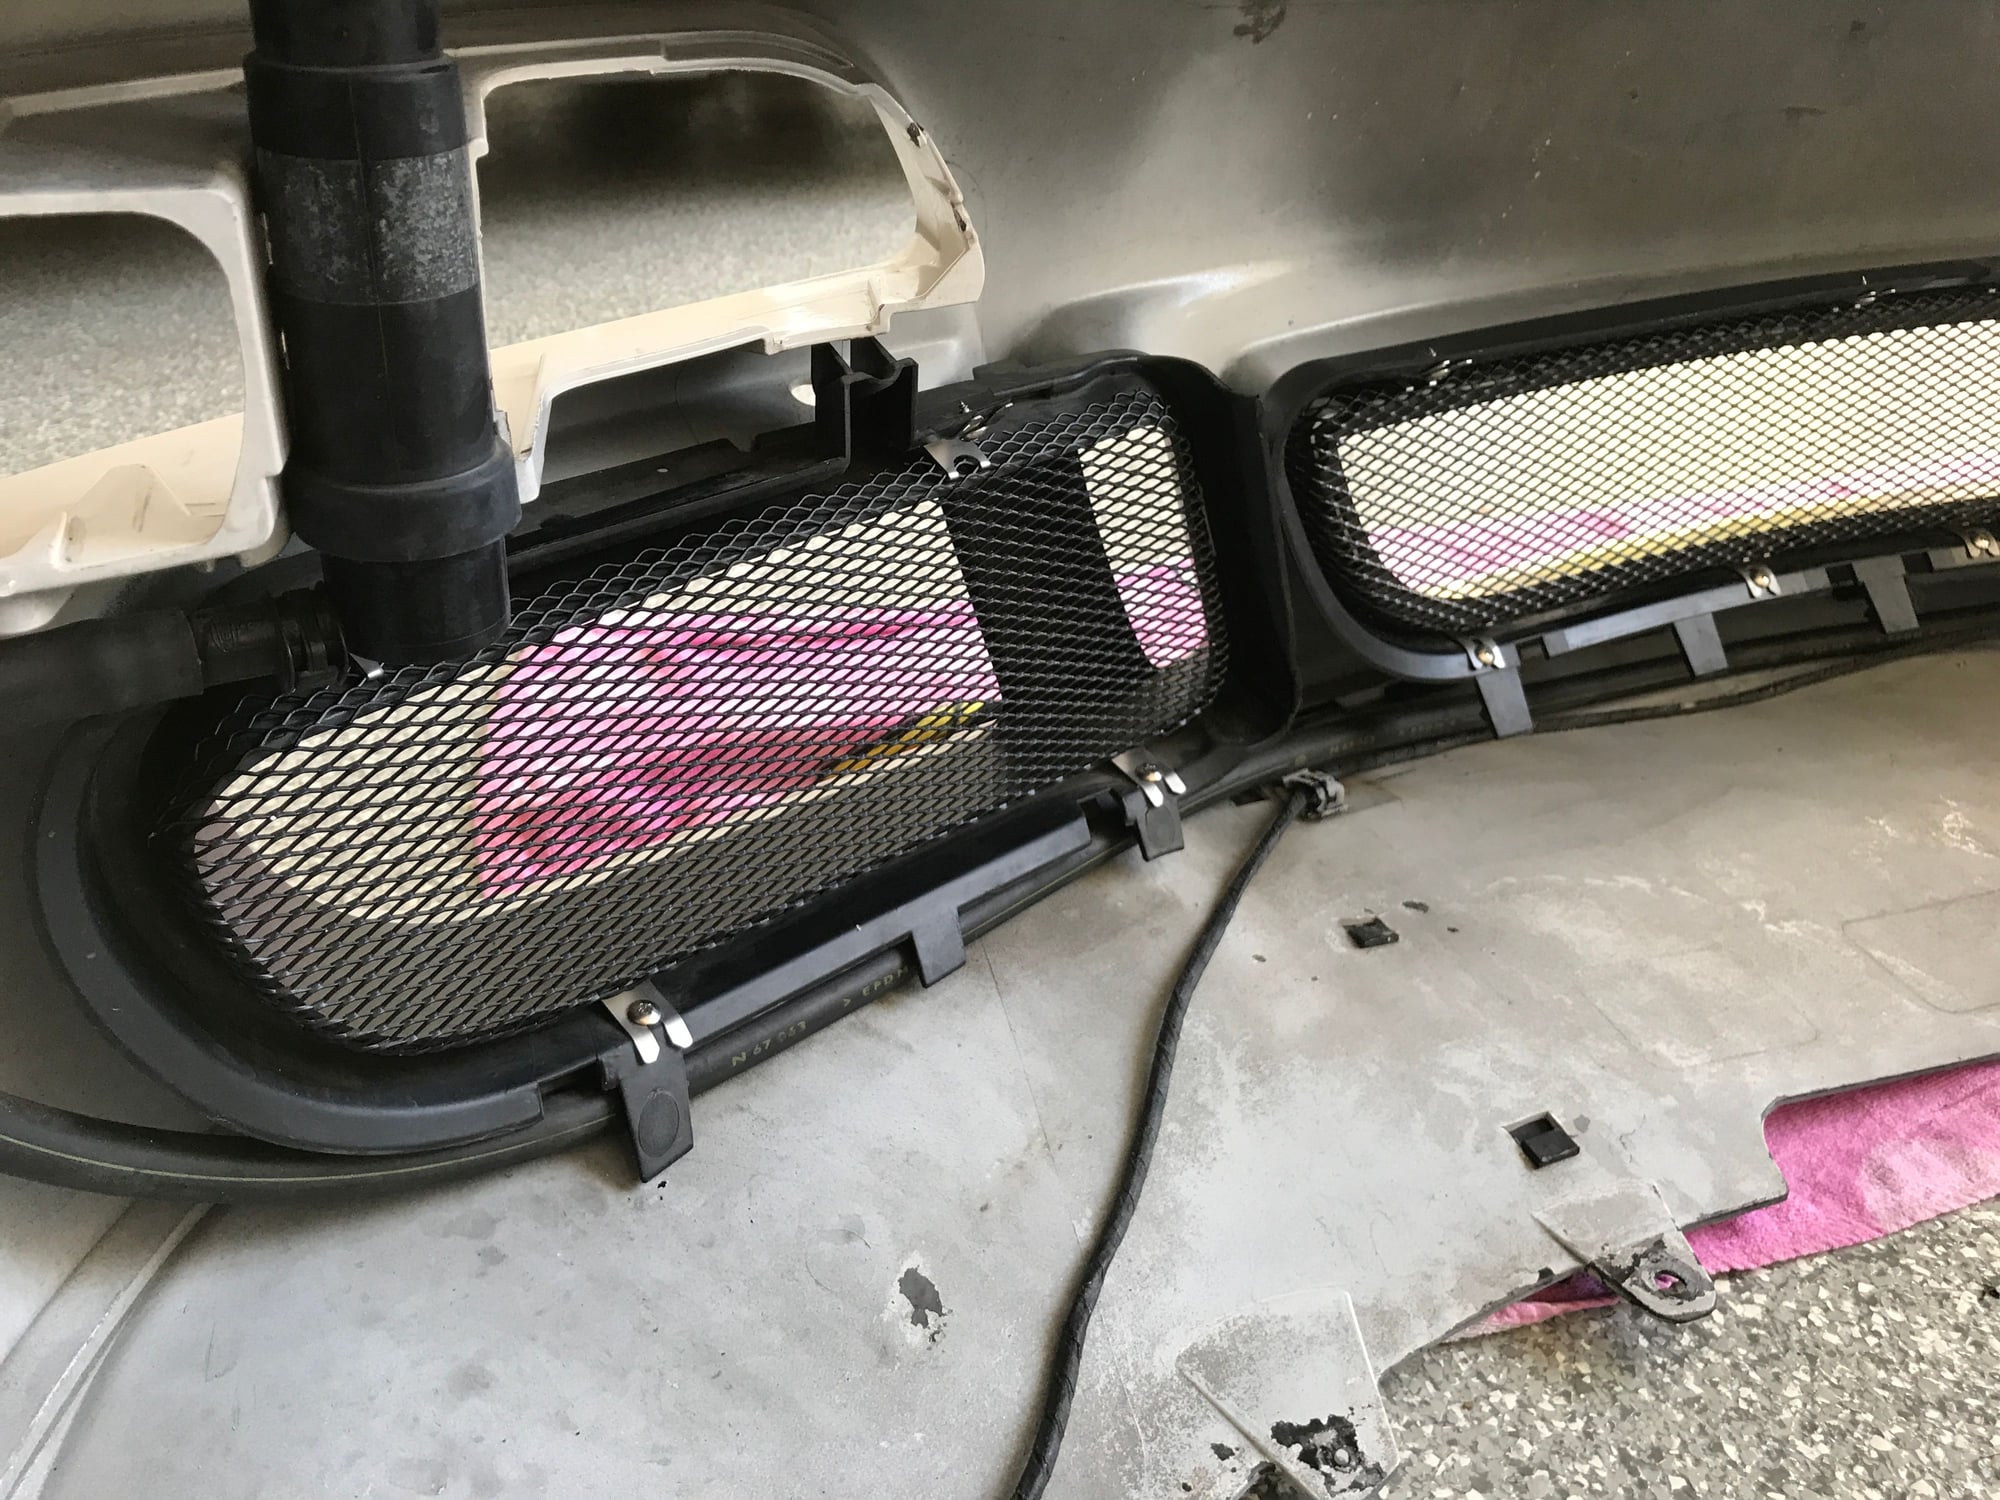
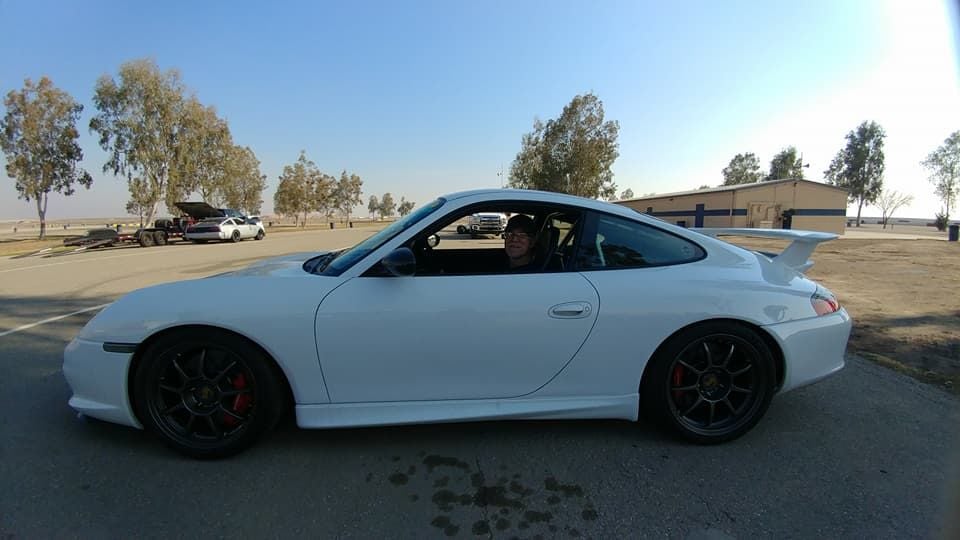
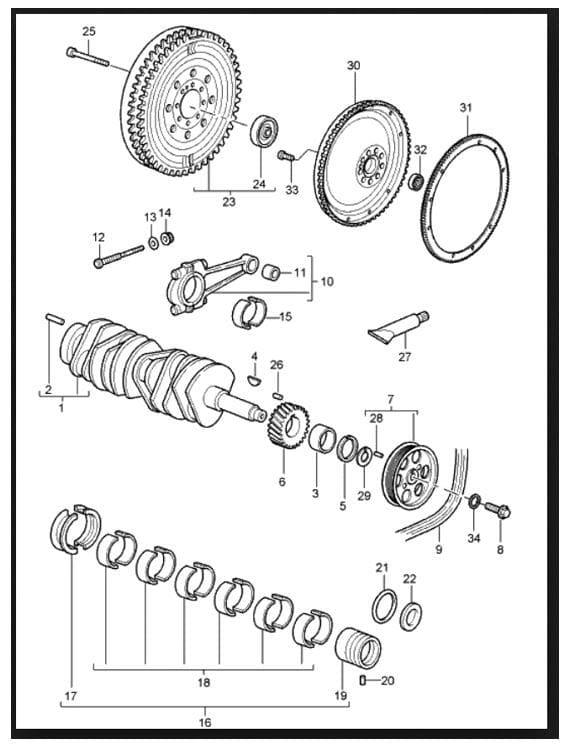
First off hands down the GT3 is one of the best arrive and drive track cars out there. No fuss no muss. I did run in to one mechanical issue this weekend. The fuel door got stuck. After a little persuasion the crosspin released and I pulled the plastic receiver on the fuel door off. It's not going to happen again. ;-)
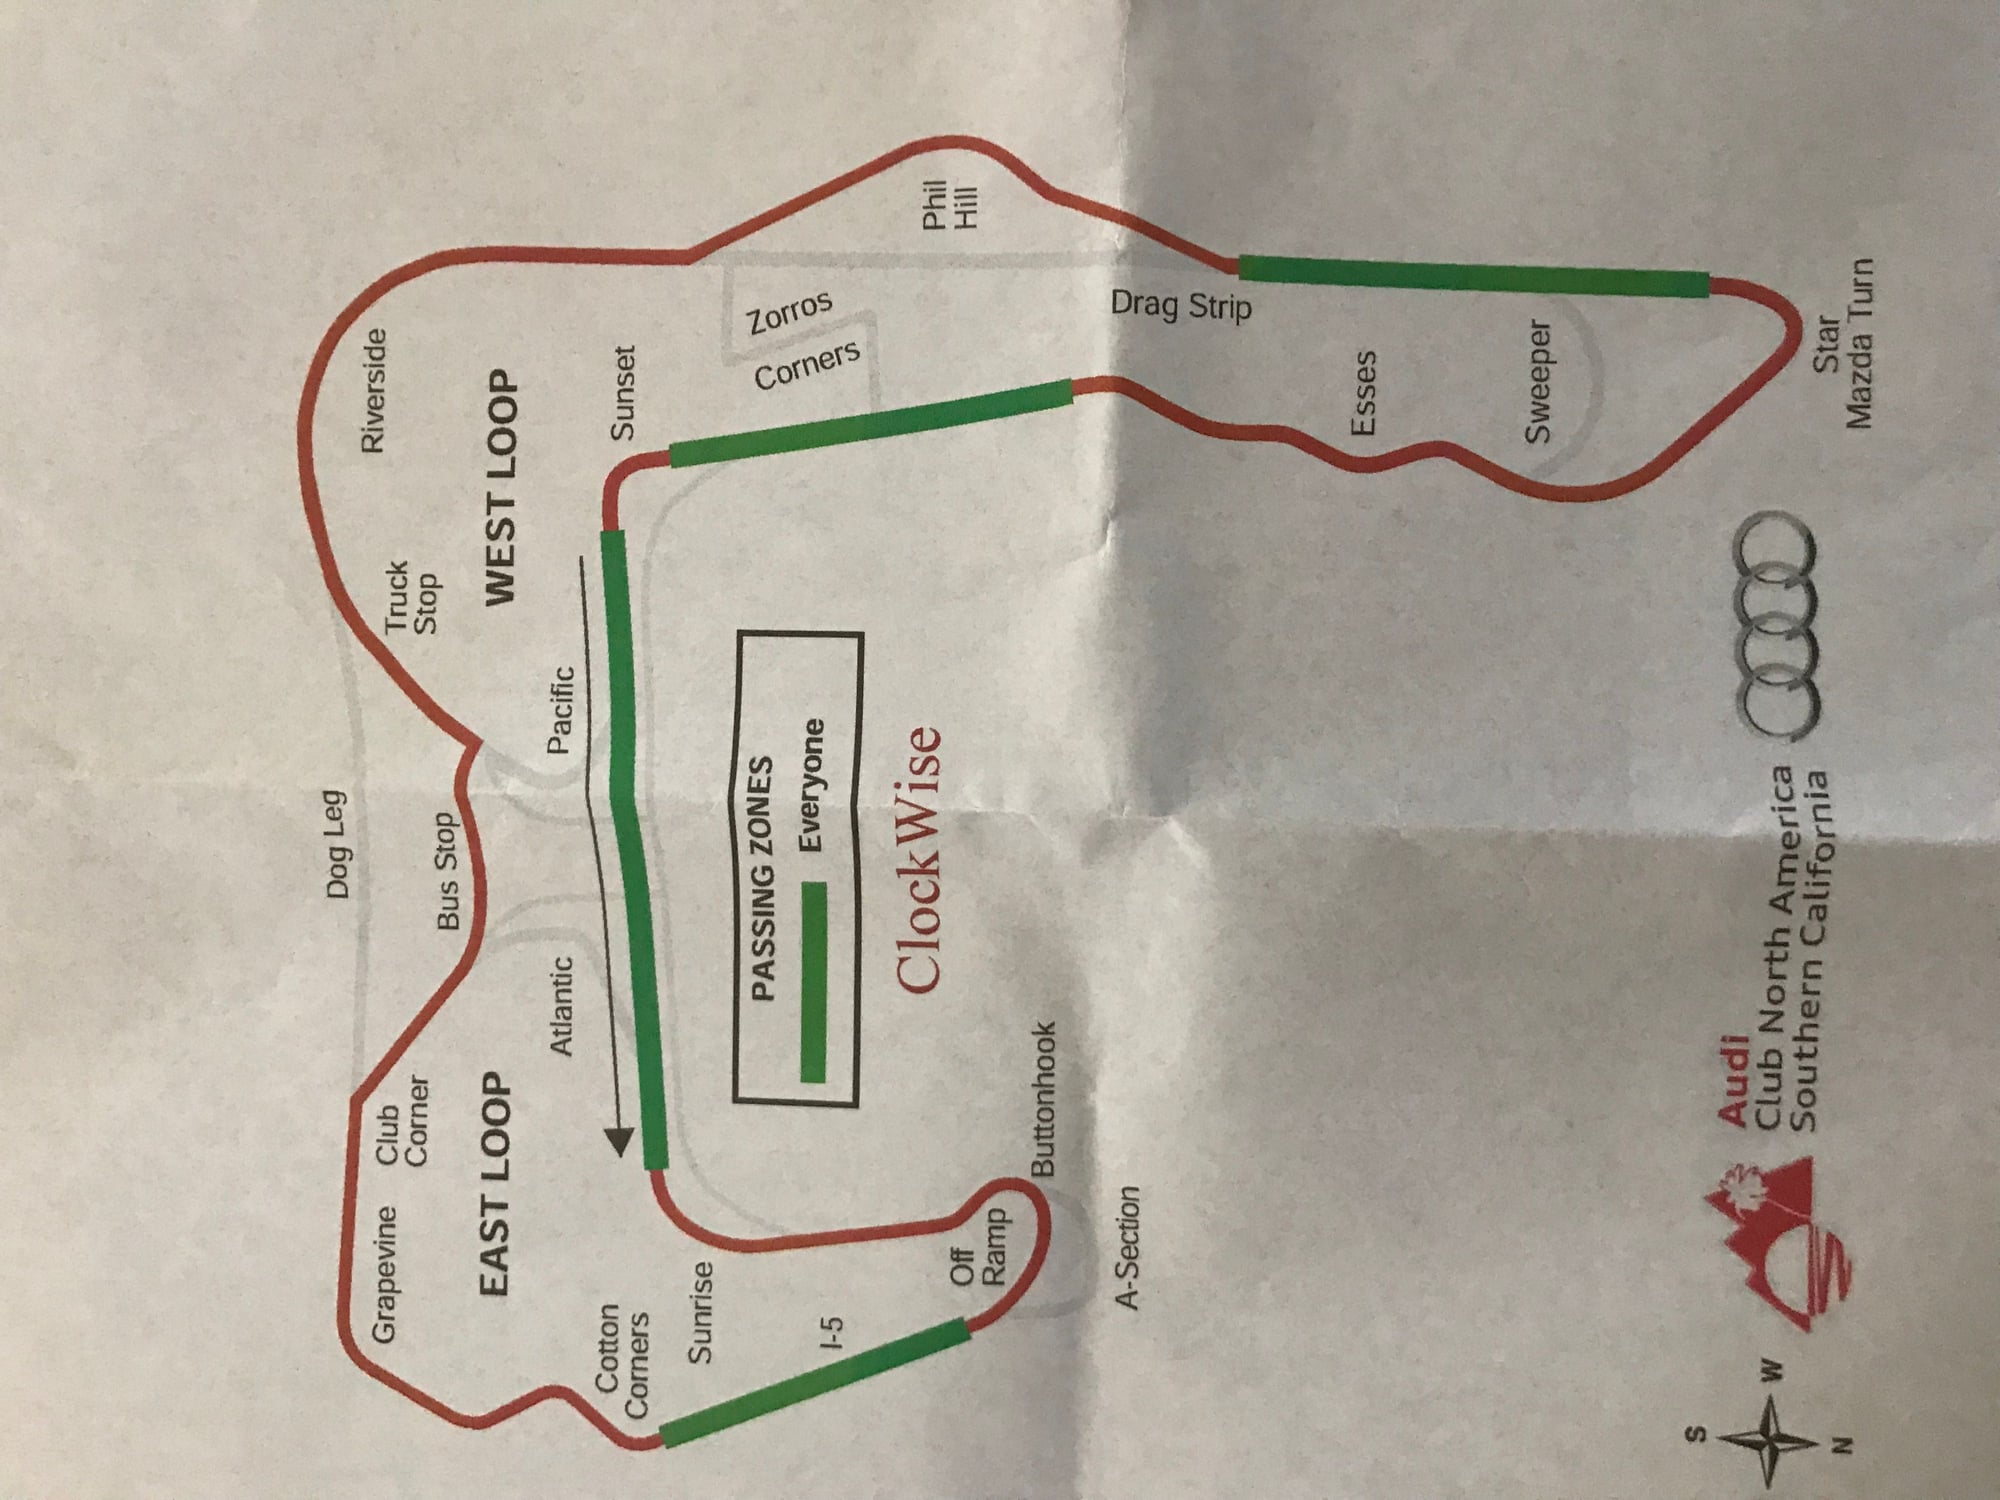
Here's my weekend recap. Left town on Friday. Event was Saturday and Sunday. Event was hosted by the SoCal AudiClub. It's a safe, fun and family friendly event. This was my first time on track with the GT3 and it was a humbling experience. I ran a 2:08 CW1 in the GT3 which is slow and it is the same time I ran in my Audi A4 (lol) when I'm pushing 9-10/10ths. This car is extremely capable, but requires a lot of ***** and a lot of driver skill, precision, etc. which is what I wanted. I want to become a better driver and learn how to master the GT3. I know the car is capable of a 2:01 or less for CW1. I had a nice spin at the left kink entering into Phil's hill (100mph+), sorry no video. I ended up on the left side of the hill (not towards the flag station).
I'll be at Buttonwillow again on December 1st. It's soo tempting to spend $$$ on modifications, but I think seat time is the best money spent at this point. I still need seats and cage though.
Thanks for all of the nice comments.
Cheers,
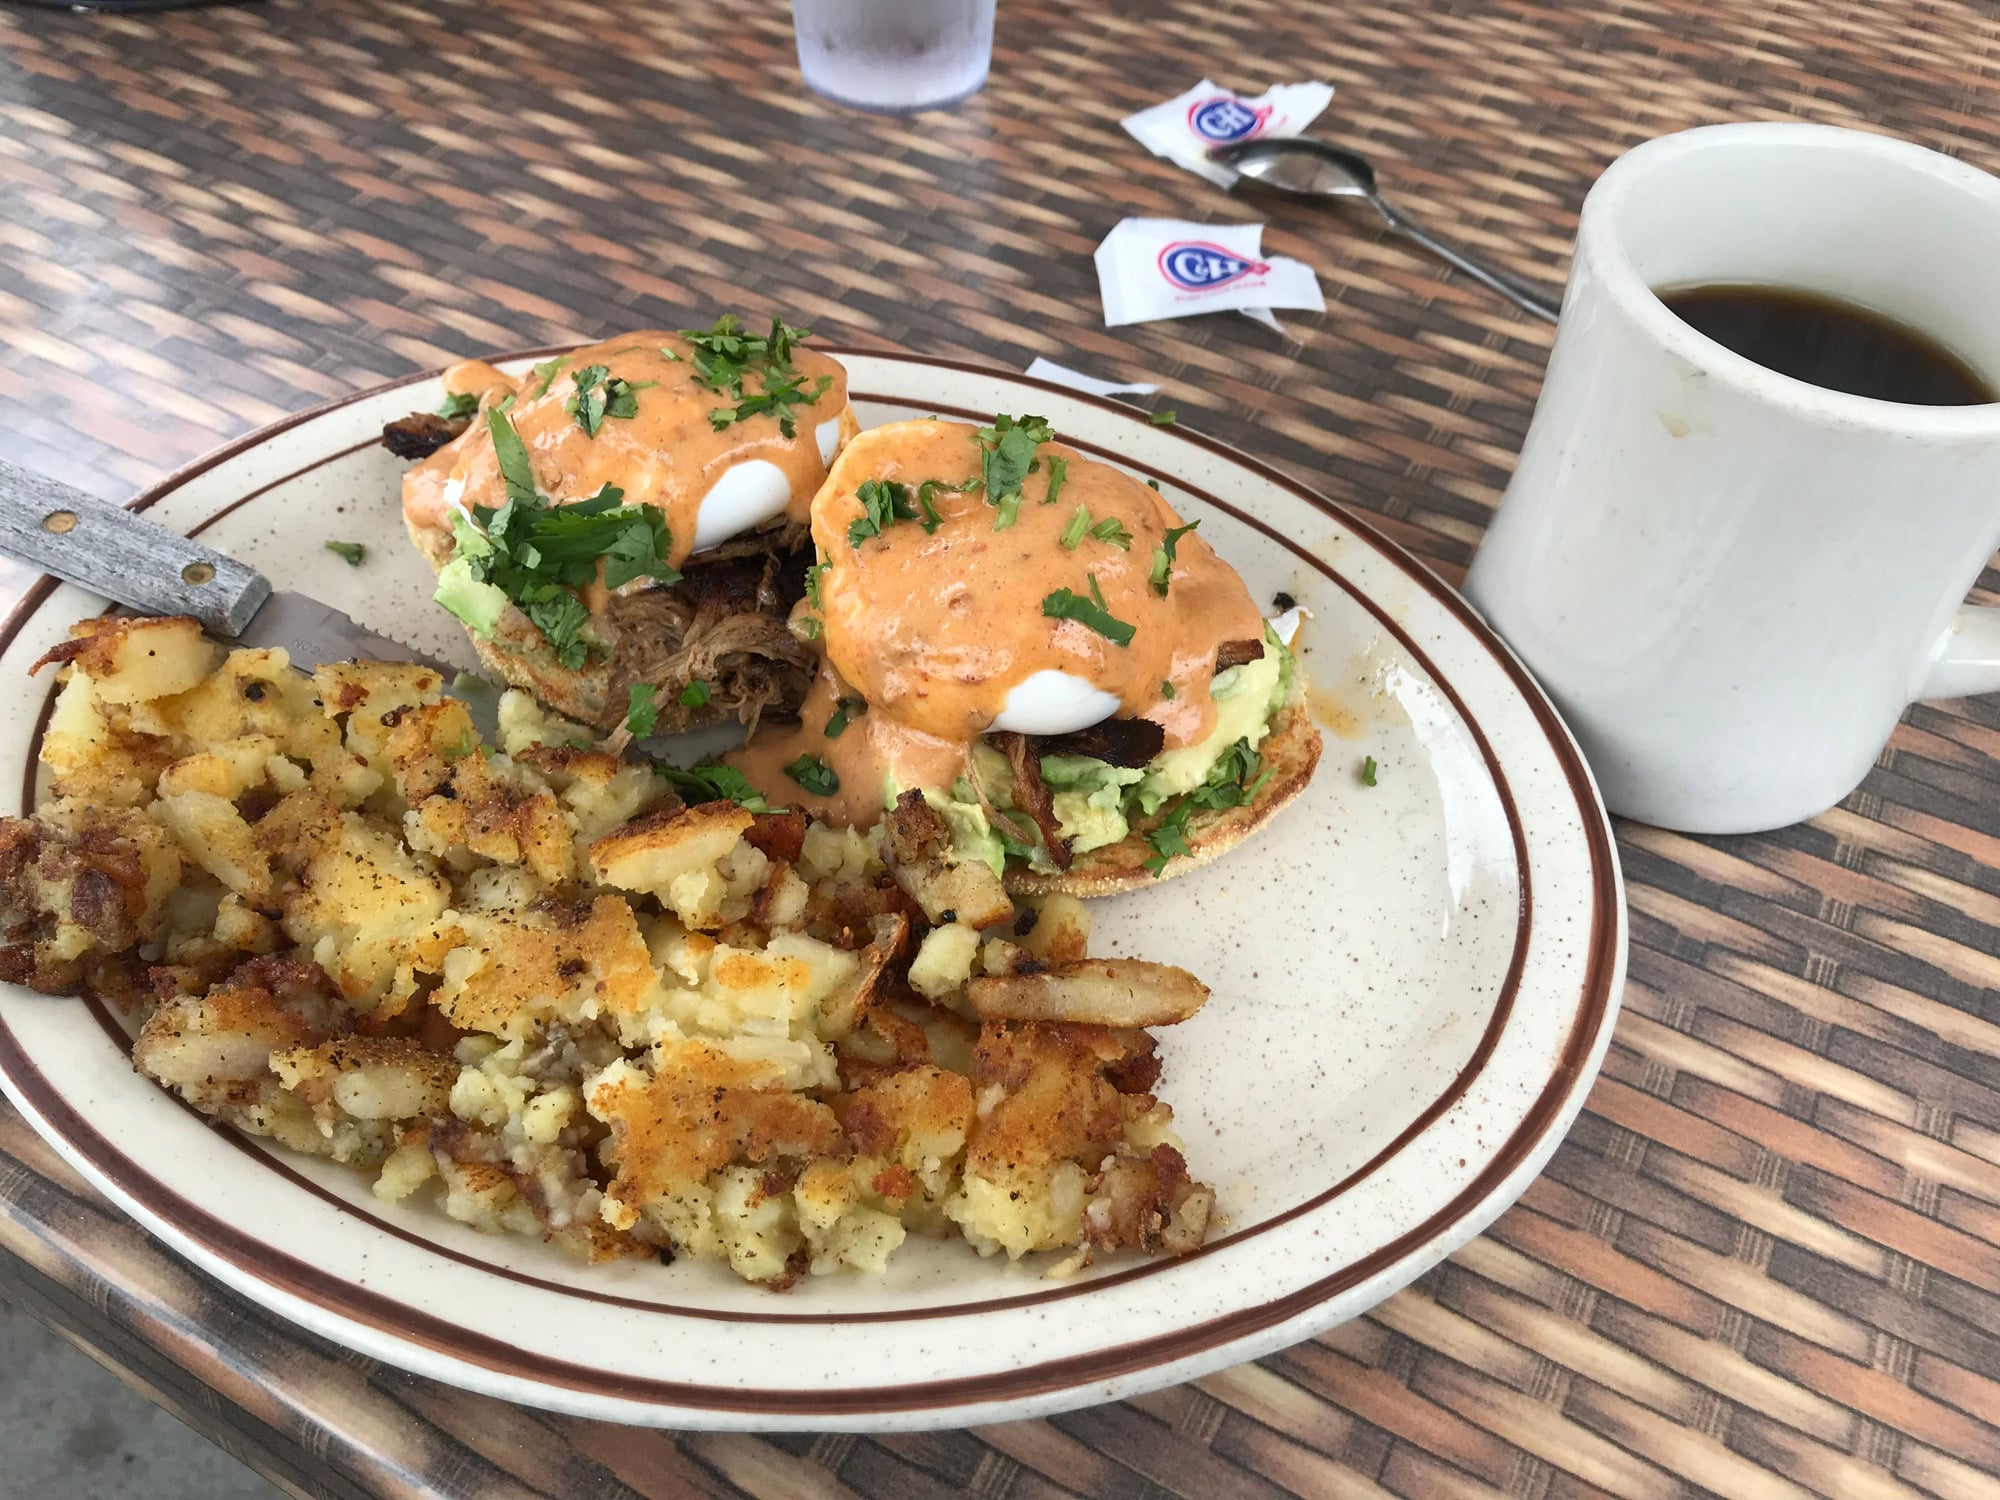
Breakfast of champions. Carnitas benny at 101 Diner in Encinitas
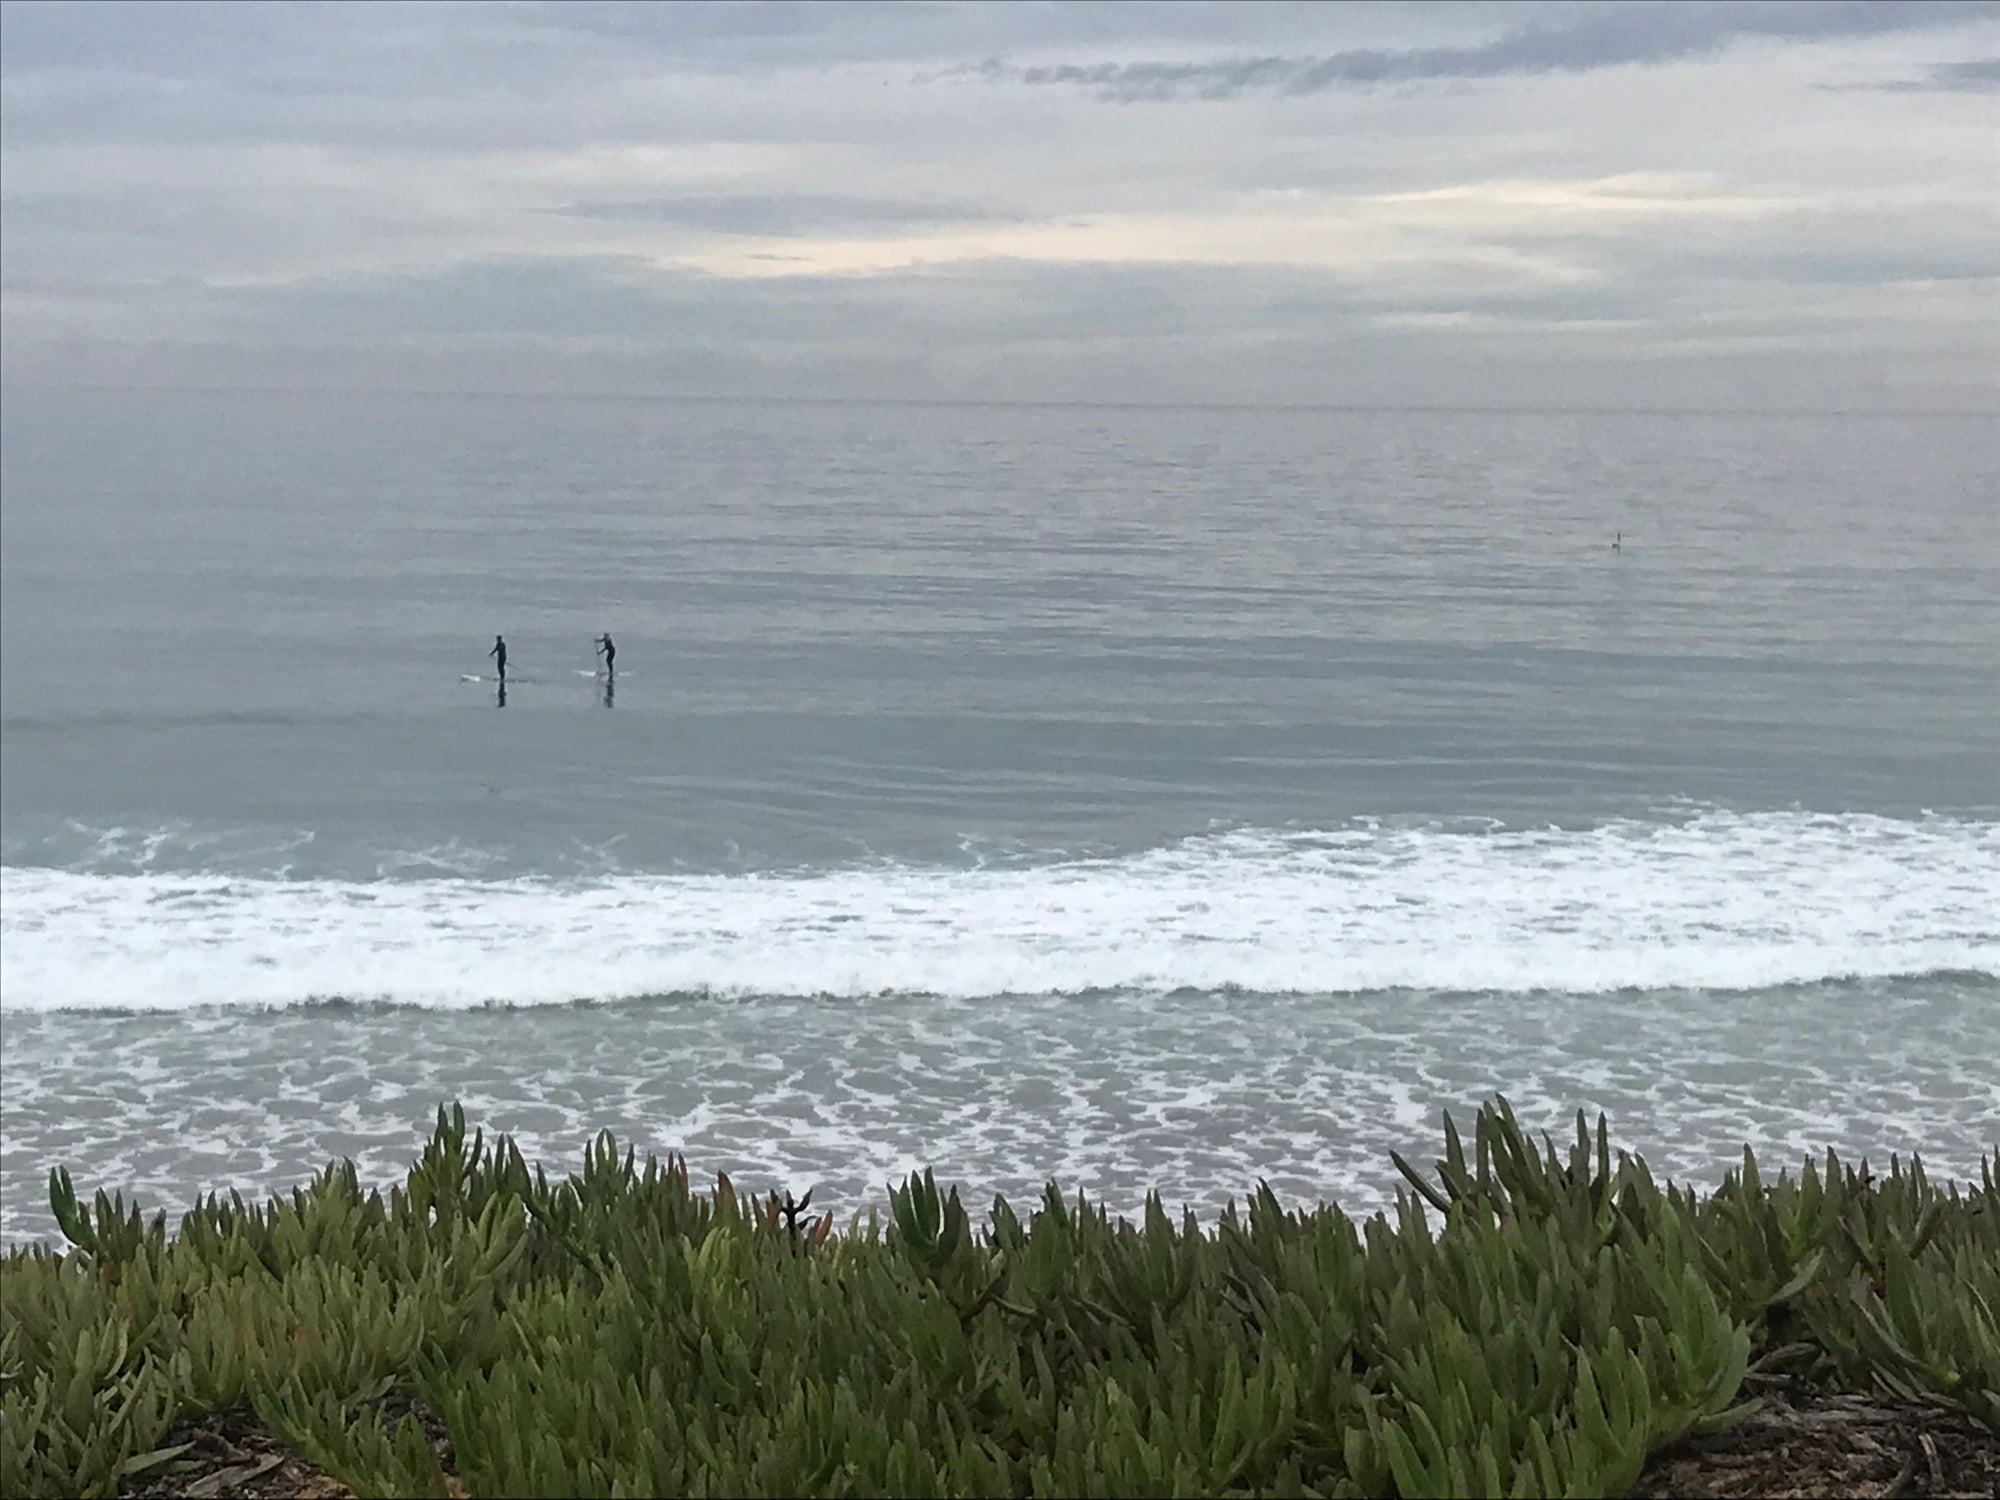
Goodbye Encinitas. Ominous rain clouds threatened the drive up to Bakersfield/Buttonwillow.
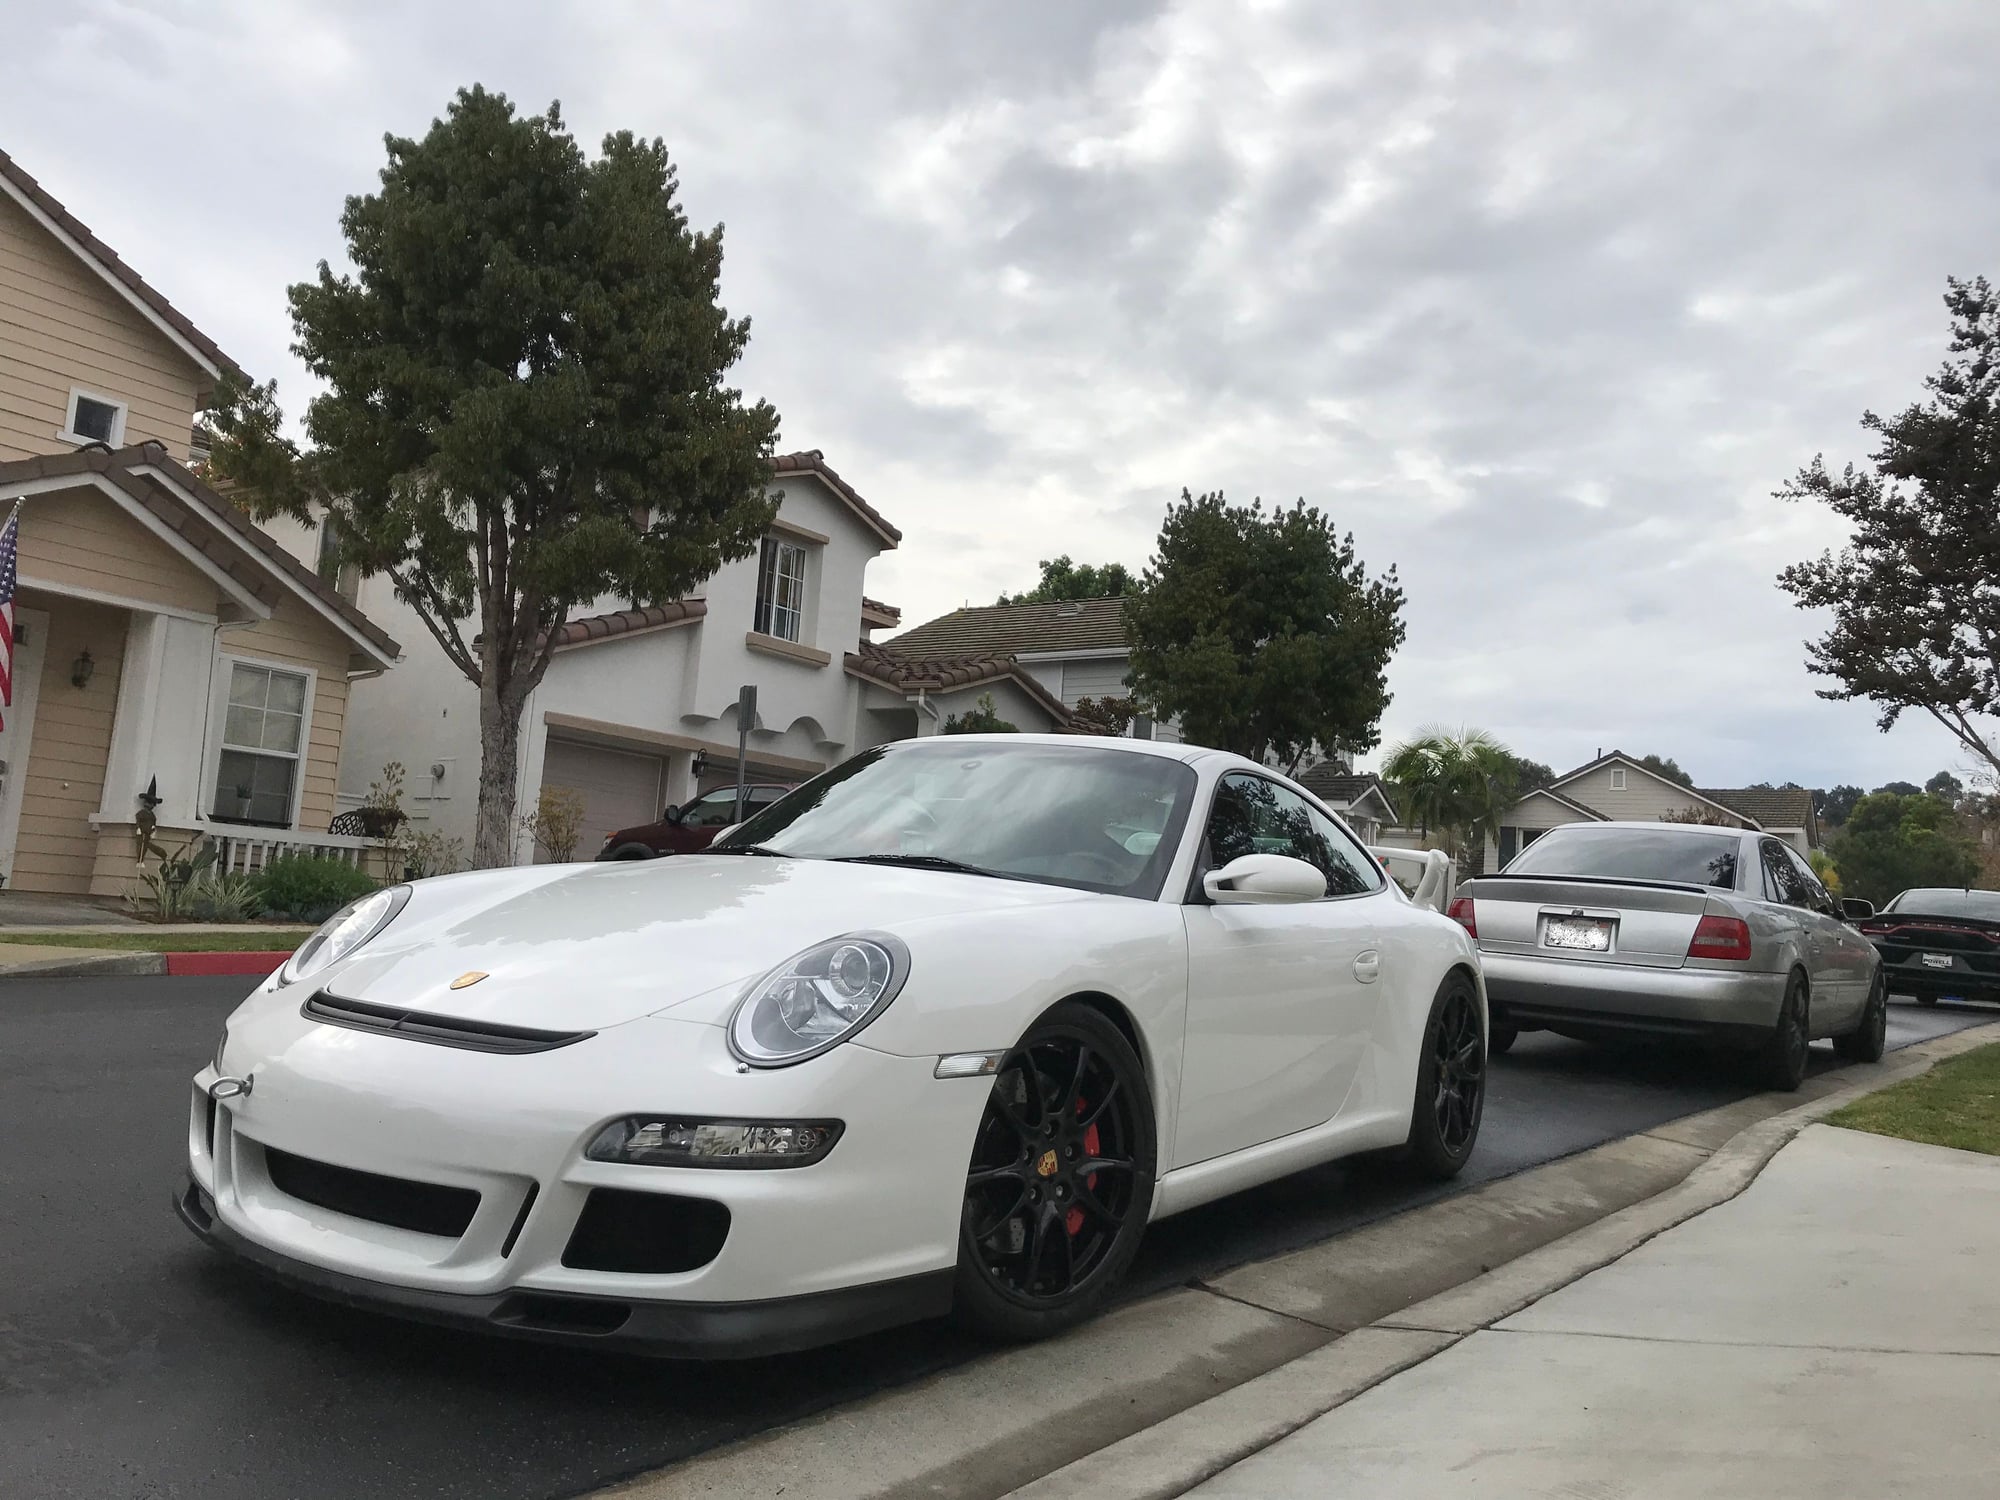
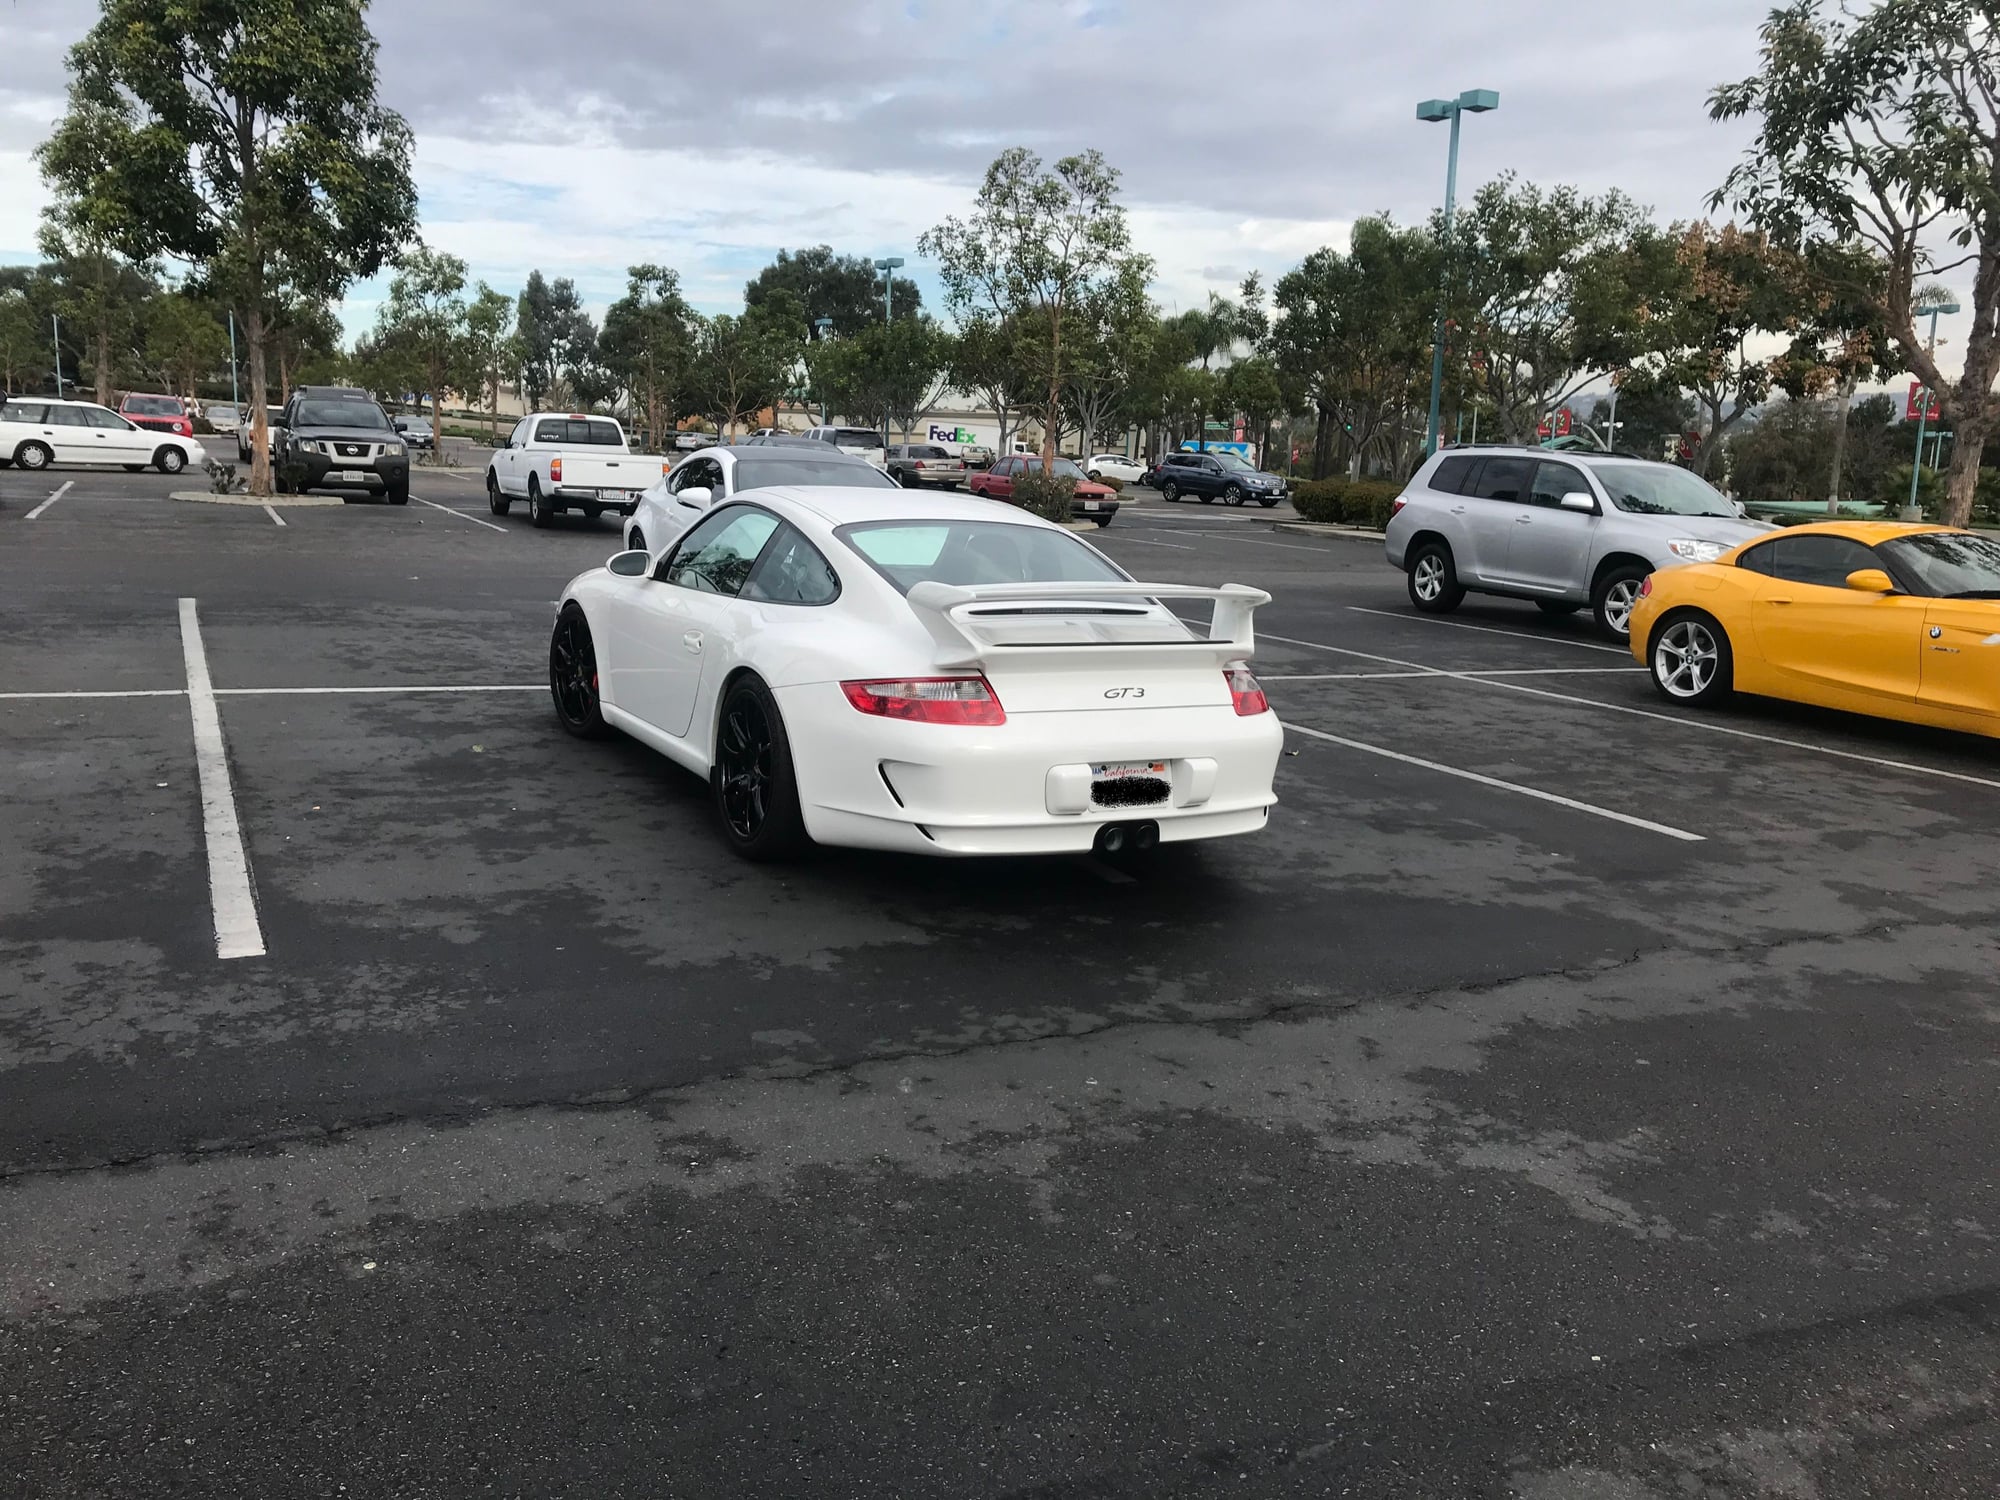
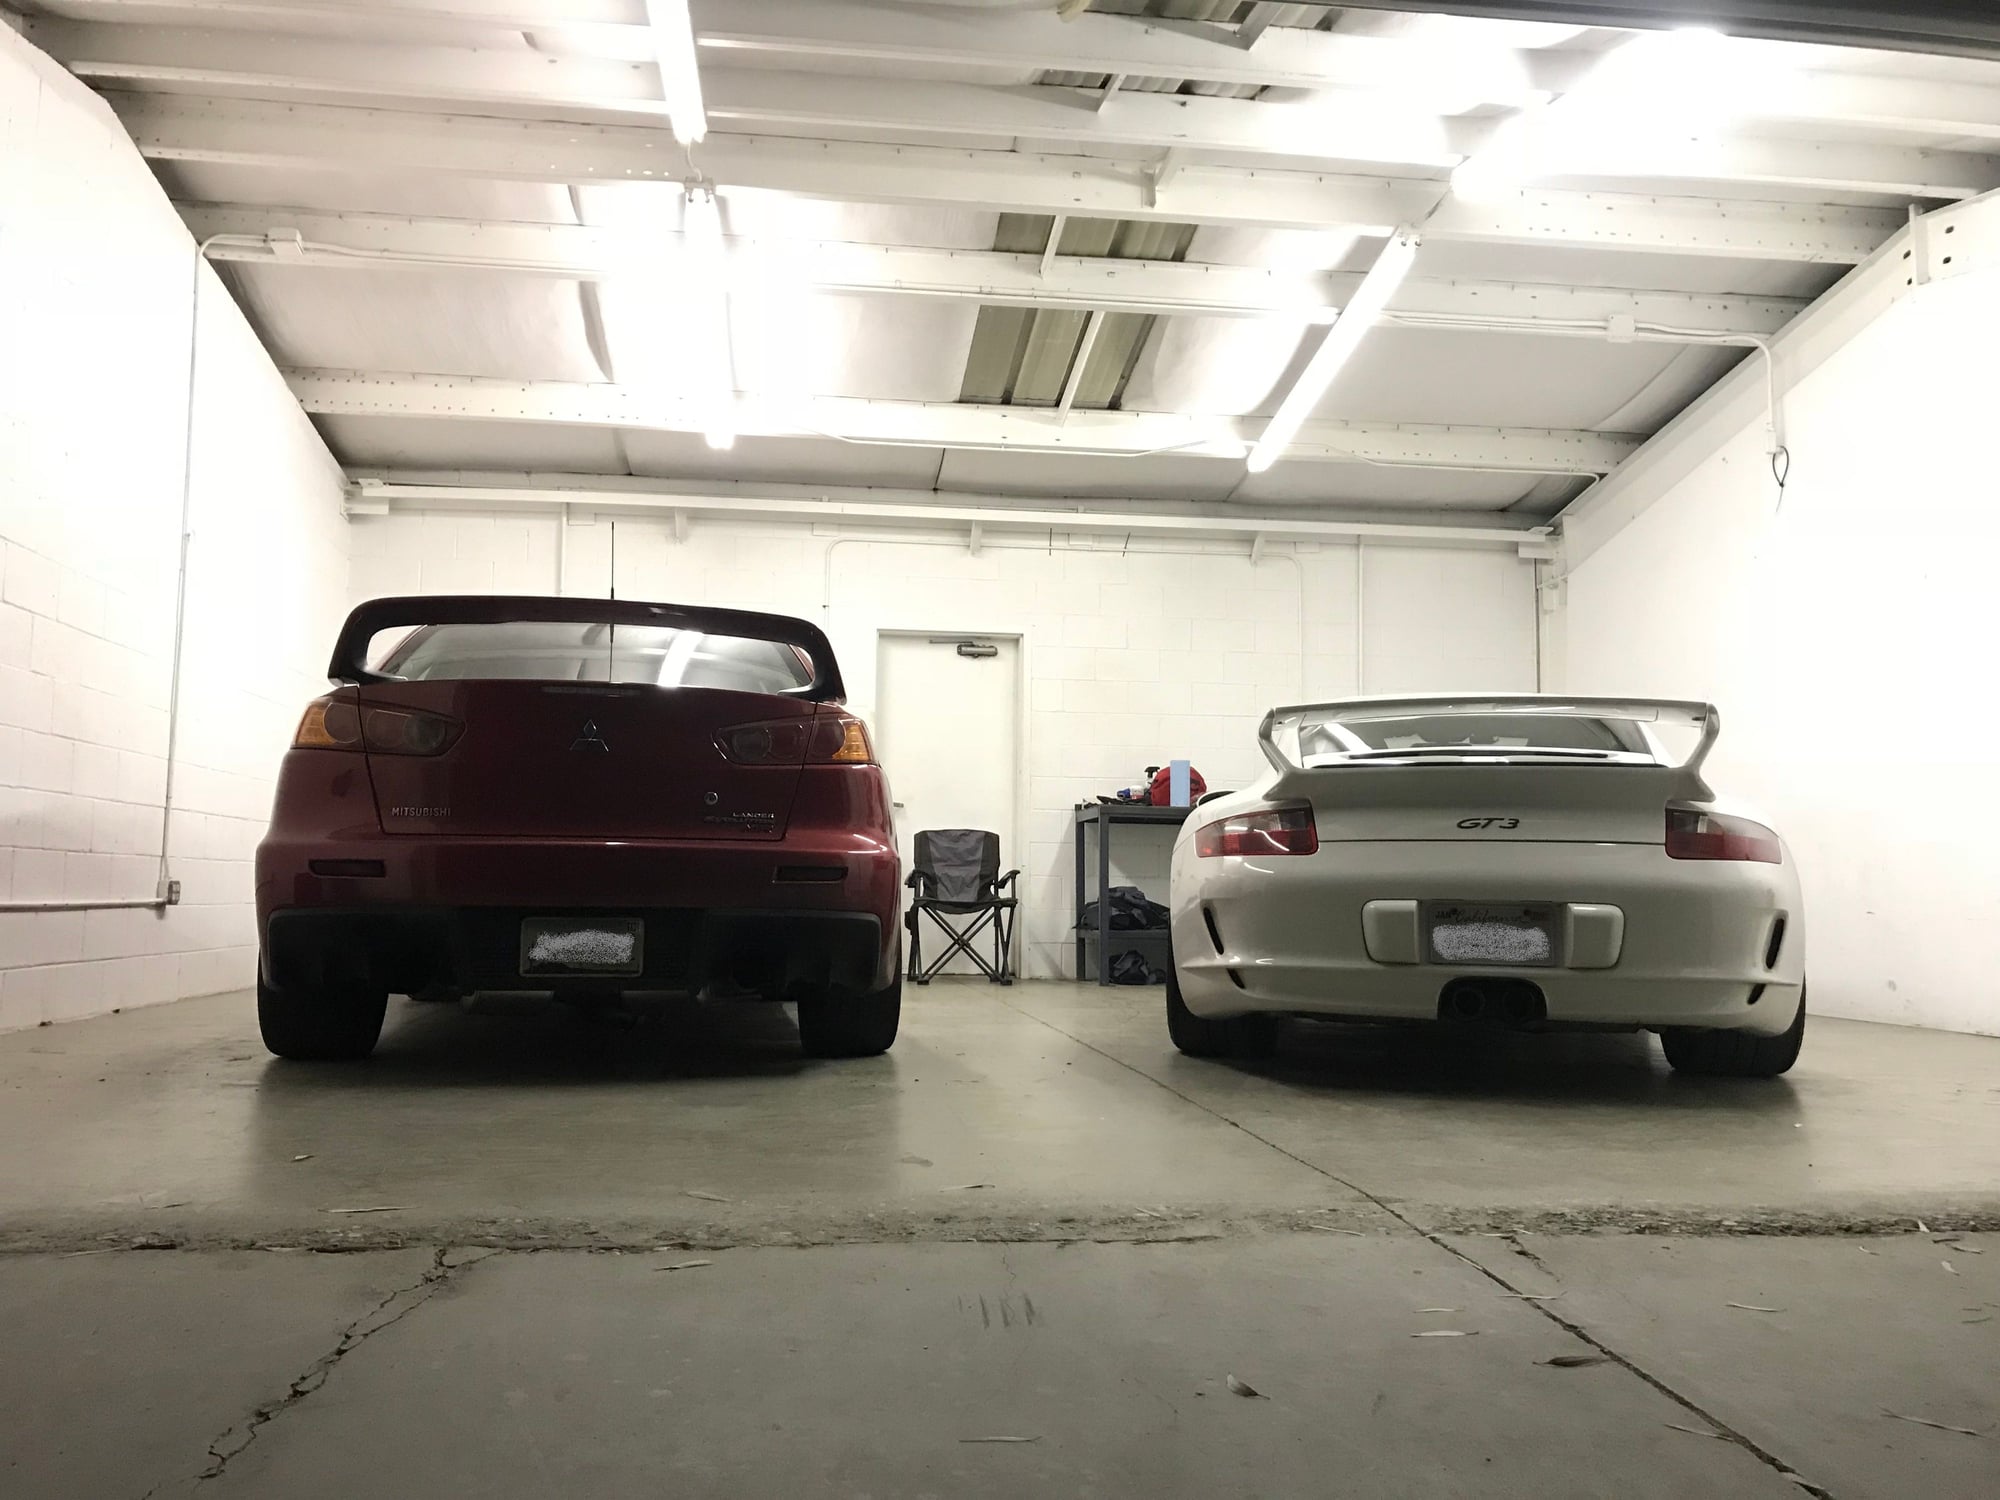
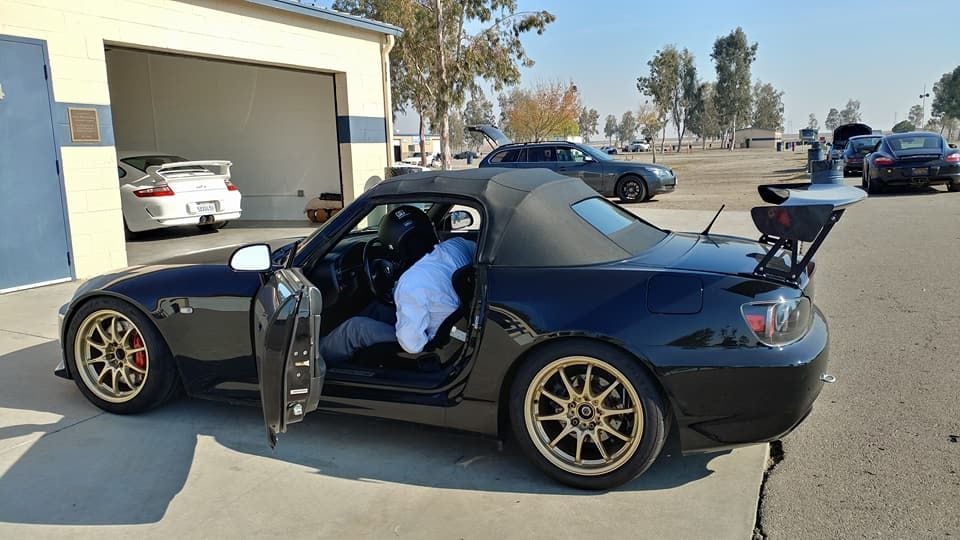
The old track car in the background. It's retired and relegated to neighborhood parking.
Quick stop at Best Buy. Official "GT3 Parking".
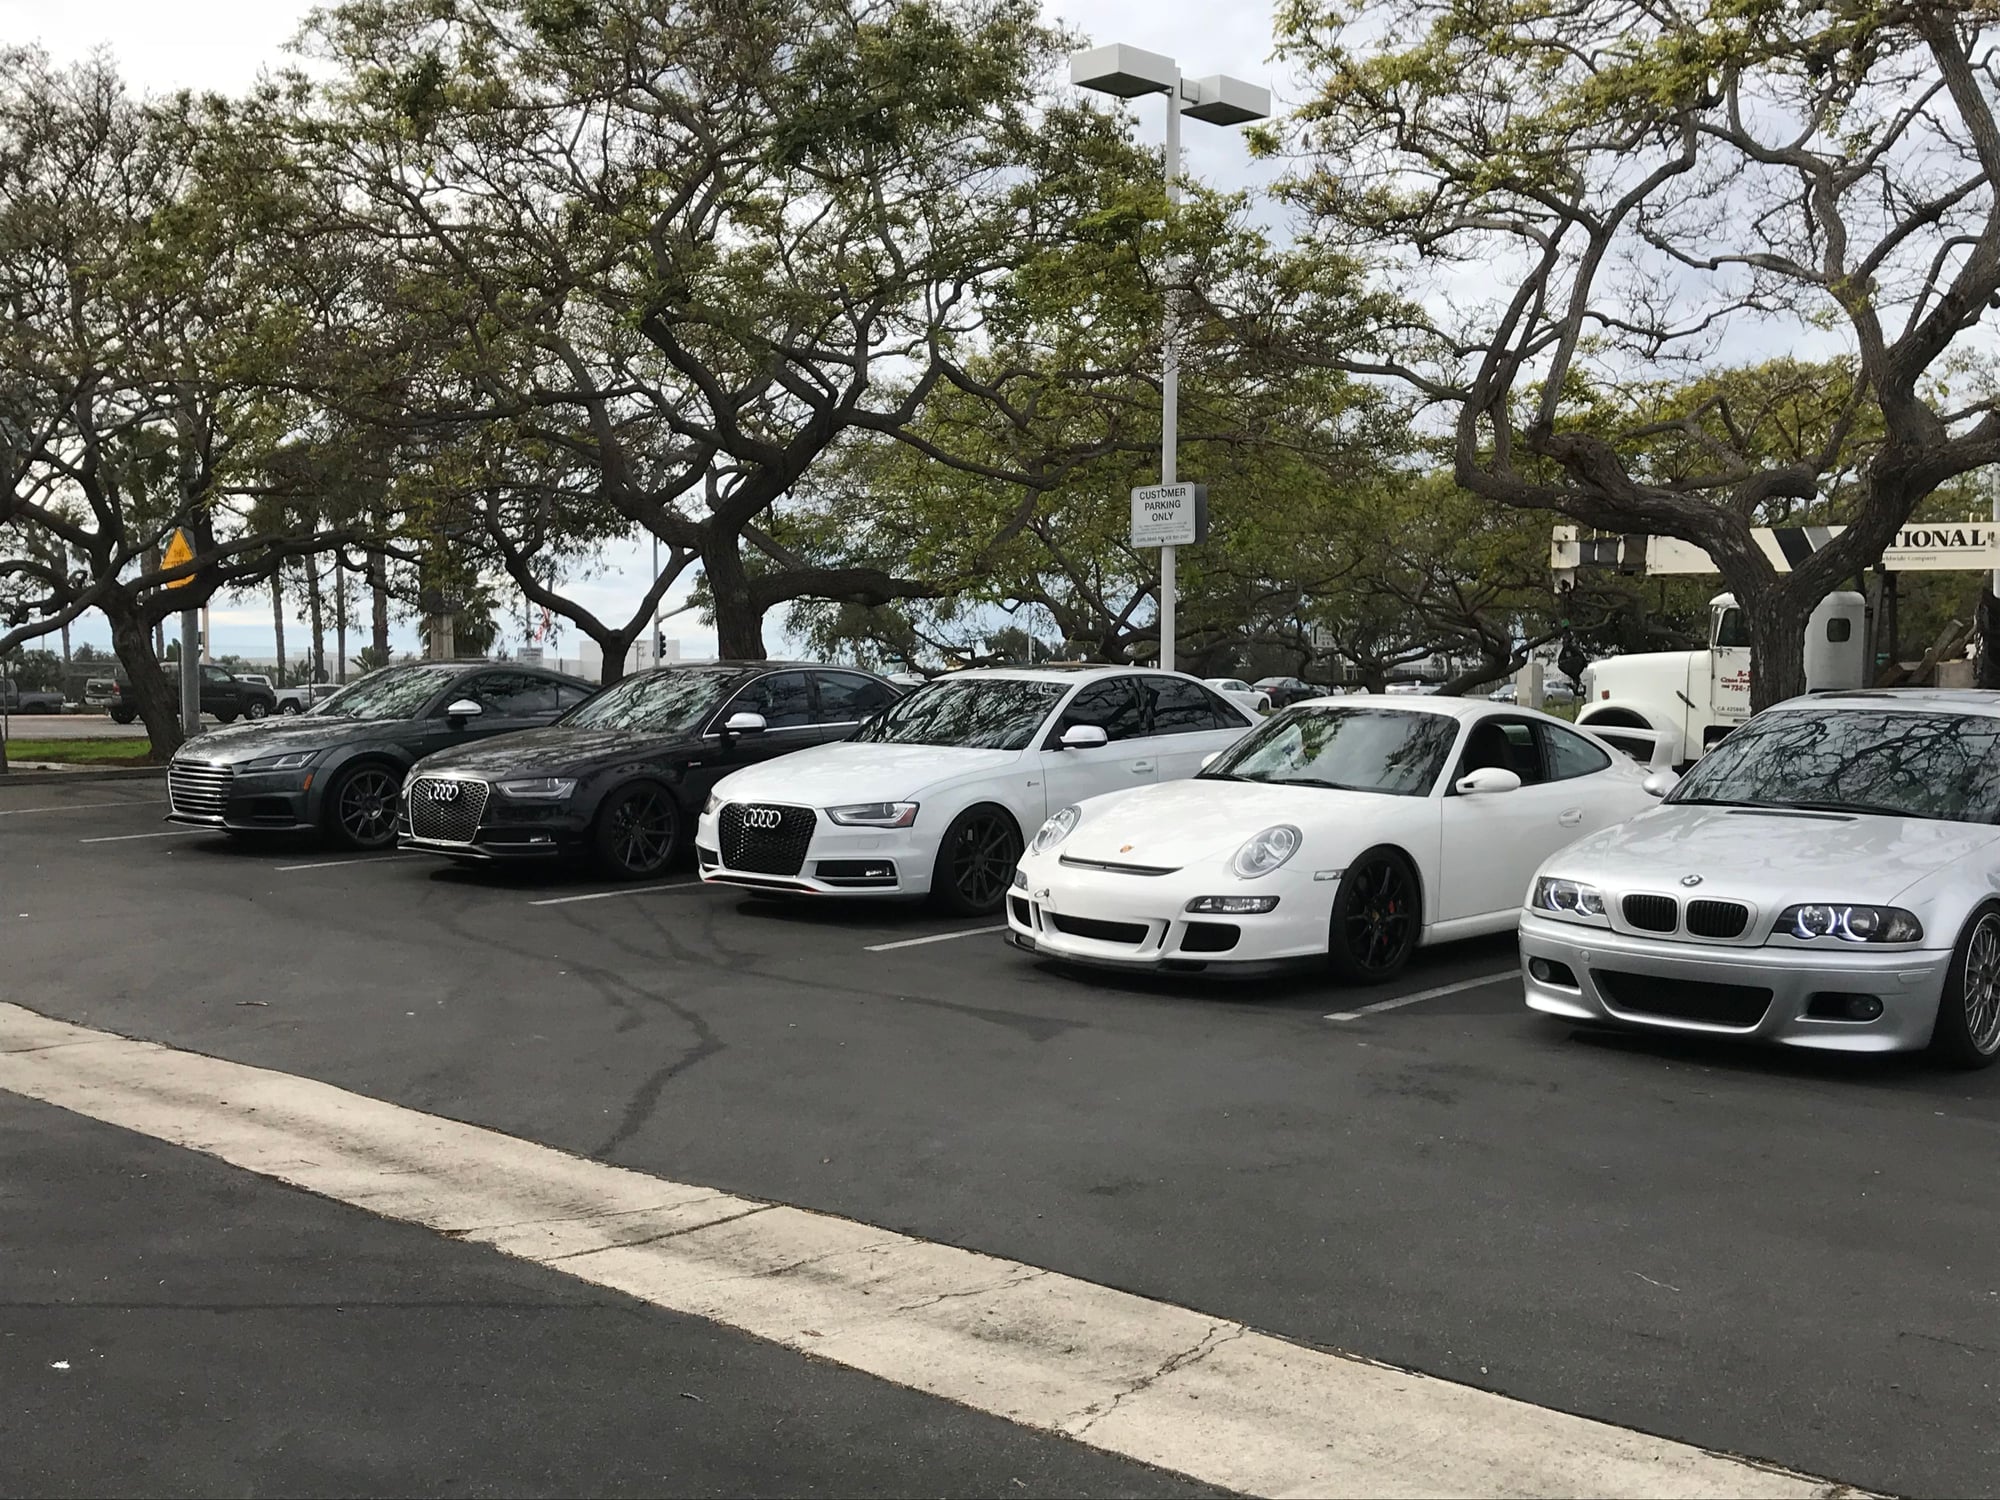
Meetup with San Diego Audi Club guys
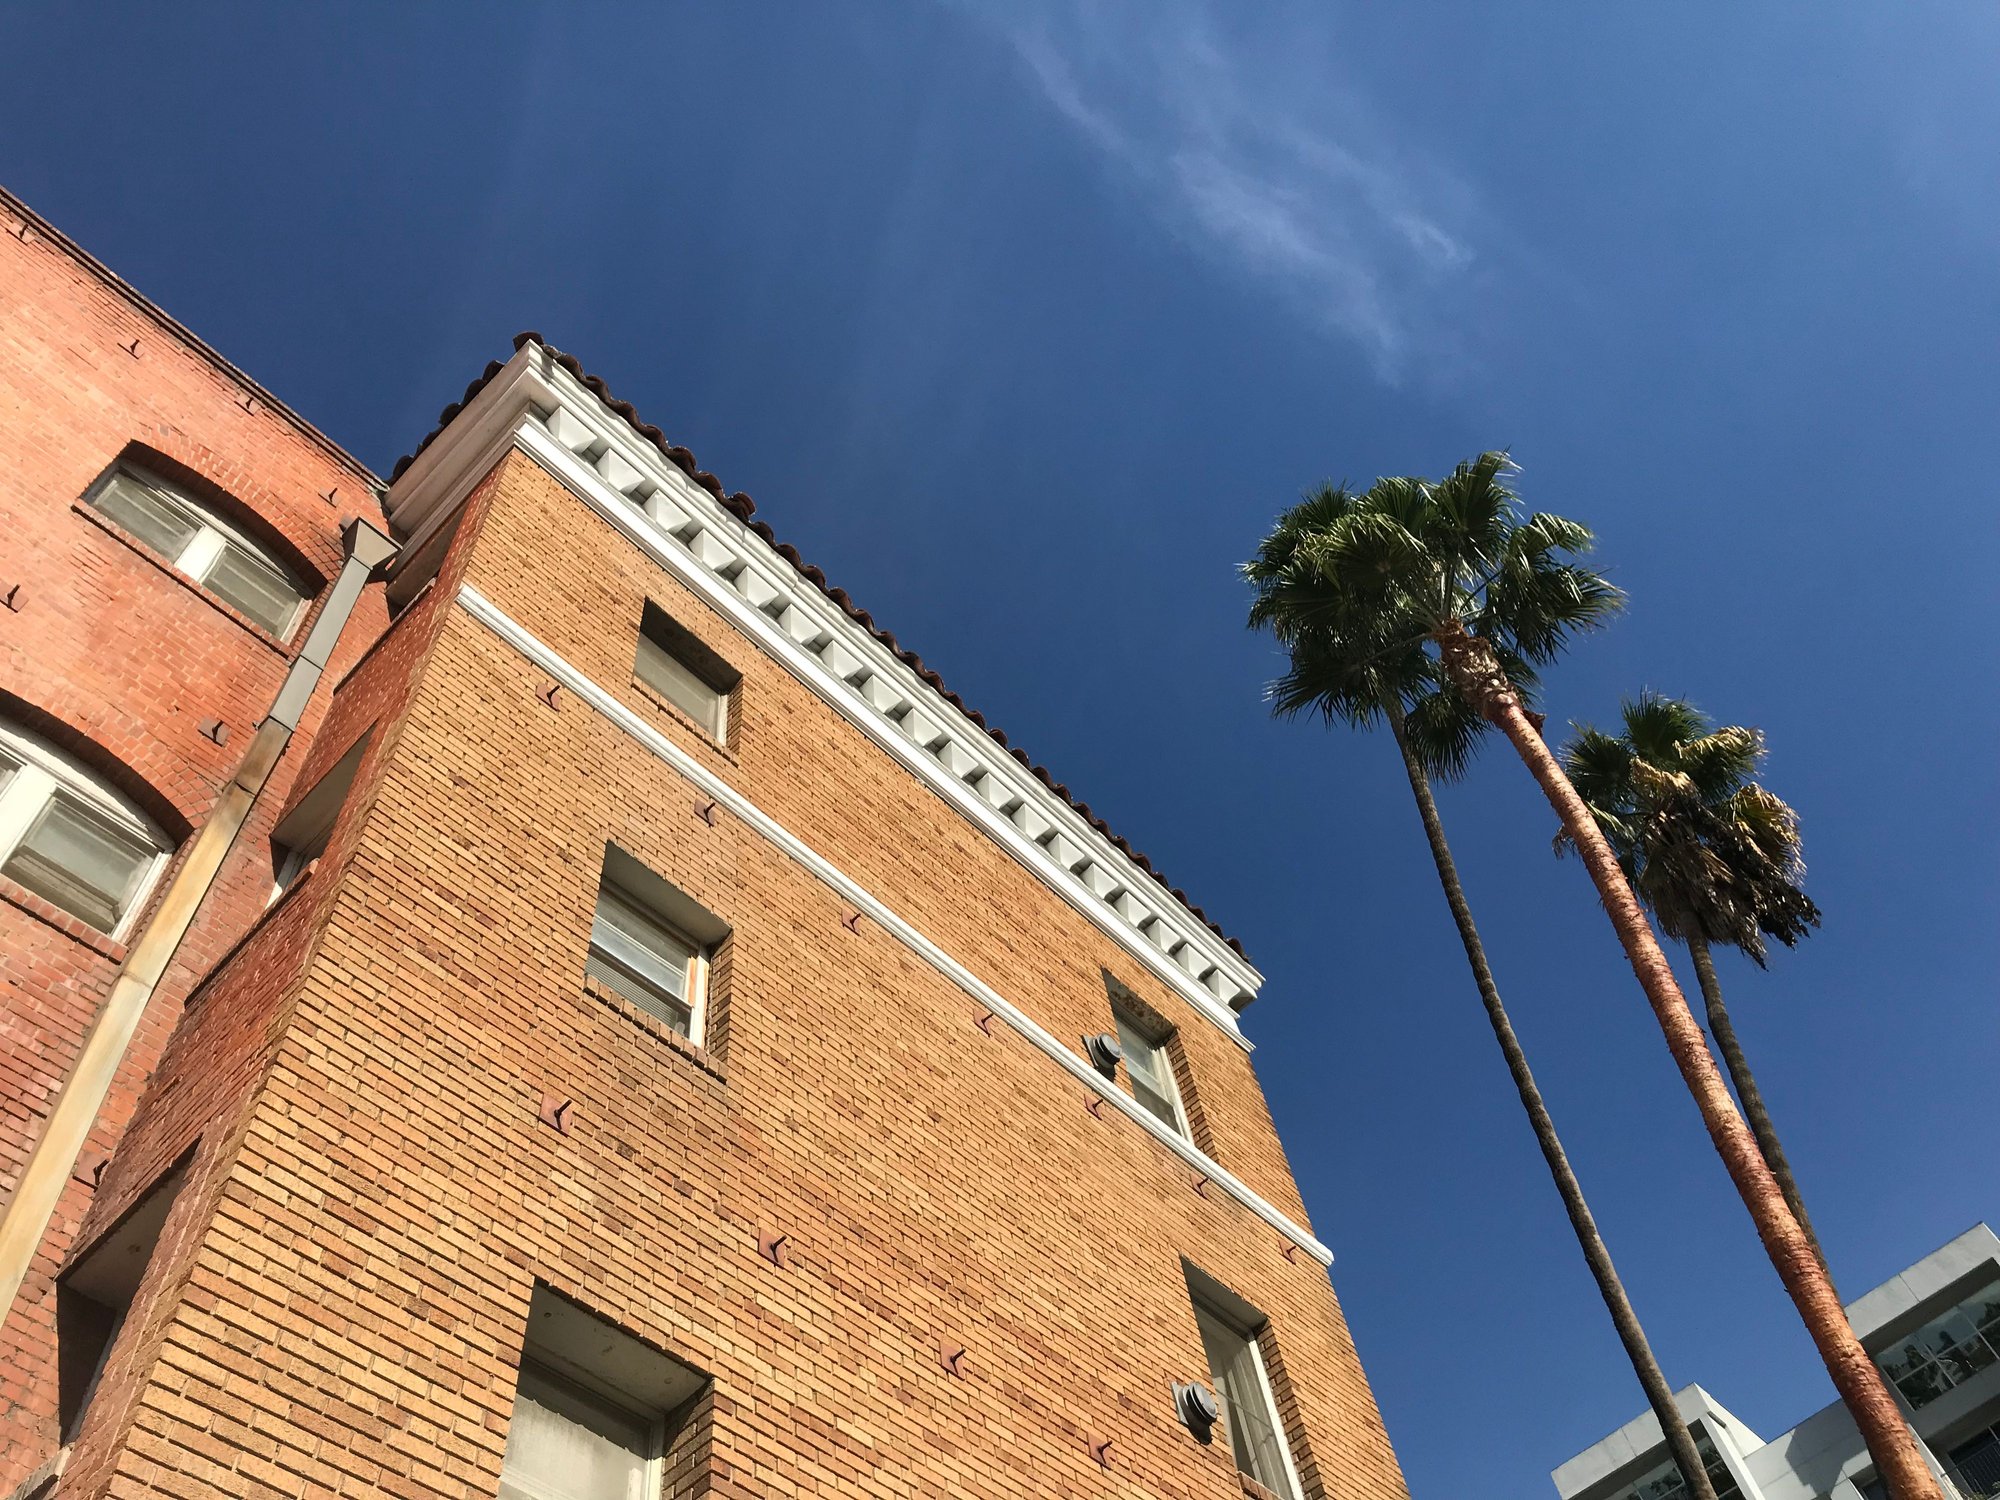
Detour to L.A. for lunch
Some cool architecture in L.A.
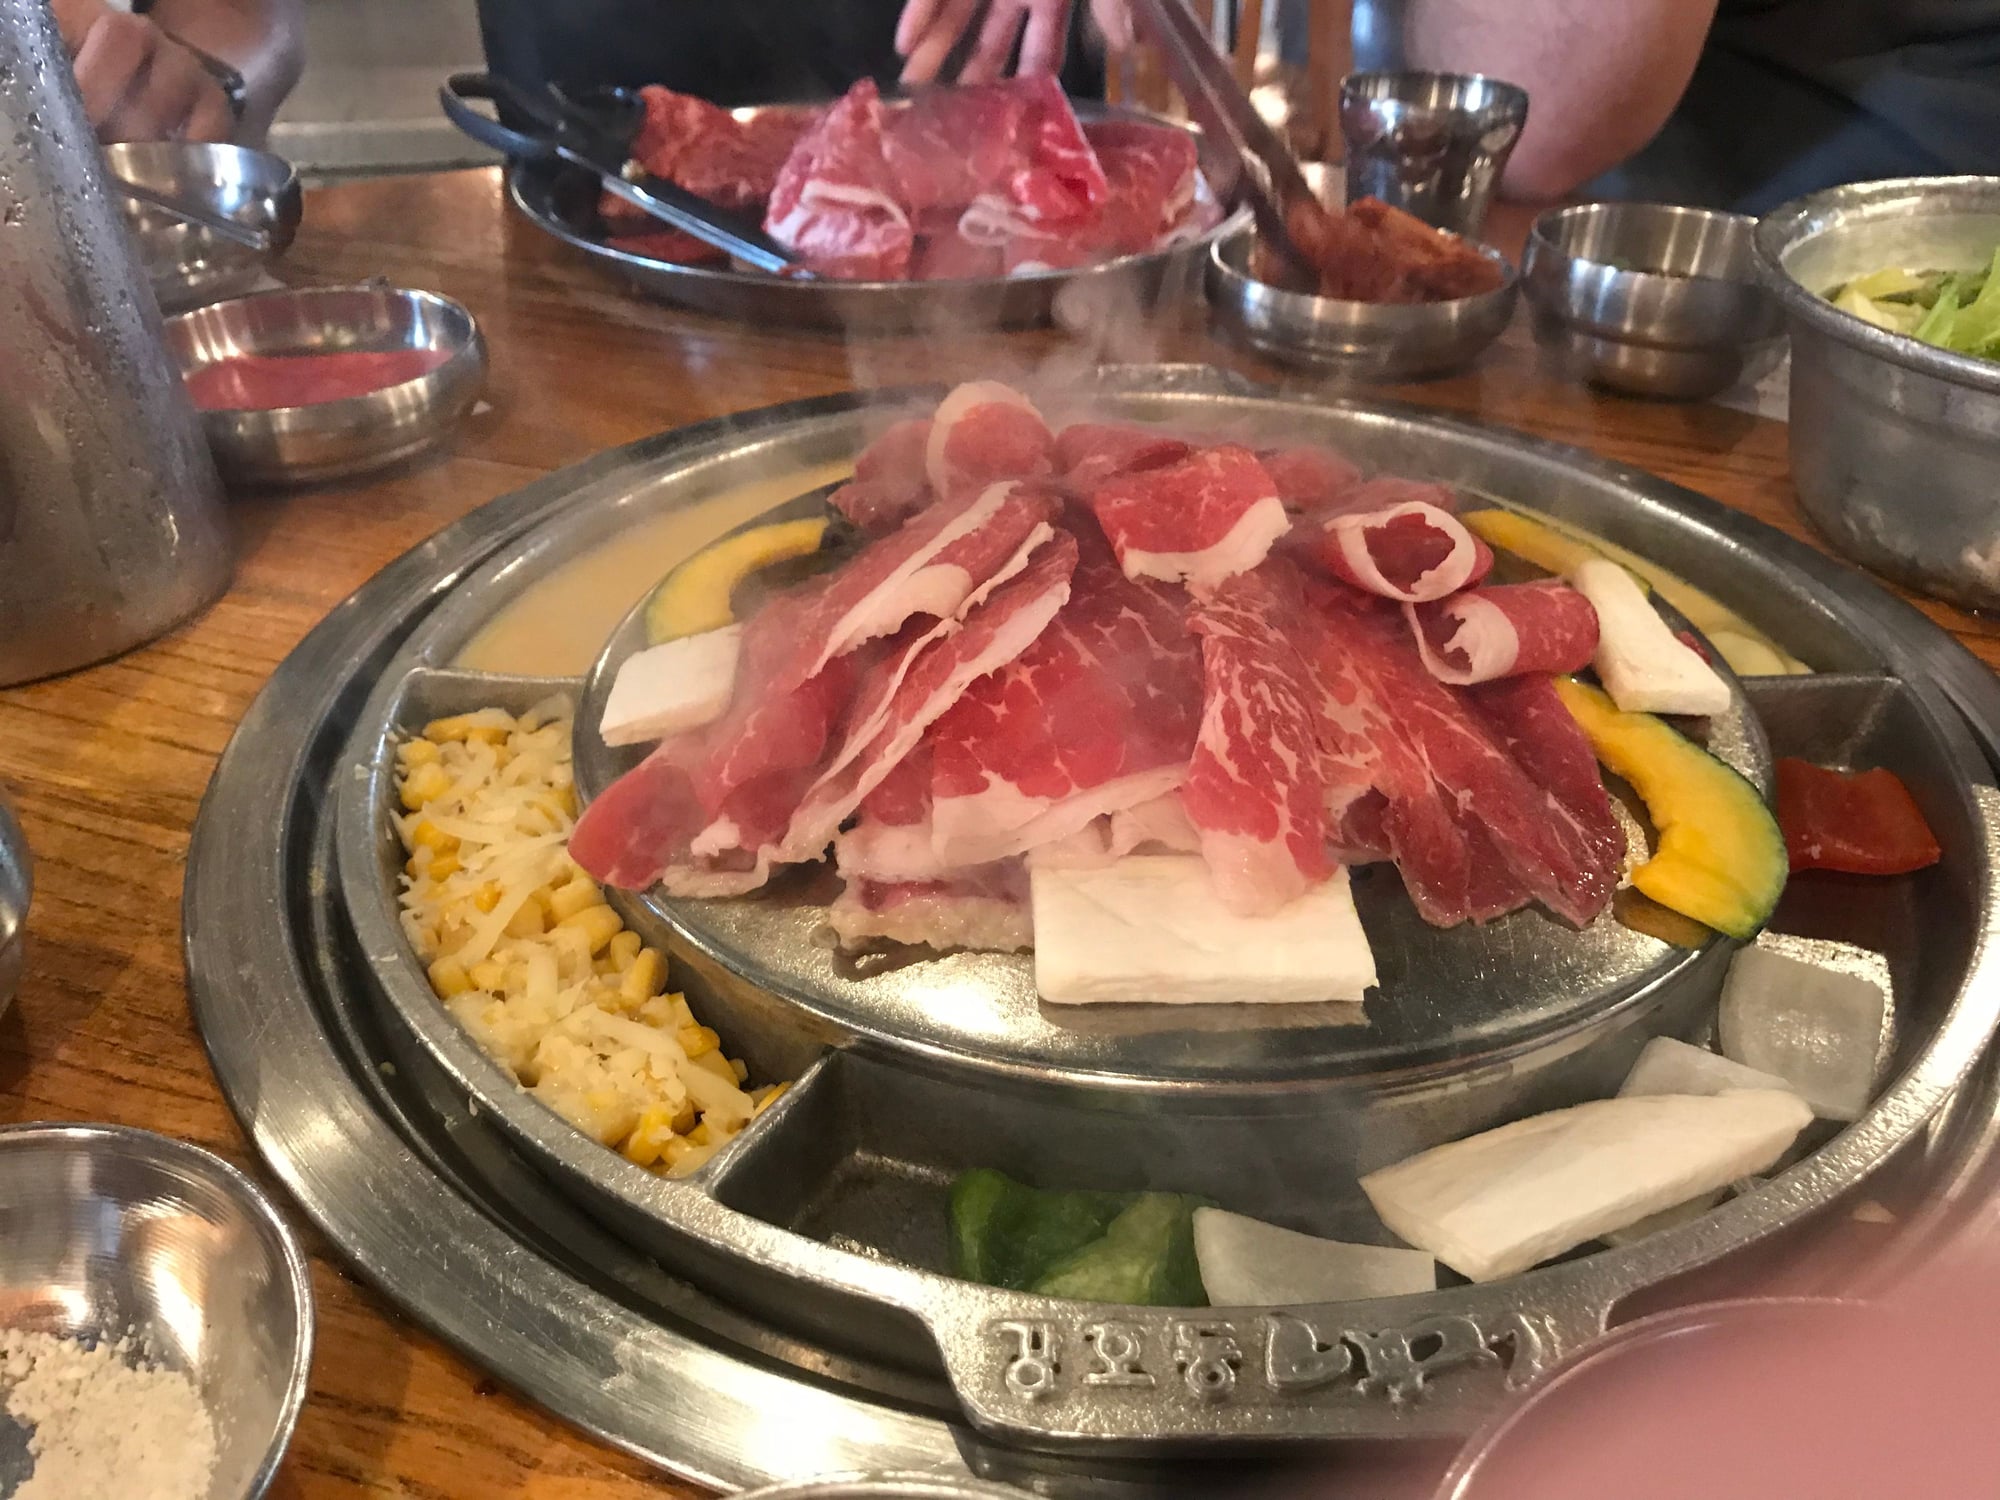
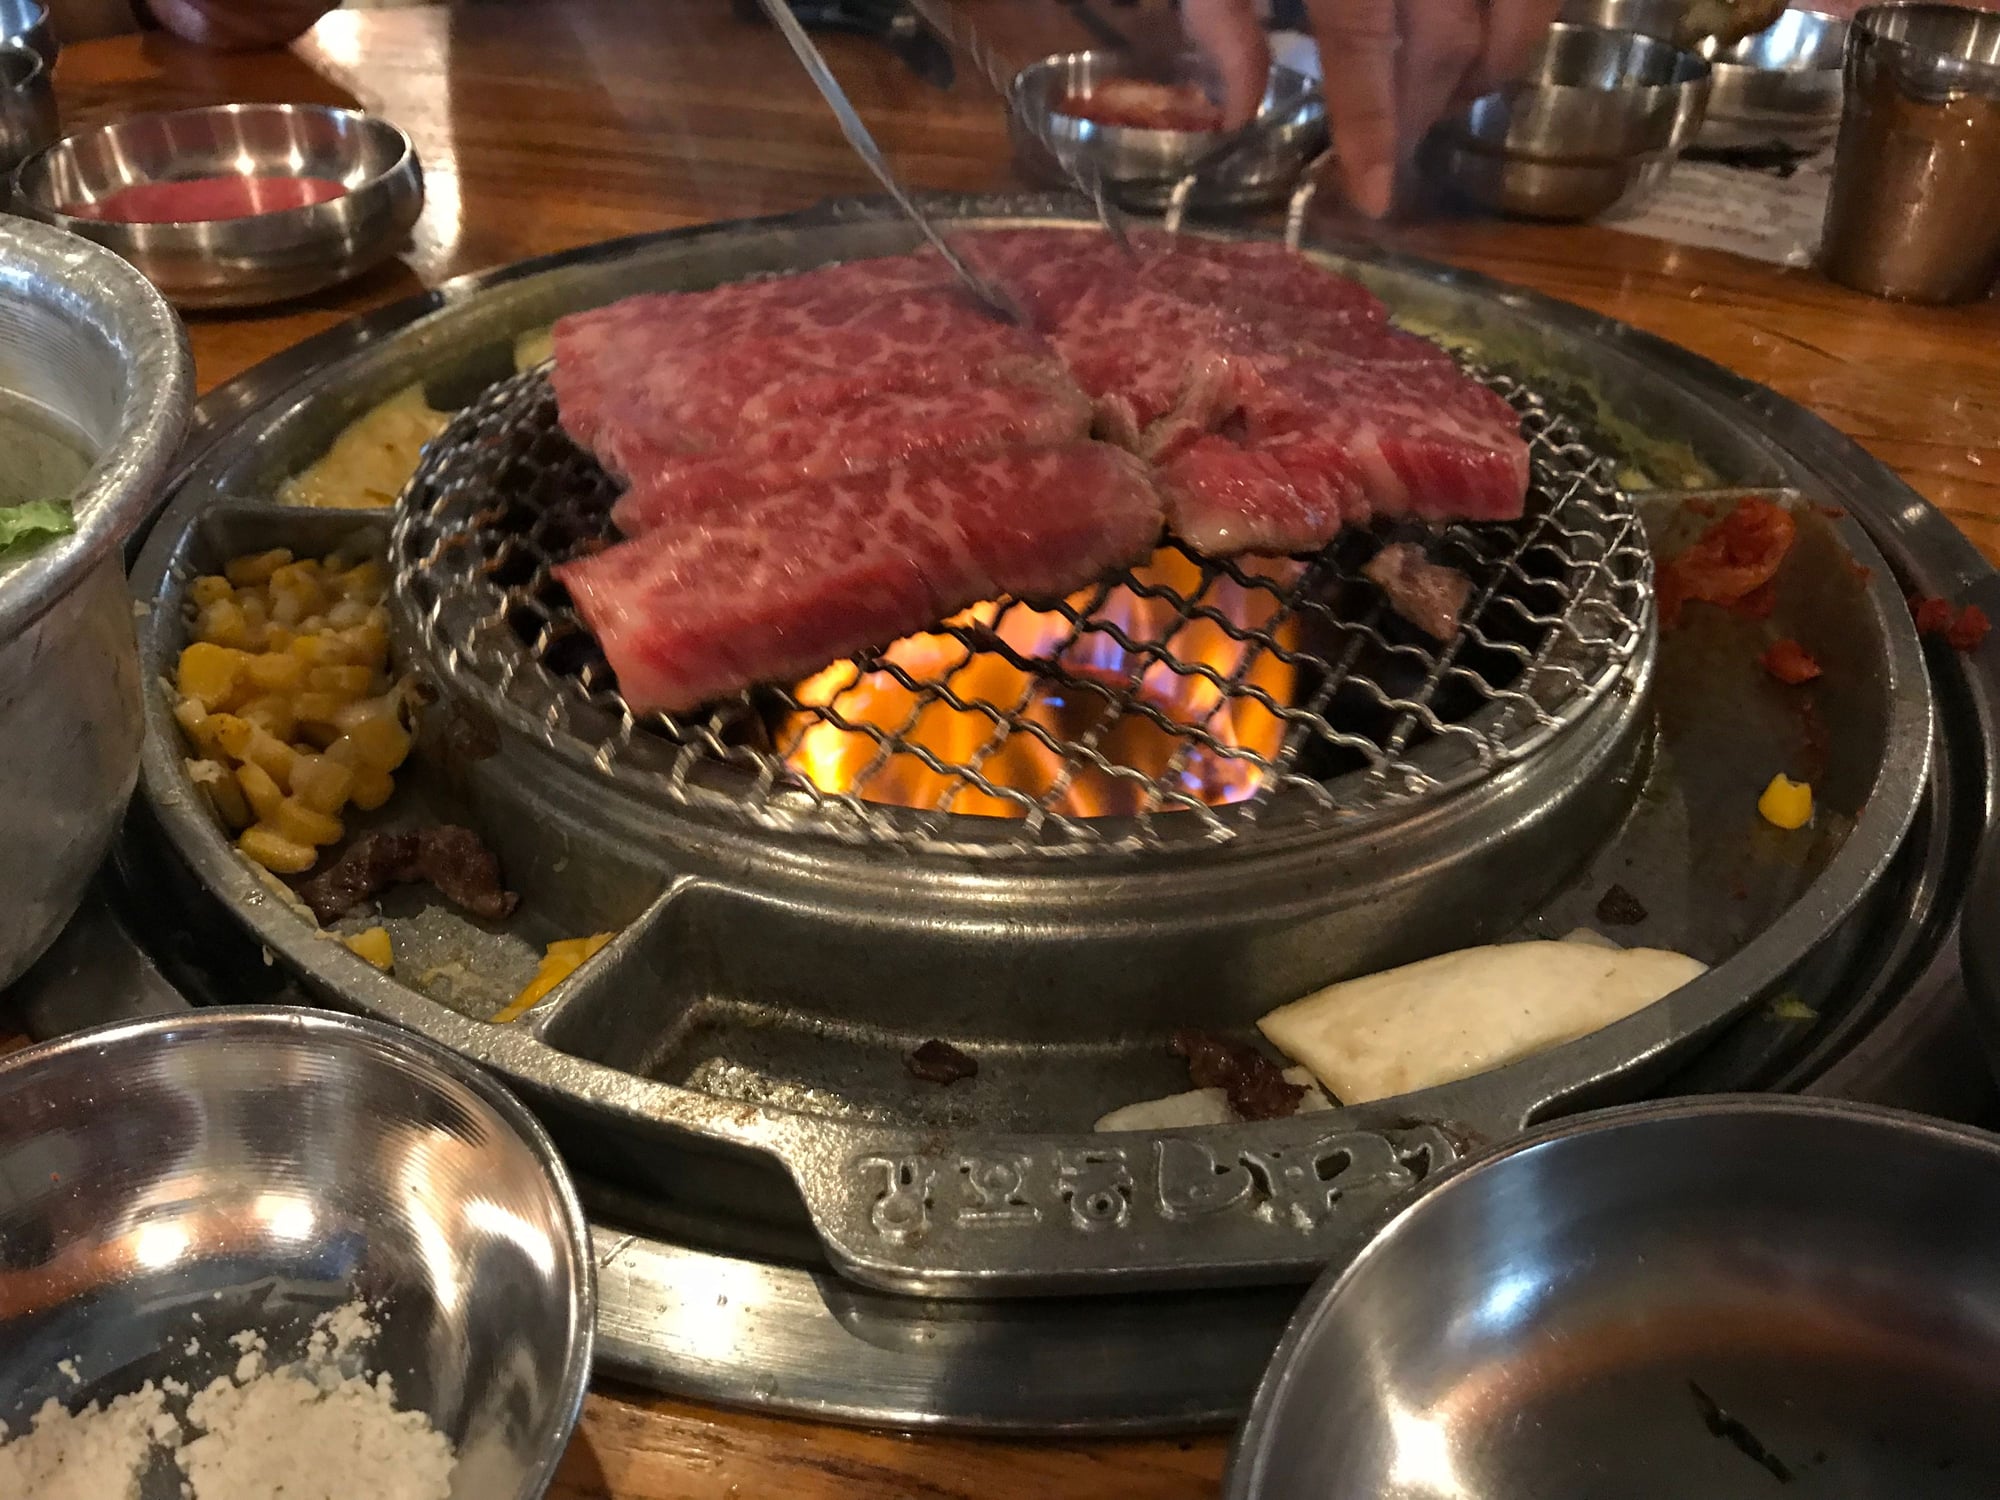
Lunch spot Korean BBQ - legit
meat
more meat
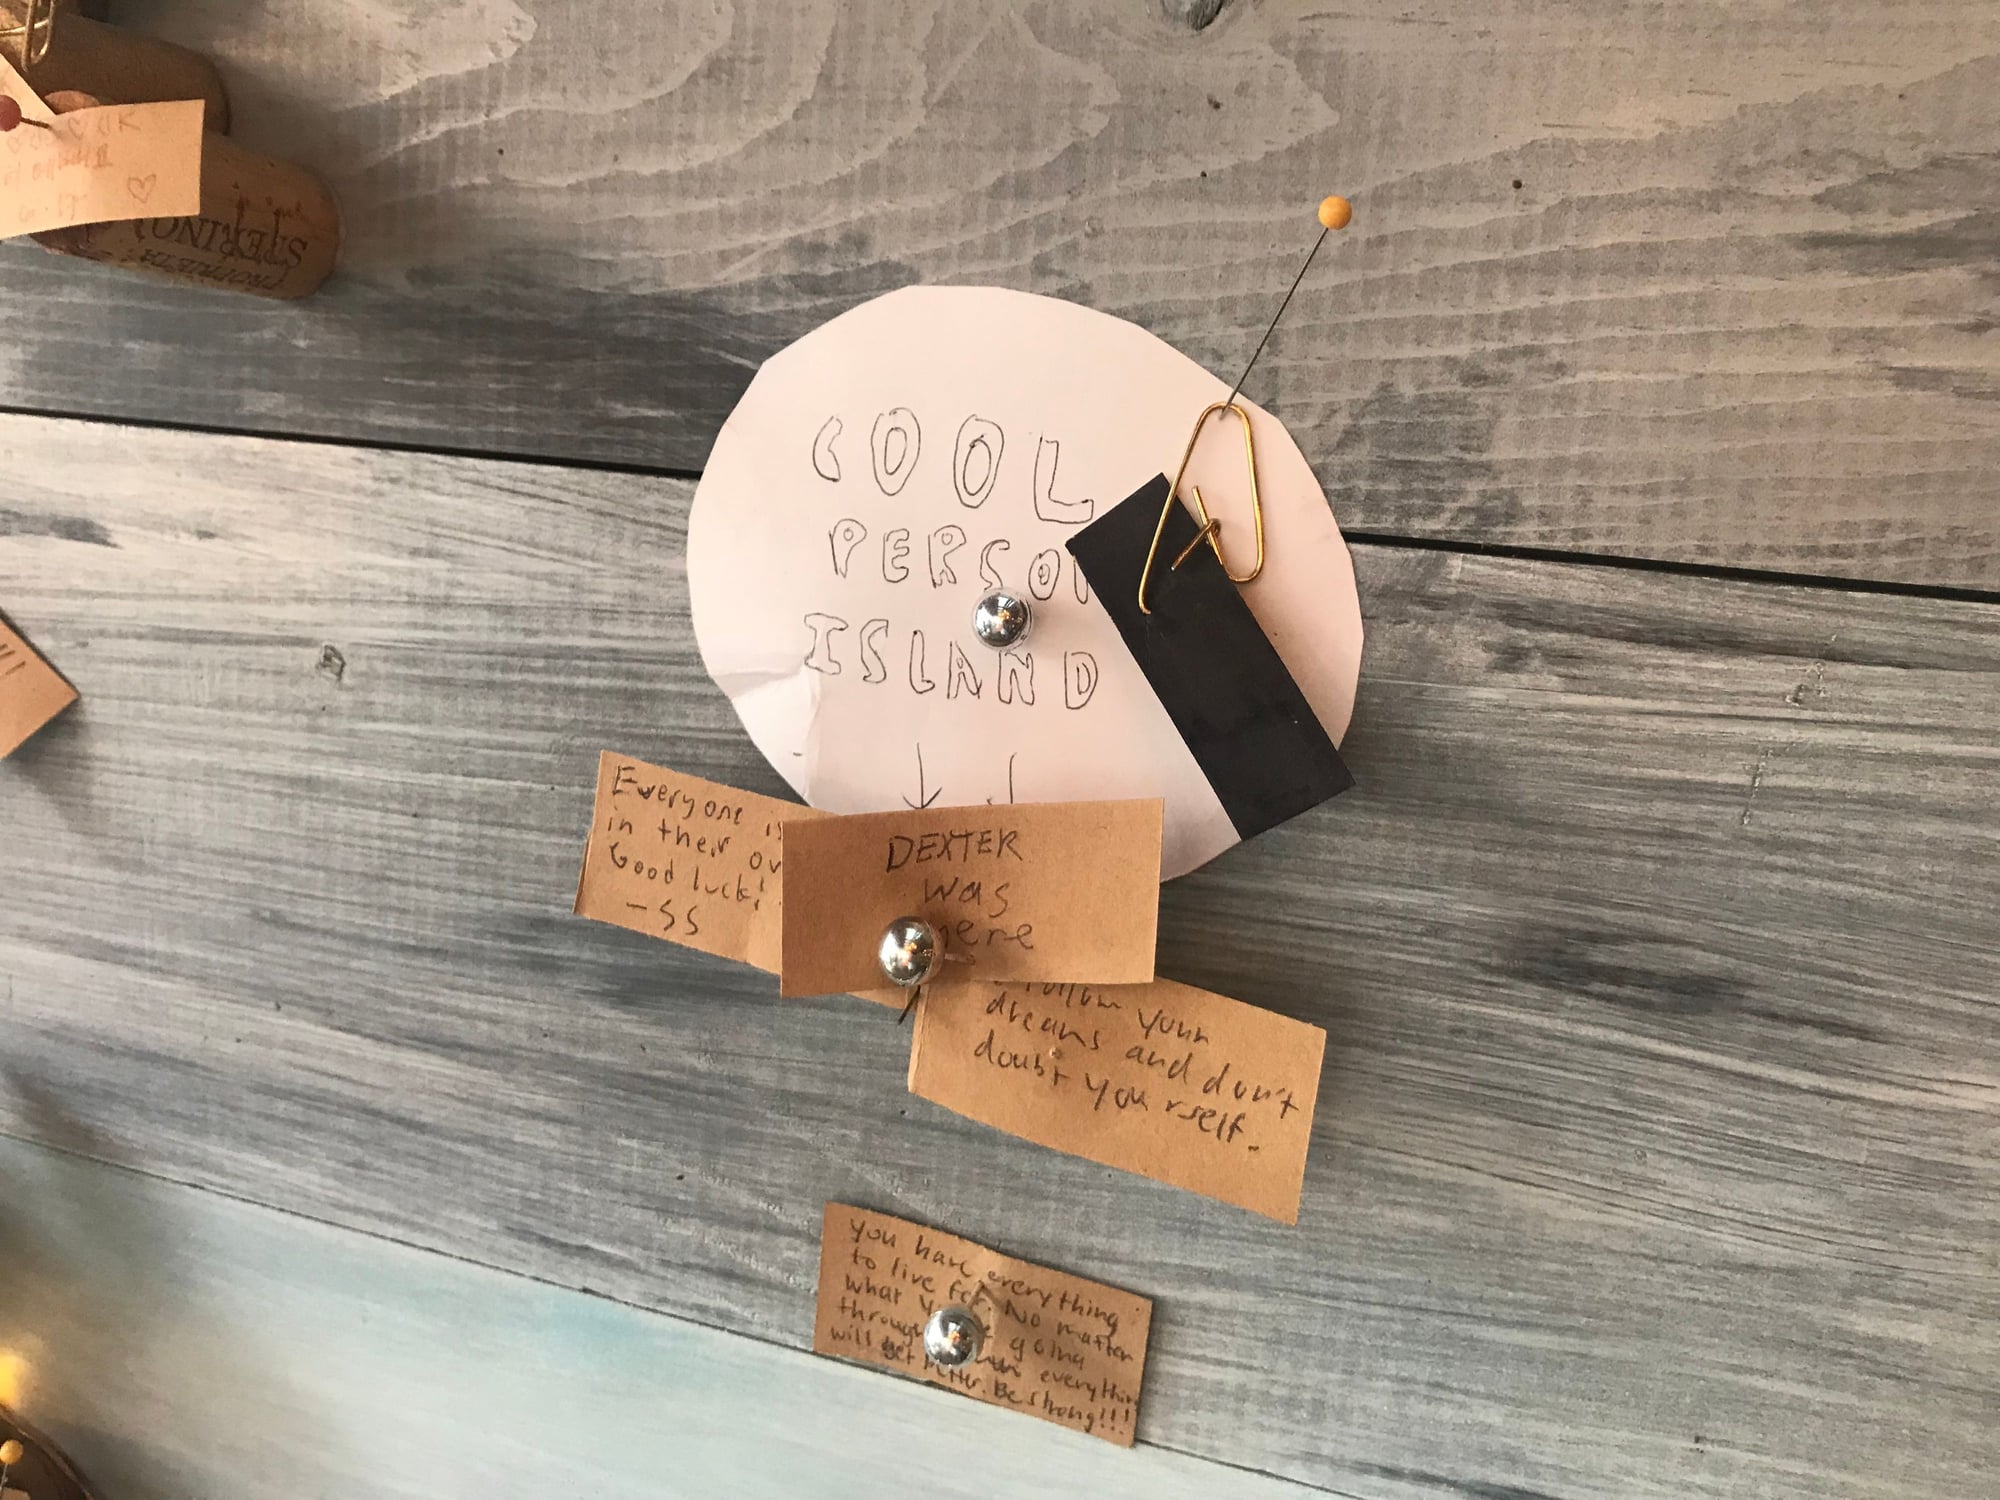
Desert at a cool coffee spot
cork world
I think I'm cool. Black Flag
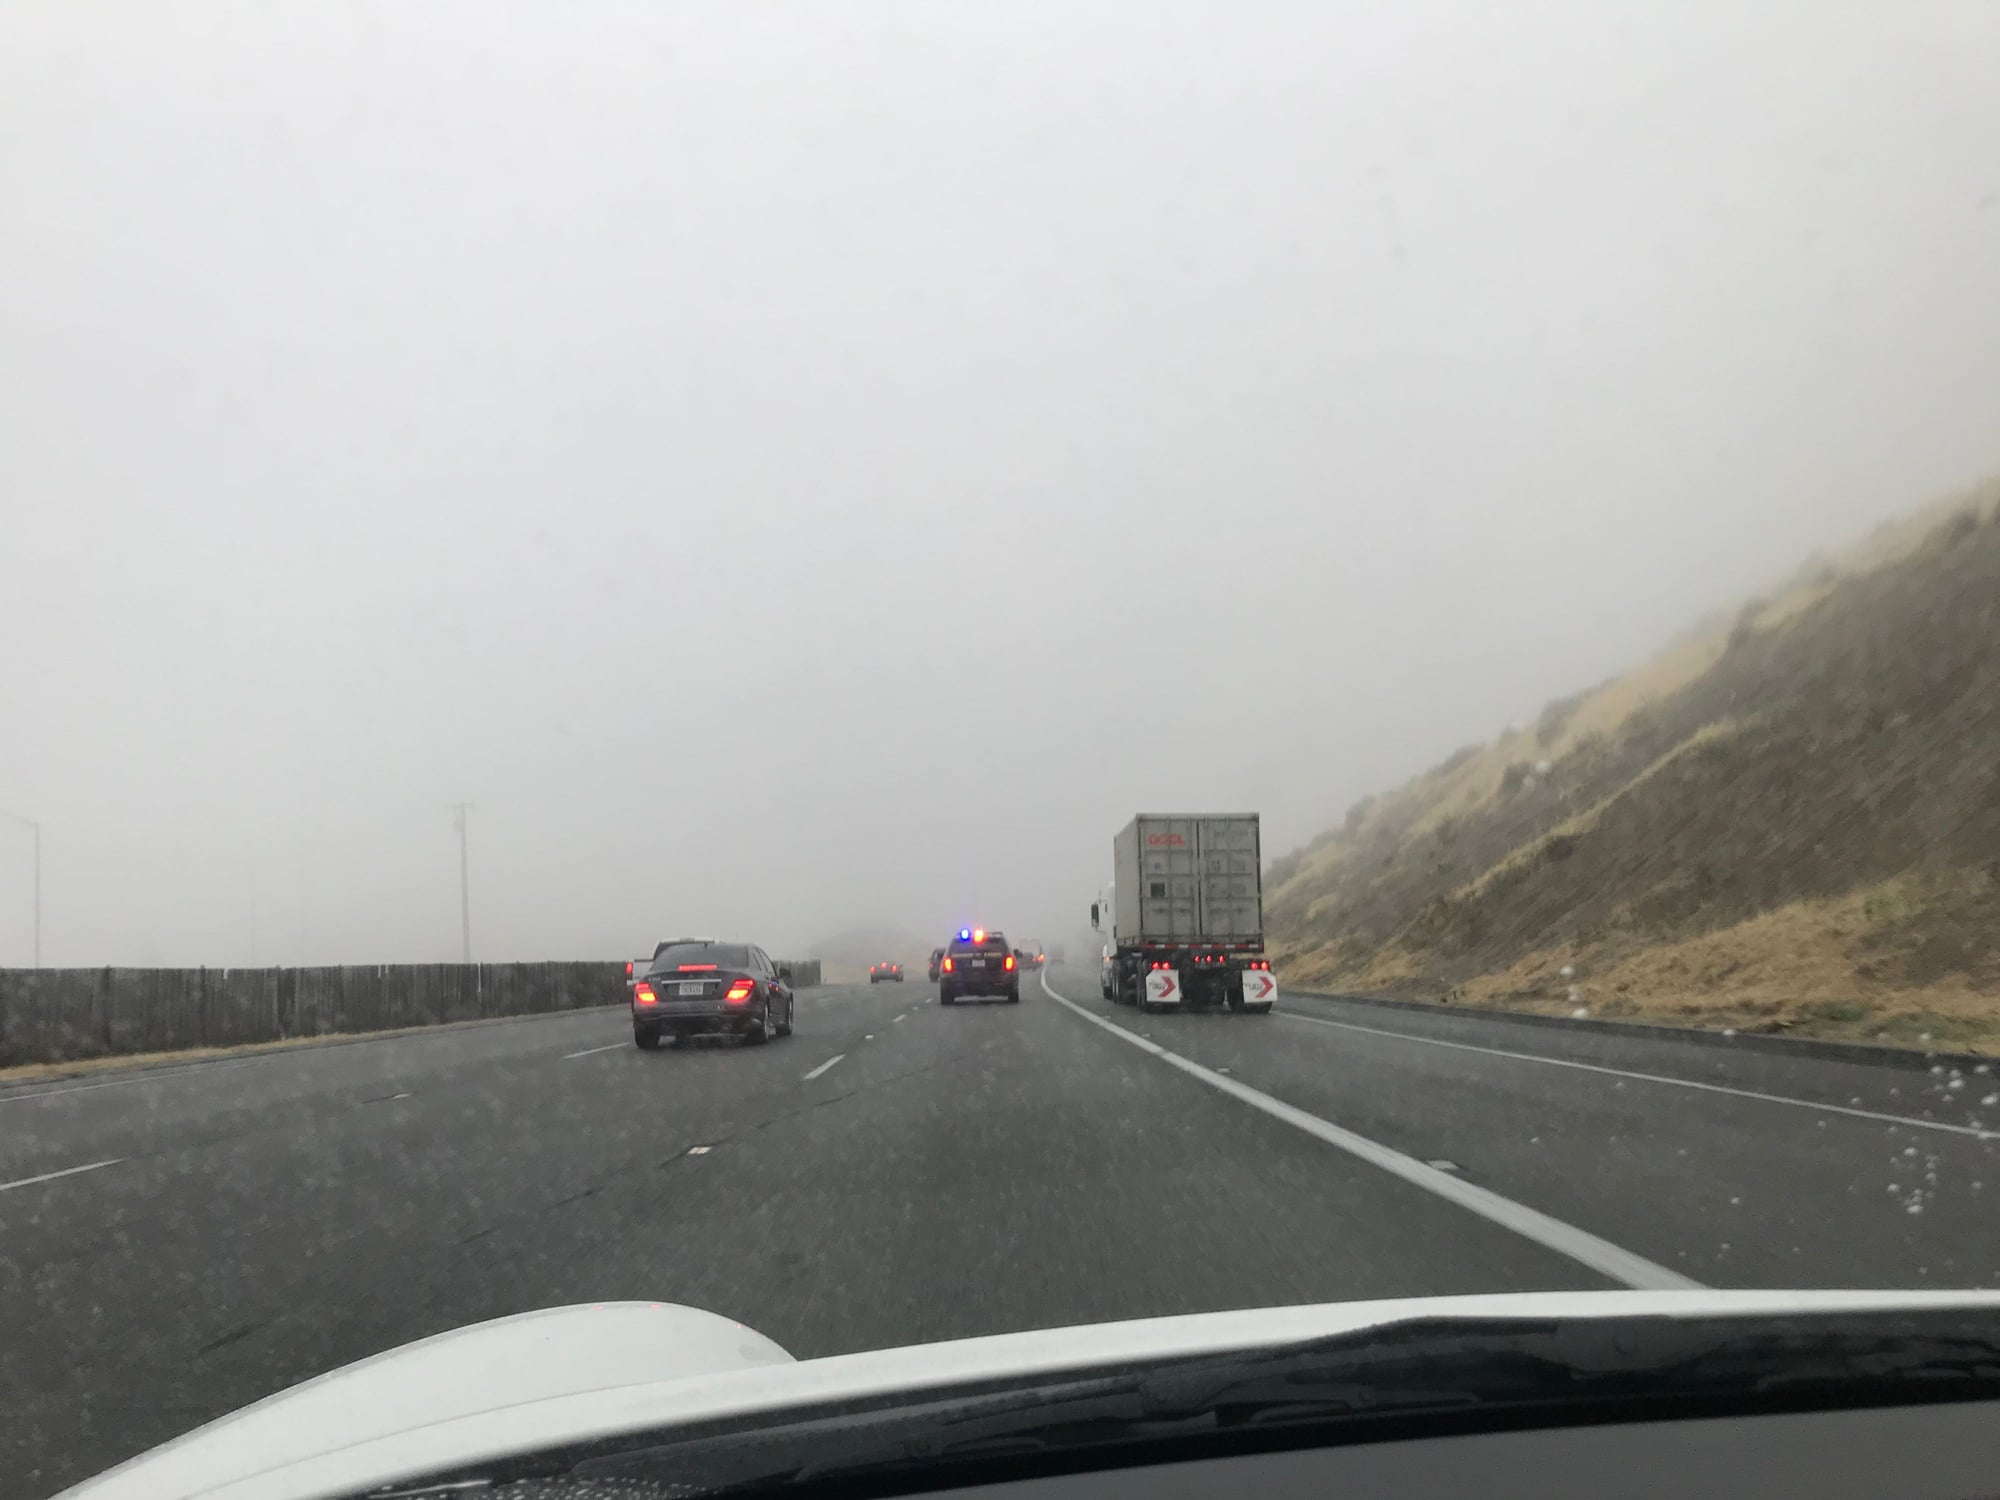
Really foggy going through the pass. CHP escort
Garage mates
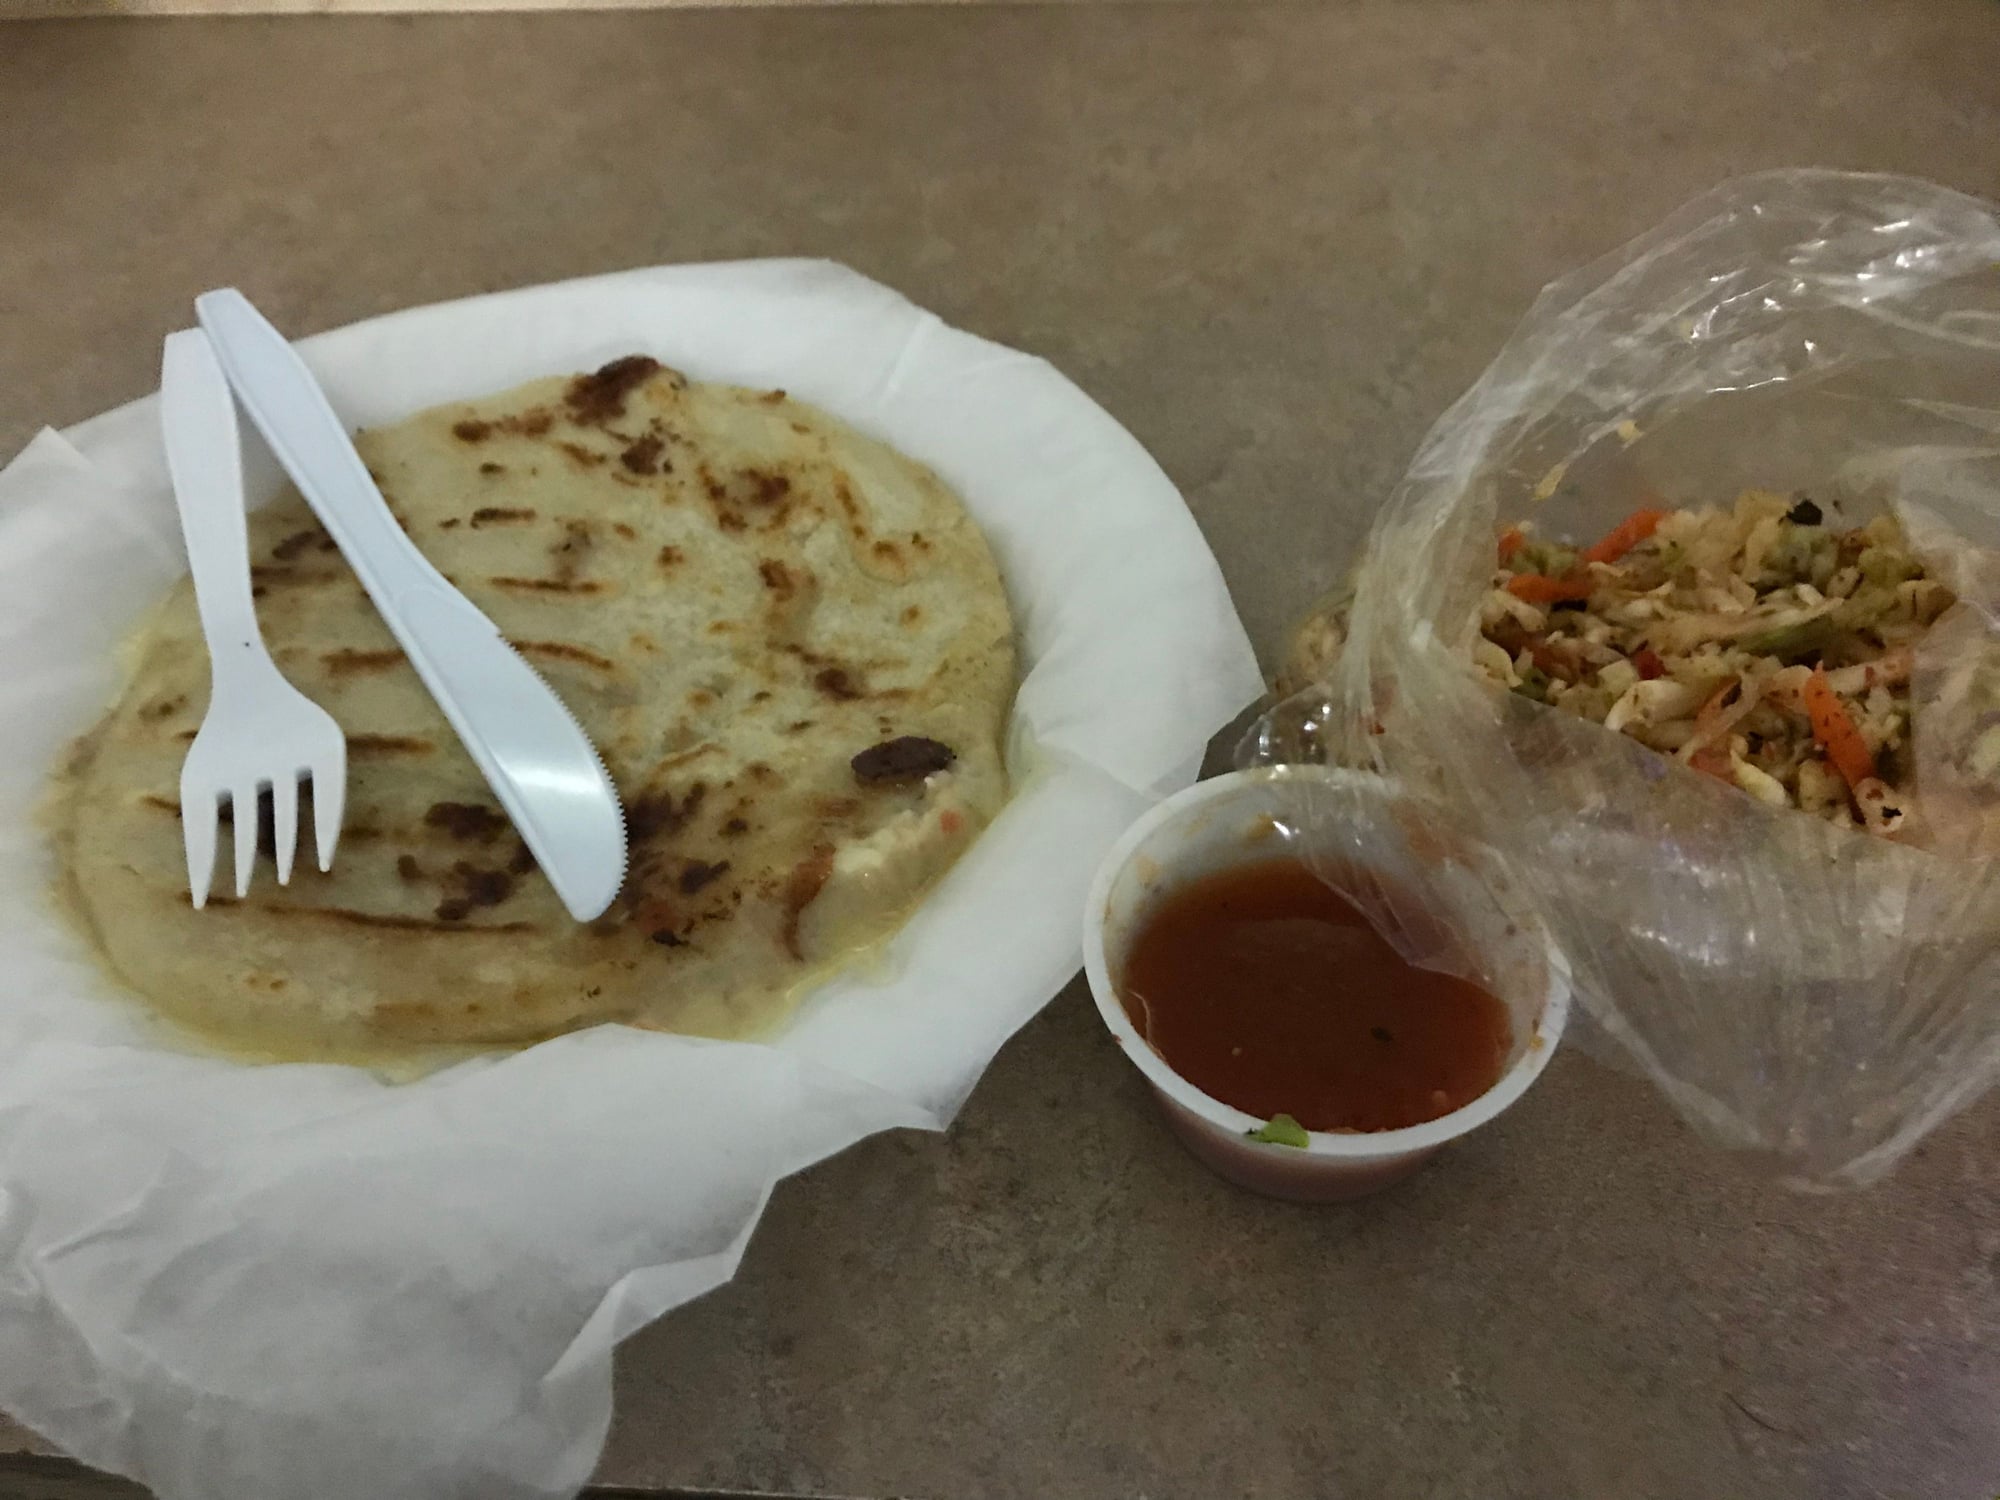
Late night snack. Pupusa from the truck stop in Buttonwillow
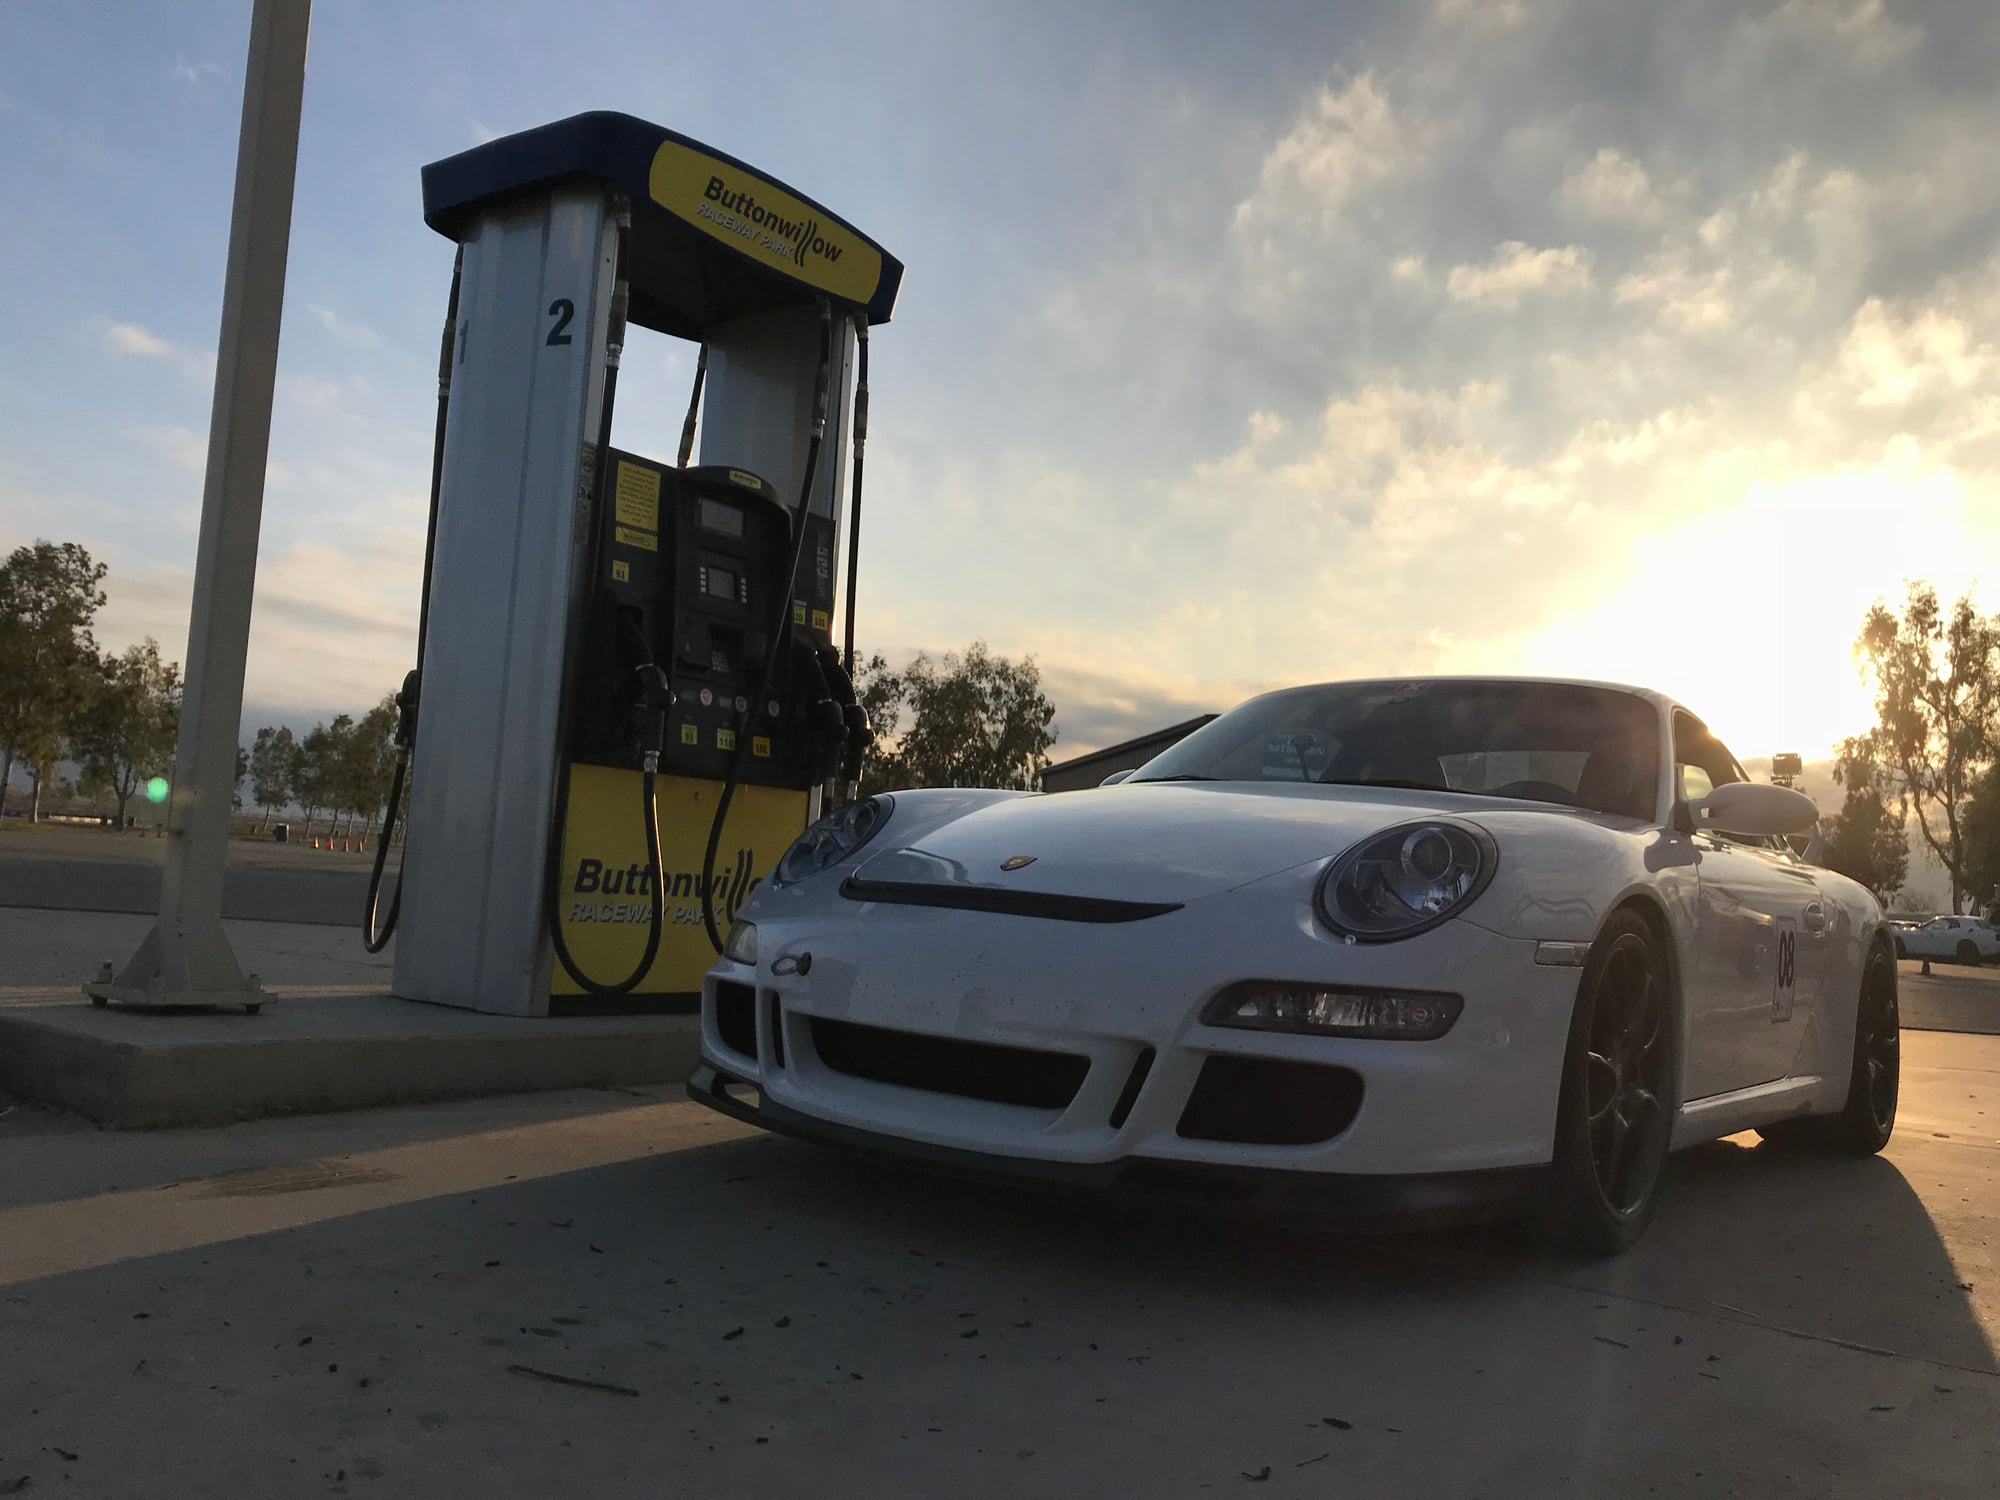
I visited this station often.
CW #1
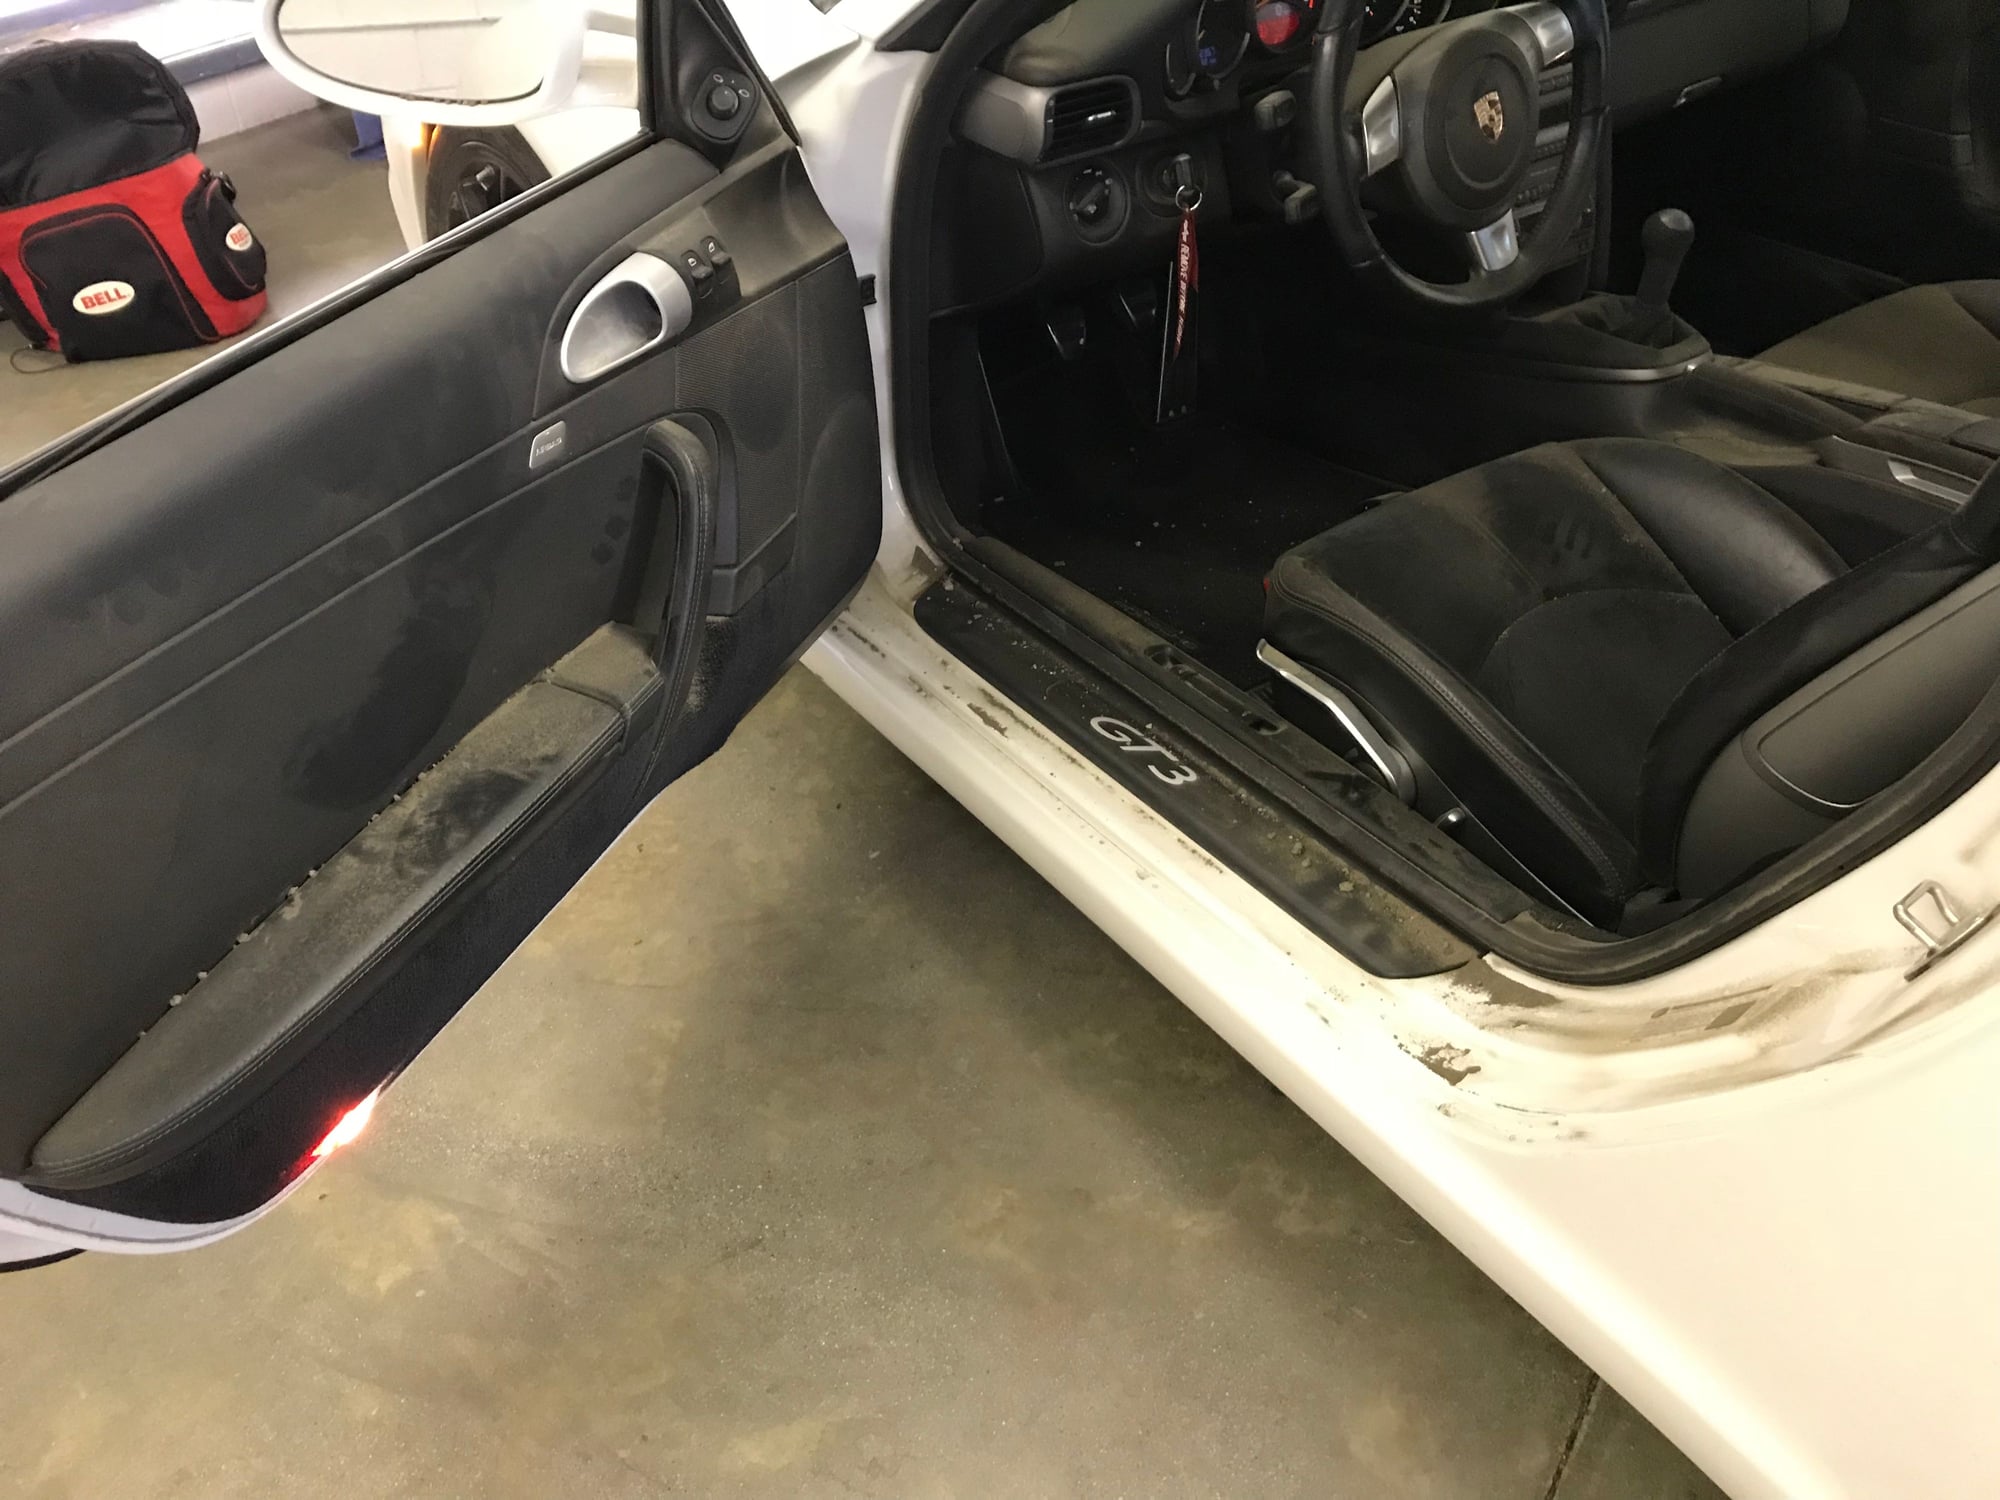
The baptism. I borrowed a shop vac and spent 3hrs vacuuming and wiping surfaces instead of going to the dinner banquet.
I'm reporting back after my second trackday, which was awesome. No run groups, open track (almost 7hrs) and point bys anywhere. Thanks to http://checkeredflagdriving.com for hosting such an awesome event with great folks.
I made a couple of changes to the car (no maintenance).
1. checked the alignment with a camber gauge and everything looked good
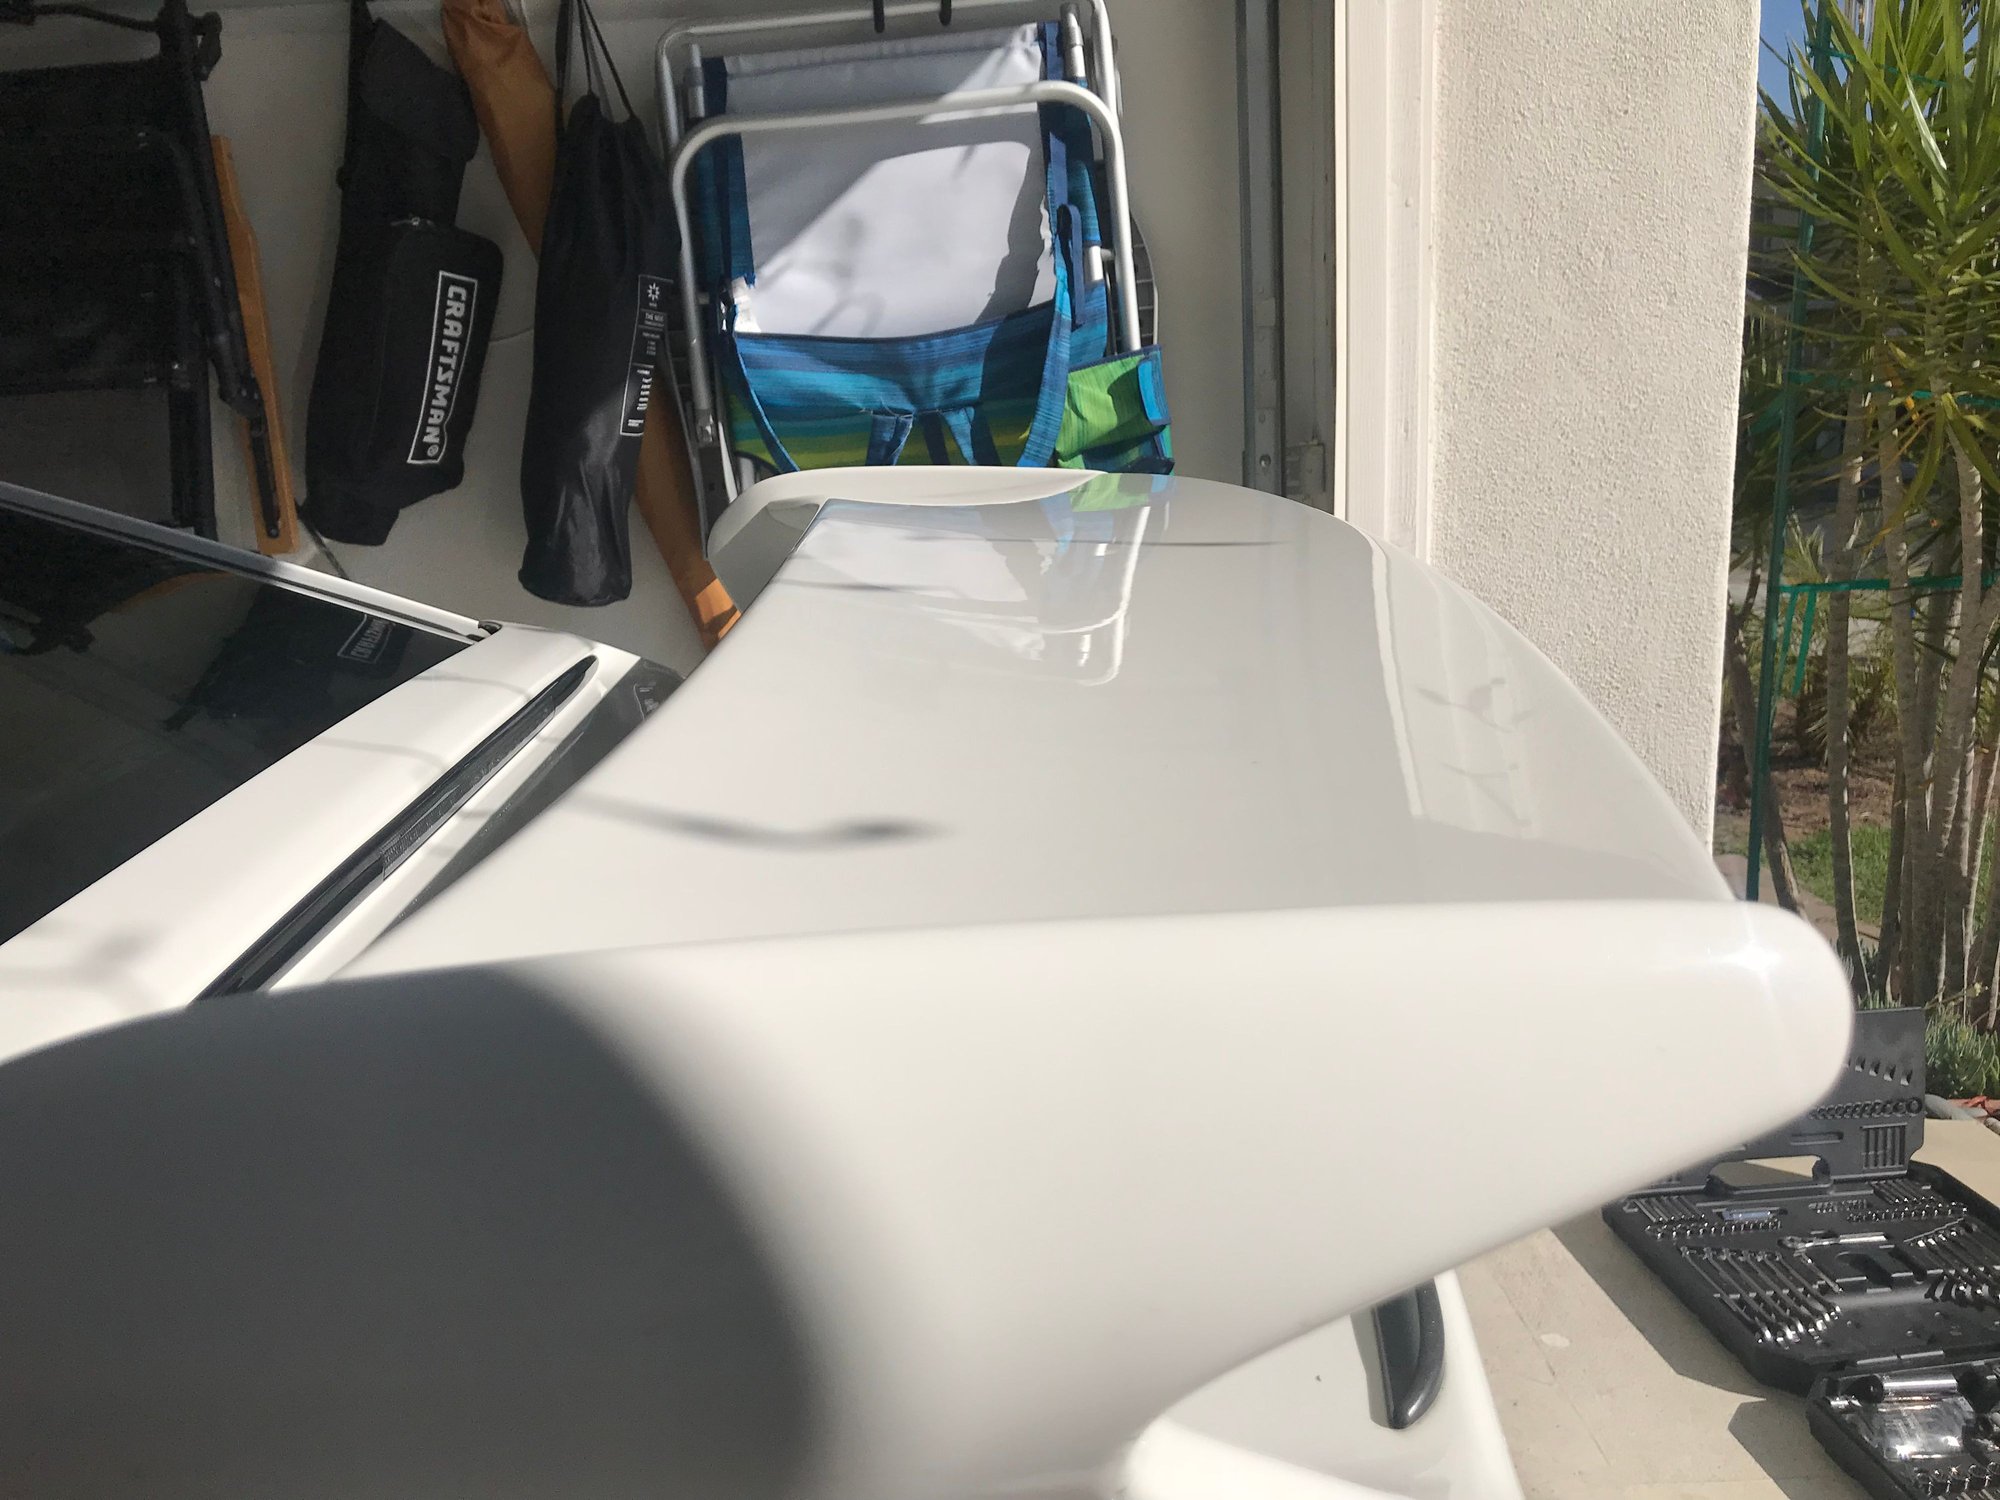
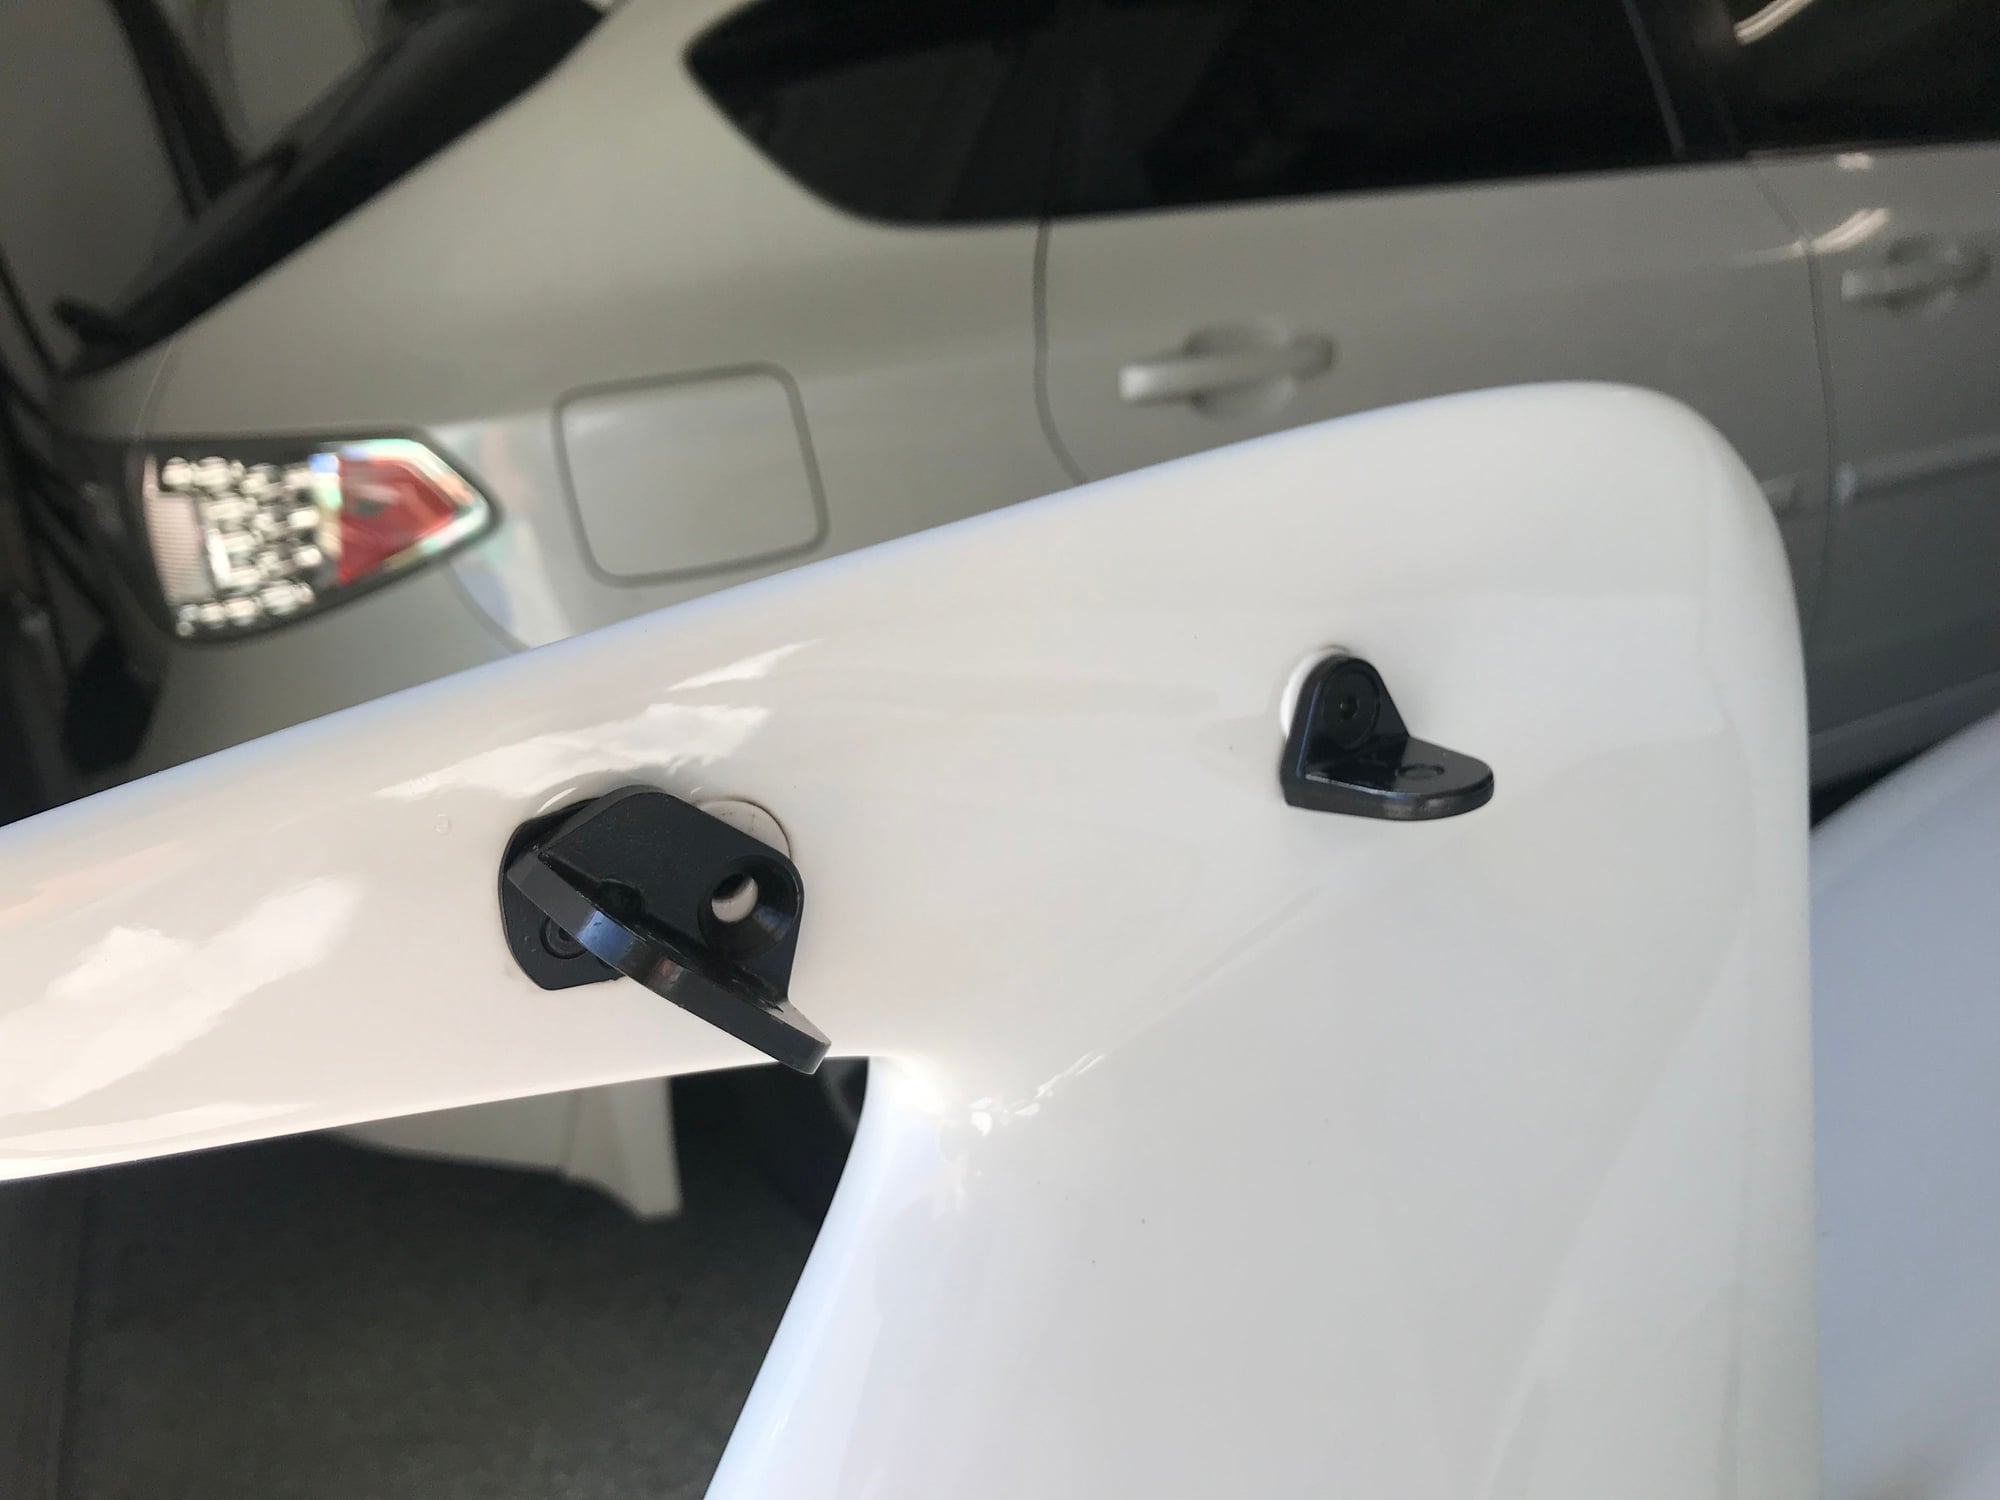
2. adjust the angle of the rear wing to the maximum allowable setting
3. installed side muffler delete pipes. I got a great deal on a used set that I could not pass up.
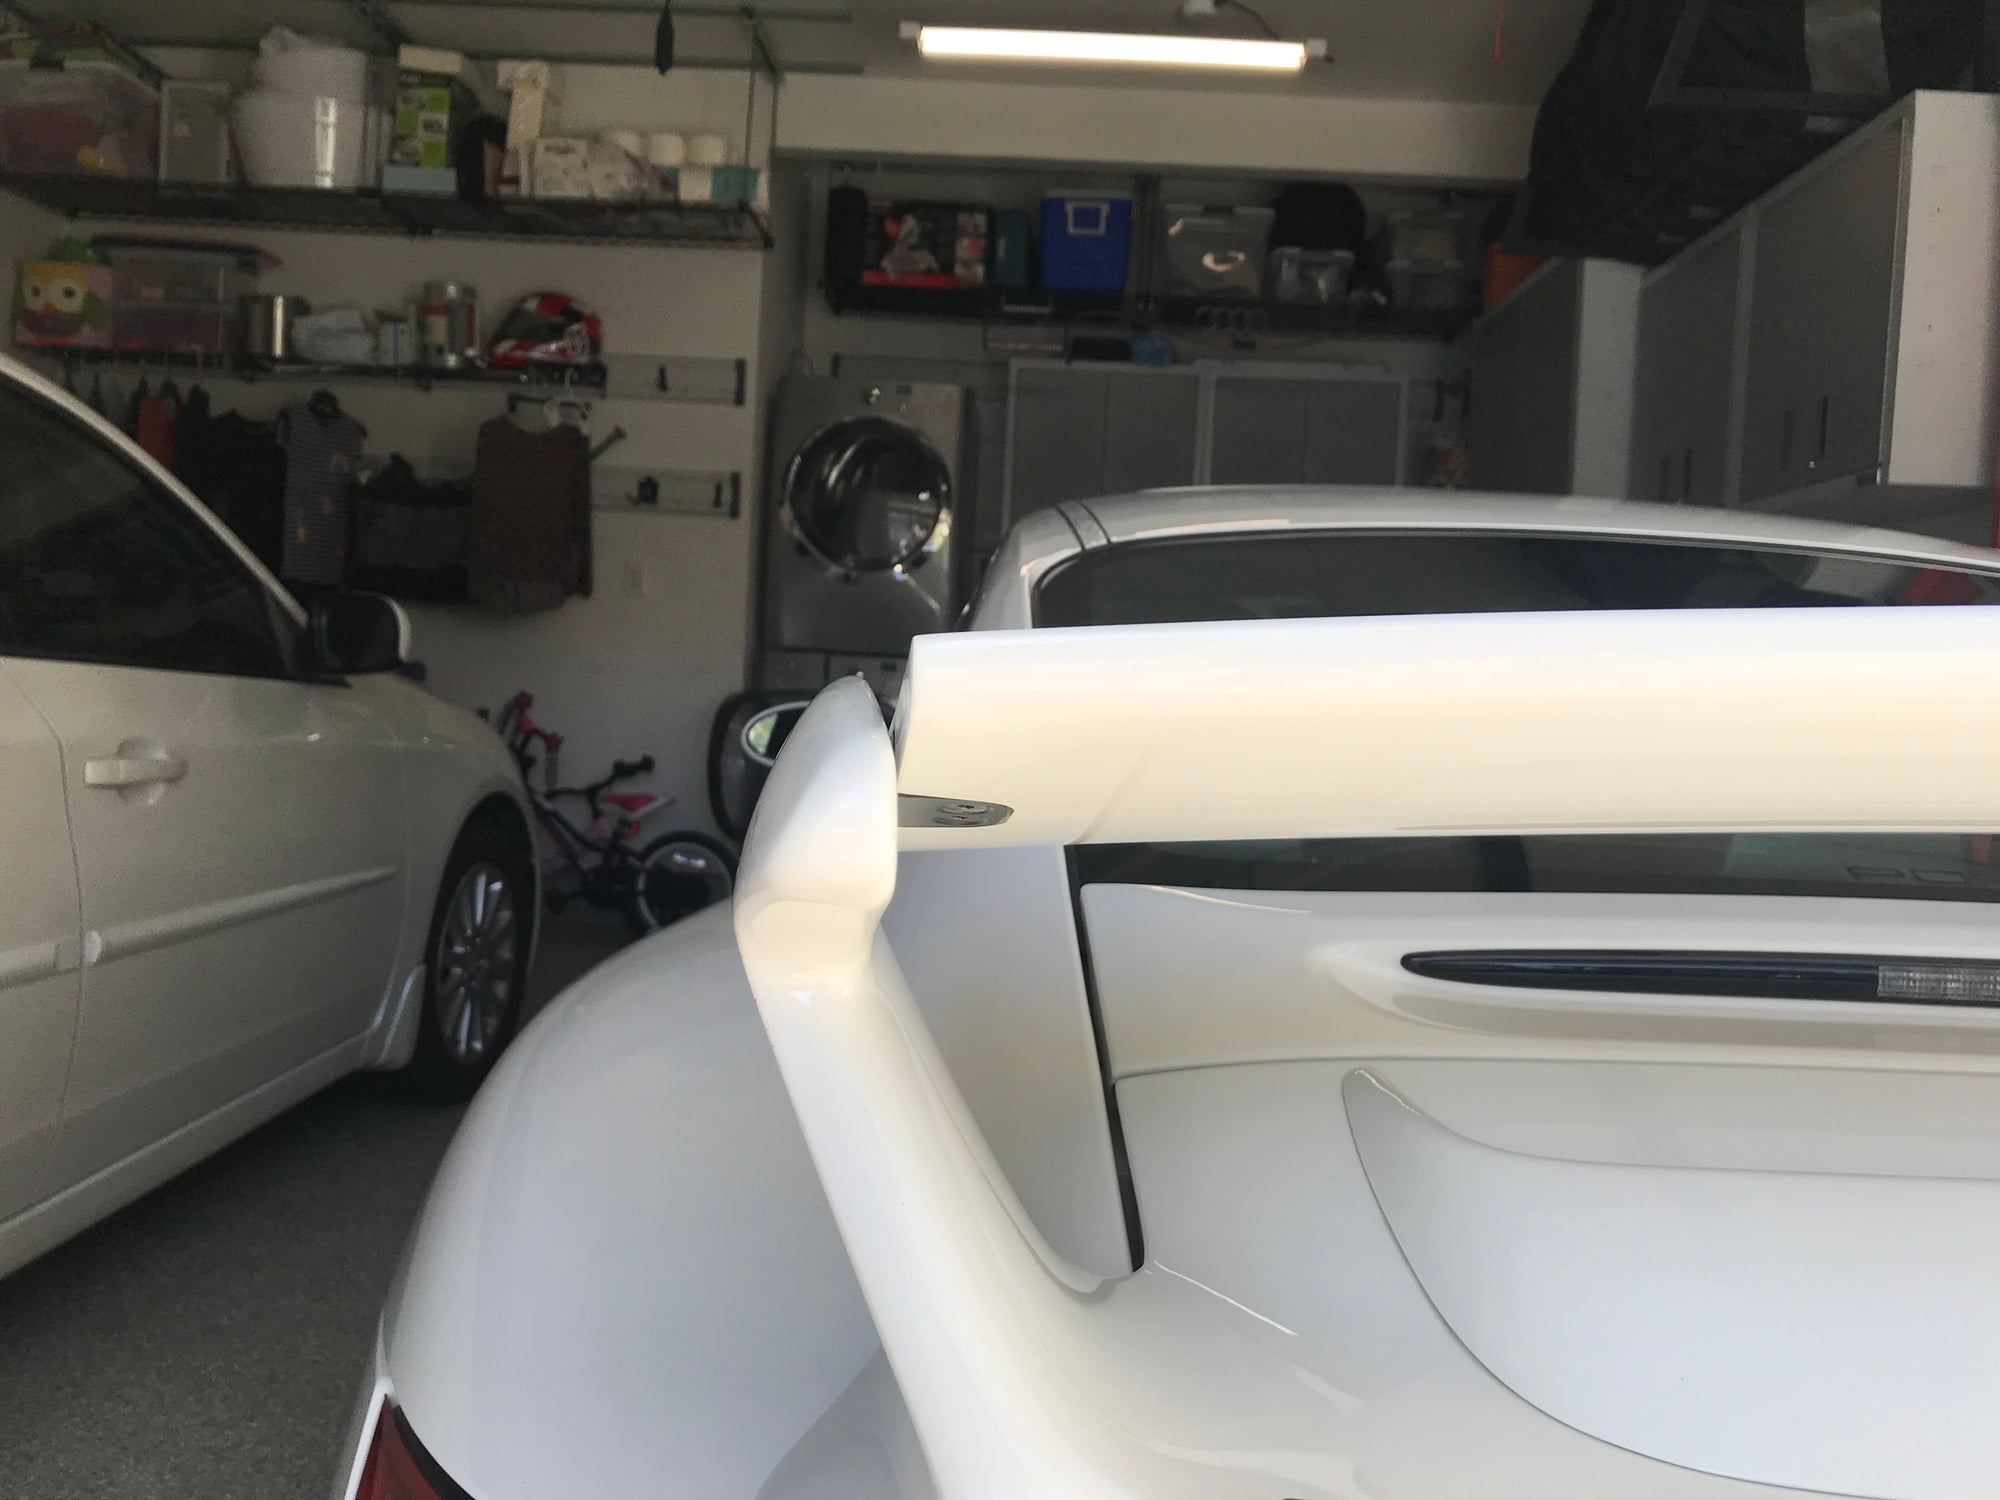
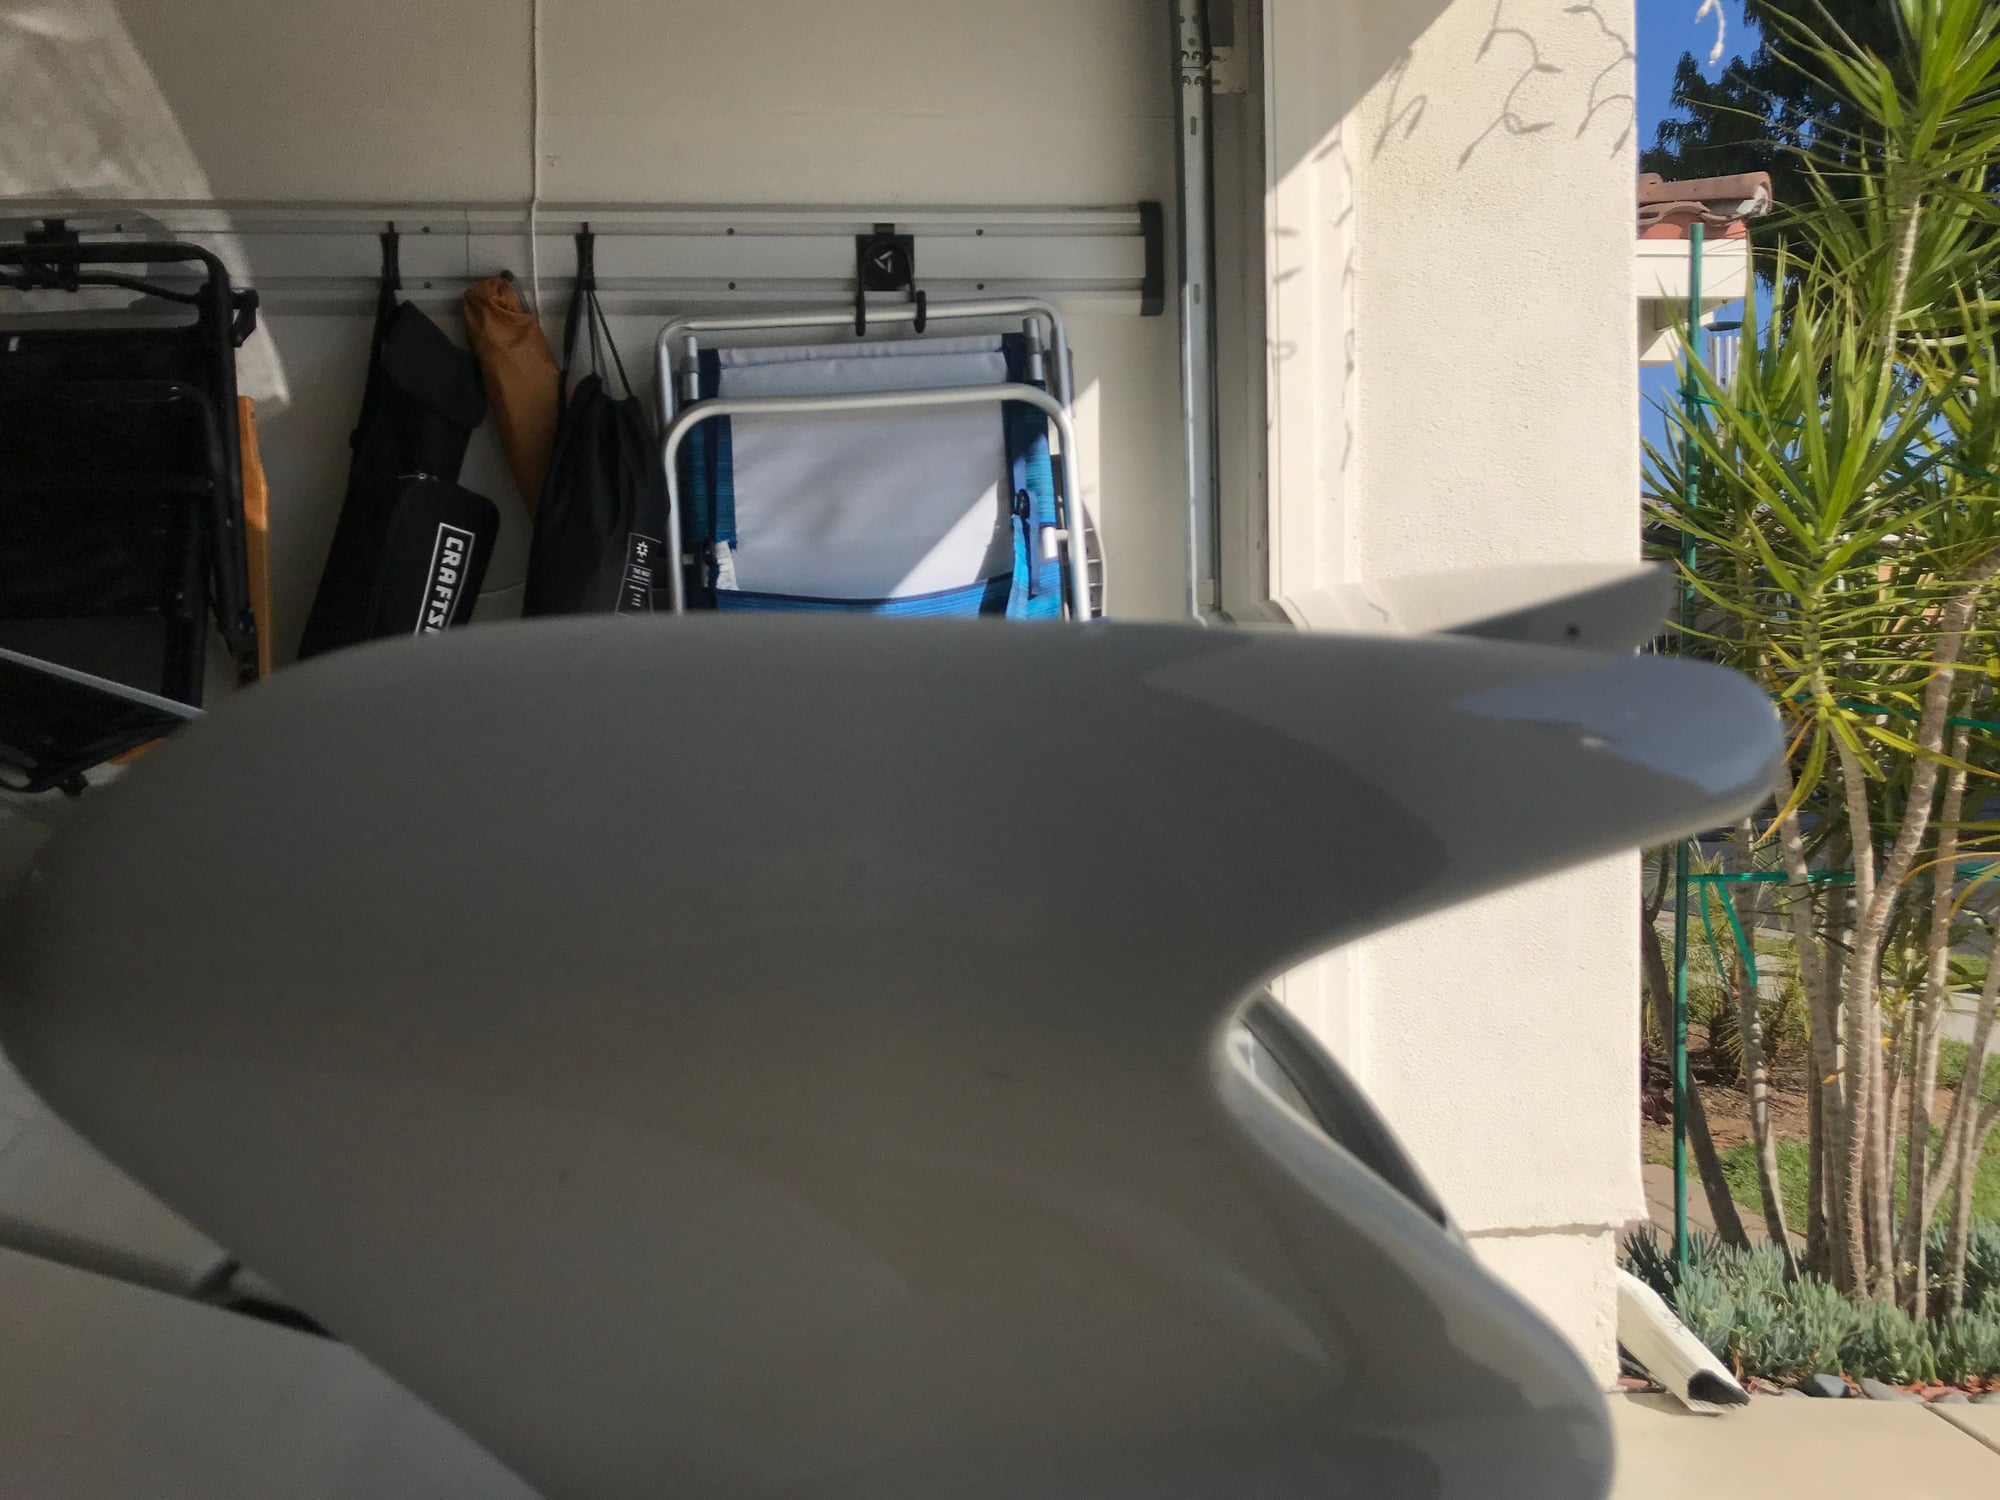
Wing Adjustment: 0 setting, side view
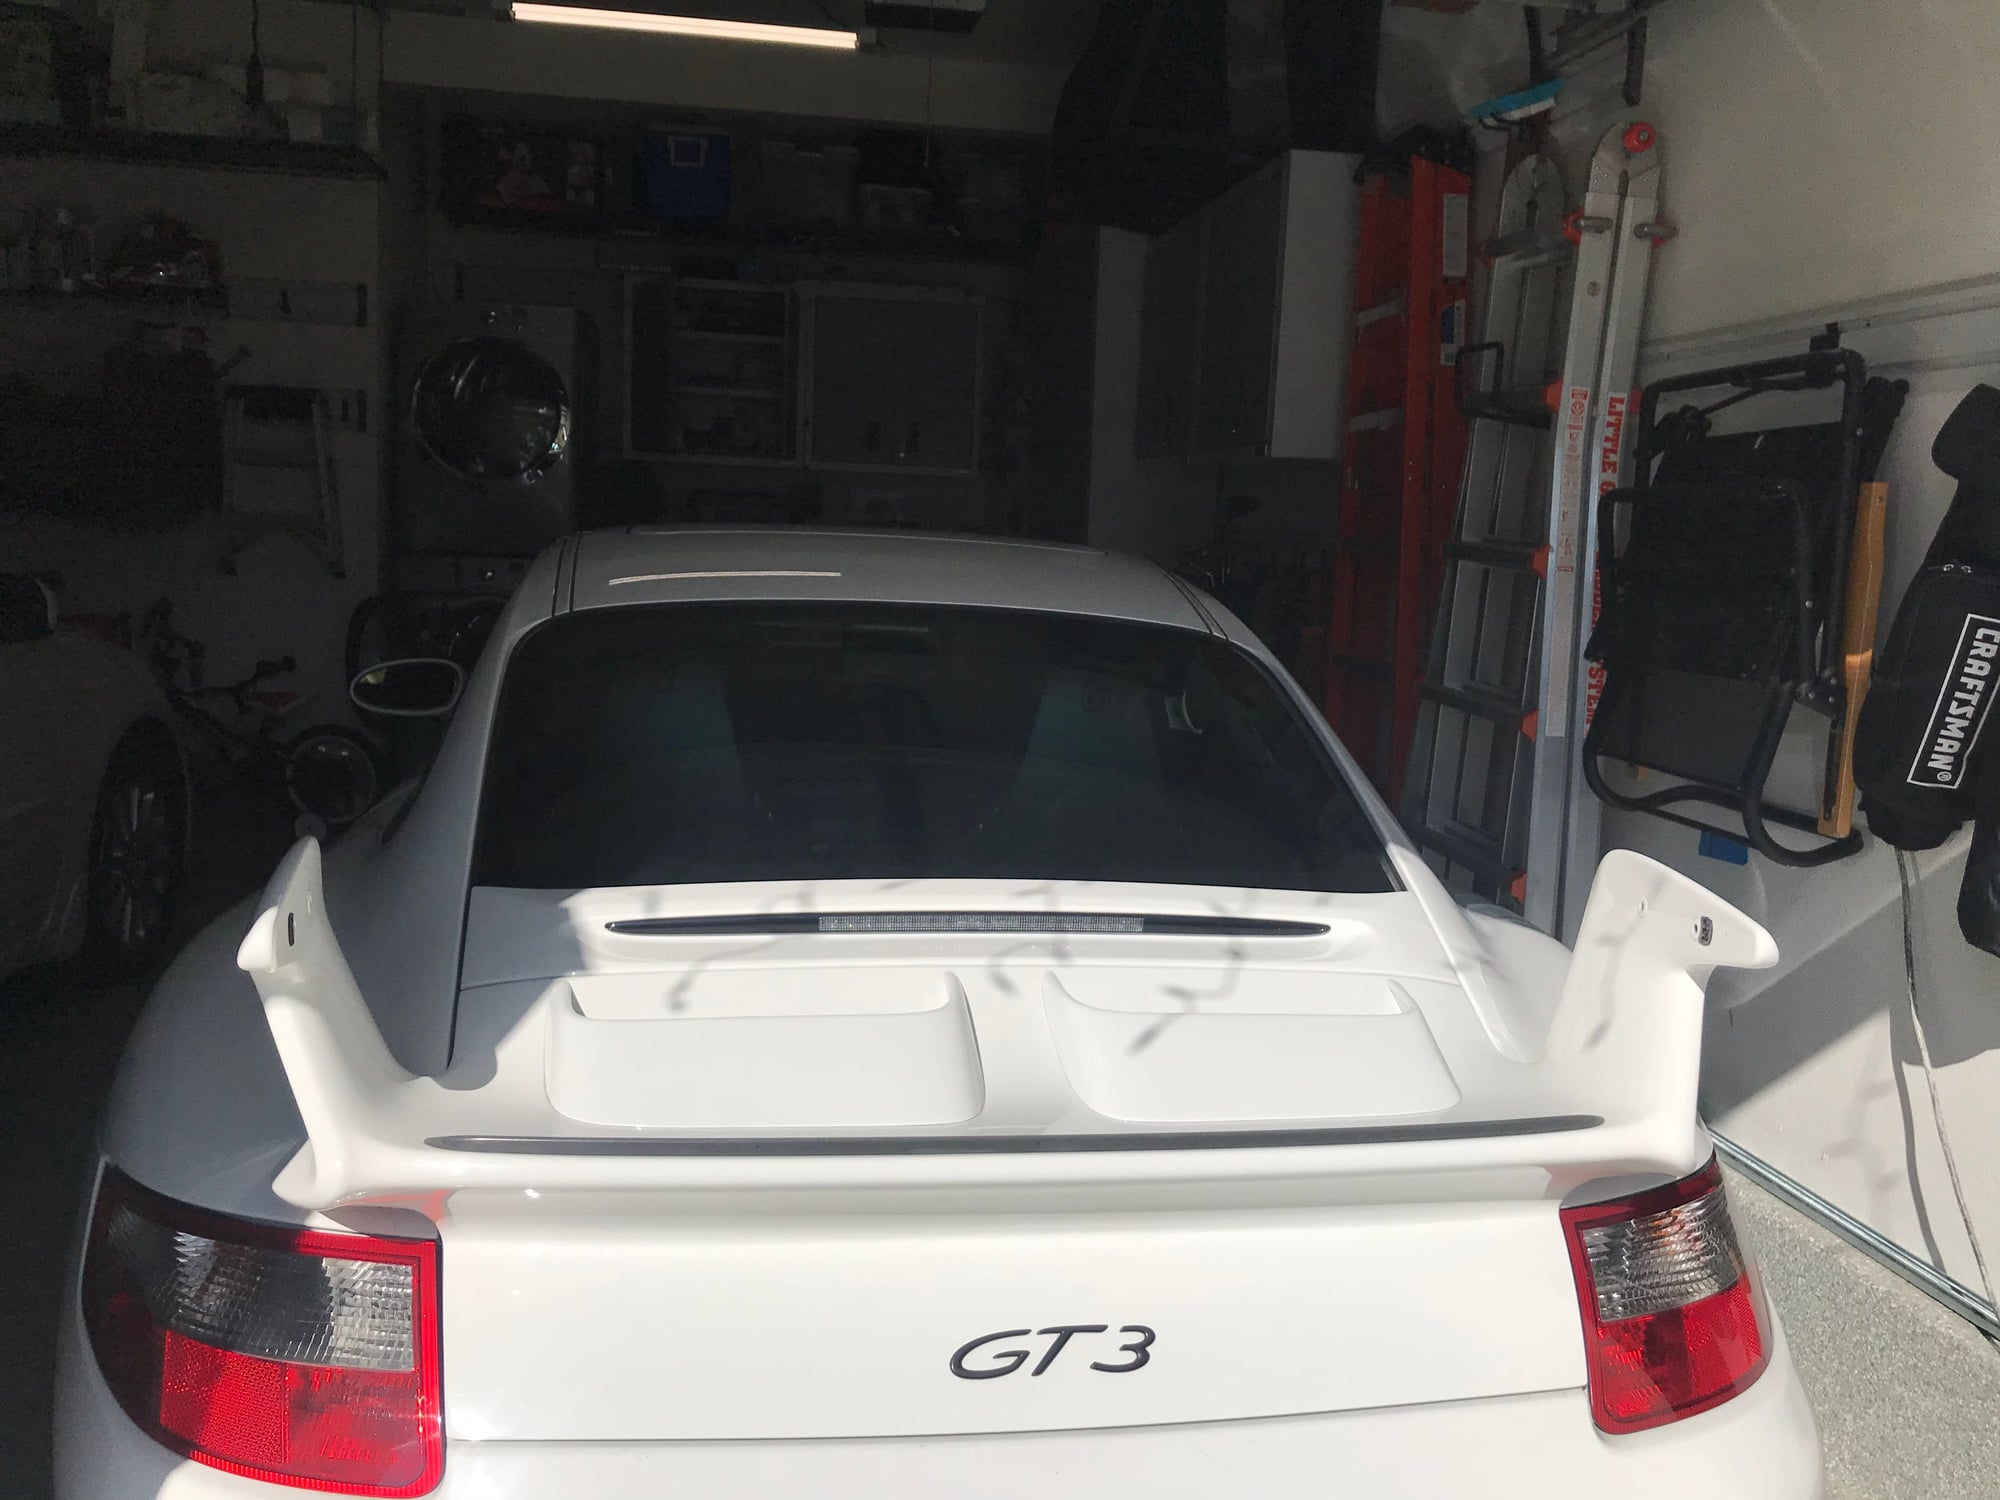
0 setting, back view
Adjustment. Note that the screw in rear bracket is no longer used at the maximum or any other setting besides 0.
Wingless - looks naked
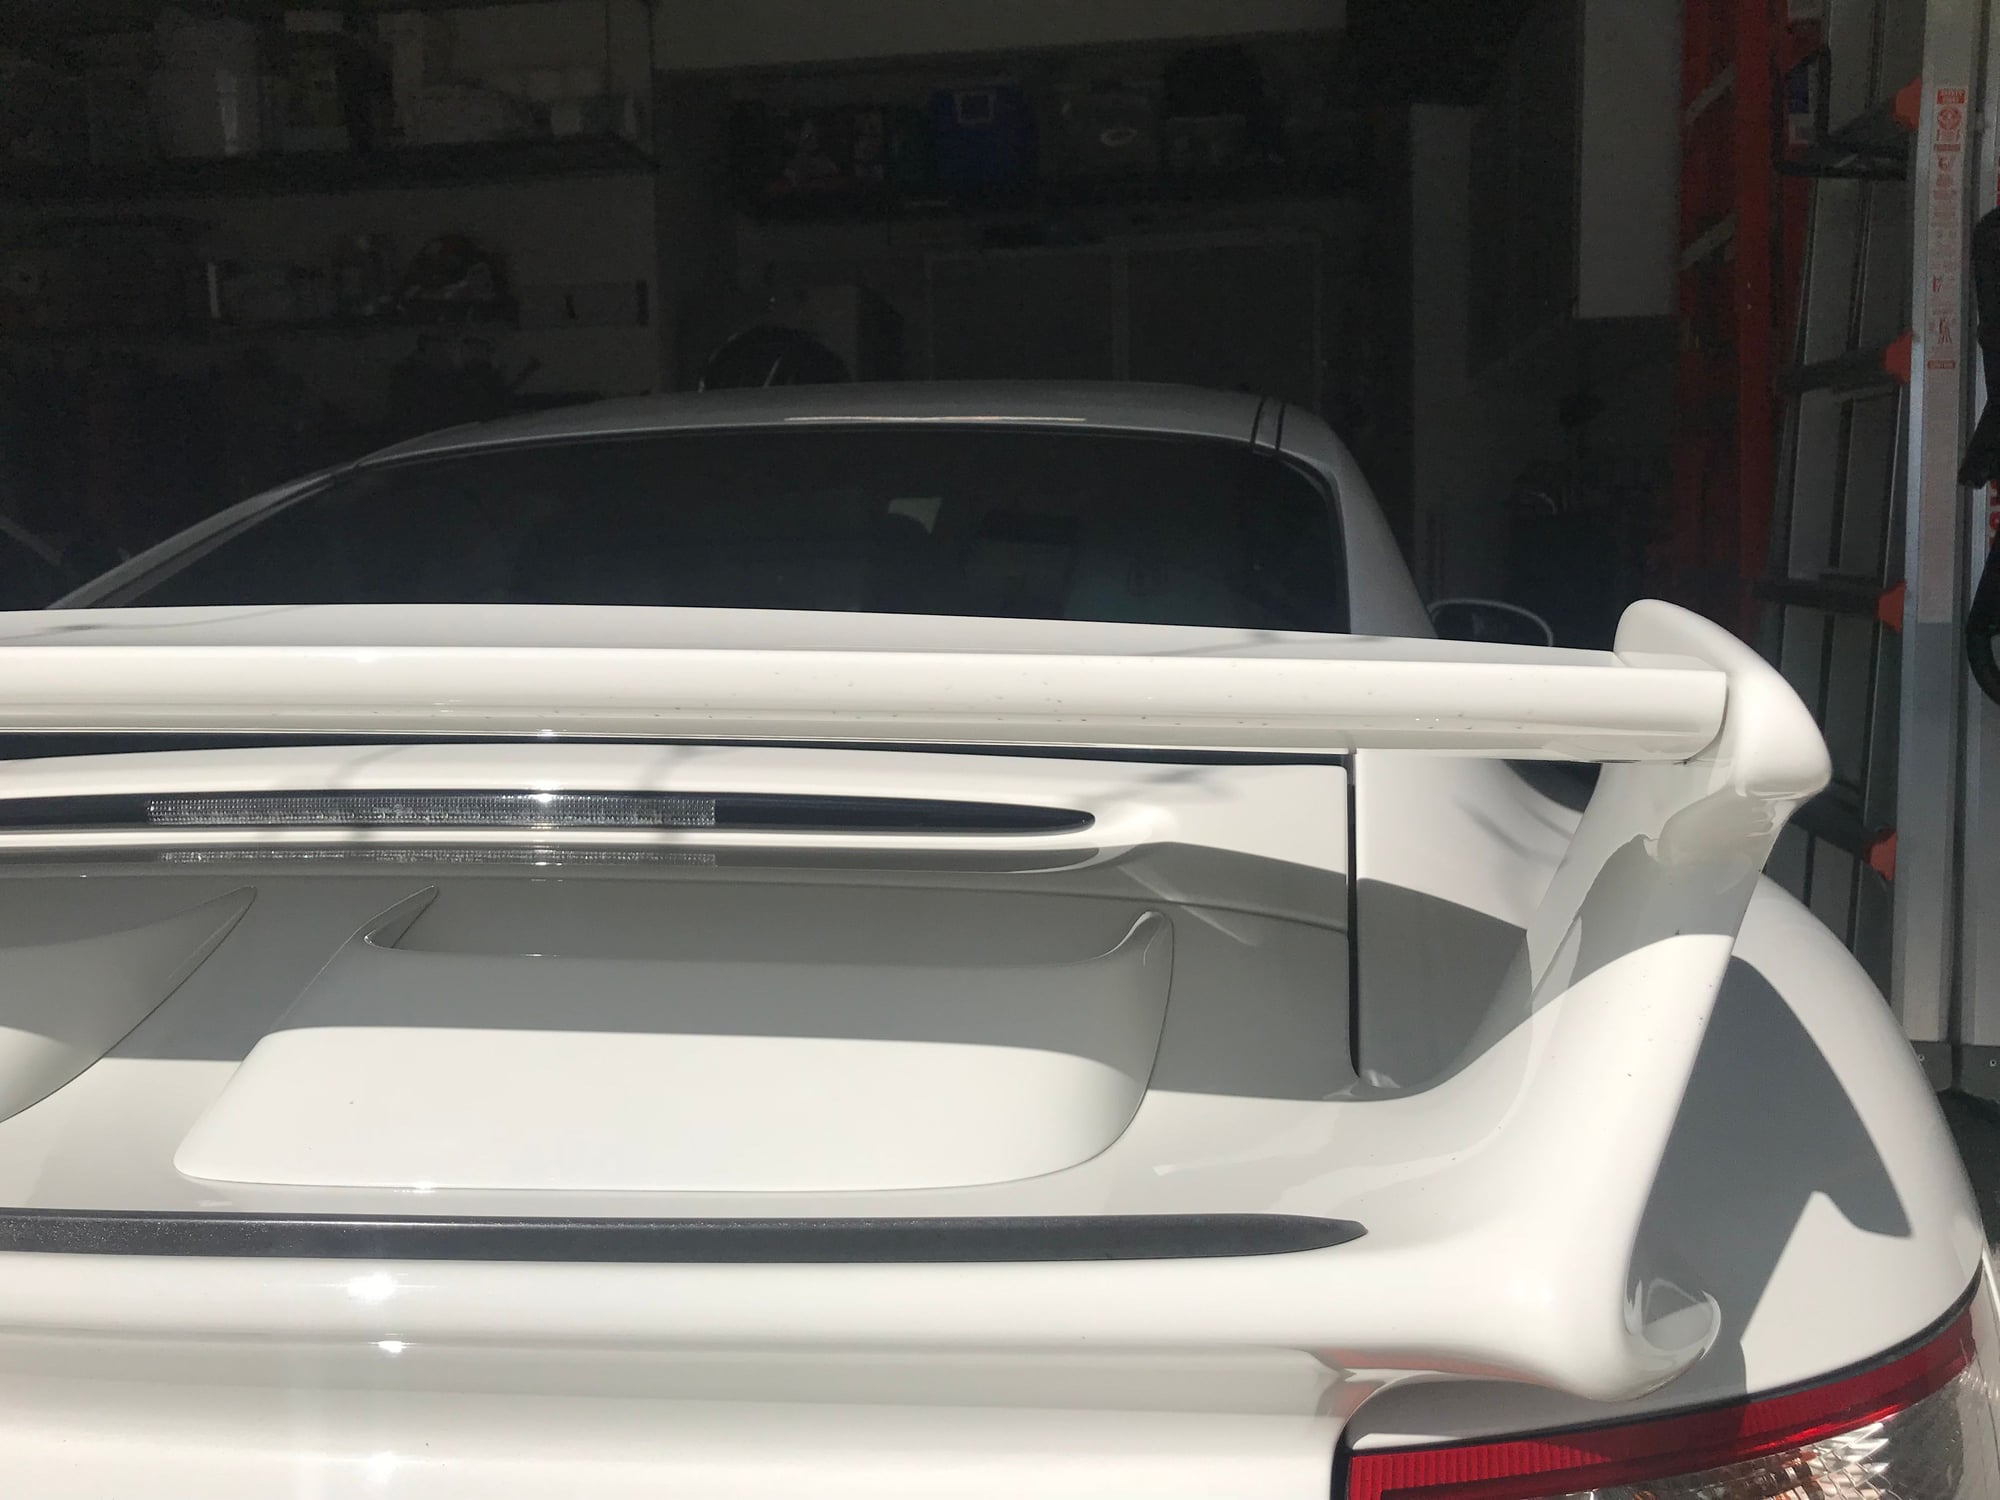
3 setting (max), back view
3 setting (max), side view
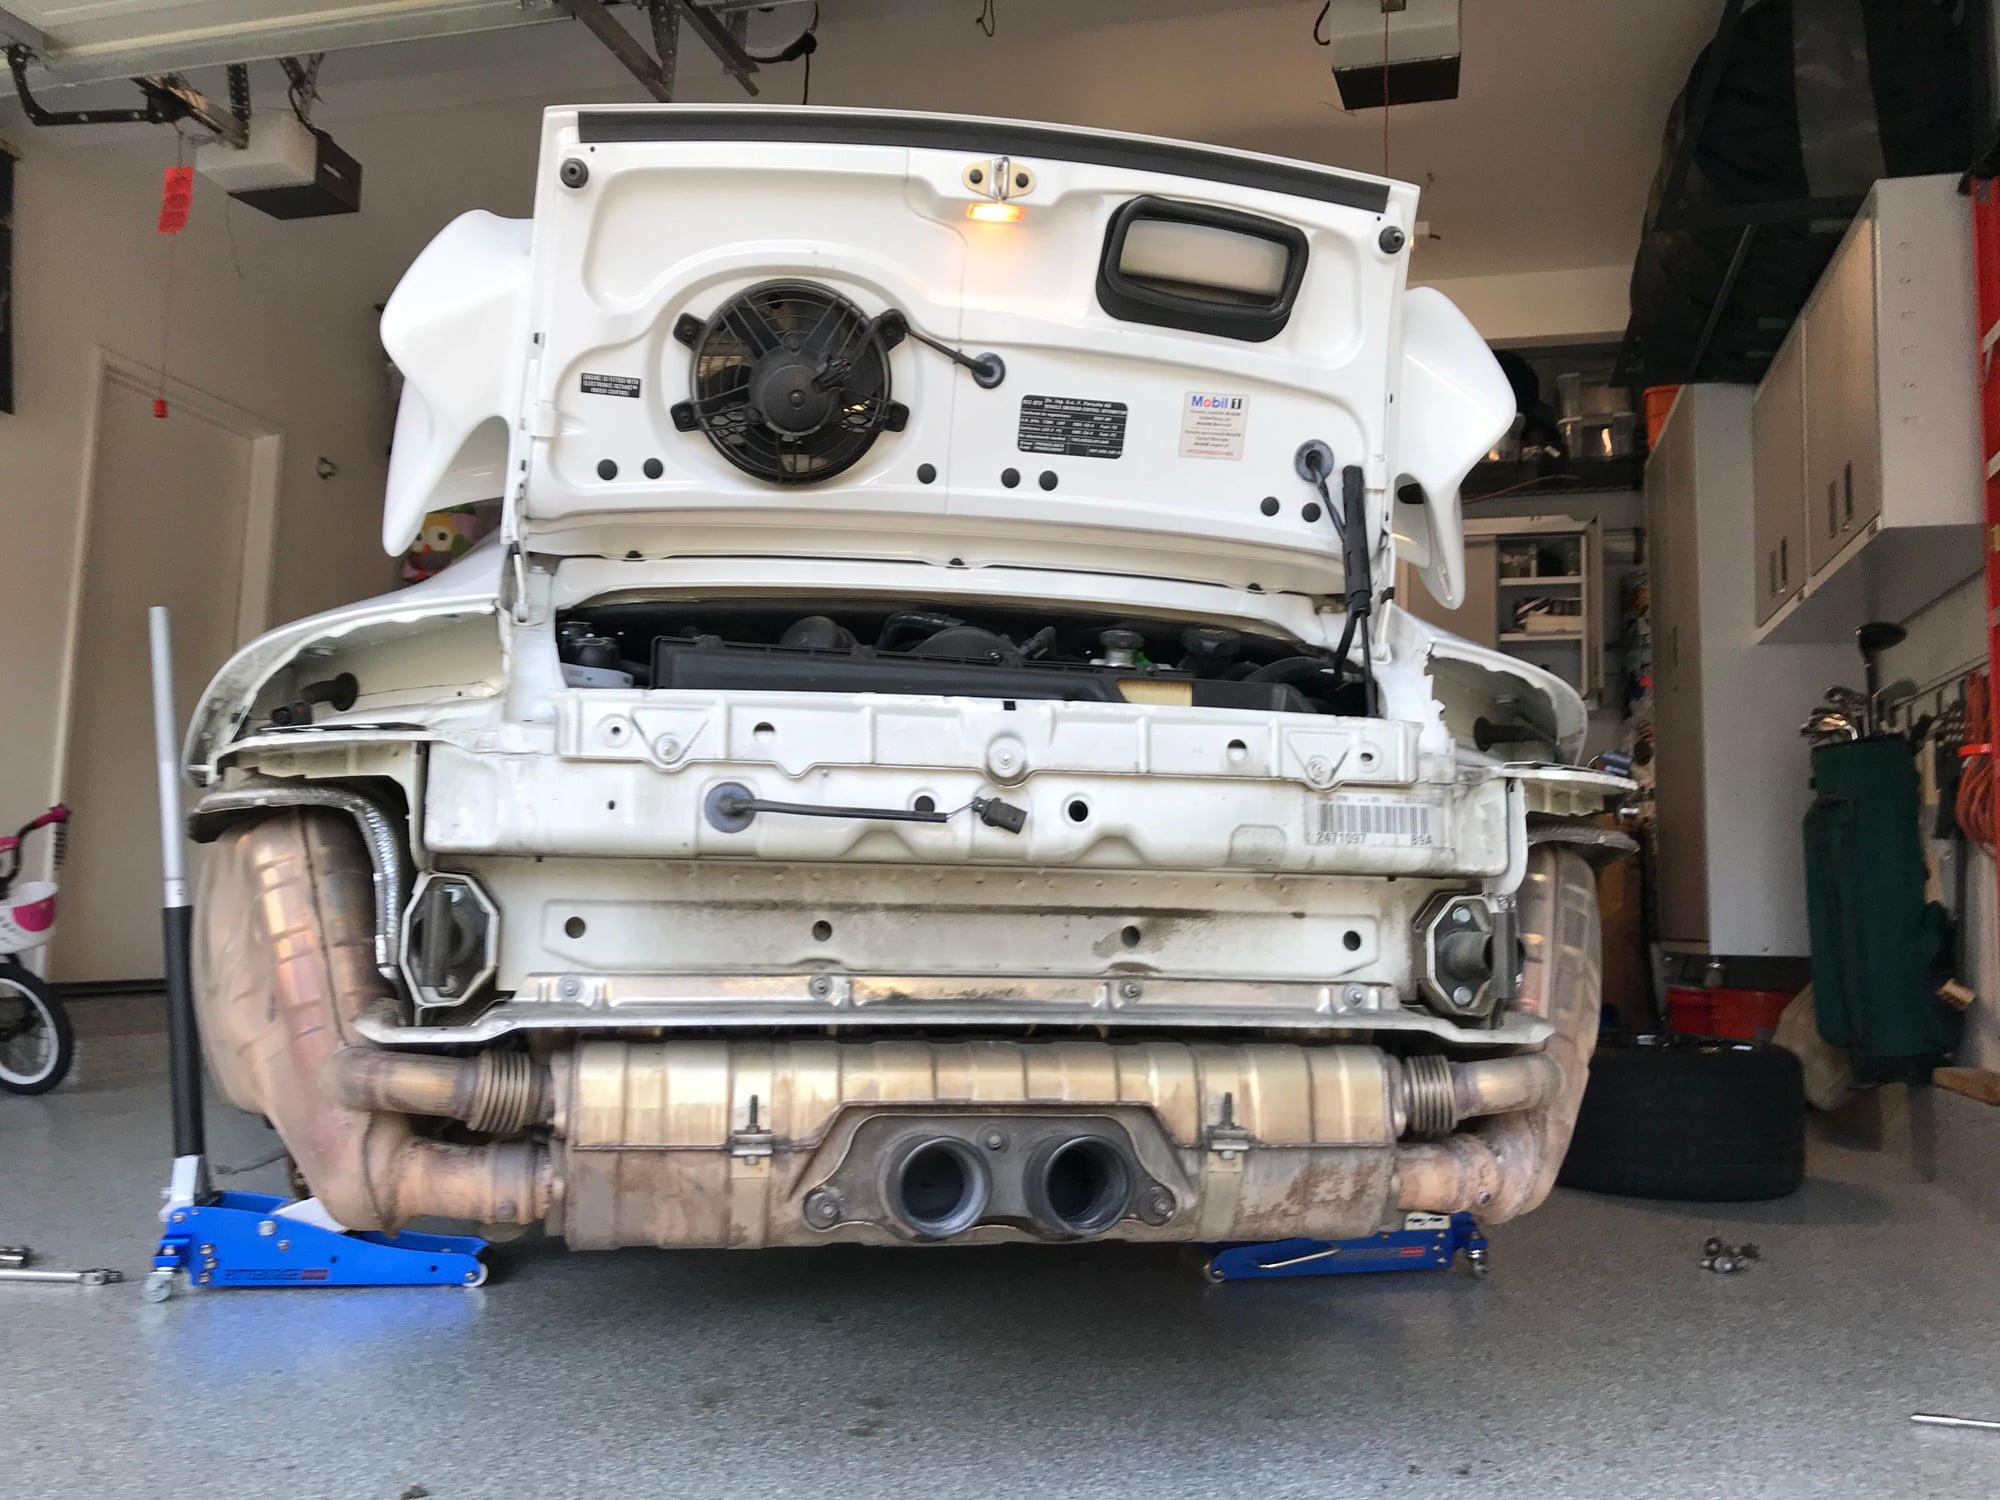
Side muffler delete: Overall I'm very happy the new and improved sound note. I love the sound when ripping around town (windows always down). Driving long distances to and from track is noticeably louder with the windows up. I wouldn't say there is drone, but between 3-4k there is some resonance in the cabin. In general I try to keep cruising revs at 4K or above, so it's not really a problem for me. I took me an evening for the installation.
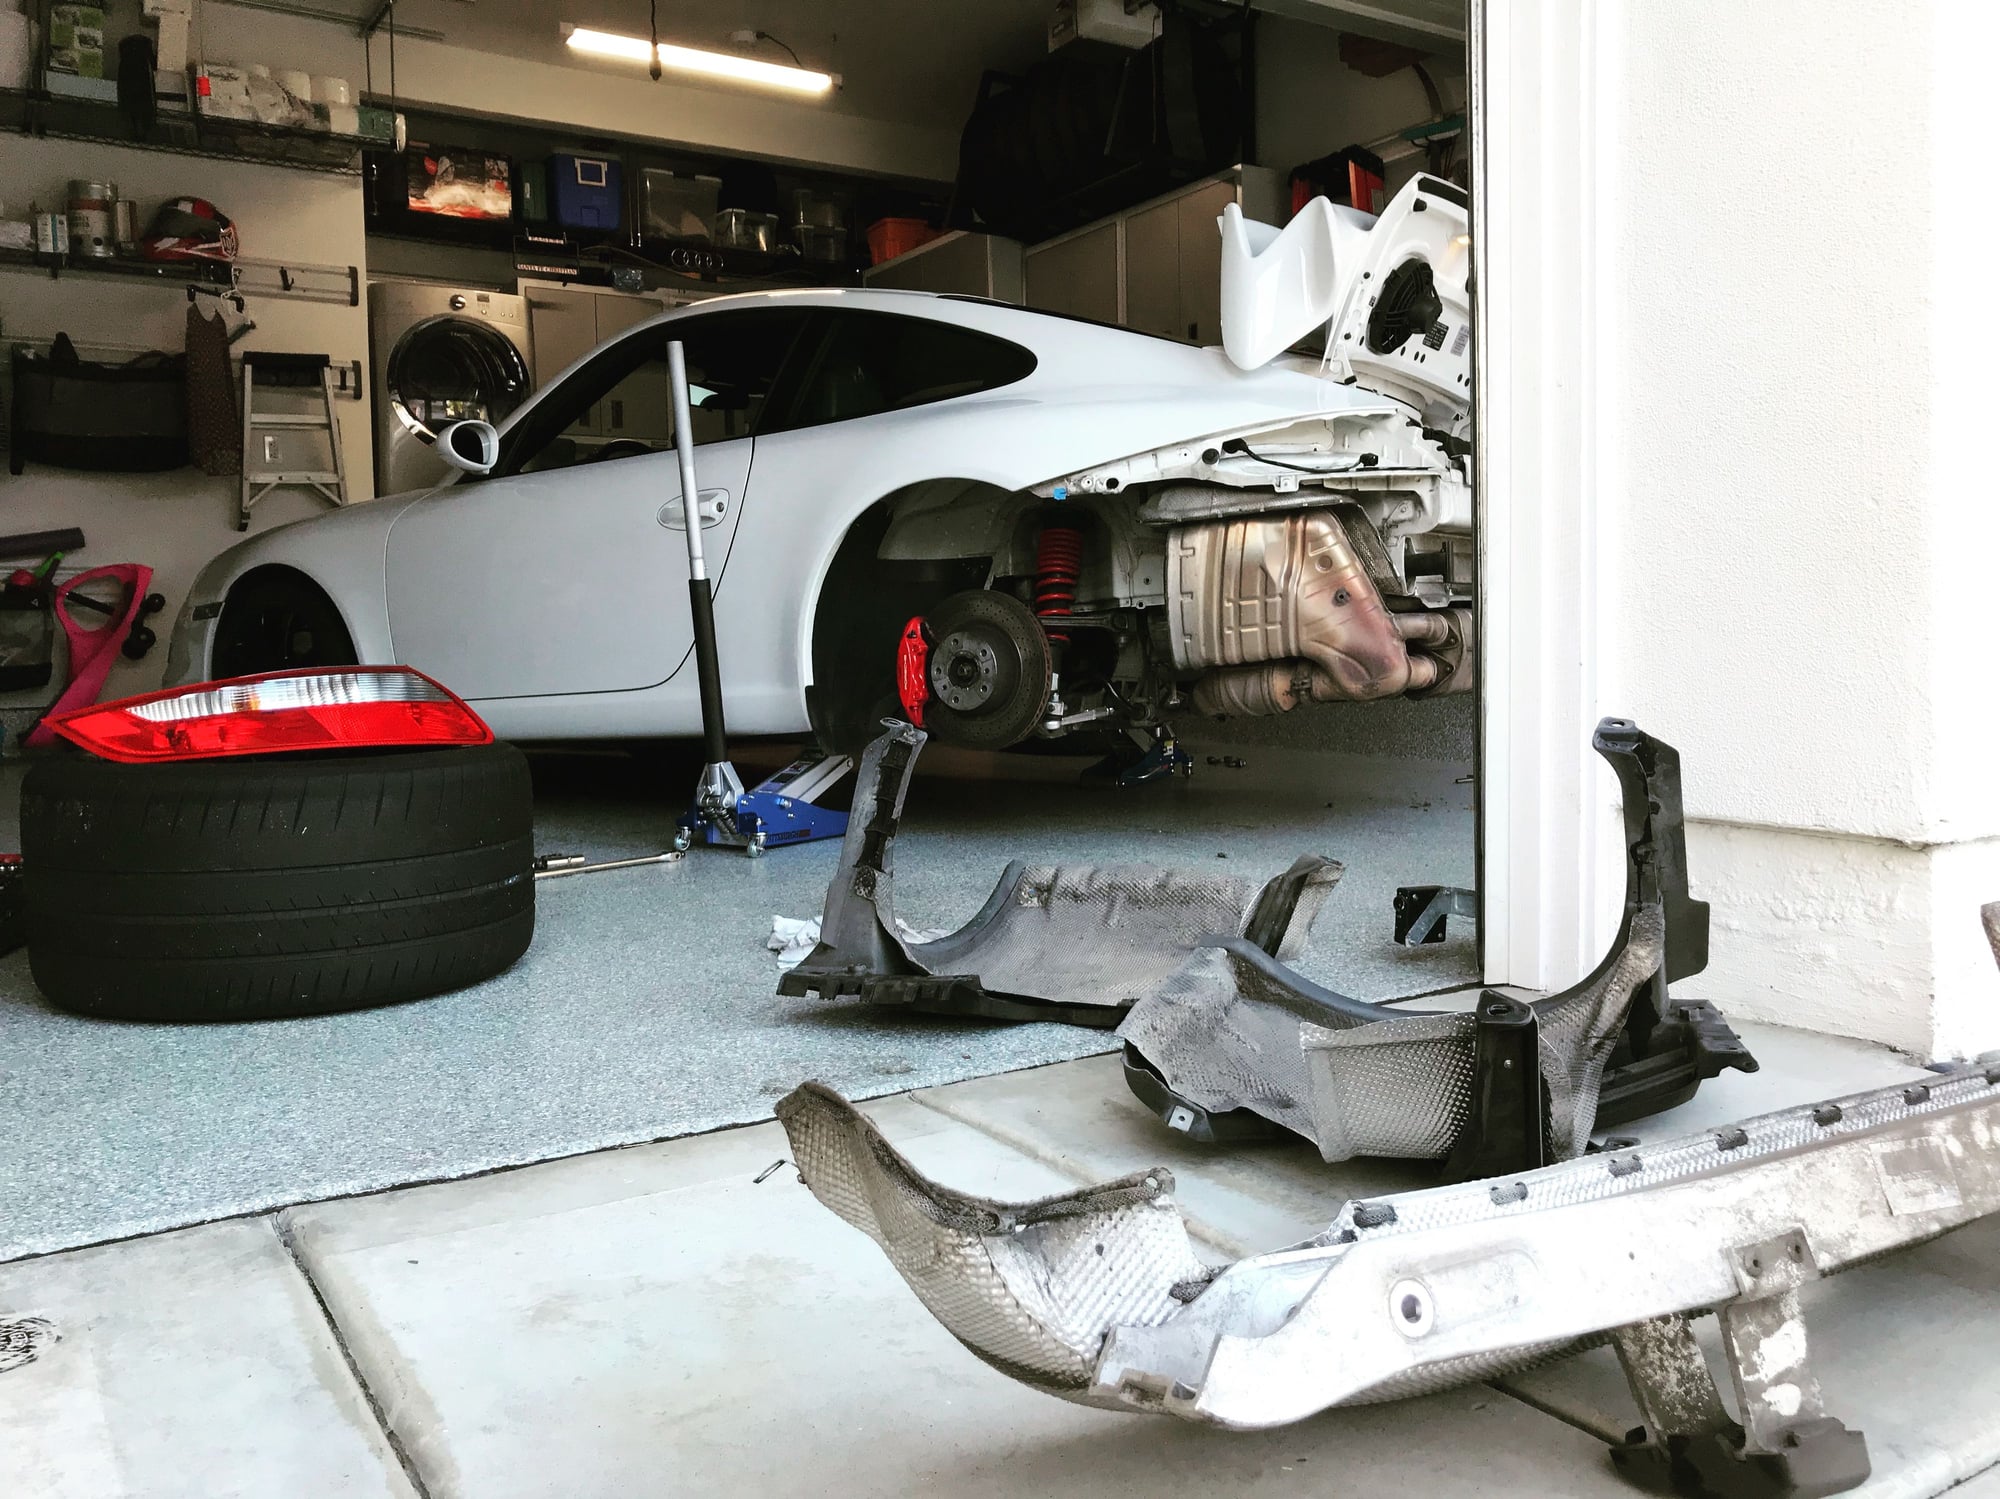
Off come the parts
Parts - (I know I should be using Jack stands)
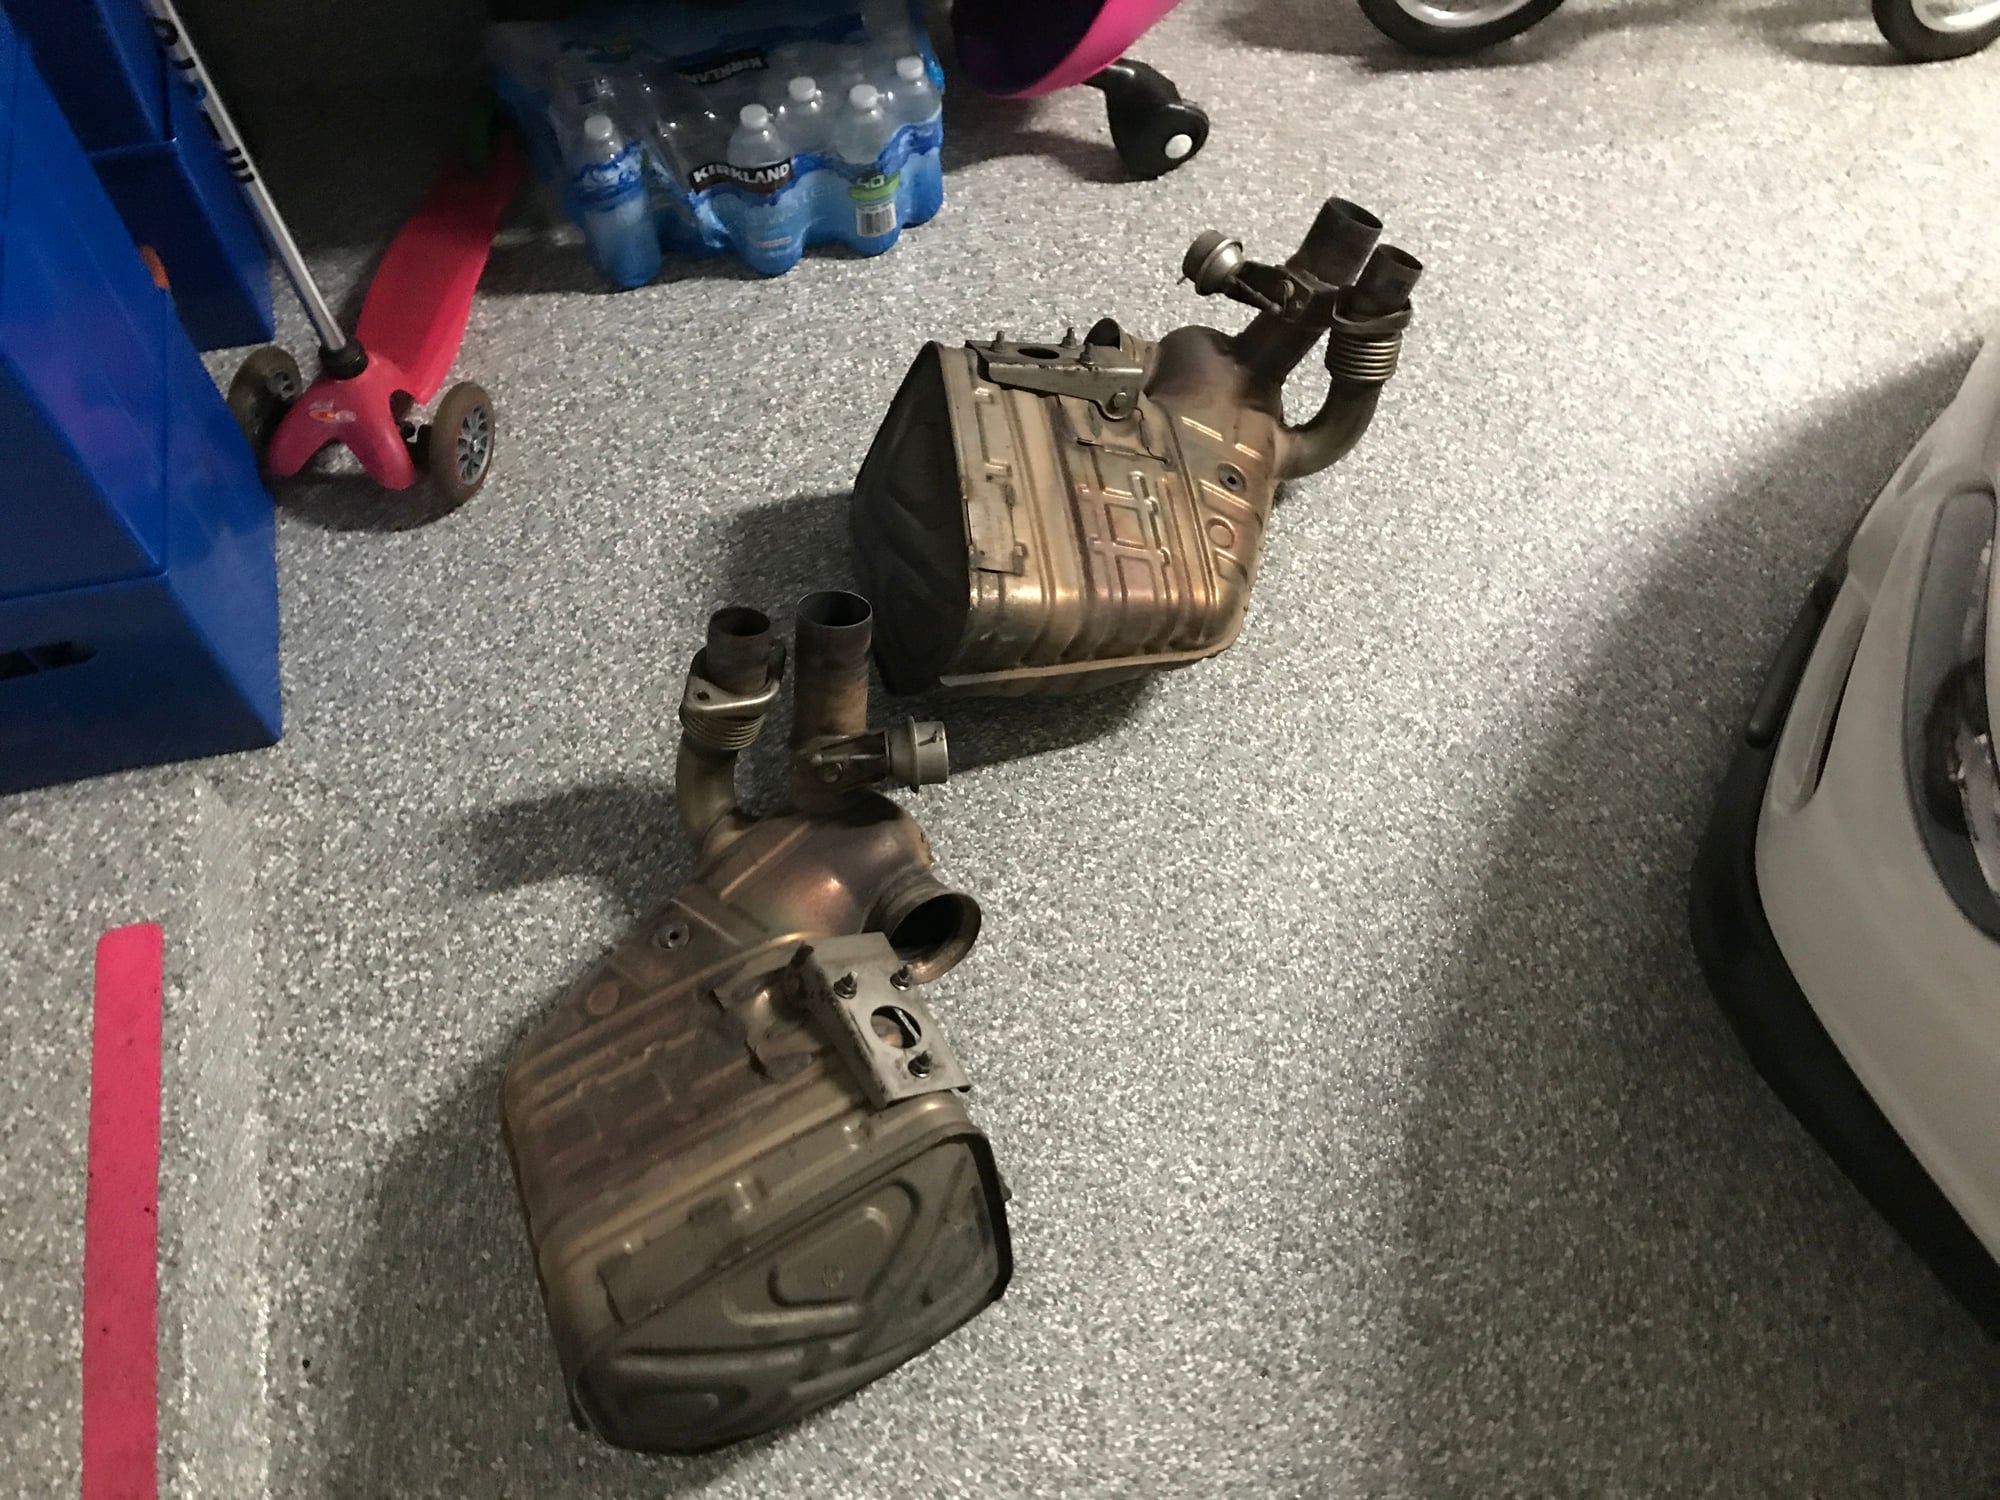
Don't need these boat anchors anymore. In to to the attic they go.
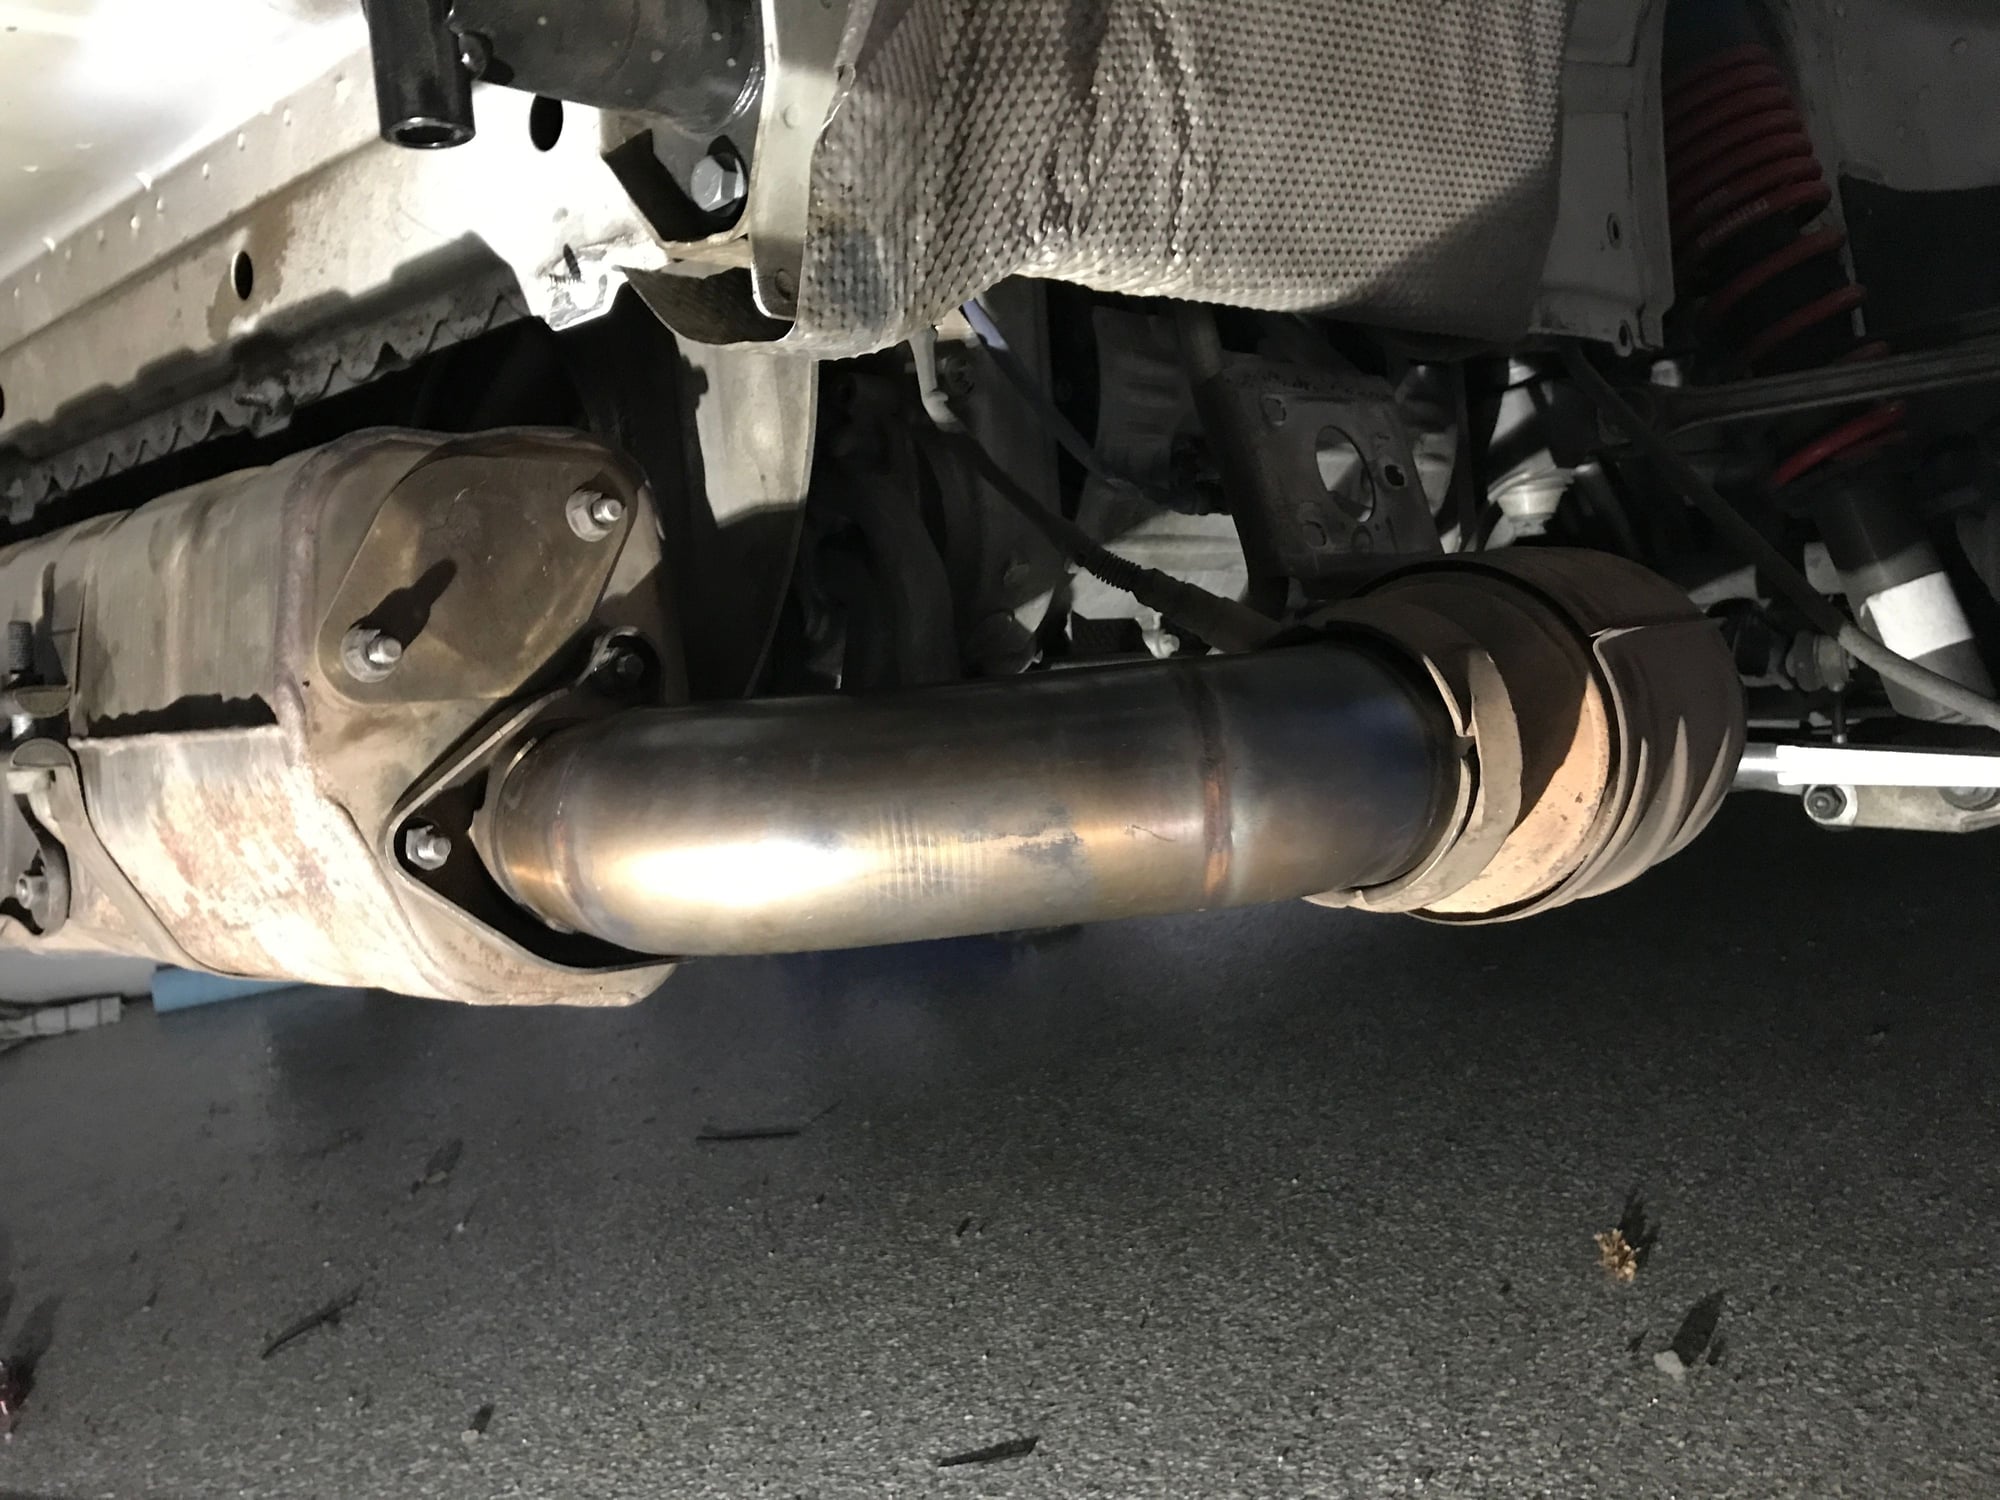
Light weight mode - it was a little bit of pain to get everything seating correctly, especially getting the tapered flange from the pipe to cat exit. I ended up loosening up the straps on the center muffler.
Checkered Flag Driving Event: Dec. 1
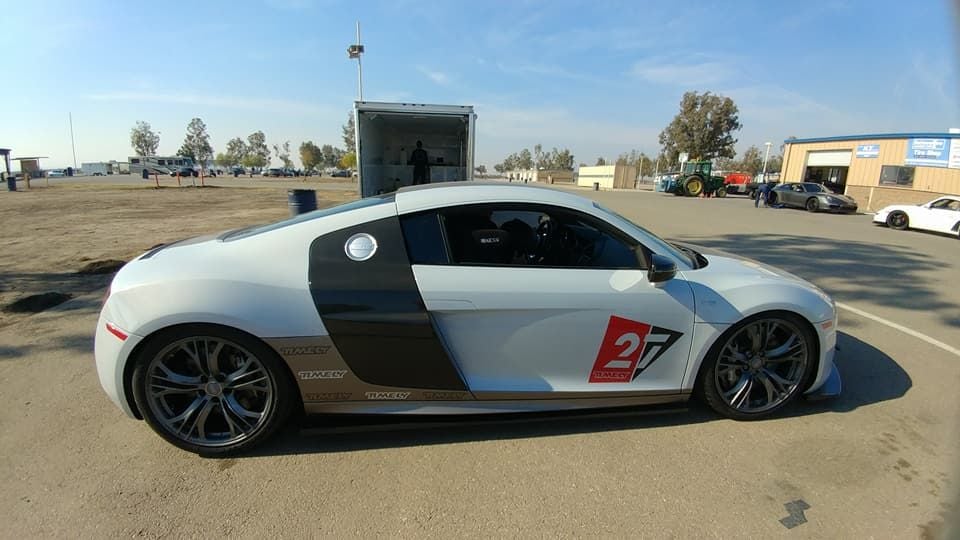
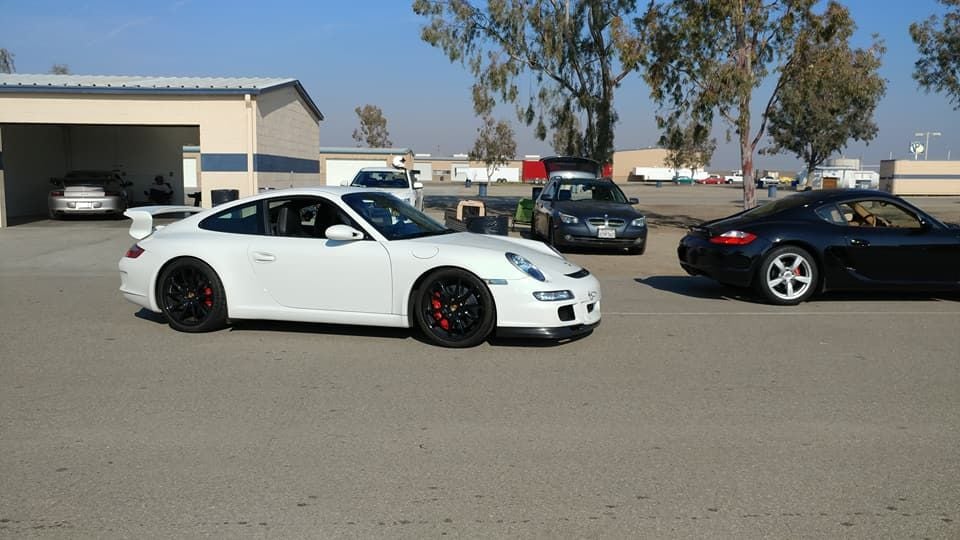
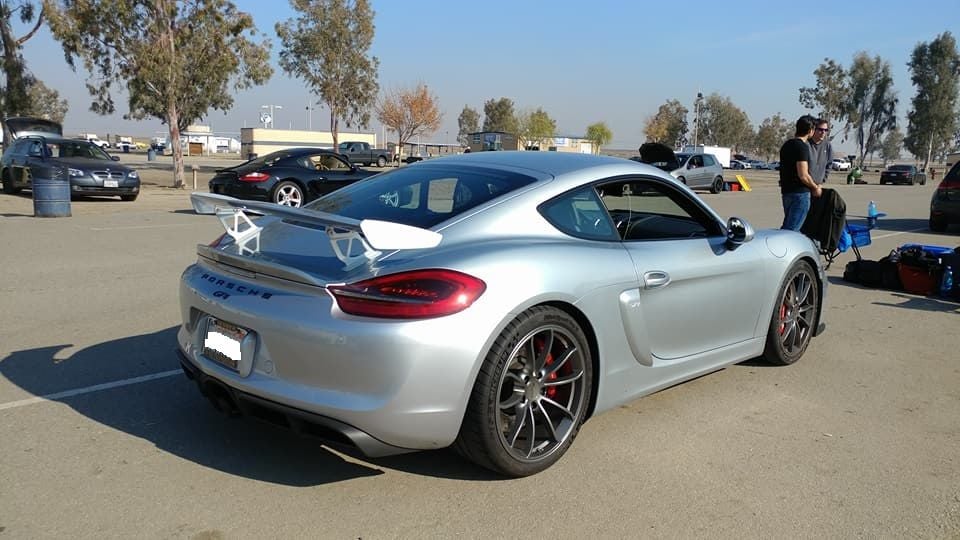
Below are images of some of the cool cars that were at the event.
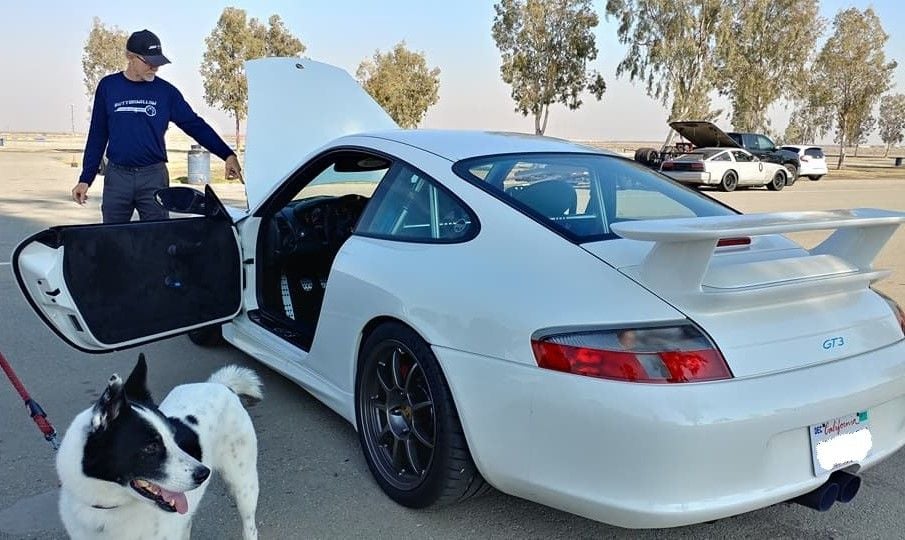
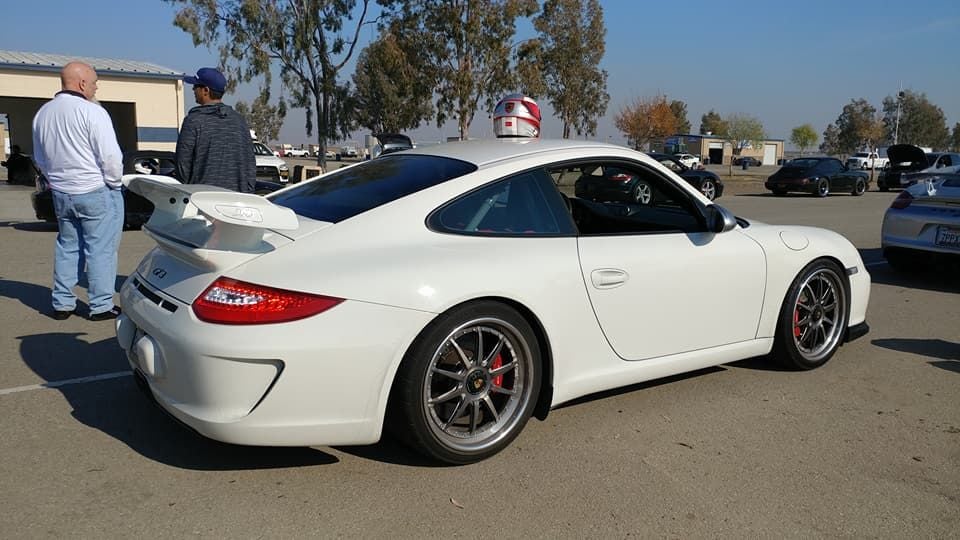
Mr. Jim Hall's recently acquired GT3
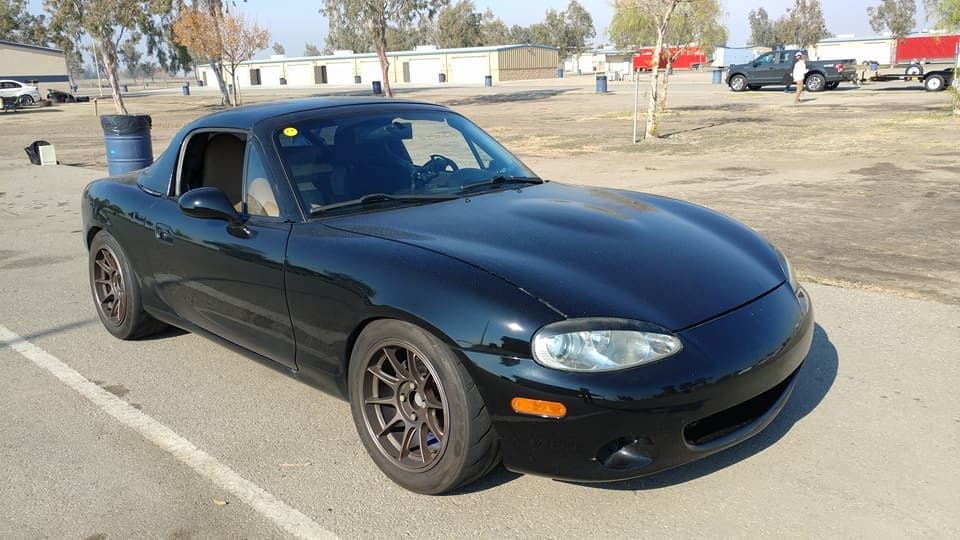
The track dog
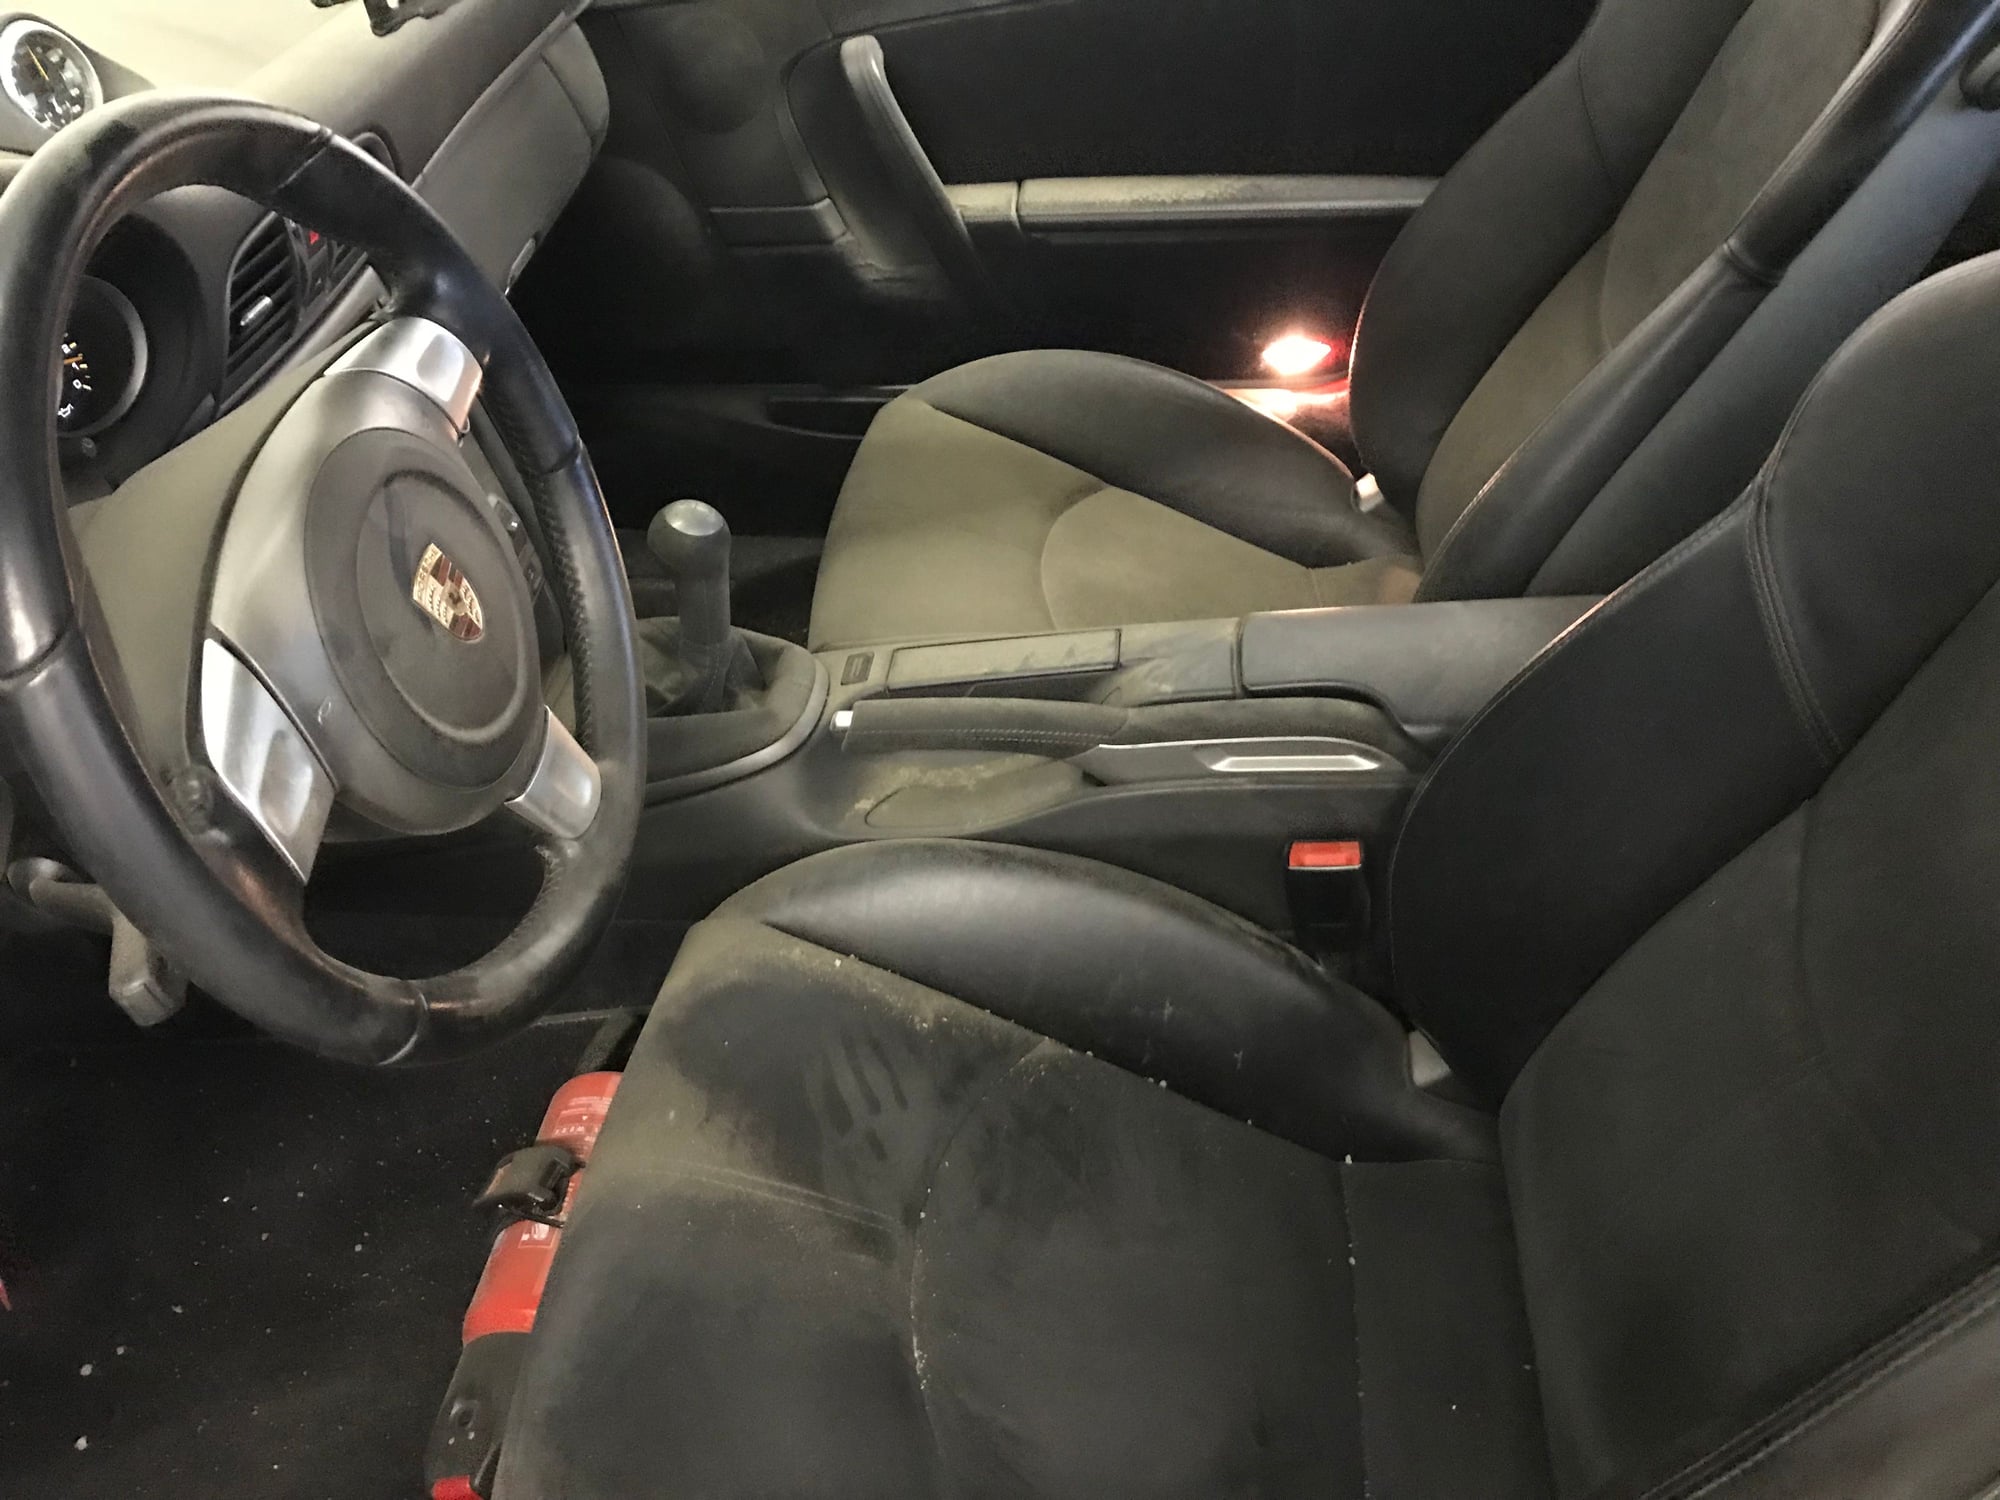
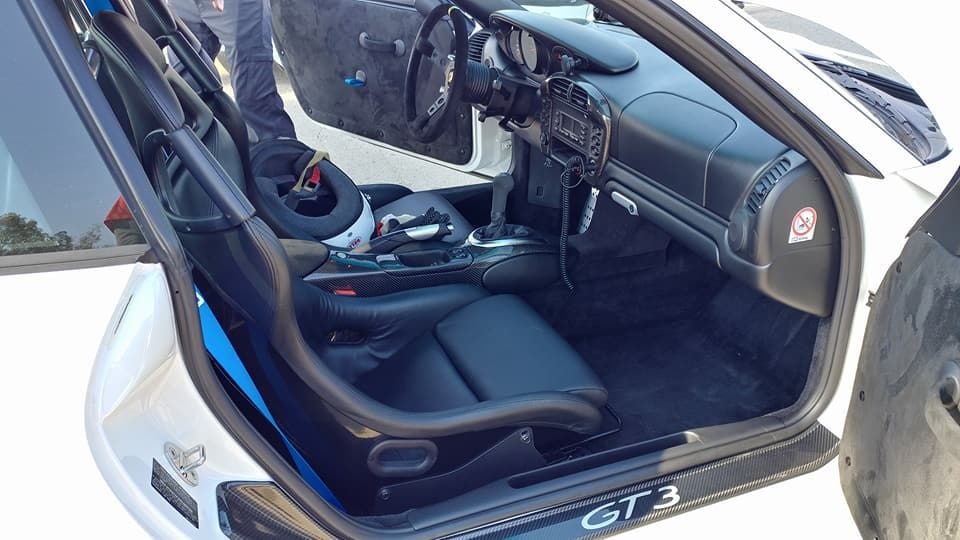
Purposeful interior
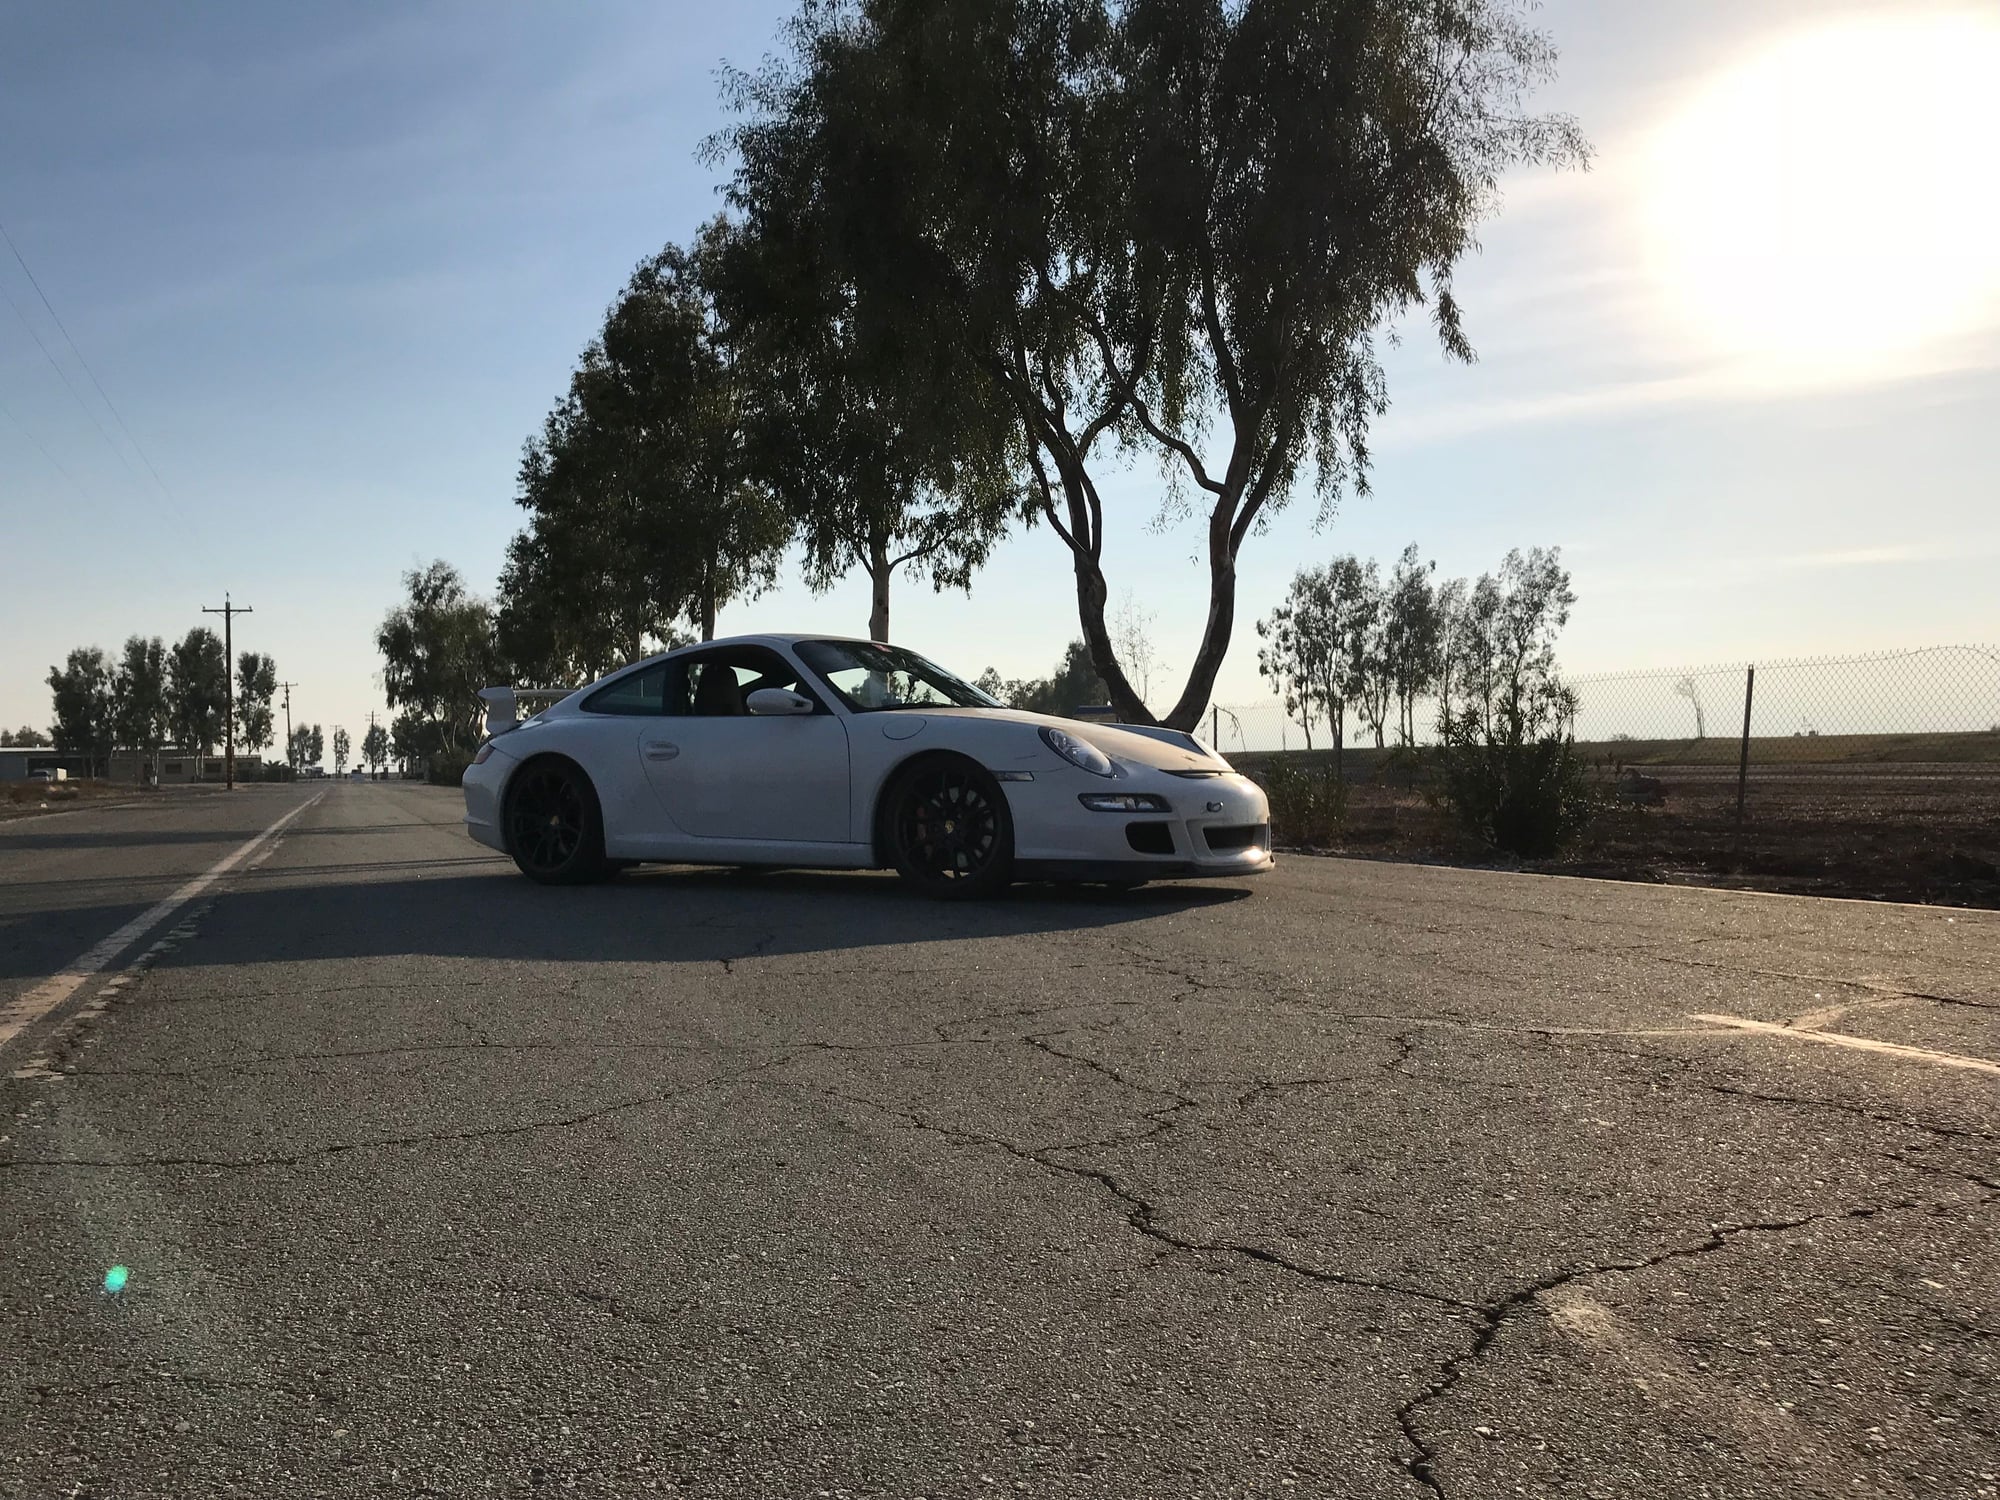
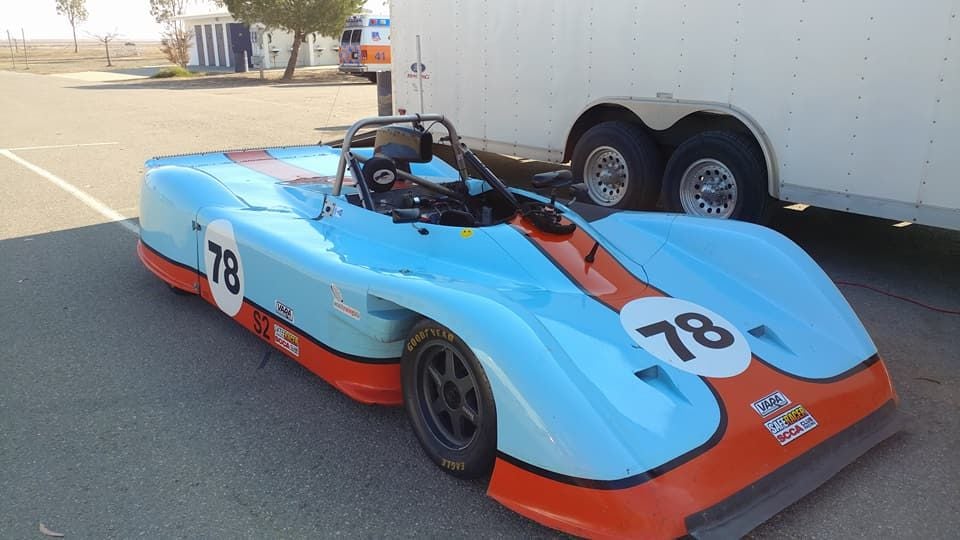
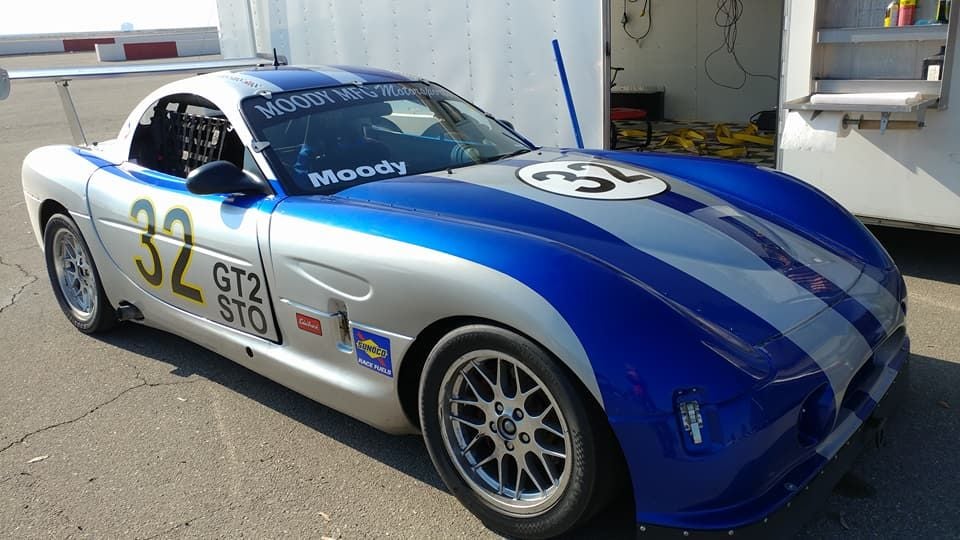
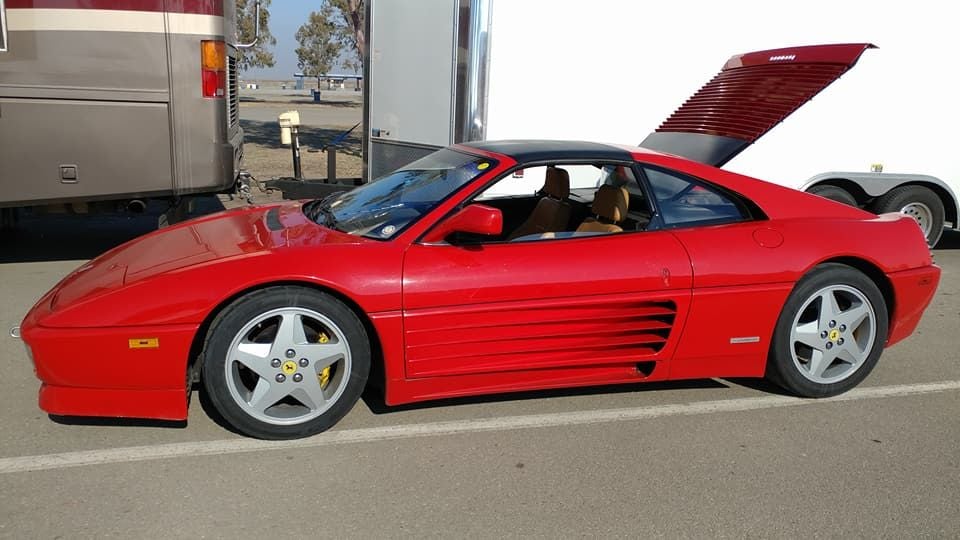
Track car
Swift
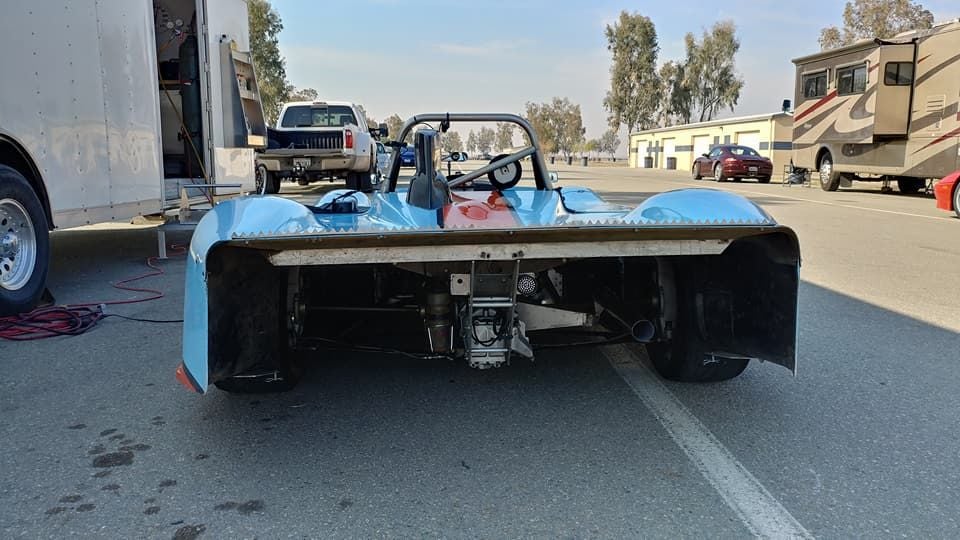
Aero with teeth
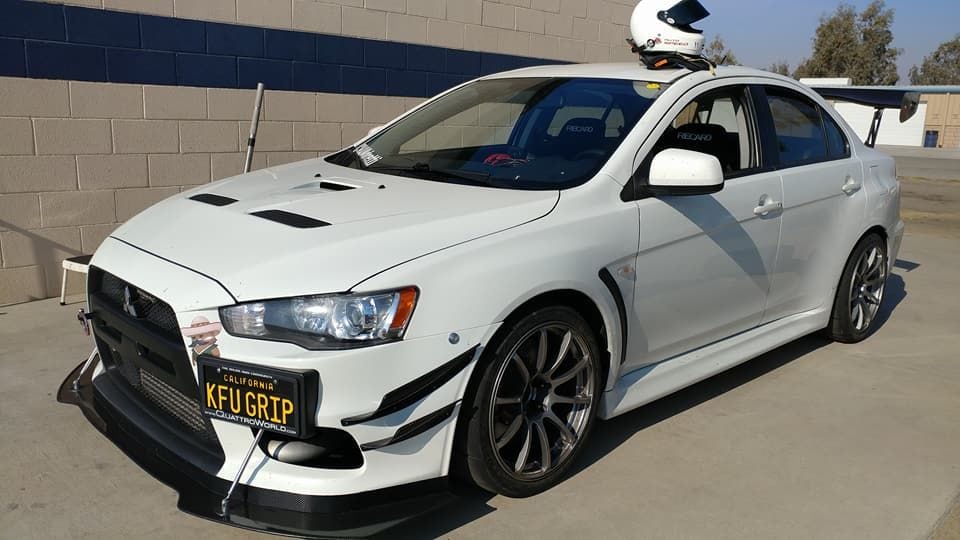
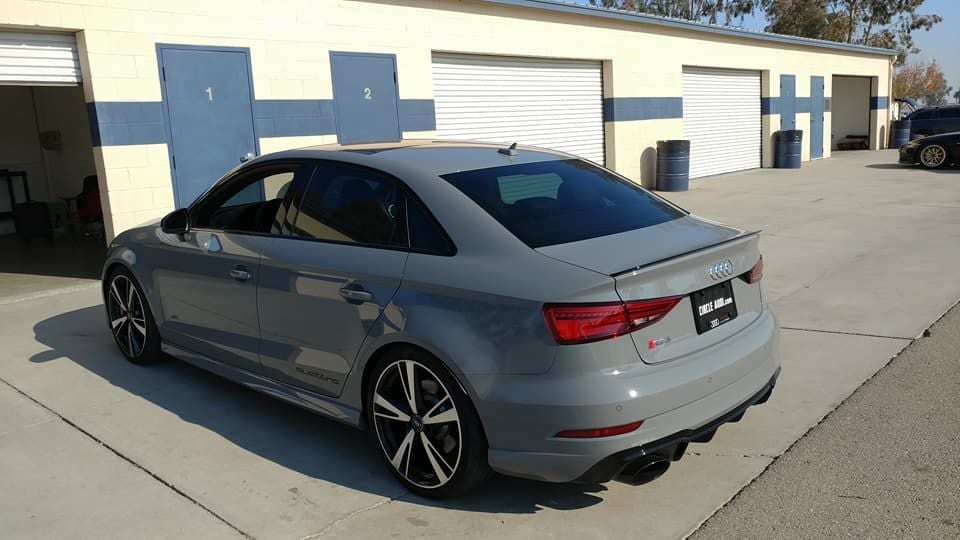
Rice cooker - it's fast
GT3 parking
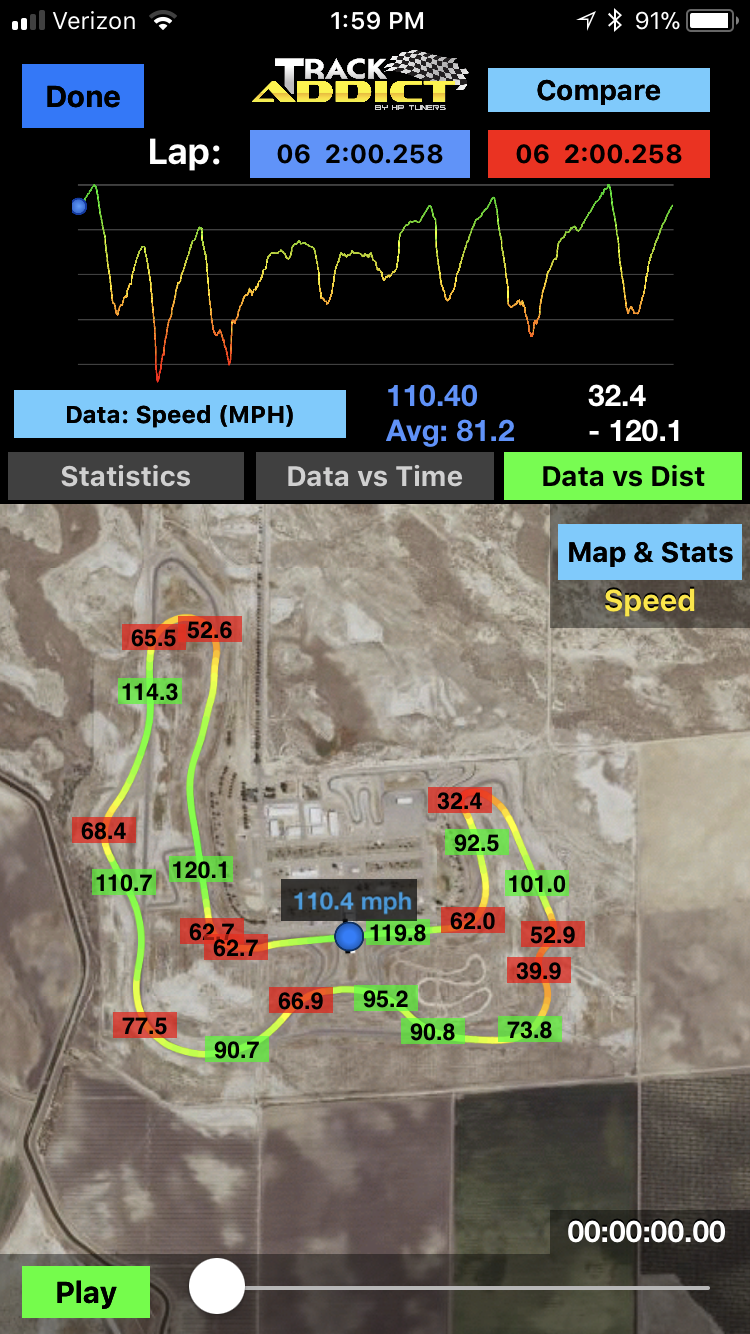
Below is a video of my poor driving. I have so much more to learn in the GT3. I did reach my personal best time of 2:00.258s at Buttonwillow CW13. It's not terrible for my second time out with the car. I'll keep chipping away at learning the car and the driving skills required to push this car to the max (or my max). Another great thing about the event is the availability of getting advanced coaching from an experienced driver/instructor. There's no need to worry about run groups and time limits when there are none.
Your car looks great! Congrats! Did you do the alignment yourself? Jim Halls GT3 was my friends GT3 just a few months ago. That is easily one of the best 996/997 GT3s on the planet. Best Josh
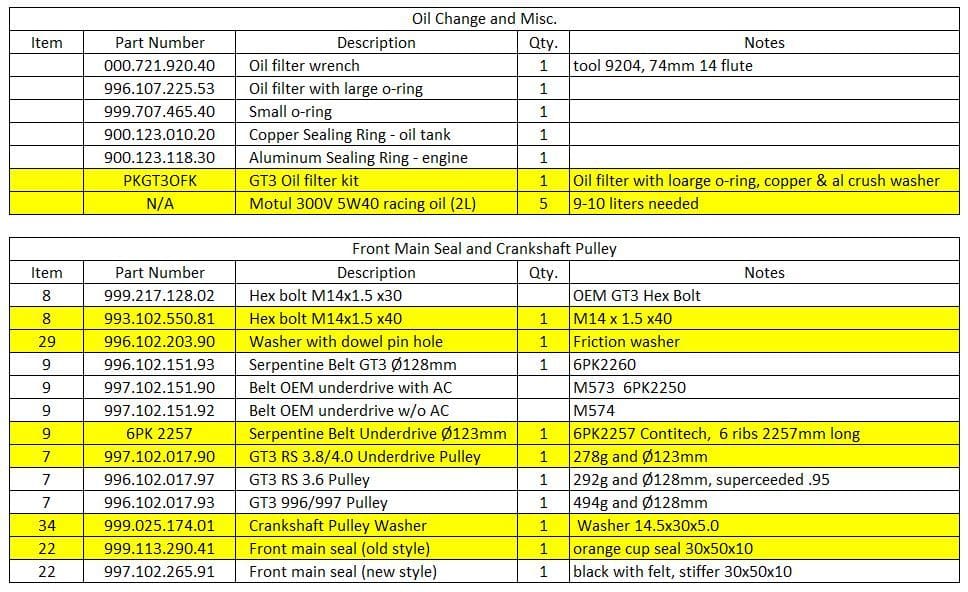
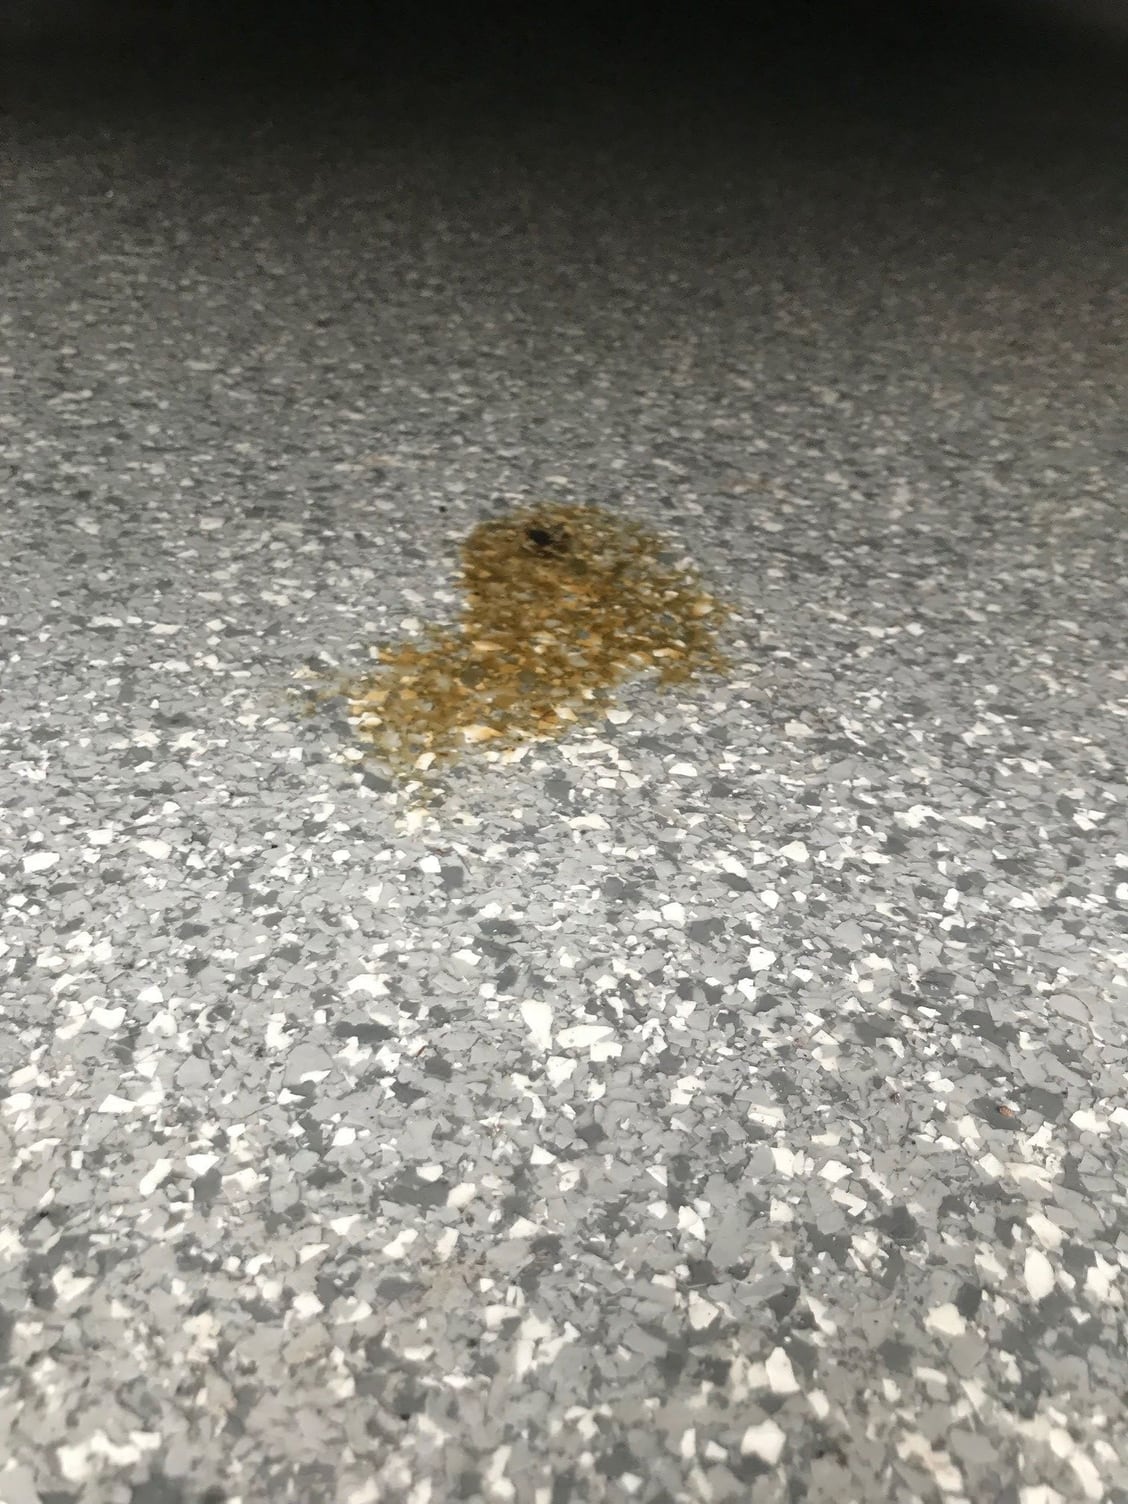
It's been a while since I updated this thread. I've been to a couple track days, since the post above. And I must say that I've been getting progressively slower each event, even though I feel like I'm pushing the car harder. Last time at Buttonwillow, I spun twice exiting turn 1 (Sunrise). I've never spun there before in 10 years. I had lost confidence in the car and my skills. I feel like I was loosing a ton of grip everywhere. IMHO (excuses) I think the tires are old and heat cycled out. I literally had little to no grip exiting off ramp. Long story short after my off road excursions I developed a small oil leak at the FMS. I believe this was caused by the super fine silt (think baby powder) off track that was launched into the engine bay. Some of the silt got between the seal and the crankshaft. The seal could also have changed shape a little under a large vacuum load in the engine during the spin. It was a very small drip, but it annoyed me, so I decided to replace FMS. While I'm in there I figured I might as well update the crank shaft pulley to the 997.2RS/4.0 pulley, because racecar and most likely get the 4.0 clutch at some point. Below is all of the information that I gathered with regards to replacement and information required to install the seal.
Thanks to oldskews4 and Tom@TPC for answering my questions.
Below is my parts list with P/N's, descriptions and some details (pulley weights referenced from Tom's post). I used the highlighted P/N's.
Rear is very sexy when stripped naked
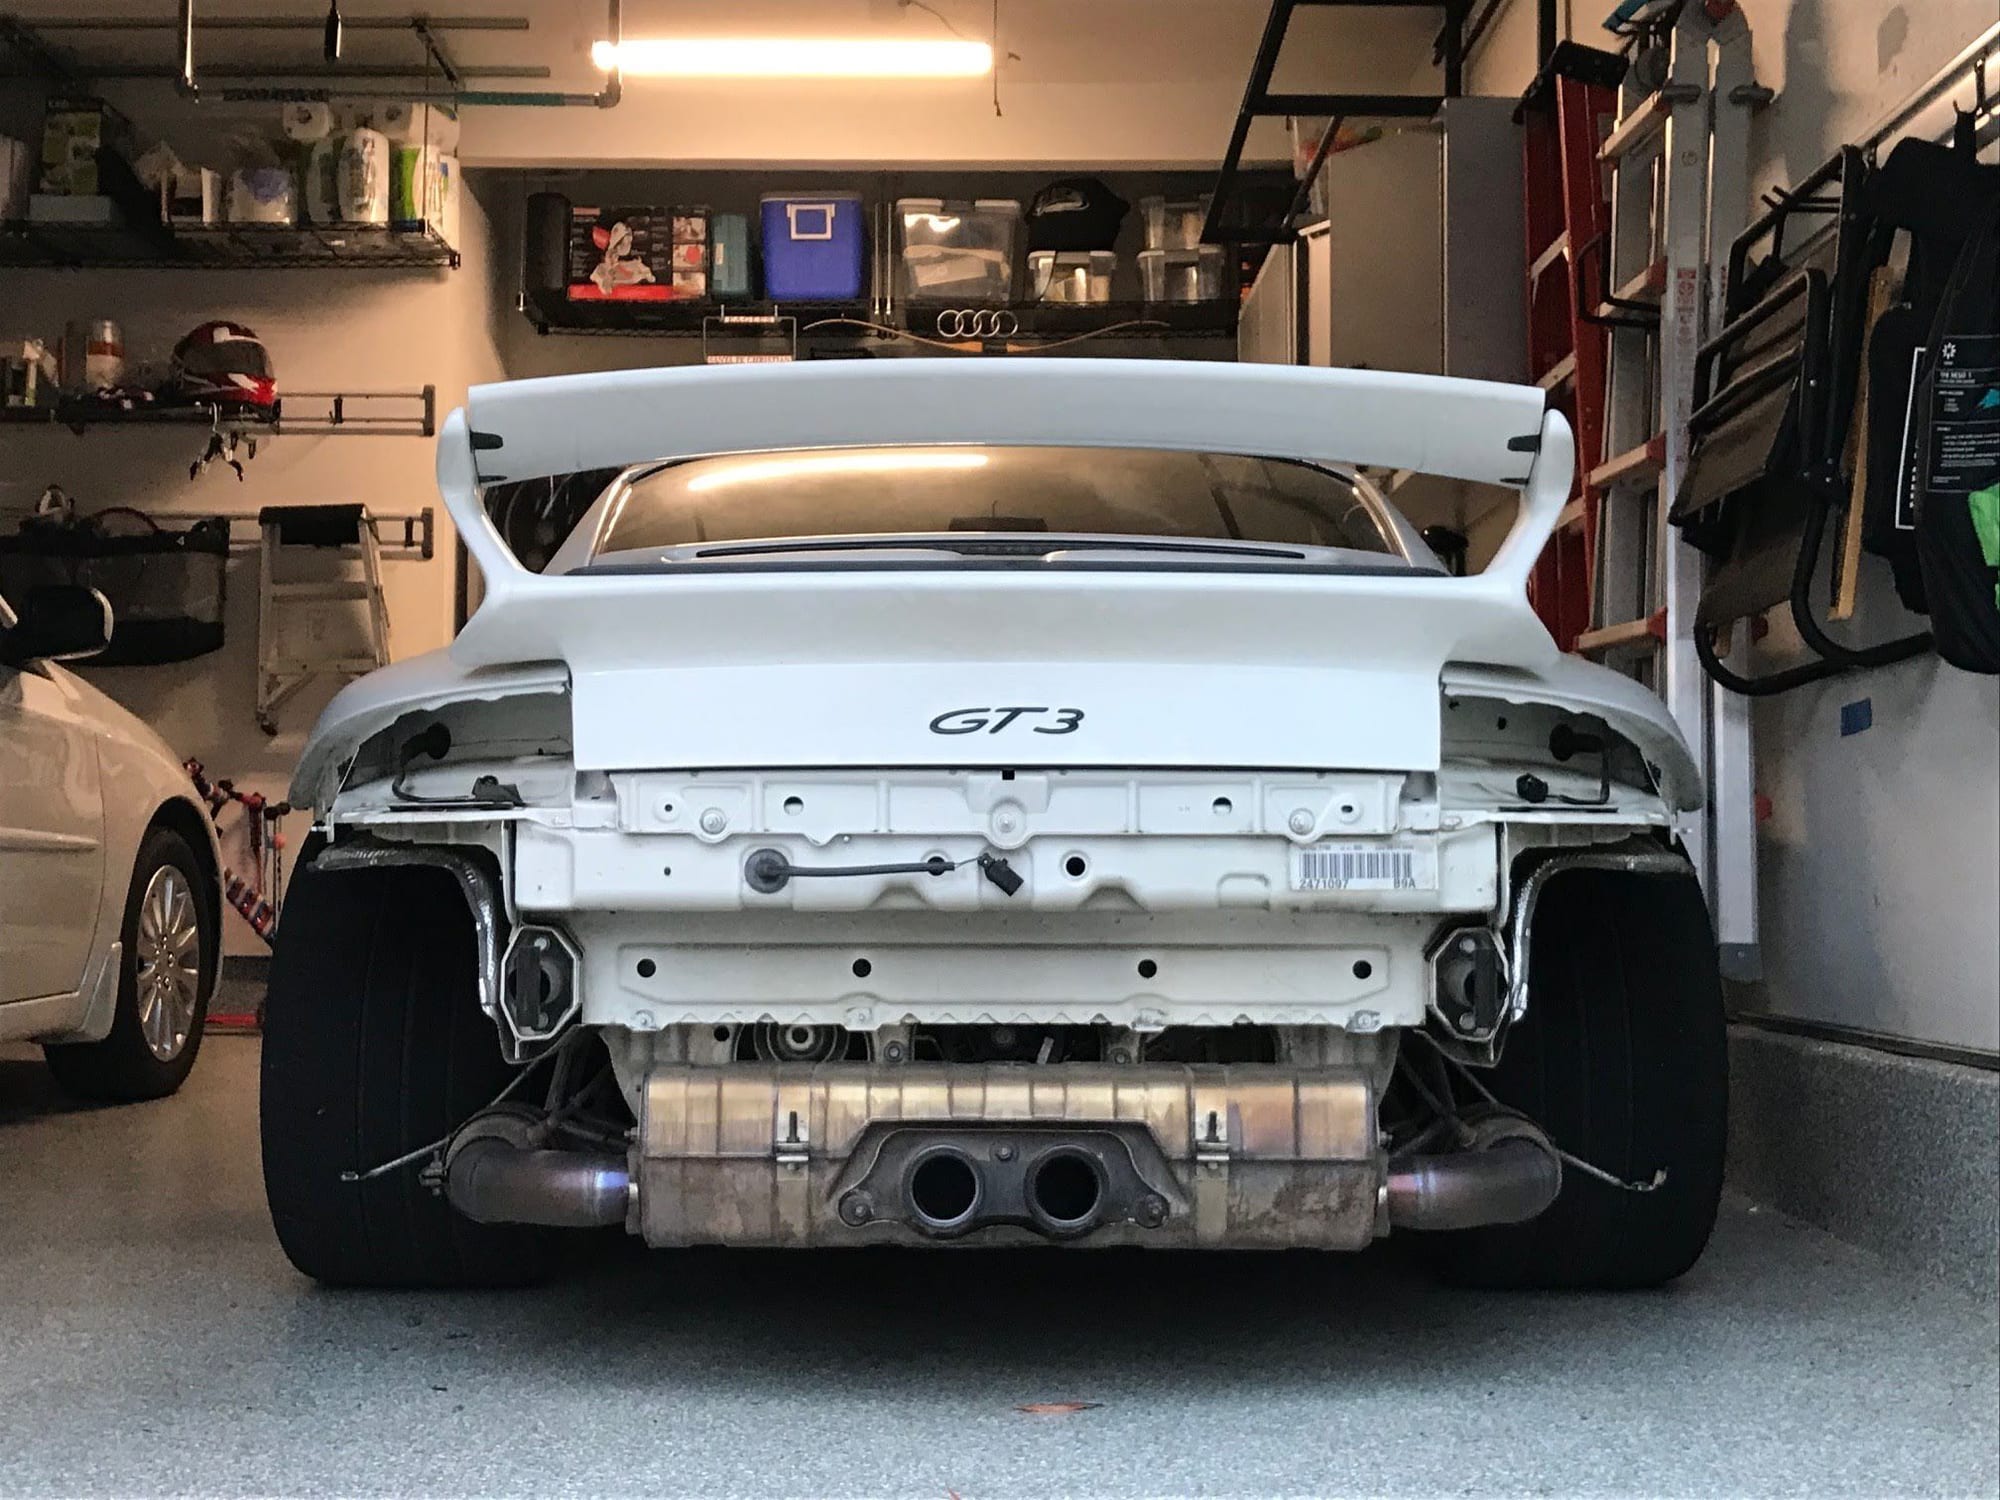
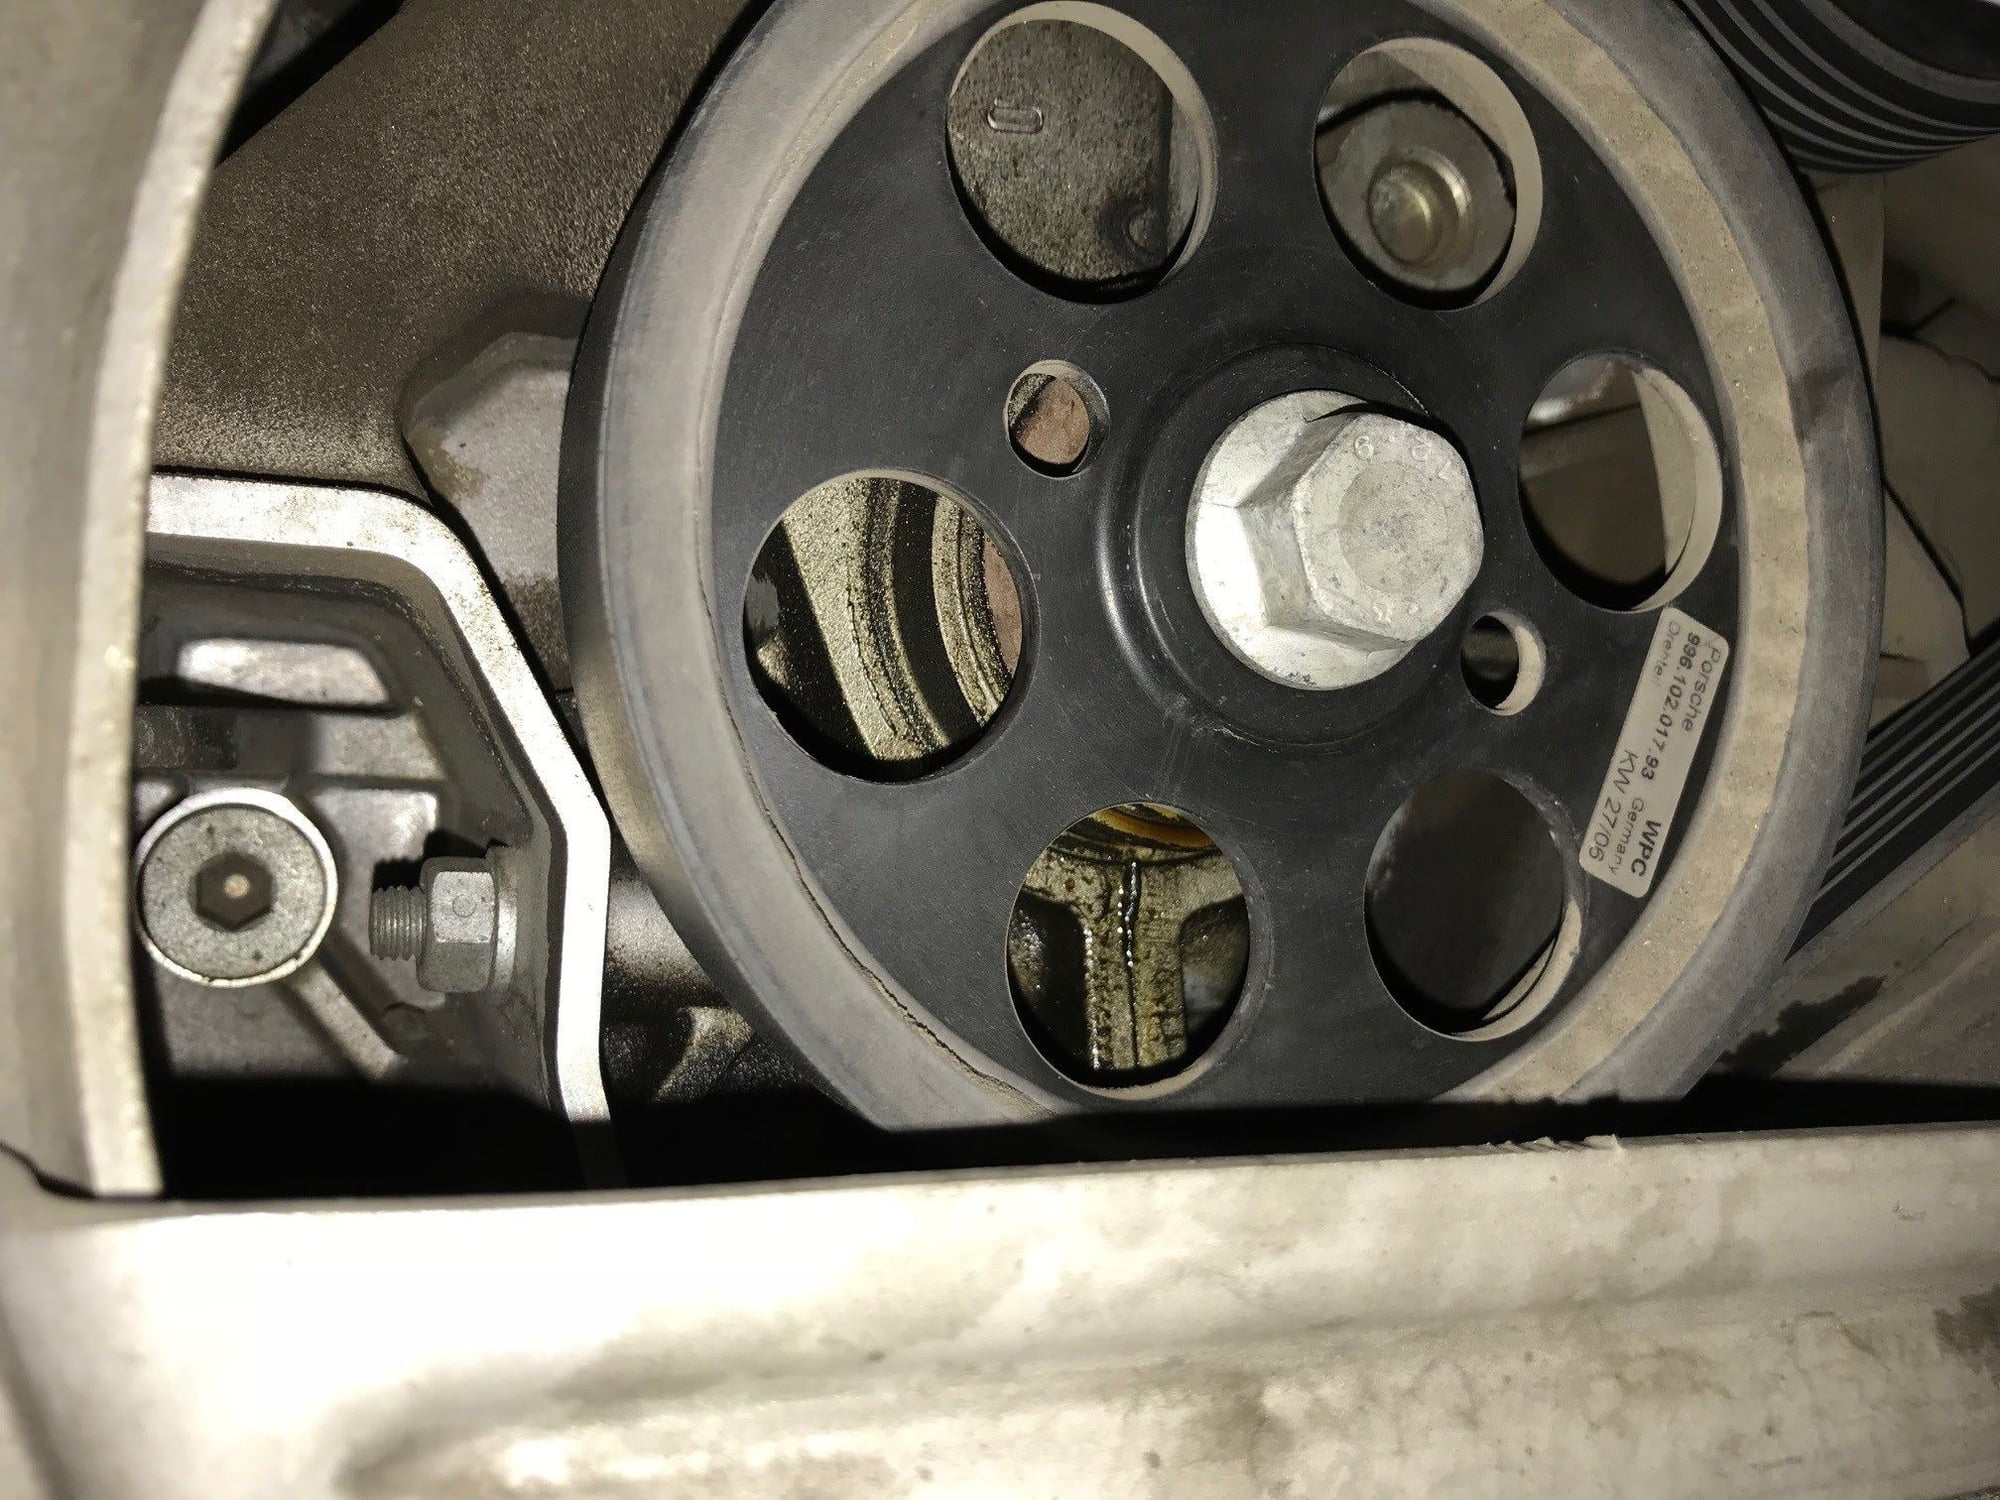
Leaking Front Main seal and OEM GT3 Pulley - soooo heavy :-)
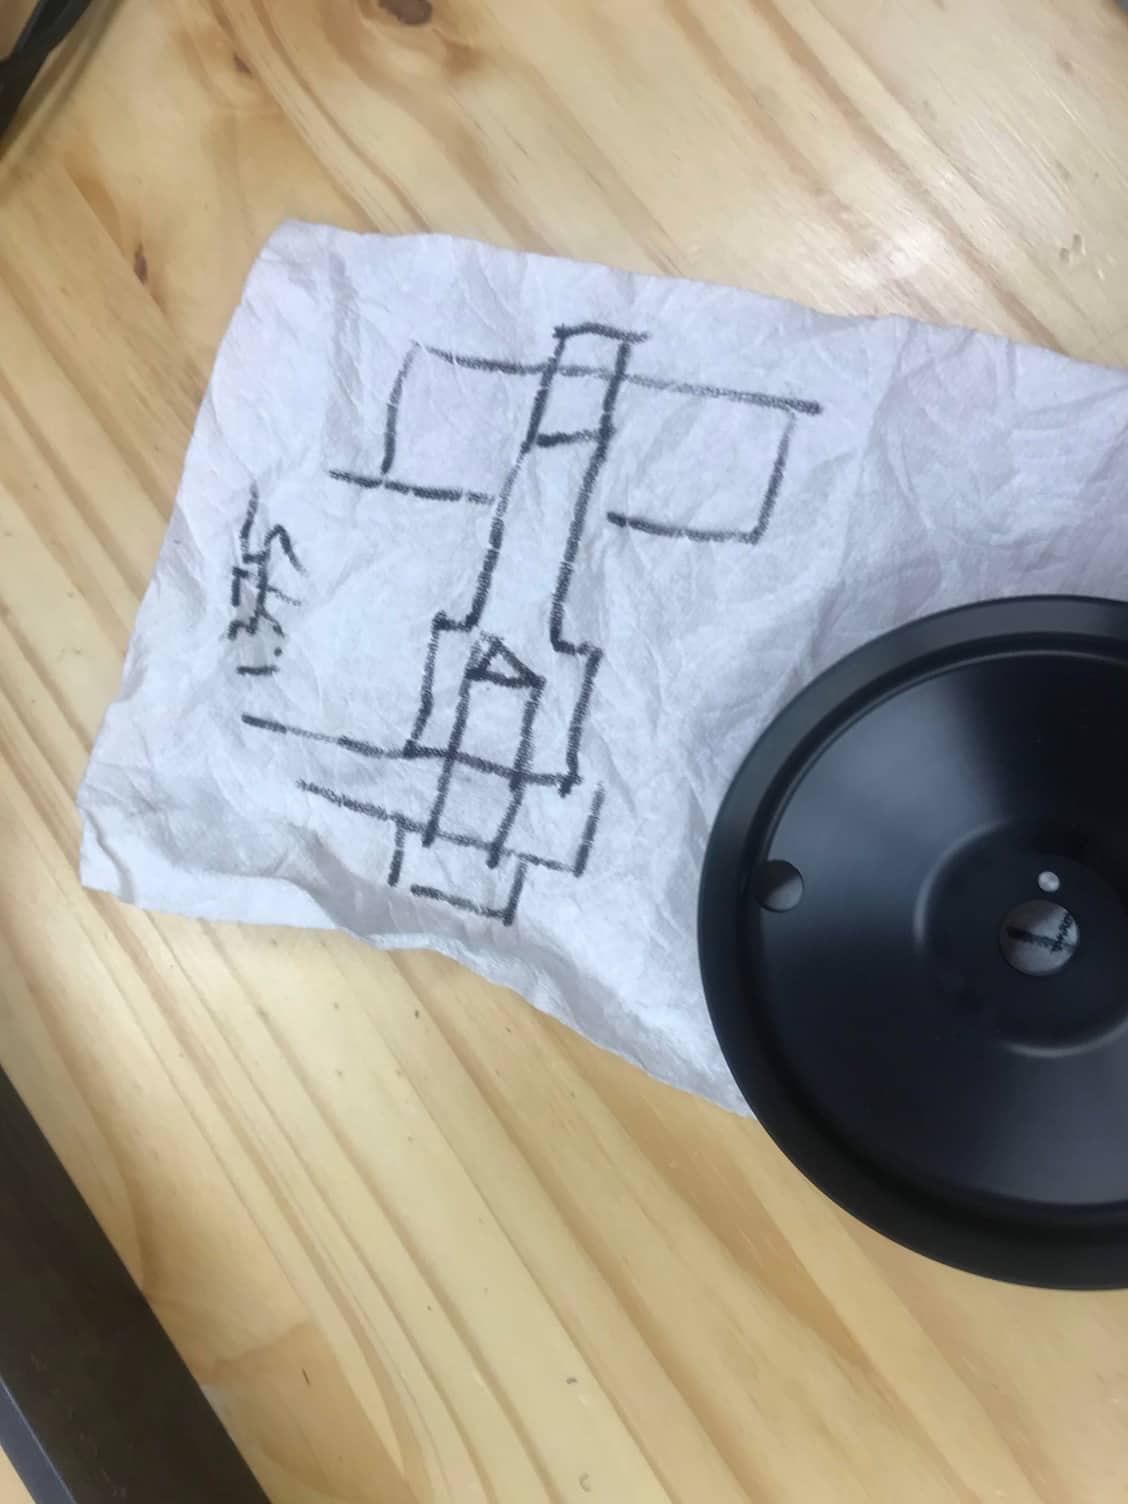
Here are a couple of my notes, tools and pics that I made for this job. I asked three local Pcar independents if they had the pulley removal tool and they did not. So I made one.
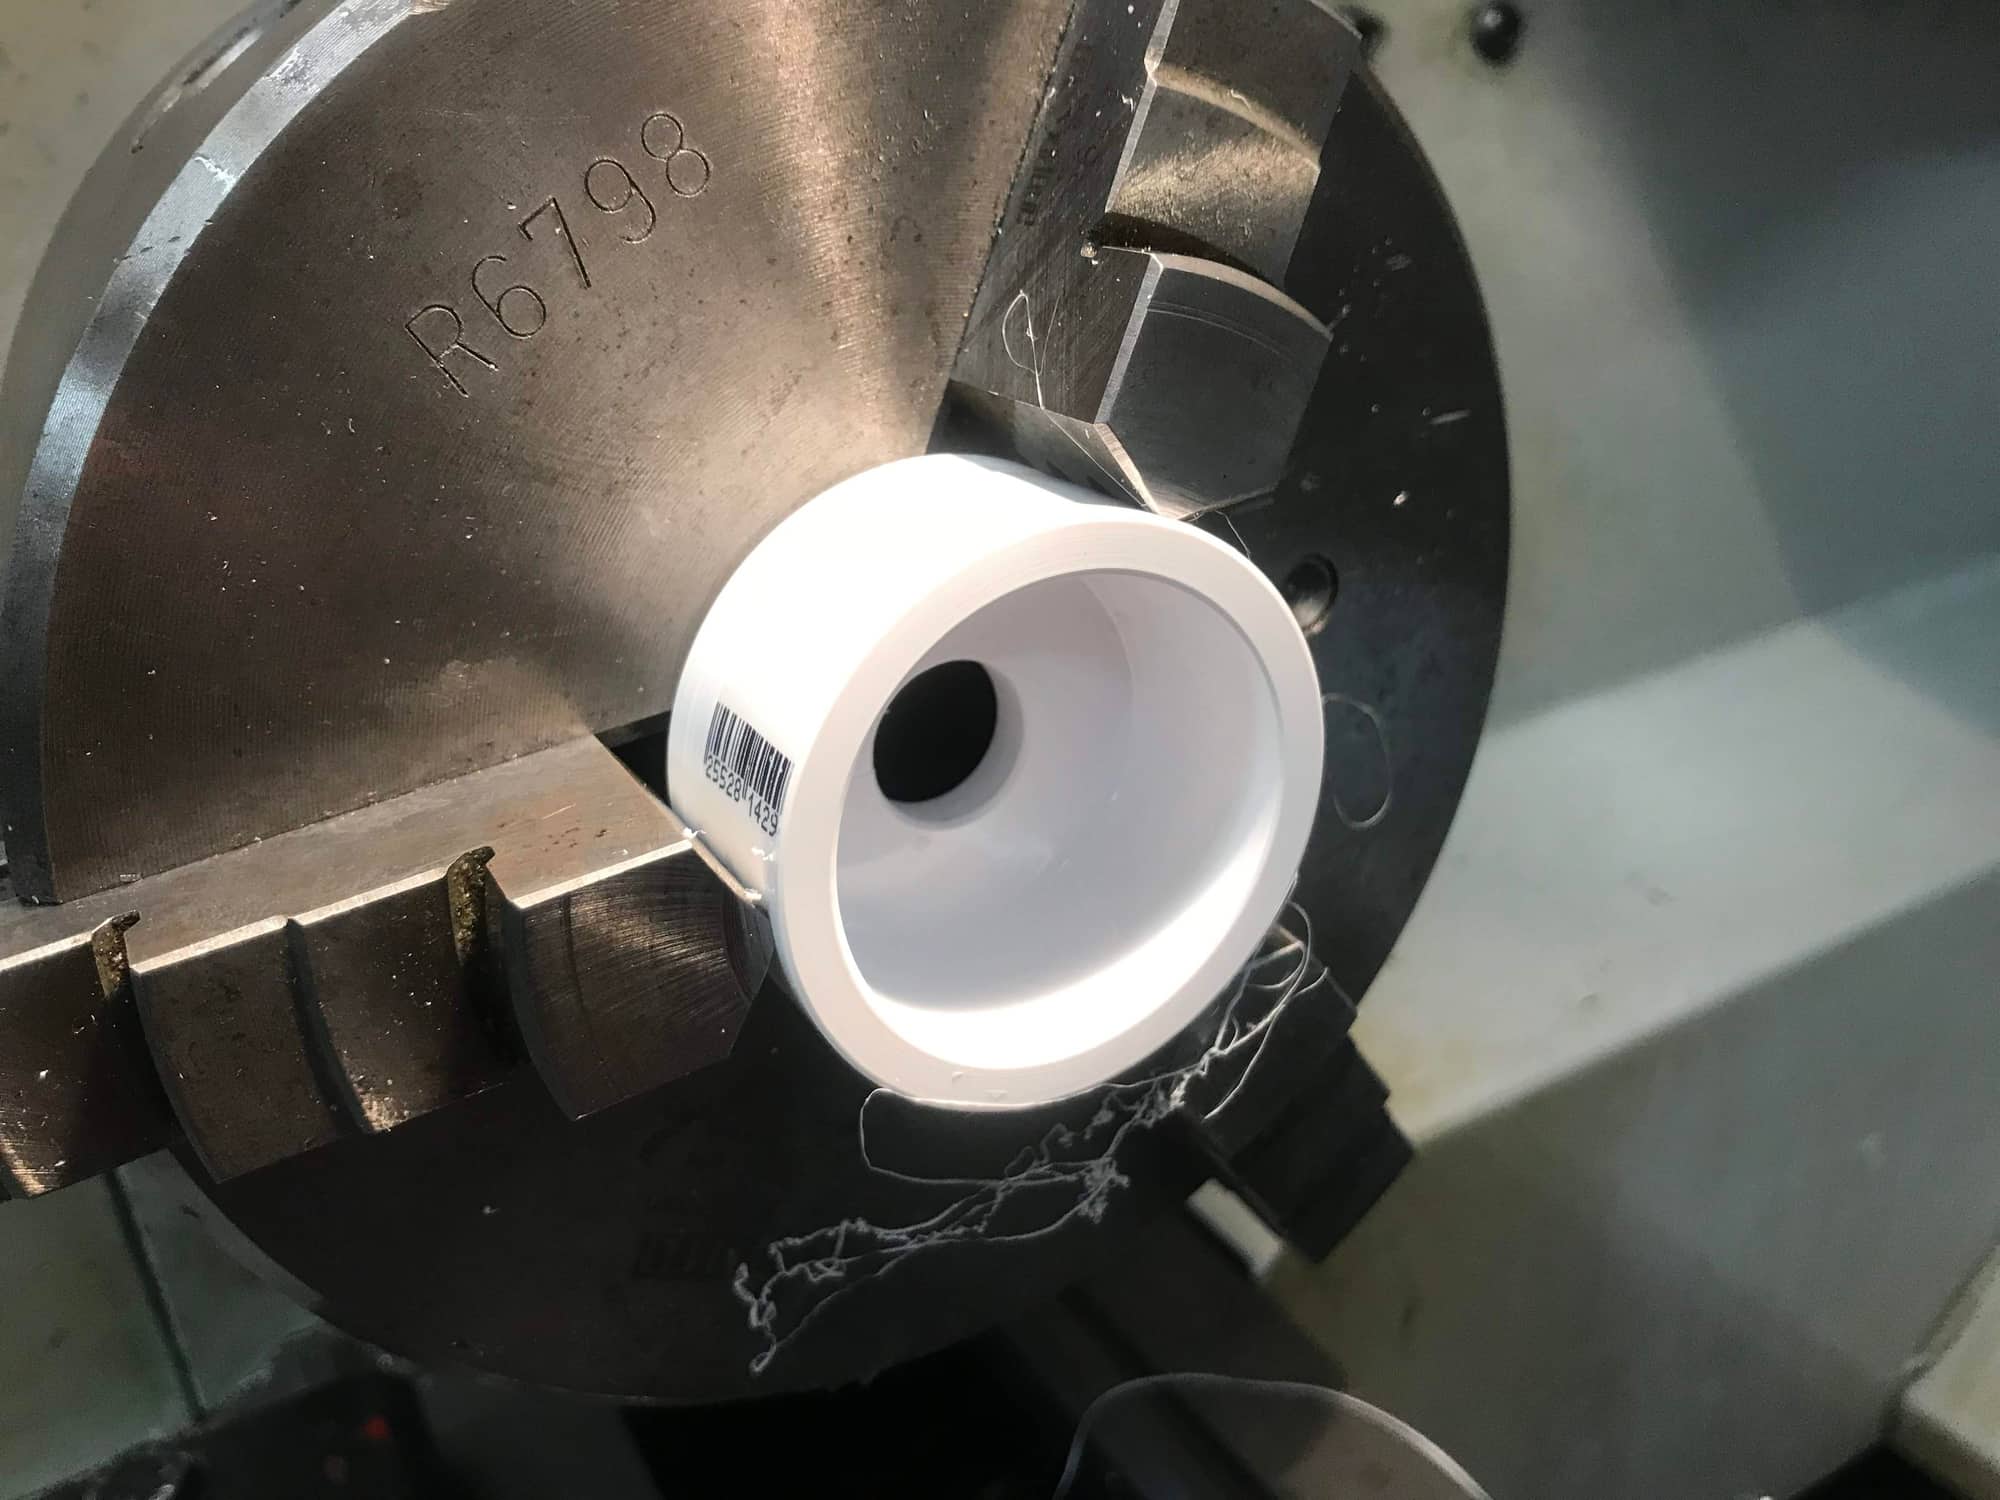
This was the seal installation tool that I made. It has a clearance hole for the "old" M14 Hex bolt (�.59in). This was made from an ABS cap used for 1.5in irrigation pipe. The OD of the Cap is approximately �1.8in (matches the OD of the seal) and the overall length was cut down to 1.0in. I turned the Face and cut it down to length and drilled the hole and chamfered the face. It worked flawlessly. I think it was critical for the seal installation. It went in perfectly straight. I lubed the OD and ID of the seal with a thin film of motor oil to help installation.
The Pulley removal/installation tool was needed IMHO. Even though one can get away with chalking the tires and just hitting the crankshaft bolt with an impact. My understanding is that is not uncommon for dealers and independents to remove the crank bolt without the special Porsche tool.
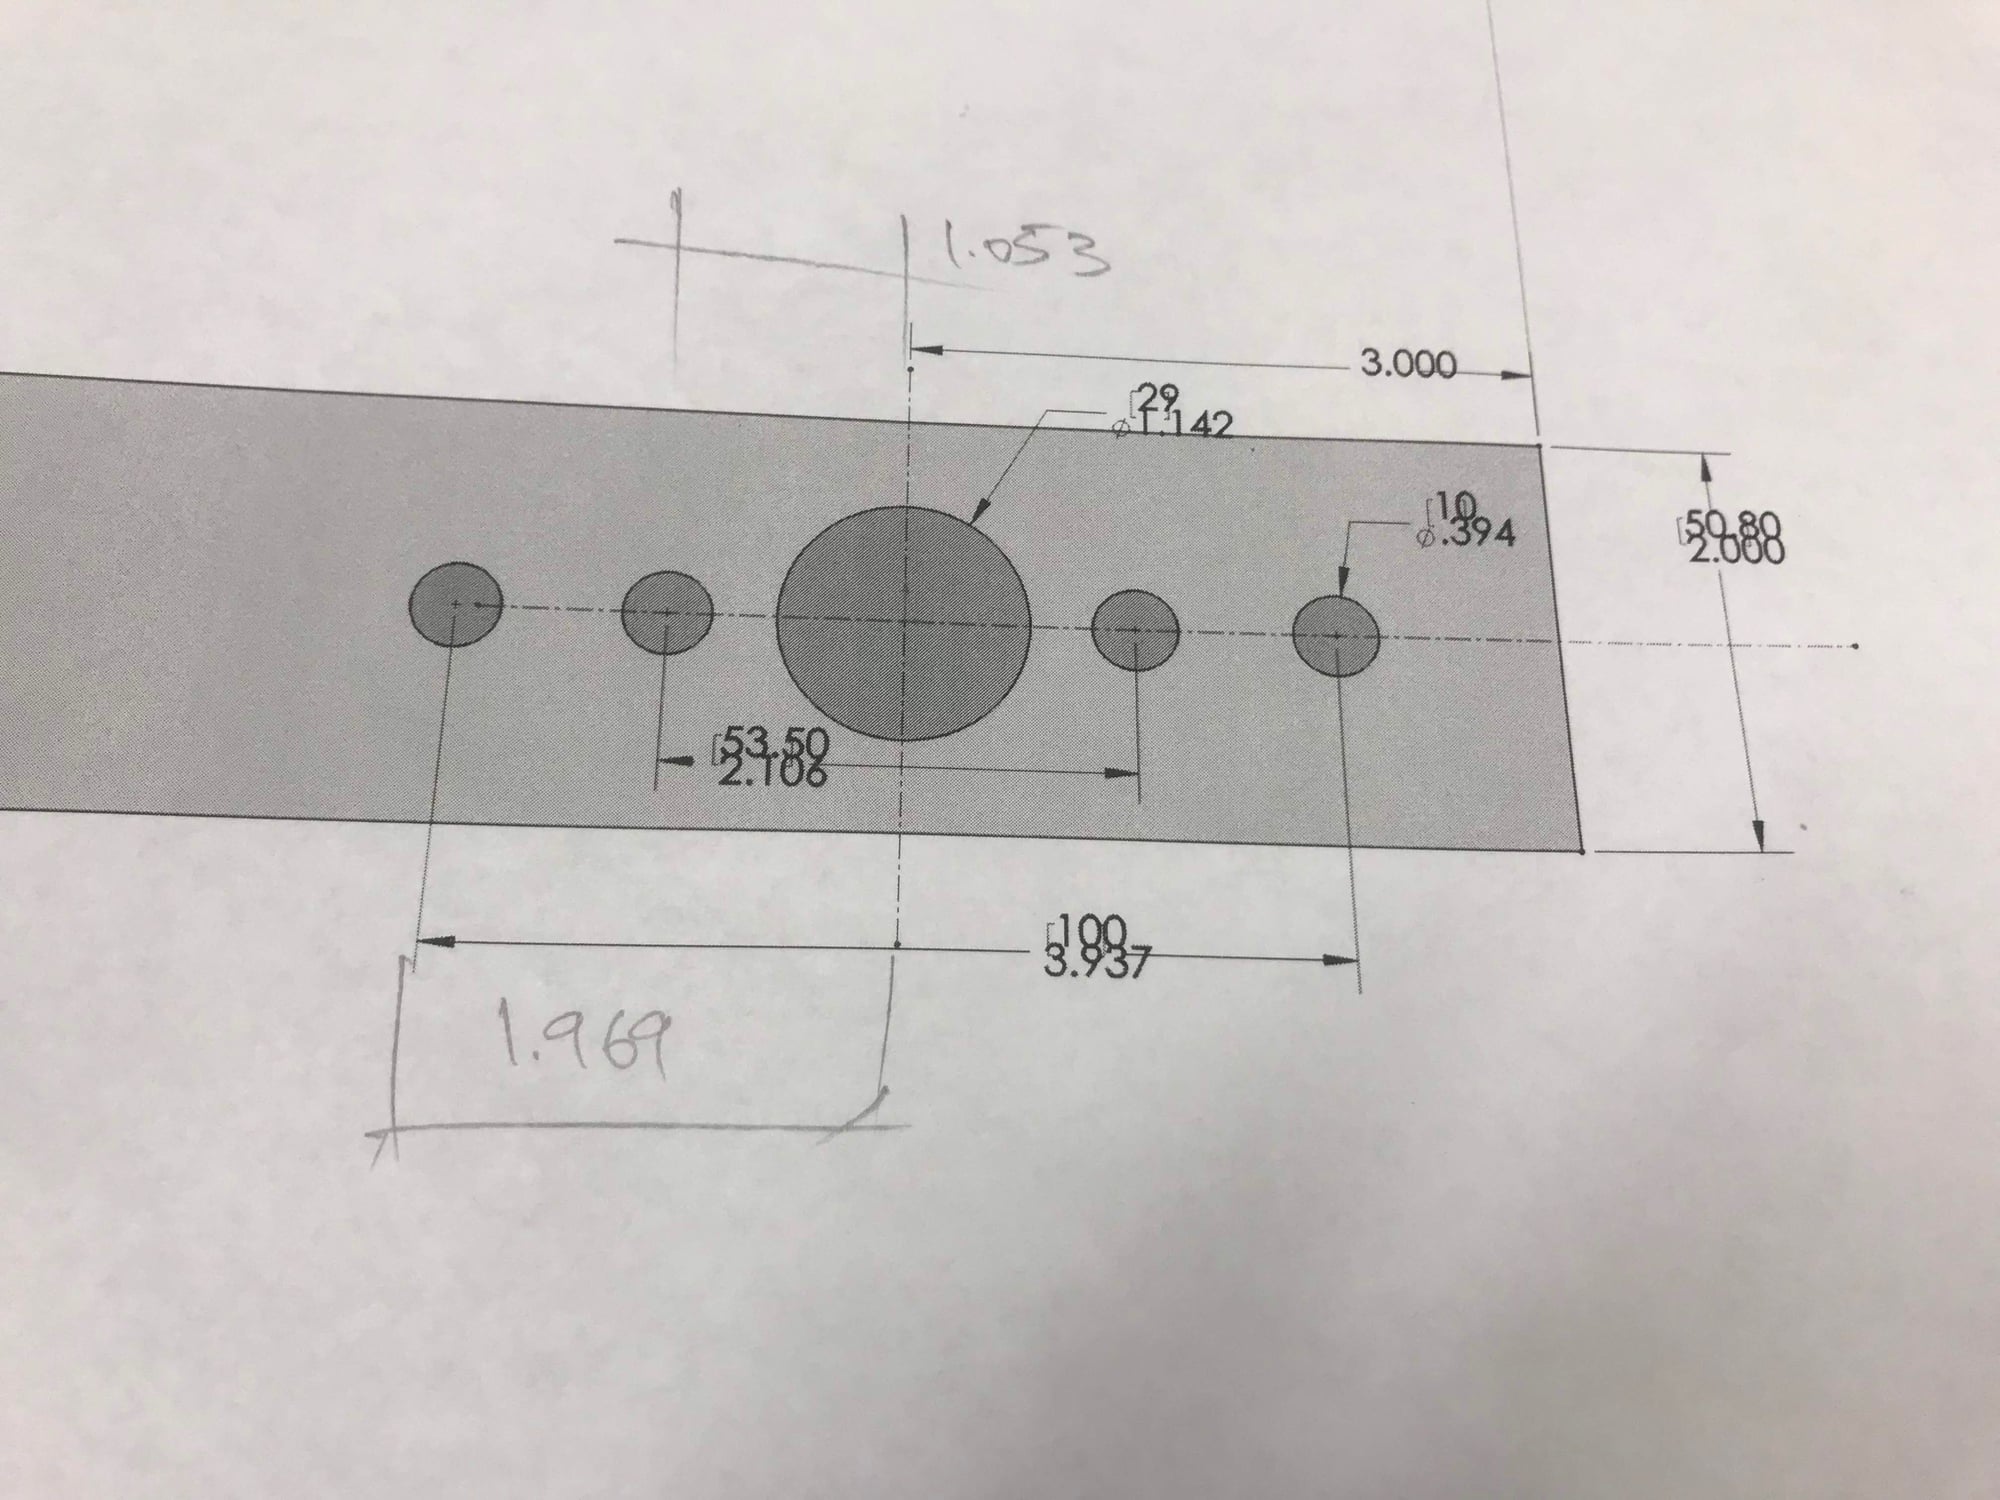
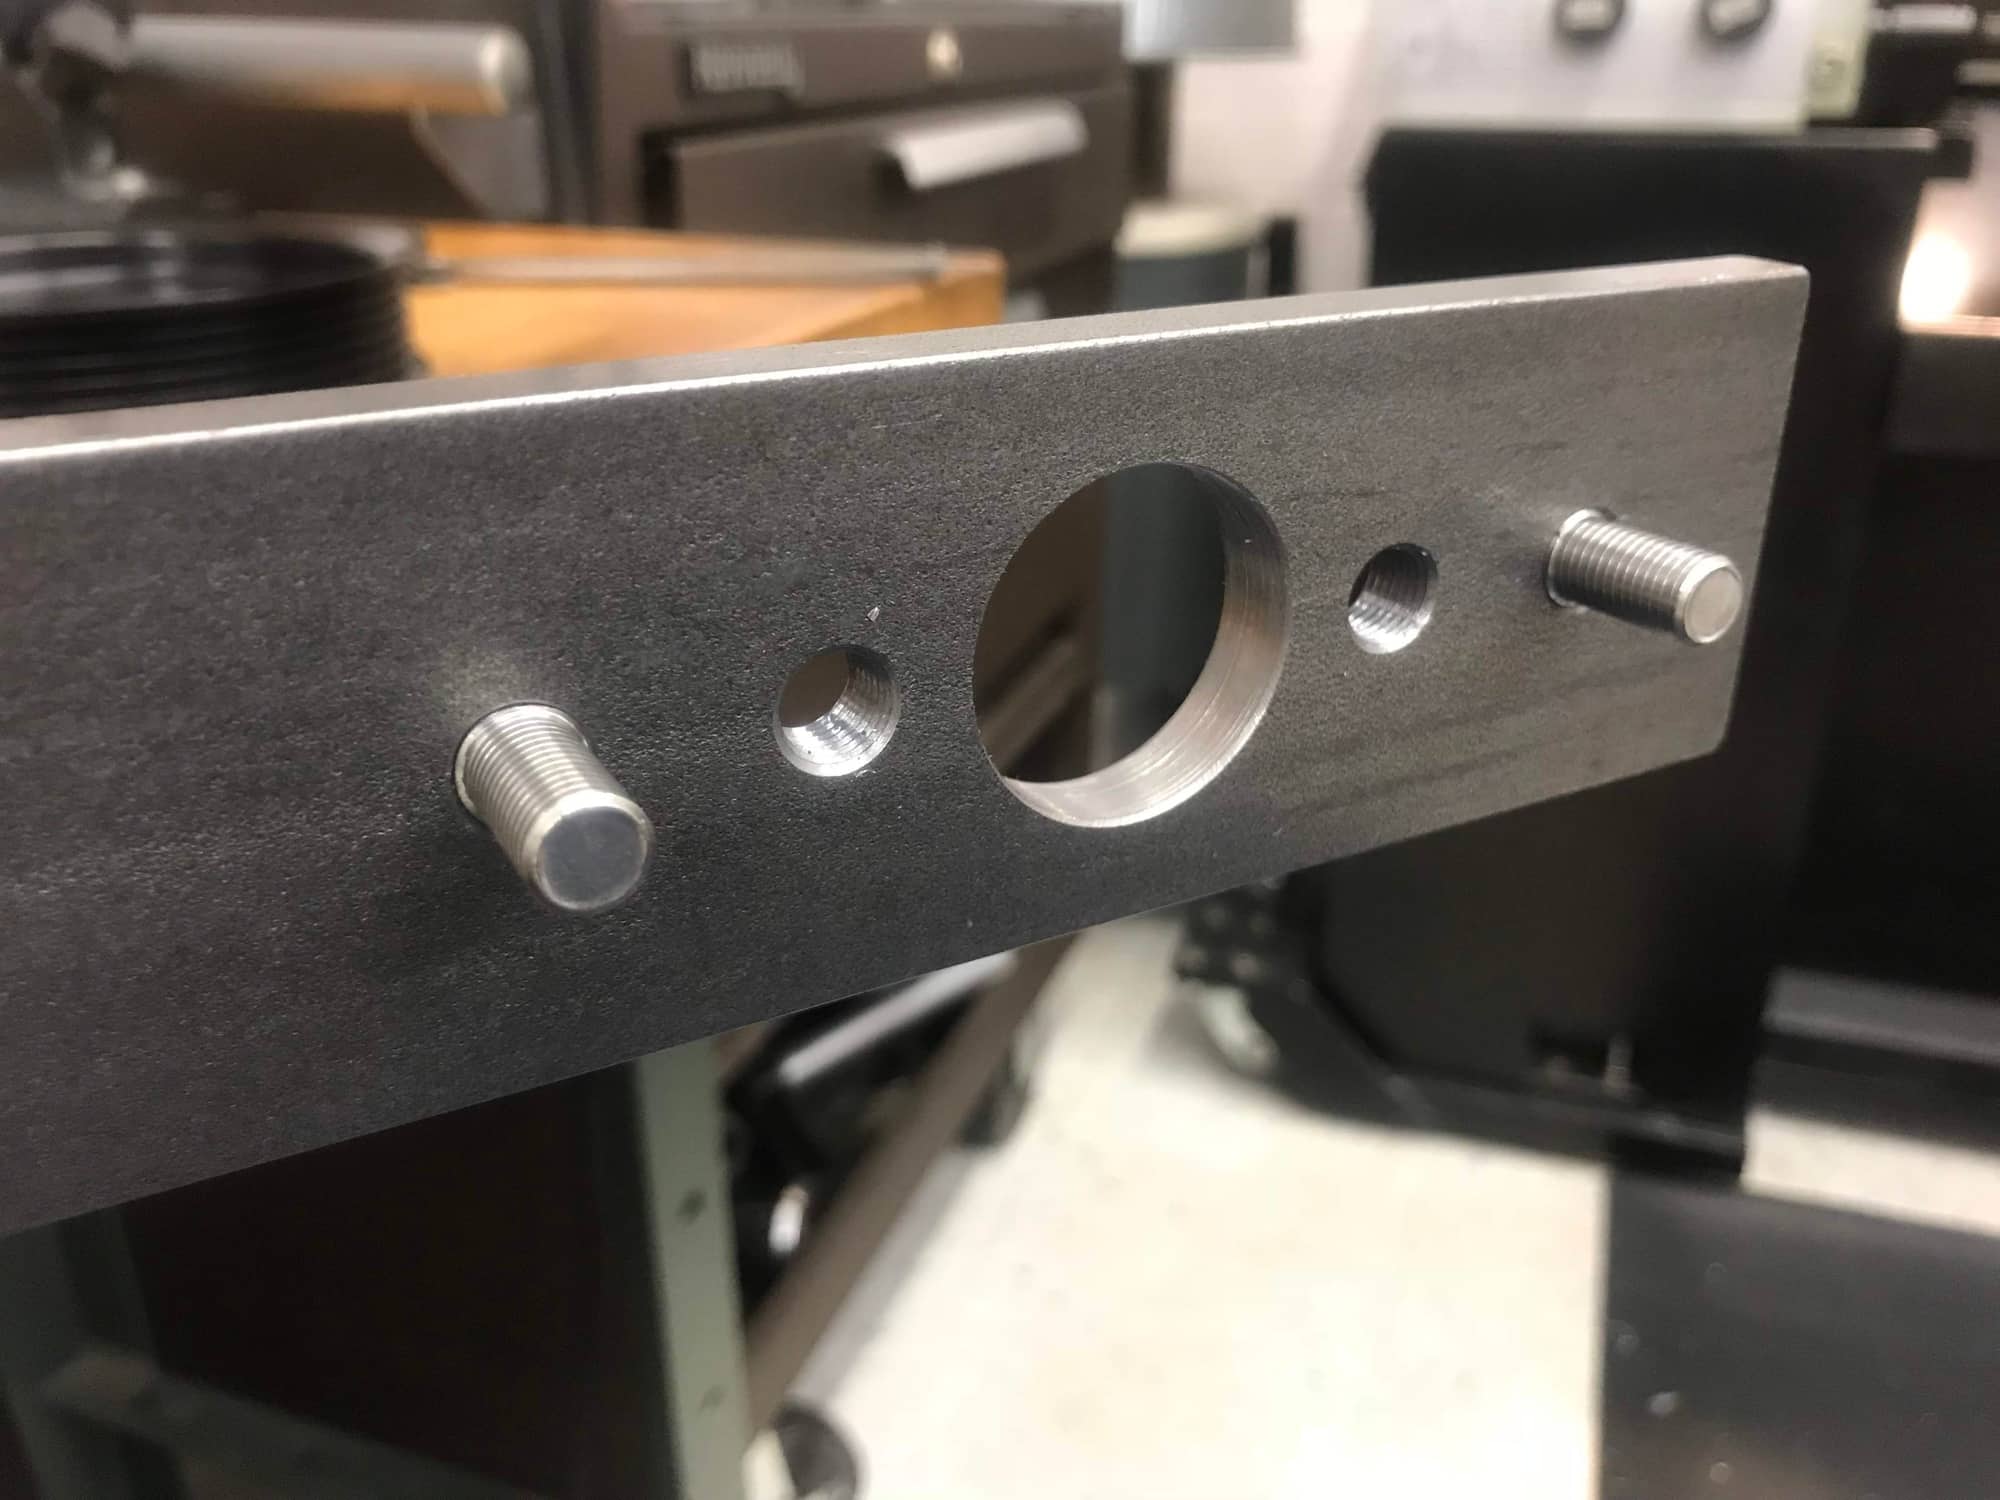
I ordered some 3/8" x 2.5" x 36in 4140 steel and cut this hole pattern in to it. There are two sets of holes that I drilled in tapped for a 3/8-24 fastener (drill diameter is �.332in). The outer holes are for my aluminum pulley and the inner holes are for the steel pulley. The dimensions for the steel pulley (inner holes) were measured on the car. The holes in both pulleys are �10mm.*
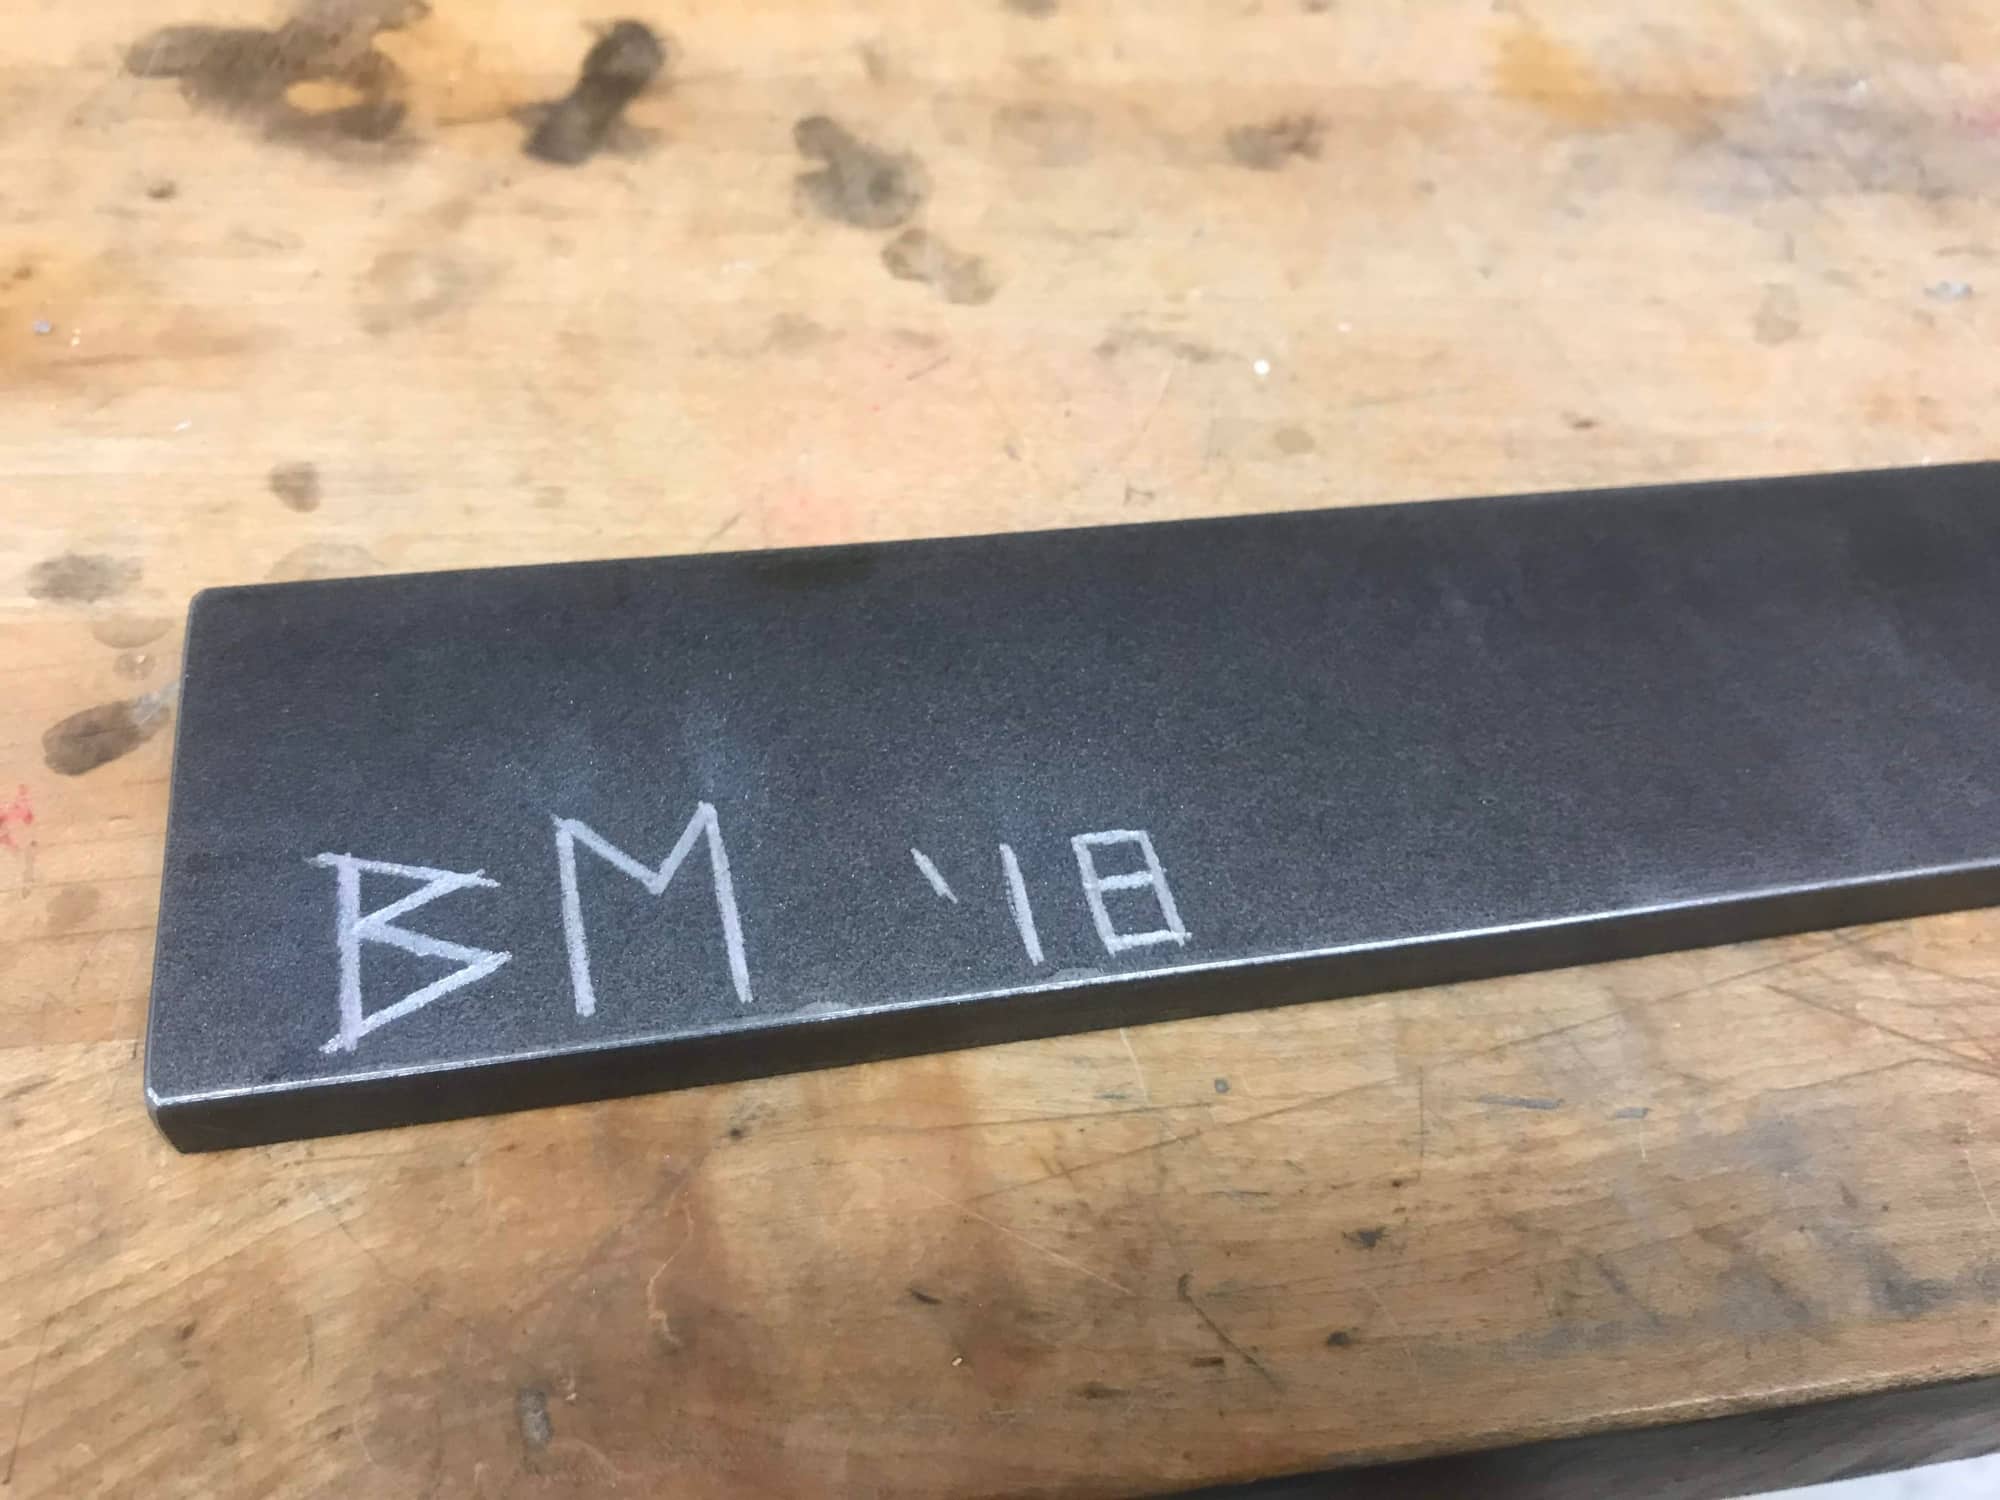
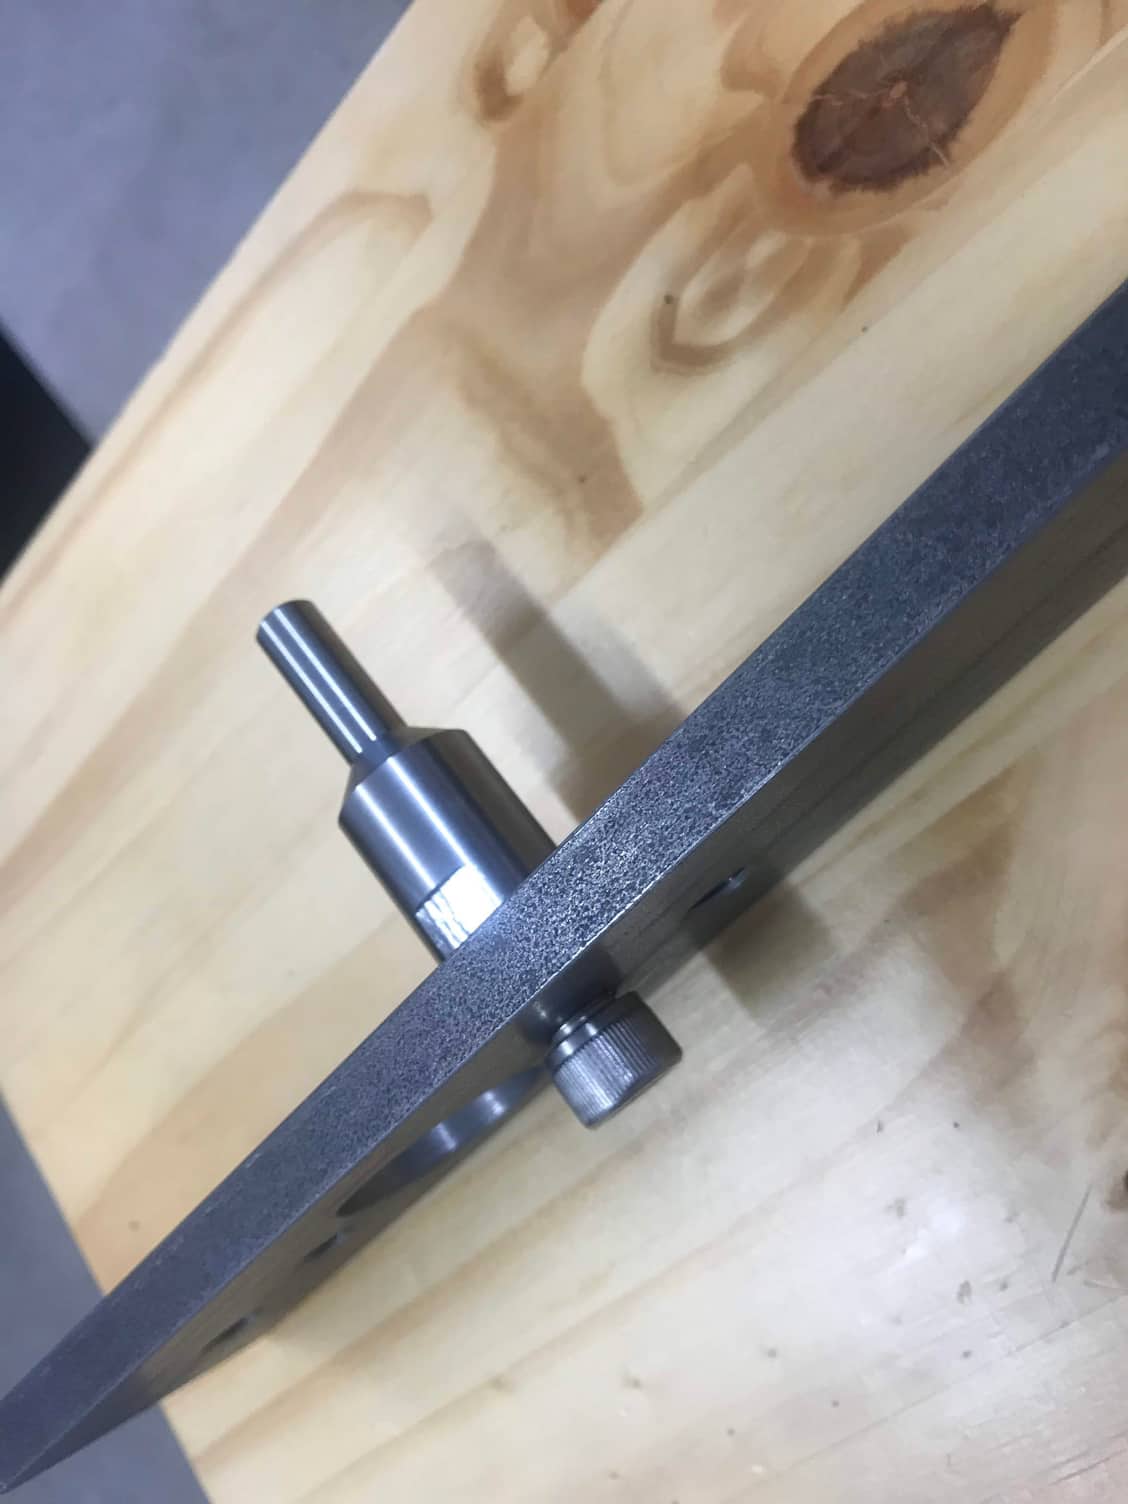
The bar on the machine. It's more like a zombie apocalypse weapon.
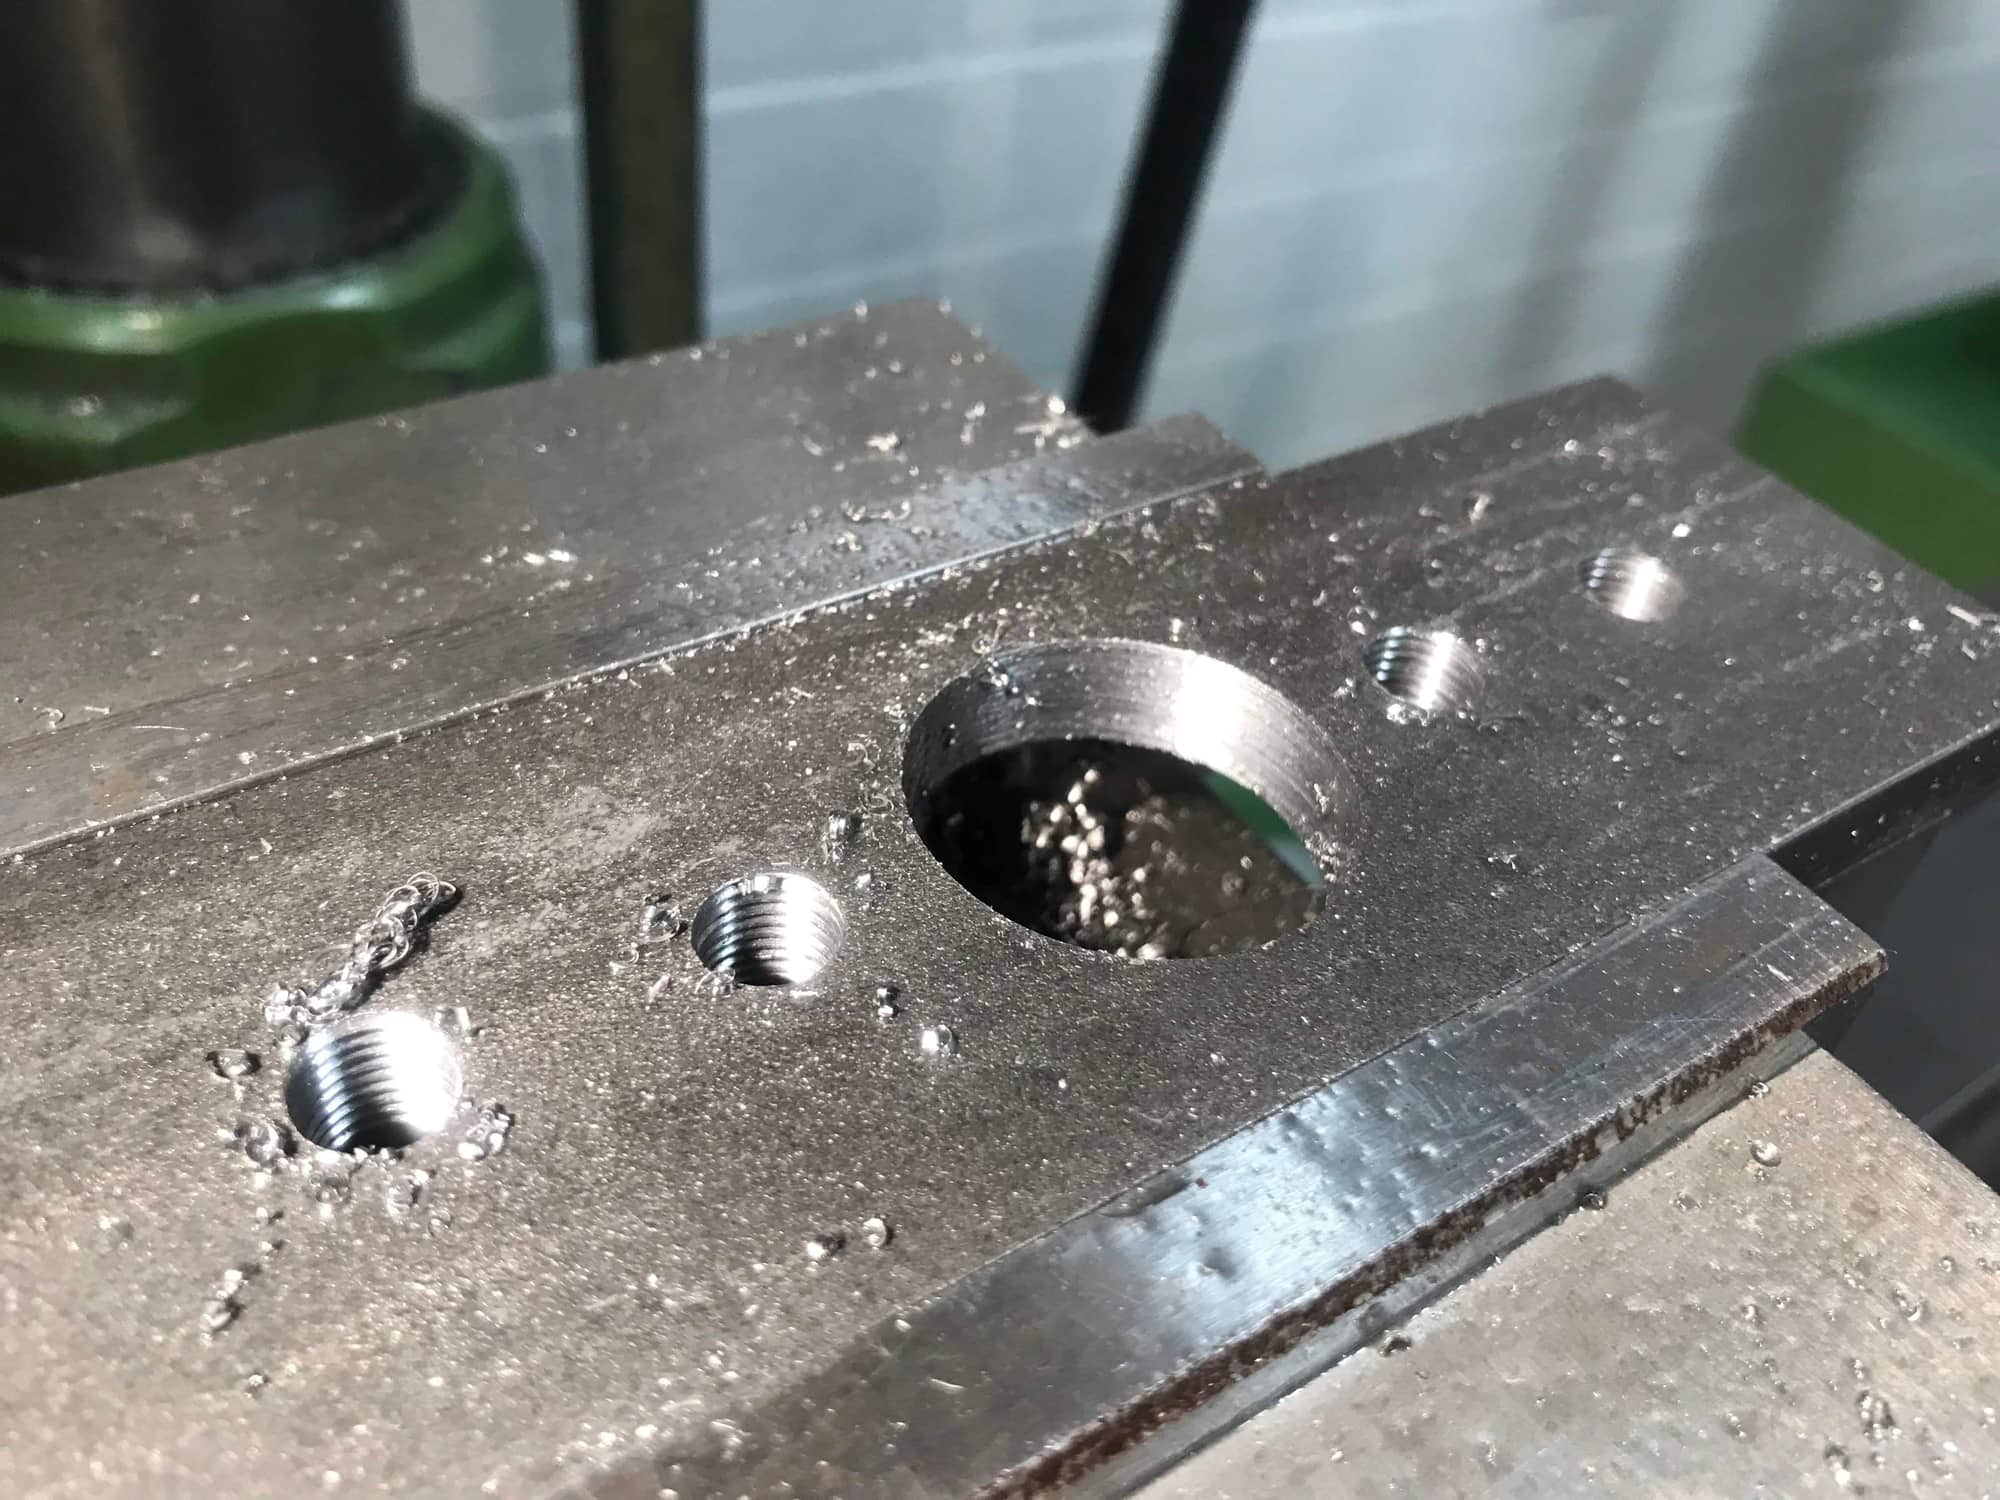
Drilled and tapped the holes on the machine. Bored the center for clearance around the socket.
Signature required.
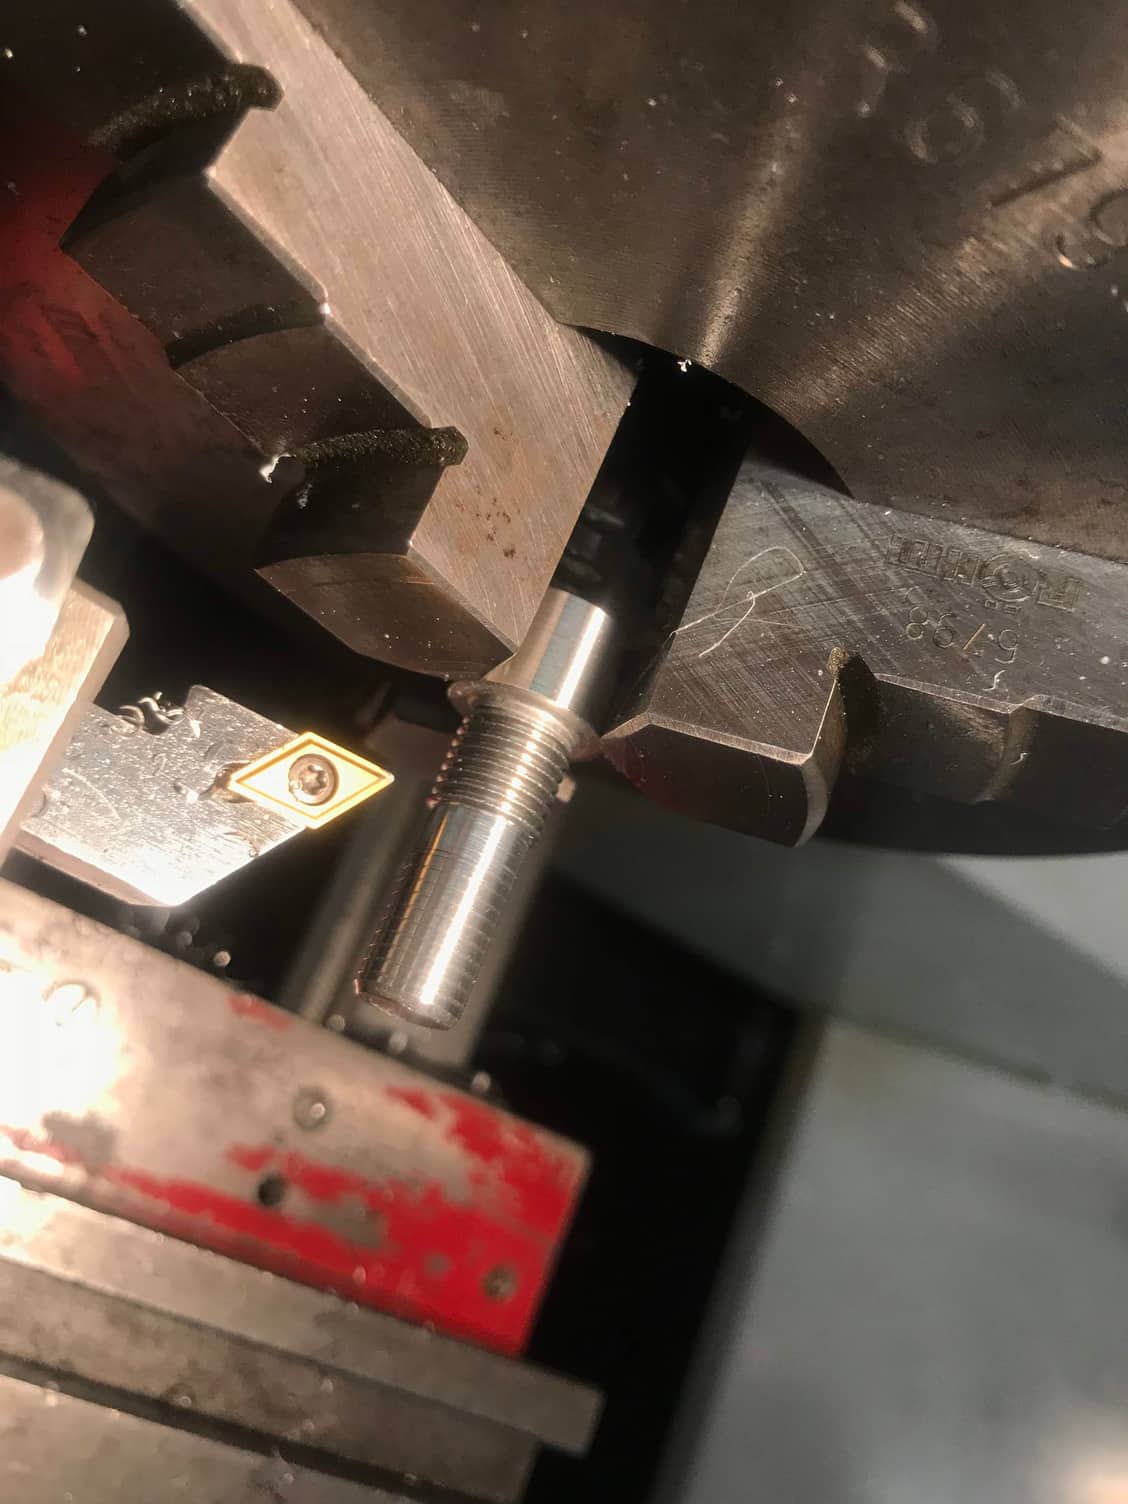
I modified some SS fasteners as shown below, but they were too short. I turned the heads down, so that they would run concentric with the threads, then I turned down the distal end of the threads, so that they didn't dig into the aluminum pulley.
Custom fasteners installed in to the bar.
Test fitment and clearance for socket and bolt.
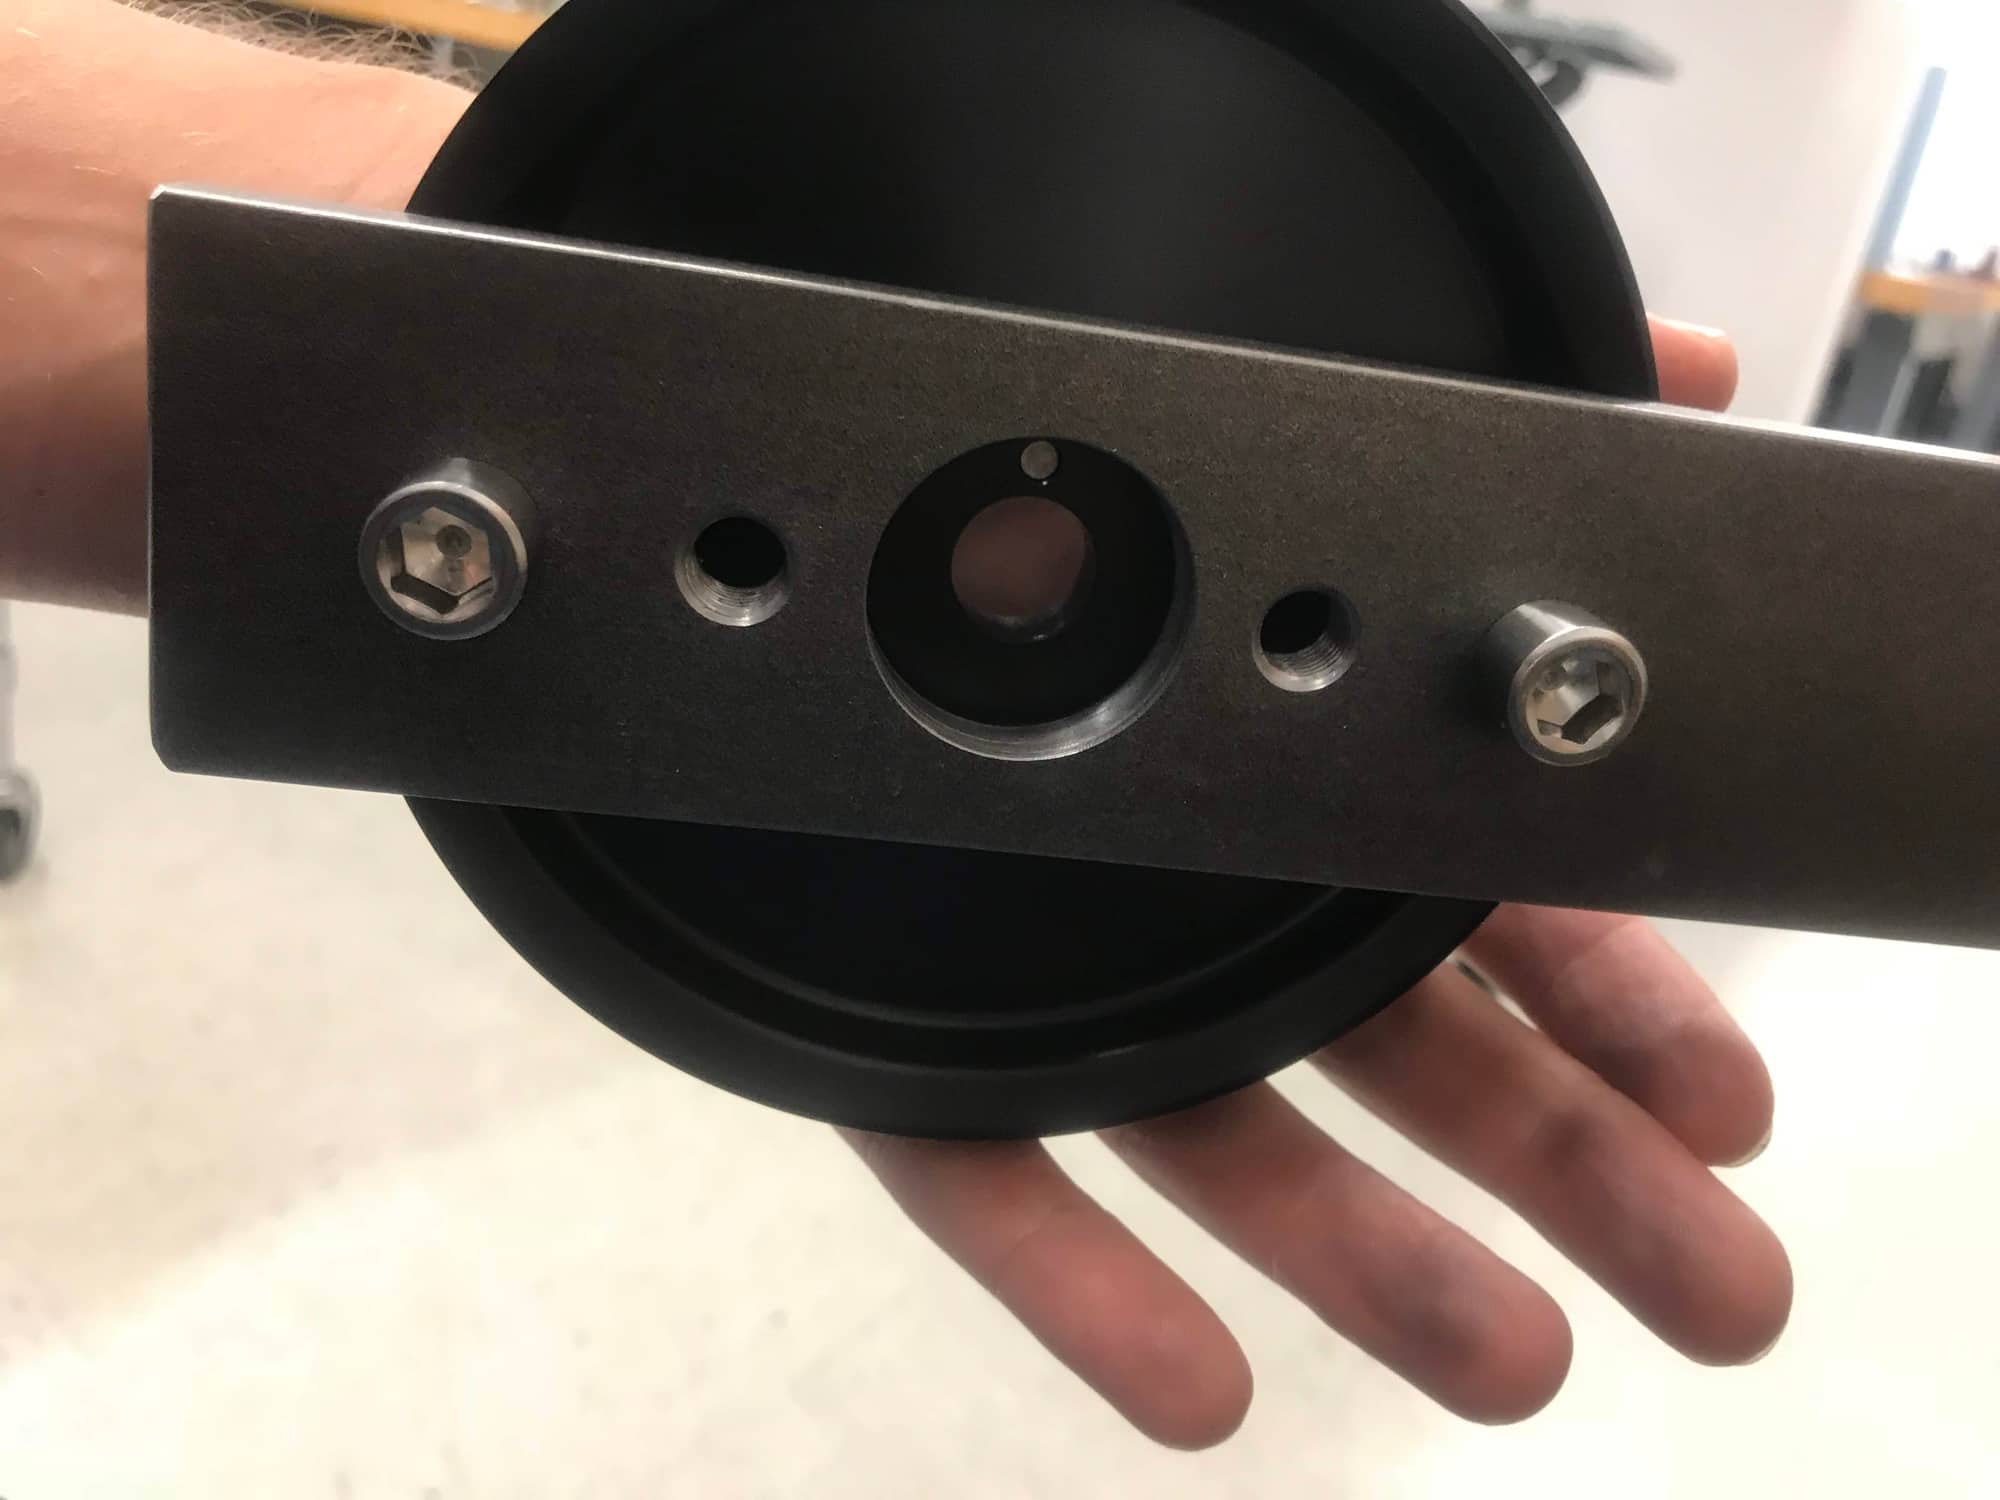
When I went to use the custom tool I found out that my custom fasteners were too short. The distance from inside of the bar to the face of the pulley was 1.375in. I didn't have fasteners that long on Saturday so I just made some studs, with a threaded hole and some wrench flats. The material used was 12L14 (strong enough).
The total length of the stud was 2.15in. It's about .25in too long, but it worked, but fitment was a little bit of a pain in the ***. Dropping the motor a bit helped for access.
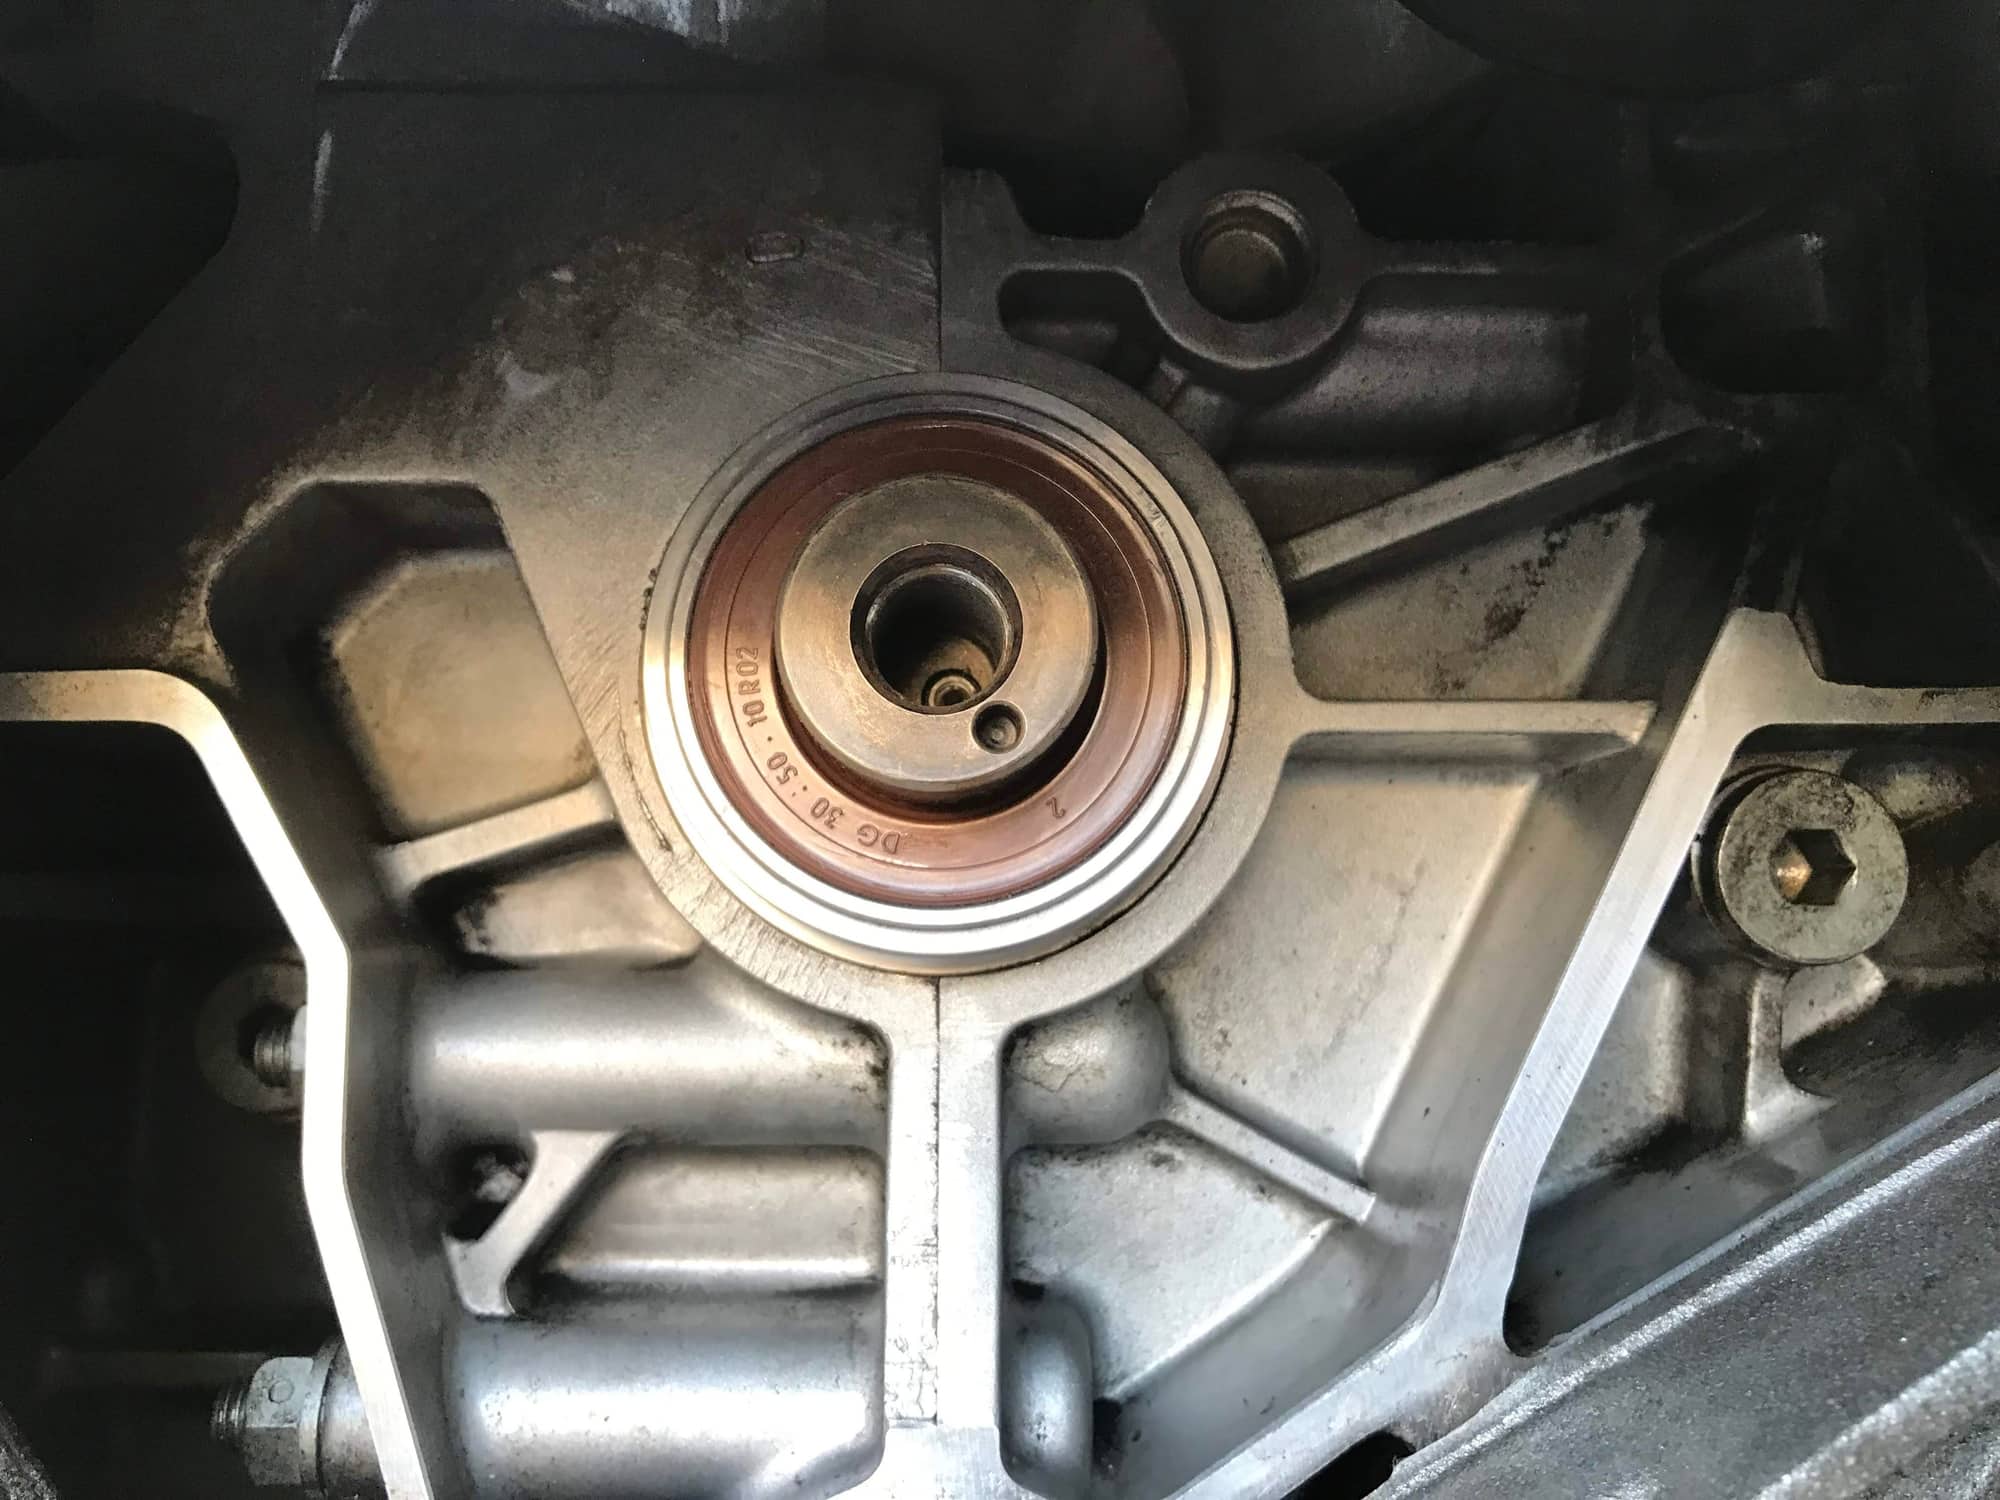
Removal of the crank pulley was straight forward, with the help of my buddy holding the tool and an impact wrench (milwaukee 2767-20). The bolt came right off. The pulley slid right off the shaft (it's not a press fit). I removed seal by pre-drilling two holes in to the leaking seal and then threaded two wood screws in to the holes and used a small prybar on the heads of the screws to gently pull the seal out. Drilling the holes is a little sketchy. I used the the new seal as reference for drill depth and screw depth. I cleaned everything around the seal and specifically the sealing surfaces.
New seal installed with custom tool. I decided to go with the old style seal, because it was in there before and worked just fine. Supposedly a better seal.
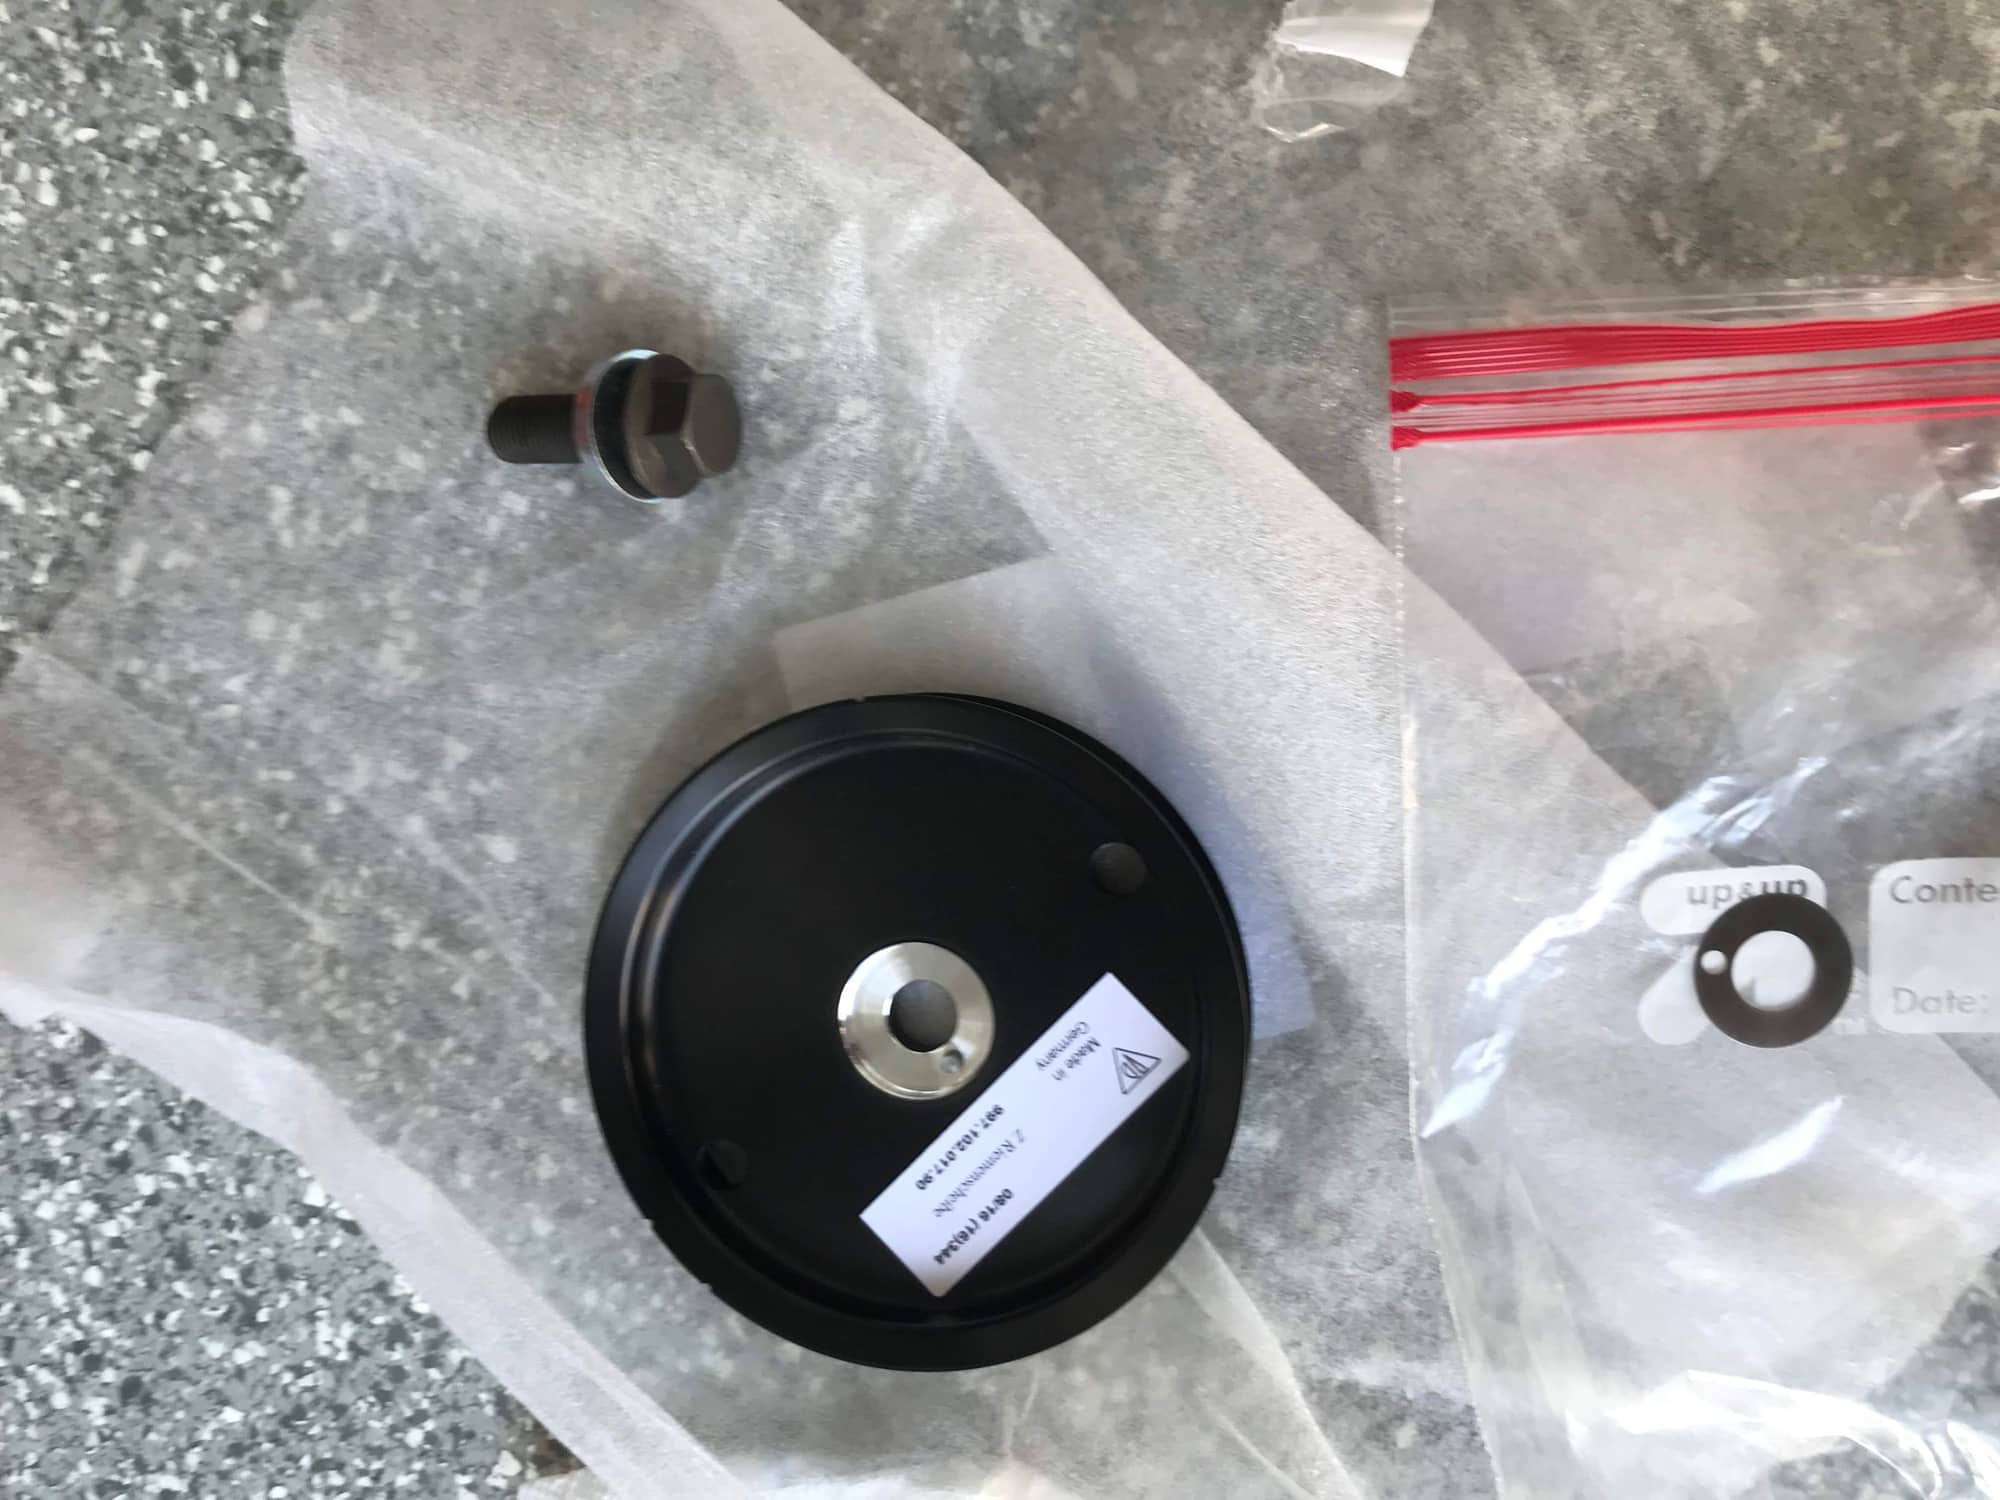
Parts from the mother land (4-6 weeks). Bolt, washer, pulley, friction washer. I cleaned the mating surfaces between the friction washer, pulley and crank.
At this point I was just hustling to get stuff done. I had dinner plans. So no more pics. The pulley slid right one. I applied red loctite to the new hex bolt, threaded it in by hand, we used the custom bar and torqued down the bolt to 185ft-lbs. Marked the bolt and pulley with a paint pen. Installed the new serpentine belt, which is 3mm shorter than OEM. I tried to take some measurements of the idler distance before and after installation. In Tom's build he had a distance of 33mm edge to edge. I measured about 35mm with the OEM belt and about 40mm ish with the new belt, which means its tighter than before. I don't think it's a problem and the belt will stretch. I let the car sit overnight for the loctite to cure, put everything back together and went for a test drive the following day. All is good again and no more leaks.
Time for some new NT-01s and a good track day.
Tool is for rent ;-) if needed. I'll probably go back and shorten the studs a wee bit.


 11-17-2017, 11:00 PM