When you click on links to various merchants on this site and make a purchase, this can result in this site earning a commission. Affiliate programs and affiliations include, but are not limited to, the eBay Partner Network.
@docdrs - a quick update on this. I noticed a little less pep in the starter after a few days. I tested the battery again and it was down to 12.4V, so a .5V drop from when I charged it earlier in the week. Does this indicate a bad battery? Sorry for being dense...electrical systems are still voodoo magic to me :-)
@spaghetto - I followed the + cable and now have my bearings on where the bolt is. Many thanks. I saw the quick connector, but haven't removed it yet. A few more questions before I dig further:
- to inspect the bolt, should I first disconnect the battery at the terminal or can I just remove the quick connect cable from the bolt?
- can you clean the corrosion without taking the bolt out, or do you need to remove it from the firewall? I cant tell which side is which from the pictures above.
I'm hoping I dont need to rip the glove box off. I did it last month to install a bluetooth module and it sucks.
When I did mine I removed the battery from the car , then removed the positive cable from the current bolt via the quick connector ,,,this then exposes the end current bolt end coming out the fire wall,,,,,,my current bolt had a reasonable amount of rust on it ,,,,I then used a scotch pad to clean the bulk of the surface rust of and cleaned it up with some solvent so it was as shiny and clean as possible ..this does take a little elbow grease and time ,,,as I didn,t want to use something to aggressive on it ..
After that I cleaned the connection point on the quick connector to ensure maximum contact between the two ....once cleaned reinstall the positive cable making sure it is connected correctly ...reinstall the battery and fire the car up ..
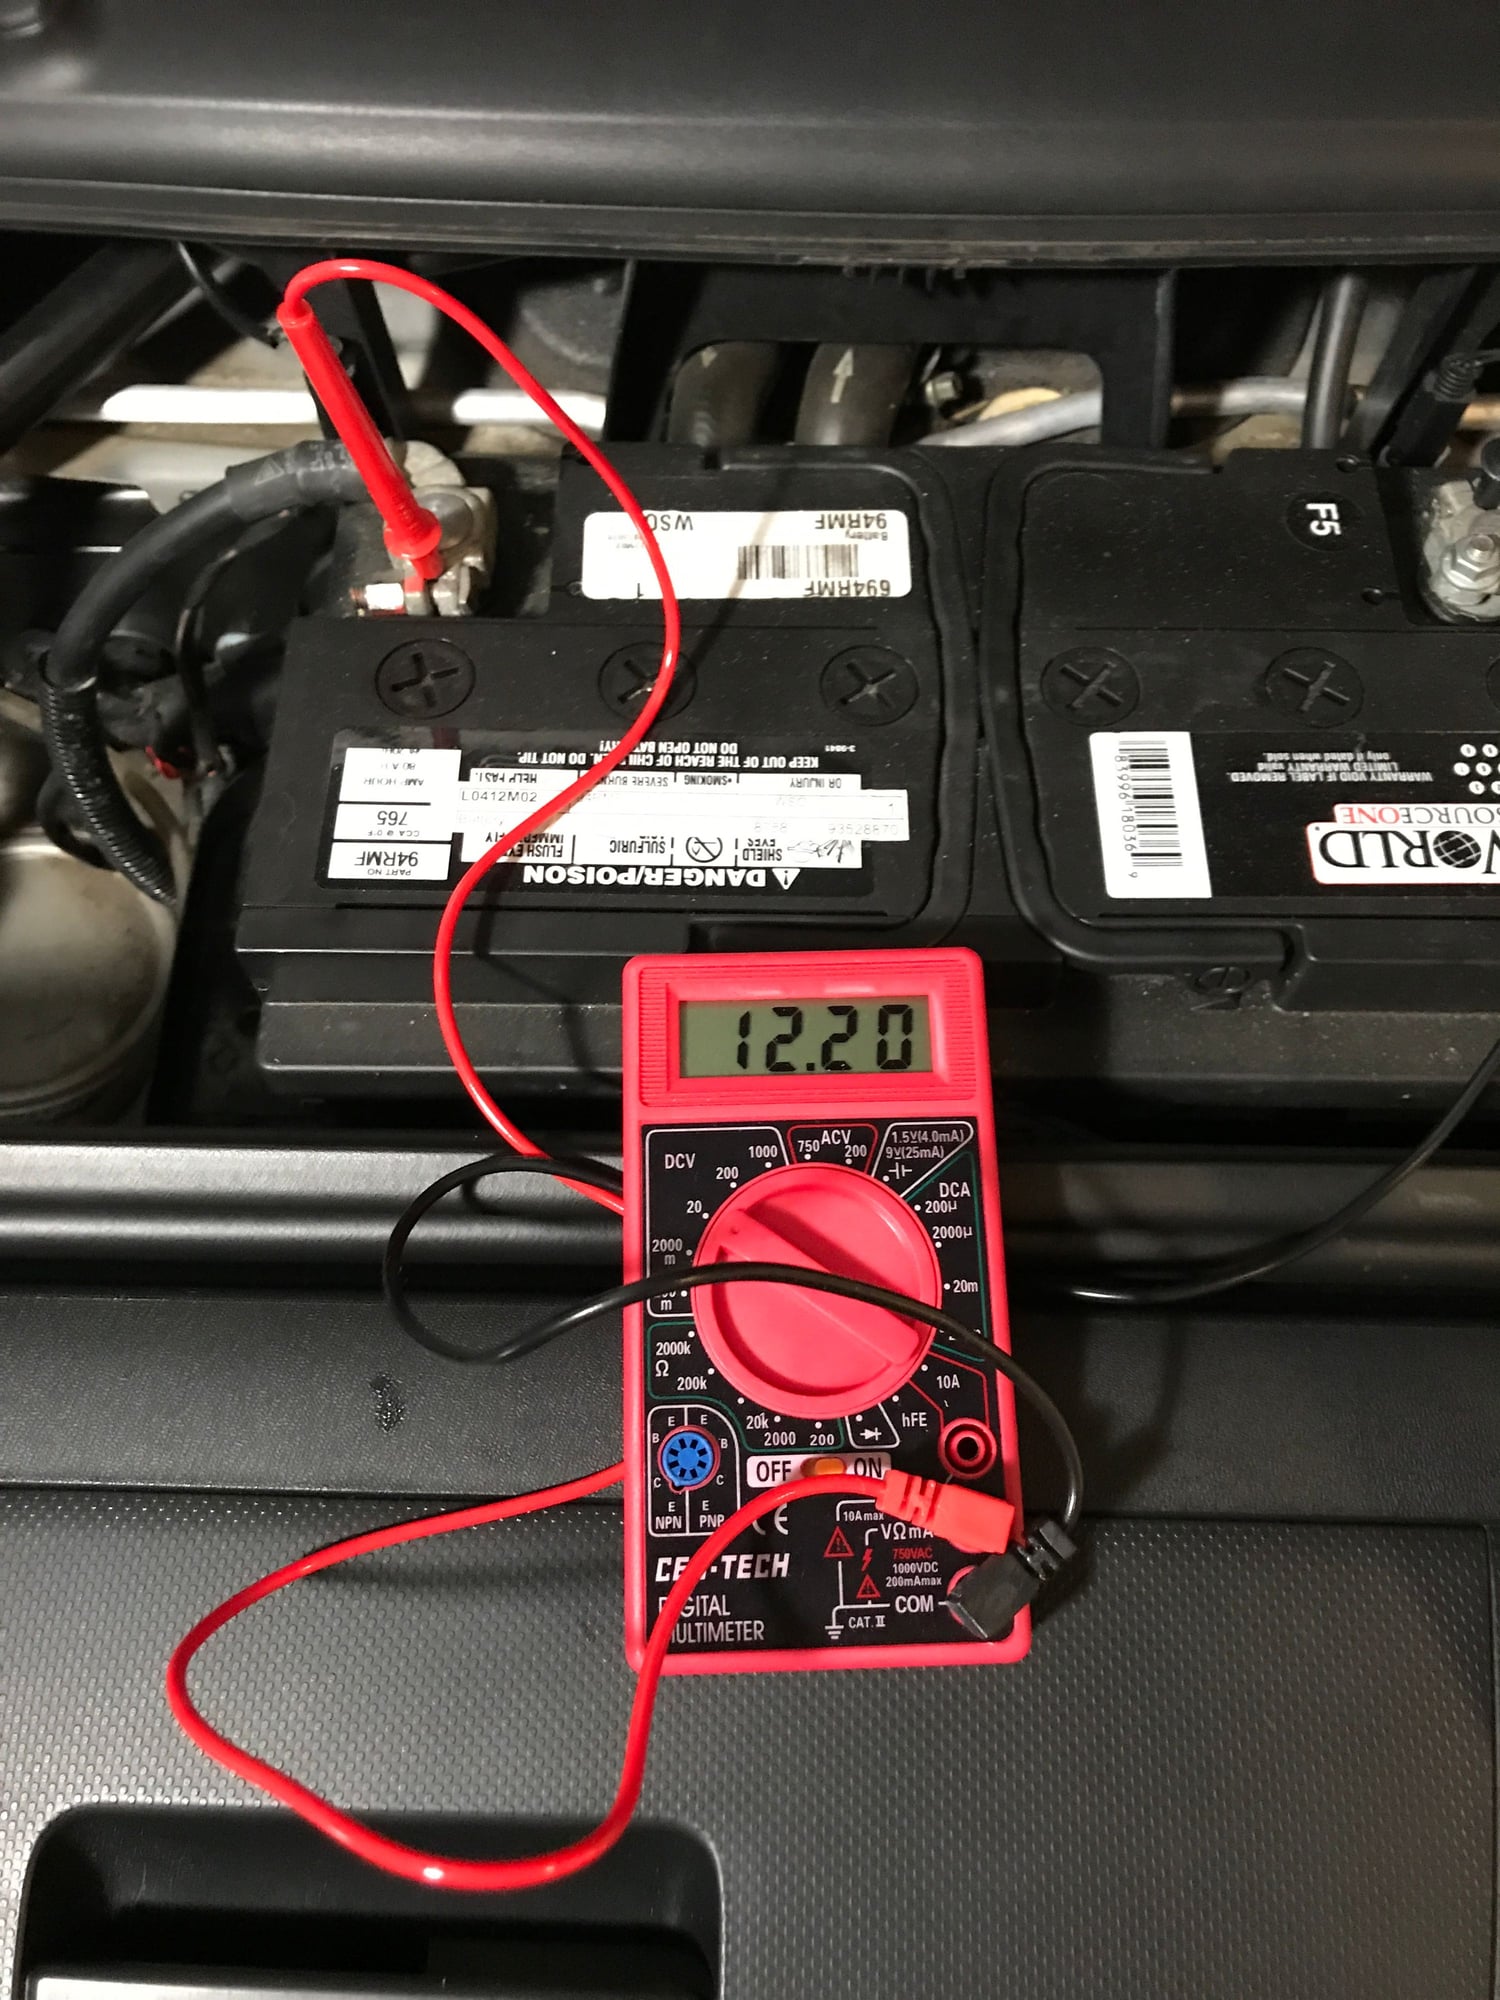
Battery voltage was already back down to 12.2V, from 12.9V, a week after charging it. I think this confirms the battery is part of the problem. Based on service records it was replaced in June 2015 and is a no-name "World Source One" brand.
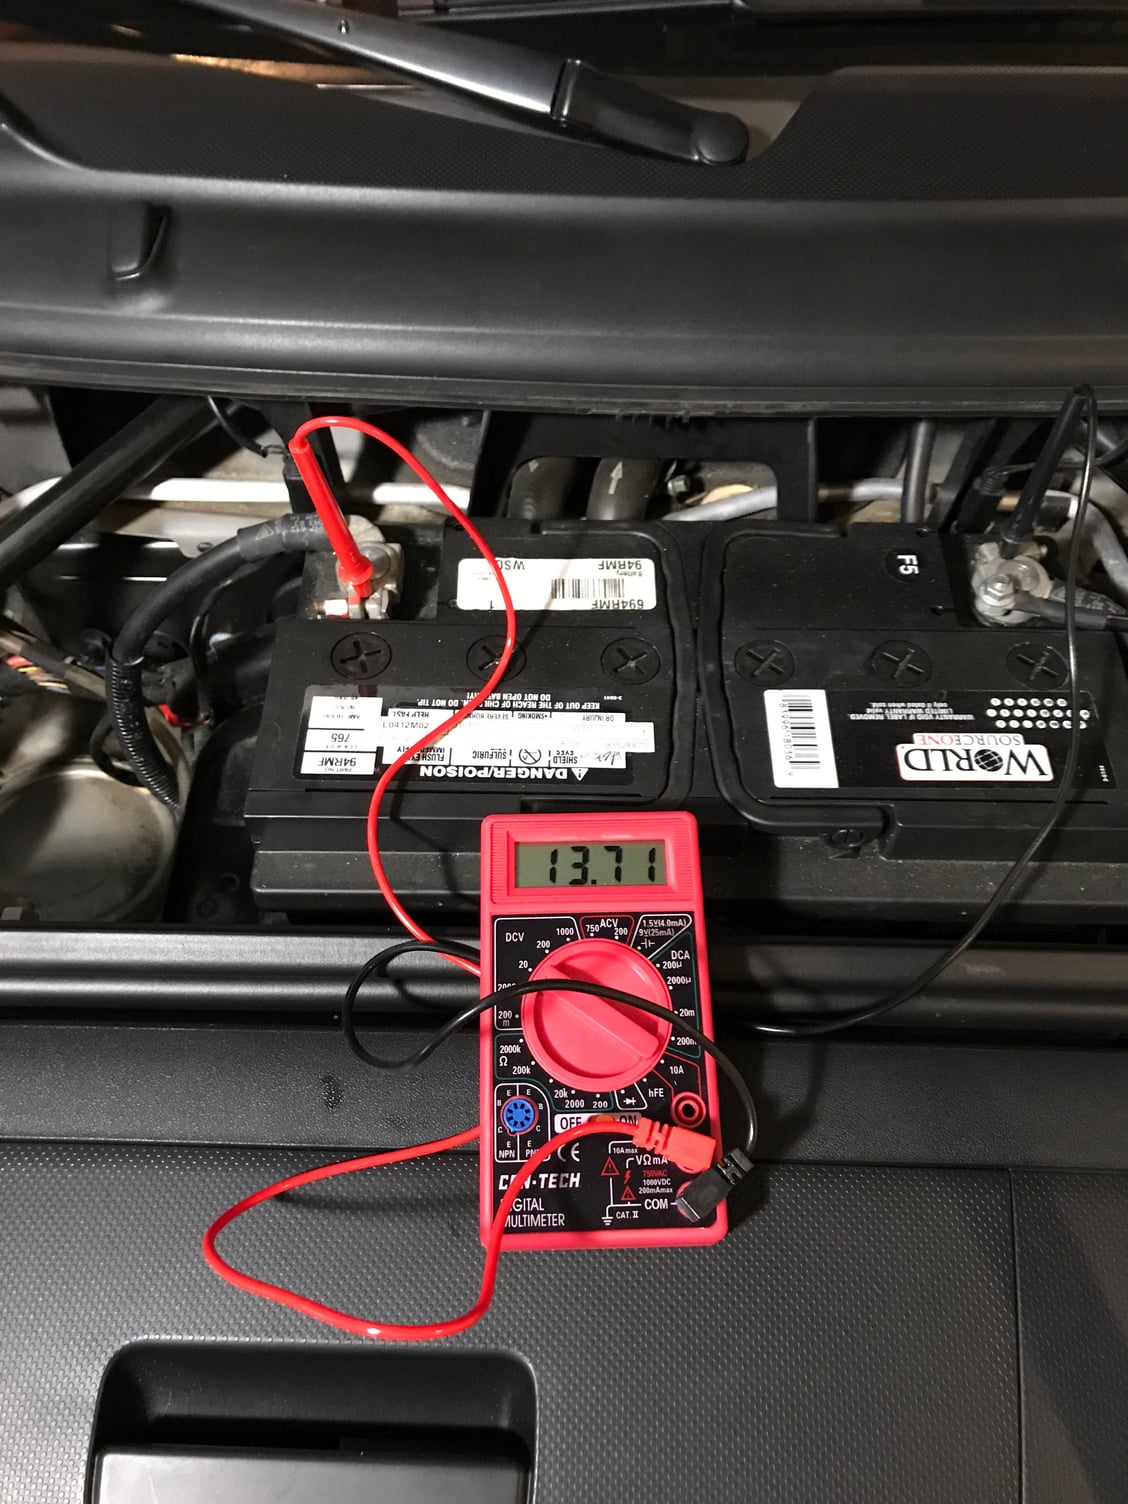
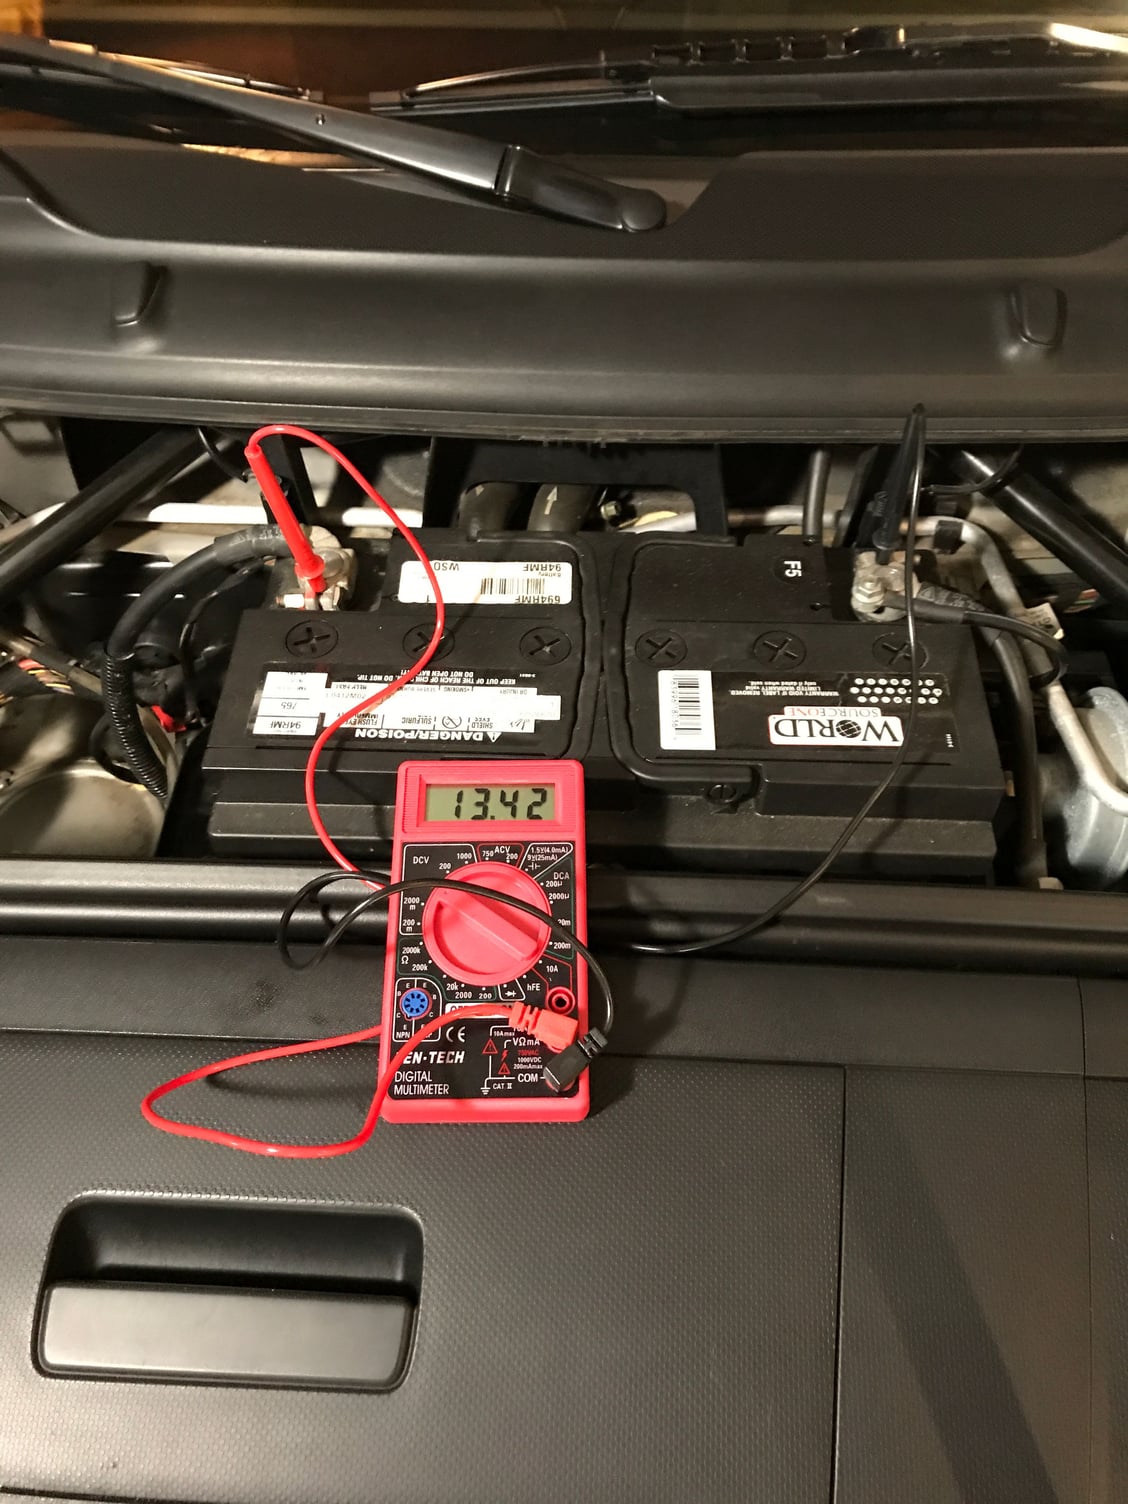
With the car on the voltage was at 13.71V, and drops down to 13.49V with headlights, foglights and stereo on.
Headlights, foglights, and stereo on.
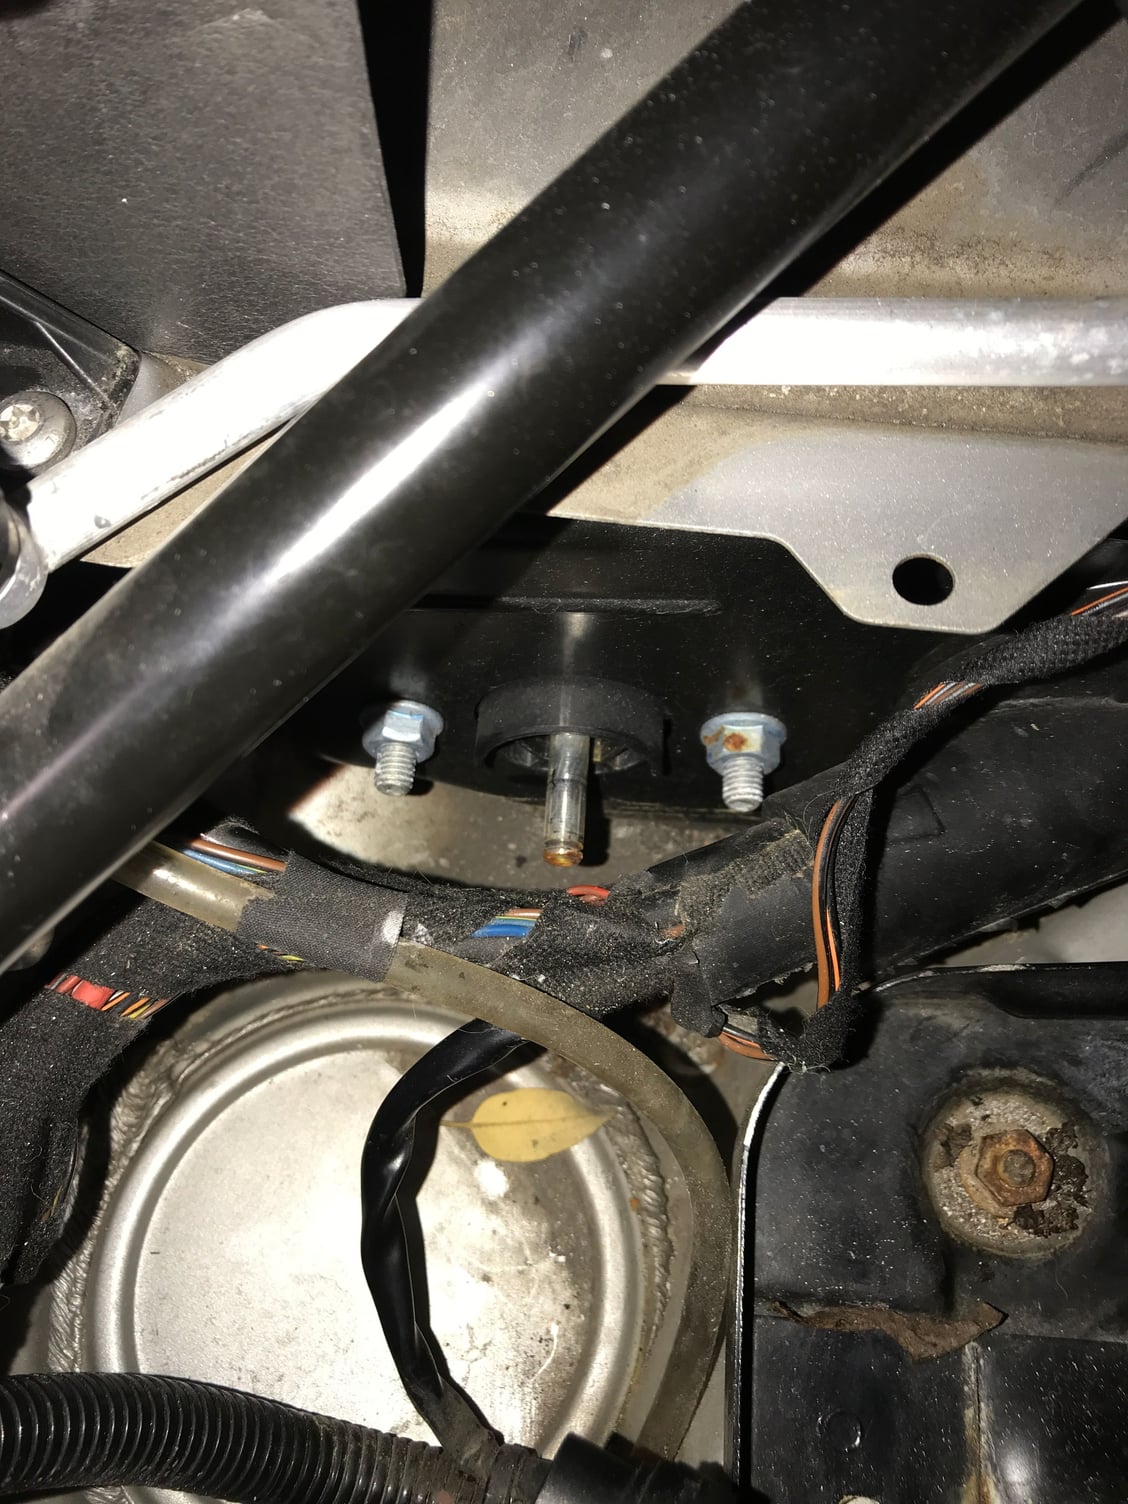
I pulled the battery, cleaned the crud in the tray and drains, and removed the quick connector. The tip of the pin was rusty, which I cleaned. However I can see more rust at the base of the pin, which means I will need to remove it :-(.
After cleaning the tip
I found the workshop manual on how to remove the power distribution box and pin. I now have my bearings on where everything is. It does not mention the glove box needs to be taken out, which is great. Can others confirm this. I saw some notes above about taking it off.
Update: I brought it by my indy to get a new battery. After testing it they said the battery was actually good. It was running at 115% of the rated cold crank amps. His test showed the alternator putting out 13.6V, which was slightly low but he felt that might have been because I had just charged the battery. At the battery with engine on under full load it was reading 12.9V, which strangely was much lower than my multimeter reading earlier in the day. He said anything over .3V drop indicates a problem with the harness. He had never heard of the corrosion issue on the power distribution bolt but showed the RL post to some of the other guys. Their conclusion was it might be a contributing factor, but their bet was still on the harness.
Next step is I will pull the bolt and clean it when I get some time, then check how much that improves the voltage drop. If it gives me an extra .3V volts he felt I could go for a while longer before replacing the harness.
Replacing the harness was roughly $500 and they mentioned they could install an aftermarket regulator on the back of the alternator to boost the output.
He also showed me how to check the volts at the alternator. He uses a 2' long metal spike thing with handle and then clips the positive terminal to the shaft. He then sticks the spike through the black wire sleeve coming out of the right side of the alternator and then grounds the negative on the engine mount.
The 997.2, I think, was not having the problem with the two cables that connect the starter and the battery. Pretty sure the parts got updated in the 997.2 and when you take a 997.1 in for the fix, that's what you get.
This is what my bolt looks like. New bolt and cable on the way.
Send pics of how you got to the power distribution panel to remove the bolt. I haven�t dug in there yet. There are some recommendations of having to remove the glove box and pulling back carpet, but this insnt mentioned in the workshop manual.
Send pics of how you got to the power distribution panel to remove the bolt. I haven�t dug in there yet. There are some recommendations of having to remove the glove box and pulling back carpet, but this insnt mentioned in the workshop manual.
Once you pull the carpet back, contort your body it is easy to take out. Some rust where it seats in the plastic is expected and can be removed but if not too bad is harmless. NOW if there is rust on the inside where it bolts to the distribution panel that is not good. I took all mine apart and cleaned it all up, it did help. In the end though I did a new started and not the harness, the harness on a Tiptronic is a PITA and if I did the harness and it didn't fix the problem I would have been not happy so I did the easiest first...the starter. $120 including shipping from ebay. High quality.
Once you pull the carpet back, contort your body it is easy to take out. Some rust where it seats in the plastic is expected and can be removed but if not too bad is harmless. NOW if there is rust on the inside where it bolts to the distribution panel that is not good. I took all mine apart and cleaned it all up, it did help. In the end though I did a new started and not the harness, the harness on a Tiptronic is a PITA and if I did the harness and it didn't fix the problem I would have been not happy so I did the easiest first...the starter. $120 including shipping from ebay. High quality.
Many thanks. So once remove the two plastic retaining screw, remove the plastic cover under the dash, is power distribution box is in plain view? Do you then need to pull the carpet back to open the box, or see the box...? And also confirming you didn't need to take the glove box out.
Send pics of how you got to the power distribution panel to remove the bolt. I haven�t dug in there yet. There are some recommendations of having to remove the glove box and pulling back carpet, but this insnt mentioned in the workshop manual.
1. Make sure you have removed the bolts next to the pin. Those are holding the power distribution panel.
2. Remove the 4 plastic screws holding the foam cover. They unscrew but you need a light touch to not push them in while unscrewing them (bad design).
3. The power distribution panel is inside the plastic box marked red in the picture. Green is the clamp you need to remove to make it easier. Yellow is power cable bundle coming into the PDP.
Many thanks. So once remove the two plastic retaining screw, remove the plastic cover under the dash, is power distribution box is in plain view? Do you then need to pull the carpet back to open the box, or see the box...? And also confirming you didn't need to take the glove box out.
The box is way up under in plain site. I pulled mine out without pulling back the carpet, but unlike others I didn't find it easy to put back with the carpet in place. I said screw this and just pulled the carpet back. Piece of cake at that point.
Ya so there is a little hose to move out of the way to make it easier. Then you can bend it down and out just enough to get the cover off. It isn't obvious how easy the cover comes off at first but it does. You'll be twisting the starter cable some to do this. Then you can just disconnect the starter cable and pull out the pin, that easy. The good thing is if it doesn't help your situation you'll now know how to do this quickly if you decide to buy the new PIN and short cable that goes to + on battery. Those two little pieces are really expensive though. The whole areas is really prone to water, just think about where it is located, the car is designed to take on water there and drain it. Just a wet/moist area and poor design.


 12-11-2017, 03:41 PM