When you click on links to various merchants on this site and make a purchase, this can result in this site earning a commission. Affiliate programs and affiliations include, but are not limited to, the eBay Partner Network.
EDIT - see the up to date info since this original thread here on the EMC2 website - https://emc2design.com
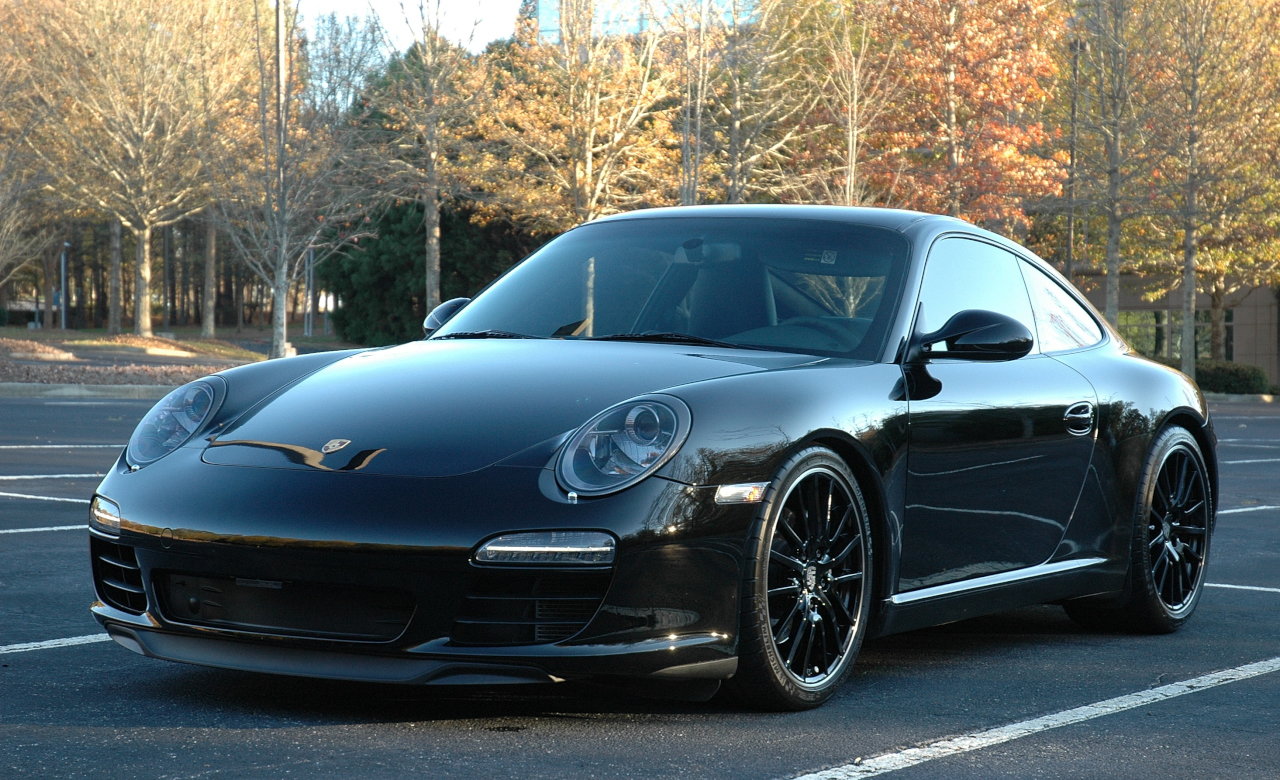
I've been looking for front lip options for some time (as many of us have).
After validating that the 991 front lip width was approximately the same as the 997.2 base Carrera, I decided to take a chance and buy one.
The part is referred to as the SPASM front lip with part number:
991505525011E0
It was definitely not a direct fit, but I will explain what I did.
1) I cut the top portion of the 997.2 base front lip (this is the piece that has all the mounting clips that slide into the bumper itself)
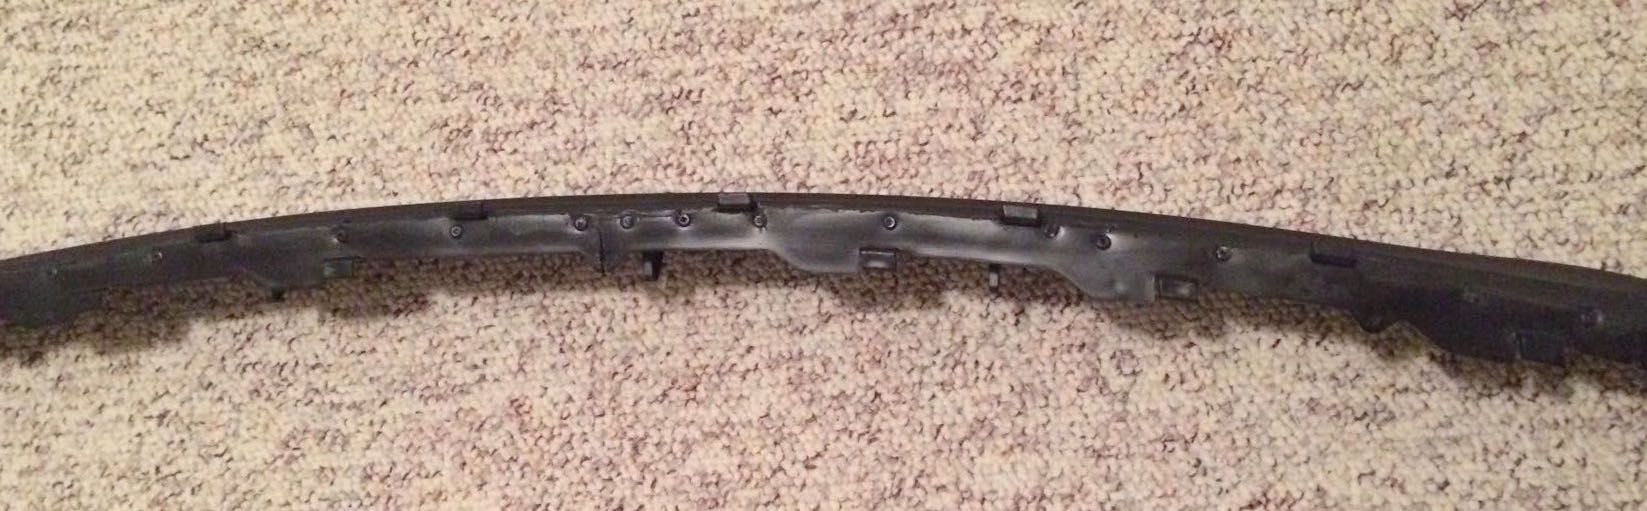
2) I trimmed/skimmed some of the tabs on top of the 991 lip to create a surface that was as flat as possible
3) I then attached the 997.2 piece from point 1 above, to the top of the 991 Lip, using JB Weld and a lot of rivets.
4) sprayed the new section black just to tidy it up (even though it would not be visible once installed)
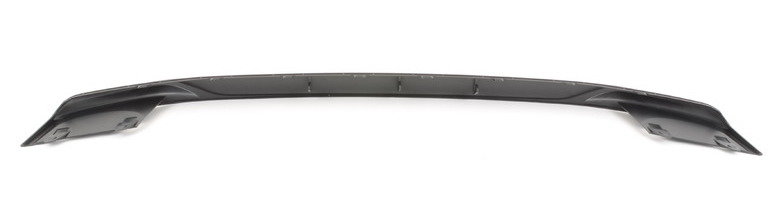
Original 991 part - view from top
After attaching the top of the 997.2 lip
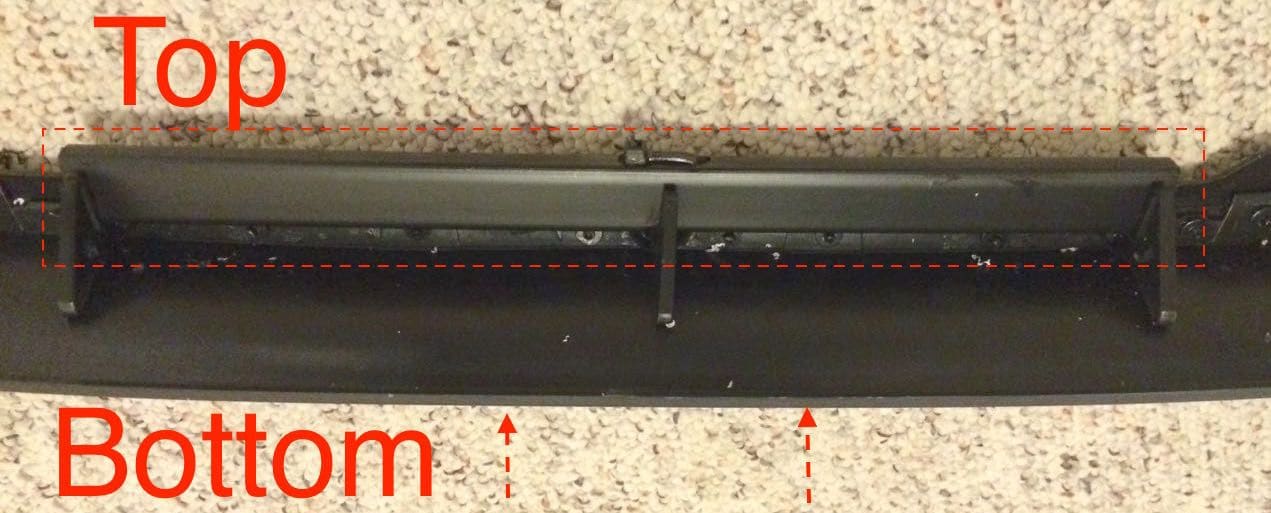
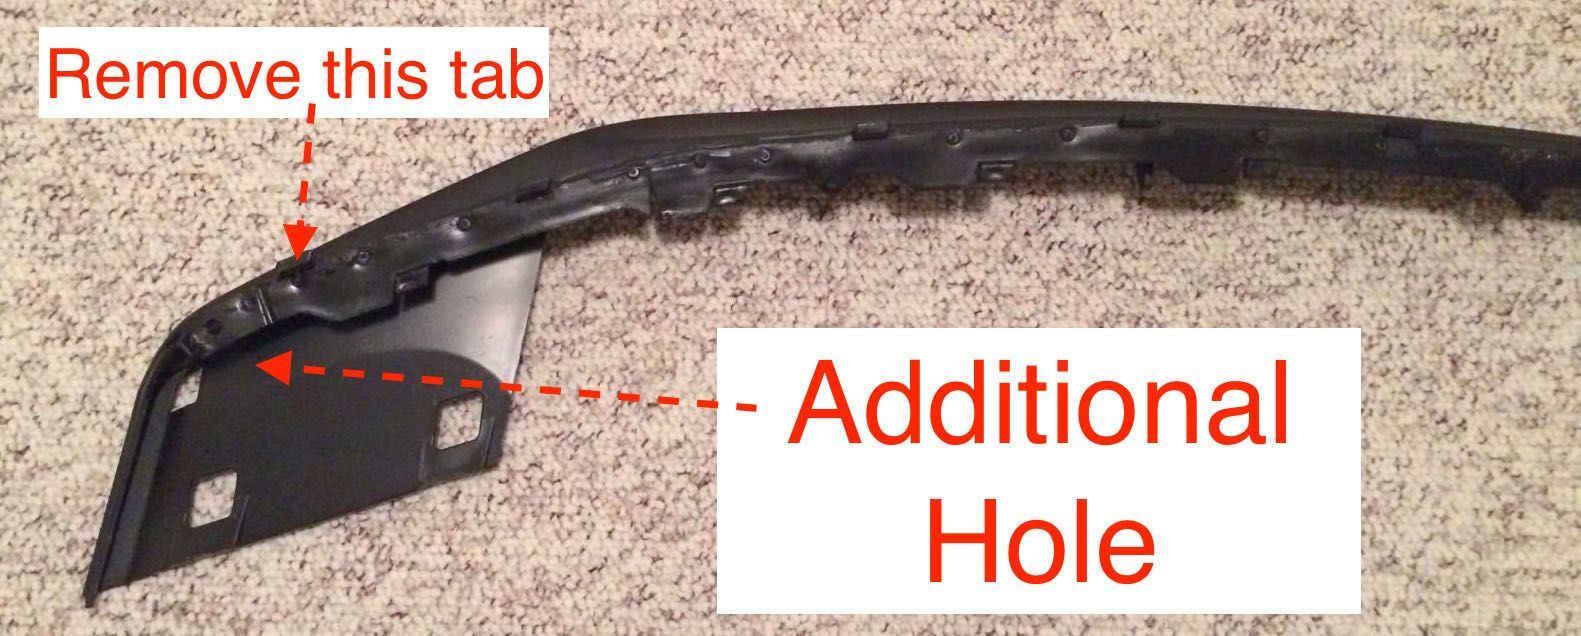
5) I placed some rectangular plastic tubing at the top of the lip as shown by the dotted rectangular line. Retained with cable ties.
This essentially wedges between the top of the triangular tabs on the the lip, and the underside of the 997.2 bumper. This is very important because it stops the center of the lip from being able to twist and flex at high speed. (in the 991 these tabs appear to rest against the bumper to achieve the same result.
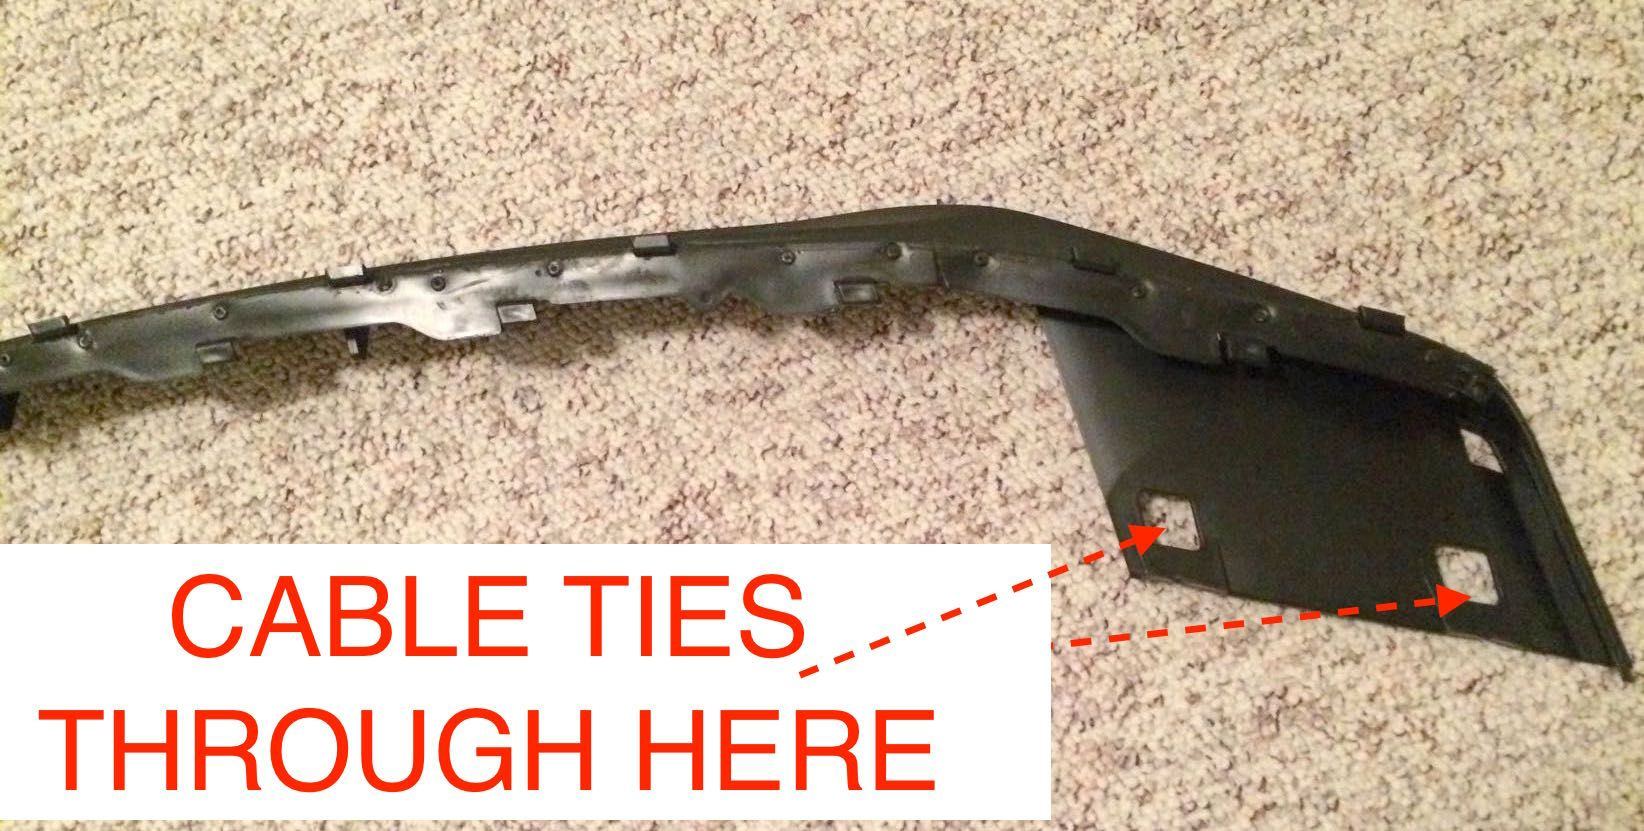
6) You will see that the 991 lip has two extensions at each end. You need to fasten these with a bit of customization:
- I therefore cut a few very small rectangular openings (5mm x 5mm) in the base of the bumper with a Dremel (just large enough to get strong cable ties through. These cable ties were then looped through the existing openings on the 991 lip shown in the attached pic.
7) On the driver's side (LHD) of the bumper I cut one additional similar small hole in the wing of the lip and the corresponding location on the underside of the 997.2 bumper.
I also cut off the last tab from the top of the 997.2 mounting. For those who have removed or replaced the 997.2 standard lip, you'll know that you insert the tabs into the slots and then slide the whole lip to the left to lock it in place.
The process is the same here except that due to the extra bulk of the 991 lip, it is impossible to get the very last tab into the slot. This is why you need to substitute this final tab by securing it with a cable tie instead.
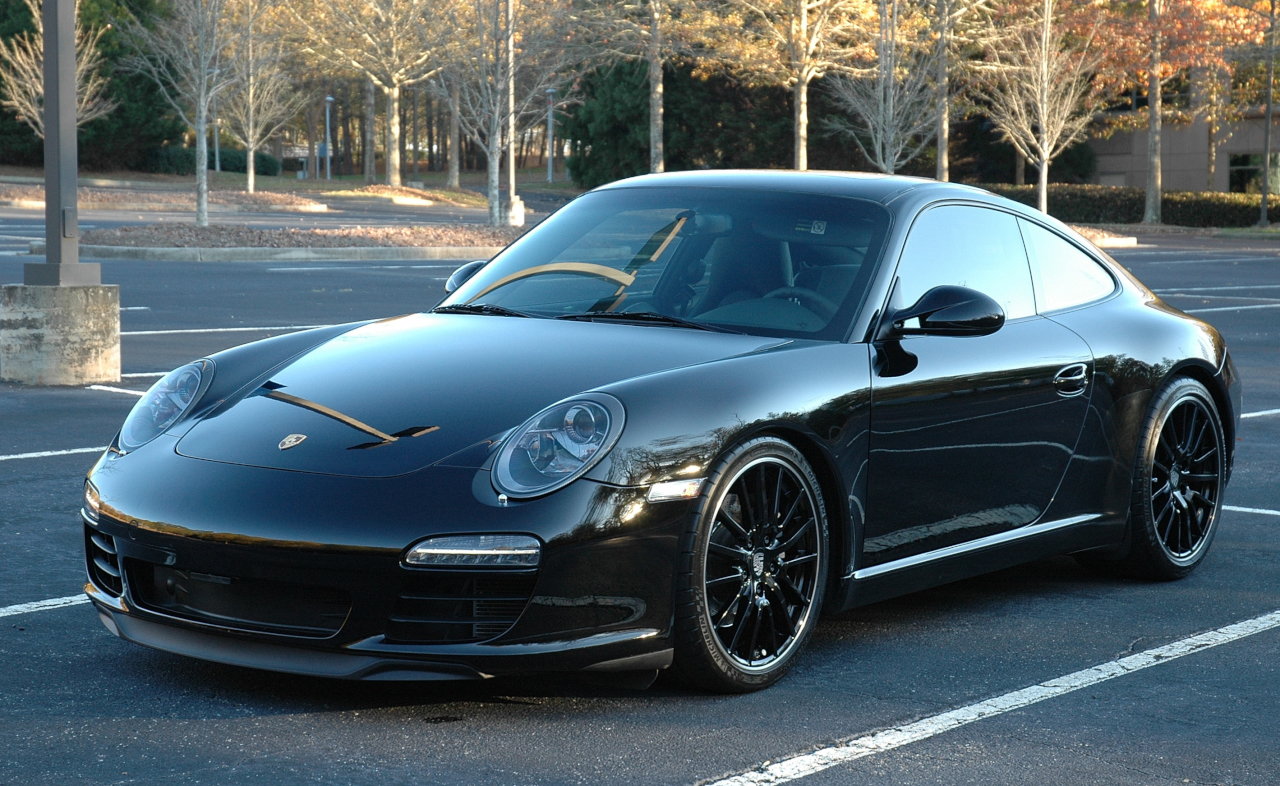
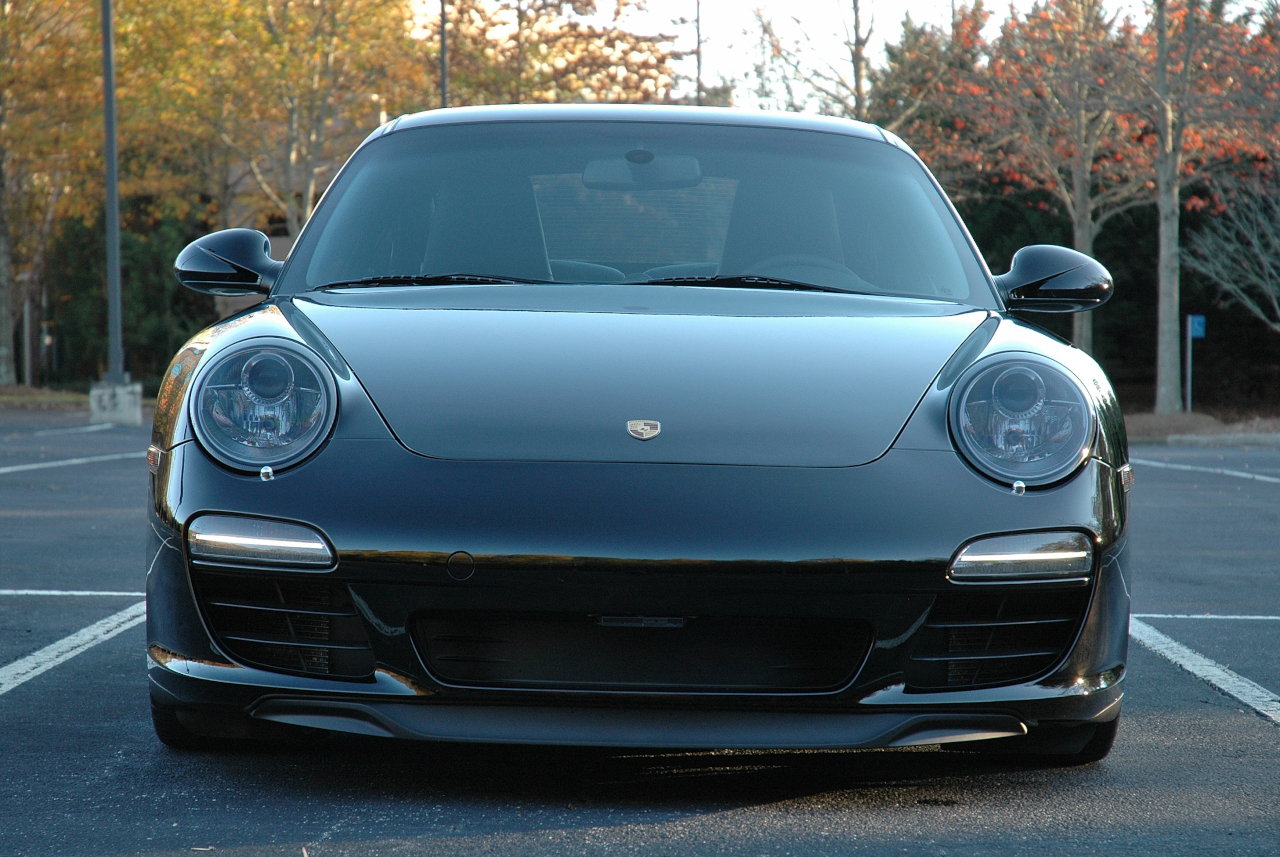
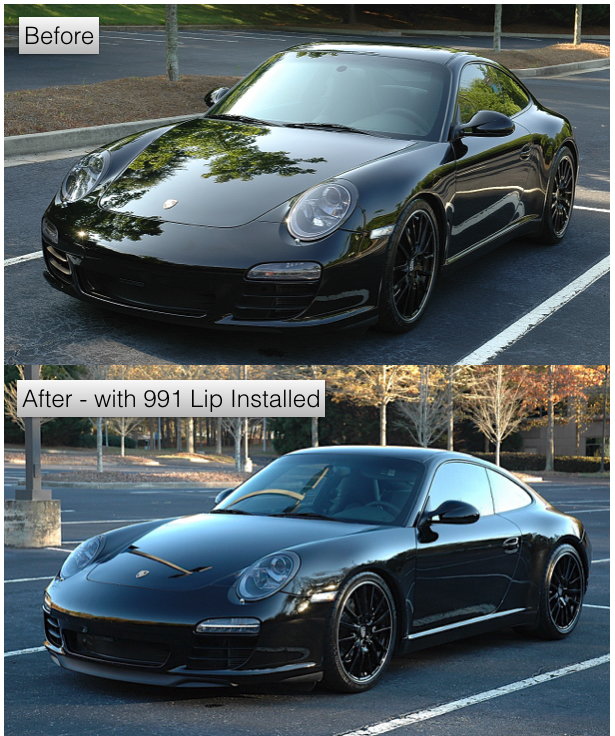
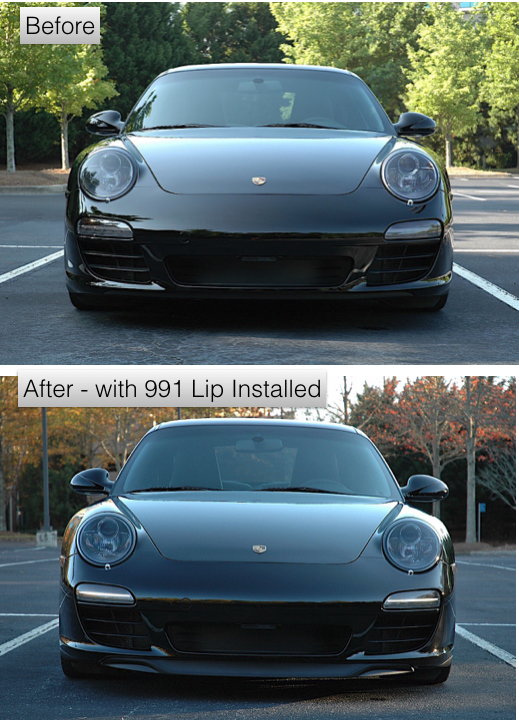
8) After installing the lip and fully securing it, I ran a thin bead of rubber trim along the joint between the lip and the bumper, just to make it look really nicely finished off. You can only see it if you are looking from ground level as you'll see in the pics below.
All of the above may difficult to visualize unless you have the parts in your hand.
A word of caution is that you will need patience when reinstalling as it is very difficult to get all the tabs perfectly aligned. you will need at least one or maybe 2 extra pairs of hands.
In retrospect - the method I used may have been overkill (all except for steps 2 & 5, which I would consider mandatory). Given all the slots in the underside of the 997.2 bumper, one could consider drilling about 30 holes across the top of the 991 lip and simply use double sided tape and very strong cable ties looped through each hole. Just because there are so many I think this could be very secure. and the cable ties are hidden directly behind the spoiler, so it could be done very neatly. I think if I ever need to replace this current lip, that might be what I try next time.
At about $200 for an OEM part, it turned out to be a great result imho
Let me know what you think?
Last edited by EMC2; 03-30-2020 at 09:39 PM.
Reason: Added comparison pics
Nice work you did a great job of it ,,,I don,t dislike it ,,,but I am kind of a fan of the OG 997 look ......I am sure this is something that would grow on me over time .............
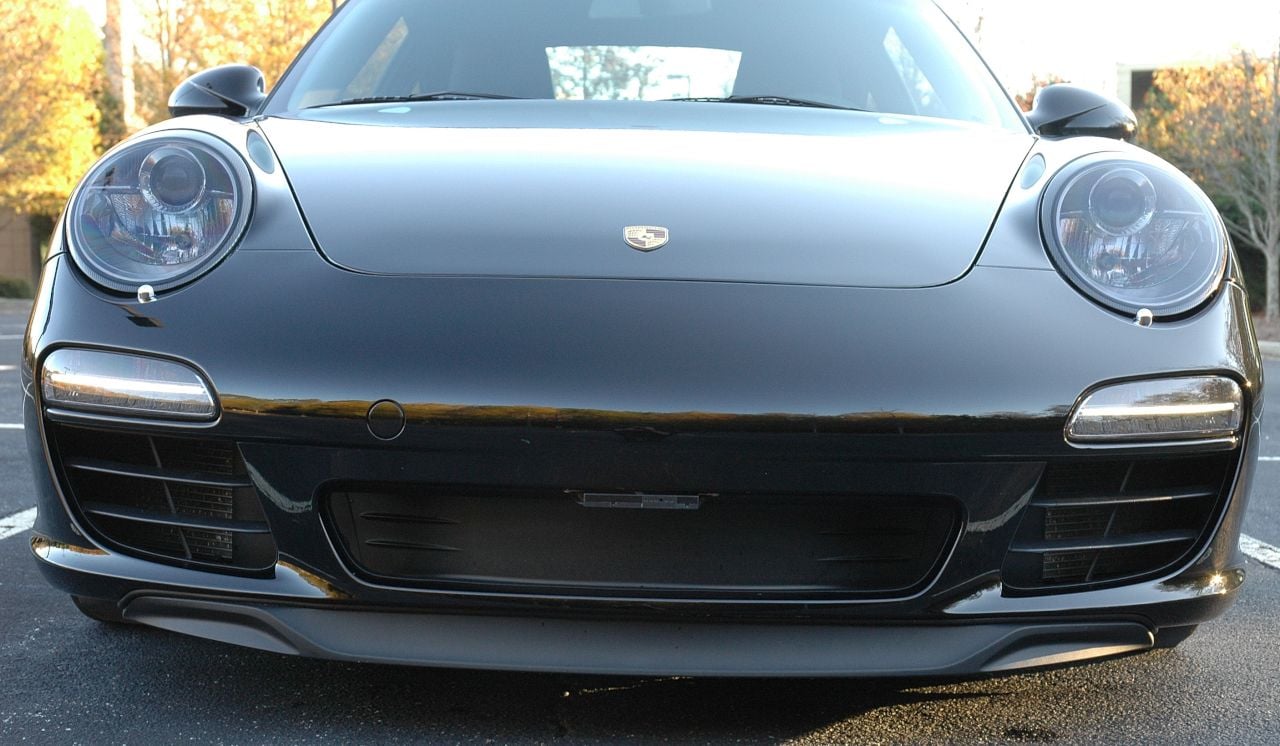
Overall, I like it. The only thing that looks a bit odd is the back section in the area below the air intakes. Looks like you can see the previous lip or piece of the original bumper. Is that back later part of the 991 lip assembly? If so, I think those needs to be cut away.

 11-22-2015, 08:30 PM