When you click on links to various merchants on this site and make a purchase, this can result in this site earning a commission. Affiliate programs and affiliations include, but are not limited to, the eBay Partner Network.
This is a repeat, I know. But I think it is a nice variant.
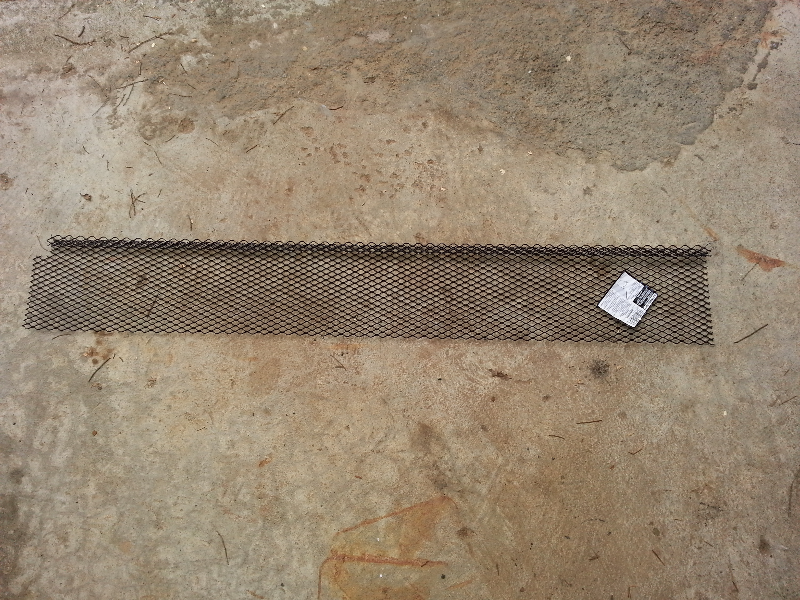
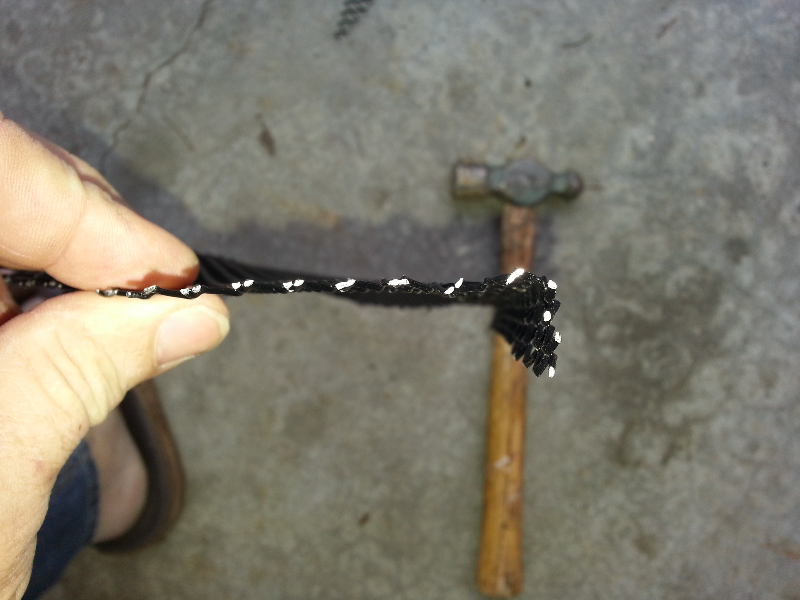
Home Depot sells gutter guard that is pre-coated black. One piece is all you need (see first picture).
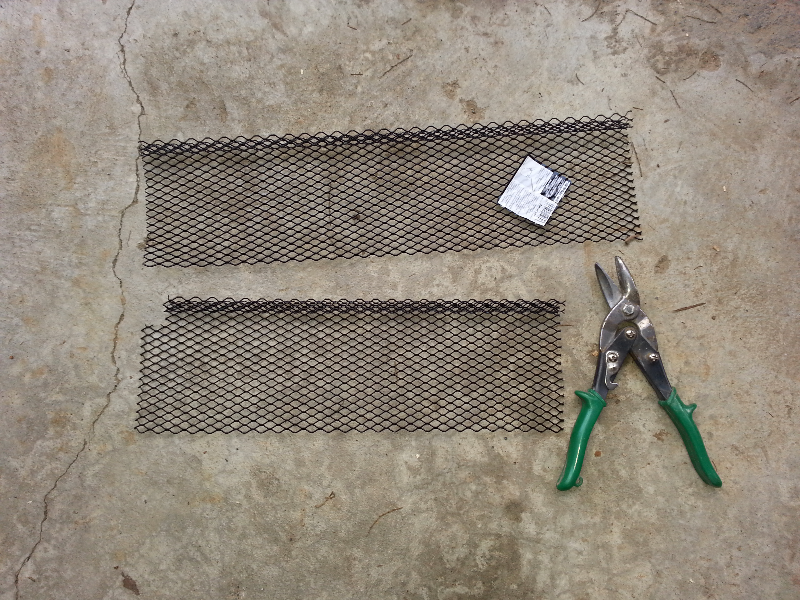
1. Hold this up to the front opening and cut to width. You will use just less than half of the original piece on each side.
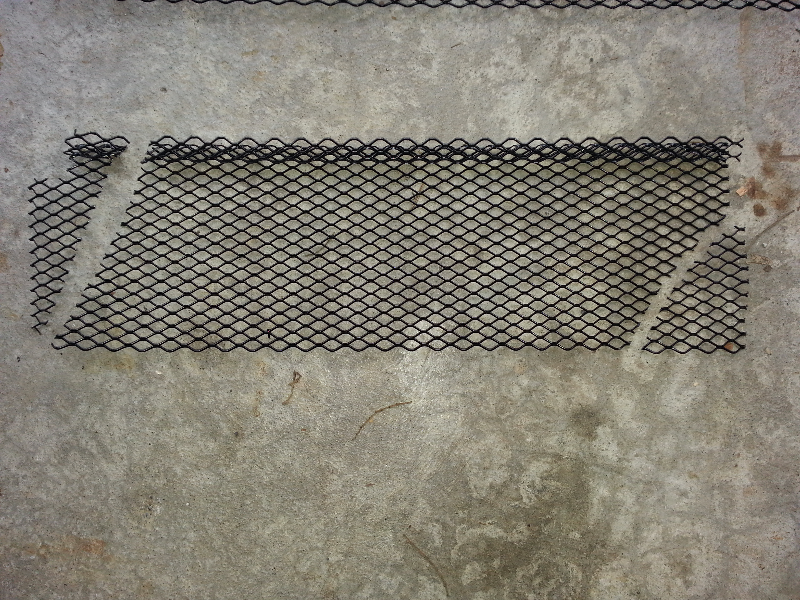
2. Then cut the corner angles ... No need for accuracy! Do this with the bends at the top and pointing in.
3. The guard is double bent on one side. Straighten the bend away from the outside leaving a right angle bend at the top. This can be done with your fingers and completed with light hammer taps.
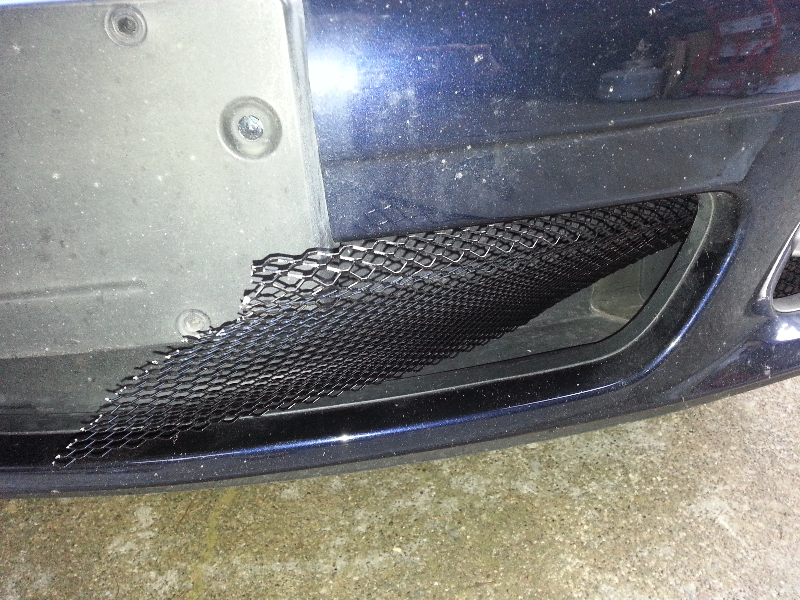
4. Slide the piece in with the bend to the top and facing in. Make sure the opening is fully covered.
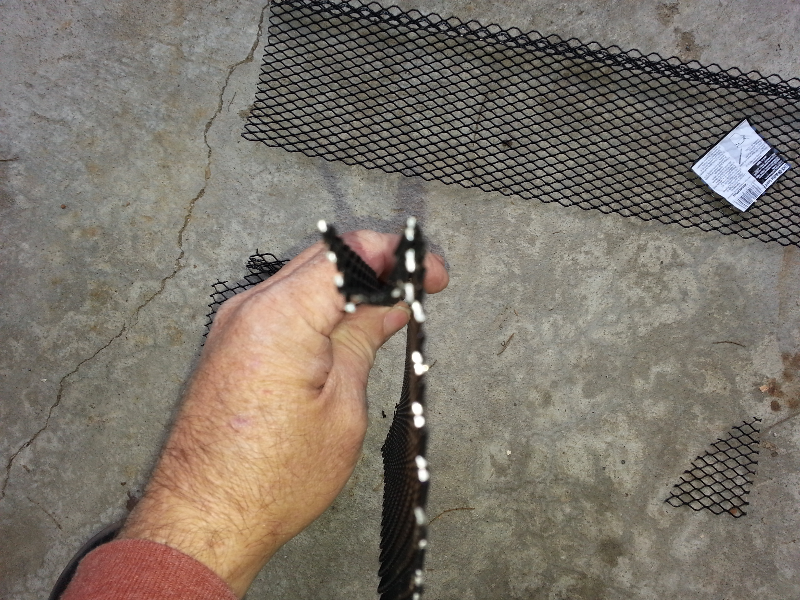
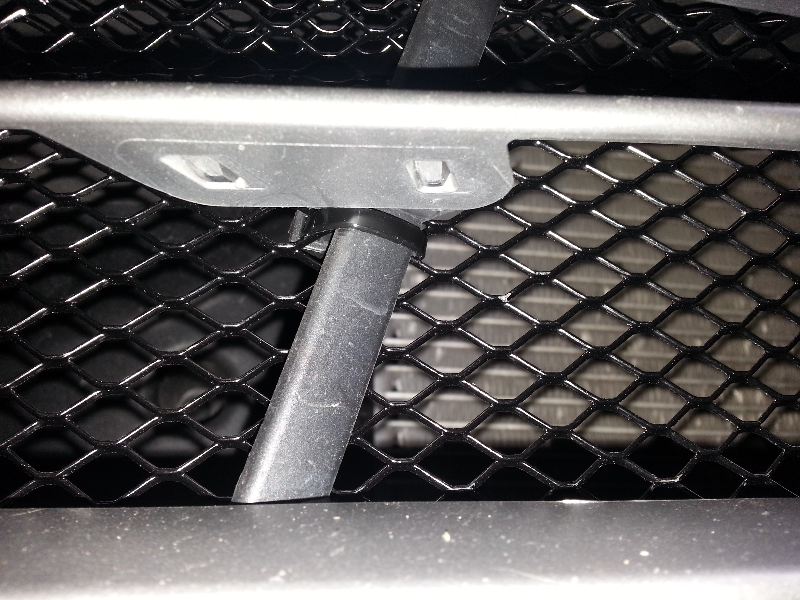
5. Insert a tie strap from behind and wrap it around the vertical brace (my version leaves this brace on). Go just below the horizontal brace and the tie strap is almost invisible. Use a second tie strap if you want.
5 minutes layer you are done. Refer to the pictures below.
Newbies Hospitality Director Lifetime Rennlist Member
Joined: Apr 2005
Posts: 18,084
Likes: 43
From: Winston-Salem, NC
Wayne,
Very nice DIY.
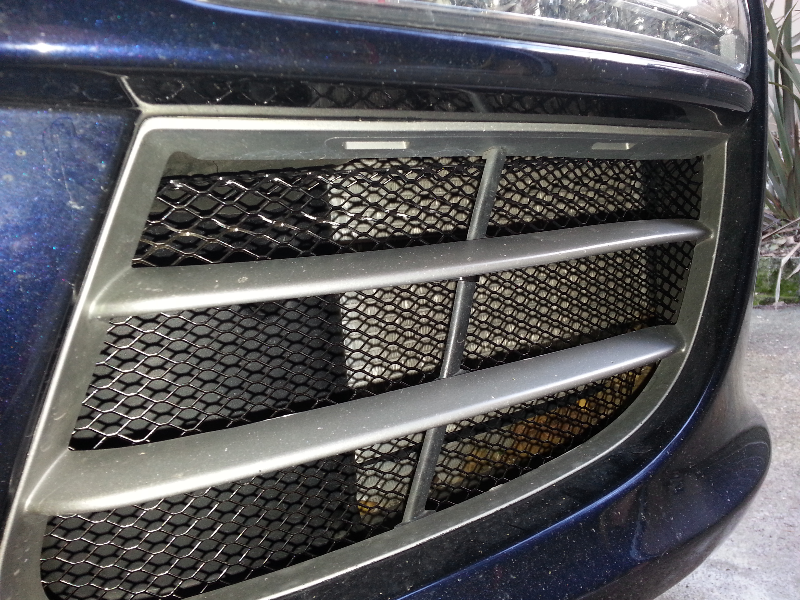
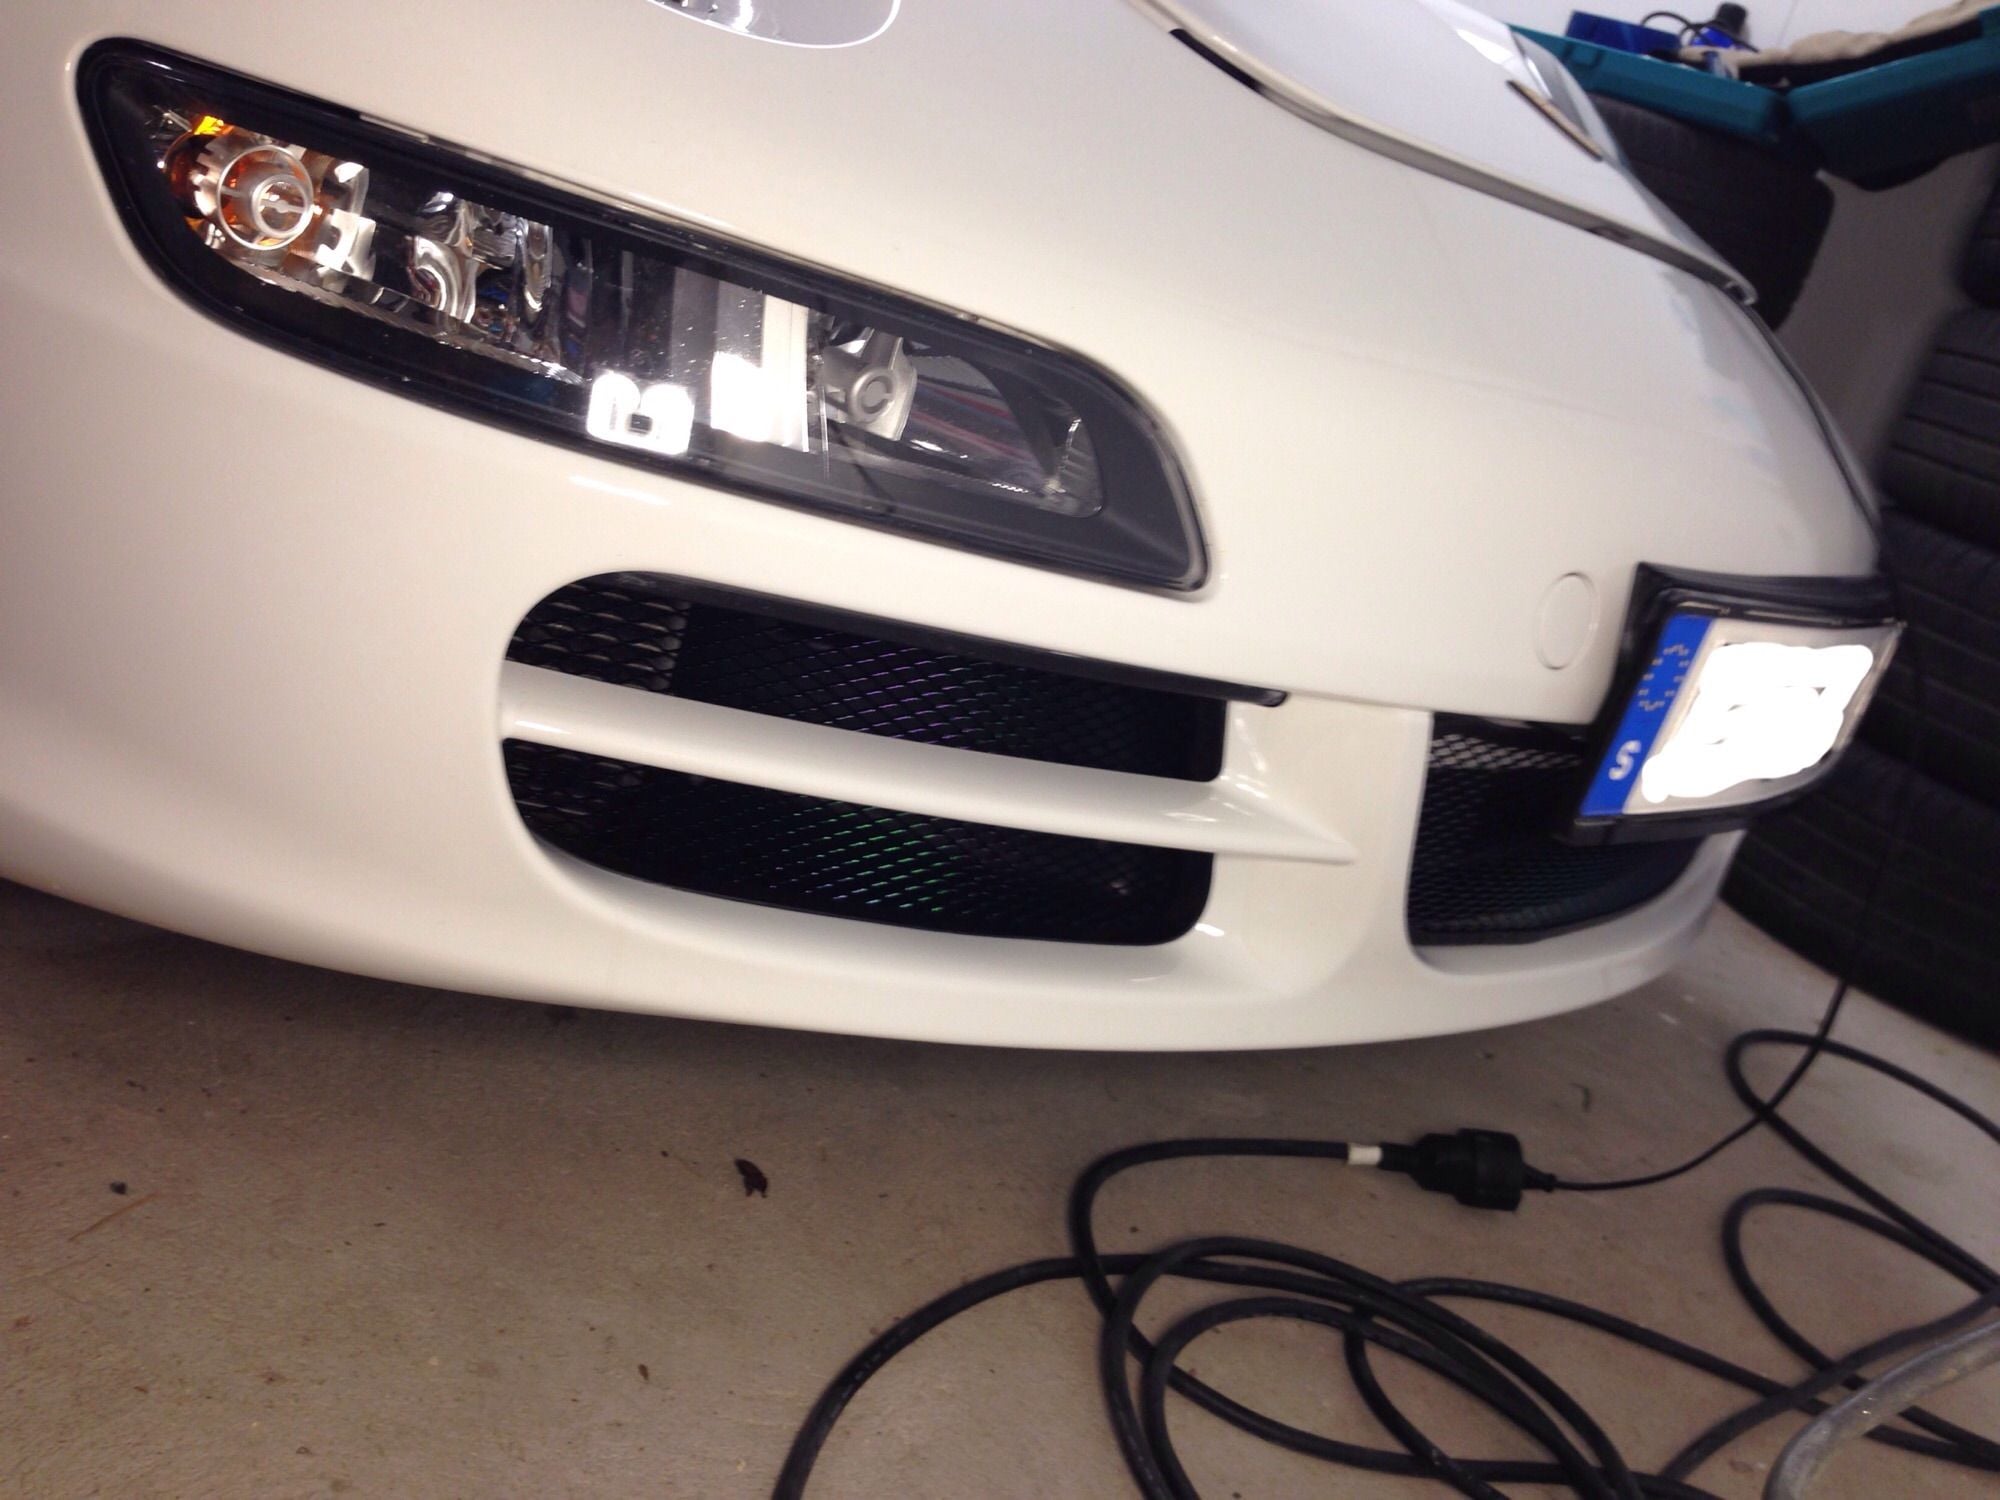
Great minds think alike. I did the exact same thing yesterday and took pics about an hour ago. I cut a template from a legal size folder. I also left the horizontal and vertical slats in place as I wanted to retain the stock look, but also wanted to install the grills behinf the slats.
Below are my pics. I am not trying to hijack your thread, just adding to it.
It's nice material ... There is no such thing as an original thought.
The crap in the radiator is actually bend over damage from previous pebbles. Points out the need to have these grills!
Nice job! I also made my own...I think the "crap" he is referring to is what looks to be some leaves down in the bottom right of your picture in front of the radiator.
How did you get it tight around the edge of the opening with the vertical bar still in place and inly securing at the centre? Does it not flap at the edges with no ties at each side?
What is the purpose of the right angler bend?
How did you get it tight around the edge of the opening with the vertical bar still in place and inly securing at the centre? Does it not flap at the edges with no ties at each side?
What is the purpose of the right angler bend?
Sorry for all the questions.
Keeping the right angle bend does two things ... It allows the piece to slide into the bumper (barely), and it gives rigidity.
On the 997.2 at least, the vertical bar does not stick back very far and the screen is flexible and can be bent so that the edges are fairly flush.
A very close inspection will show that this probably (most likely, definitely) is not as slick as you could buy. And it may be that a big enough rock at a big enough speed will damage it. And that adding a second and possibly third tie strap would be a good thing. But it is on a low dark area using dark material. You barely see it. And to spot any problems you need to lay on your side and have a flash light.
But I figure it is a big improvement over not having it. My worry was protection.
There was a complaint that the picture indicated I had not cleaned the radiator. I went back to look and had to smile. The damage that made the photo look this way was from small pebbles (a lot of freeway construction between home and the office). These grills will be good enough to block that!
Jeez, made a similar solution on mine two weeks ago Also including the center opening. Haven't decided yet whether I should go for the full center opening or just the smaller version in the very center.
I will also plasti dip the mesh before final assembly. On the 997.1 you can actually slide the plastic strips between the black plastic inside the White bars. There is also no vertical bar so I have mounted it flush to the horizontal bars. Hard to explain but maybe it is visible
The nice thing about the Home Depot gutter screen is that it is already painted. One less step. A lot less time. When you cut the screen you end up with unprotected cuts that are out of sight but that could rust over time ... Cutting and then painting has its advantages. Good luck with the center grill.
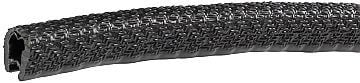
We use that same edging on some of our panels. I would suggest a tie strap every so often to secure it.
We also send tie strap adhesive base mounts to route cabling. It takes a day for the adhesive to develop a good bond, but then they are pretty good. Don't know if these would help or not. Maybe use these on the top, and then pivot the screen down and forward and wedge it into the bottom. Post some pictures when you are done.
As a side note, I debated the center screen. I don't have a third radiator to protect. So do you add the screen and make it tough to vacuum, or do you figure the center screen eliminates the need to vacuum, or is it easy enough to remove the center screen that it doesn't matter?
Stunning Porsche 356A Super GT Speedster Auction Fails to Meet Reserve
Slideshow: One of the rarest Porsche 356 Speedsters ever built has resurfaced, offering a glimpse into a little-known chapter of the model's competition history.
Theon Goes Full Carbon Fiber With Stunning New Build
Slideshow: Built around a carbon-bodied 964 and a naturally aspirated 4.0-liter flat-six, this bespoke commission highlights how far the restomod formula has evolved.
Tuner Is Converting Porsche 911s Into Shooting Brakes
Slideshow: A Polish Porsche specialist is moving ahead with one of the most unusual 911 conversions in recent memory: a shooting brake version of the 991-generation sports car.
This Coachbuilt Creation Is A Modern Take on the Legendary Porsche 917
Slideshow: A Porsche Carrera GT has been transformed into a one-off coachbuilt machine that blends analog supercar engineering with styling inspired by the legendary 917 race cars.
Is This Convertible Cayenne A Steal, Or A Returnless Investment?
Slideshow: A heavily modified Porsche Cayenne convertible with faux wood trim and a long list of flaws recently sold at auction for surprisingly little money.


 Also including the center opening. Haven't decided yet whether I should go for the full center opening or just the smaller version in the very center.
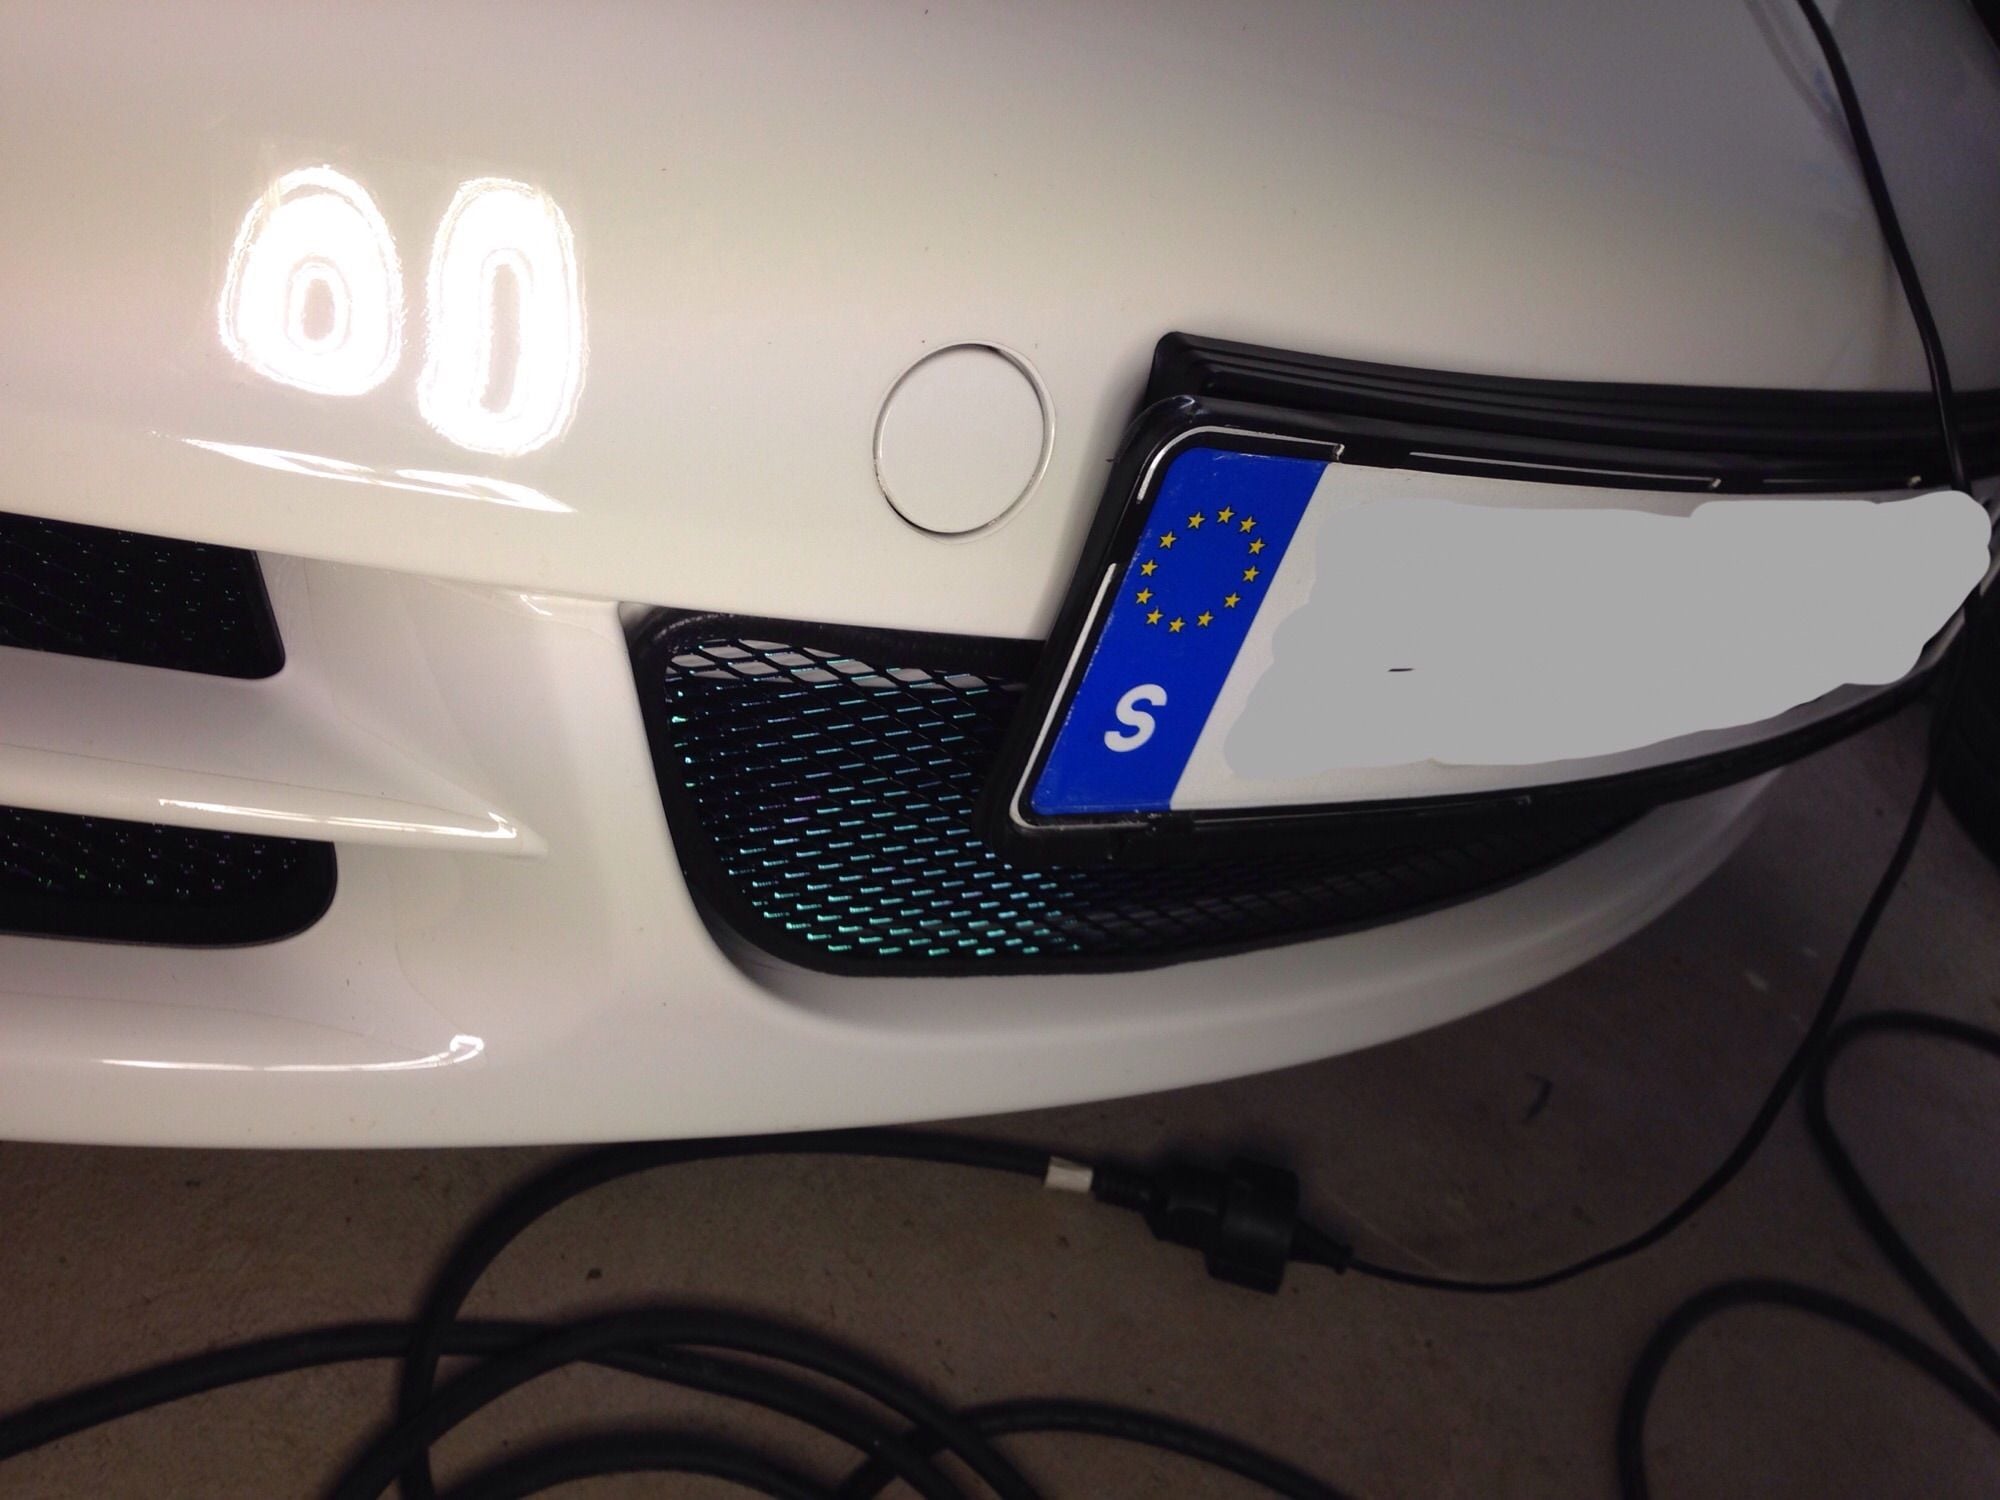

