When you click on links to various merchants on this site and make a purchase, this can result in this site earning a commission. Affiliate programs and affiliations include, but are not limited to, the eBay Partner Network.
I successfully installed the windshield cowl, thanks to your advice above. Really appreciate the tips.
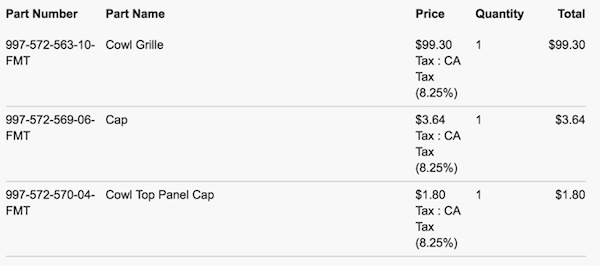
Here's what I bought.
The steps I took, and some observations I made along the way.
Definitely have the following tools ready along with the standard tools:
- headlamp
- blue tape
- torx set
1. Take off battery cover and 2 adjacent panels.
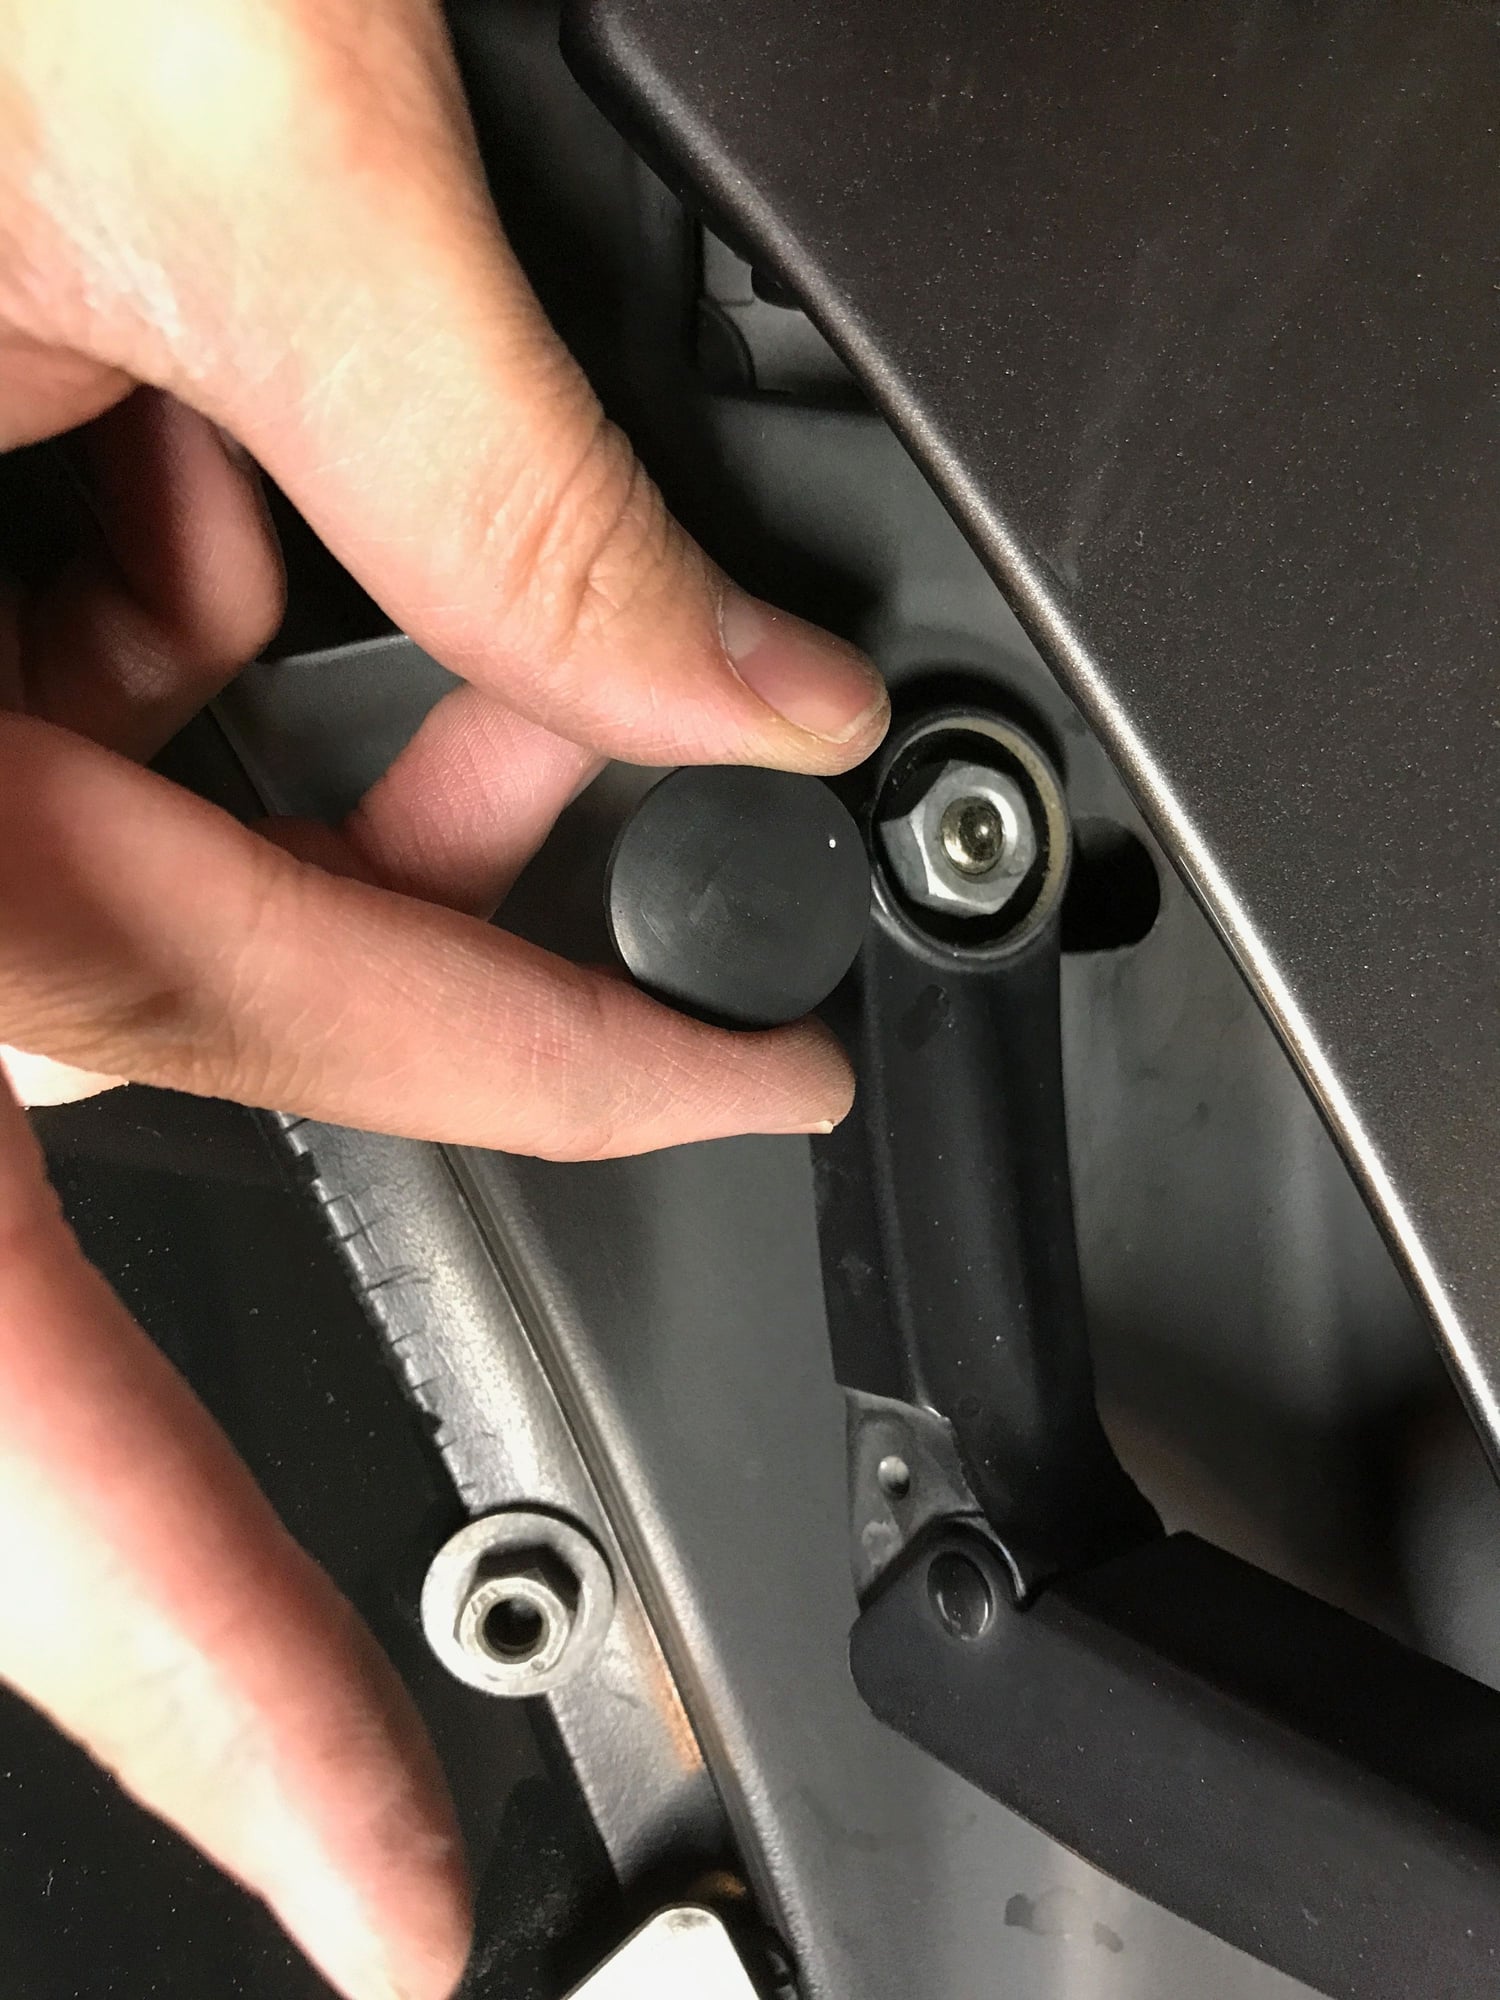
2. Take off the 2 little cowl covers and unscrew the 10mm nut/ hardware. Set these aside in the right
order. Also unscrew the Torx screw in the center of the cowl.
3. Remove the covers from the windshield wiper base and unscrew the 13mm nuts.
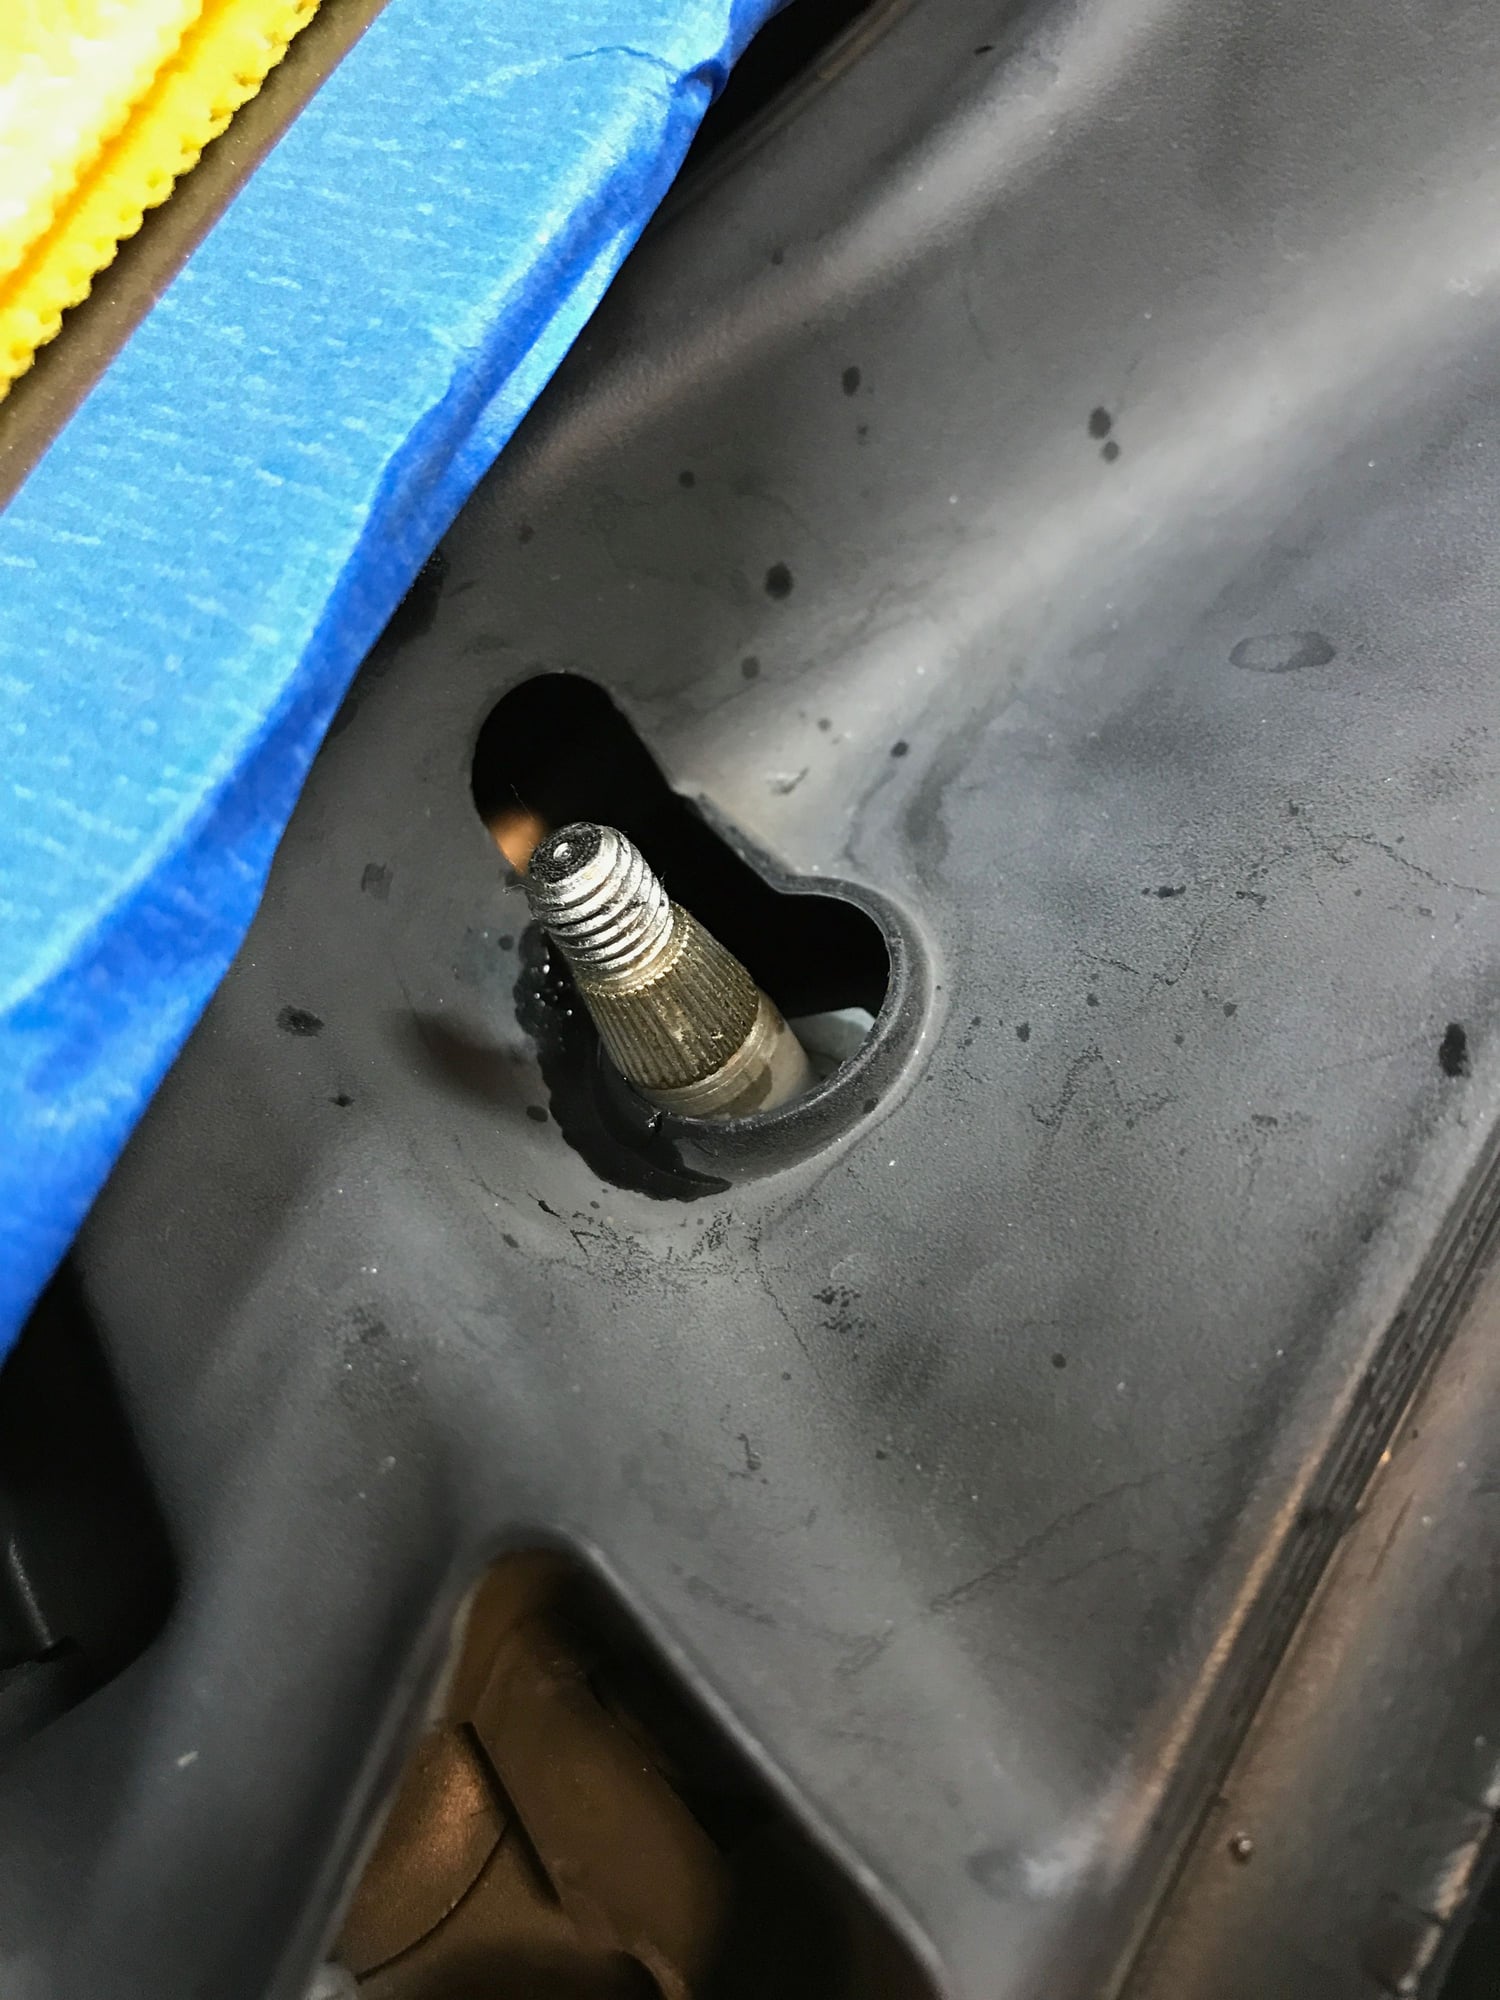
4. Spray some WD 40 or penetrating oil onto the screw. Lift the windshield wipers so they don't sit against the glass, and jiggle/pull straight up. They base of the connection is a cone shaped and you will feel the wipers rotate once they are loose. This can be a bit tough. One popped right off, while the other was stubborn as hell.
5. Remove the 2 rivets at the base of the cowl right behind the battery. Also unplug the windshield fluid tube from the T-joint. The rivets in my case were tight and needed to be removed with a pair of needle nose pliers. I also had to unbolt the battery and shift it to get better access. YMMV
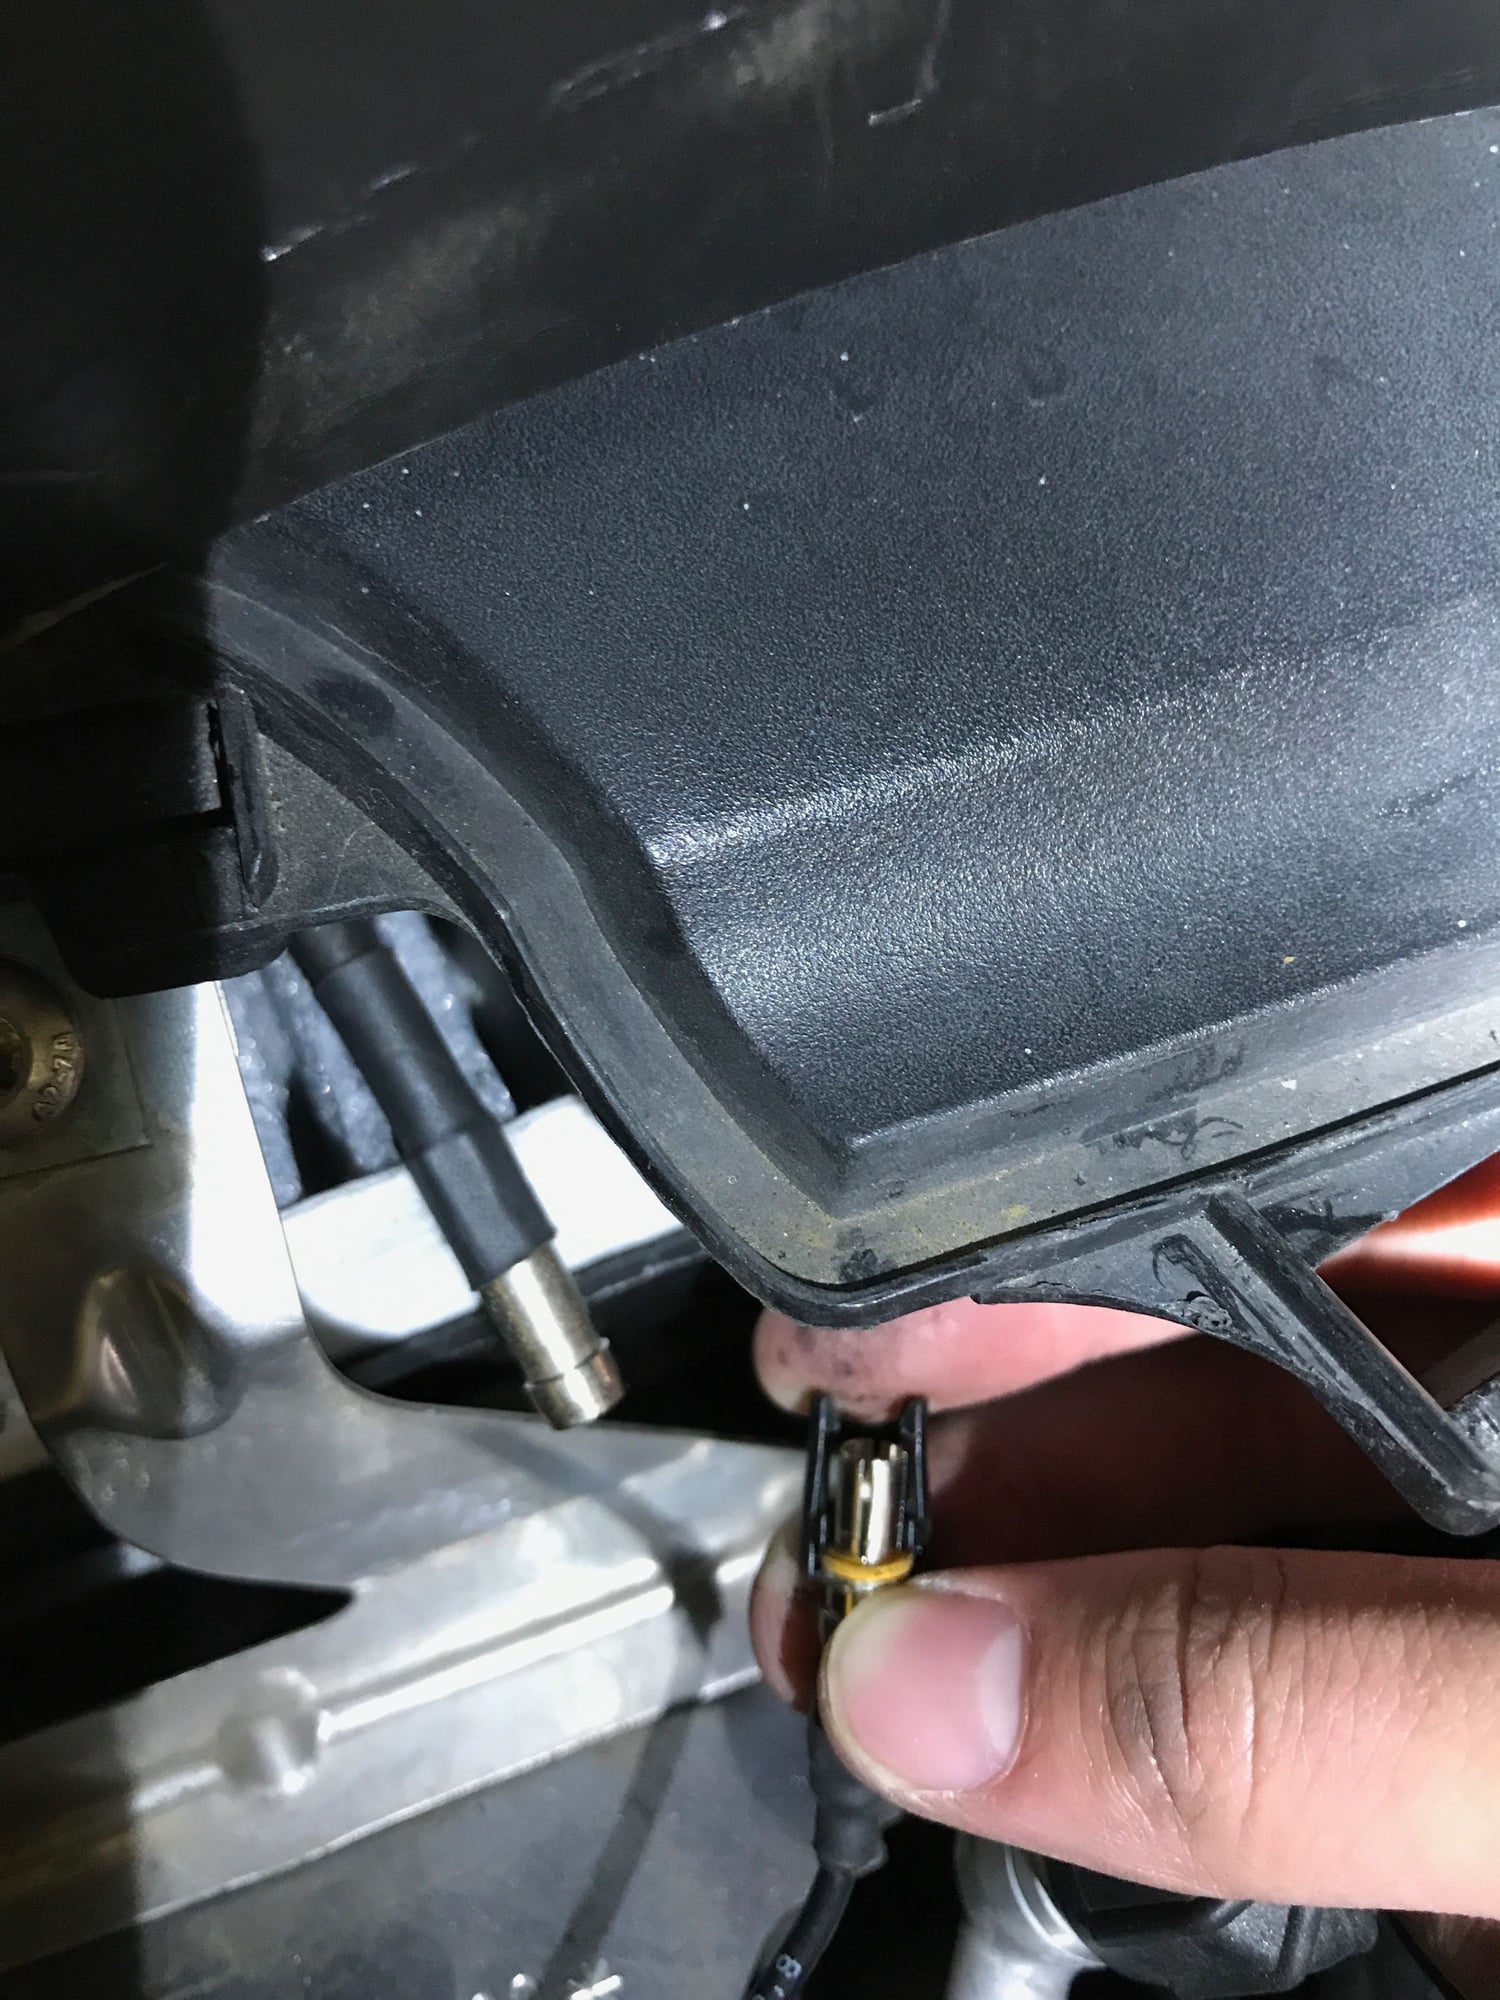
6. Unplug the exposed coax cable.. there is a small retaining clip that holds the male and female ends together, this one is failrly easy and visible.
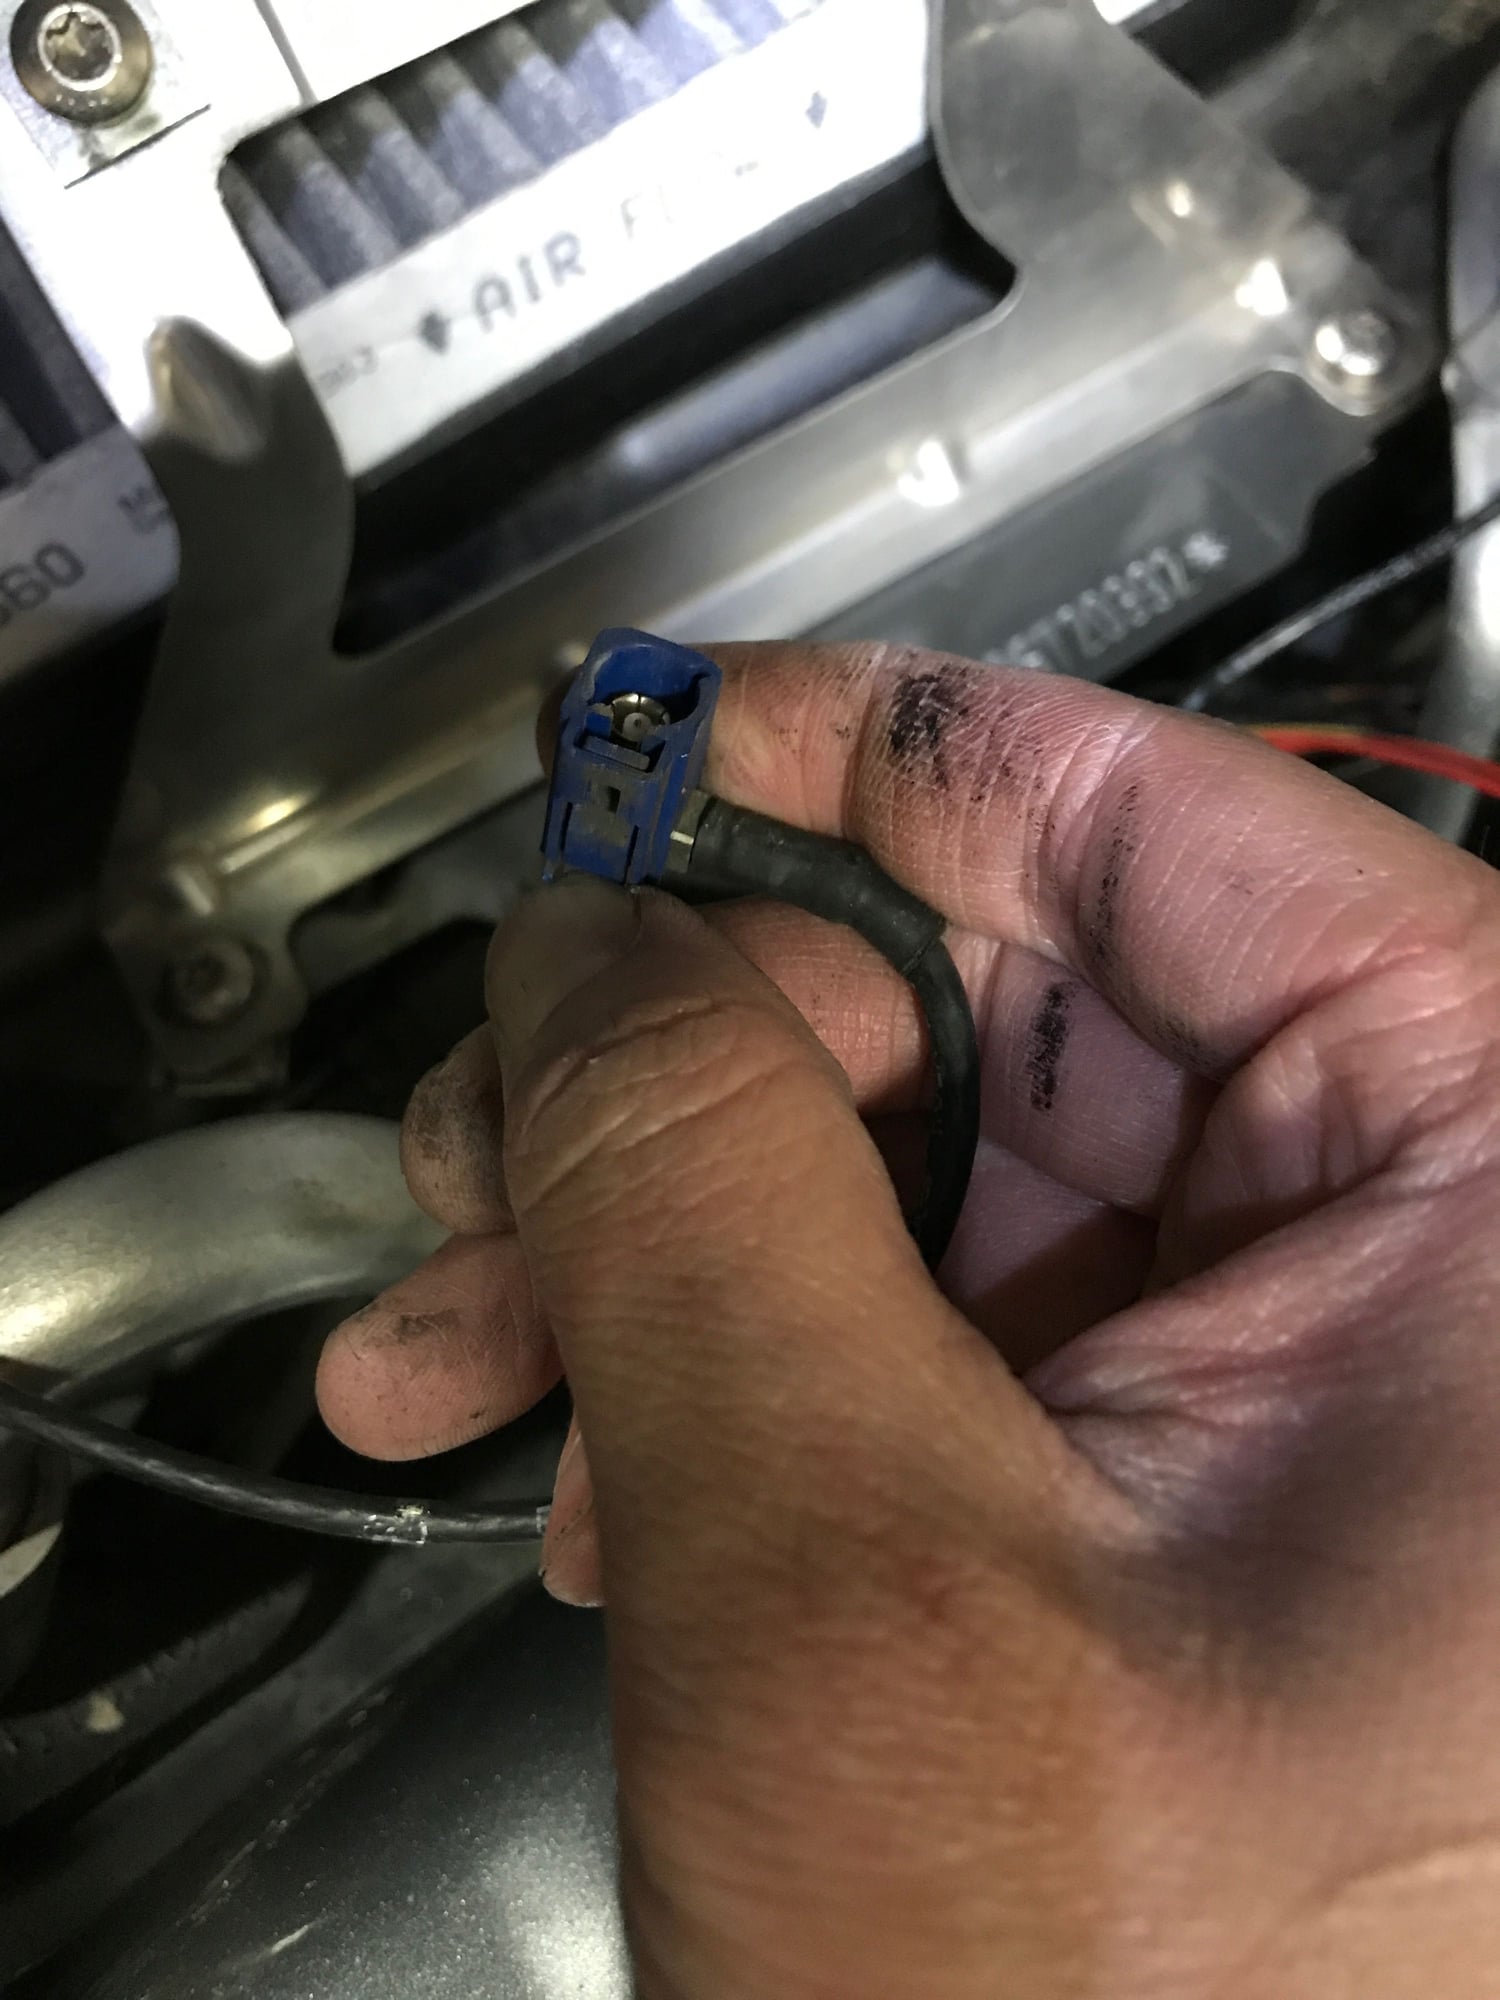
7. The blue coax is a bit of a pain to unplug. Press firmly on the one sided latch and pull firmly. This one is a bit hard to see.
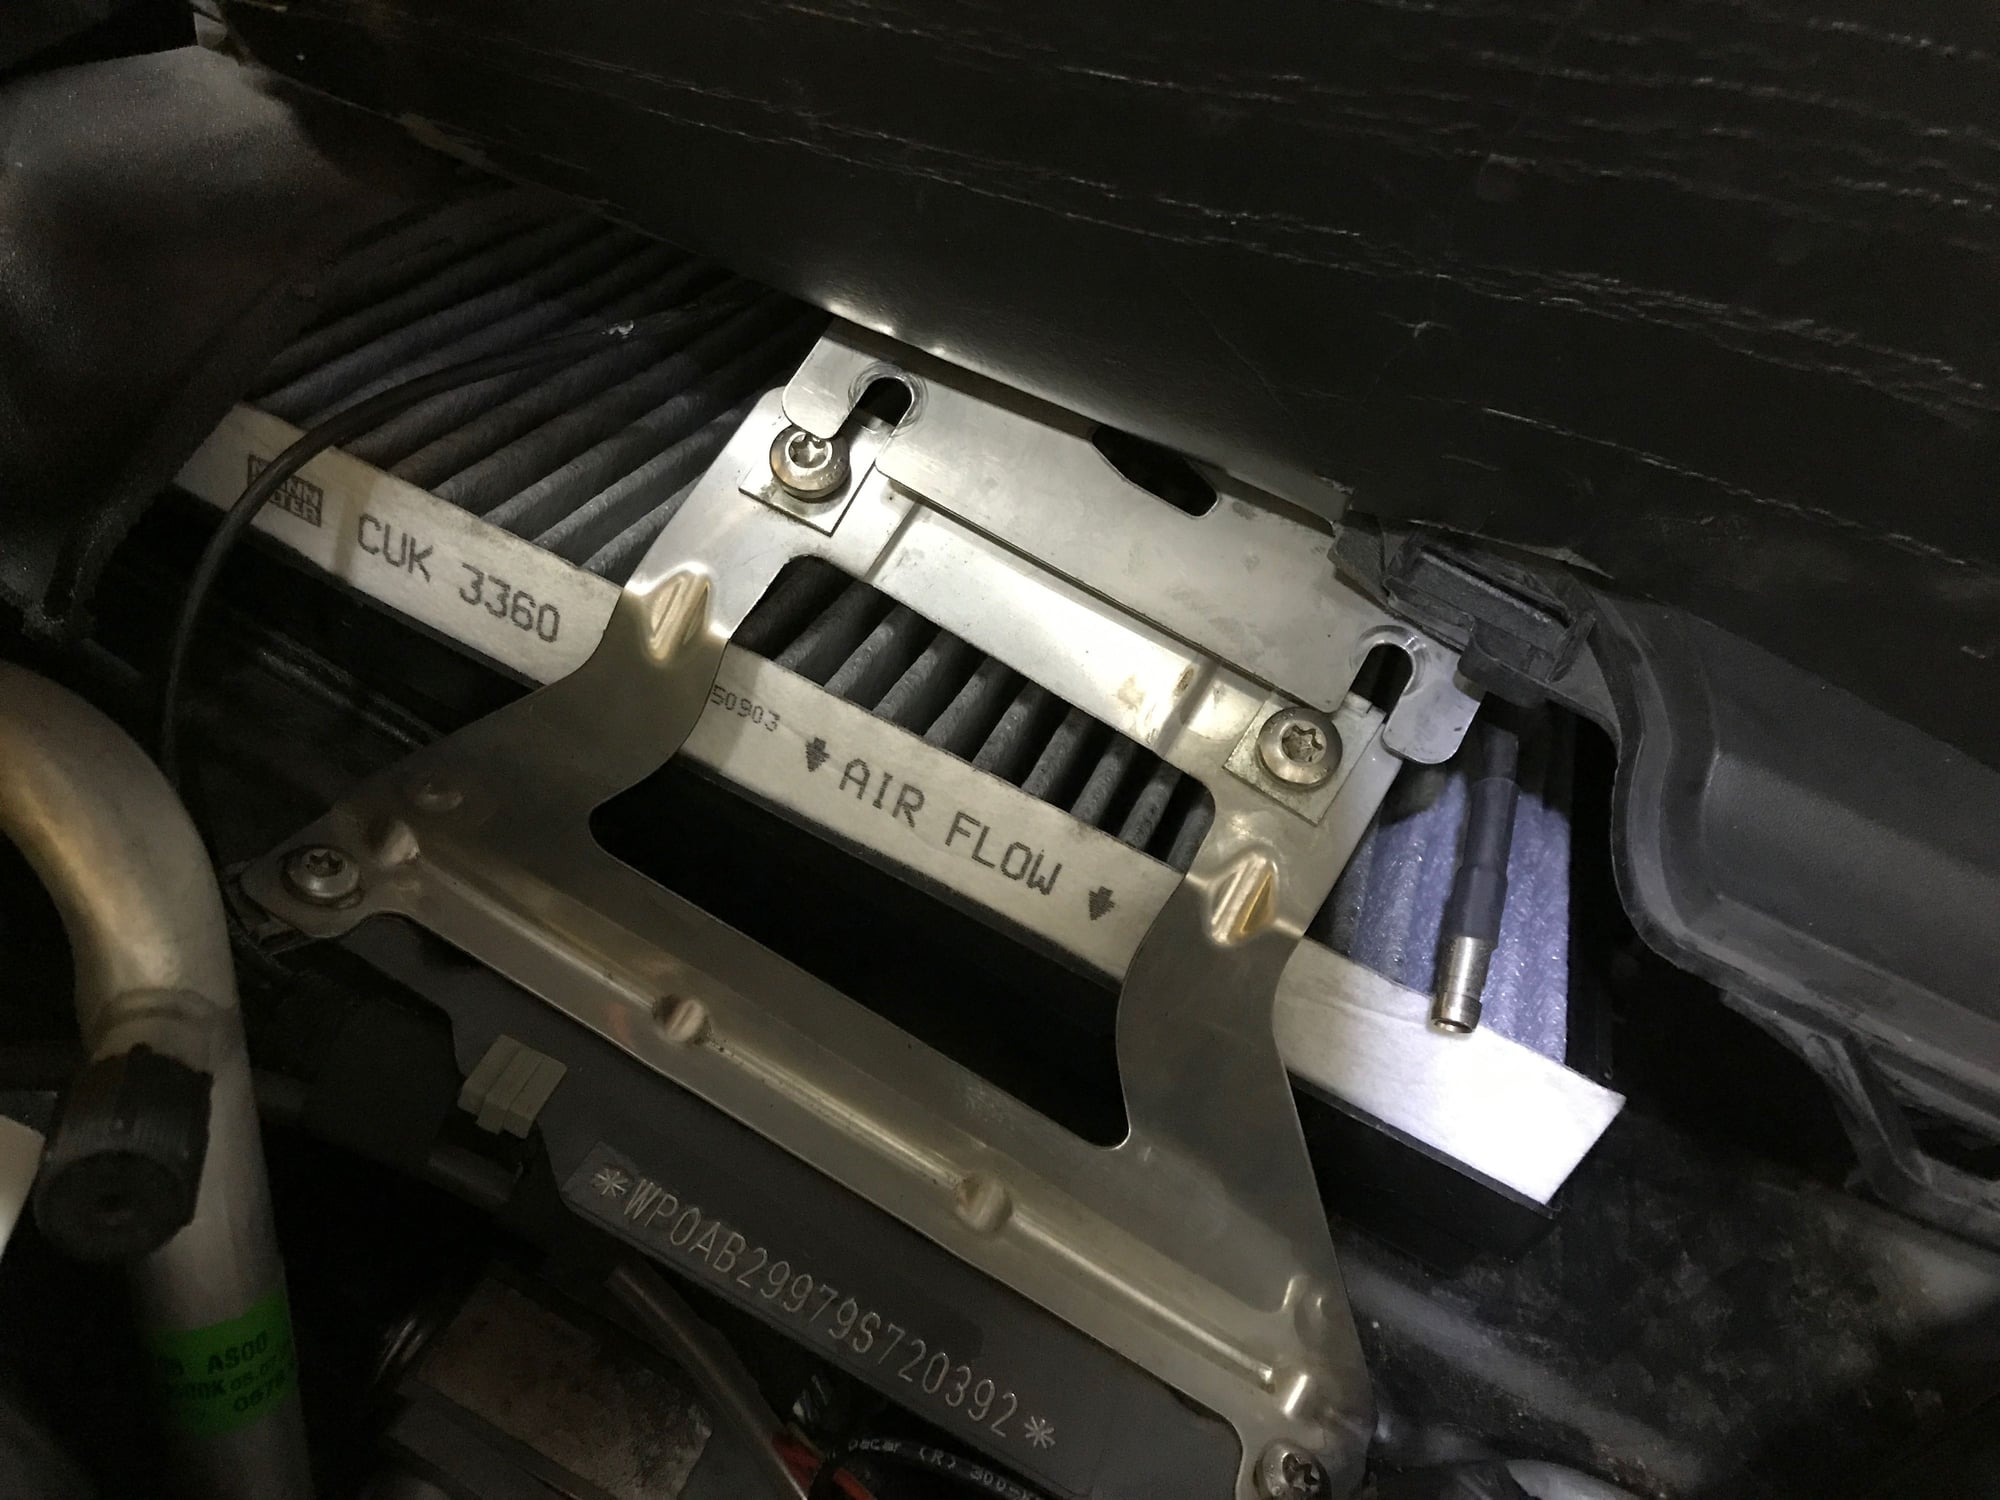
8. Loosen the two torx screws right above the cabin air filter
9. Take a break, you should be refreshed when you take out the windshield cowl.
10. Once everything is loose, the hardest part for me was removing the windshield cowl. Like Mi_so mentioned, definitely tape up the edges of the bonnet as well as the edge of the fender closest to the windshield. Blue painters tape will do. Start with the drivers side and pull the edges up towards the top of the windshield, Do the same to the passenger side and the center will come out by itself. Take your time.
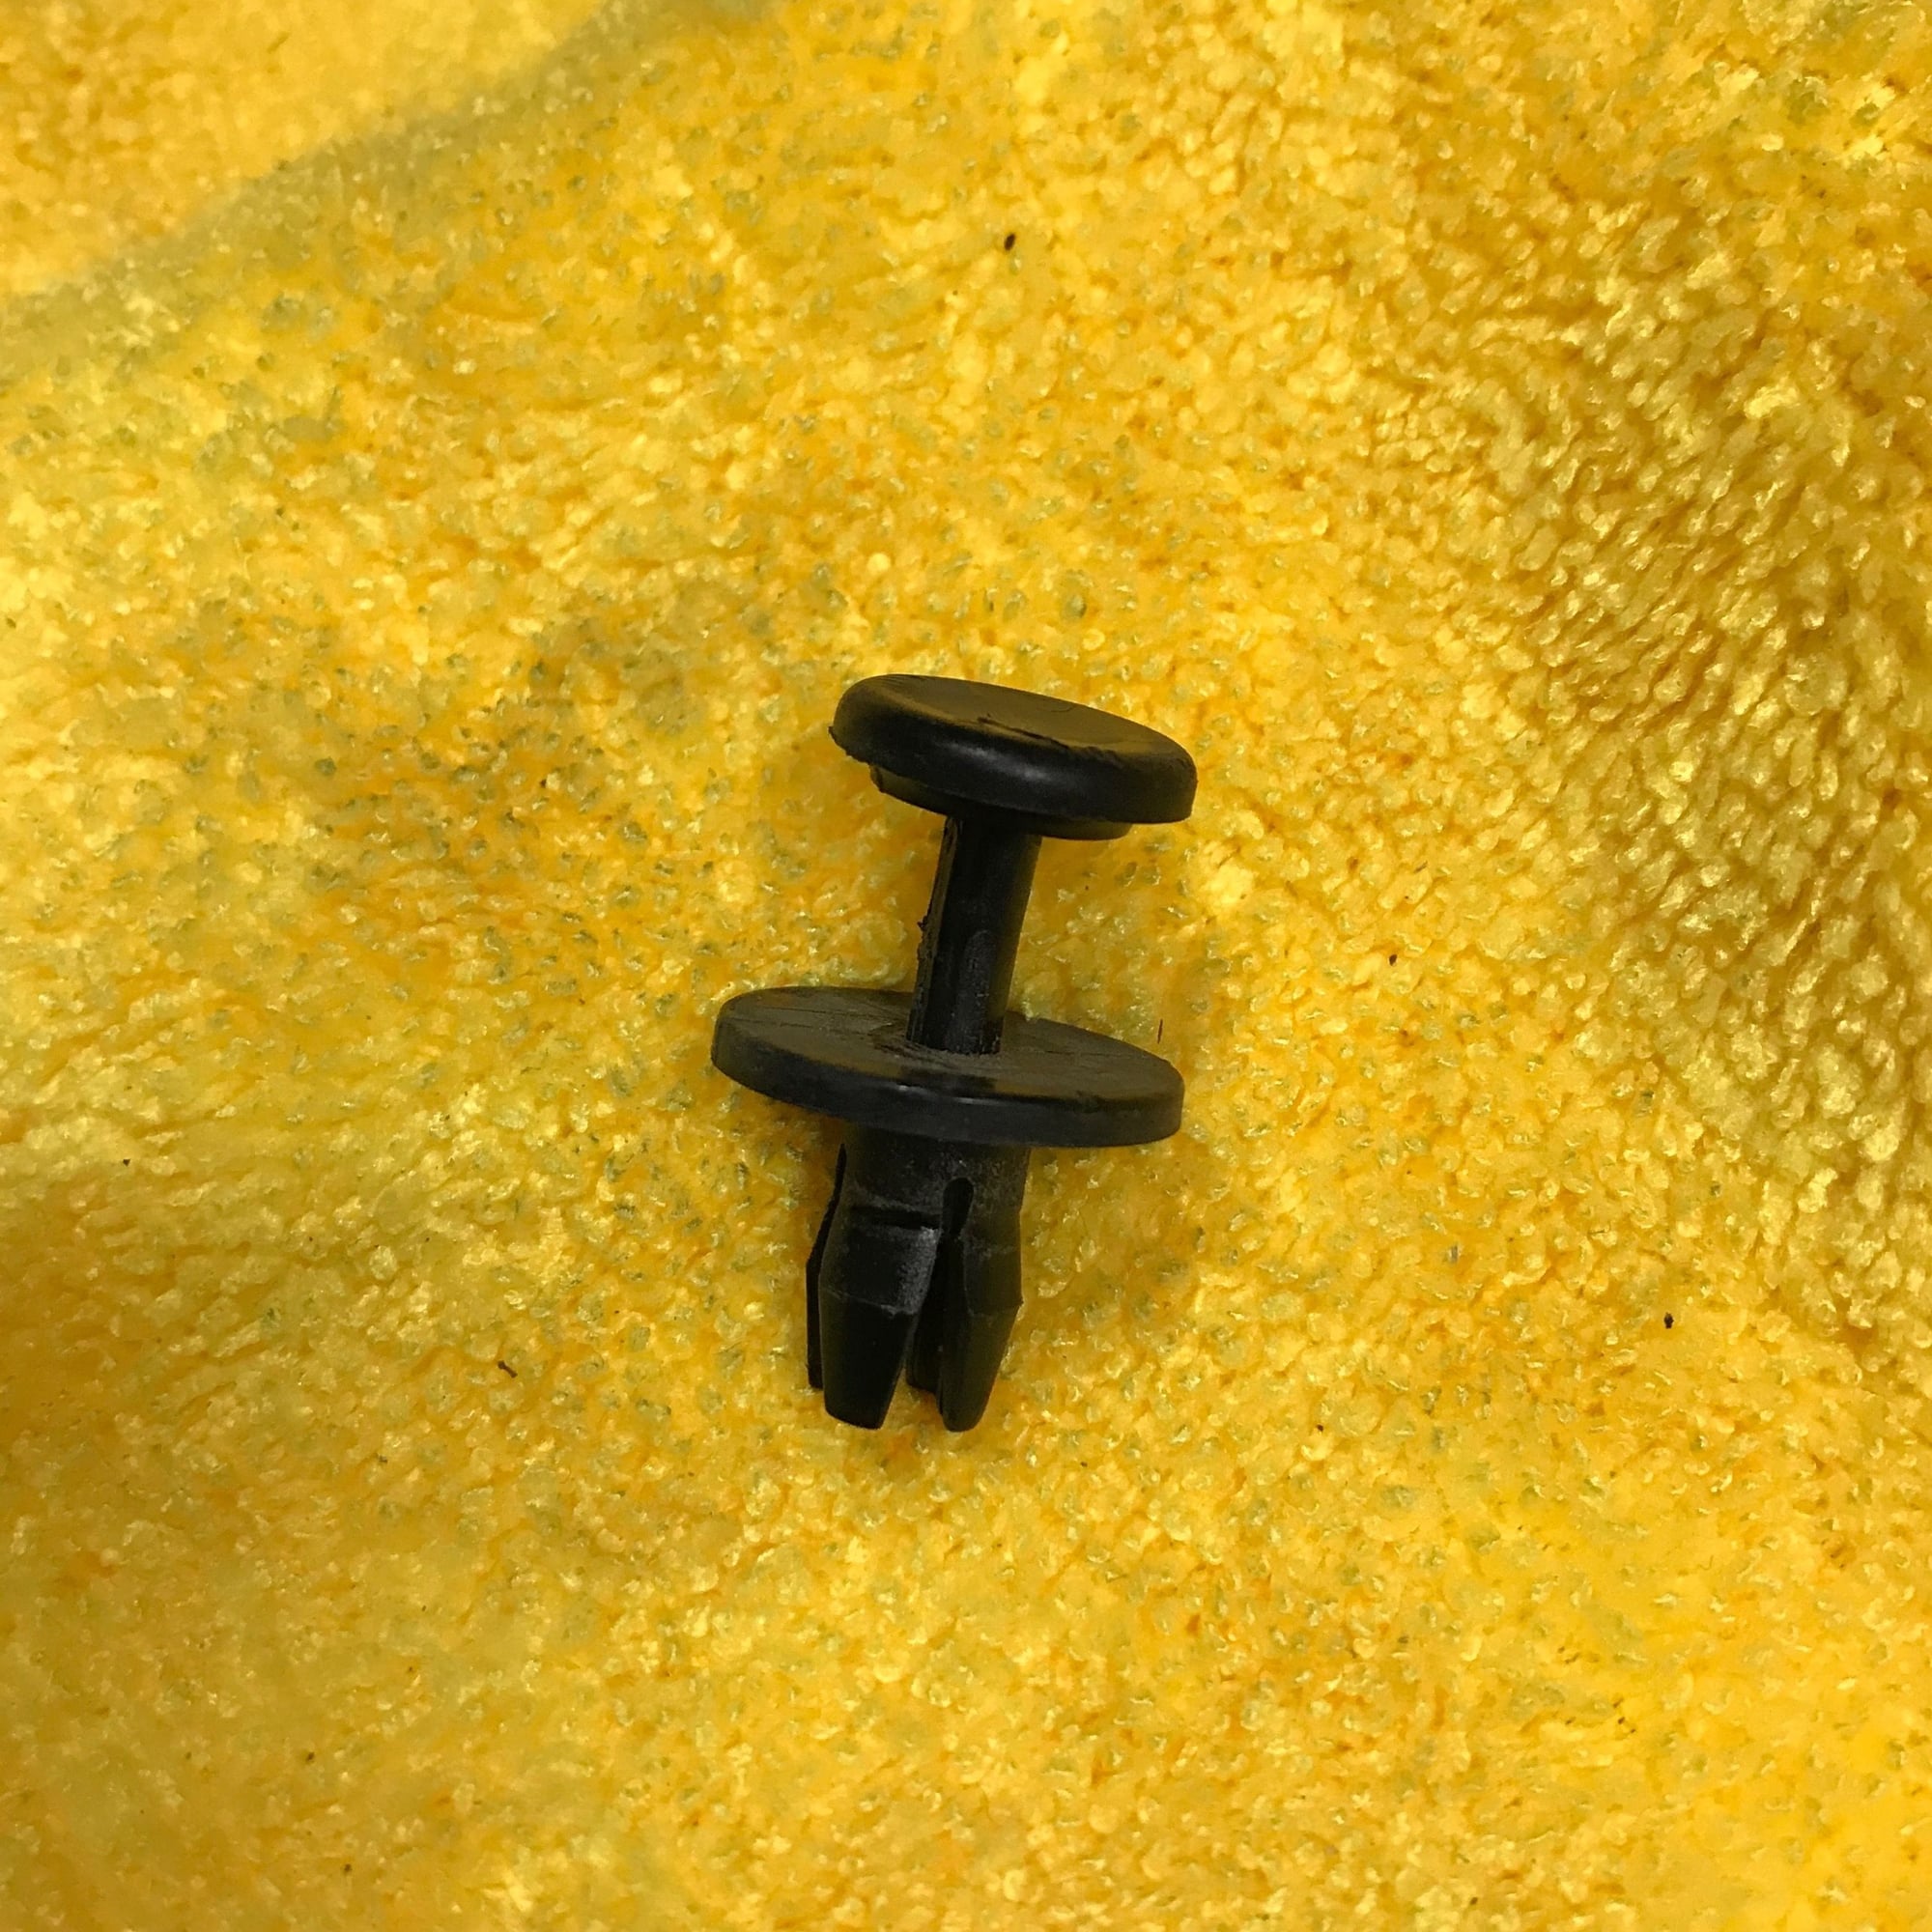
11. Once it’s removed you will have to remove the foam cover, remove the little gps unit? And transfer over the 3 'nut clips’? I pried the center section out using pliers and they slide off with some effort.
12. Putting it back together goes quick. Follow in reverse order.
Last edited by yuantrouble; 06-01-2017 at 02:59 AM.
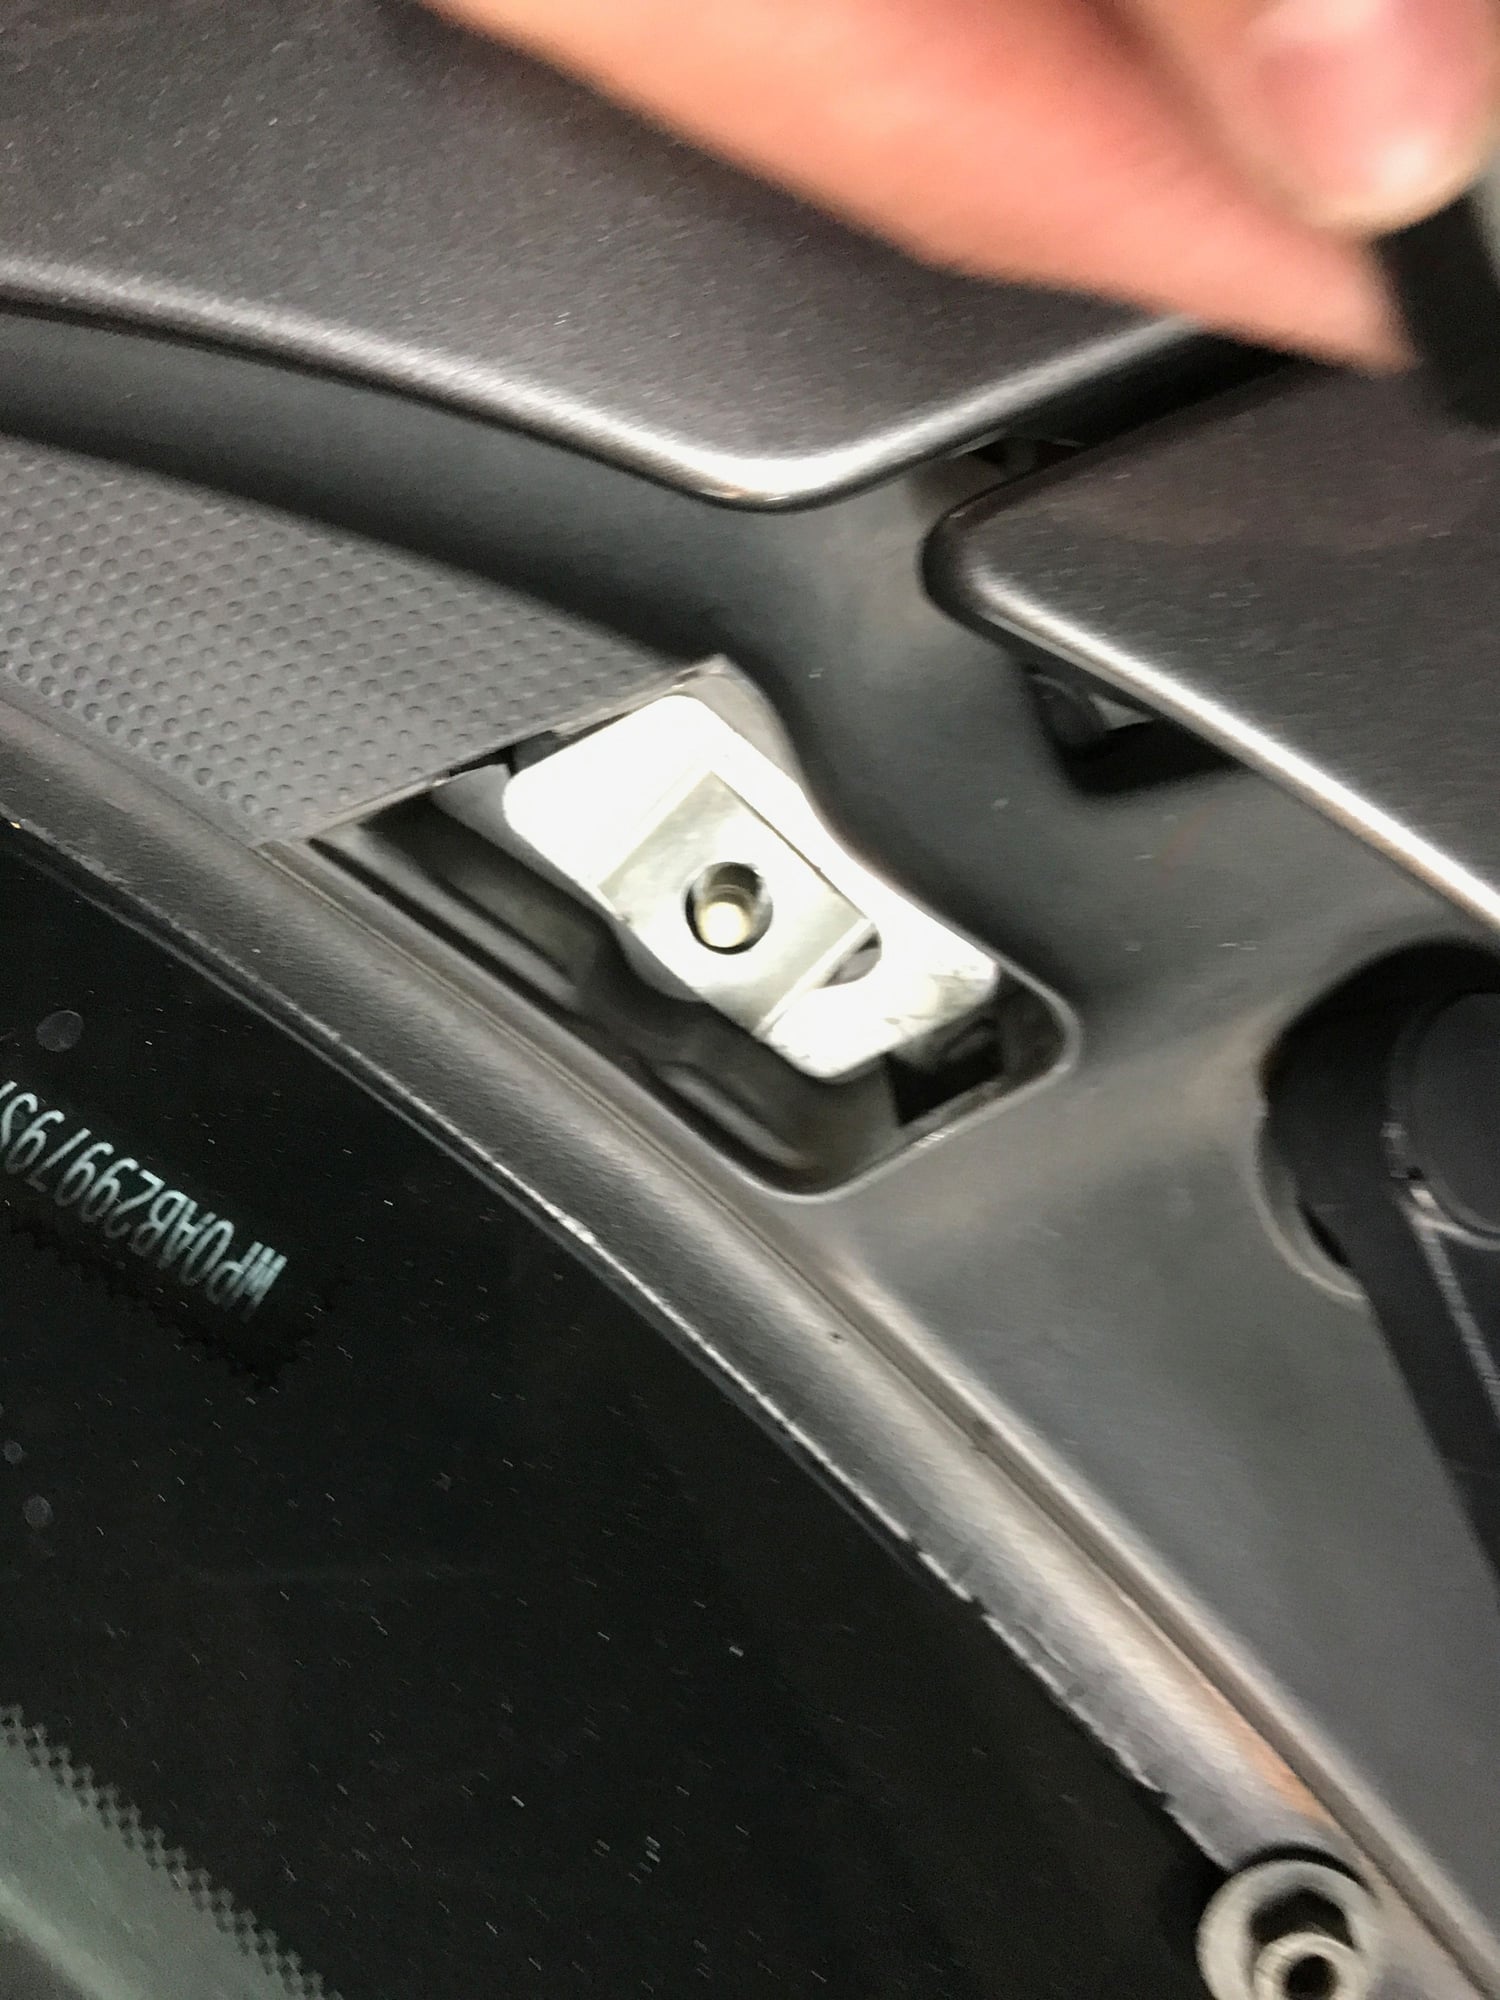
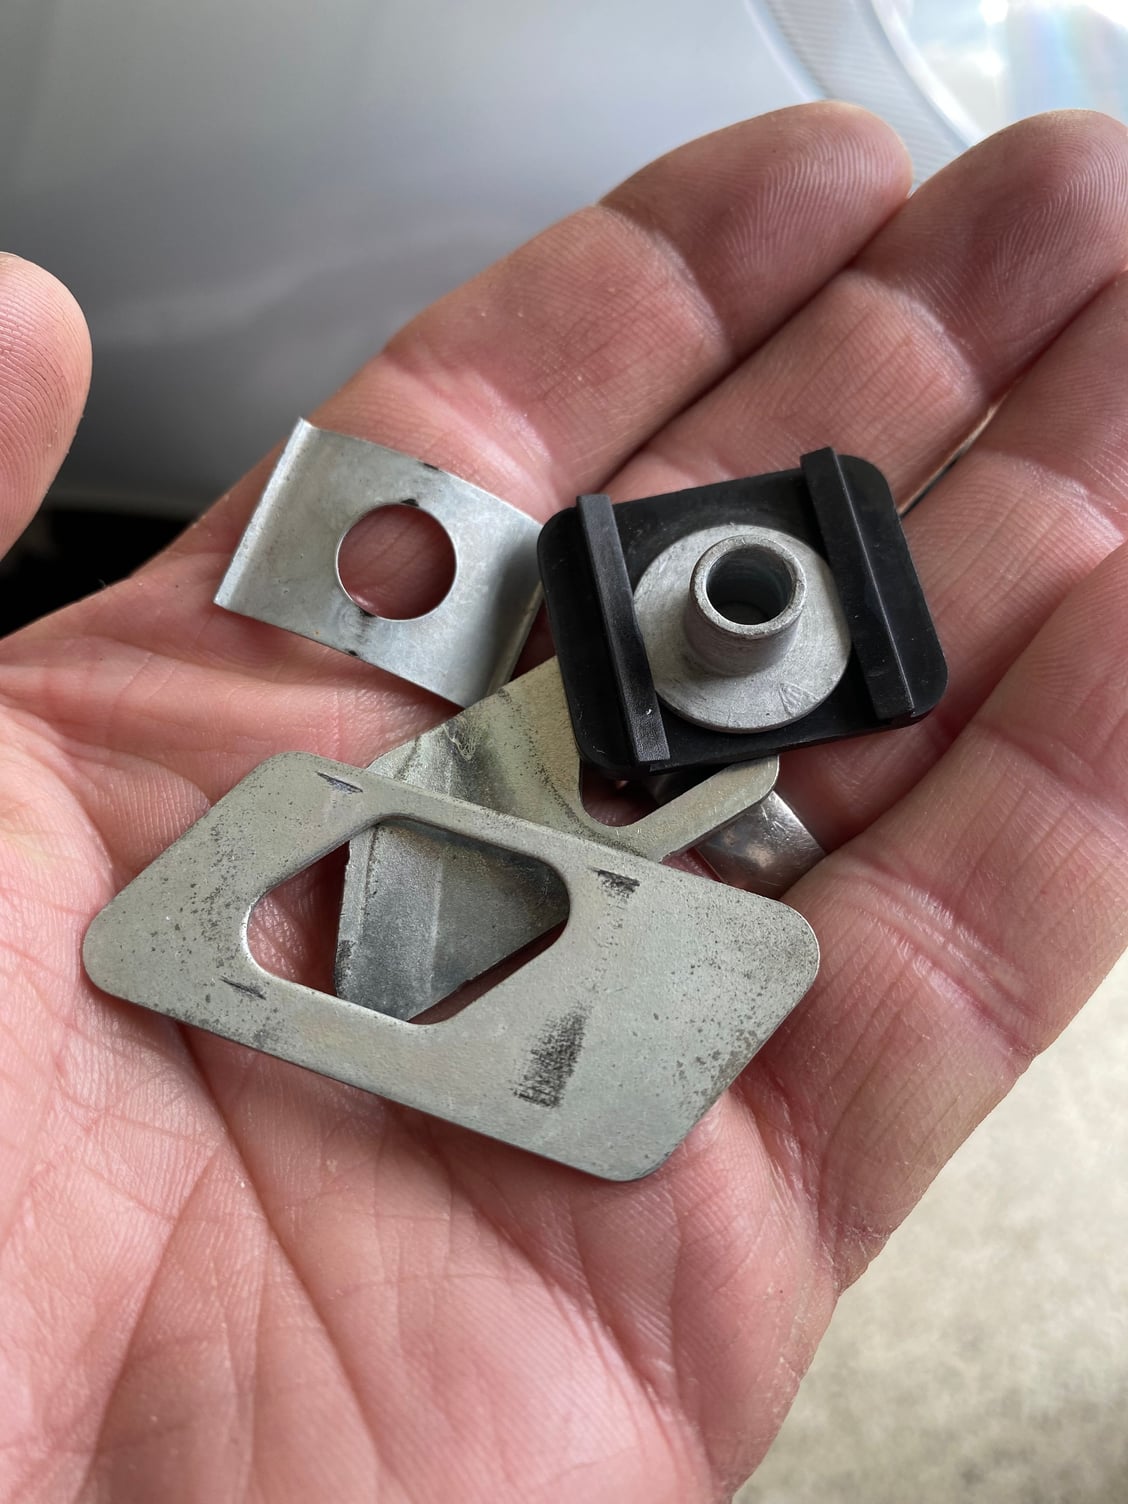
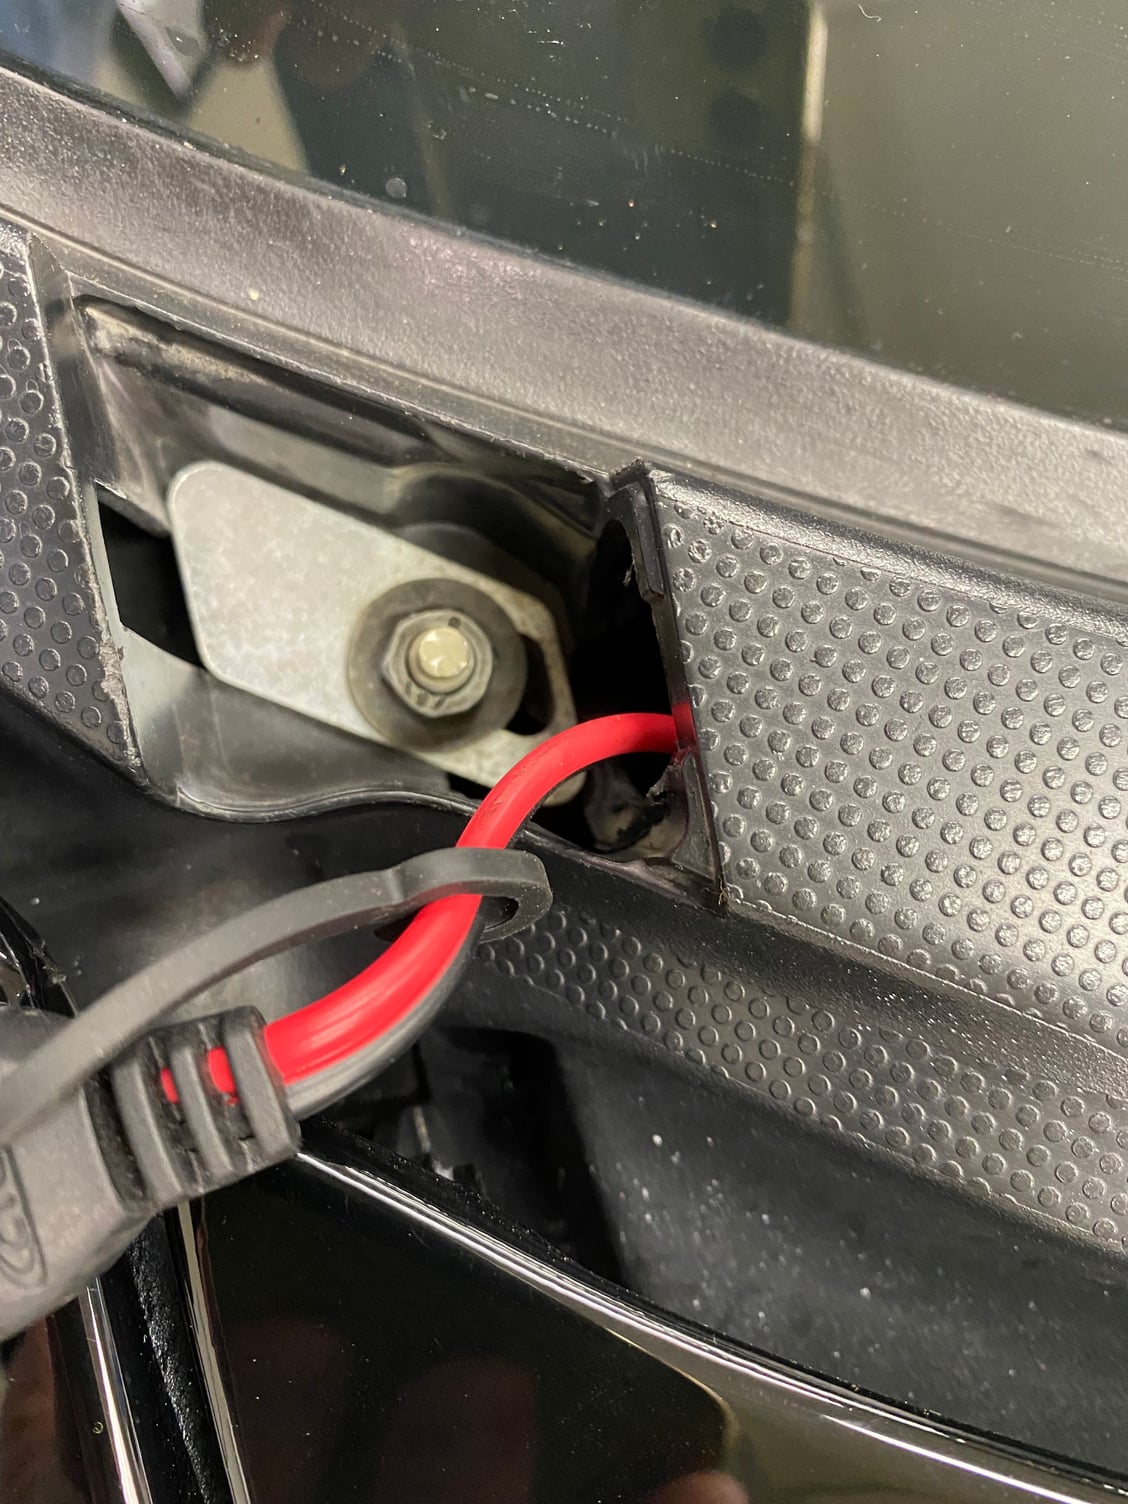
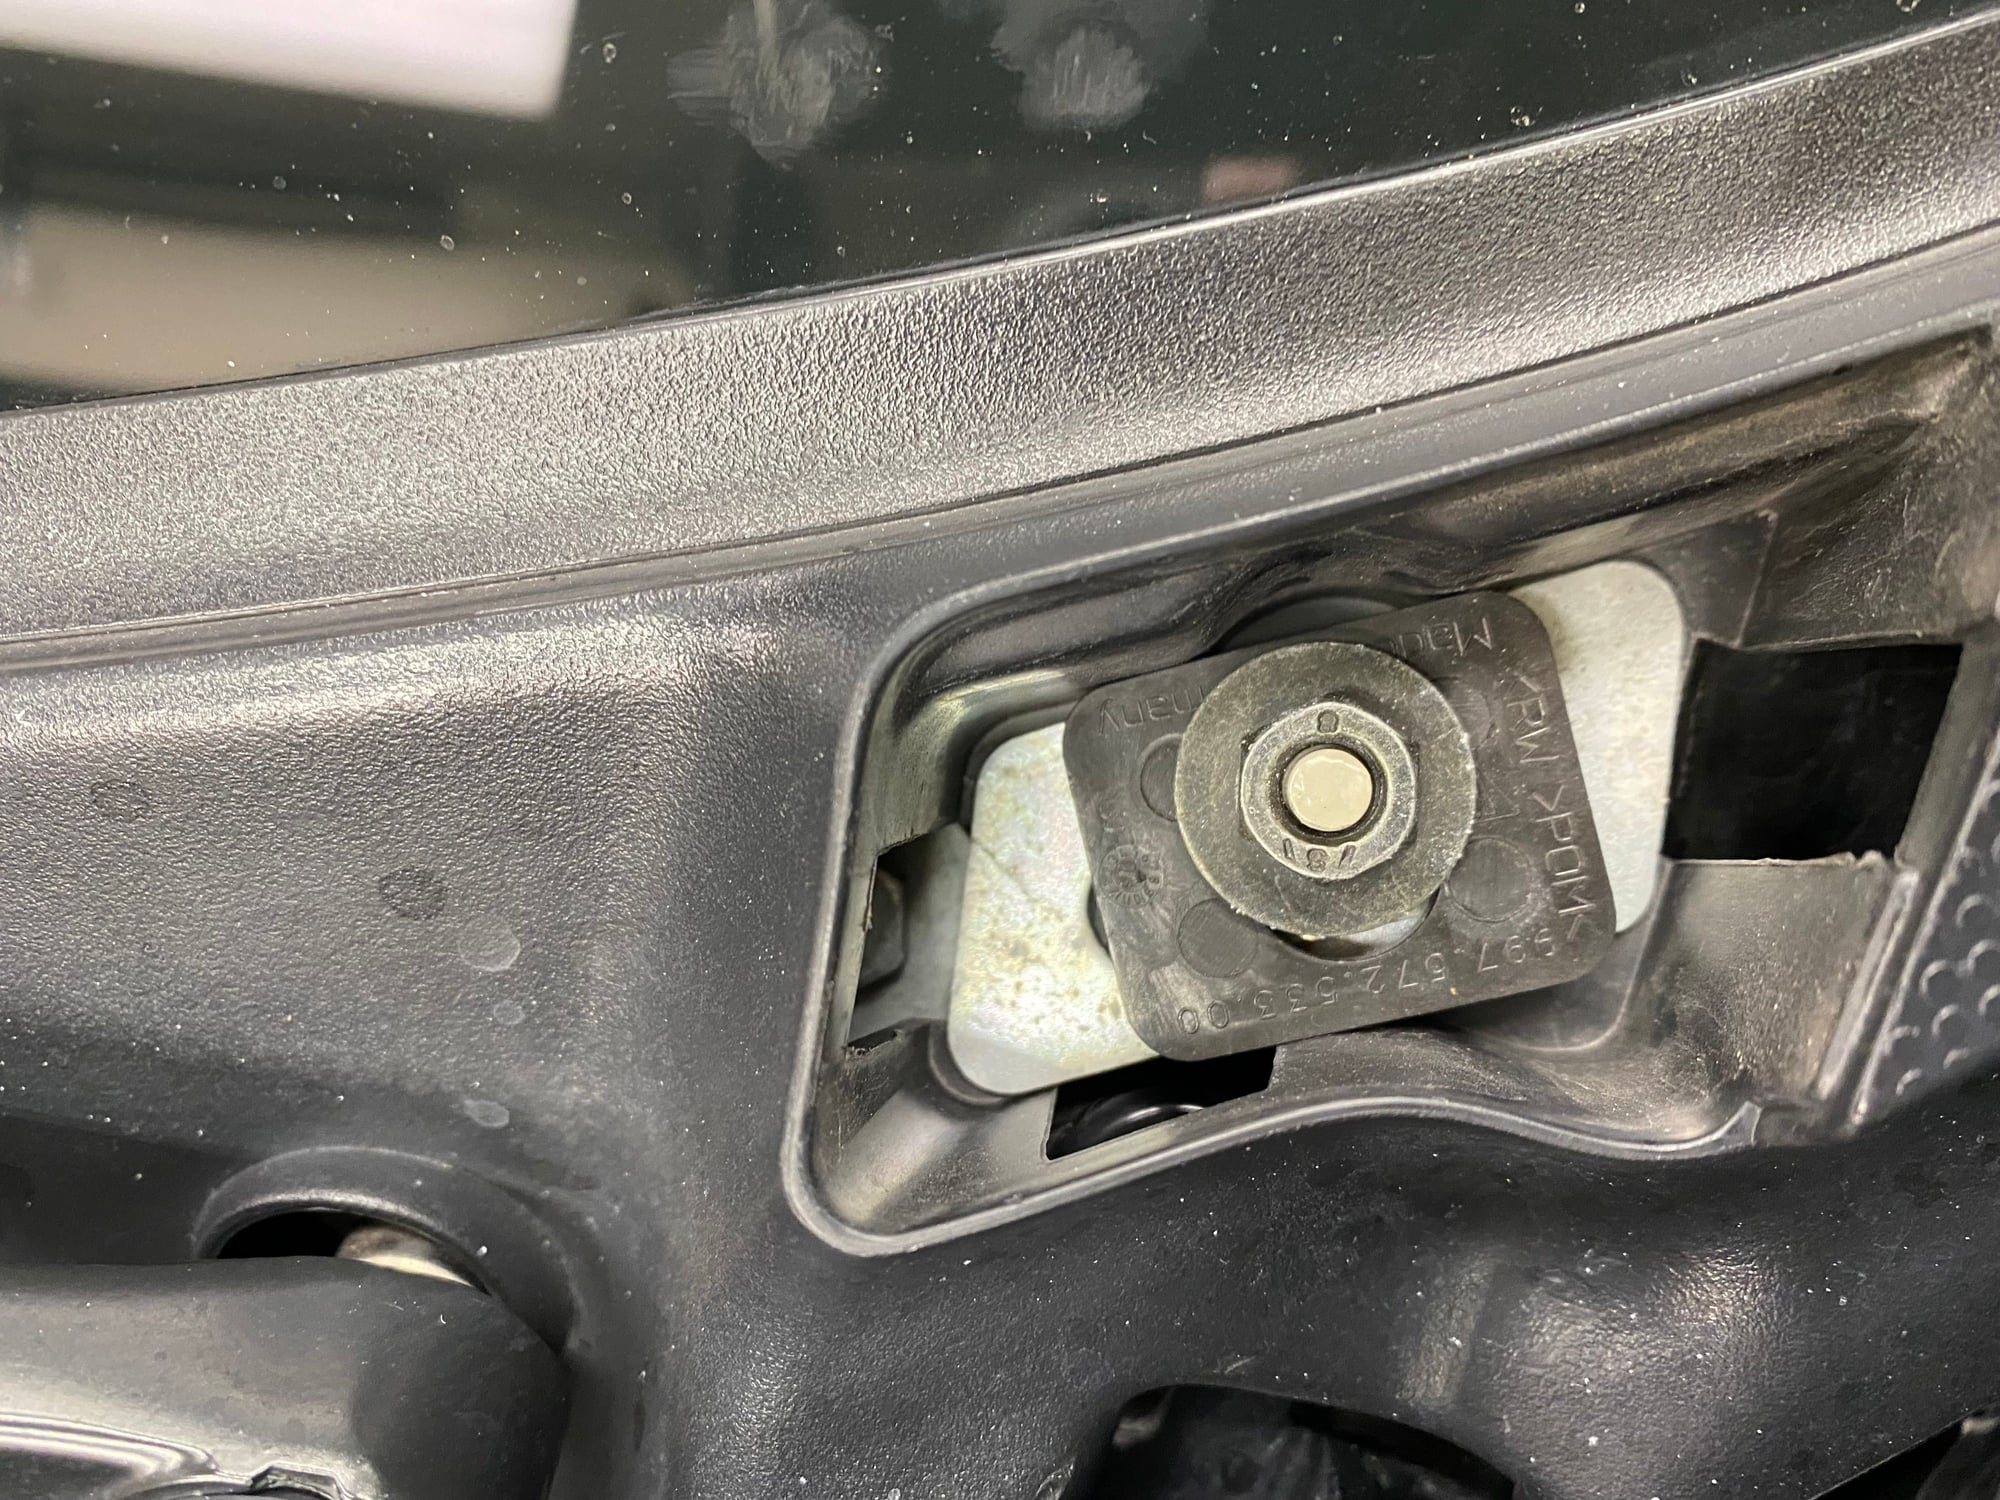
Resurrecting a very old thread here but for good reason. So I am doing the Heater core door flap repair on my 997TT and I have removed everything. However, when doing so I think I either lost a part or someone has been in here before. So there are plenty tutorials on how to replace the cowl or how to remove it and reinstall it, yet none of them talk about two trapezoidal shaped metal spacers and other hardware on the drivers side corner. In the pictures above (yuantrouble - post #16 first picture) if you look down in the hole under where the plastic snap cover was, you will see exactly what I am talking about. I didn't realize that was in there and when I was removing the cowl it flipped in the air and landed on the garage floor. I think I found all of the parts from the drivers side but on the passenger side I didn't find anything that looks like these parts in my picture. Does the passenger side not have this stuff and what purpose does it serve. I cannot figure what this stuff's purpose even is. Why so much complexity in a bolt to hold down the cowl?
Resurrecting a very old thread here but for good reason. So I am doing the Heater core door flap repair on my 997TT and I have removed everything. However, when doing so I think I either lost a part or someone has been in here before. So there are plenty tutorials on how to replace the cowl or how to remove it and reinstall it, yet none of them talk about two trapezoidal shaped metal spacers and other hardware on the drivers side corner. In the pictures above (yuantrouble - post #16 first picture) if you look down in the hole under where the plastic snap cover was, you will see exactly what I am talking about. I didn't realize that was in there and when I was removing the cowl it flipped in the air and landed on the garage floor. I think I found all of the parts from the drivers side but on the passenger side I didn't find anything that looks like these parts in my picture. Does the passenger side not have this stuff and what purpose does it serve. I cannot figure what this stuff's purpose even is. Why so much complexity in a bolt to hold down the cowl?
Seriously, so much unnecessary complexity imo, but i'm sure it's all there for a reason.
Thanks for the thread revival, I would never have known that extra hardware was there. My cowl was removed sometime in the past by PO and all of that stuff is missing, so I have to buy all of it. Took a while to track down all the part numbers and I gotta tell ya, it was surprisingly expensive for what you�re getting
Thanks for the thread revival, I would never have known that extra hardware was there. My cowl was removed sometime in the past by PO and all of that stuff is missing, so I have to buy all of it. Took a while to track down all the part numbers and I gotta tell ya, it was surprisingly expensive for what you�re getting
I replaced my cowl a couple weeks ago (the old one was sun-bleached, and the rubber was cracked). I was pleasantly surprised at the fairly reasonable cost of it, when you consider the complexity of the shape and that it included the heated wiper nozzles, inclusive of plumbing and wiring. It's one of the few parts for the car that I think is fairly reasonable.

 06-01-2017, 02:32 AM