When you click on links to various merchants on this site and make a purchase, this can result in this site earning a commission. Affiliate programs and affiliations include, but are not limited to, the eBay Partner Network.
Porsche just needs to "engineer" an internal flip up access cover.
I could be like the old "smugglers box".
Back in the day, full size vans used to have those engine covers that came off from inside the van.
Removed/replaced the plugs and coils this afternoon. My 2007 C2 had 51,030 miles, and over 7 years on the original plugs. The plugs came out easily despite being pulled 3 years "late". As for the "problem child" coil screw on the right side I finally gave up and used a air powered grinder to make a small cutout in the muffler bracket. Just a 1/4 inch cutout was plenty to allow me to use a long torx screw driver, making the screw easily removable.
I also would add that a flexible magnetic pickup tool can be very useful.
I am posting this info in both of the spark plug DIY threads . . .
I am about to change the plugs on my 2006 C4S, and I decided to go with the Bosch FGR-5-KQE0 plugs. These are 4-prong plugs which I've never used before, and I started to wonder about setting the gap size. There isn't a whole lot of information out there on the Internet, but here is what I found out.
The Porsche Factory Workshop Manual specifies a gap of 1.6mm +/- .05mm for the 997.1. I checked the website of an authorized Bosch spark plug retailer and their technical data showed the FGR-5-KQE0 plugs come with a gap of 1.4mm. That prompted me to call Bosch HQ and I was able to speak with a technician. He explained that the information on that website was INCORRECT and that all FGR-5-KQE0 plugs come pre-gapped at 1.6mm. In other words, these plugs should be "plug-and-play" . . . end of story.
I asked the technician if the gaps on multi-prong plugs can even be adjusted considering the 4 ground electrodes are not above the center electrode (like on a single prong plug). He said Bosch recommends NOT adjusting the gaps on multi-prong plugs. Rather, he recommended I do a visual inspection to make sure the ground electrodes are all symmetric with respect to the center electrode. If one happens to look off, get a replacement.
I hope this information helps anyone who may have been wondering the same thing as me.
Sean
Last edited by Sniff; 04-04-2014 at 05:58 AM.
Reason: Grammar error
If your fingers and hands are not slender, then find an assistant who does for the day, because it does get tight behind the muffler bracket and above the coils to handle the wire clips.
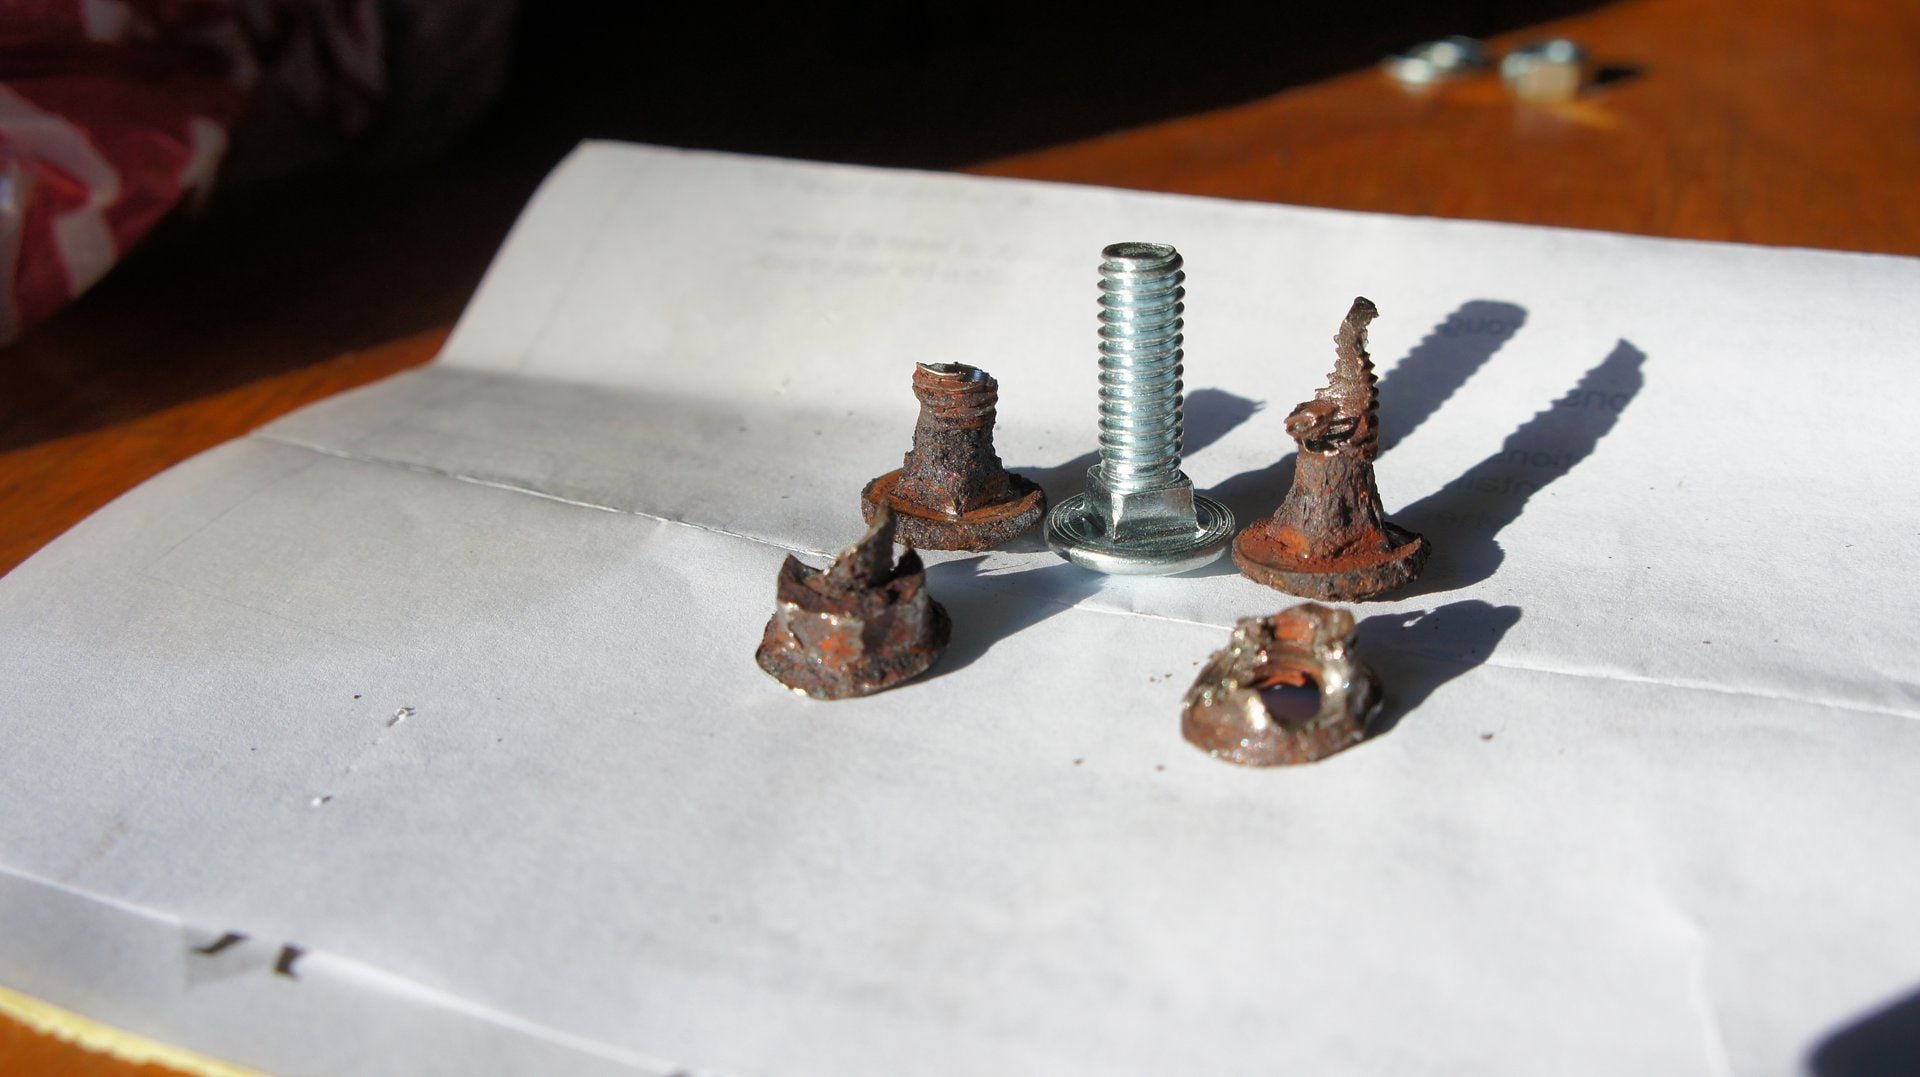
Half of my 2008c4 cat clamp nuts were so corroded (zinc plated presumably) that they rounded on me, so I had to use cobalt drill bits to get them out; the area and geometries did not allow for a mini-hacksaw, dremel, nut splitter, or grip-sockets.
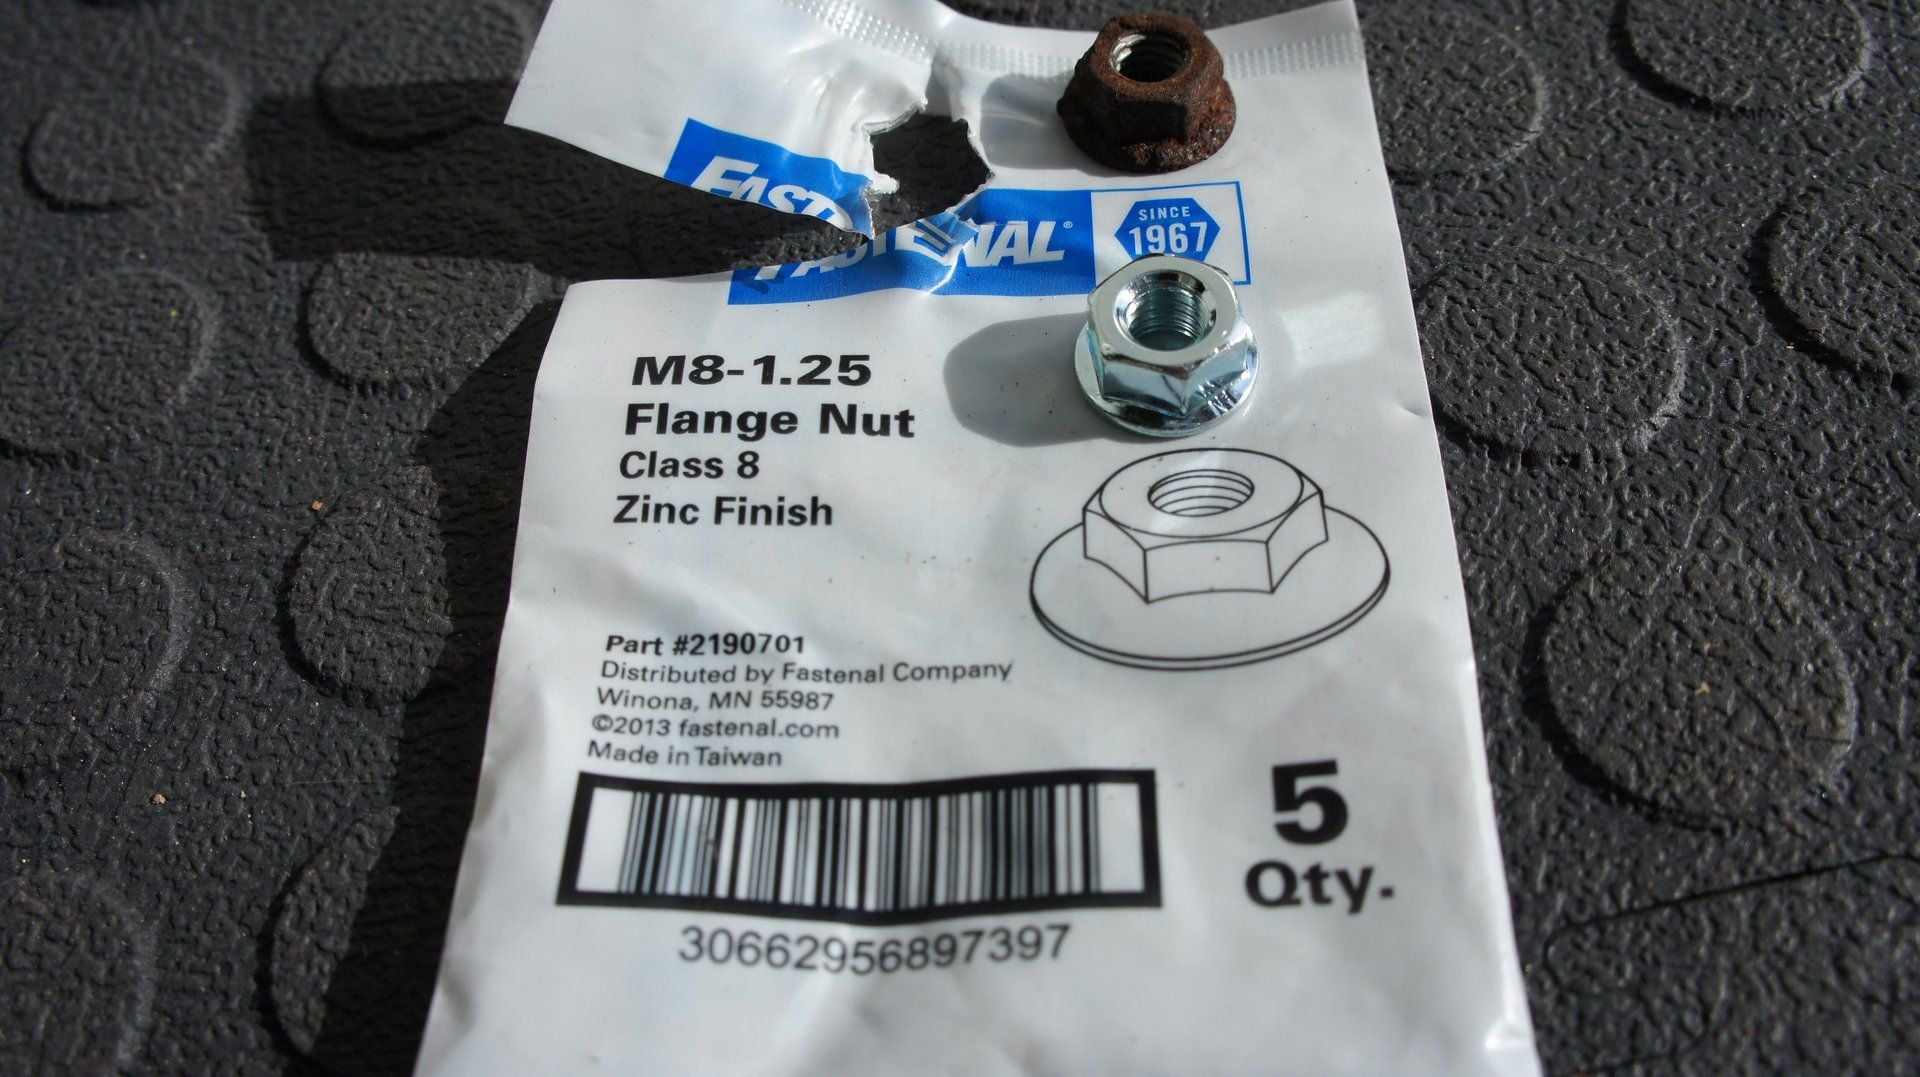
The muffler bracket flange nuts were also prett bad, so I replaced with a set for $2 from Fastenel down the street from me.
To remove my mufflers, I had to loosen (not remove) the single clamp bolt holding my exhaust tip (the rounded-corner rectangular type on non-S models). Otherwise, the tip was blocked by the bumper and prevented removal.
The old plugs seemed intact and matched my set from Pelican exactly. In the end the car did idle a little smoother, so the ROI was greater than zero.
The muffler bracket nuts also could use replacing, 3 per side.
Thank you for your posting and I followed your direction.
It took me 4hrs.
Left small stretch on rear bumper when I put it back passenger side muffler.
And as David mentioned, passenger side very left coil,..that SOB,..was pain to remove. I was almost gave up but spend time,...
Originally Posted by Dave R.
997.1 Spark Plug Change Procedure
.........
Below is a picture of (part of) the cam solenoid on the right cylinder bank. It is a bit obscure, but looking through the central aperture of the engine bracket at the tip of my blue-gloved finger, just above my finger and on the left edge of the aperture you can see the electrical blade prongs extending from the back of the cam solenoid. The tip of my finger is resting on the rearmost of the two bolts fastening the rearmost coil pack to the head. To the immediate right of my finger is the old, dusty coil pack, in contrast to the shinier new coil pack partially captured on the right edge of the picture: Attachment 663318
Just did this for the first time today in my 07 C4S. The DIY instructions were great - removing mufflers was simple enough and gave lots of room to work.
Used the new style coils with the bigger bolt tabs, and thus had to change over to the 40 mm long bolts that come in the Beru box, which also by the way change from being a T40 to an E10 type. No big deal, until I got to that darn upper bolt on the rear coil on the right side. My E10 socket (and every other one I have seen) is a 3/8 drive, which makes it pretty big to fit in there between the bolt and the muffler bracket, and essentially blocks you from getting a U-joint on it.
After fighting with it for about 15 minutes with all sorts of wobbles/U-joints and not sure if I was going to find a way to even tighten it, let alone get a torque wrench on it, I finally put together (moving backwards from bolt): bolt - E10 socket - 3/8 to 1/4 drive adapter - 6" long 1/4 extension - torque wrench. Sounds simple enough - but the key was the 1/4 extension which let me fit straight over the muffler bracket - a 3/8 drive extension would not fit between the muffler bracket and the heat shield mounted against the body/frame. Put the Socket and adapter onto the bolt, then push the extension through the tiny gap above the muffler bracket and connect up to them.
I just did mine last night. Thanks again for this DIY! I have some custom muffler work so I just removed the exhaust manifolds and the heat shields. I was able to get it done by contorting my fingers, working 'blind', using a really good light (highly recommended!), and using some small tools. The newer version of the coils are larger than the old ones, but not much more difficult to put into place. They look really nice, too!
The fun thing was that I replaced the exhaust manifolds with Fabspeed headers!
Here are a few photos. Headers look like jewelry, and the plugs look ok to me...
Also including a diagram of cylinders, bc it was very difficult for me to find it!
This is a great write up and thank you OP! The prep time saved it priceless. I only have 27k miles but am doing this due to age. Glad to see all the bolts are very clean and corrosion free. Perks of a CA owned car.
I just started this and about 1/3 of the way through and can offer a have few tips.
1. E10 heat shield bolts, though I'll probably get flamed for not using the correct tool, a 8mm 6 point socket works fine. At 7.5 ft. lbs, they came up with ease.
2. For the tight spots to remove the T40 bolts that hold coil pack(1 and #4), I used a T40 bit and 1/4 socket, 1/4 drive. With that, it's small enough to clear.


 09-16-2013, 09:11 AM