When you click on links to various merchants on this site and make a purchase, this can result in this site earning a commission. Affiliate programs and affiliations include, but are not limited to, the eBay Partner Network.
if you have the durmetric pro, turn off the DRL in the FRONT modula via coding. then go into the pcm itself via the standard pcm menu and turn it off there as well (auto drl option). from there you just need to do the diode hack and your fogs will now become your DRL. where in ON are you located?
Did that already but you never know. Dumbo may have buggered up the sequence. Will try again today.
im two hour north of TO.
Johan
Ok! SUCCESS! Couldn’t get it to turn off so walked away in disgust. Later had to move the car and Voila, no DRL headlights. Now have to get me some diodes.
Johan
I did this a few weeks ago. No issues after install with drain.
It takes a bit of pulling but it slides out toward you. I used a lil pry apart action mixed with a steady pull forward. It feels like you are going to break it but there isn't another way. Take your time it slides out.
I thought it may be helpful to pull all this great info together in one section...
Remove light switch:
Switch dial to �Home� position
Press on the headlight switch so that it moves inwards, (maintain pressure inward).
While pressing firmly on the switch turn the switch clockwise.
Pull firmly on the switch and it will slide out.
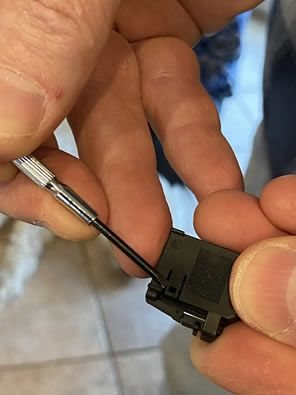
Remove connector from back of switch and remove wire-tie.
Remove pin assemble from pin housing by pulling �forward� while decompressing the small tab in the �back� of housing (Pic)
Jump diode�s cathode (end with a grey ring) into 'home' wire pin A2 (yellow/red) to 'fog' wire A5 (yellow/white). If not snug, add a little solder to diode leads. Tape exposed leads.
Re-assemble.
In the original post, the diode is 1A 50V. I used 1A 400V because auto electrical systems are �noisy� and it cost the same so why not. This is the one I got on
It took a Global Quarantine, but after years of procrastination I FINALLY did the $2 DRL hack and it is really easy with these directions.
Thanks for the picture and the simplified directions. Literately did this project in 20 mins.
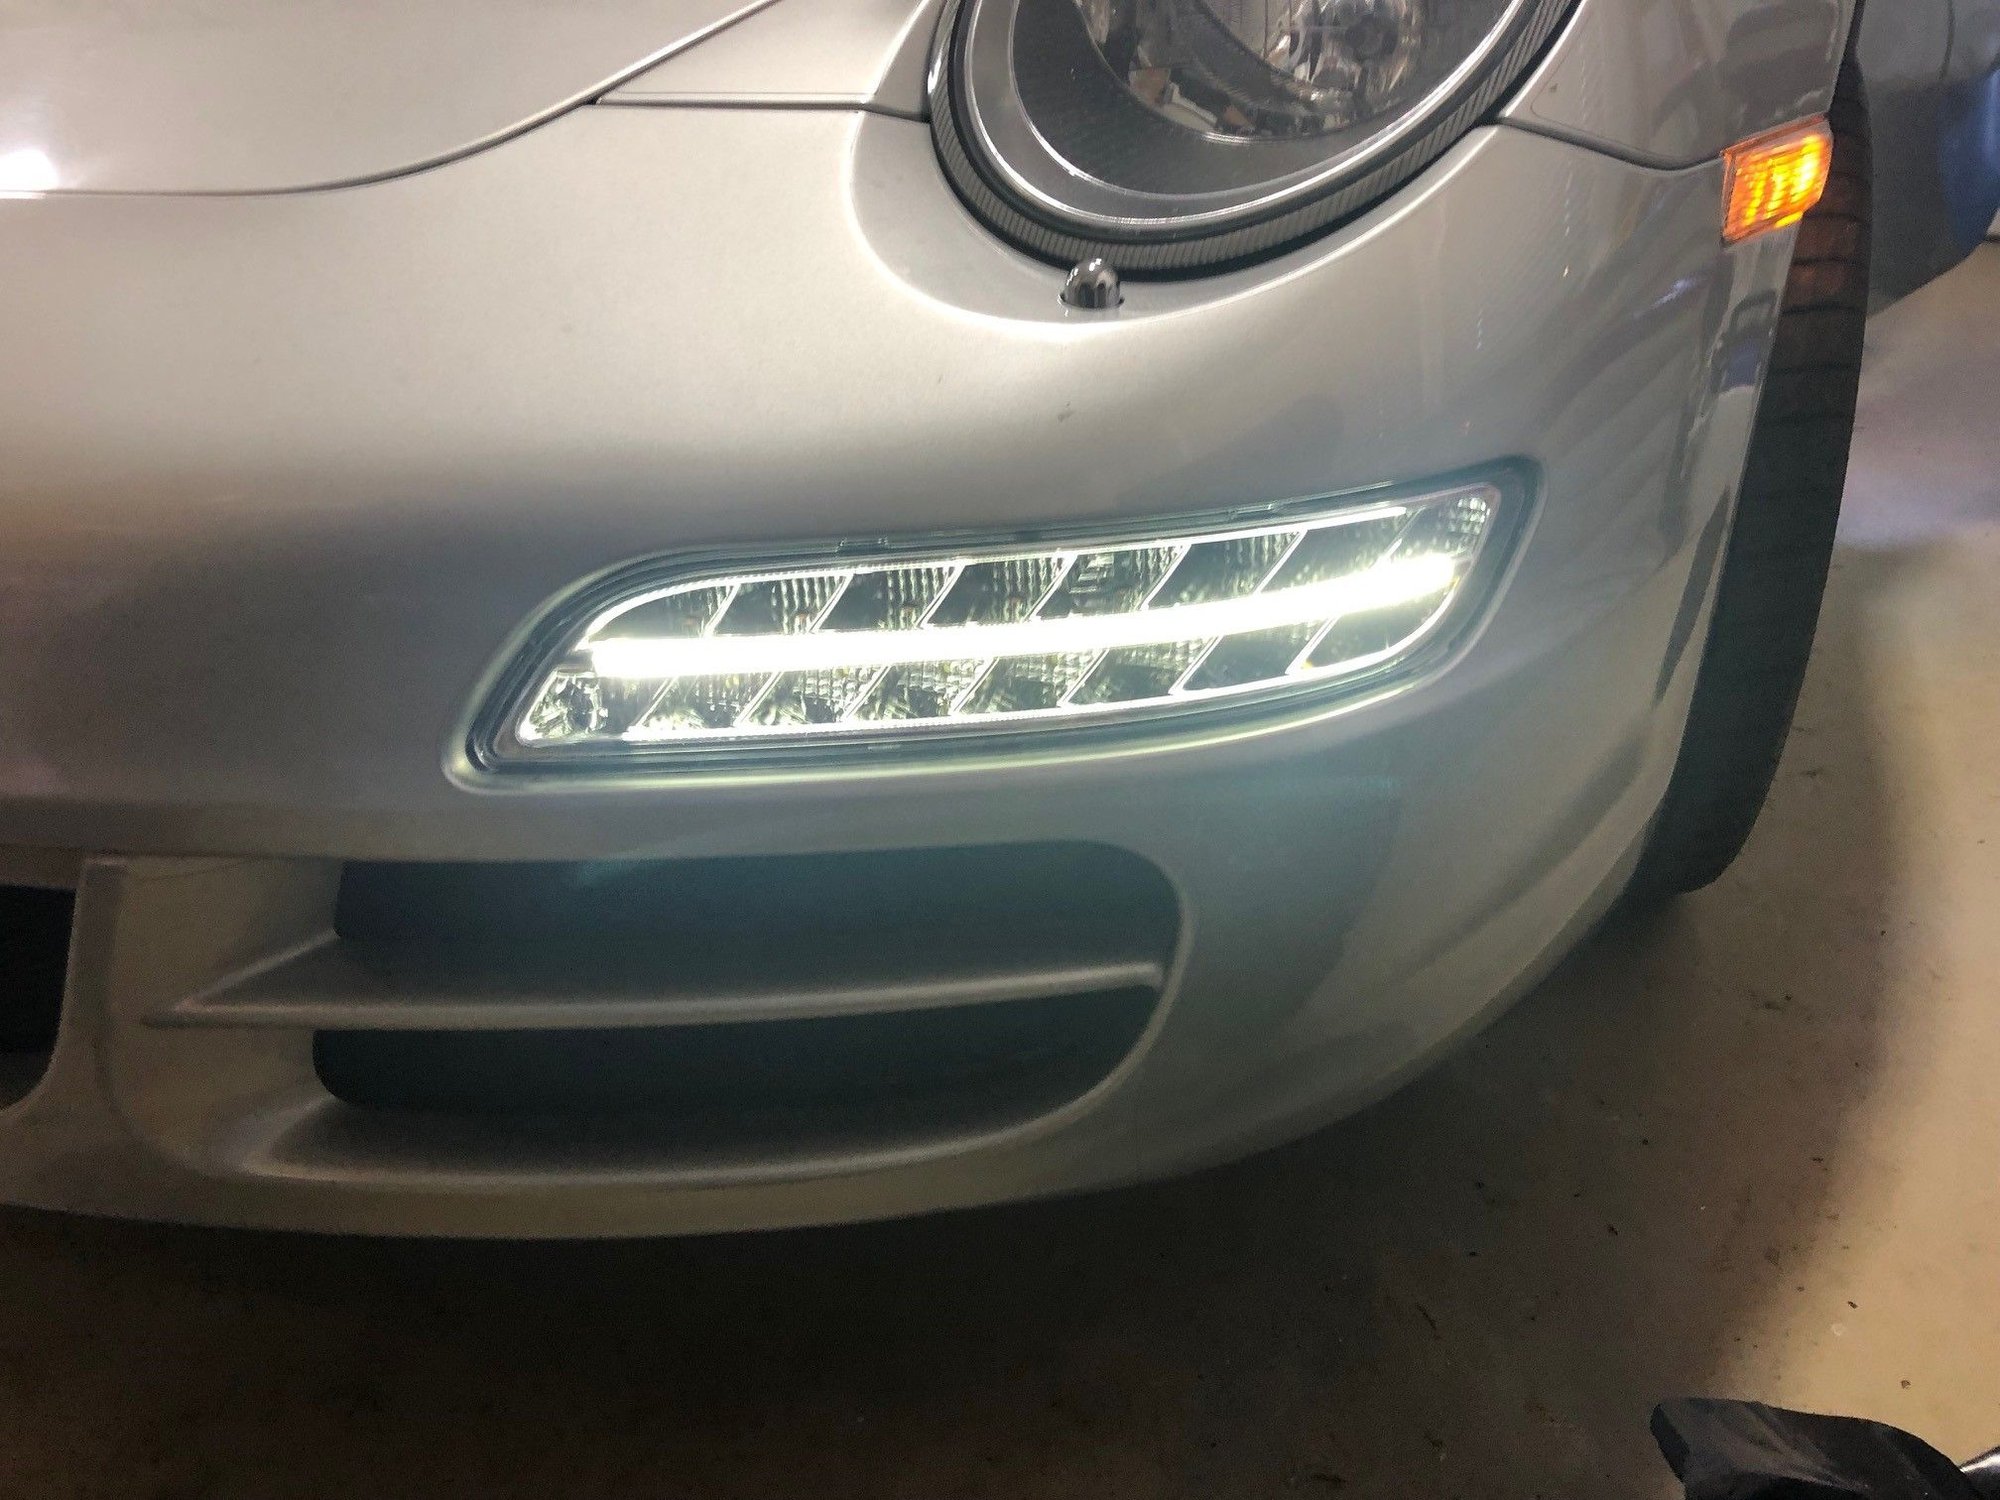
This works great and I love the modern look it adds to my 997 with the LED fog lights running as DRLs.
Thank you so much! This is so simple and safe.
Two quick changes; When removing the switch start to the left of HOME and press in as you turn it to HOME, it then slides right out. Instead of decompressing the small tab, change it to, lift the small tab with the dot. I'm being picky but some folks may be very afraid of this whole process even though they really can do it.
Brilliant hack that works so well! Thank you again!
Recently bought an 08 Targa 4S. It's apparently a US, Mexico, Canada car set with the full headlights and taillights on at all times. The only thing the switch would do is turn dash lights on and off and toggle front and rear fogs. PCM setting cannot influence the setting if front control module is set to ON.
I took the car to my awesome indy shop to get a baseline on everything. Good news, the Grey Goose is in great shape. Better news, Leann was able to turn off the DRLs. I came home and immediately did the $2 hack. Perfect! Now to get some LED fogs!
BTW Tranzit Blu is another big win I got from reading here. Love making little usability mods! Thanks for everyone's great contributions!
I have a 2005 997.1 S that I recently replaced the turn signal/fog light assembly with (picture below). I also removed the PCM and replaced it with a different head unit. All in all, it's a fantastic car!
Before I took out the PCM, I had the DRLs set to on. I'm heading to my indy garage tomorrow to have him turn off the DRLs using the OBD computer, but will that mean that my LEDs below won't be on? Do I need to do the $2 hack and keep the selector in the home position to have the LEDs come on?
Thanks for any help! I've browsed the forum over and over and can't find an exact answer to my question. If there is one, I apologize for asking twice!
Can't answer your question, but like the looks of your light assembly. For some reason the LED strip looks brighter than the Dectanes...which unit did you purchase??
I removed my PCM and replaced it with a Kenwood unit. Before I did, I had the DRLs turned on. After adding the LEDs, I want to turn off the DRLs. So I went to my indy mechanic and he hooked up the computer and tried to code it, and could not turn off the DRLs. Each time he did, the computer said that the DRLs were off, but then they stayed on.
He accidentally removed my Sports Chrono Plus, but is getting the code to reactivate that from Porsche.
I really don't want to have to remove my current head unit and put in the PCM just to turn off the DRLs. Any ideas?
Well, I finally got my DRL issue fixed - had to swap out the Kenwood unit for the PCM, turn the DRLs off via PCM, and then replace the Kenwood unit. I then did the $2 hack ... fantastic. It's not easy to remove the cover housing from the connector, but once I did (using a putty knife to literally pry it off), it was very easy to put in a diode and re-assemble.
The cool thing - when the switch is in the HOME position, the switch illuminates showing that the lights are on.
How do we know 1A is sufficient? Not doubting anyone, just noticing the front lighting fuse (includes fogs) is a 10A fuse.
How hot does the diode get when in use? Should it be wrapped in electrical tape?
For those asking same question, I think that you're modifying the "command signal" (a digital input really), then the central module receive the "hacked" signal and the controller send the "activation command" to the associated output relay (this relay's contact is the one protected by the 10A fuse). and this relay is the one that actually provide power to the fog lights. Since long time ago, cars are managed by digital control modules that communicate by "networks" which reduce cable wiring -allowing other improvements as monitoring sensors, smart detection, supervise performance, etc-. So, in summary, input switch isn't really wired "directly" to the relay/fog lights anymore as was in the old days. Digital input current draw is minimal (in the order of tens mA really), so this universal diode should be enough for the application. And yes, still is really needed to proper insulate the diode (I'll go in favor to use a heat shrink tubing protective sleeve alongside all the diode's length, just to err in the safe side and completely insulate the bare conductor ends.
Last edited by FlatsixS; 08-14-2023 at 09:32 AM.
Reason: word correction


 07-30-2019, 08:20 AM