When you click on links to various merchants on this site and make a purchase, this can result in this site earning a commission. Affiliate programs and affiliations include, but are not limited to, the eBay Partner Network.
I always have bad luck with easy-outs. I do have a good luck with the hammer in screw extractors. But yeah, unless something separates the corrosion from the threads no method works how it should.
For rusted bolts I recommend several soakings with a mixture of acetone and transmission fluid. The acetone is thin and seeps into the crevices. It pulls the transmission fluid in and then evaporates leaving the transmission fluid behind. Make several applications and let sit at least overnight depending on how much rust and corrosion therefore is. The more applications the better and soaking time the better.
I think I need a lesson on cobalt drills. A little bit of research tells me that M35 grade is no good for hardened steel. M42 appears to be the best alternative. Are there other alternatives. Sure would love to hear from someone who knows this stuff.
At this point, I’m inclined to attempt a time-sert.
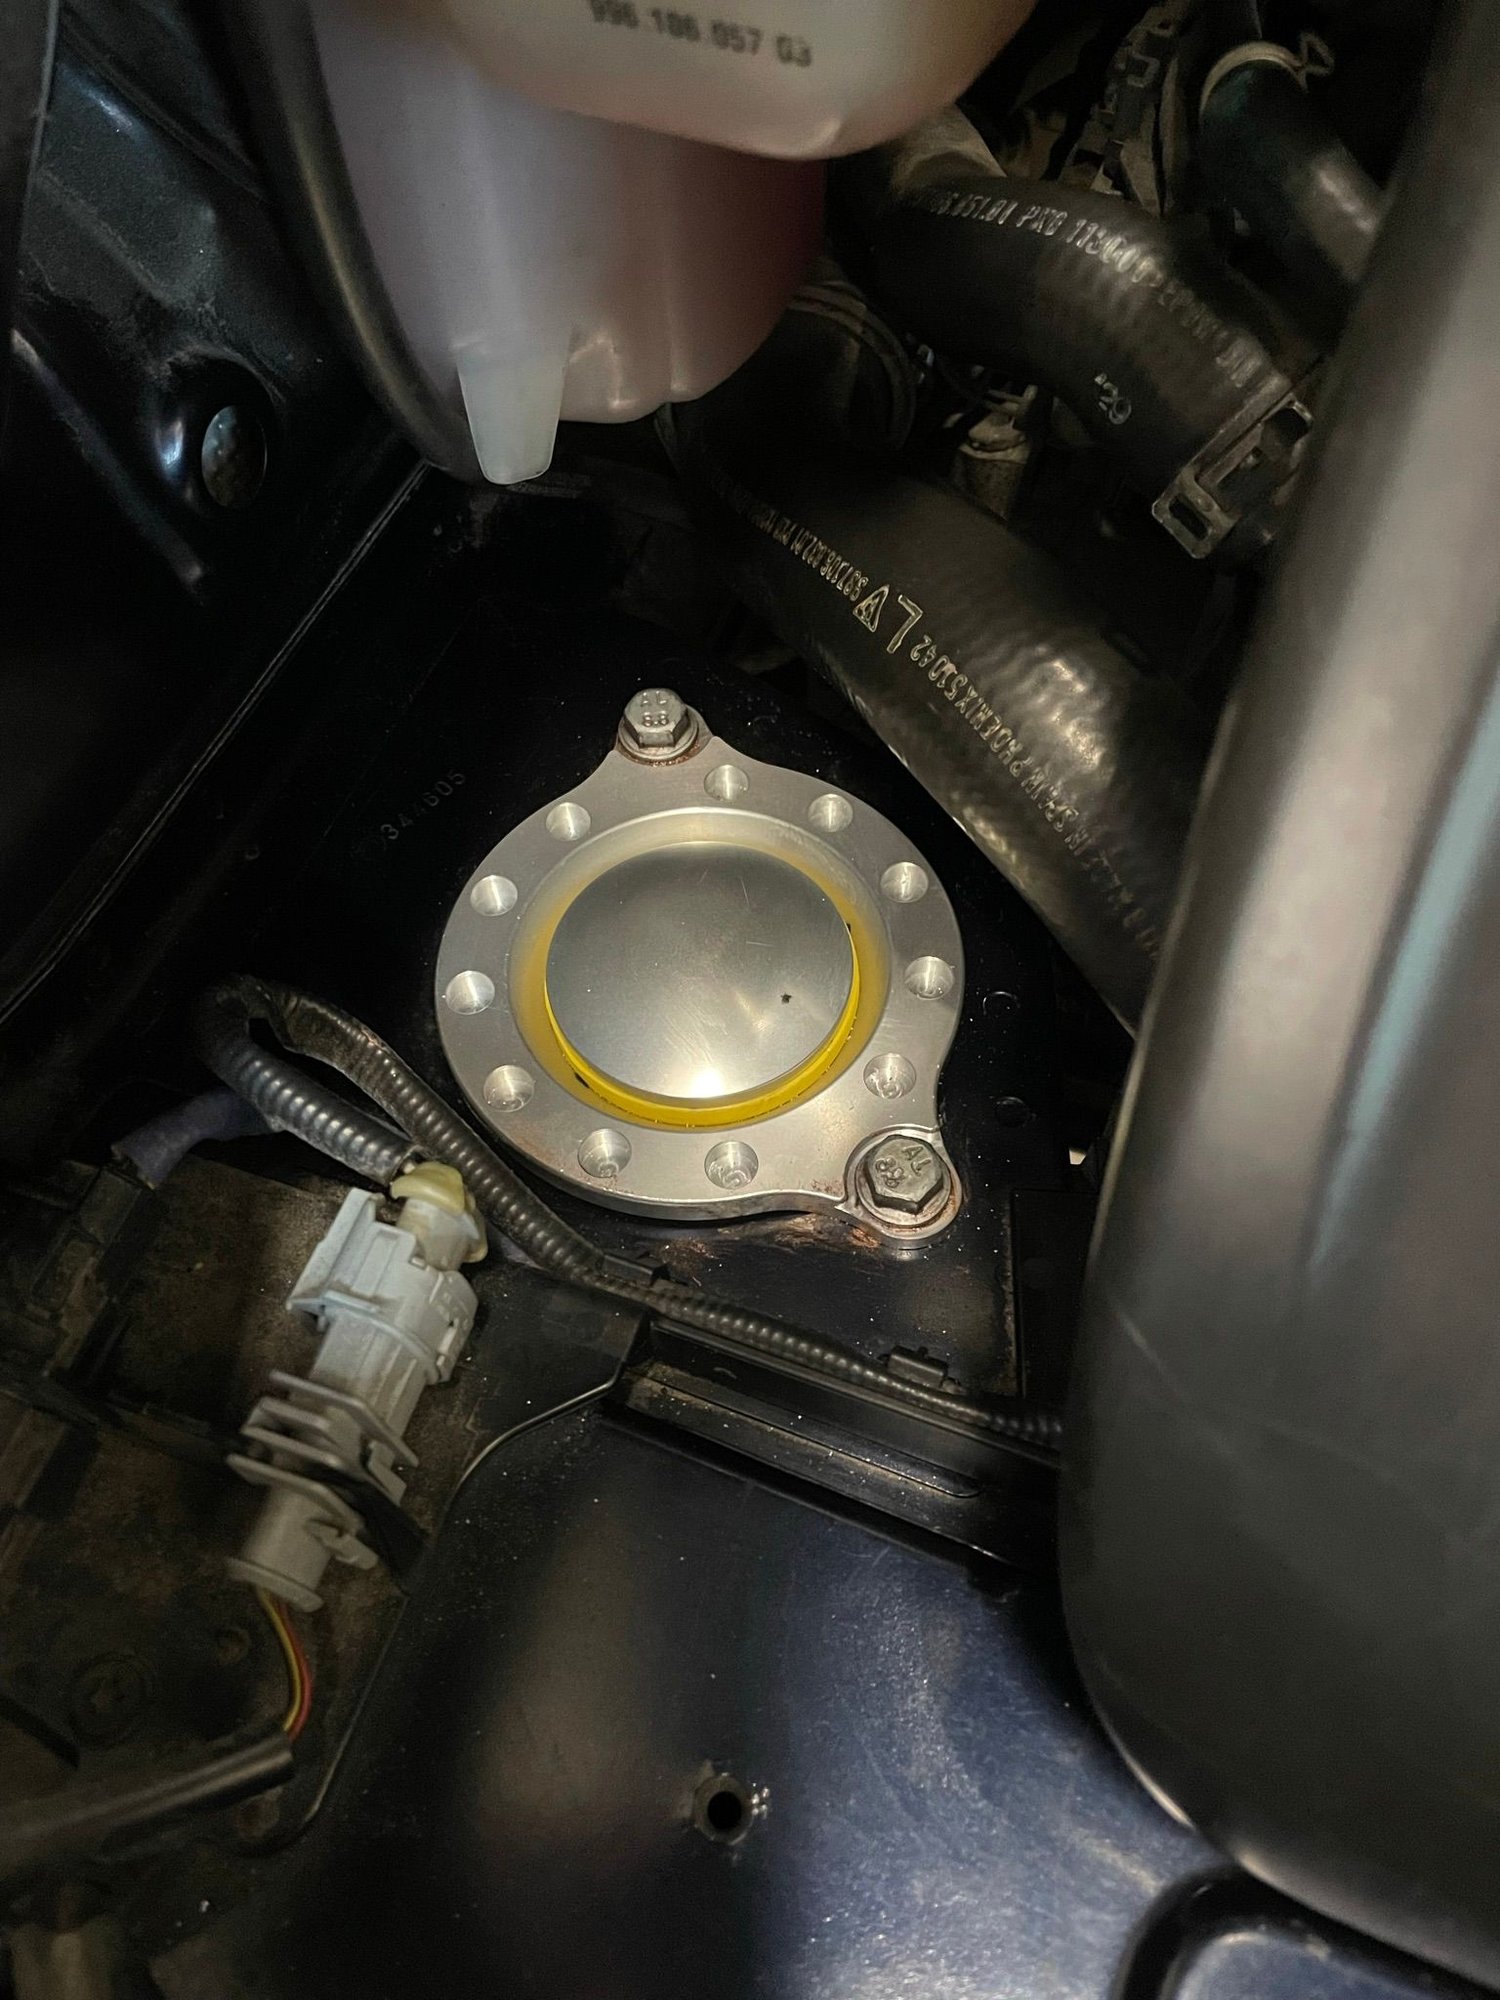
And, yes, the motor is supported….
Yikes, glad you got it removed. Not only do you have to support the engine but you have to also support the engine mount cross member as well. This is how you managed to break the bolt since the carrier had too much flex, all while the engine mount is still bolted to the frame. All it takes is a few mm of flex and the threading becomes tough to remove. It should break loose very easily if there is no load on the mounts.
If I may ask, what brand/model of lift do you have?
Fortunately I bought it used. Looks like distributors re-brand and change the colour but use the same model # YL635B.
Canadian supplier is https://www.richautoequipment.ca/ind...&product_id=64
Just plug the model # into Google and you will get various hits. I’m quite happy with it. Very stable, automatic locking, very low on ramp, moveable on rollers and compact. I can run up both the 997S and the RST without having to put blocks under the wheels.
Cheers,
Yikes, glad you got it removed. Not only do you have to support the engine but you have to also support the engine mount cross member as well. This is how you managed to break the bolt since the carrier had too much flex, all while the engine mount is still bolted to the frame. All it takes is a few mm of flex and the threading becomes tough to remove. It should break loose very easily if there is no load on the mounts.
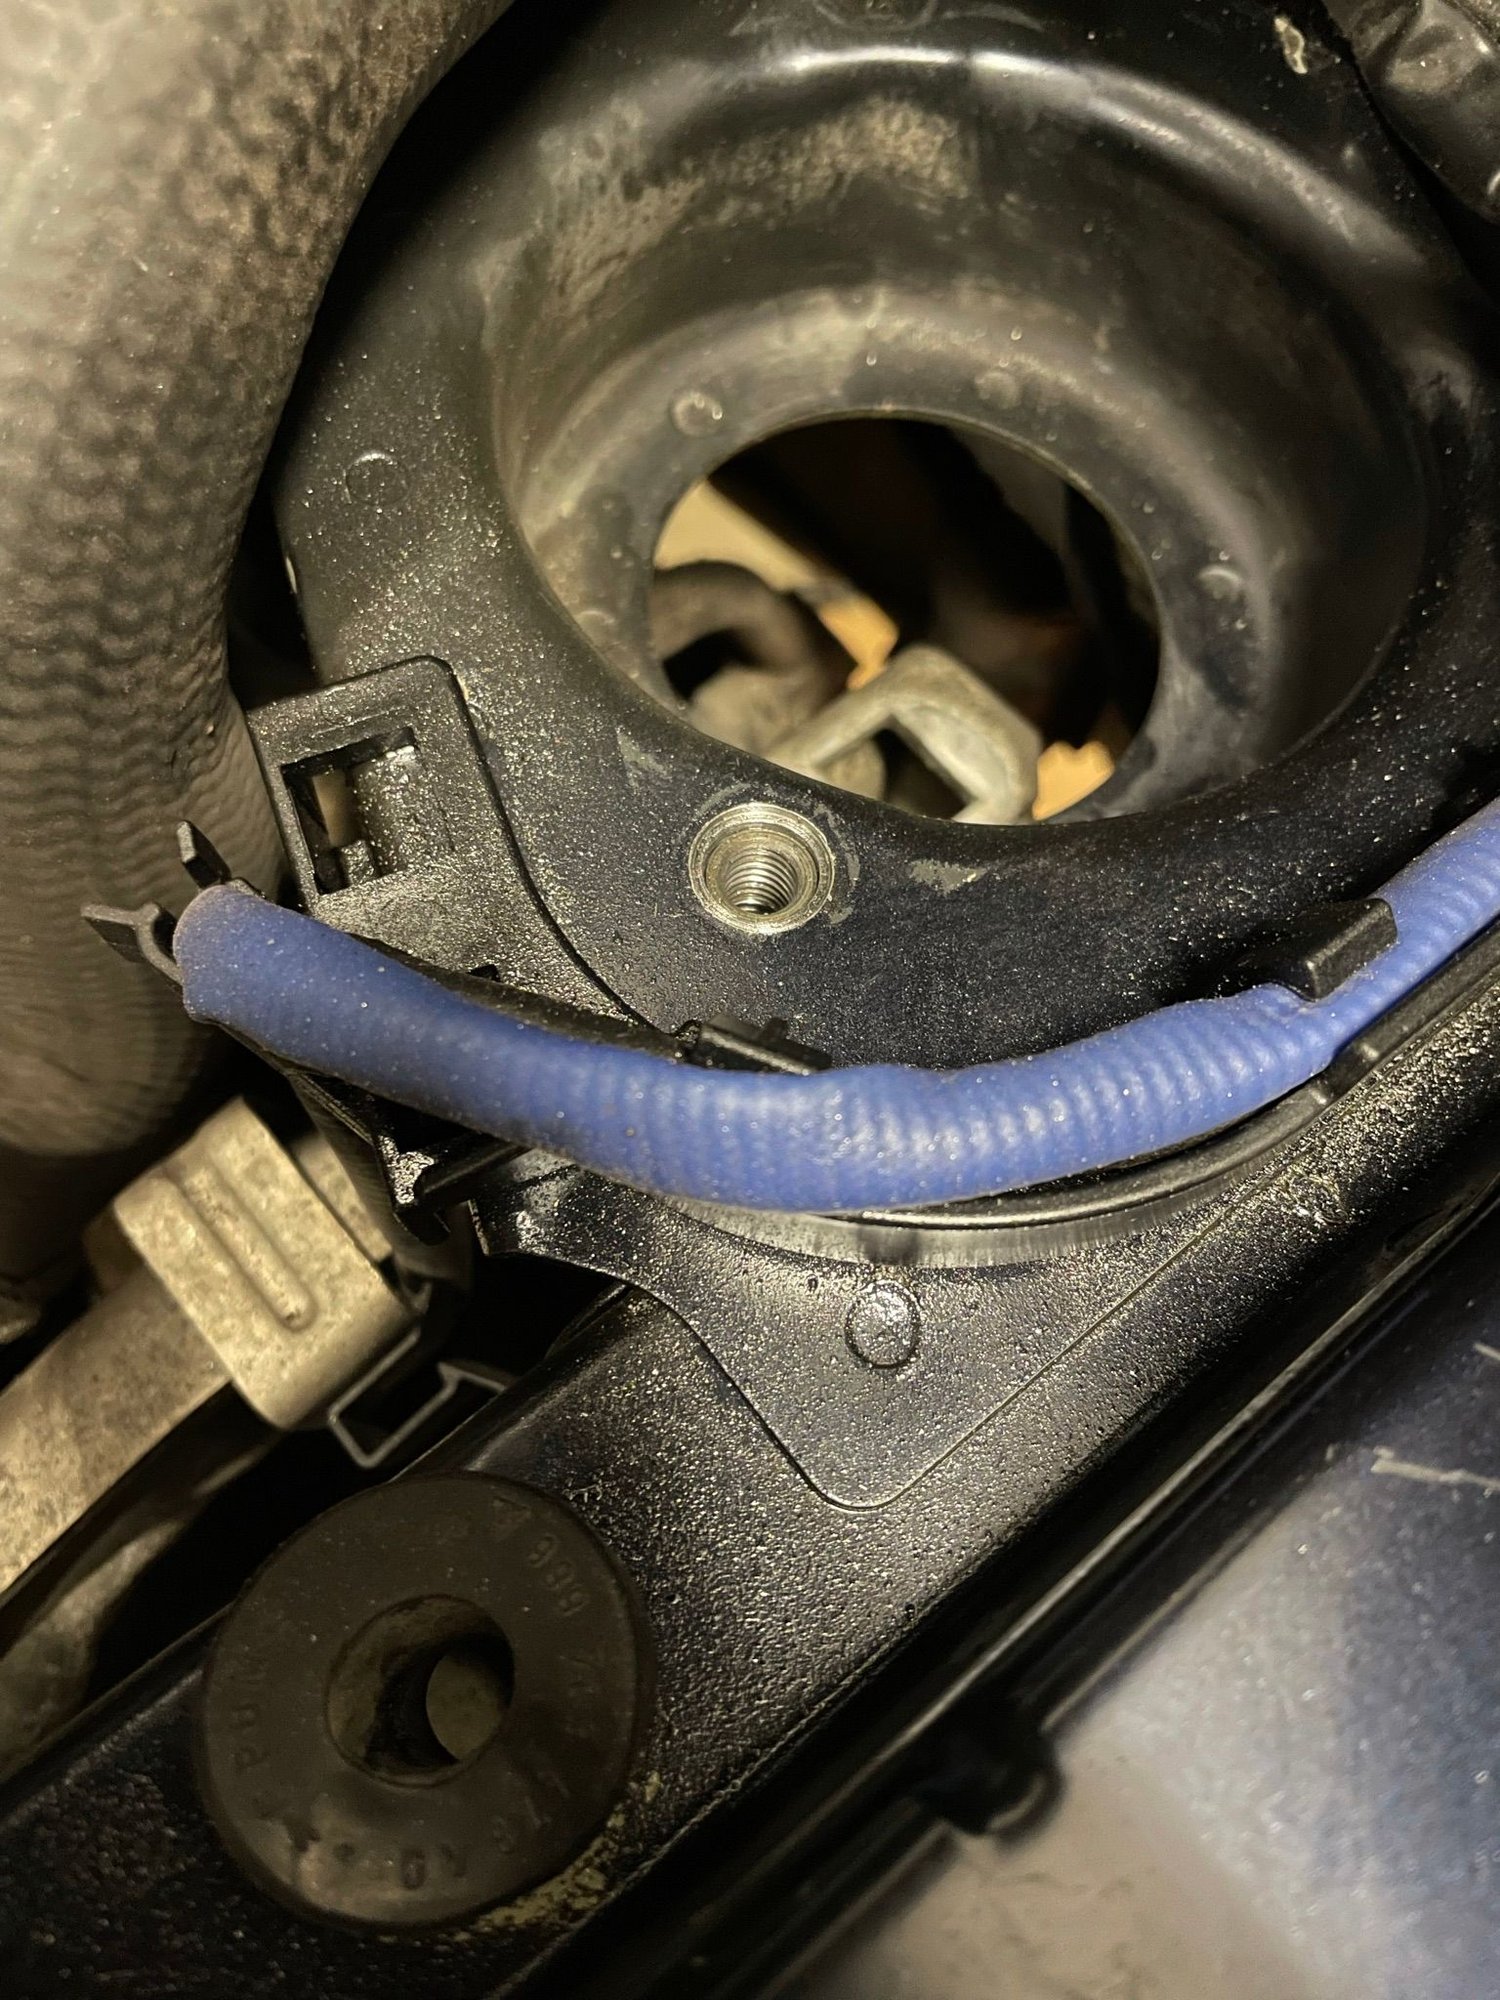
Desmo, sorry, but I don�t quite get you post. To clarify, it is the 8mm bolt #3 that broke inside the motor mount �shelf� which is part of the chassis. The motor is fully supported with an 8x8 block while the right motor mount is out. May be hard to see in pic above.
The broken portion of the bolt is still not out as I need some more drills to finish off. Slow and steady. I should also have the TimeSert kit by the 18th which I ordered just in case I destroy the threads.
Cheers,
Just for future reference in case it happened to someone else. Once the current bolt is removed couldn�t a bolt/nut combo also work? Bolt up from the bottom and nuts on top?
Just for future reference in case it happened to someone else. Once the current bolt is removed couldn�t a bolt/nut combo also work? Bolt up from the bottom and nuts on top?
it�s allot of hard material to drill through whether you go from the top or bottom. Going from the top, it is easier to hold the drill square as you are already fairy deep in. Going from the bottom, the exhaust will have to be partially dismantled (read, more broken bolts and seized connections) and more important, it would be more difficult to get the exact square drill position to meet the old threaded portion. I would consider this to be a distant Plan �C�, with Plan �A� being saving the original threads, and Plan �B� inserting a Time Sert ( most likely at this juncture). Whichever way works, it�s allot of drilling and I know, as some of you have already mentioned, that patience will be paramount.
To all, have a great weekend, stay safe and I�ll provide an update on Monday.
Cheers,
My Ford engineer friend noted a trick he learned when he was a tech at a Jaguar dealership working his way through college... Coka-Cola overnight. The acid will work it loose. I never tried this but he said he used this trick often.
Peace
Bruce in Philly (now in Atlanta)
got to love this one Bruce. If I do t get anywhere tomorrow, I�ll crack open a Coke, pour it in and make a strong rum and coke with the rest.
Cheers��..
got to love this one Bruce. If I do t get anywhere tomorrow, I�ll crack open a Coke, pour it in and make a strong rum and coke with the rest.
Cheers��..
I've seen Coke used. Also, in the Navy, I saw bug juice, coolaid, work. I guess, in both cases, it was acidic.
Drill bits from Amazon are all the pits, but I guess I should have known that! Never again- all from China no matter the quality! However, the Time Sert kit worked well.
I installed the Rennline motor mounts with the yellow (street) pucks and they are horrible! Too much vibration between 2.5-3k, especially decelerating feels like the motor vibrates from being unbalanced. After 10 km, I put the car back on the hoist and ordered new OEM mounts.
Read this entire thread before changing out my motor mounts. Everything was going smoothly until the last top M8. I thought I was going to get away clean! The passenger side bolt in the far right snapped before it got to the maximum torque.
I used a drillbit extension from the bottom with a small titanium bid and then a slightly larger one and it ended up backing out of the top.
definitely going to get some replacement bolts and keep them on hand when I change them again. Drilling from the bottom, or from the top at those angles isn�t ideal because you can�t see the middle and you risk damaging the threads.
I am definitely glad that I read this thread before performing the service. All I could do was laugh when the boat actually broke. I noticed that both of those on the passenger side looked in worse shape. Definitely need to have some spares on hand when completing this.
For us guys that work on really old cars, acetone and ATF has been the go-to for a cheap home brew but never as good as Kroil. The model T guys would never spring for a can of Kroil.
they are the ones that use molasses for de-rusting parts.
check out Project Farm on YouTube. His test removes the subjectivity. For rusty bolts, heat is number one, Liquid Wrench number two and acetone/ATF number three. They beat all the others.
I also like the Wurth product.

 08-03-2021, 04:18 PM