When you click on links to various merchants on this site and make a purchase, this can result in this site earning a commission. Affiliate programs and affiliations include, but are not limited to, the eBay Partner Network.
I know this topic has been discussed before but I was wondering someone who has done this could help me out in more detail. I used the following link to figure out how to route the wire through the back but it isn’t very detailed:
whats the best way to route the wire to the back ? He mentioned something about a drill but do I really need to drill something to get the wire through ? I have the back panel off but can’t figure out what to do next with the wire and the zip tie.
I just did this a few days ago. In the video, they used a long drill bit to pierce the grommet, then passed the thick zip tie through so they could fish the cable back. That's pretty much what I did too, but instead of a zip tie I used a solid core wire from a length of romex I had laying around.
Another thing that isn't clear in the video (and other resources online) is the removal of the rear trim piece - the one directly under the rear window. That was really dicey on mine because there are about 5 spring steel s-clips holding that carpeted panel to the rear bodywork directly below the window. I thought I was going to break something ... and I did - I broke one of the s-clips. But suffice it to say, pulling the panel in line with the flow of the window (so forward and up) is the easiest way, but it takes some serious, serious force.
once the trim piece is removed, you need to contort your hand and cram it into the corner - Have the fish (zip tie or wire) already through so a helper can job it around and stab you in the hand and draw blood... oh... the zip tie wouldn't have done that
Thanks so much! This was super helpful and after several tries I was finally able to fish the wire through. Feel bad for my poor scraped up hands ... this was by no means an easy tasks.
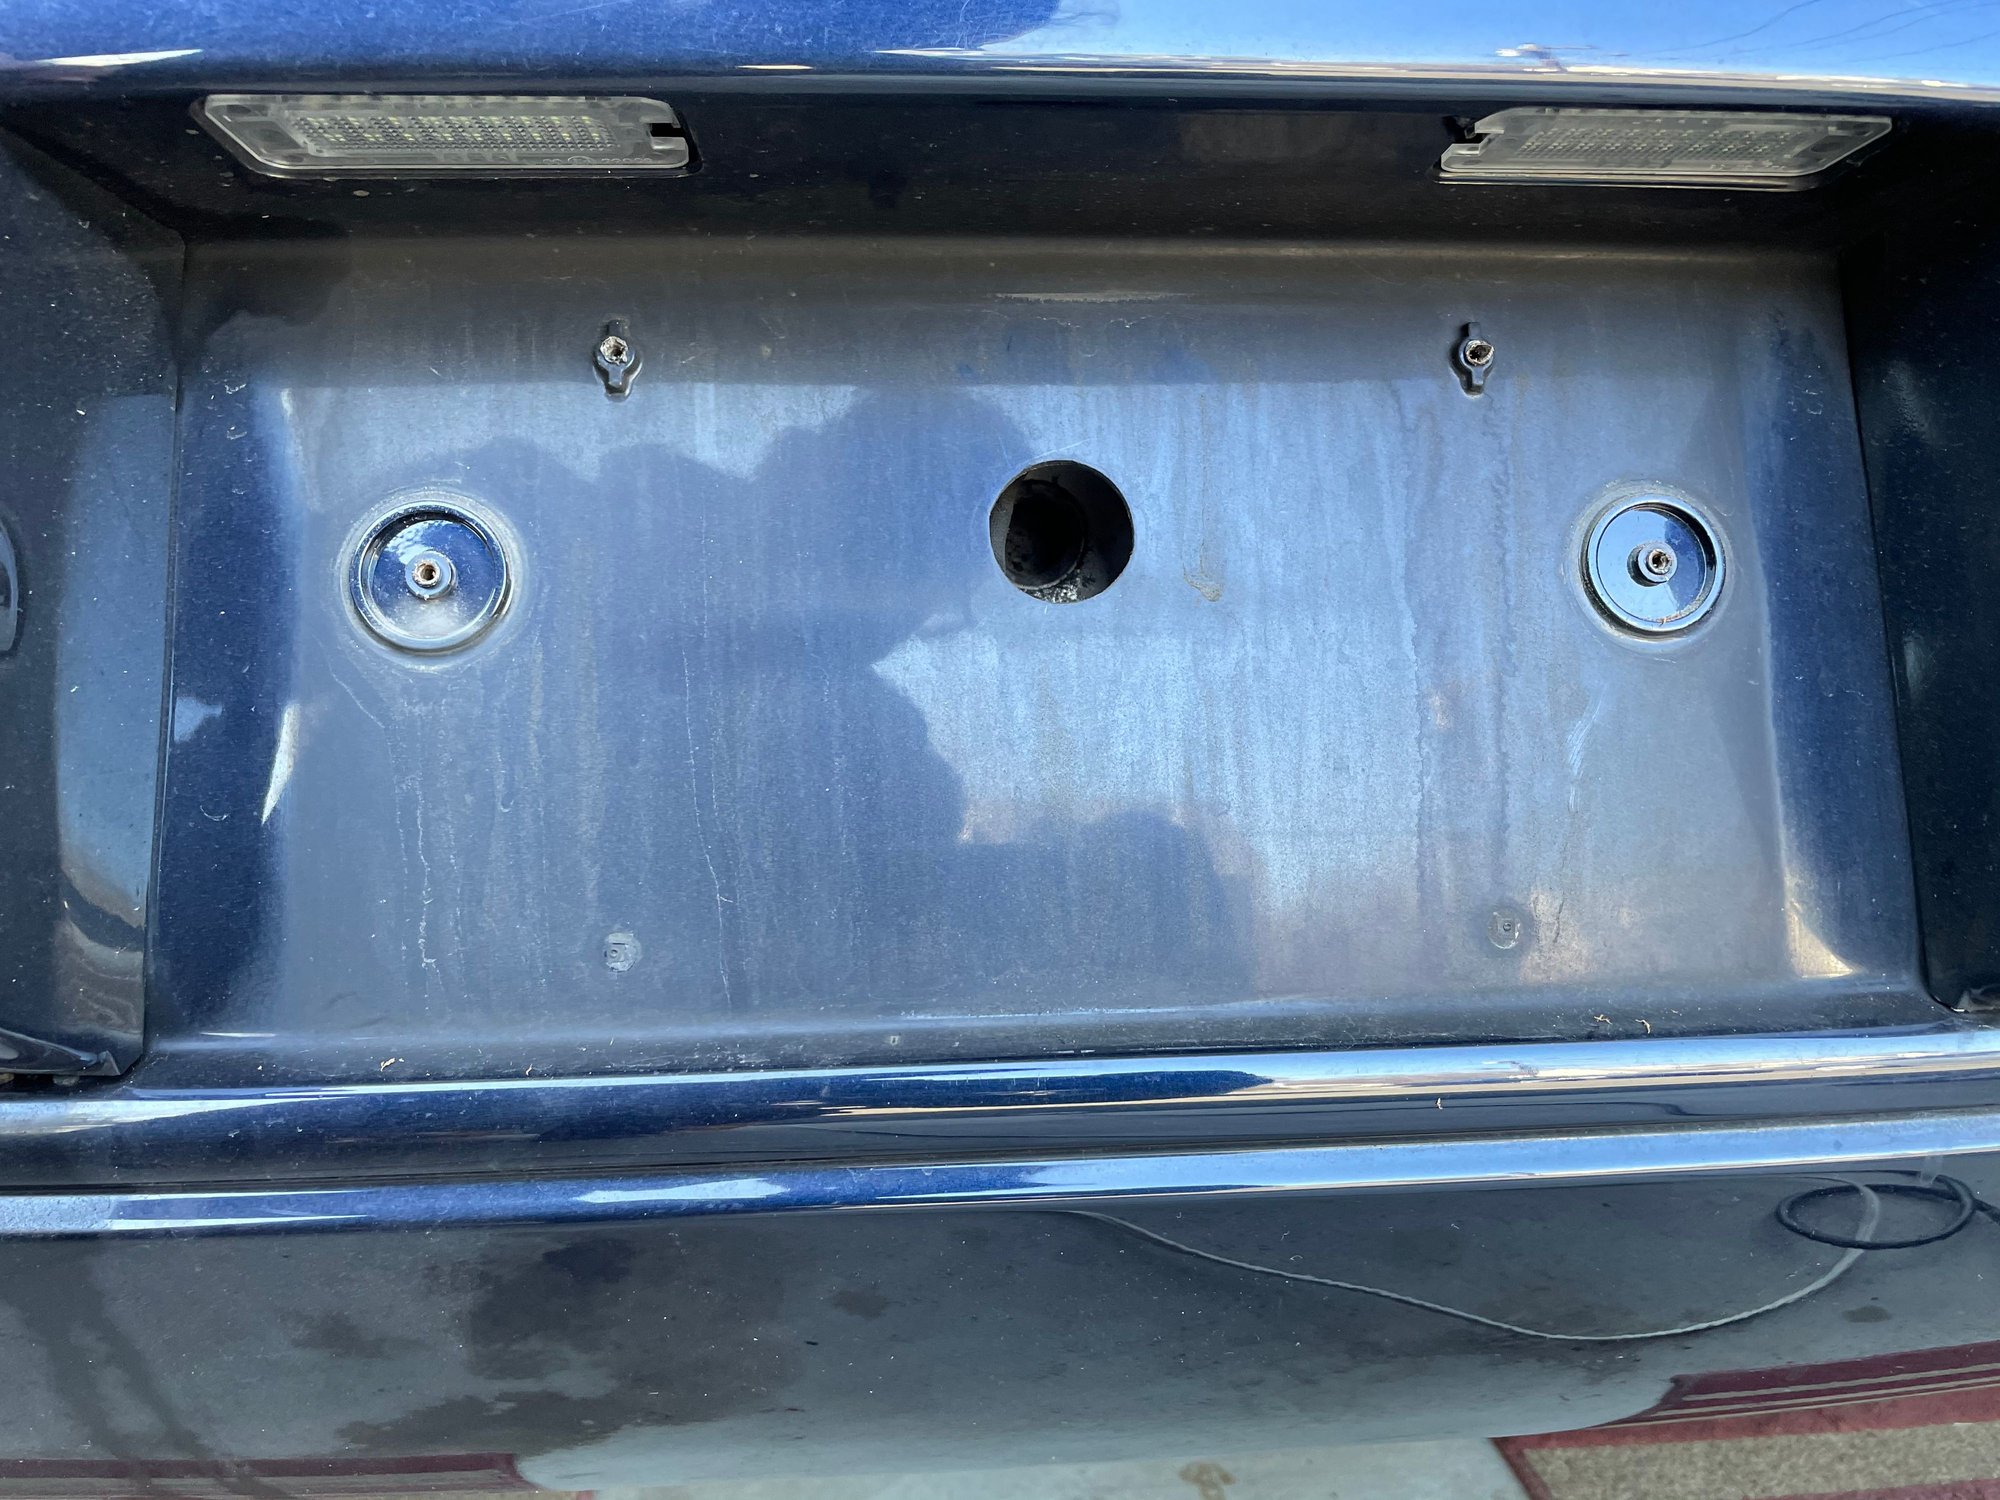
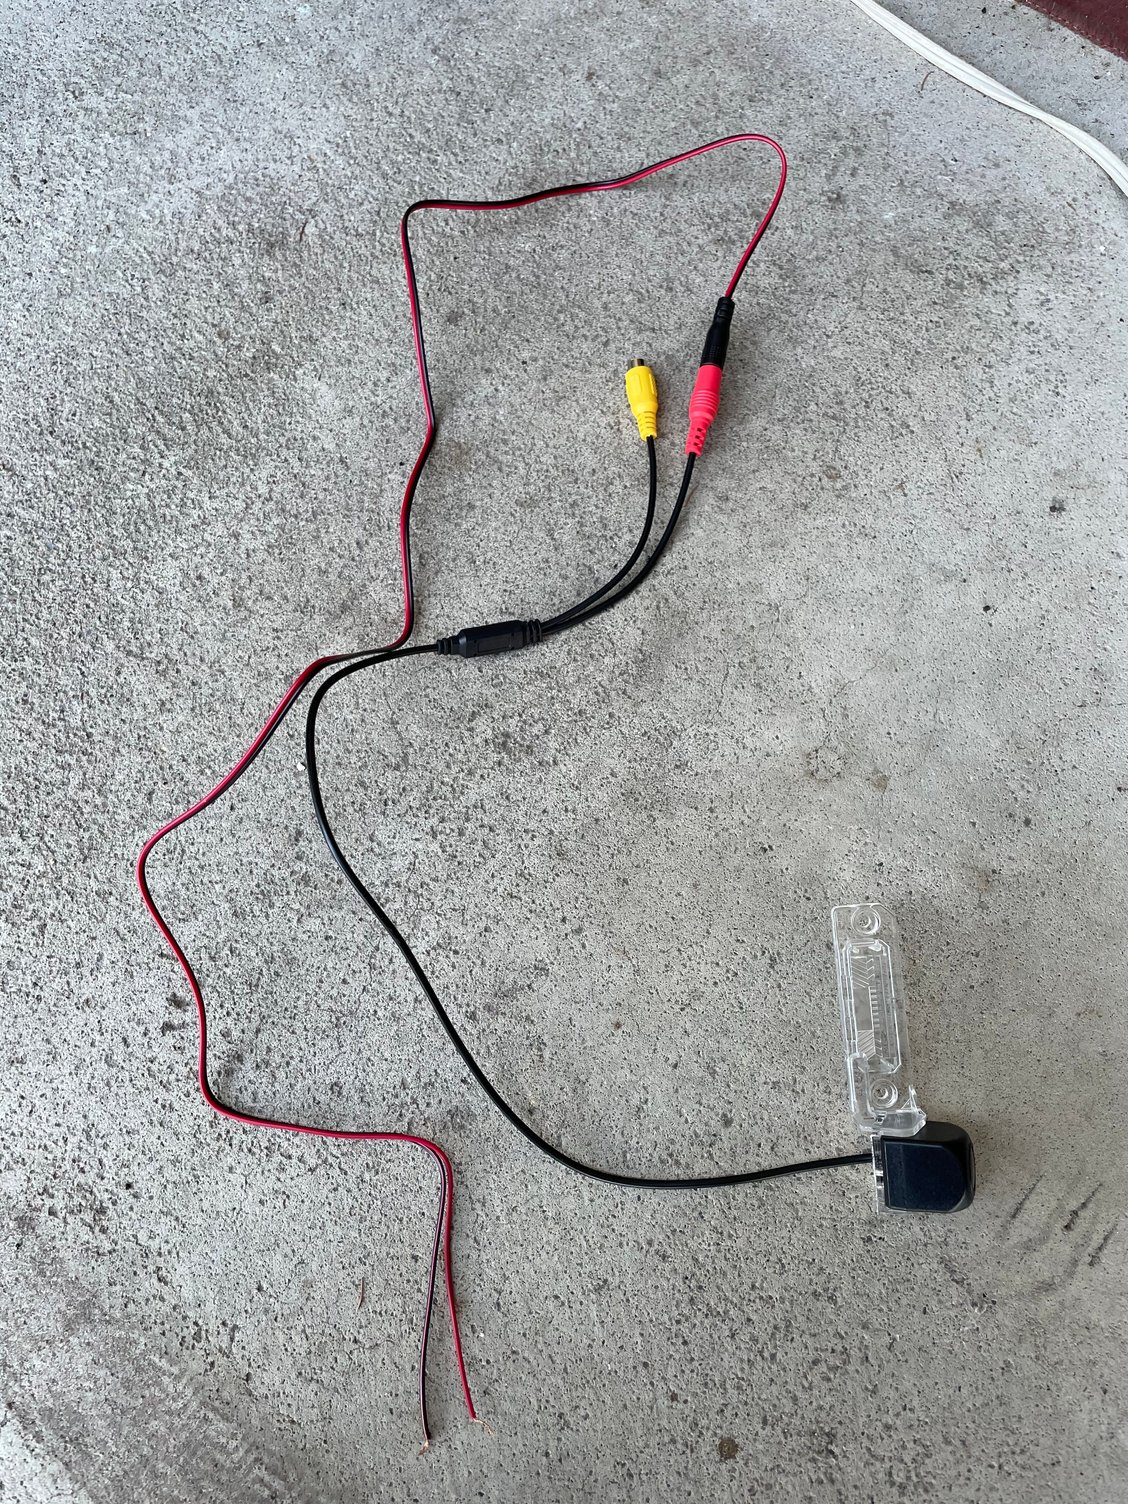
any way you could help me with the wiring as I’m confused with what to do next. Below are the pictures of the camera that I got. Am I supposed to drill a hole to mount the camera in the bumper ? Where do I connect the positive and negative wires to power the camera ?
the little plastic light thing I got is pretty useless as it doesn’t fit anywhere. I’m assuming I’ll have to take that off and drill the camera in somewhere ?
1) The Yellow is the main camera feed - that needs to go all the way to the head unit.
2) The Red and Black are Positive (+) and Ground (-) - This powers the camera.
After a lot of research, and toying with the idea of always powering the camera in case I want to bring it up on the head unit, I instead opted to wire it like most people do which is directly to a reverse light. This solves 2 problems - The power is very close by (in the taillight housing area), and the power is only on when the car is in reverse (theoretically extending the life of the camera since it's only on when the reverse lights are on). Since the camera doesn't draw very much, this seems like good solution.
3) As for how to mount the camera - It's very hard to tell from the image, Mine came mounted to a thin strip that went underneath and behind the plate itself between the top 2 license plate screws. The one you have there almost looks like it's meant to mount to the license plate light (left or right). Not really sure about it though.
4) As for the wires, I routed them through the big hole you see in the middle, then between the bumper cover and the heat shield, over to the hood release cable grommet that feeds underneath the taillight (I opted to go on the left side) into the void between the taillight and the body. Then I wired the red/black to the backup light (and the ground for the whole light assembly), then routed the camera feed to the head.
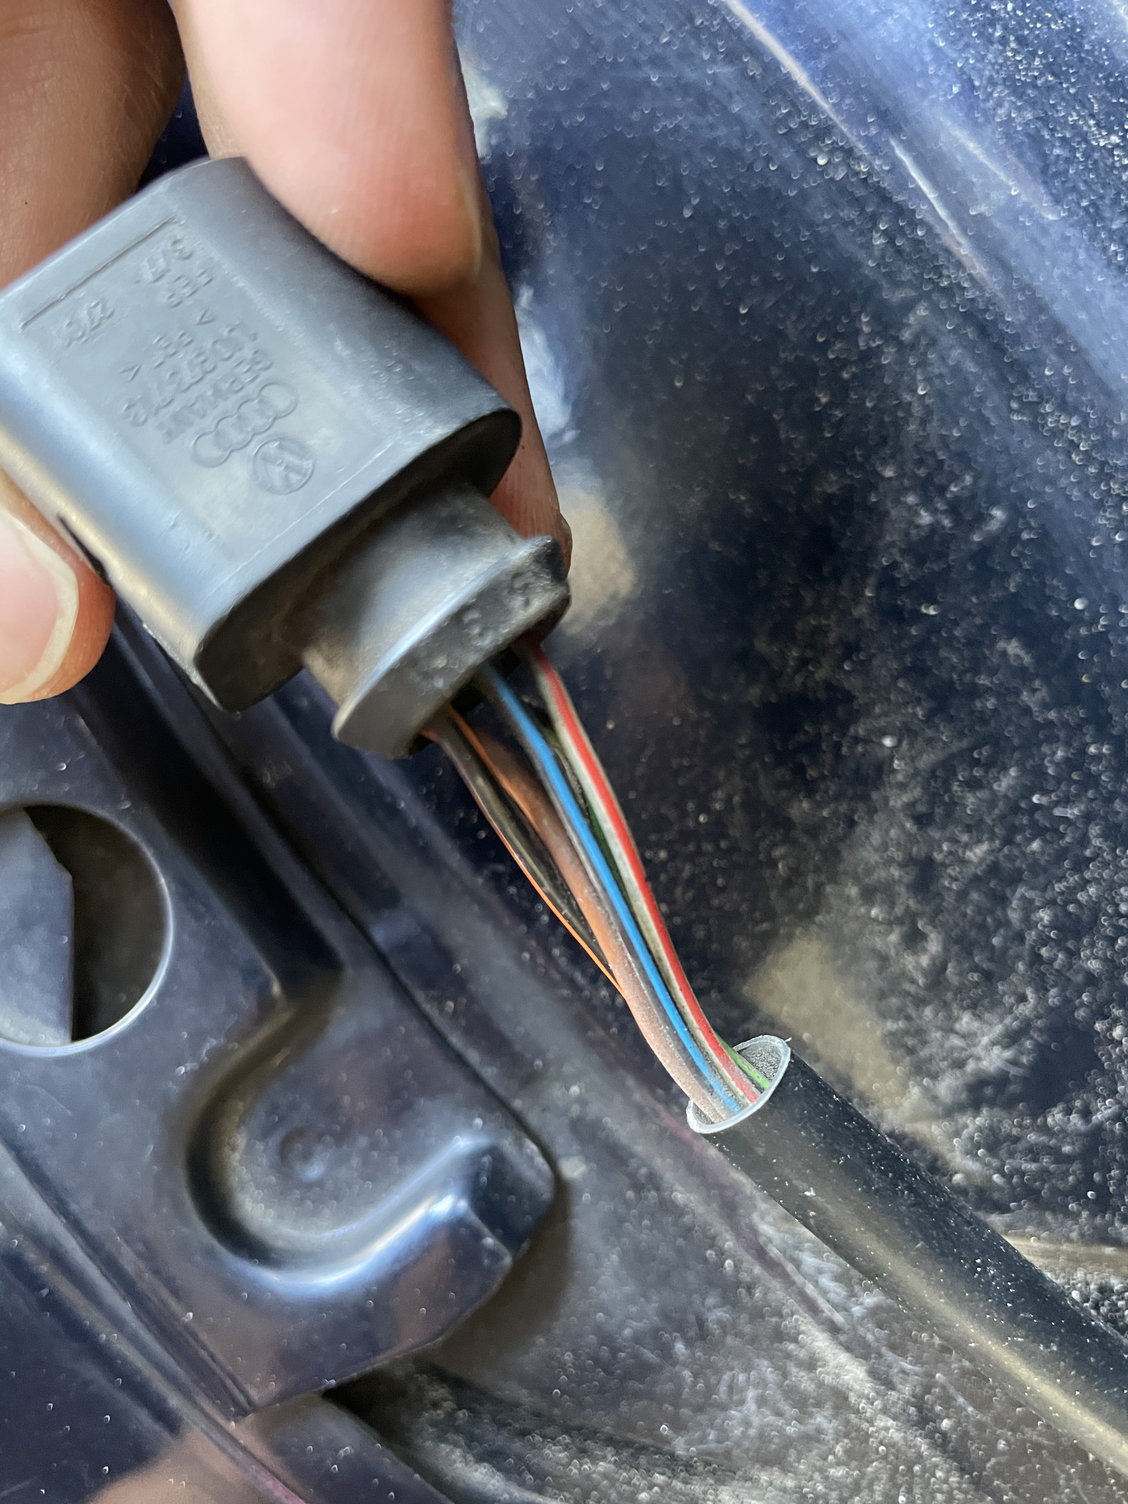
Sorry this might be a dumb question but I’m not very good with electrical. In terms of the power ... what’s the best way to connect the positive and negative cables to the reverse wire ? Do I have to cut the reverse wire and splice the positive and negative cables onto there ?
Sorry this might be a dumb question but I’m not very good with electrical. In terms of the power ... what’s the best way to connect the positive and negative cables to the reverse wire ? Do I have to cut the reverse wire and splice the positive and negative cables onto there ?
There are many ways to do it, but one clean way is a wire tap (which I always keep a full kit on hand for):
I don’t like cutting original wiring. Long term it makes me feel queasy and if ever remove the added accessory it can be problematic. I did that approach on a Beemer (not a Bimmer) for different accessories and it ended up working well but clunky and poor long term. Did the tie in approach on different Beemer and worked/looked far better.
sorry - last dumb question. Can I connect both + and - wires to the reverse trigger wire or do I need to find another ground for the negative?
from memory, all of the grounds (including the reverse light) are tied together at the taillight assembly before the plug. Just tap that same ground (any of the grounds near where they all join).
Is anyone aware of a wireless option? Surely someone will offer that soon.
I went with the below. Plus is no wiring, didn’t want to molest any stock wires and doesn’t cover any of license plate. Another plus is can turn on whenever want, battery in rear camera has lasted since 8/19 and is easily changed (I only use 4-5 times/month). Negative is have to mount display. I used proclip mount for display and plugged into passenger outlet. Passenger can hit with leg, but not really intrusive. I would buy again.
Thanks so much for everyone’s help and support on this. It really isn’t an easy job even though it seemed like it when I first started but with the help of everyone I was able to get it installed properly.
I still need to drill / mount the camera in place but everything else works now. Fishing the wiring back was really a pain in the ***! Not sure if I’d do it again and I’m hoping that any of the drilling I did to fish the wire doesn’t cause any issues in the future with water coming in etc.
wireless camera seems like a good solution but I wanted to keep the stock look as much as possible and didn’t want an extra screen mounted on my dash.

 03-24-2021, 09:34 PM


 ... this was by no means an easy tasks.