When you click on links to various merchants on this site and make a purchase, this can result in this site earning a commission. Affiliate programs and affiliations include, but are not limited to, the eBay Partner Network.
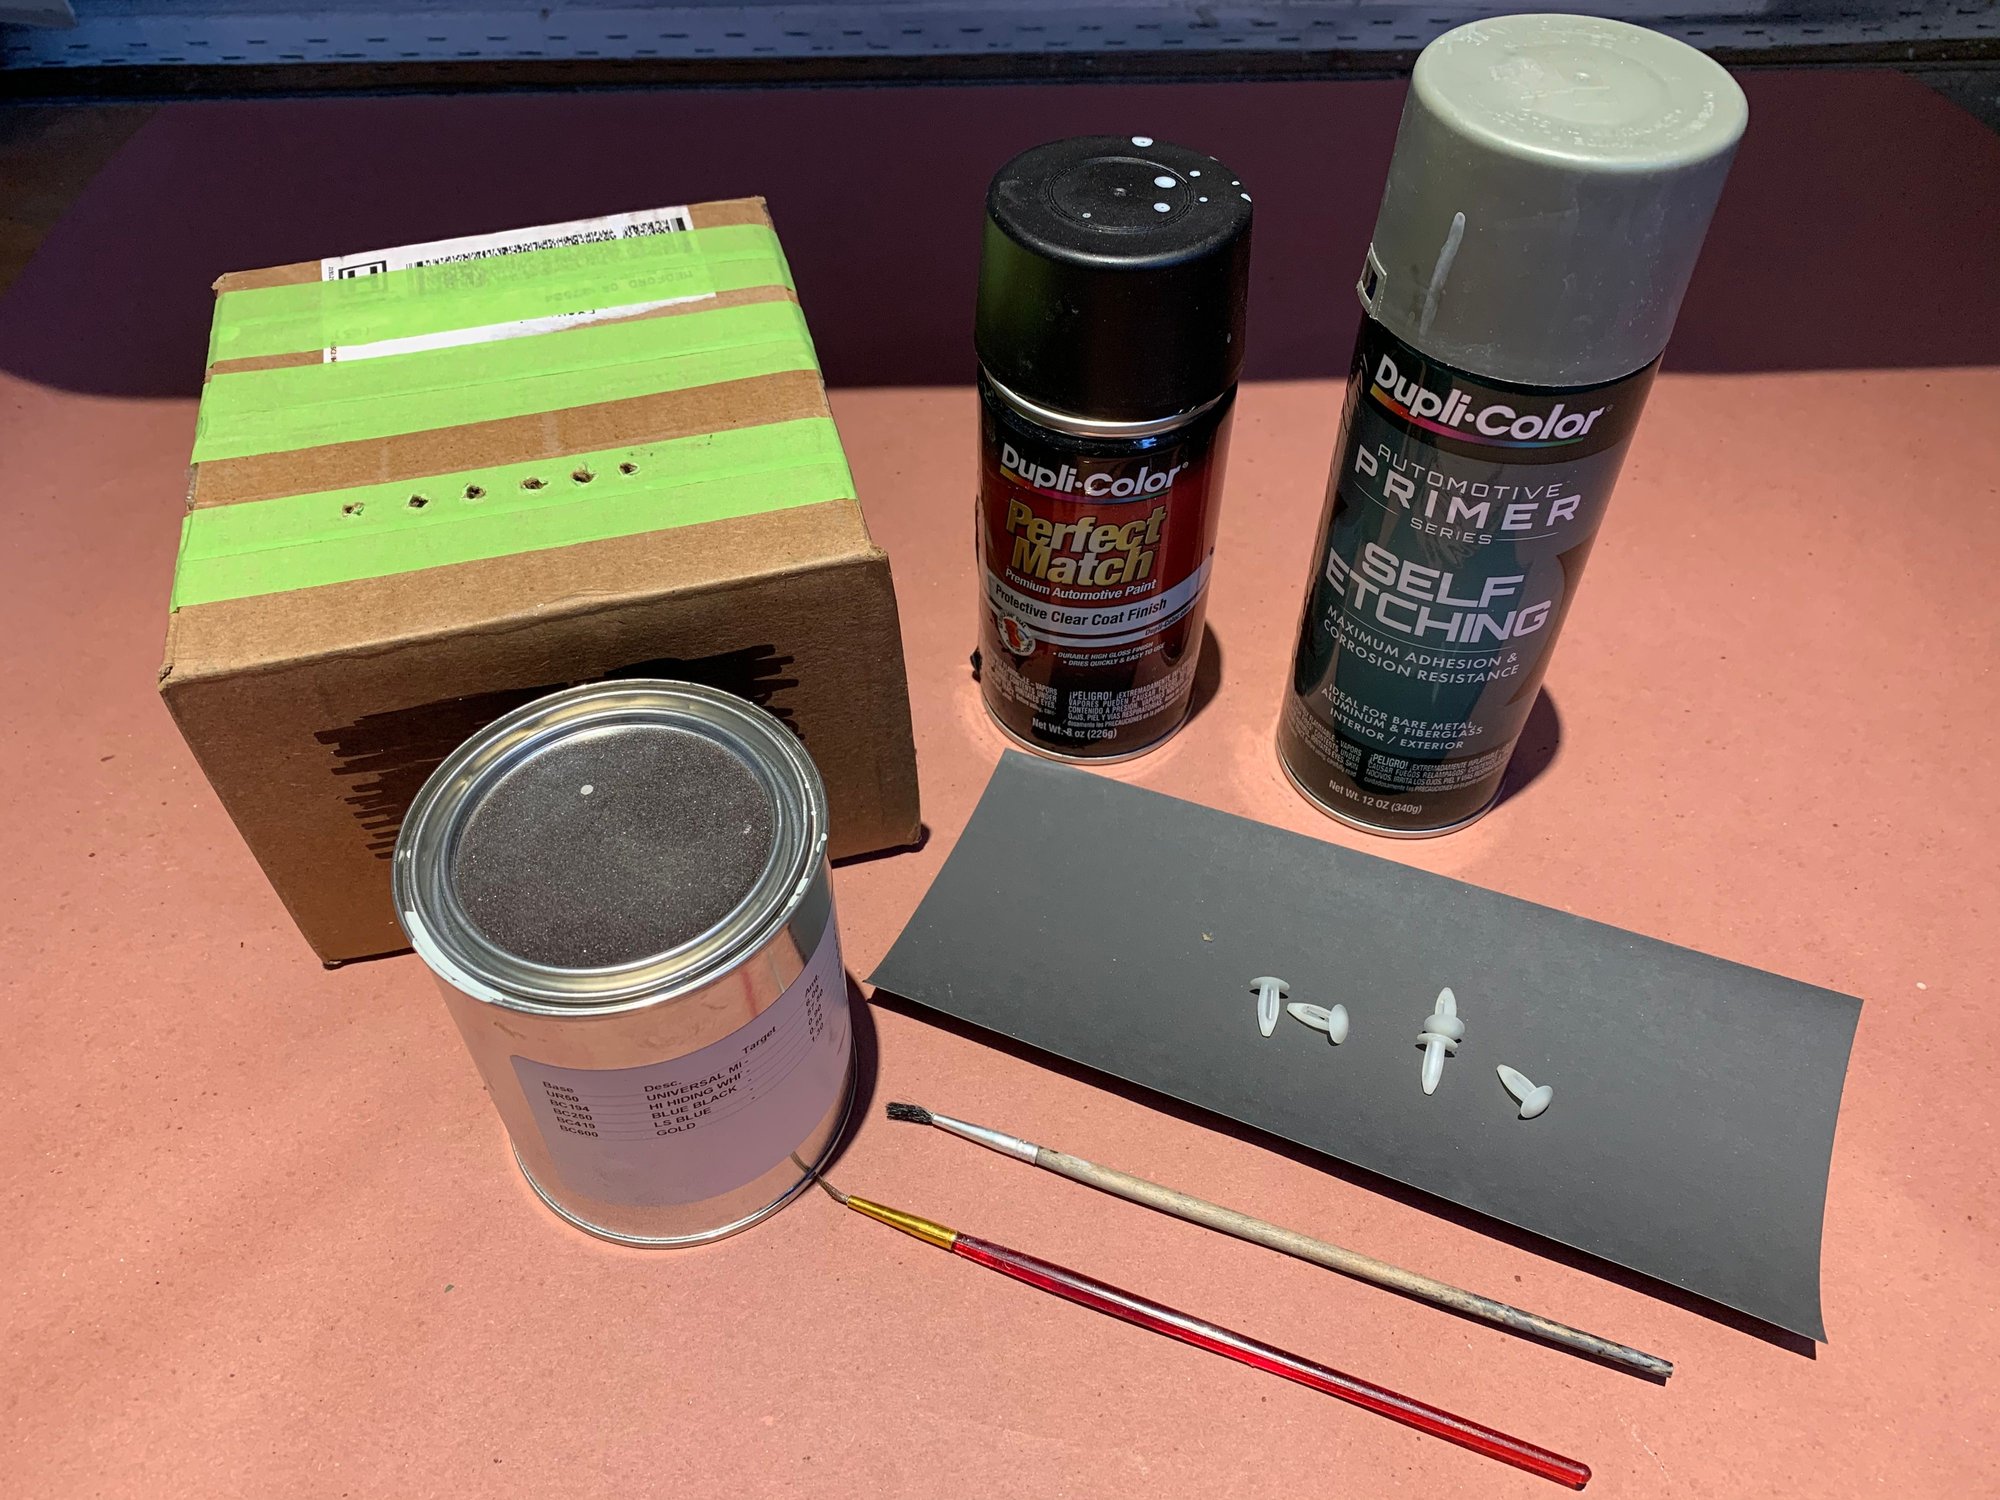
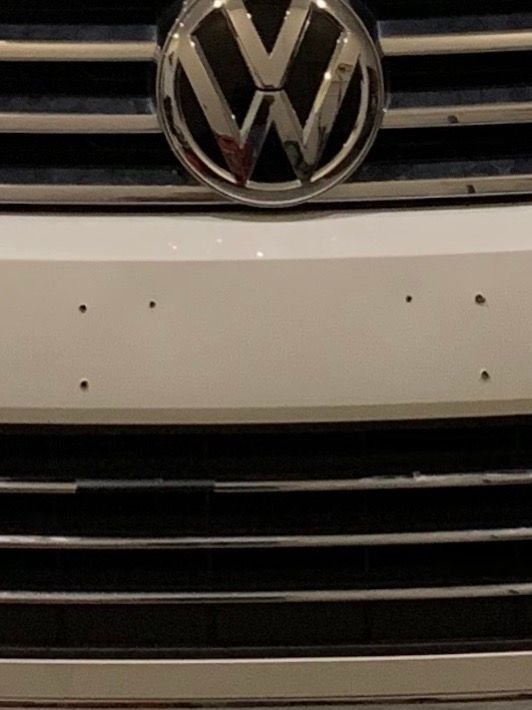
So, only continue reading if you are one of those that likes doing things yourself for the sheer exercise of it, spending entirely too much time on the project and spending more on it than had you simple ordered an already readily available product. I purchased a used Touareg a couple of weeks ago and having a utter distain for front license plates, great ride by the way, I wasted little time before removing the hanus tuberosity only to find the bracket was a affixed to the bumper and lower grill with 8 machine screws. I guess since it was from Colorado, the plate needed to be anchored to car in the event it needed to pull double duty for both vehicle identification and for plowing snow. I ordered some bumper plugs from Bumper Plugs and although they are were nicely finished products and Eric is a swell guy they required drilling larger holes in the bumper and didn�t match the white color of the bumper quite correctly so I decided to try my hand at making some smaller closer color matched plugs. The following is a list of items I sourced for the project, six nylon fastener(45 cents each), primer, single stage touch up paint($19.00) clear gloss spray paint, a couple of small brushes, acrylic lacquer thinner for clean up and some 2000 grit wet dry sand paper. I had my local car paint shop mix up a couple of ounces. Initially, I purchased a two ounce bottle from Automotive Touch up Paints online and the paint was not prepared correctly or had some contaminants in it that would leave small pin holes in the finish as it dried. This is where most of my time was spent trying to get their paint to set correctly using different primers, different brushes, a artist�s pen and at different temperatures. I don�t recommend their products and was even less impressed with their customer service when I contacted them with the issue I was having with their paint.
The process is actually quite easy but does require some patience with the process over a couple of days. The steps go as follows:
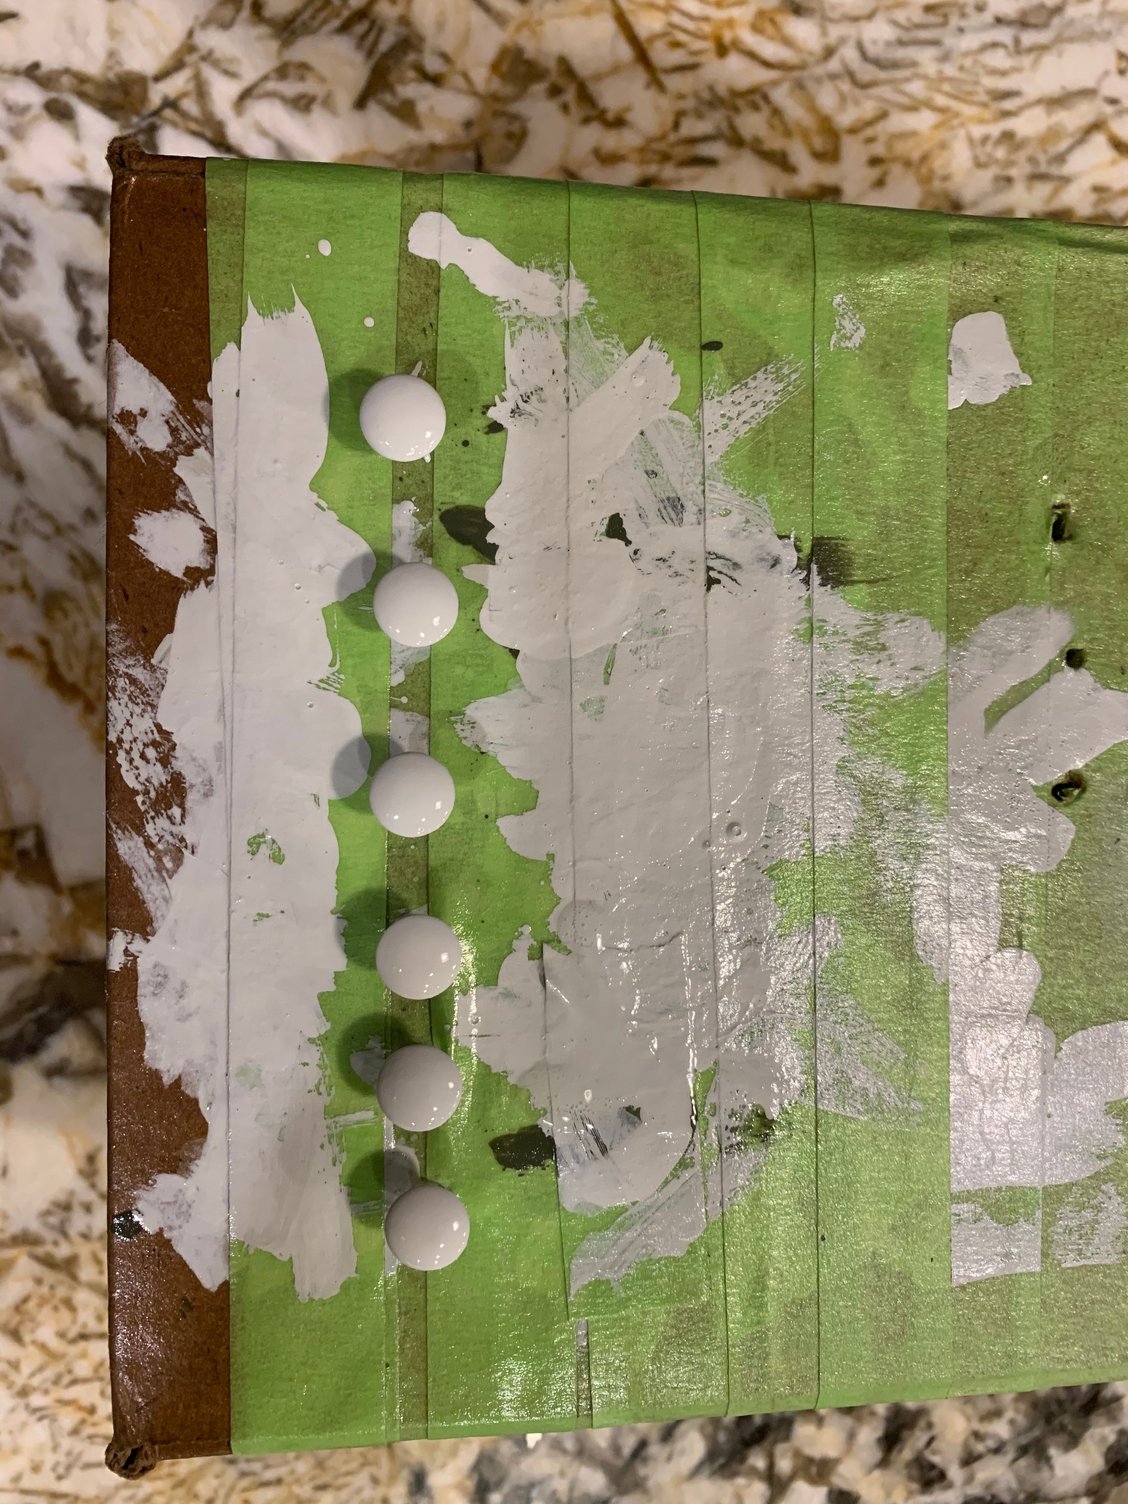
1) Lightly sand the fastener�s top with the 2000 grit sand paper and clean with some ethyl alcohol or the acrylic lacquer thinner. Make a little box with holes to hold the fasteners and place them in the holes.
2) Brush the crowns with a couple of coats of the primer and let dry for a couple of hours.
3) Sand lightly again with 2000 grit sand paper but use a little bit of soapy water and try not to over sand as it is easy to sand through the primer and have to reapply another coat. Make sure to rinse off and allow to dry before painting
4) Apply a couple of coats of paint with a small brush allowing an hour between coats. Thin coats are better and don�t over work the paint, brush it on walk away. I recommend letting it cure a full 24 hours before moving on to the next step.
5) Again, lightly wet sand with soapy water until the surface is smooth and dull in appearance, rise off and allow to dry.
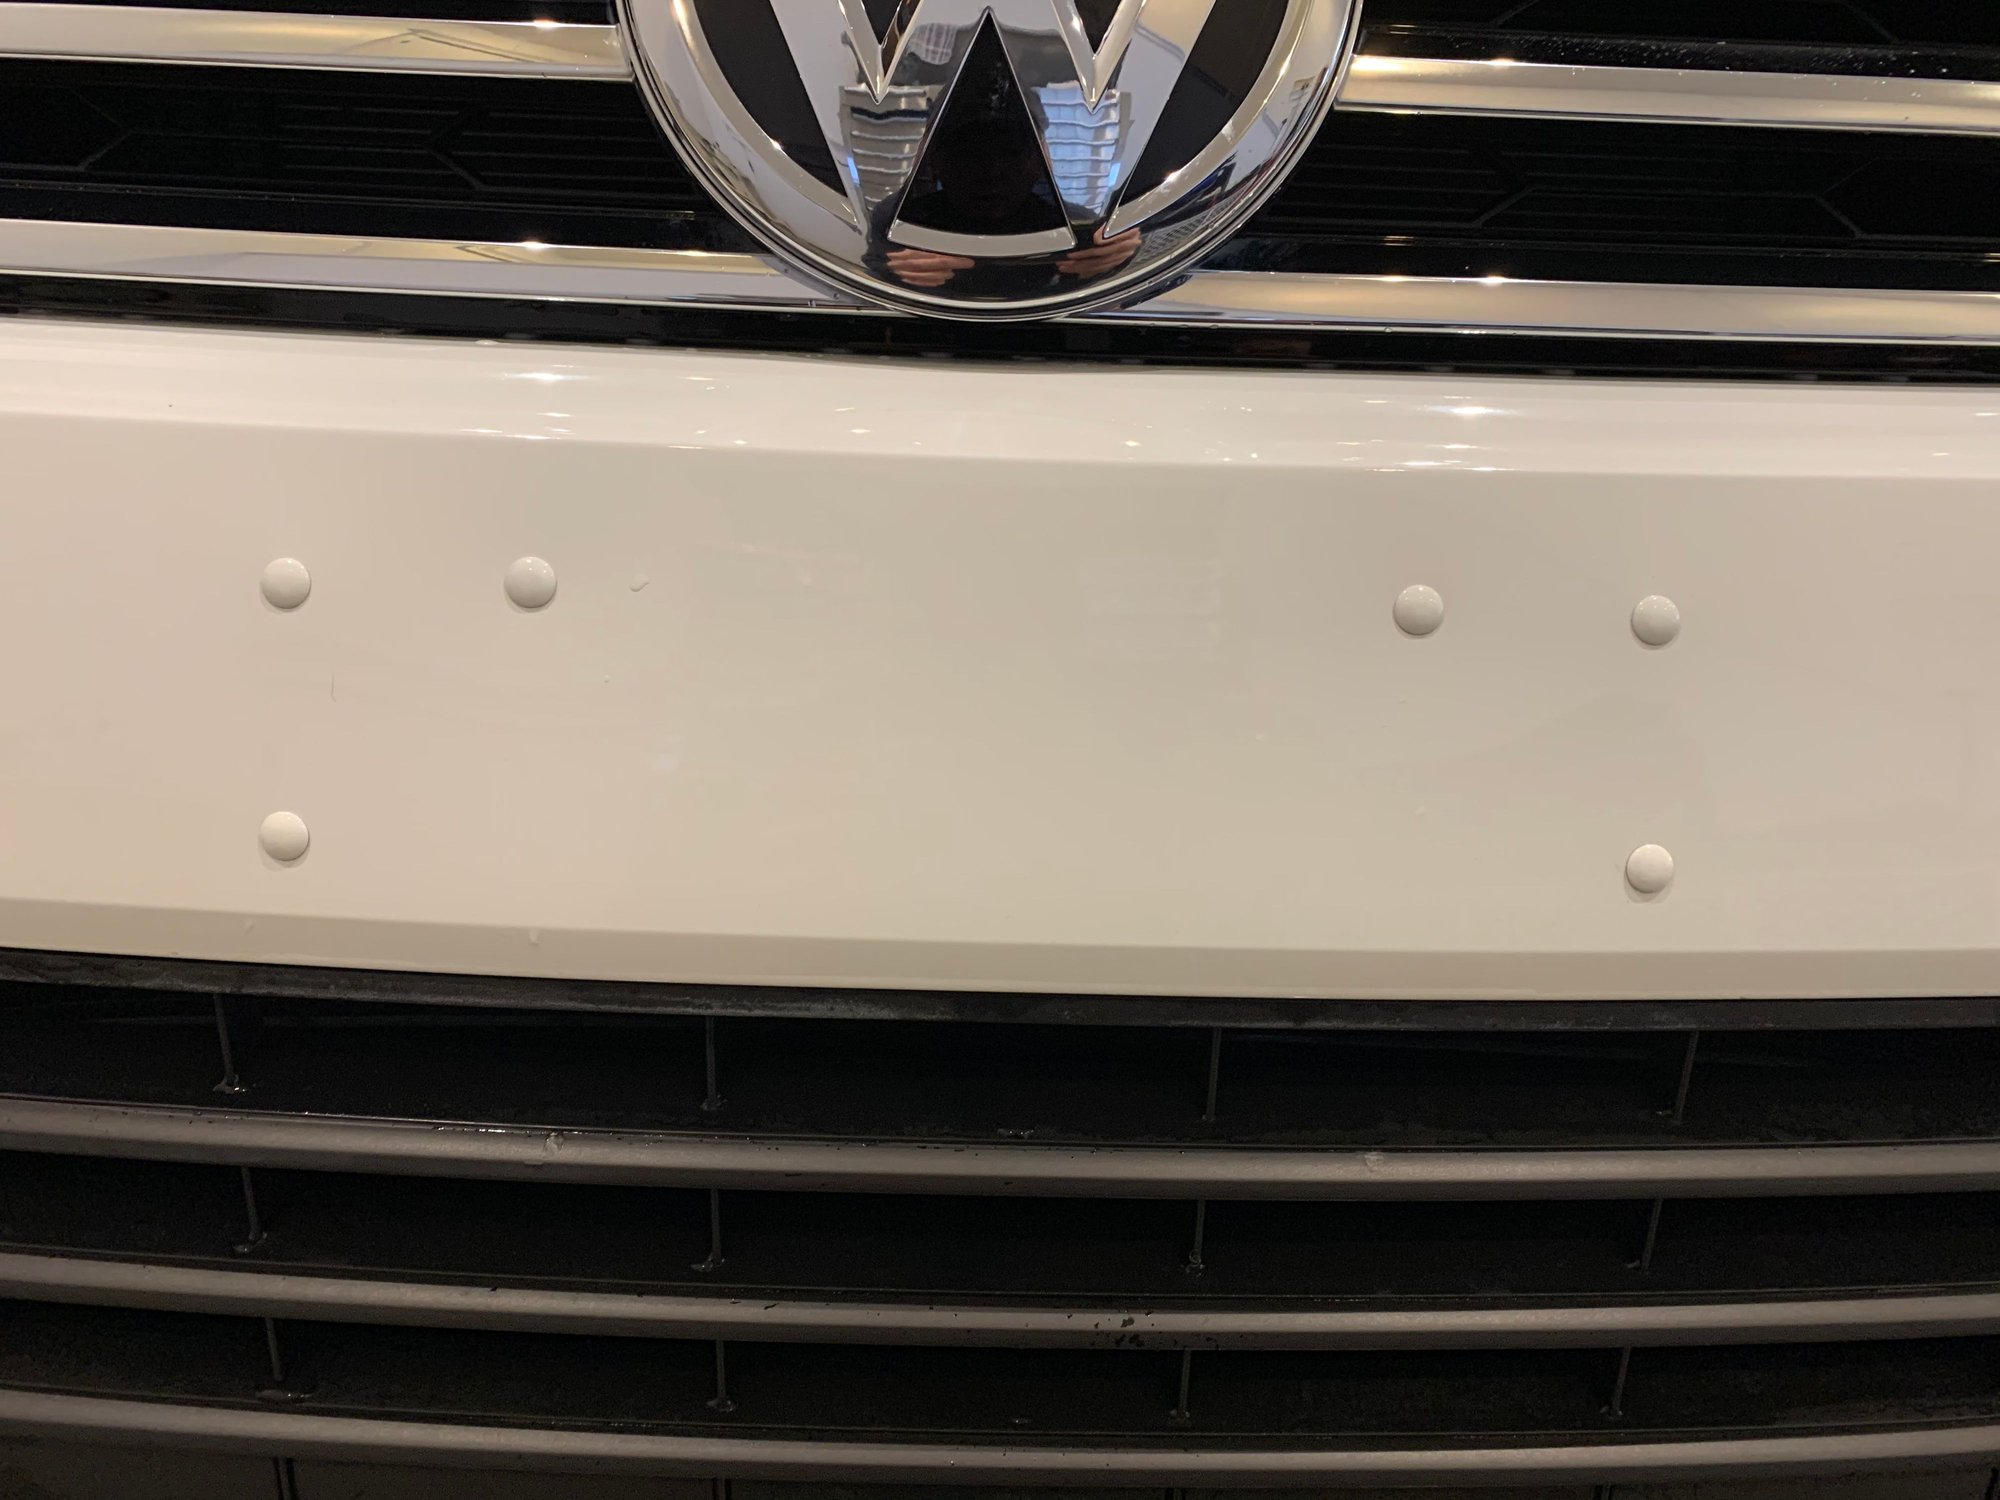
6) Place the work back into the holes in the box and spray with two or three coats of gloss clear
Last edited by Kuhl997.2!; 03-15-2020 at 10:03 PM.
Reason: Pic changes
Thanks for the instructions! I can’t get a match to my 964 paint so I will be doing similar hopefully next weekend. The paint sanding part is something I would have missed.


 03-15-2020, 09:28 PM