When you click on links to various merchants on this site and make a purchase, this can result in this site earning a commission. Affiliate programs and affiliations include, but are not limited to, the eBay Partner Network.
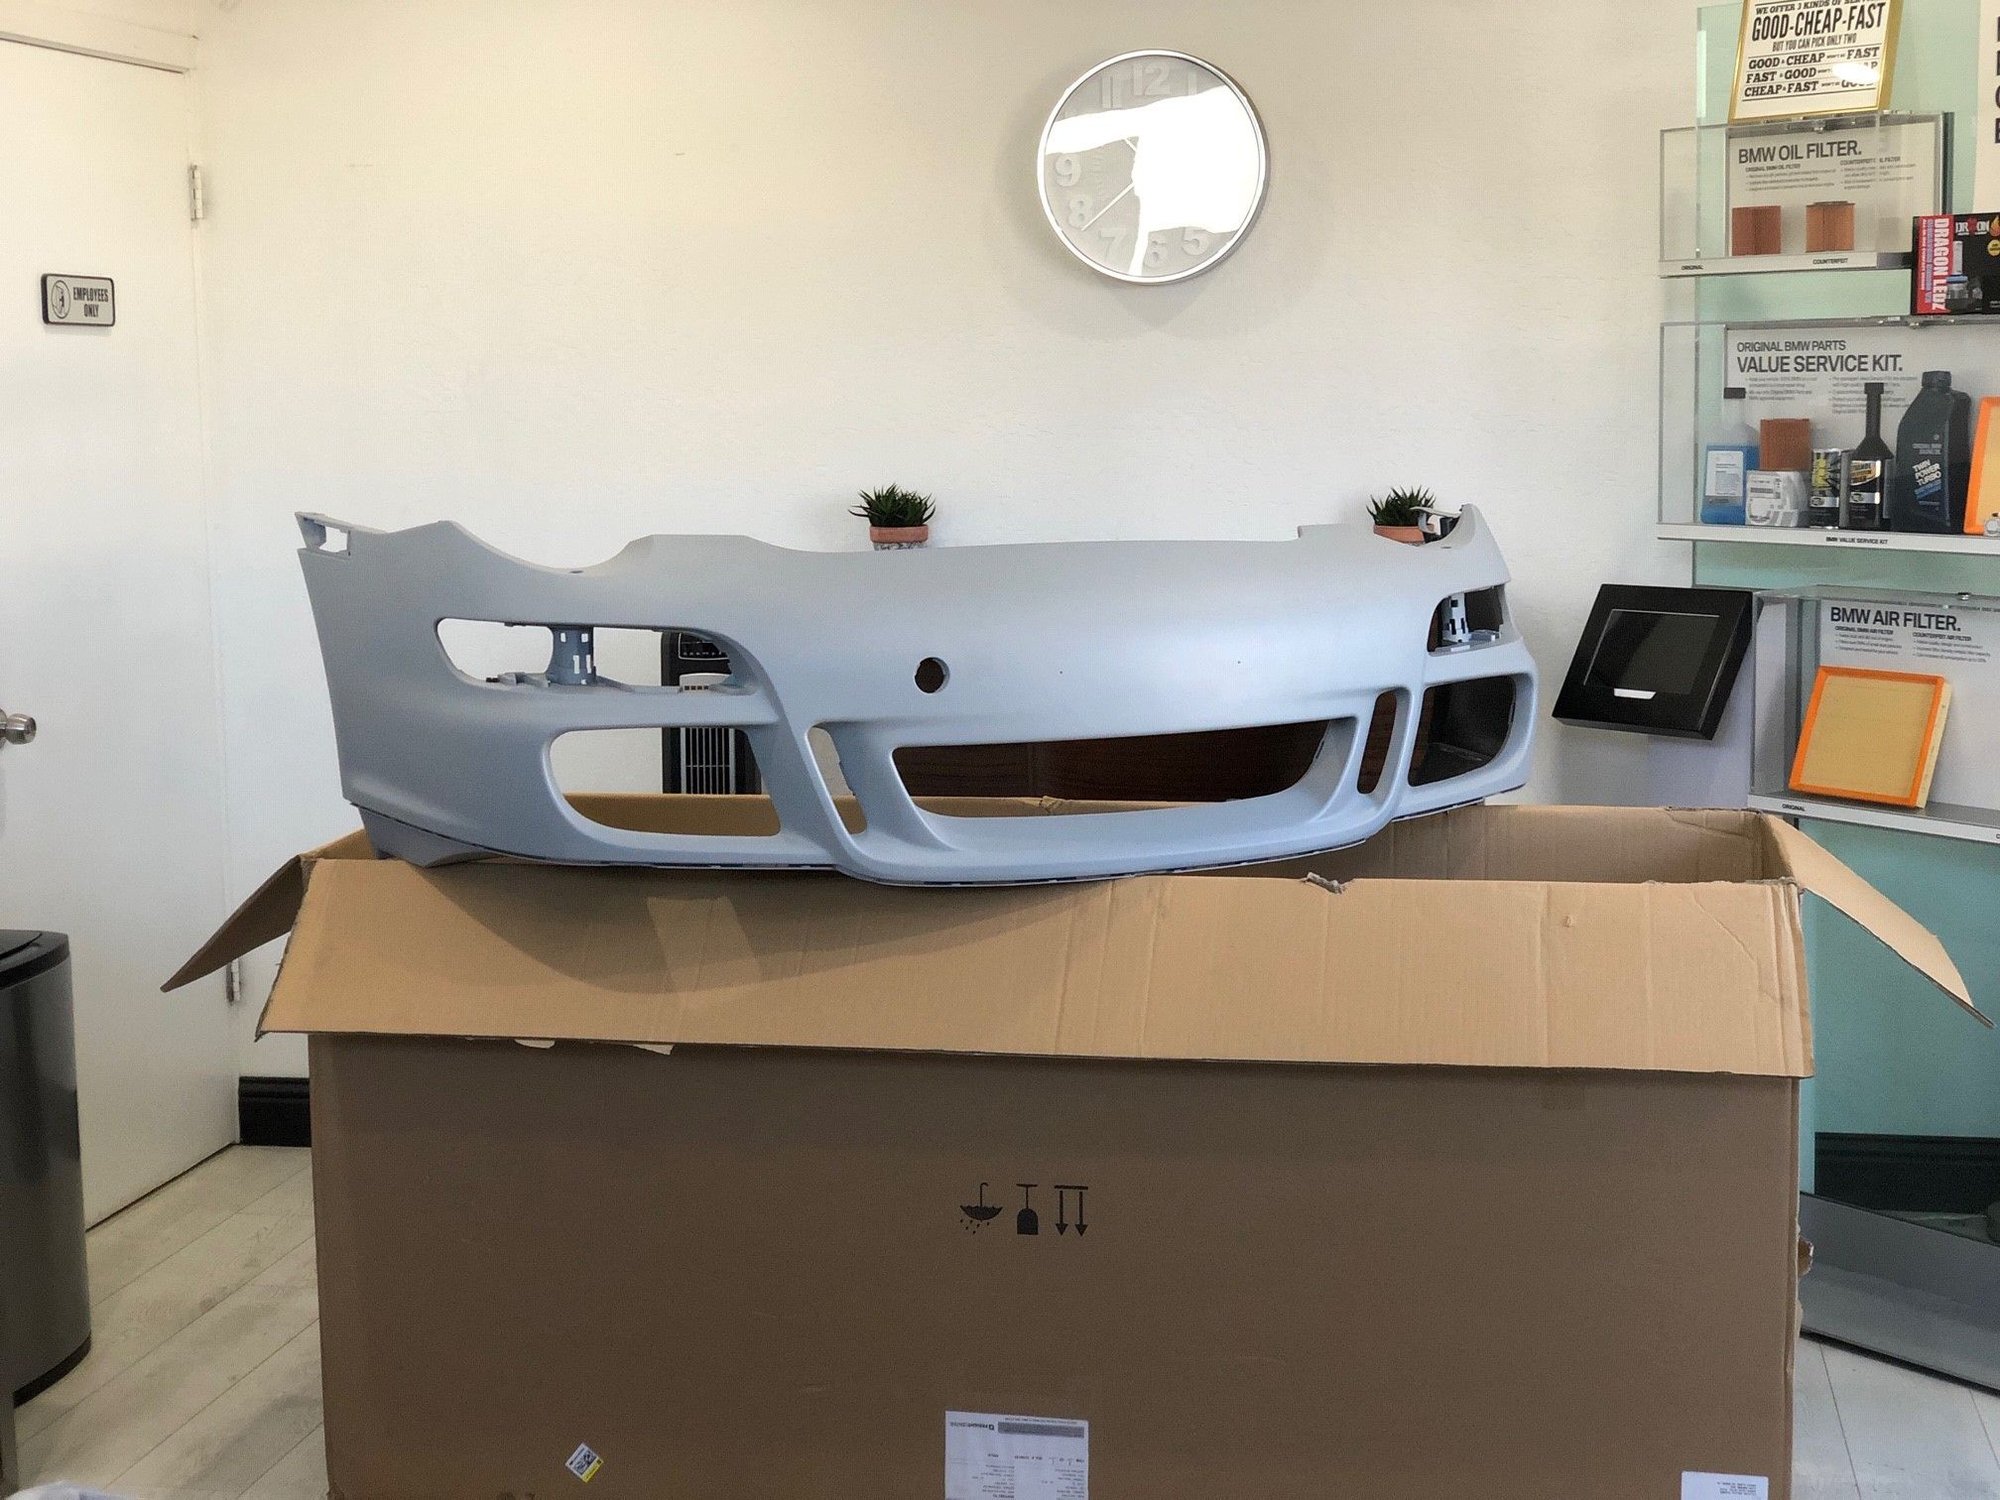
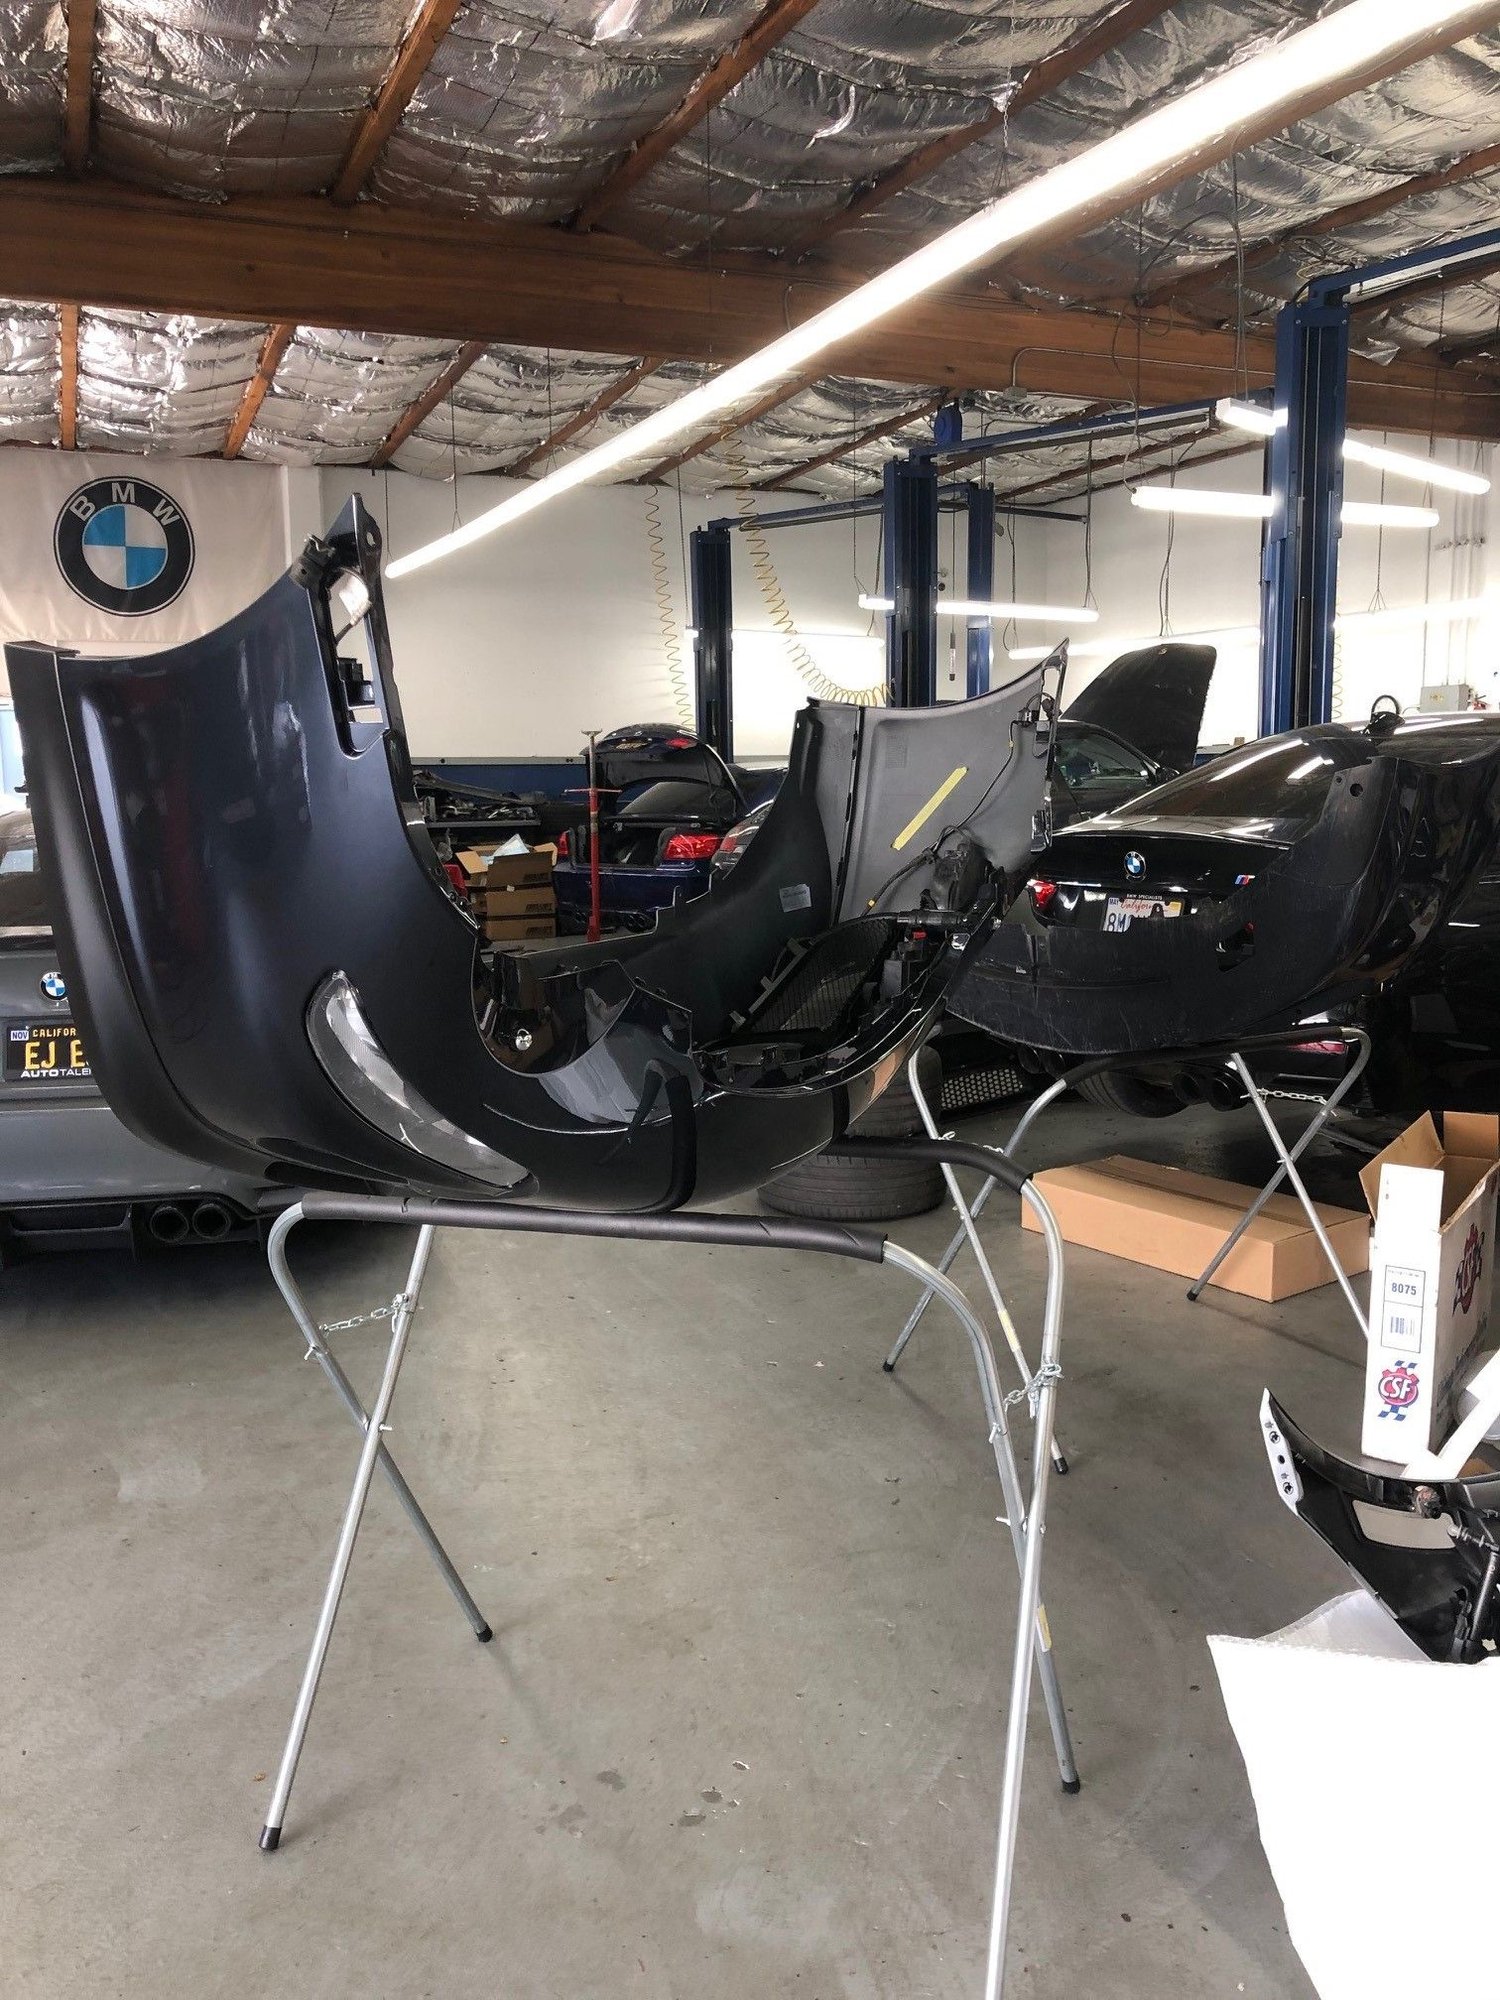
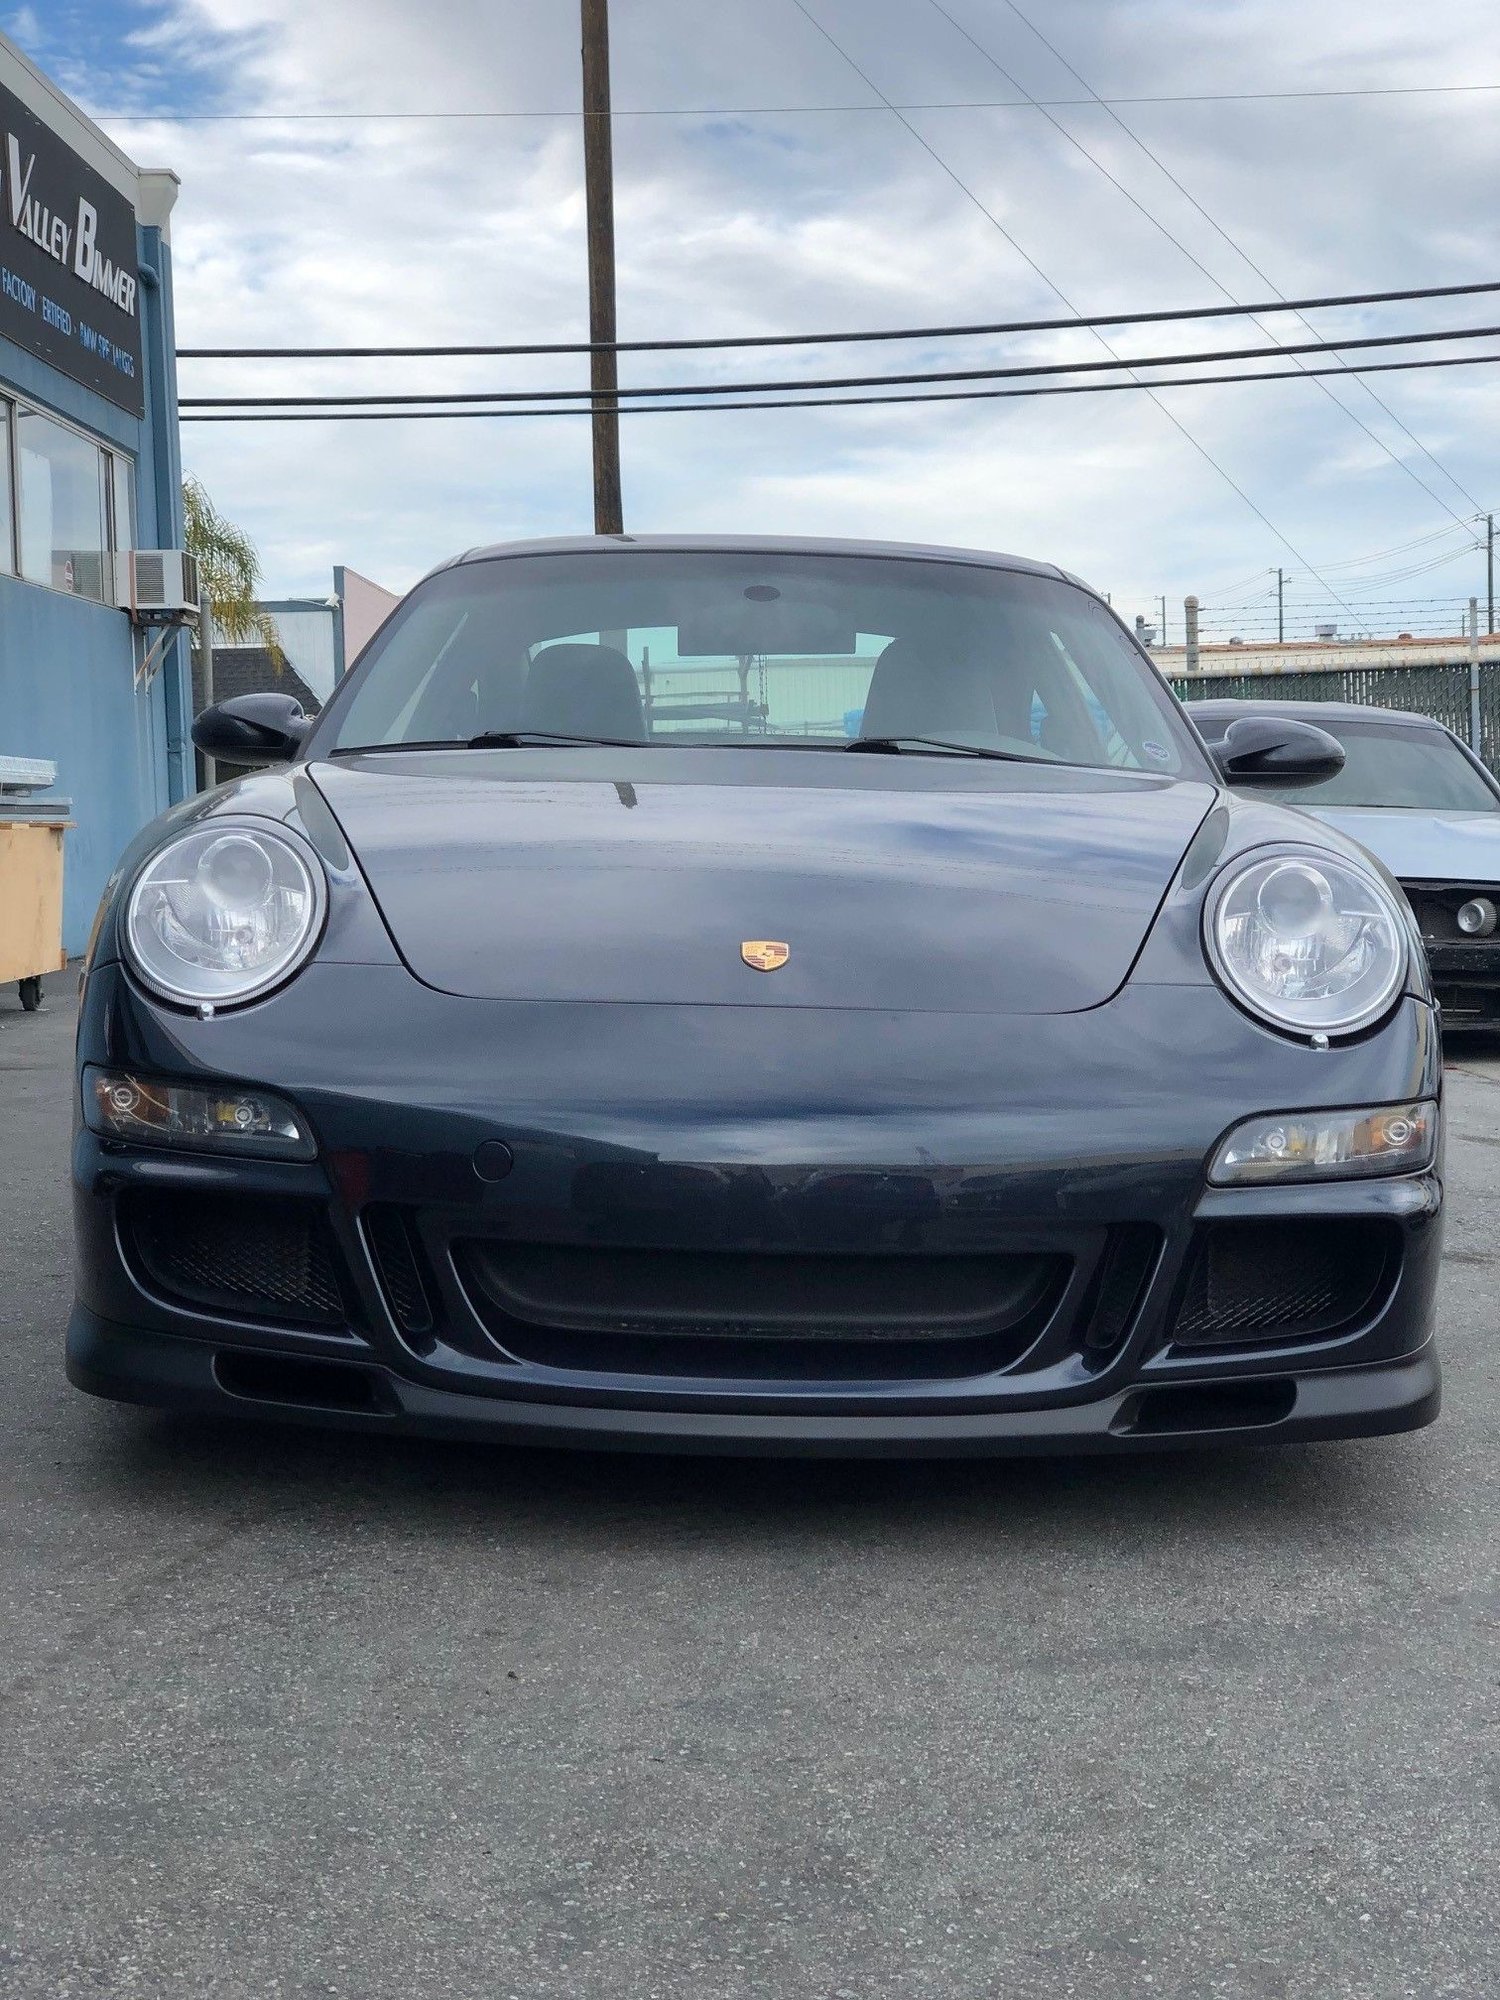
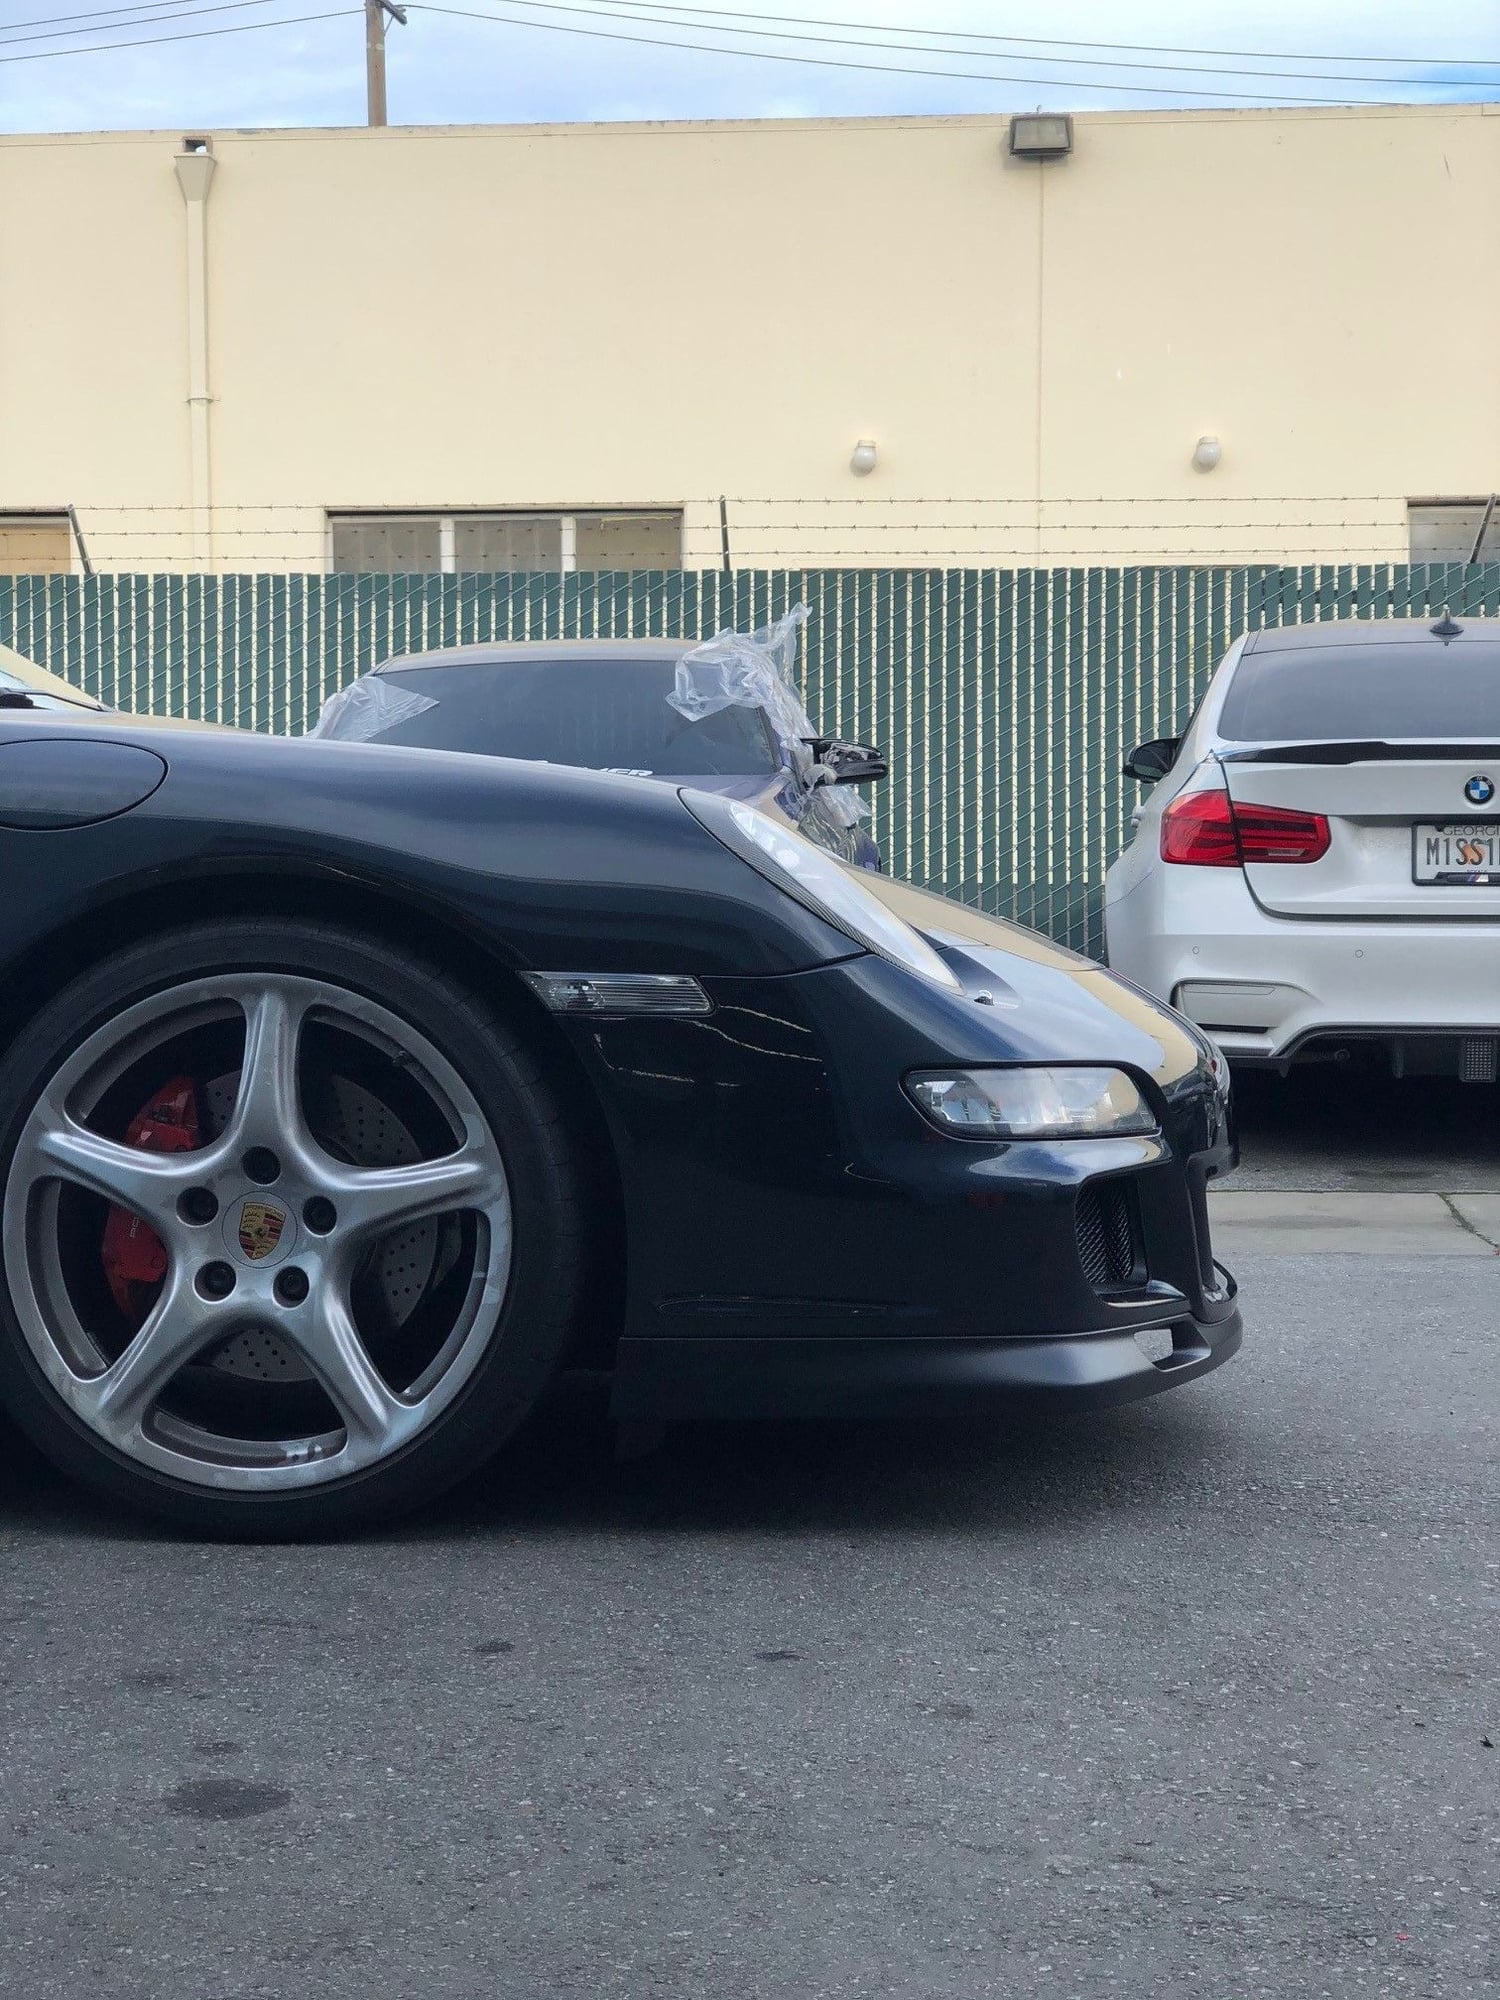
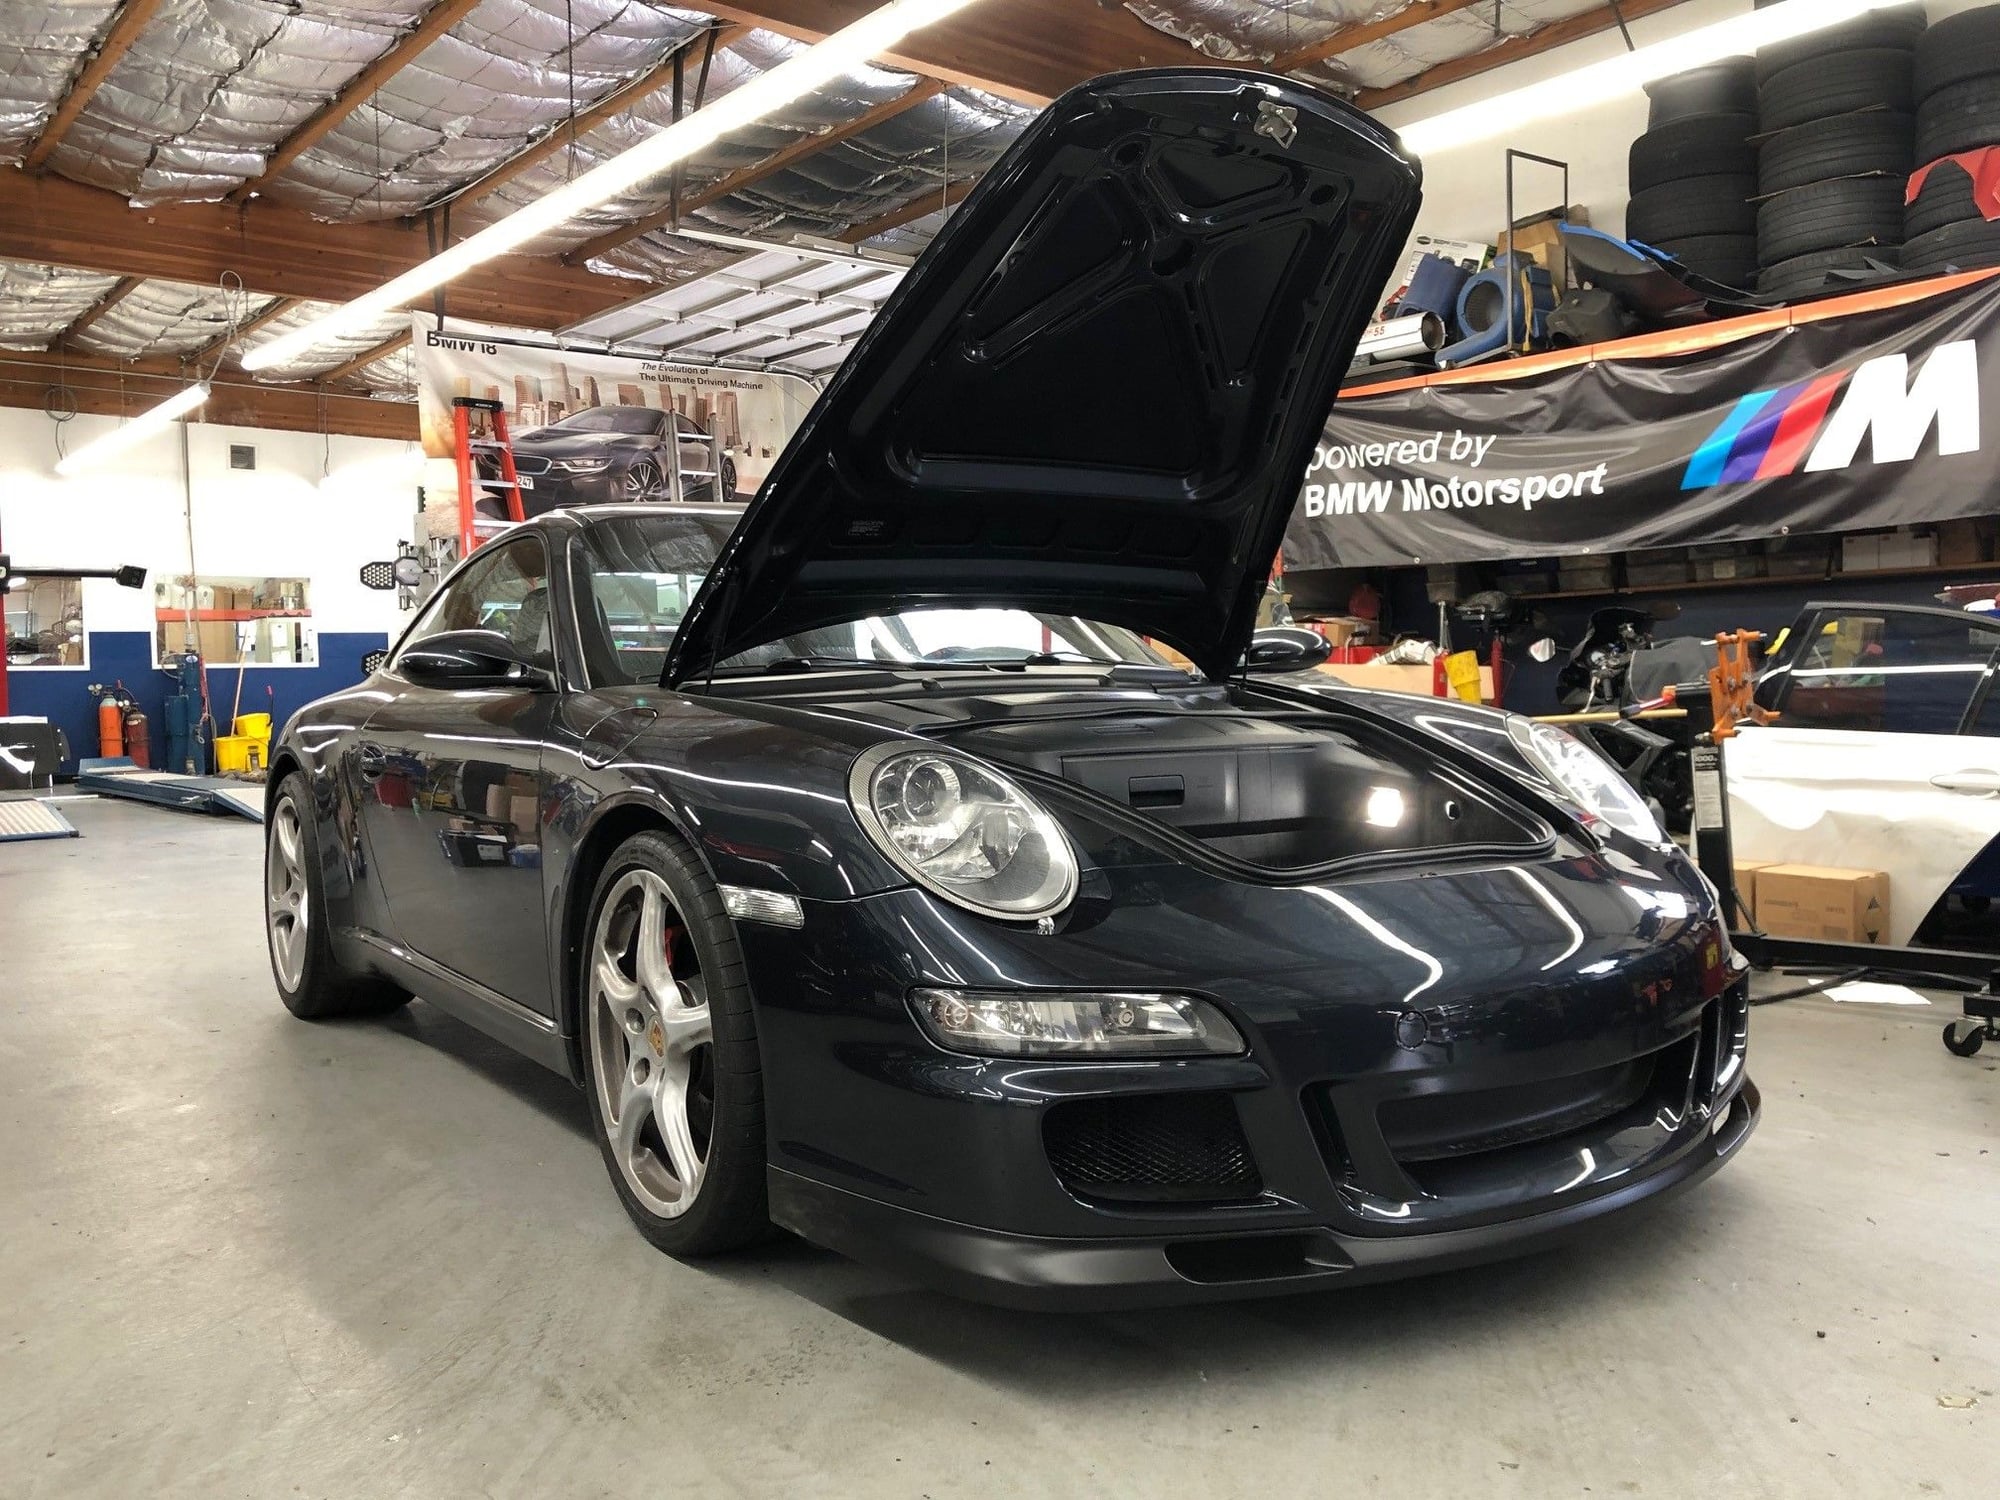
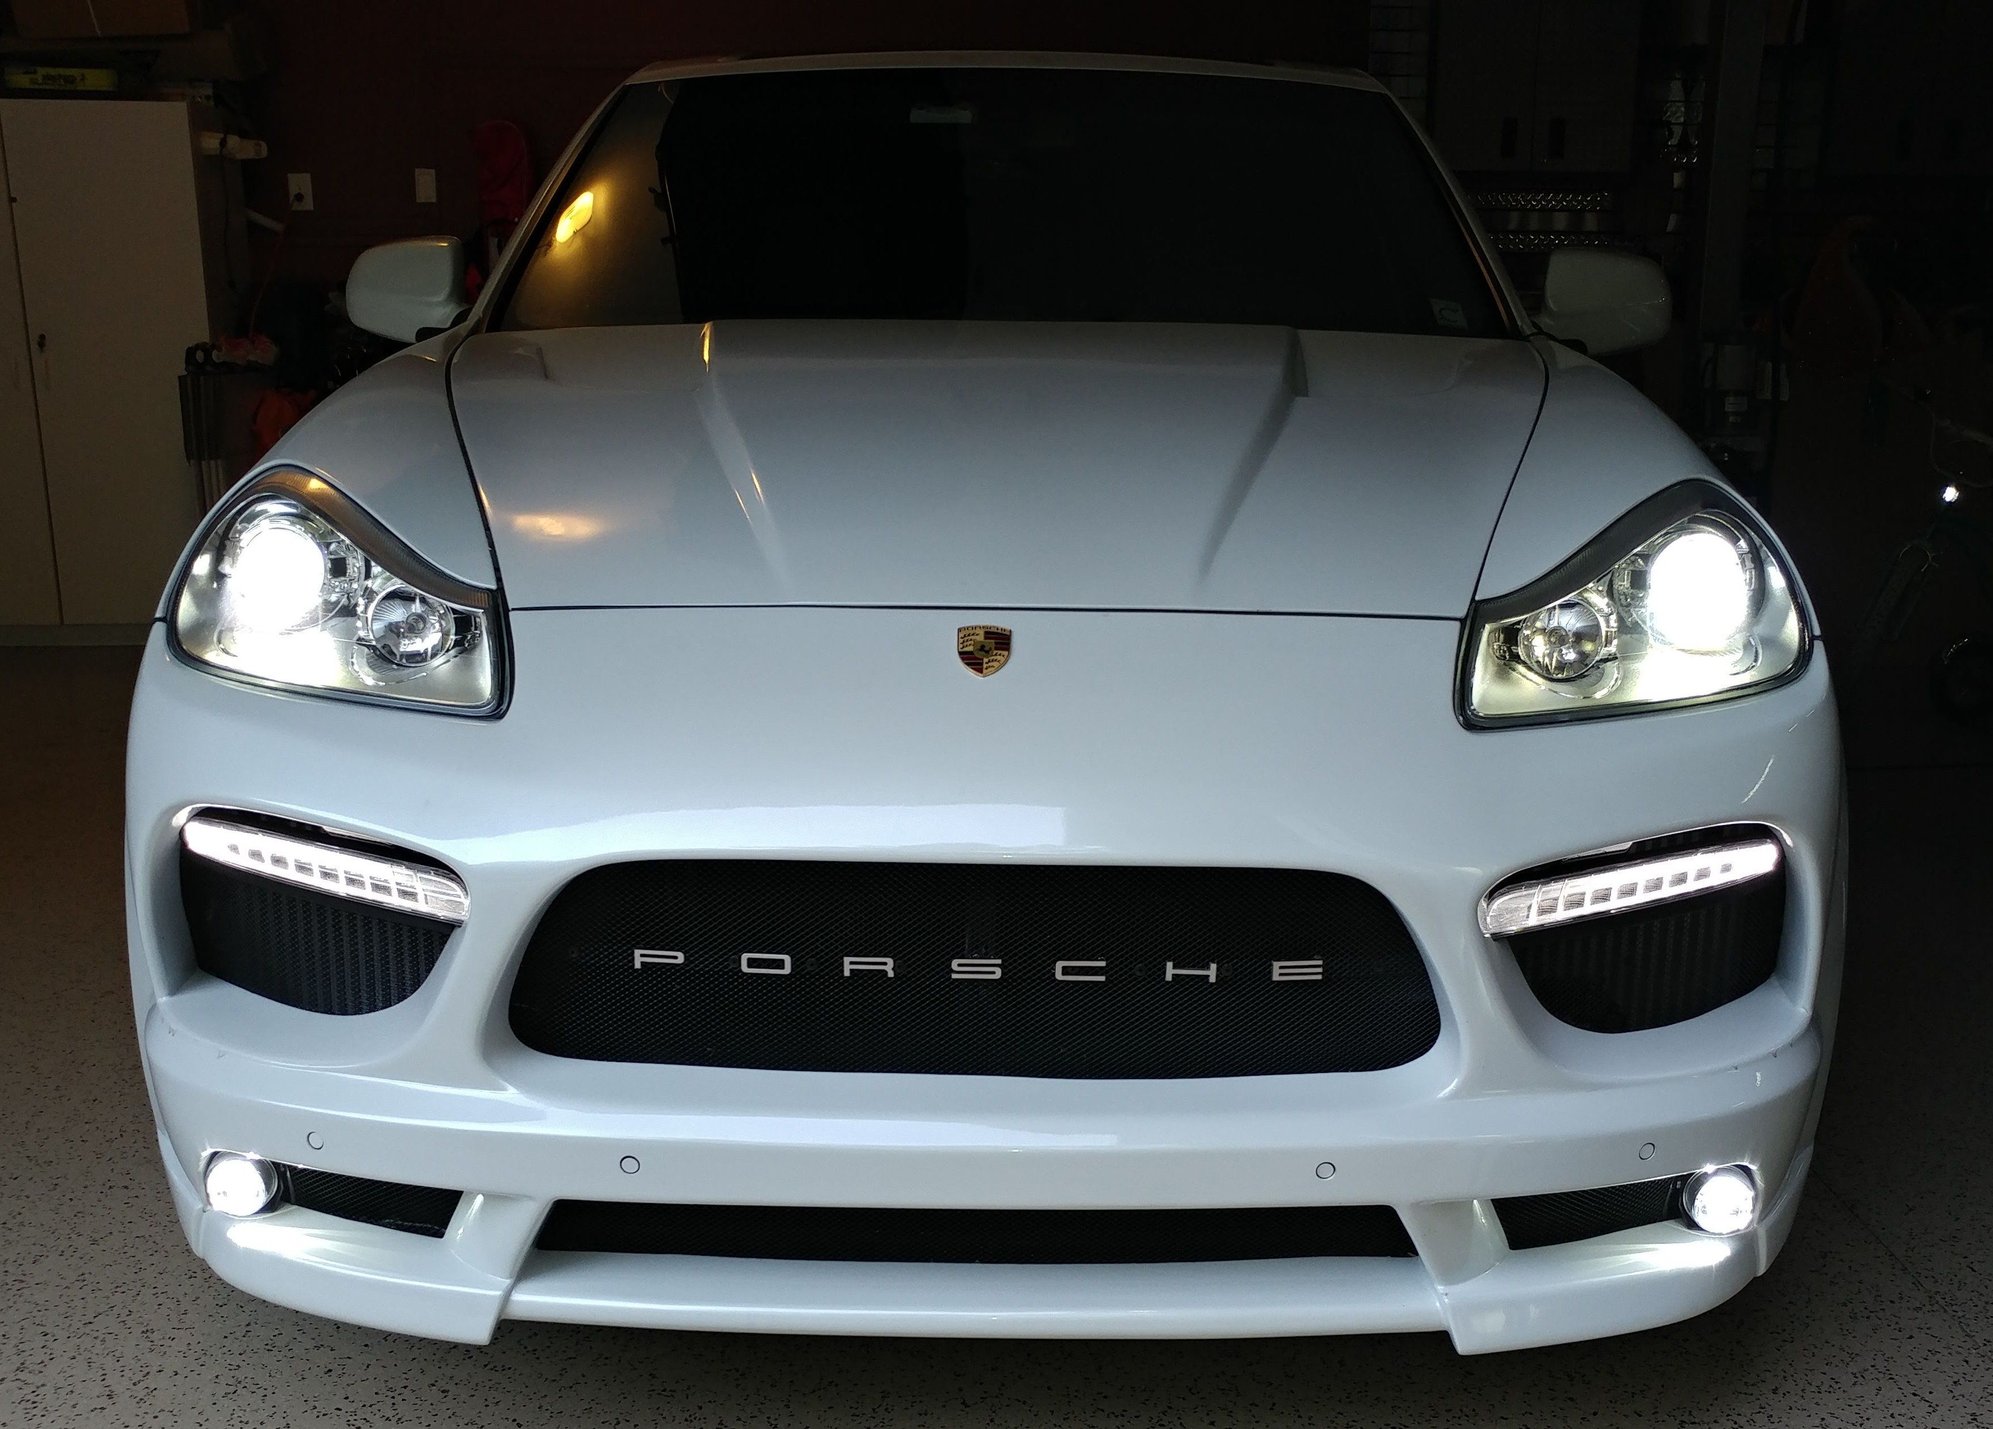
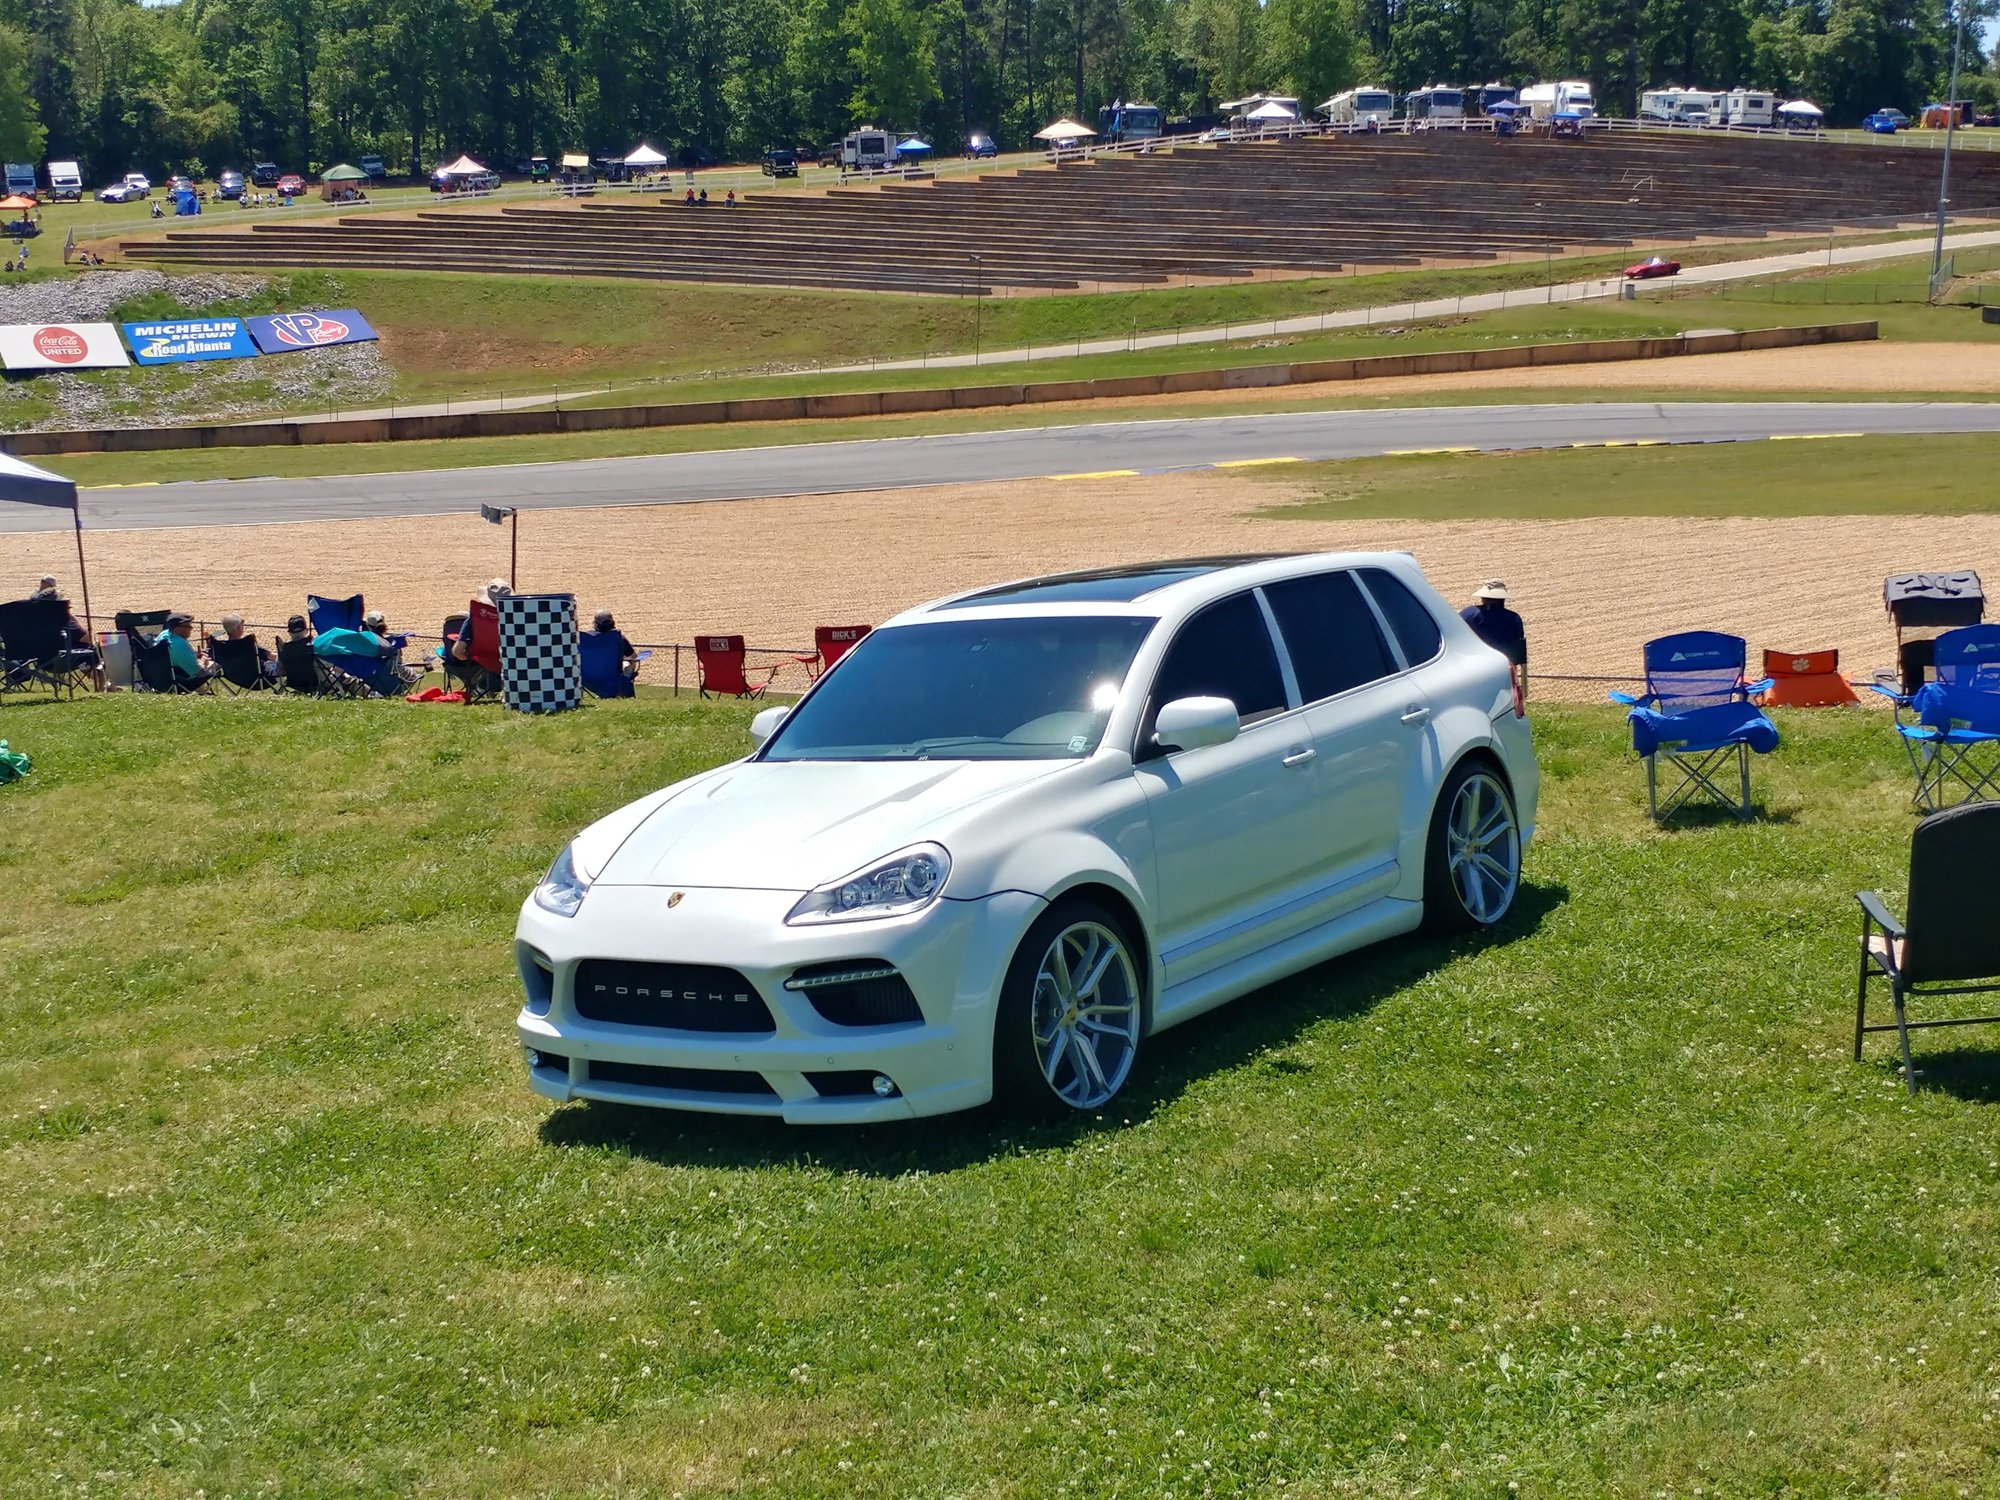
Just wanted to share that the Aerokit front bumper w/ lip is finally painted and on the car.
My brother at Silicon Valley Bimmer in Santa Clara, CA connected me with a local body shop that he uses often, to conduct my paint work. I ordered the Aerokit through Pelican Parts with shipping directly to his shop, sent my fuel door in the mail a few days after, and went down this past Saturday to get it installed.
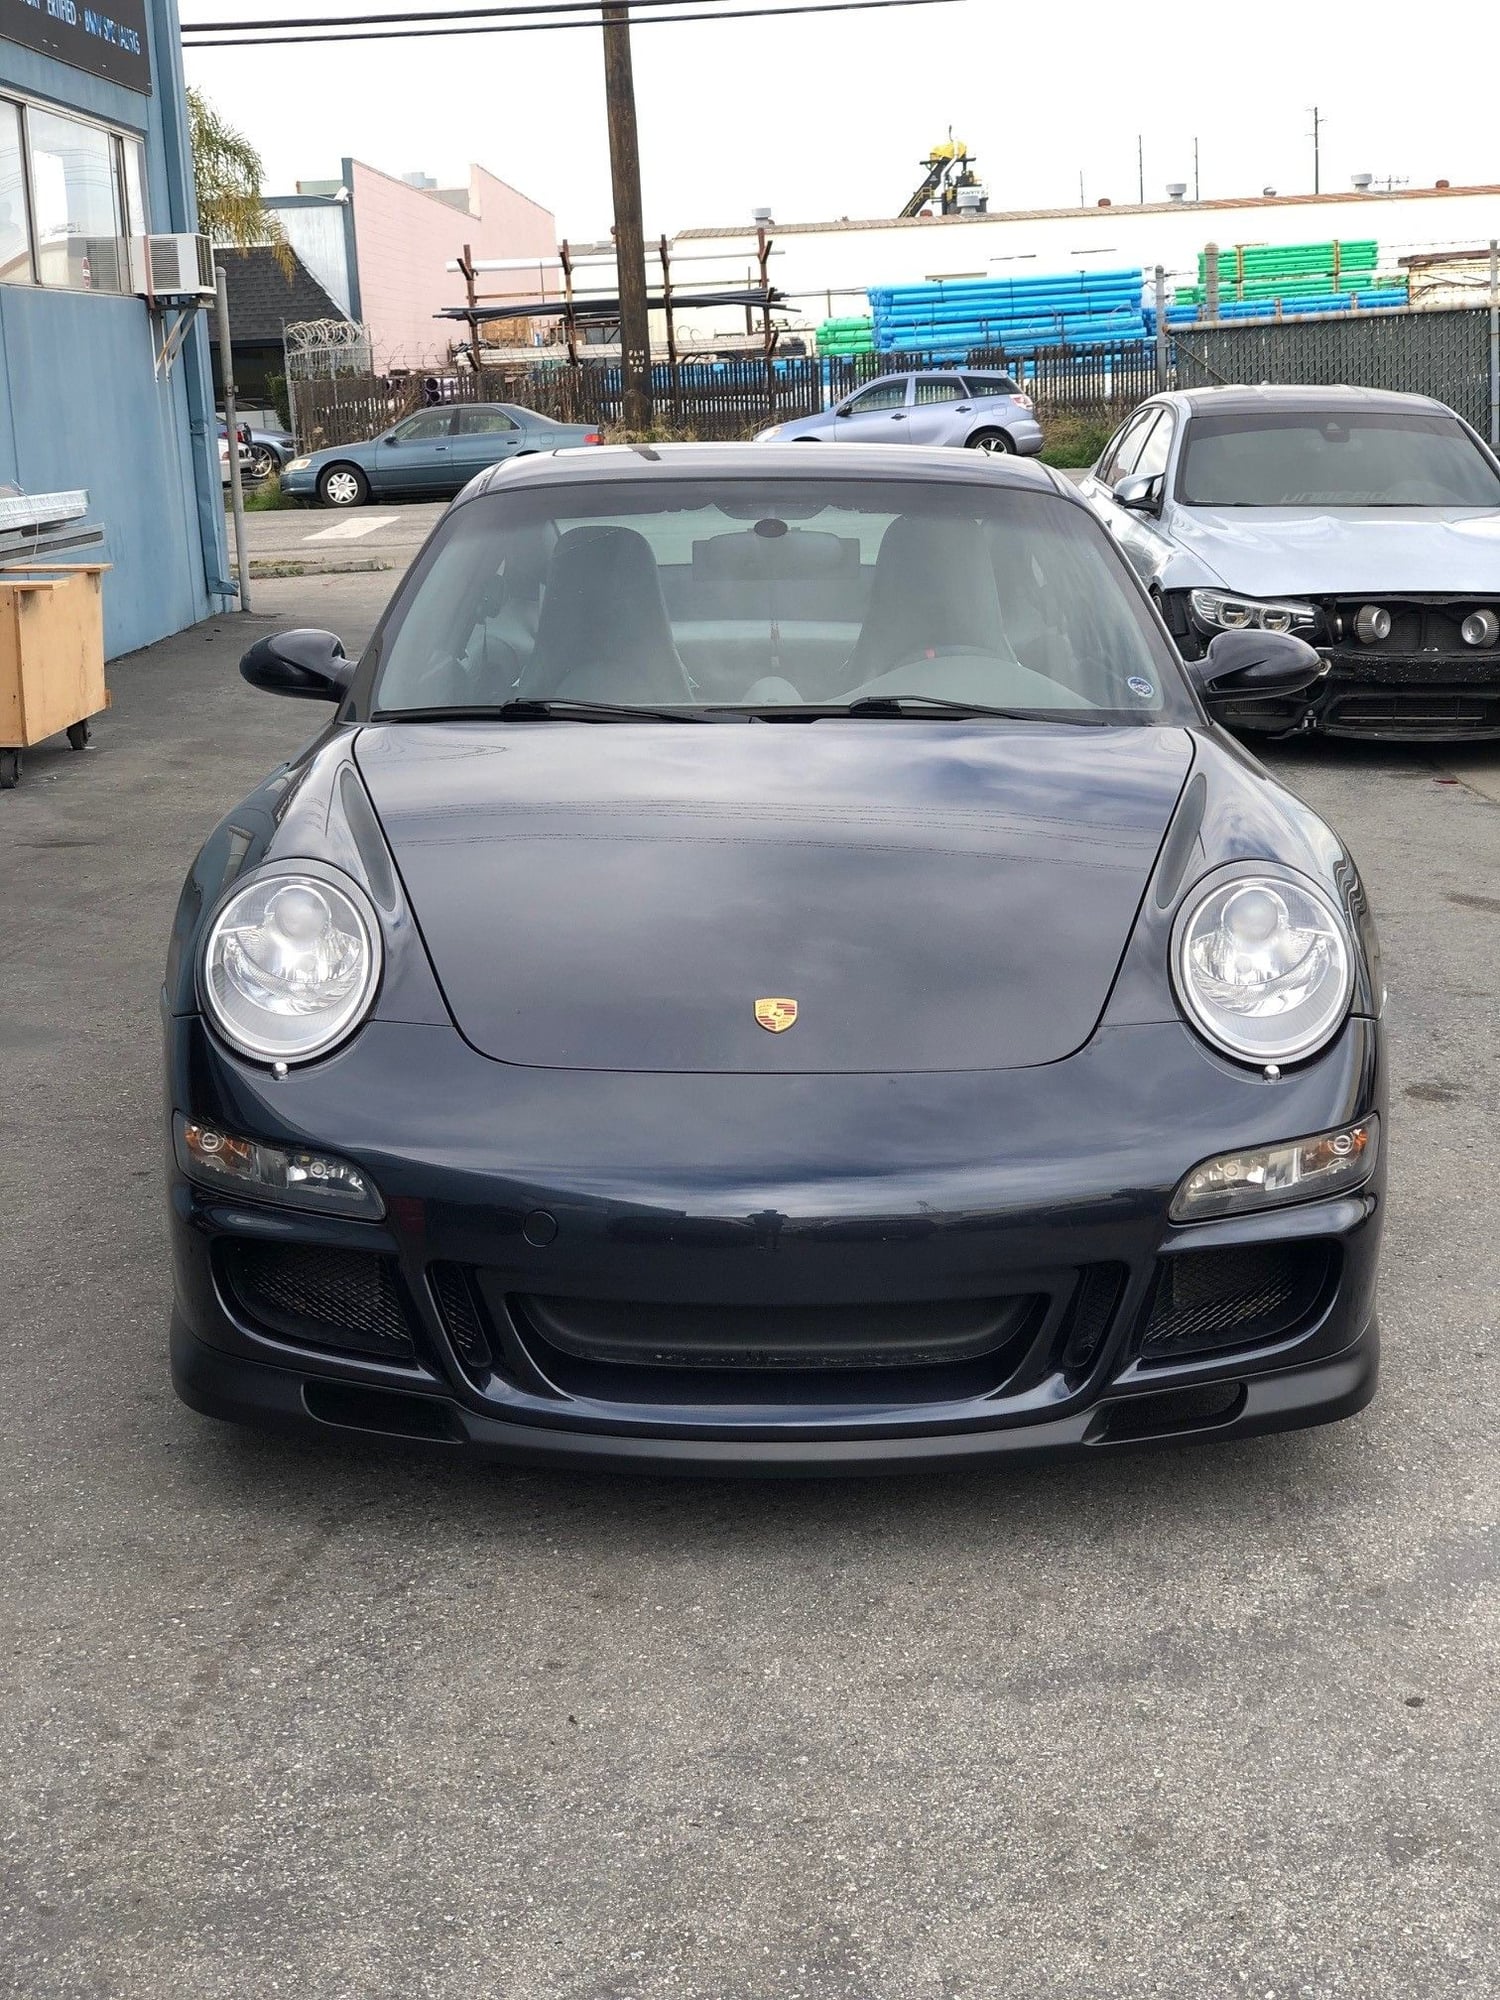
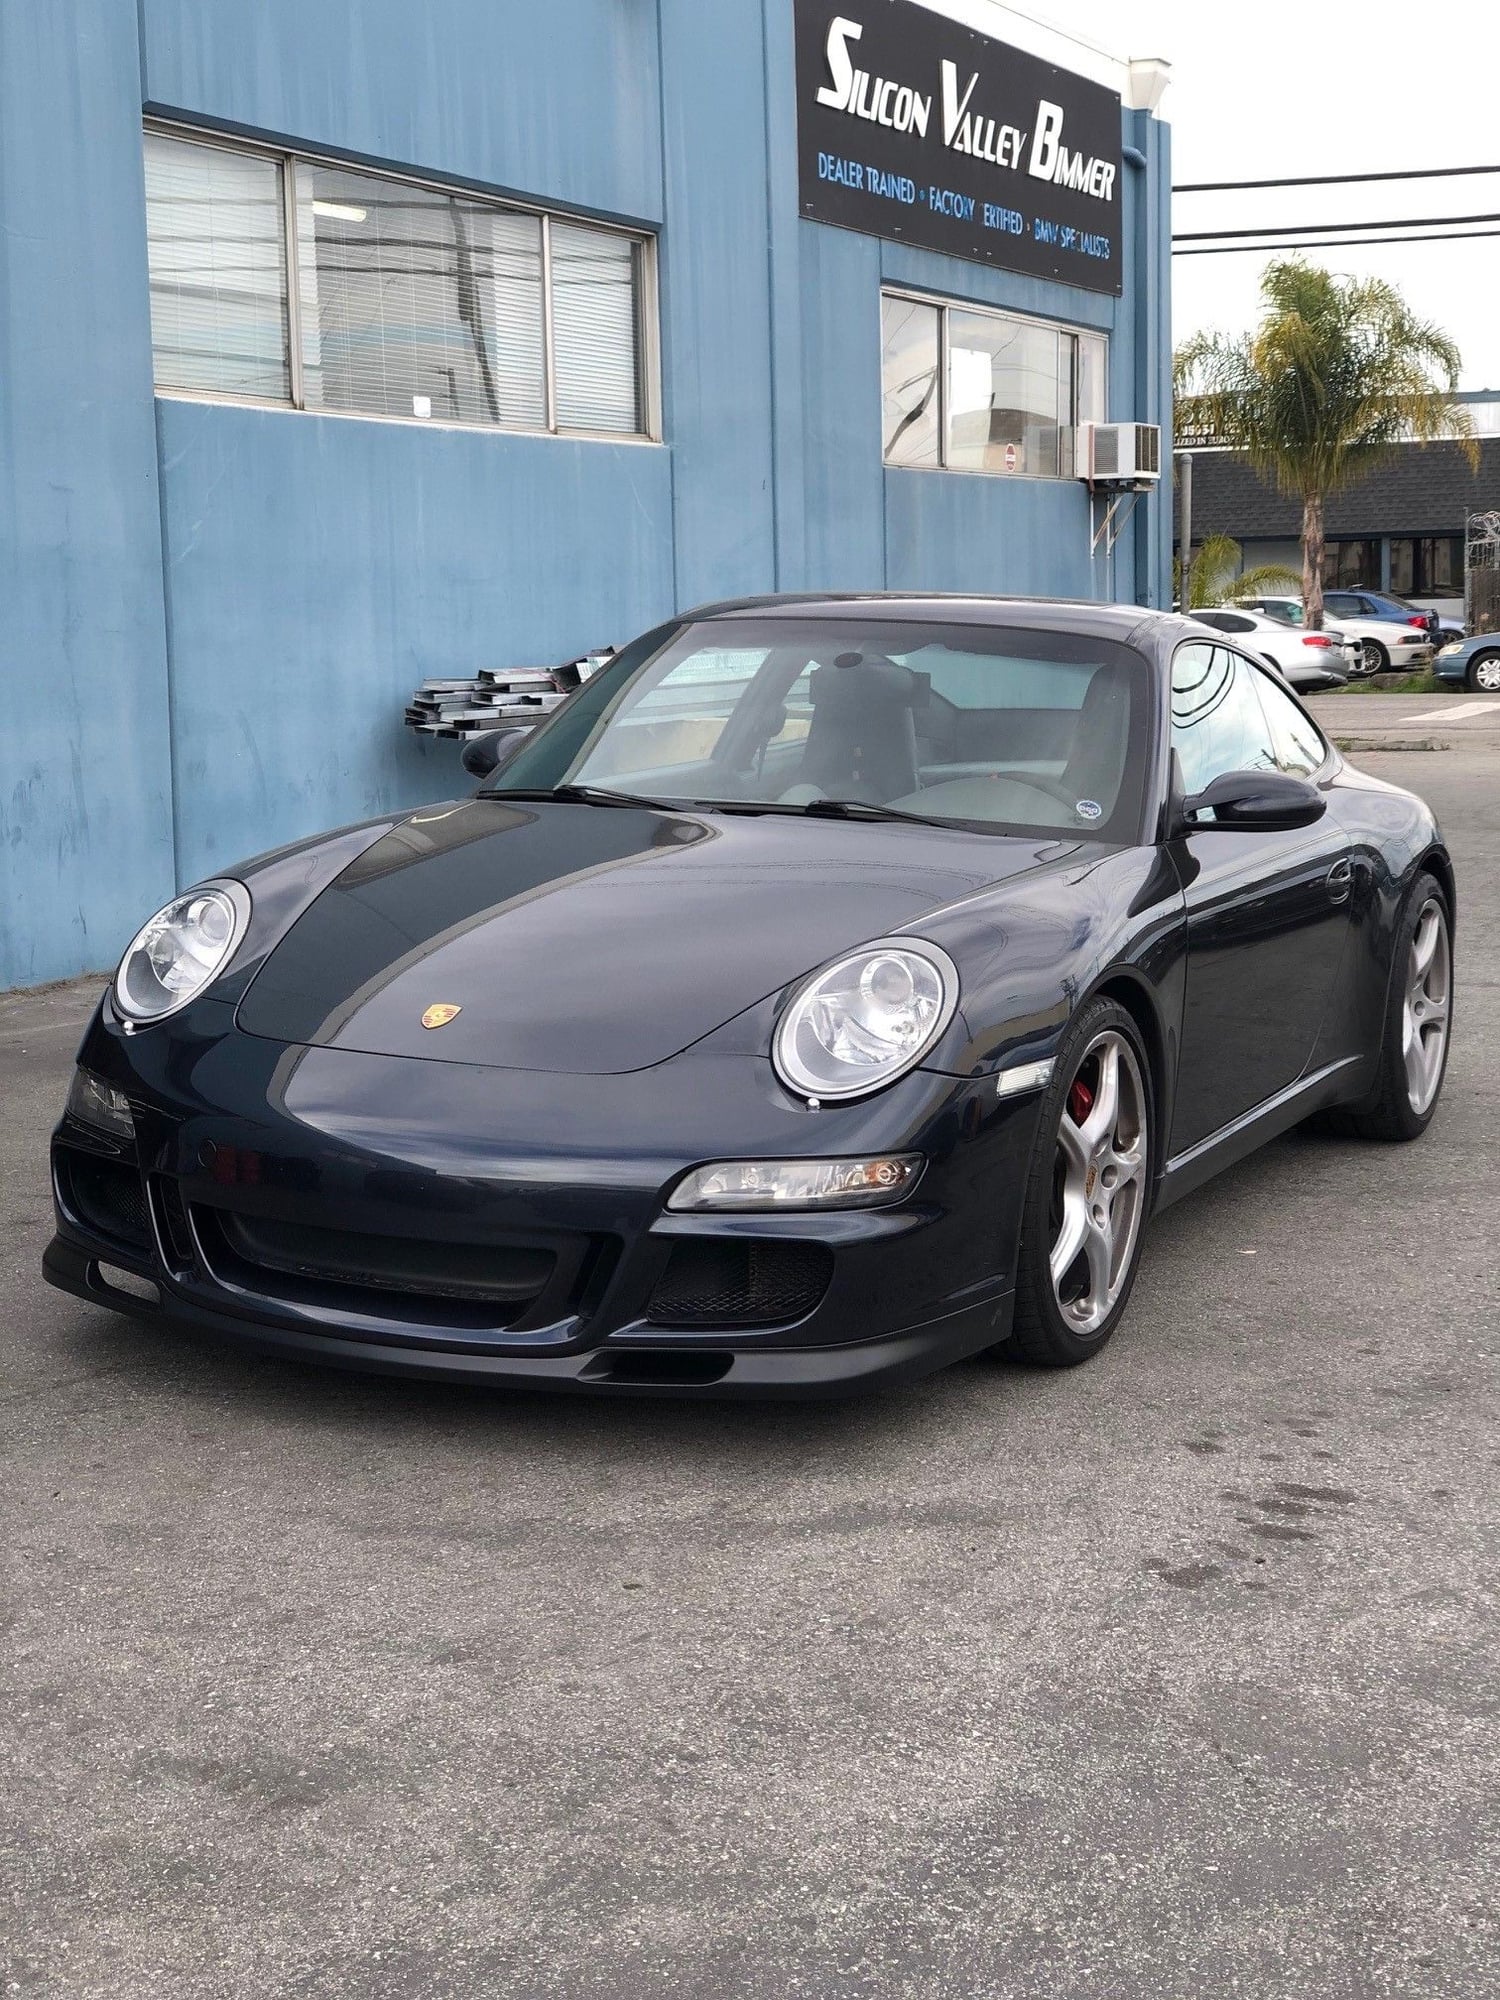
My car is Atlas Grey, and I have to say I am highly pleased with the quality of the paint job. You all know Atlas Grey is on the darker side, and carries a bit of dark blue maybe even some black tinges. It also carries quite a bit of metallic flake when you're up close and the paint is clean. So for 13 years of age, 101k miles, and the rest of the adjacent panels on the front of the car(hood, fenders,etc) being probably the same original paint(to my knowledge) it turned out pretty damn good.
Couple things I learned along the way, just for reference and if anyone reading this might have the some concerns/questions I did.
1. My order from Pelican Parts came with: https://www.pelicanparts.com/More_In...044-802-32-OEM
a. Front Bumper & lip
b. Both Euro and US license plate brackets
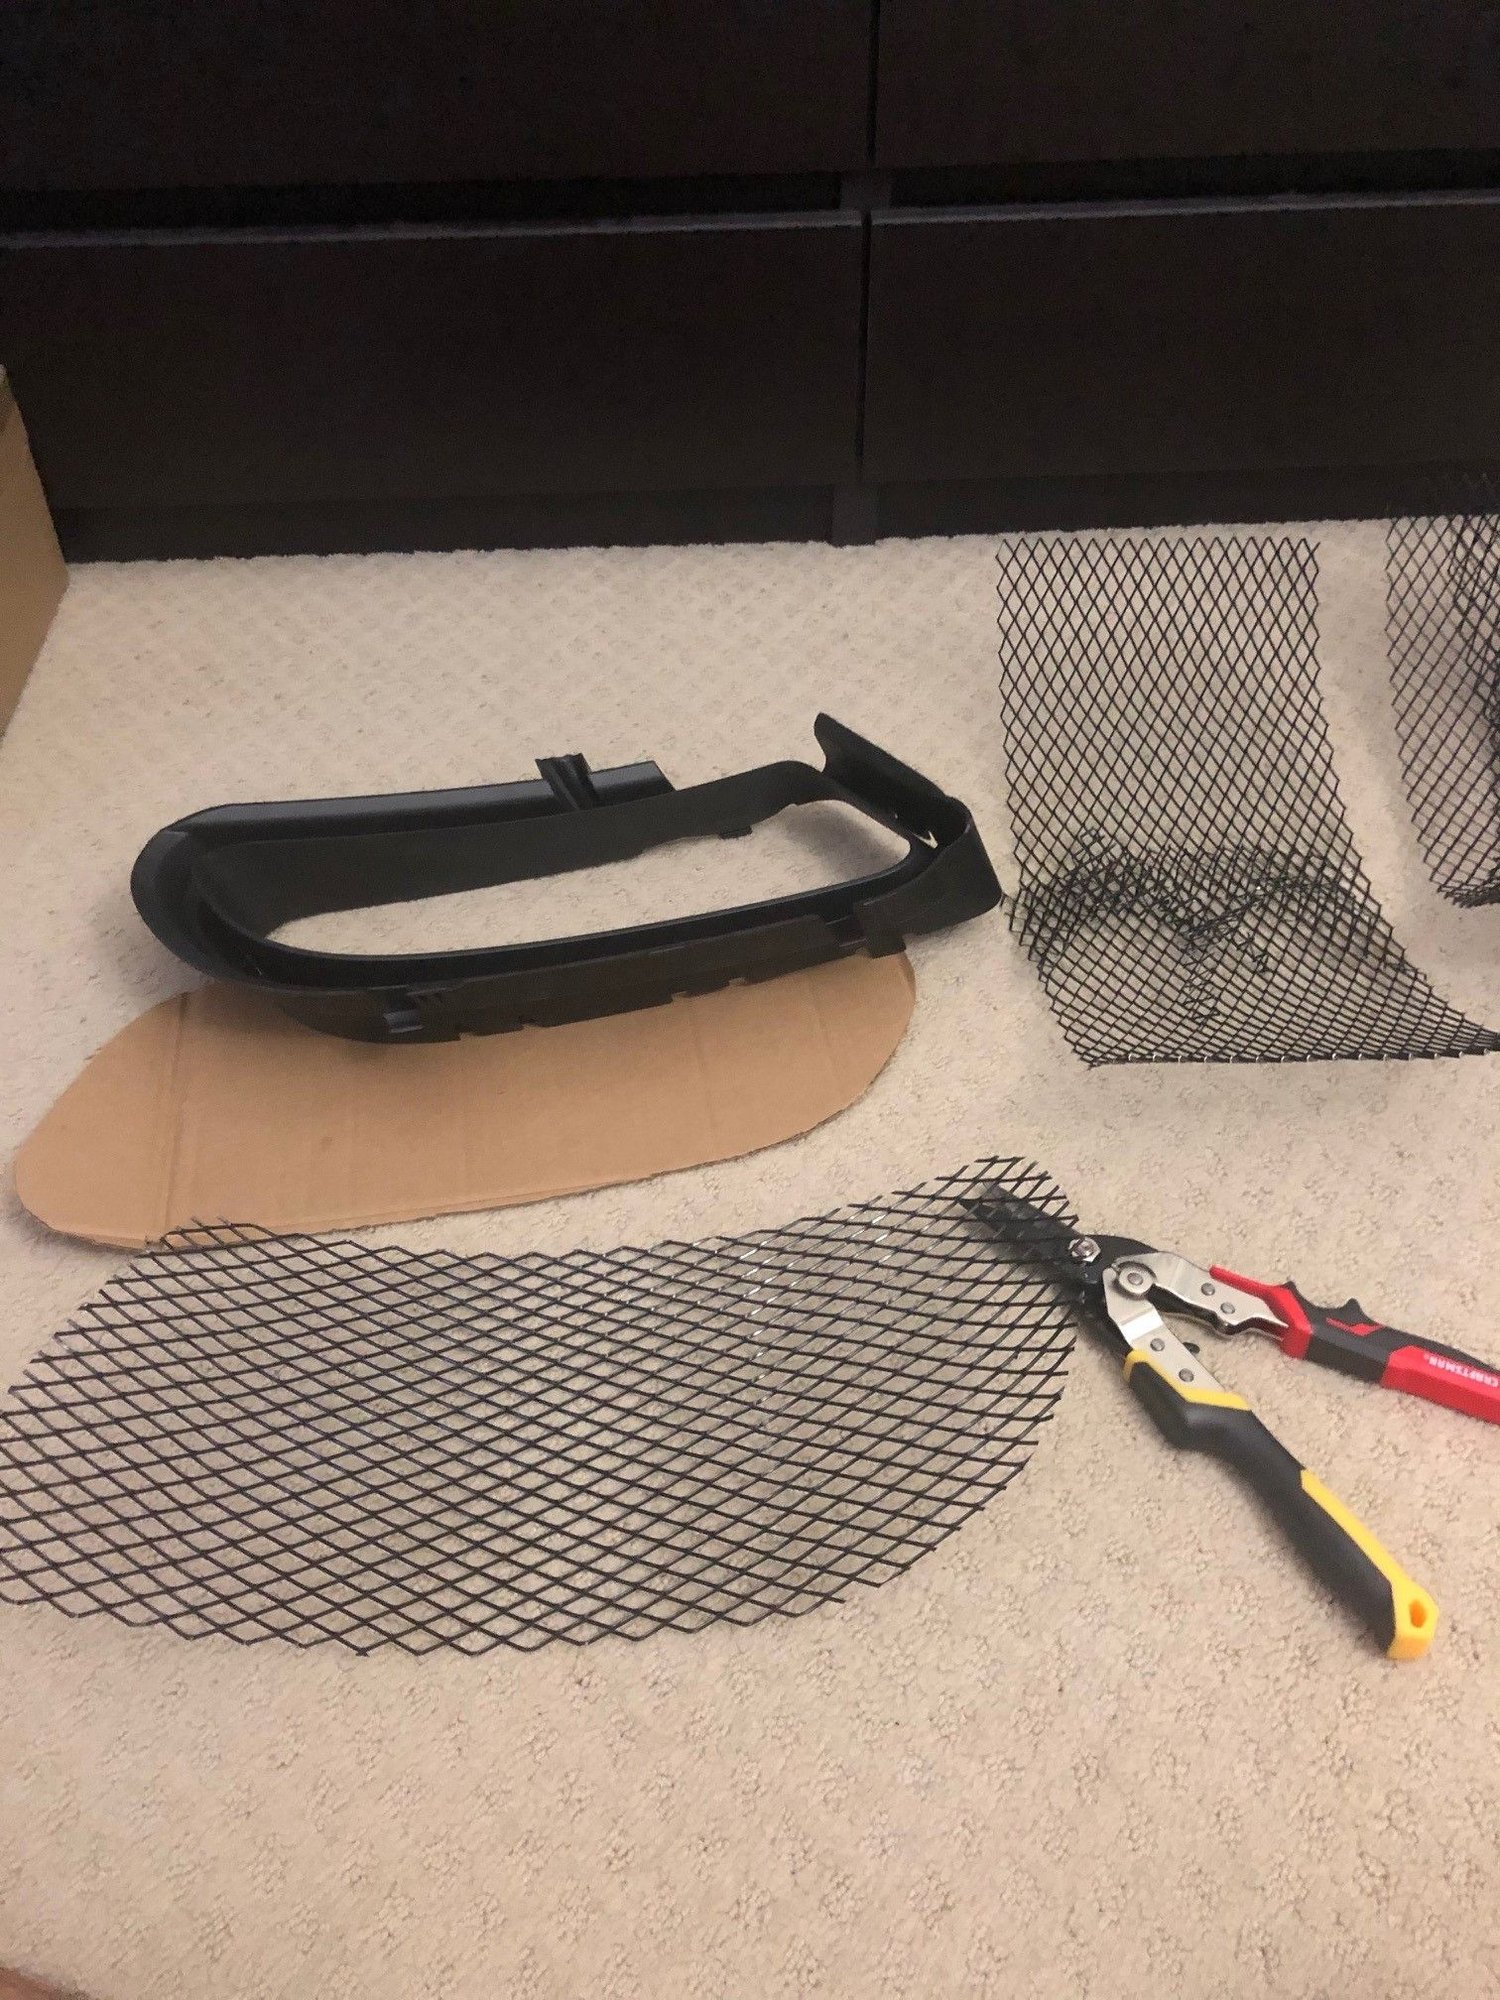
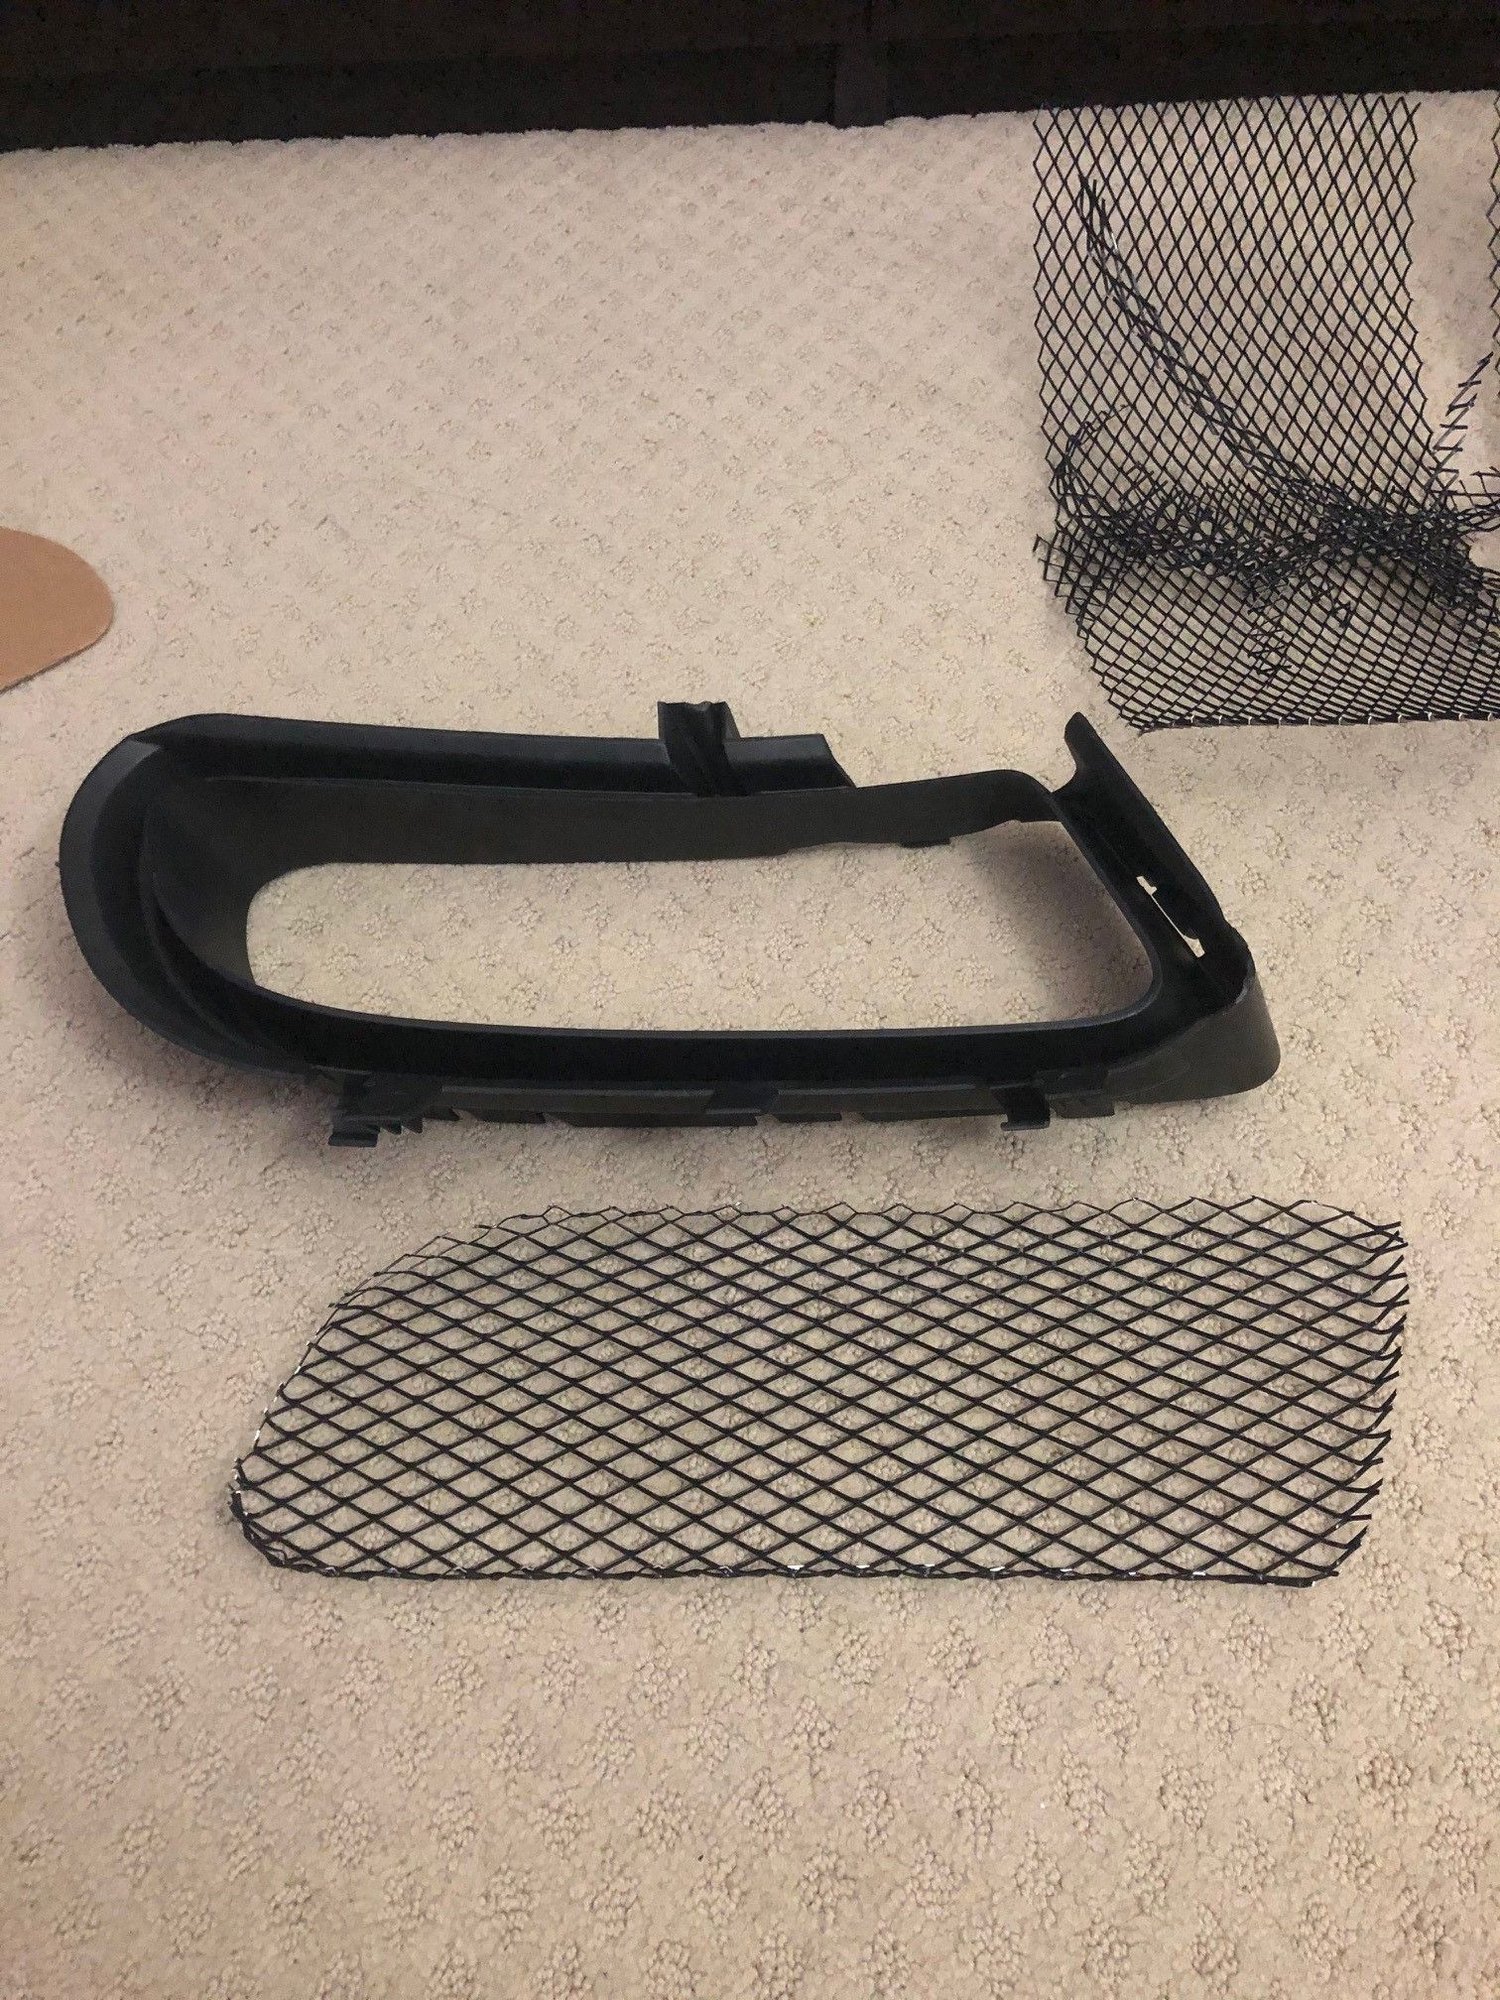
c. Right and Left side plastic retaining frames (they snap into place behind the openings, where the mesh grilles DIY or aftermarket can be attached to)
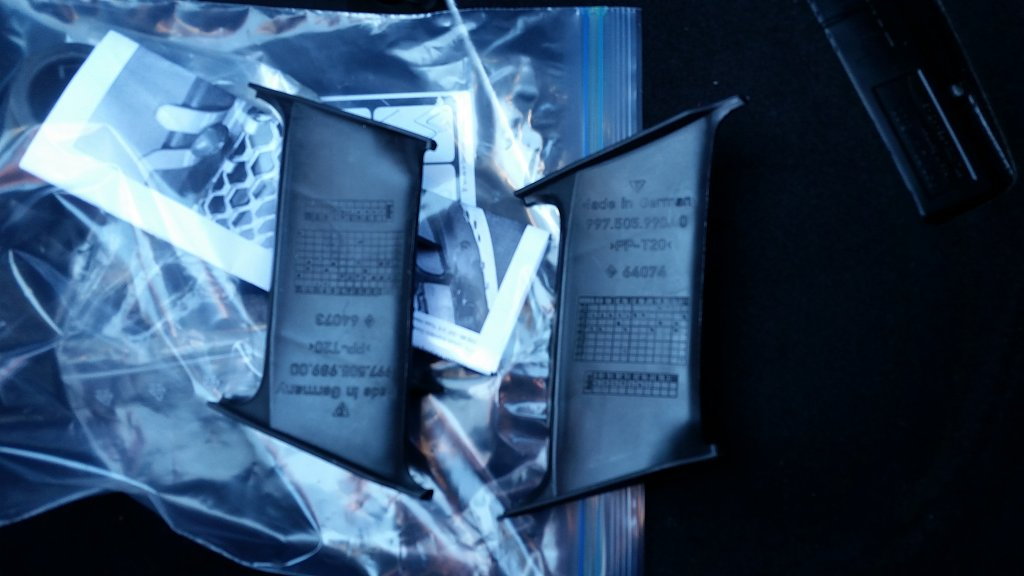
d. The two little plastic wing pieces 997.505.989.00 Cover Left and 997.505.990.00 Cover Right (I read some don't use these, however I did, it looks like they're more for directing air flow a certain angle into the radiators)
e. Plastic cylinder plug (goes into the center bottom panel of the bumper
f. If you do not have a 3rd radiator, the center plastic piece is transplanted from your OEM bumper, snaps right into place.
g. Fitment I am told was spot on, no extra massaging, or adjusting during install, the body lines and spacing were great, and no extra drilling, shaving, cutting, etc was needed prior to paint.
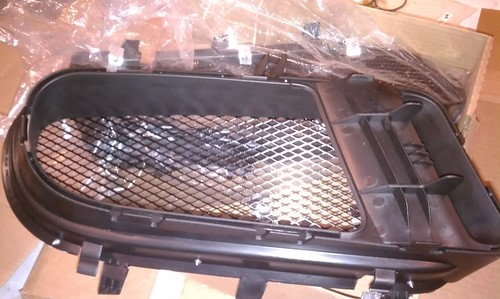
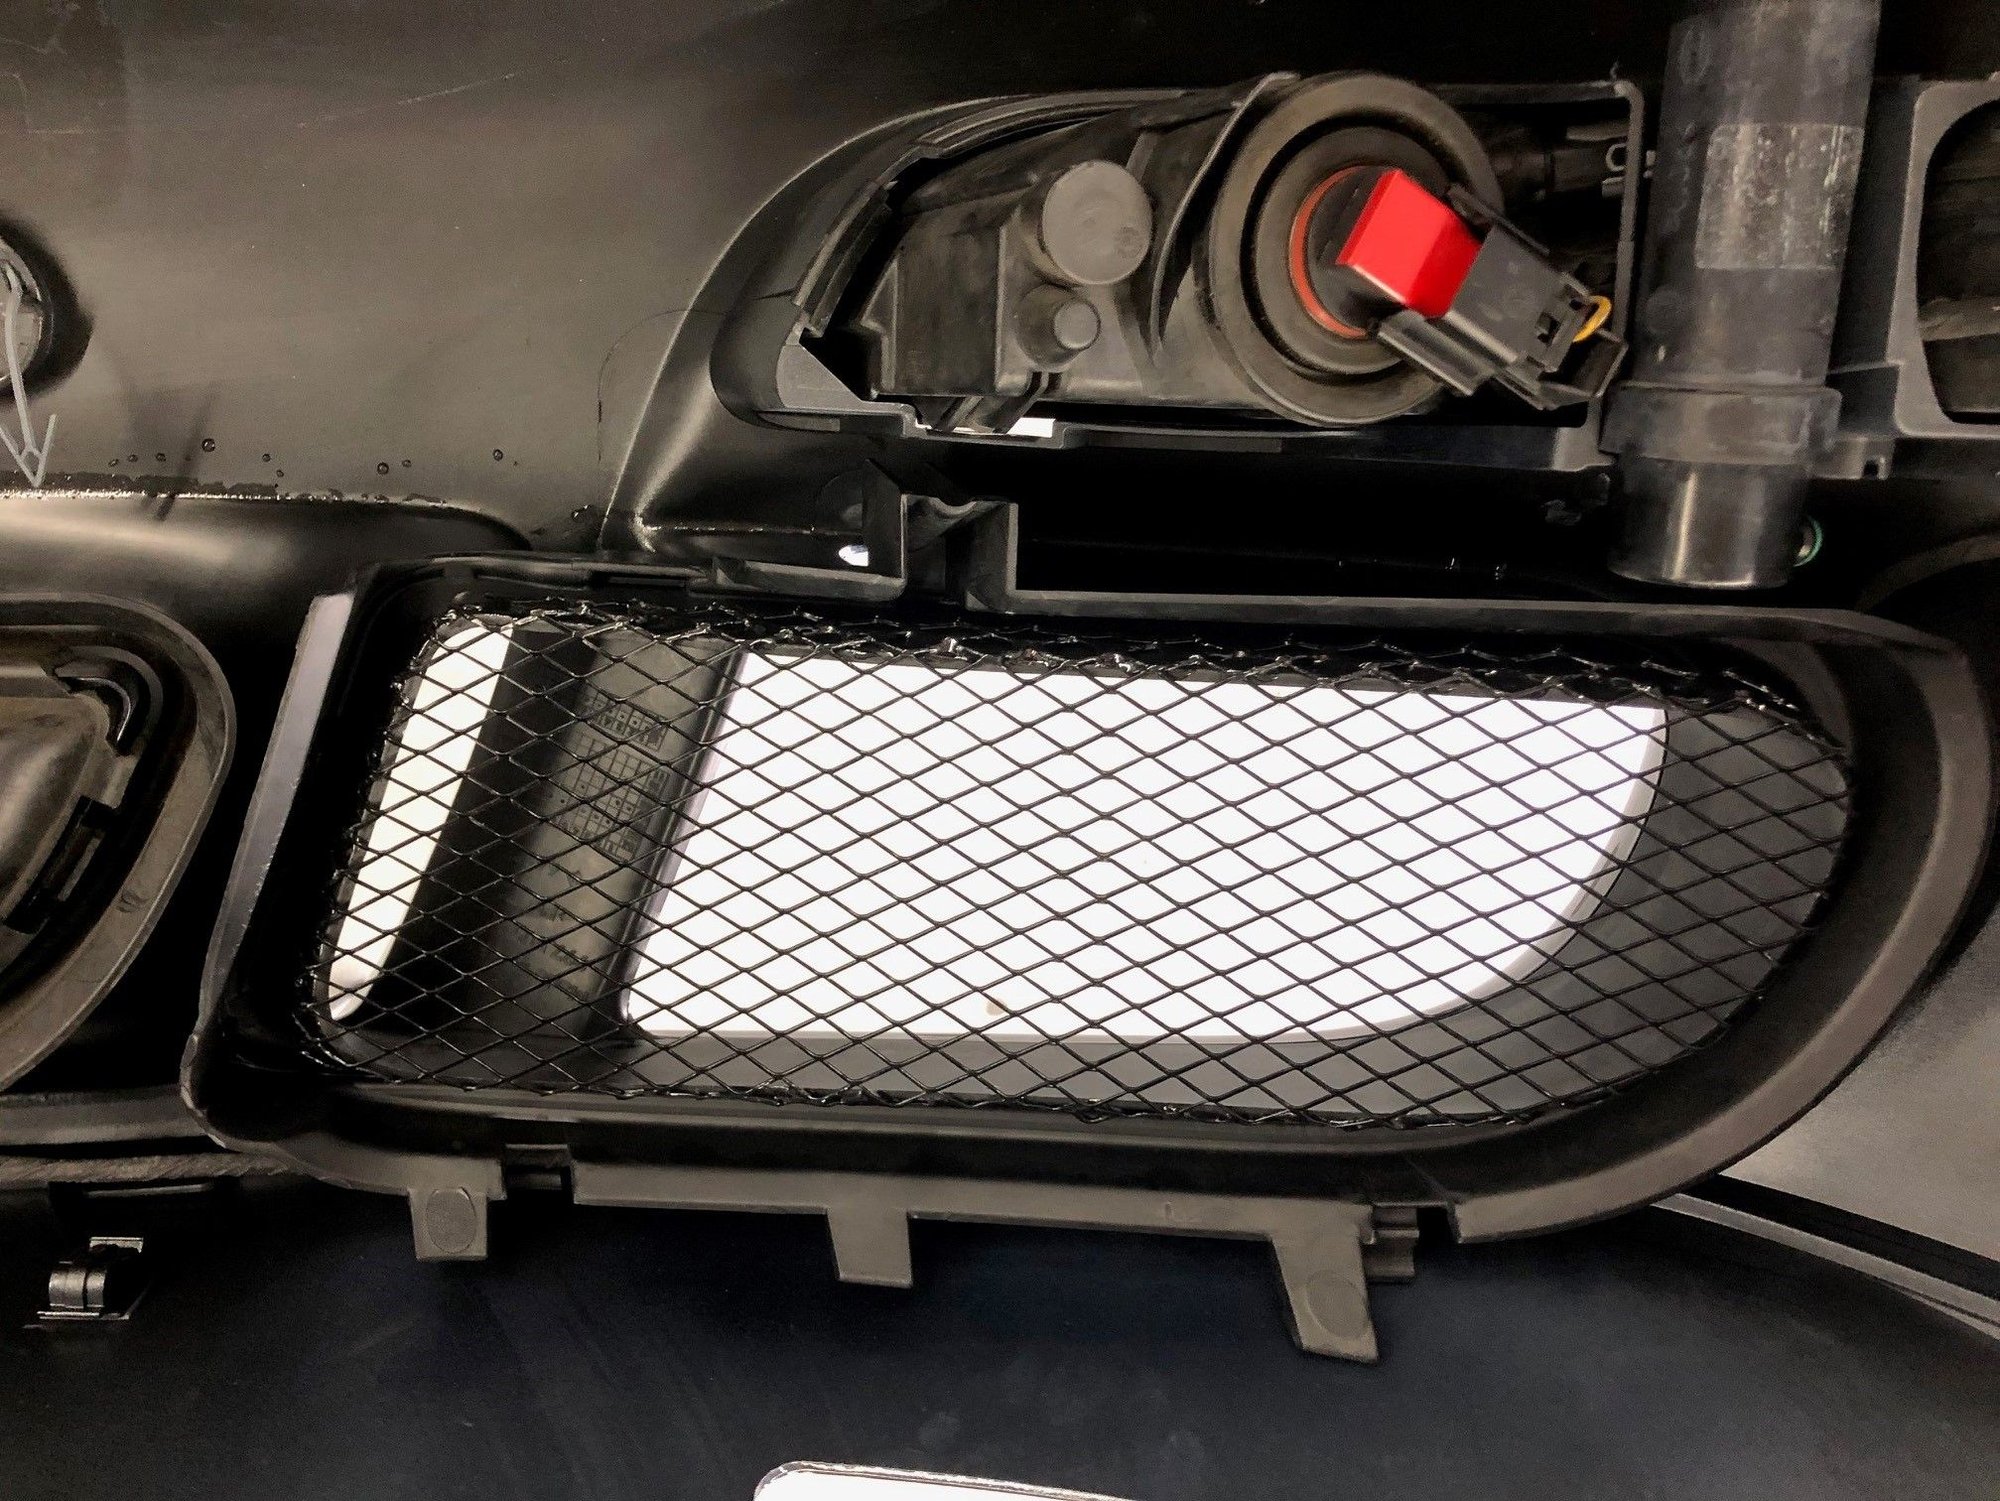
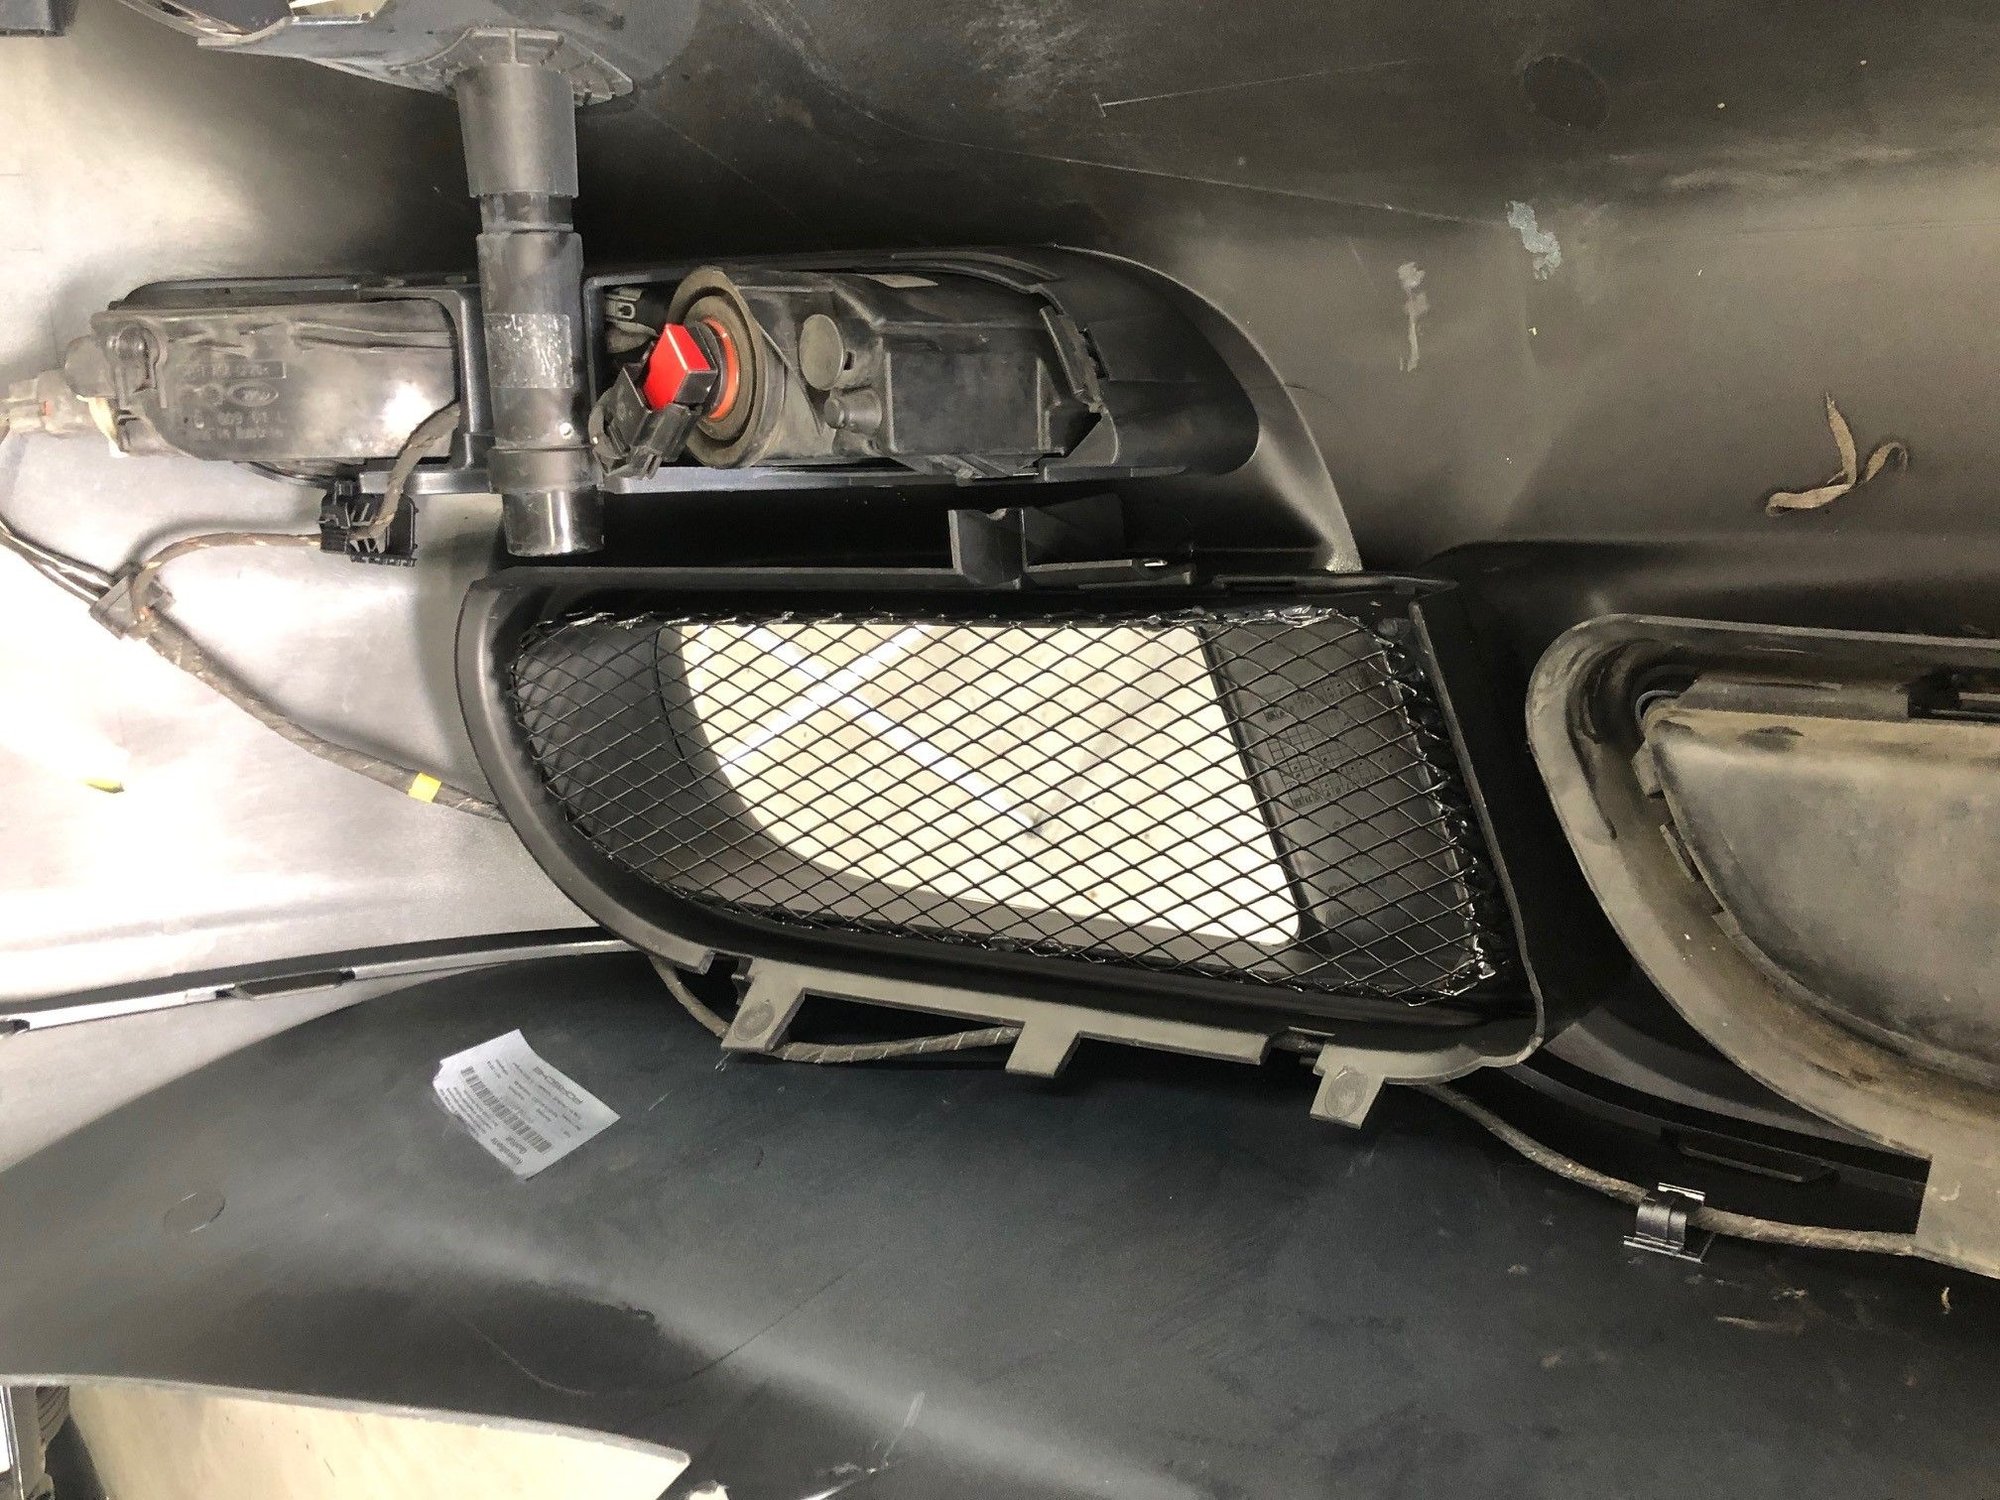
Pictures below from my iPhone during prep of the grills that I did at home, and on Saturday when it was getting installed.
Last thing to note: by the time I made it home from the shop, the driver side grille I made had come undone entirely, last night I checked the passenger side, and one of the corners has given up so I will most likely end up just popping that out as well or wait for it to go on it's own. I plan to re-adress this later on down the road as I do like the idea of having protection there from road debris and possible damage to the radiators, each of these ducts are generously large and can allow some large objects to fly right in. I will keep the old grilles I made to use for templates, but will likely cut them larger to leave more mesh for the outter lip that gets bent downward and molded to the surroundings of the plastic retainers, and I may use a stronger bond agent(I used JB WELD Plastic Bonder, or try and source some metal fasteners/brackets, similar to what is provided with the rennline grille kit. I'm open to any advice/suggestions on this topic on what you guys out there have used to install your DIY mesh grilles. I am leaning more on researching what kind of actual hardware I can use to screw them down solid and be done with it.
Enjoy!
This image is from a 6speedonline post. This image is from a 6speedonline post.
At least I took this shot before the grilles decided to give up LOL Was worth a shot for $30 of DIY materials ordered from Amazon, 1 hour of work, and 24 hours of cure time, but oh well. This may be cheating, but if anyone knows what kind of bracket that is holding the grilles in place with the screw, or where I can source them, you'll be my best friend.
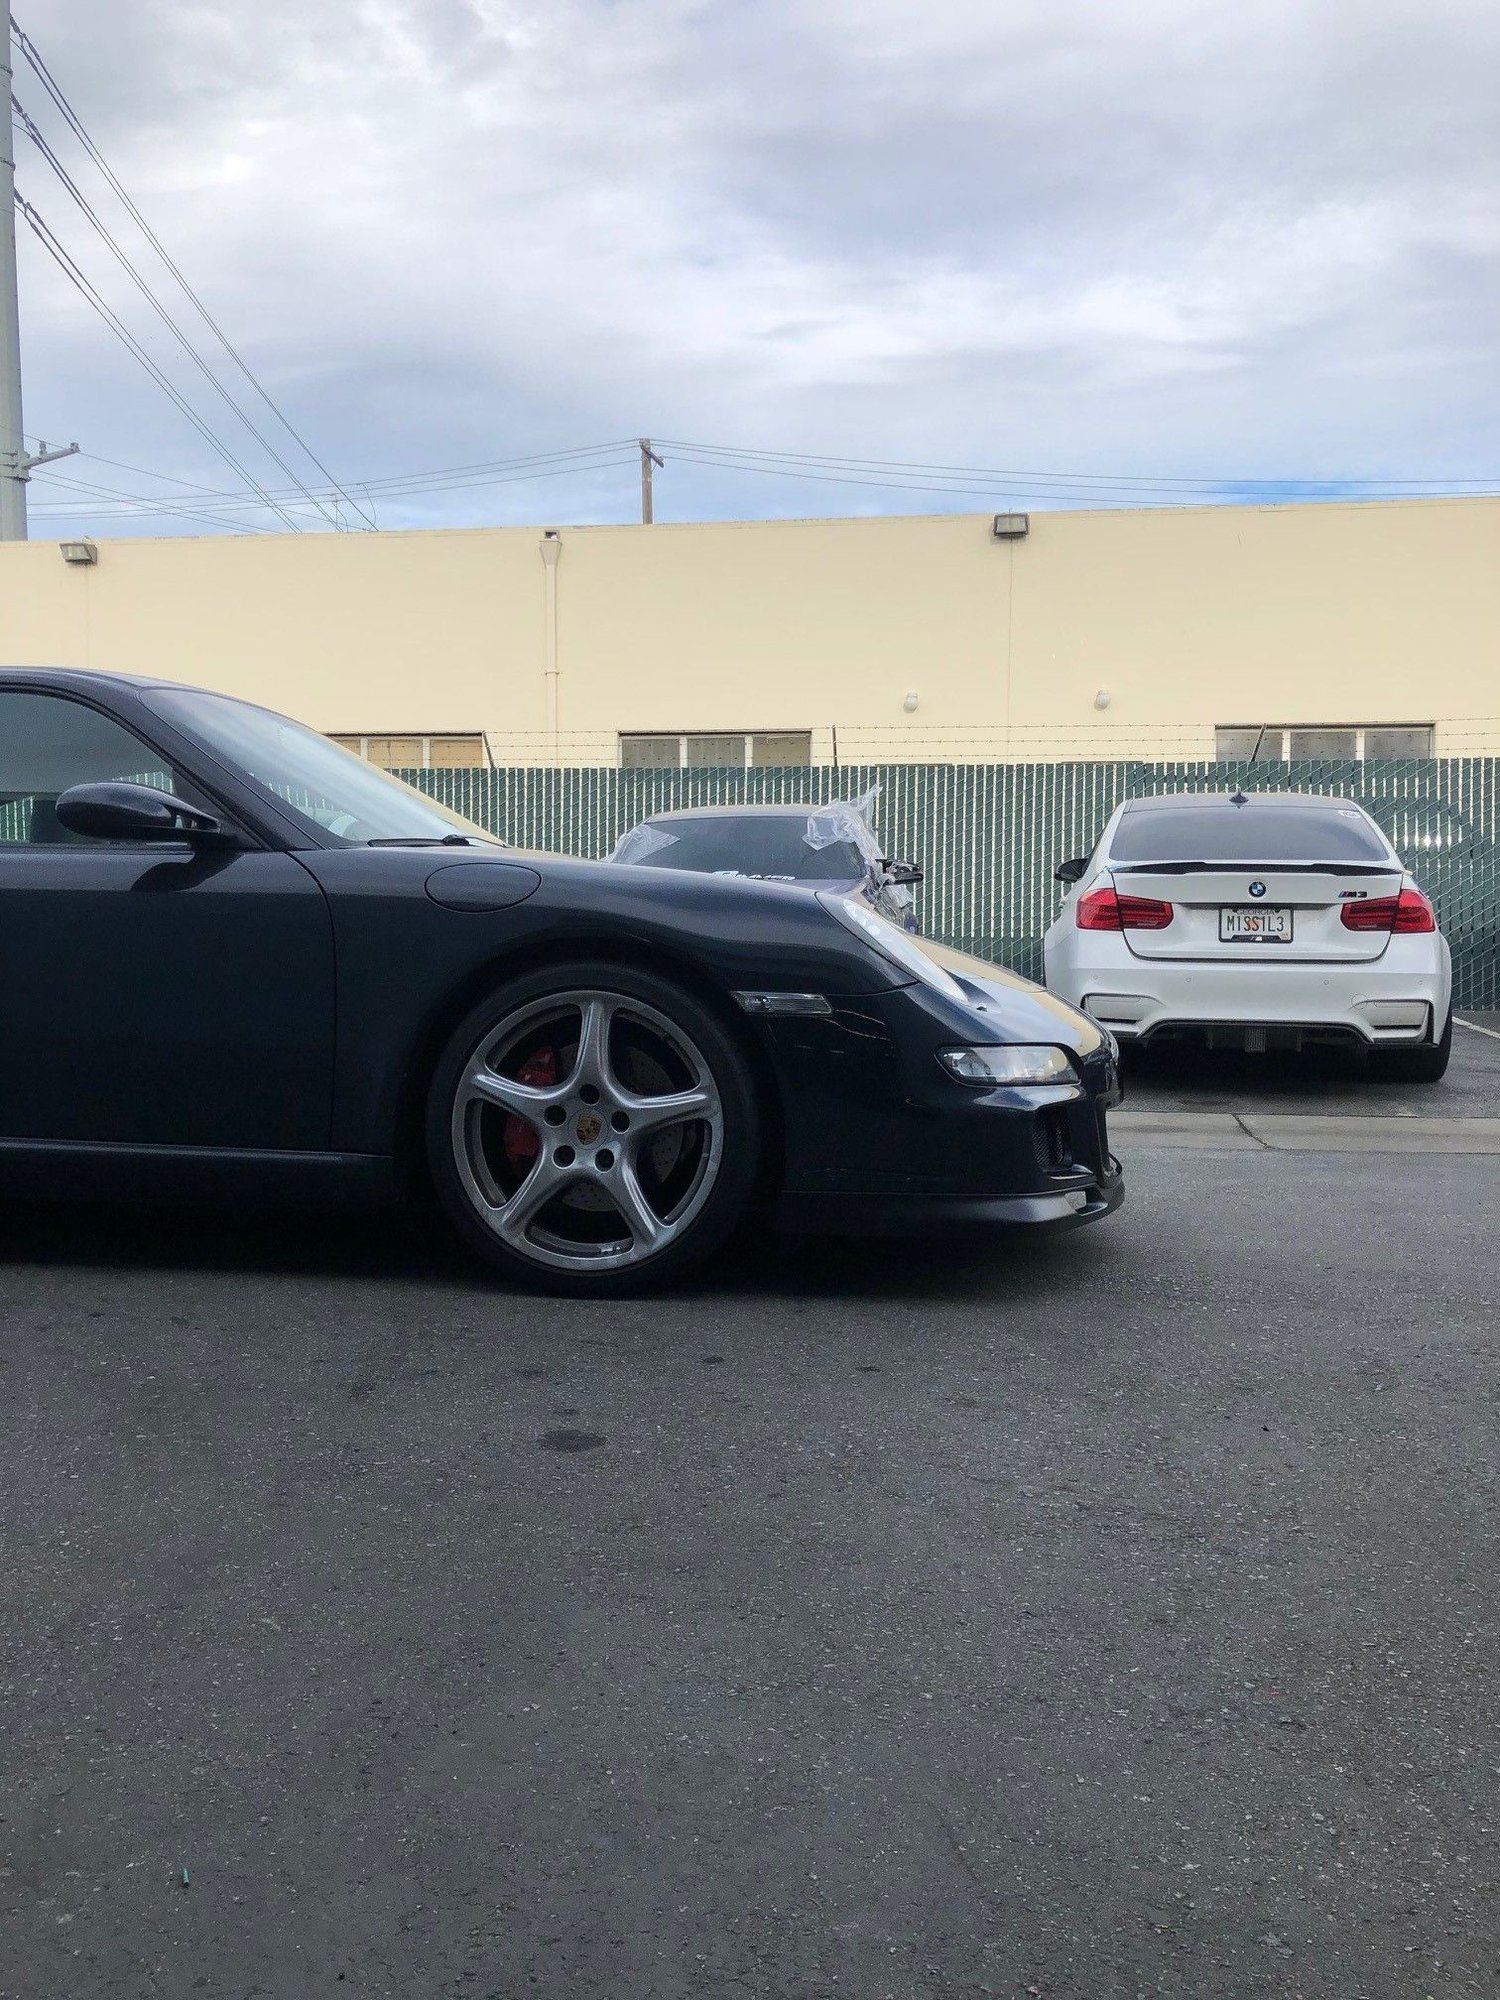
Ohlins Road & Track Coilovers going in Saturday. Hoping I can keep my lower lip scrape-free until then hahaha
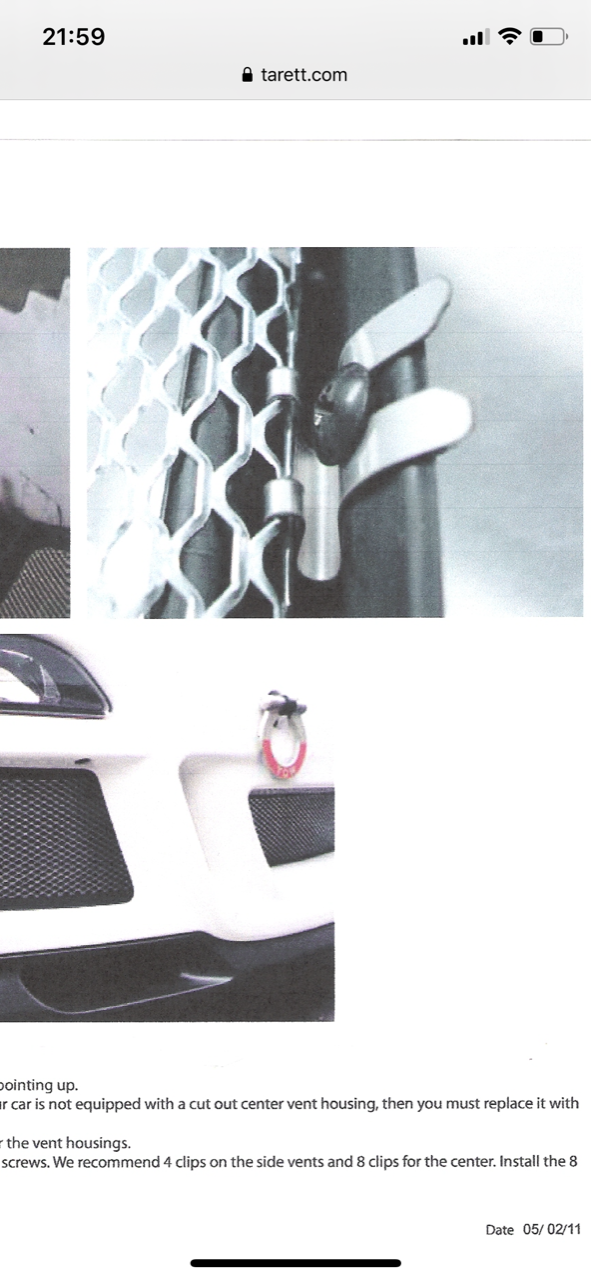
Tr contacting Rennline to see if you buy replacement hardware
One of Porsche's biggest design flaws on the water cooled cars is the bumper air intakes. With the current design, the radiators are completely exposed and become magnets for road debris, leaves, and rocks. The fins on the radiator will quickly become damaged or plugged translating into big dollar repairs. The only way to stop the inevitable is to install an intake screen kit. Unlike most kits on the market, Rennline's has a unique clip system that eliminates the need to glue, drill, or use exposed hardware. Every screen is pre-molded for your specific model, resulting in a perfect fit every time. Available for:
Maybe I've been really lucky but I installed (had installed) the factory aero kit 8 years ago without aftermarket screens and my radiators are in excellent condition. No issues of any kind (so no expensive repairs). Granted cigarette buts and leaves get in there but my leaf blower or vacuum resolves that quickly. YMMV
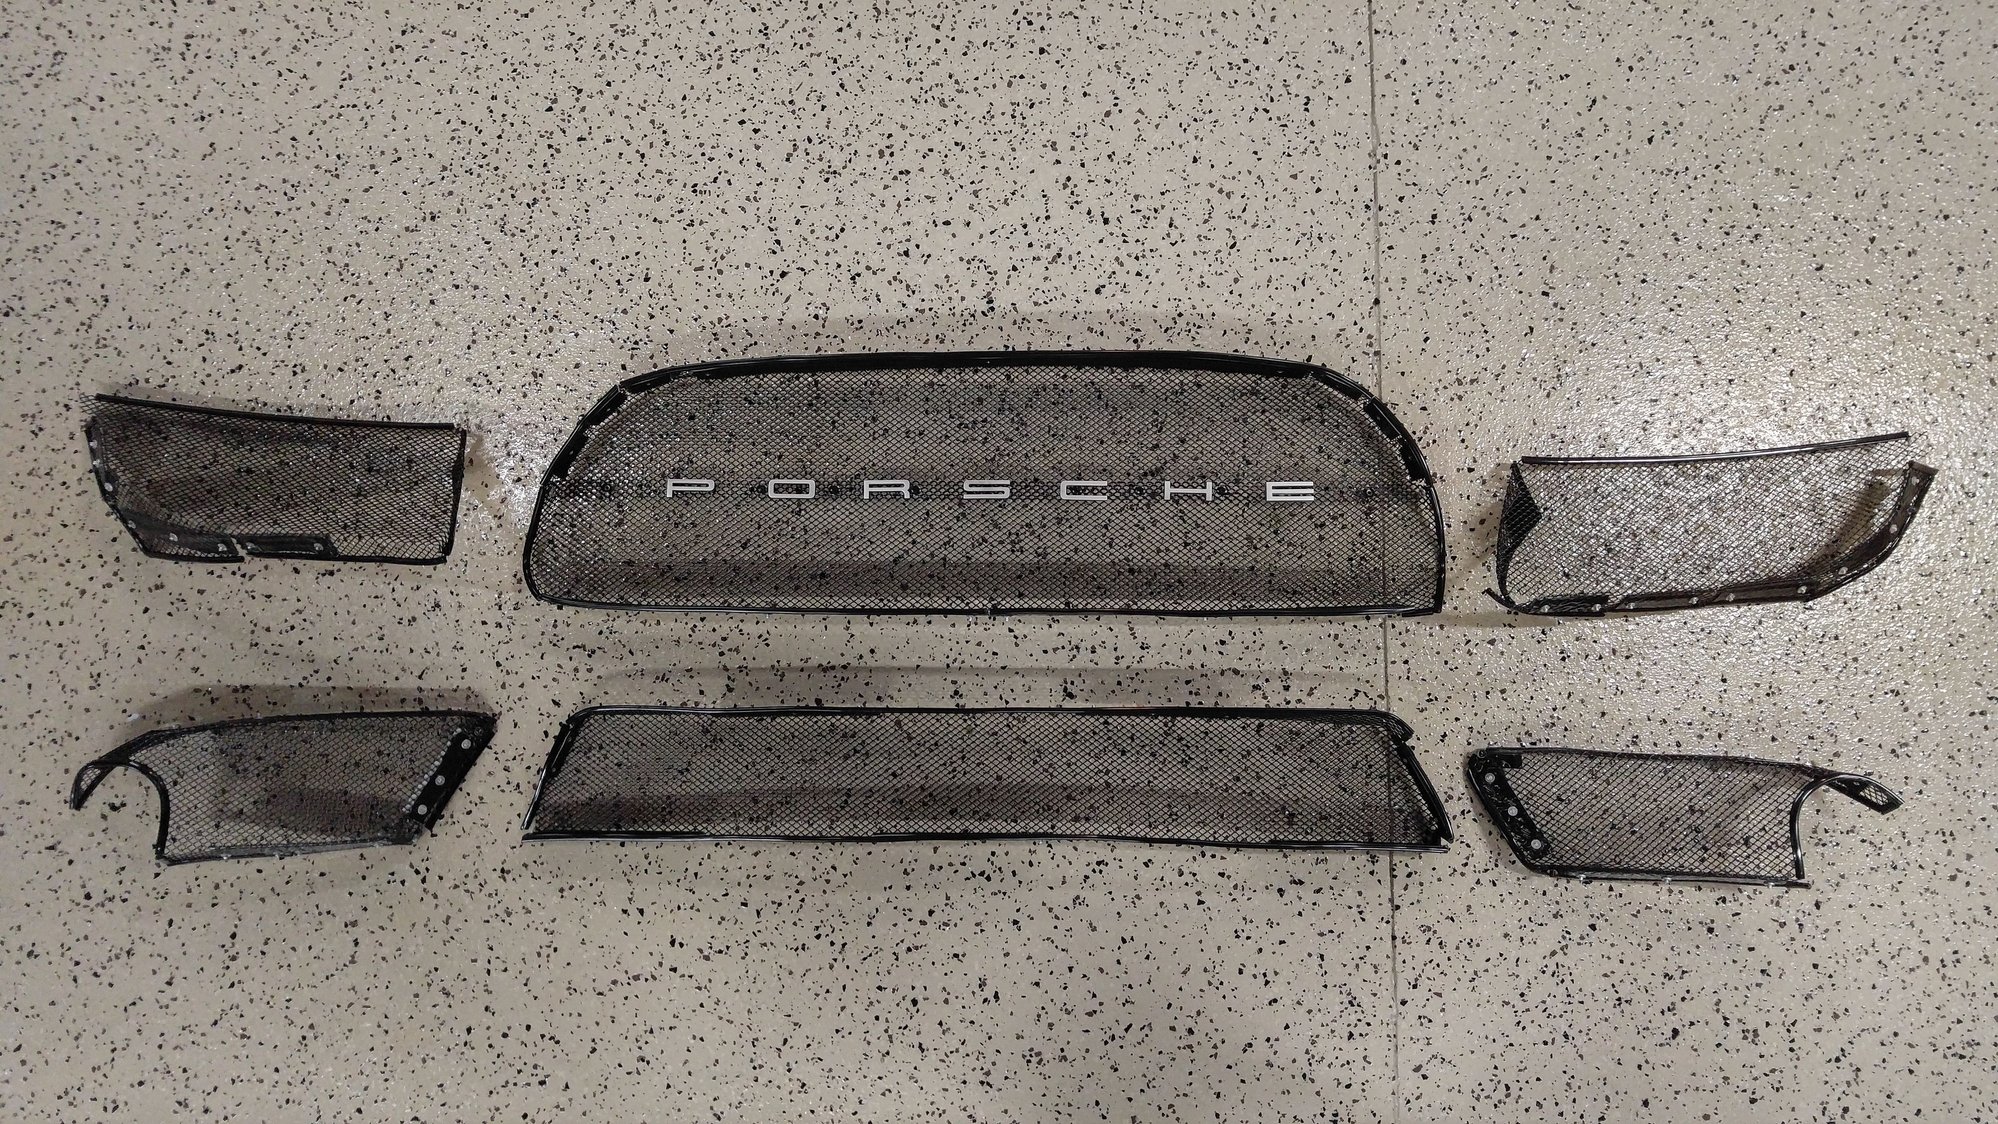
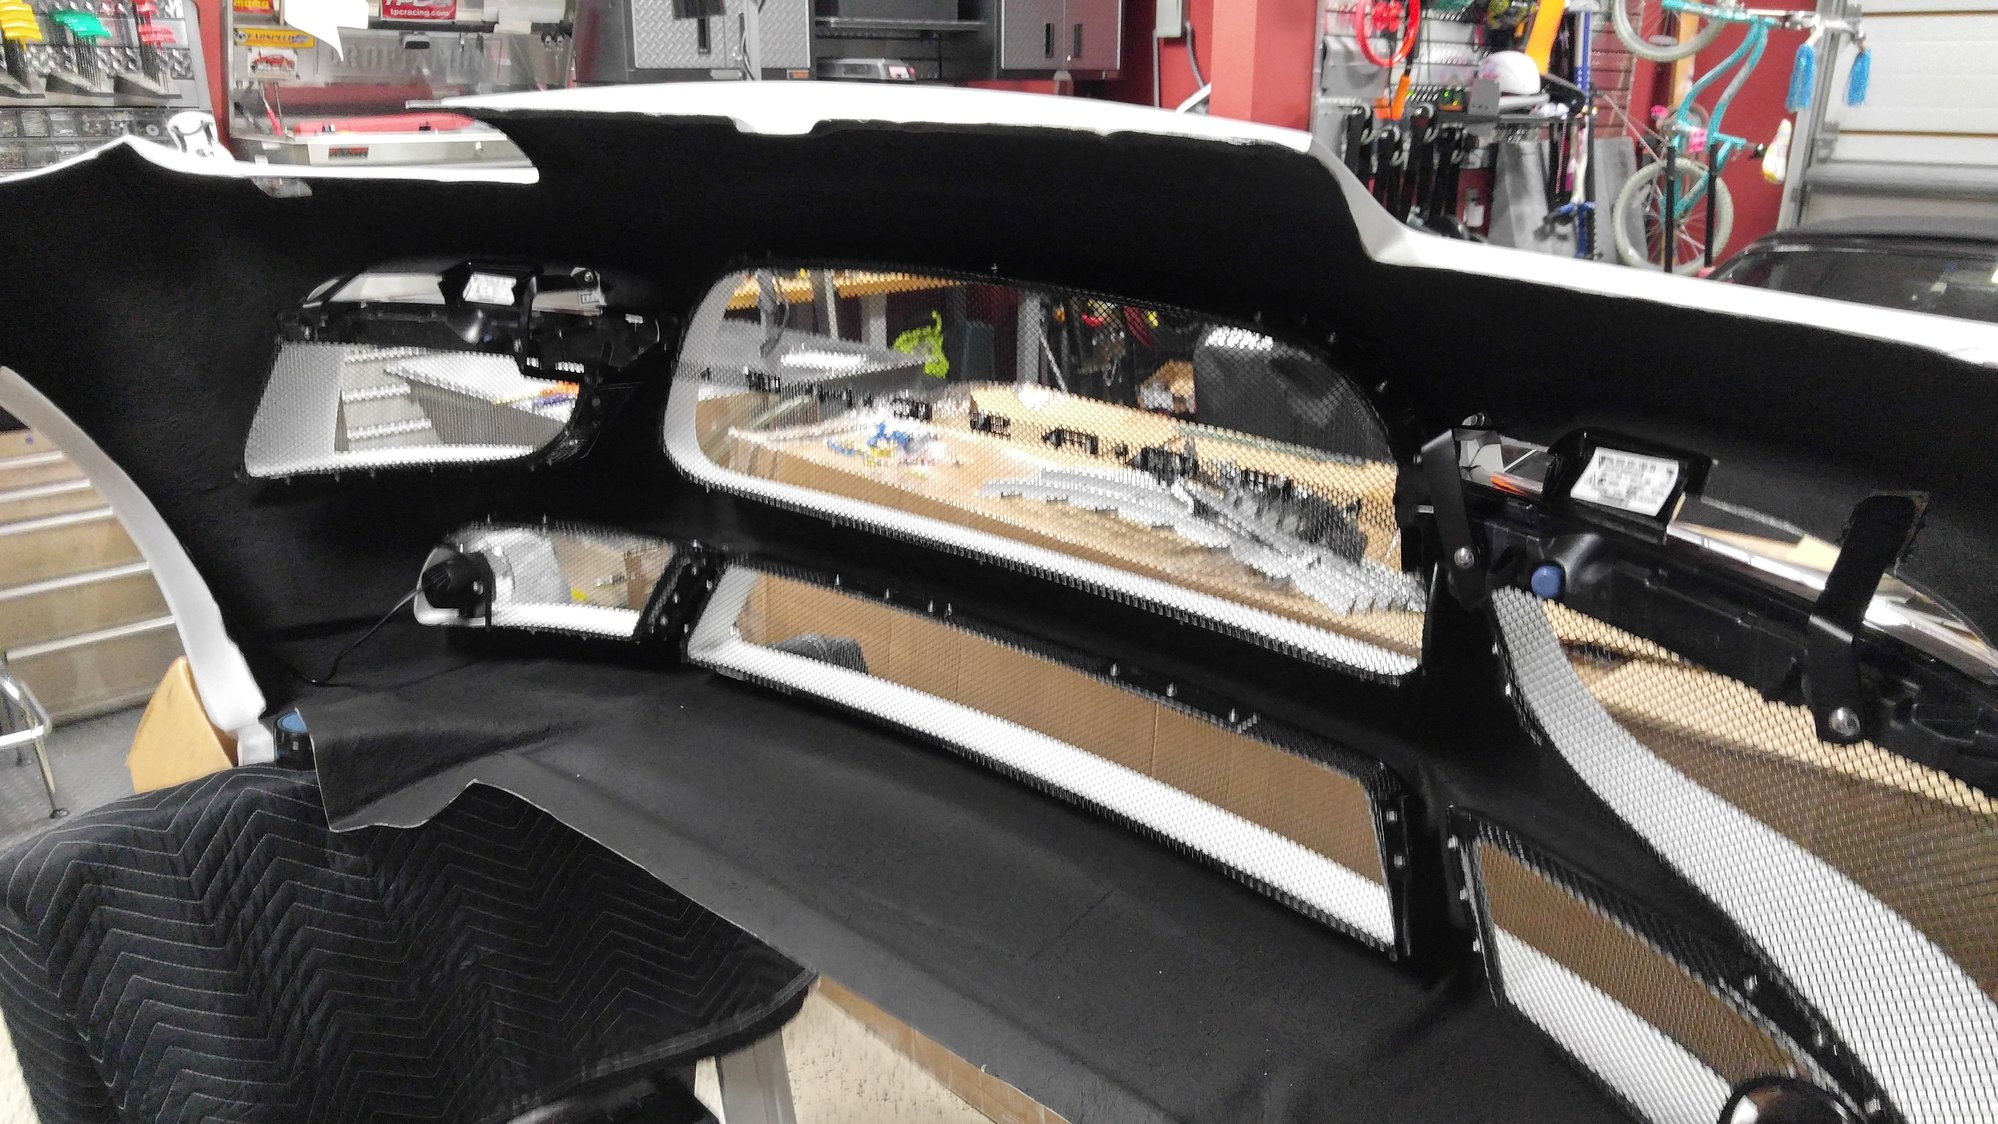
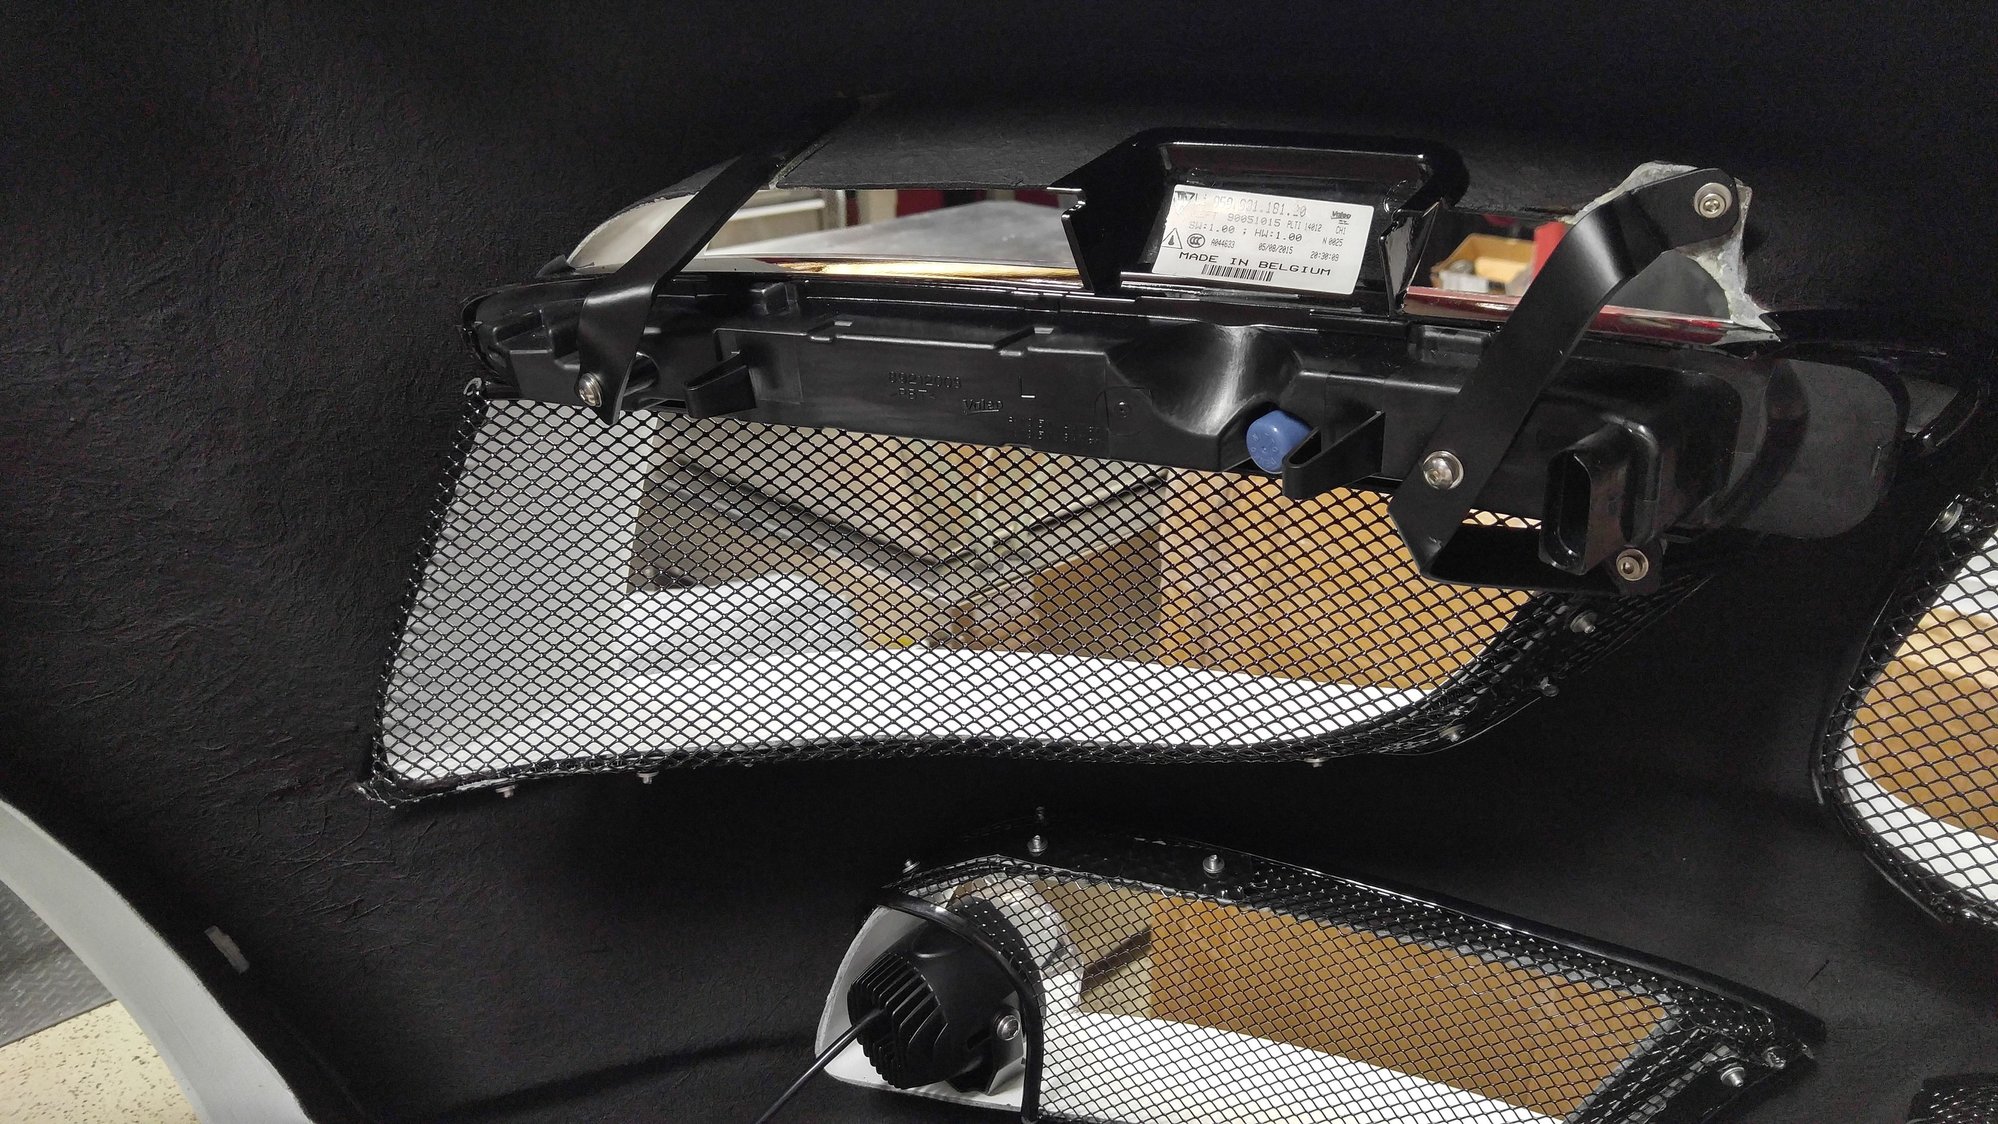
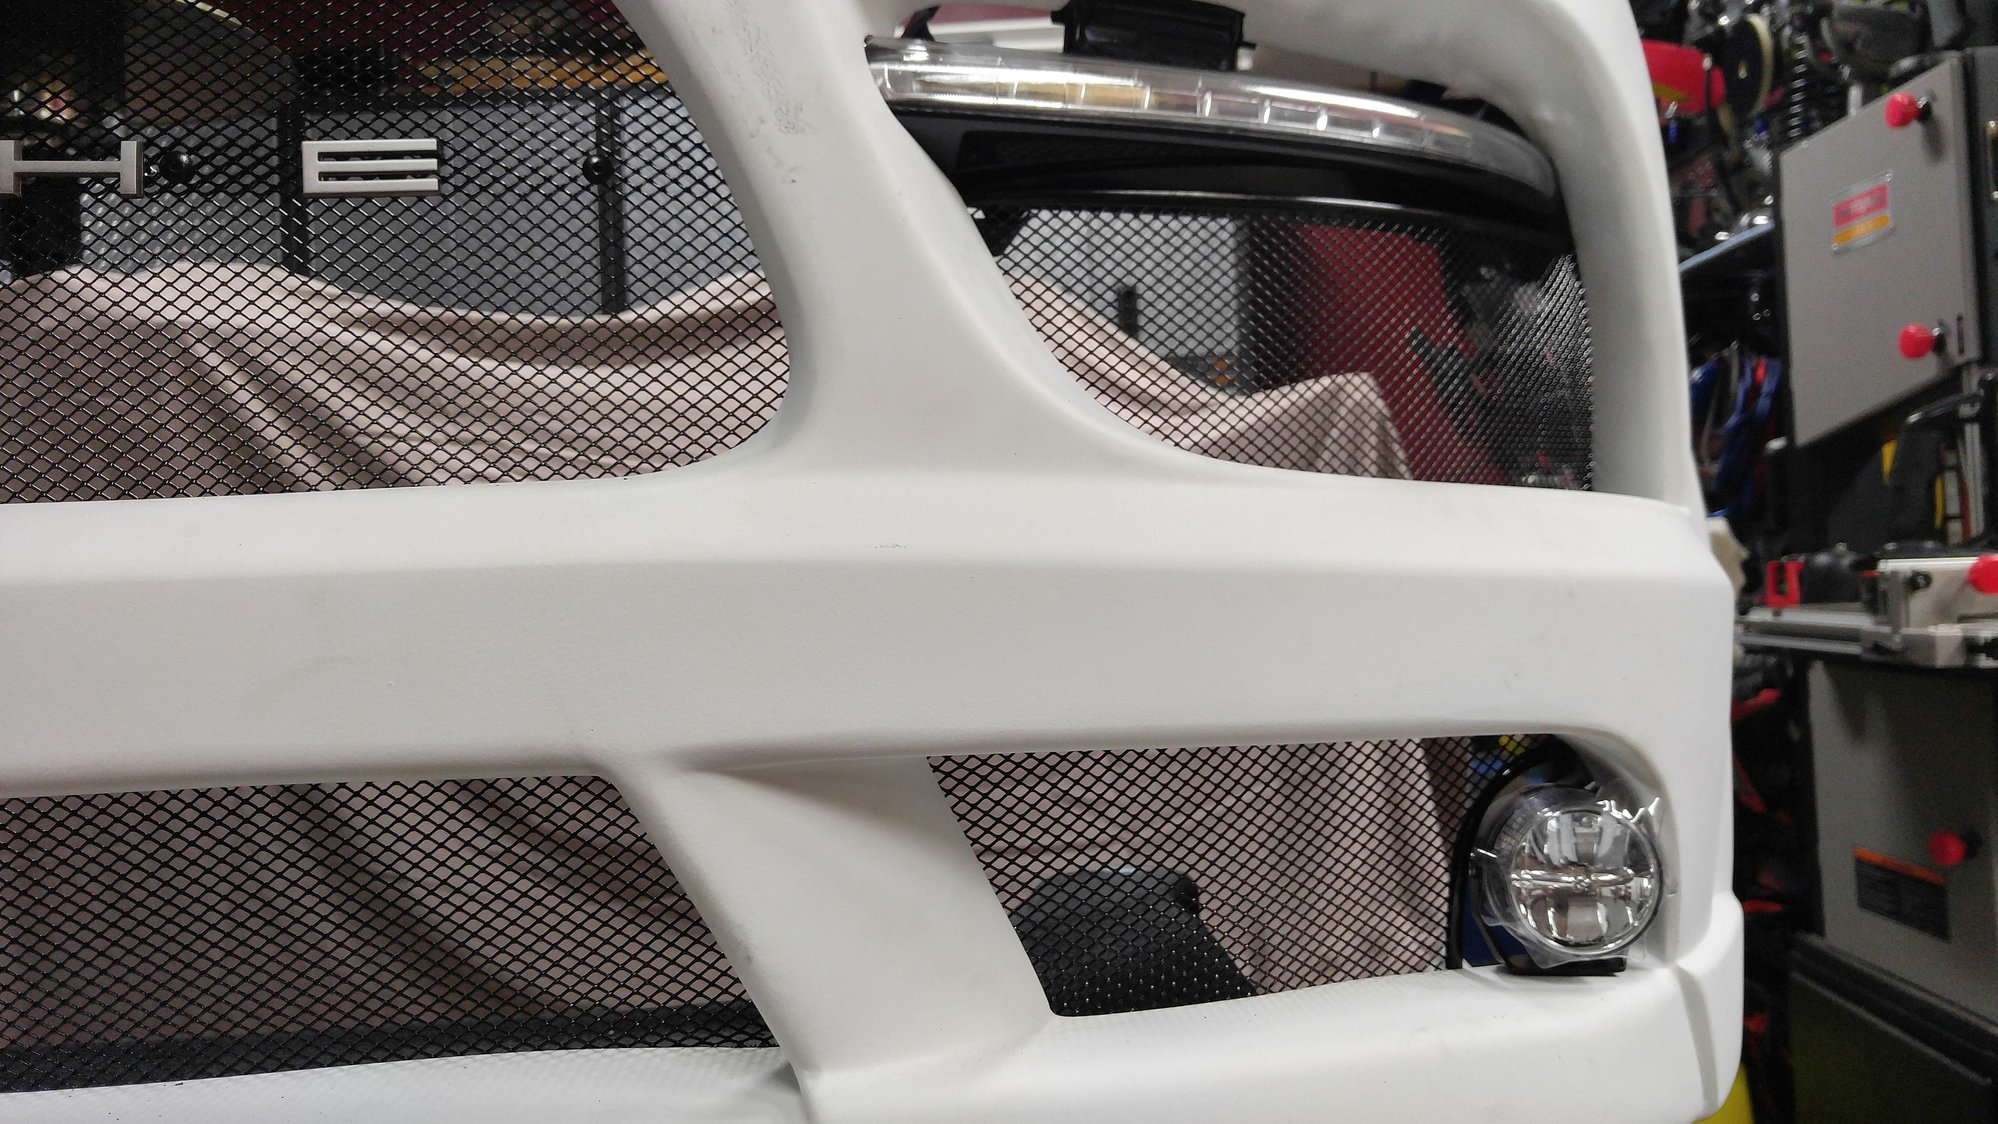
where I made custom guards for the front bumper I was installing.
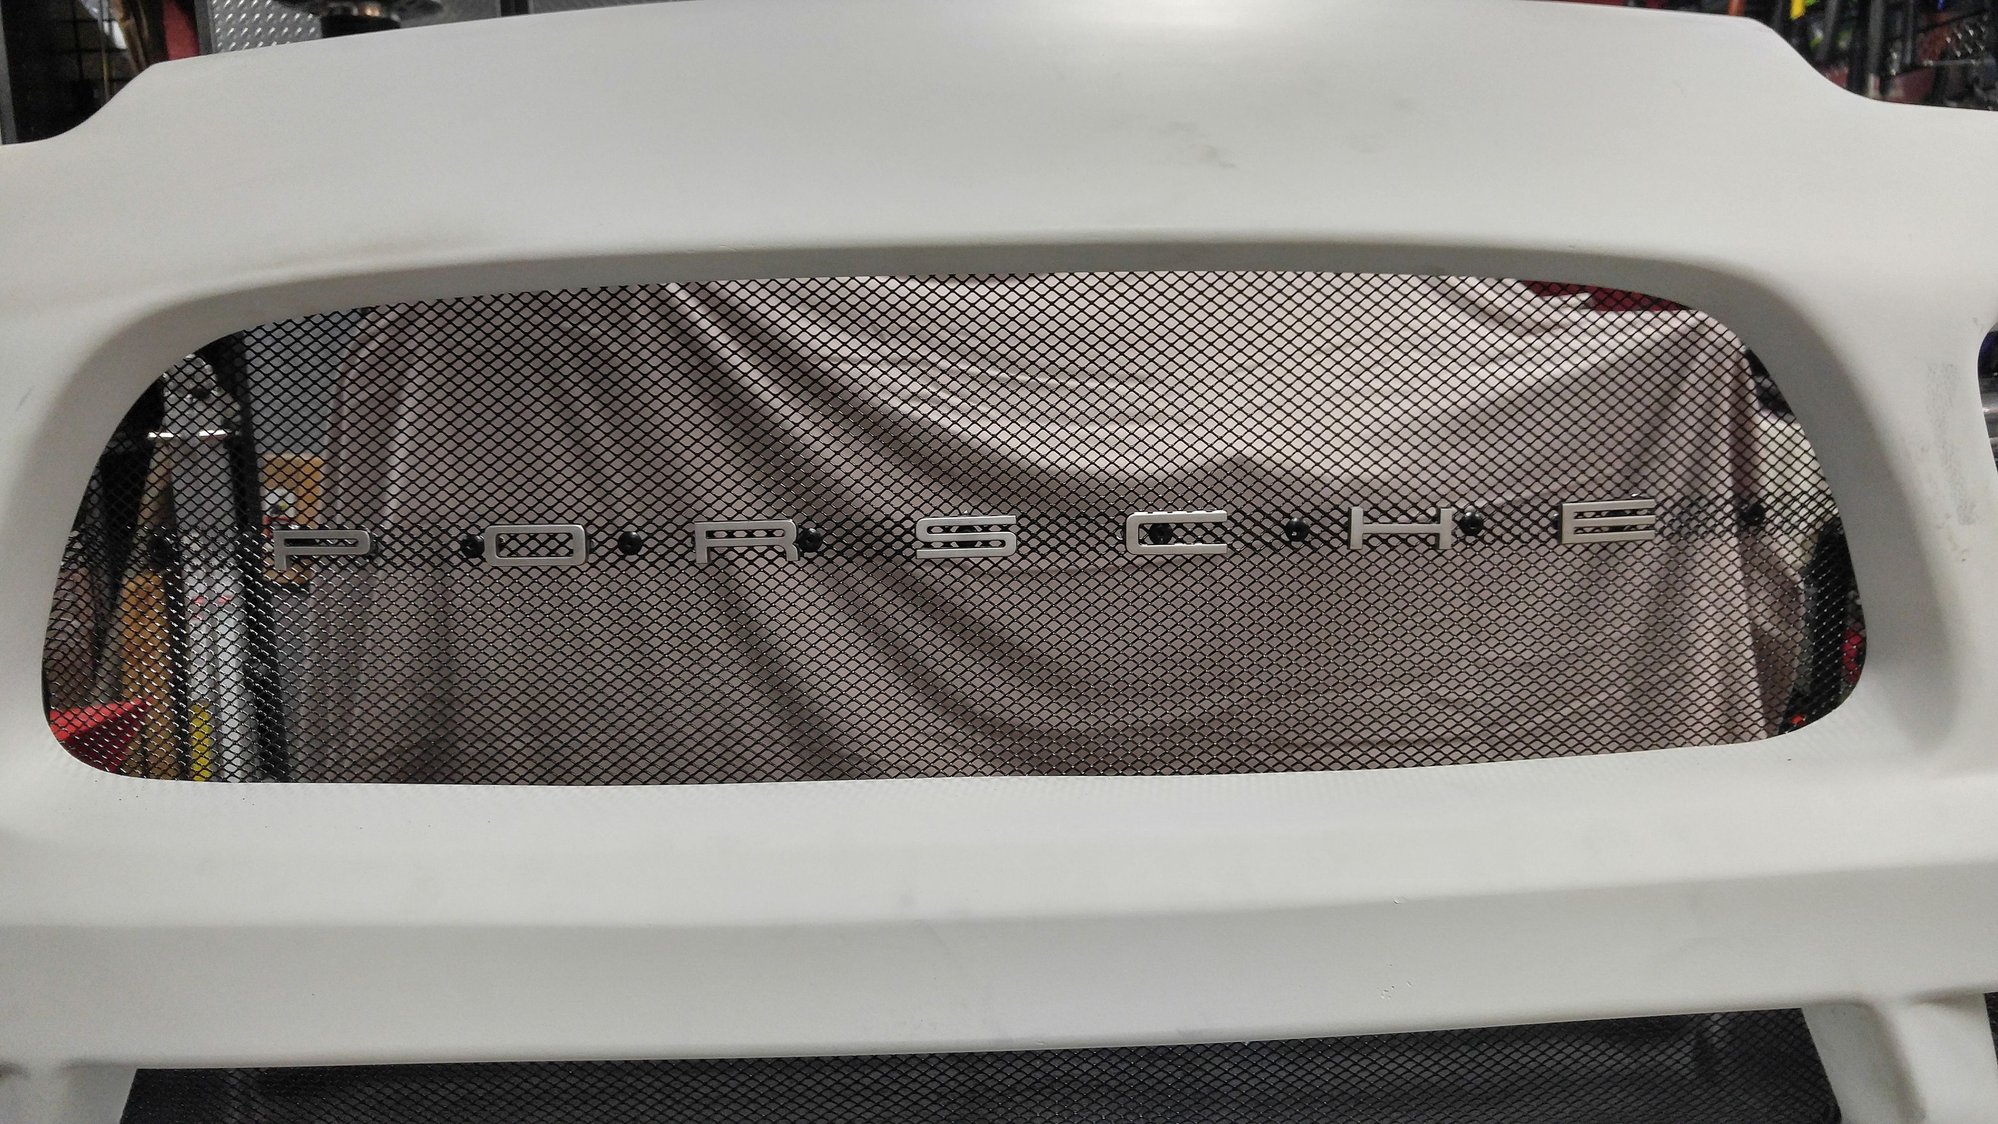
I formed the powdercoated metal gutter guard material around the inside of the bumper openings so it bent and overlapped. In shaping them, I left enough thickness for the heavy duty waterproof 3M velcro I used to hold them in place. It's called Velcro, but isn't really - it's plastic on both sides and kind of snaps together. In that overlap area I stuck the one side of the velcro. On the grilles themselves, I stuck it to the overlap mating area, then on the reverse side applied black duct tape to stick to the adhesive through the holes int he grill and then installed pop rivets every few inches to keep the adhesive side of the velcro from coming loose from the grill. I put door edge guarding around the perimeter of each grill to capture the cut edges of the metal gutter guard. The large center section was too large for the width of the gutter guard strips, so joined two sections together and used the PORSCHE lettering from a 914 engine lid I had laying around for a custom touch.
Maybe I've been really lucky but I installed (had installed) the factory aero kit 8 years ago without aftermarket screens and my radiators are in excellent condition. No issues of any kind (so no expensive repairs). Granted cigarette buts and leaves get in there but my leaf blower or vacuum resolves that quickly. YMMV
Matt
That's awesome to hear Matt. Hopefully my luck is the same, but you can never be too sure so getting some extra protection, for me is worth it. Plus, Northern California roads/highways are not the best. My M-F commute is maybe just shy of 40 miles round trip of 3 different freeways that are highly congested with a good ratio of commercial/delivery trucks.
where I made custom guards for the front bumper I was installing.
I formed the powdercoated metal gutter guard material around the inside of the bumper openings so it bent and overlapped. In shaping them, I left enough thickness for the heavy duty waterproof 3M velcro I used to hold them in place. It's called Velcro, but isn't really - it's plastic on both sides and kind of snaps together. In that overlap area I stuck the one side of the velcro. On the grilles themselves, I stuck it to the overlap mating area, then on the reverse side applied black duct tape to stick to the adhesive through the holes int he grill and then installed pop rivets every few inches to keep the adhesive side of the velcro from coming loose from the grill. I put door edge guarding around the perimeter of each grill to capture the cut edges of the metal gutter guard. The large center section was too large for the width of the gutter guard strips, so joined two sections together and used the PORSCHE lettering from a 914 engine lid I had laying around for a custom touch.
Petza I applaud your creativity and thank you for sharing the specifics of how you worked these up. I know what you're describing in terms of the "plastic" velcro strapping, I would not have thought of that. Definitely feels like more of an intensive approach, but I will definitely keep this in mind if I don't avail a solution with some of the other options I'm considering.
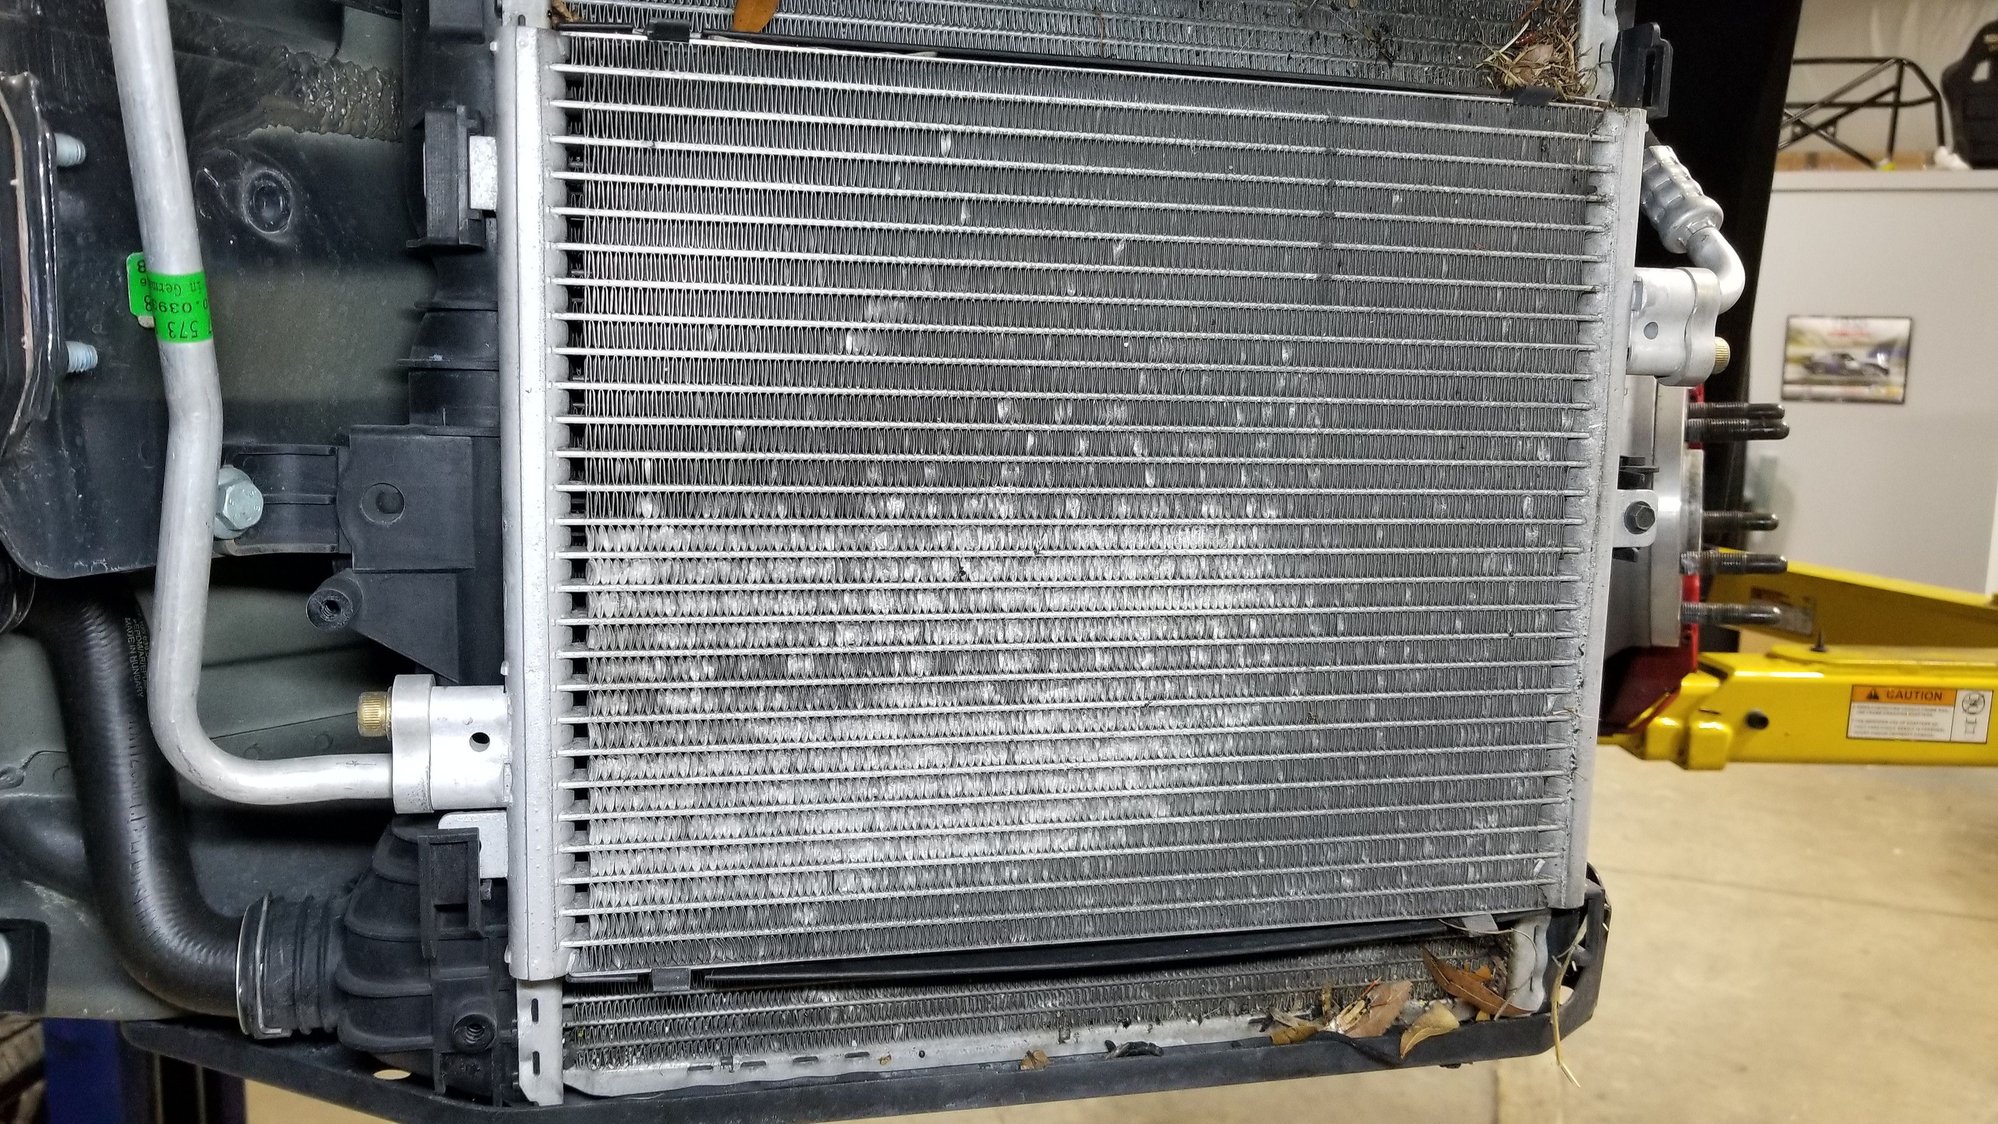
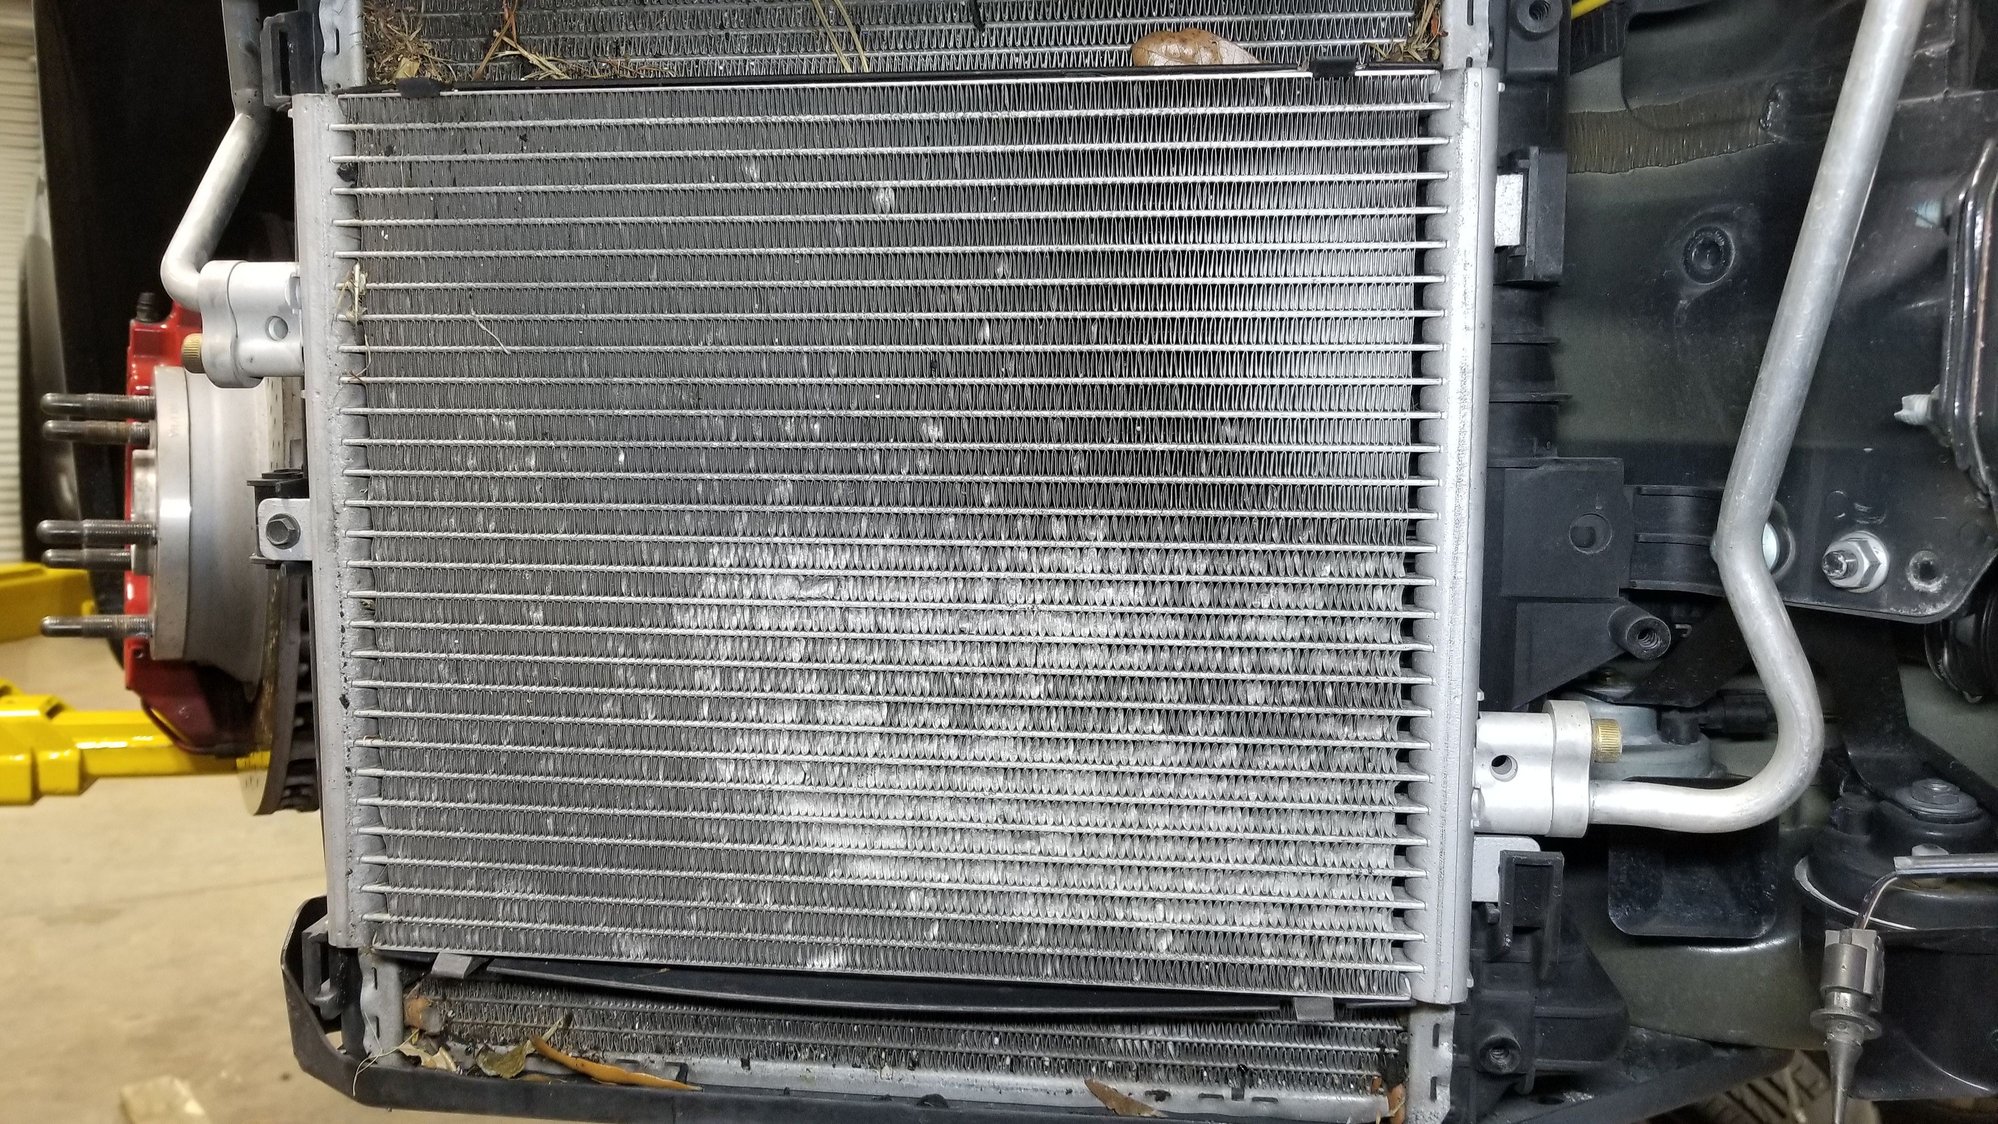
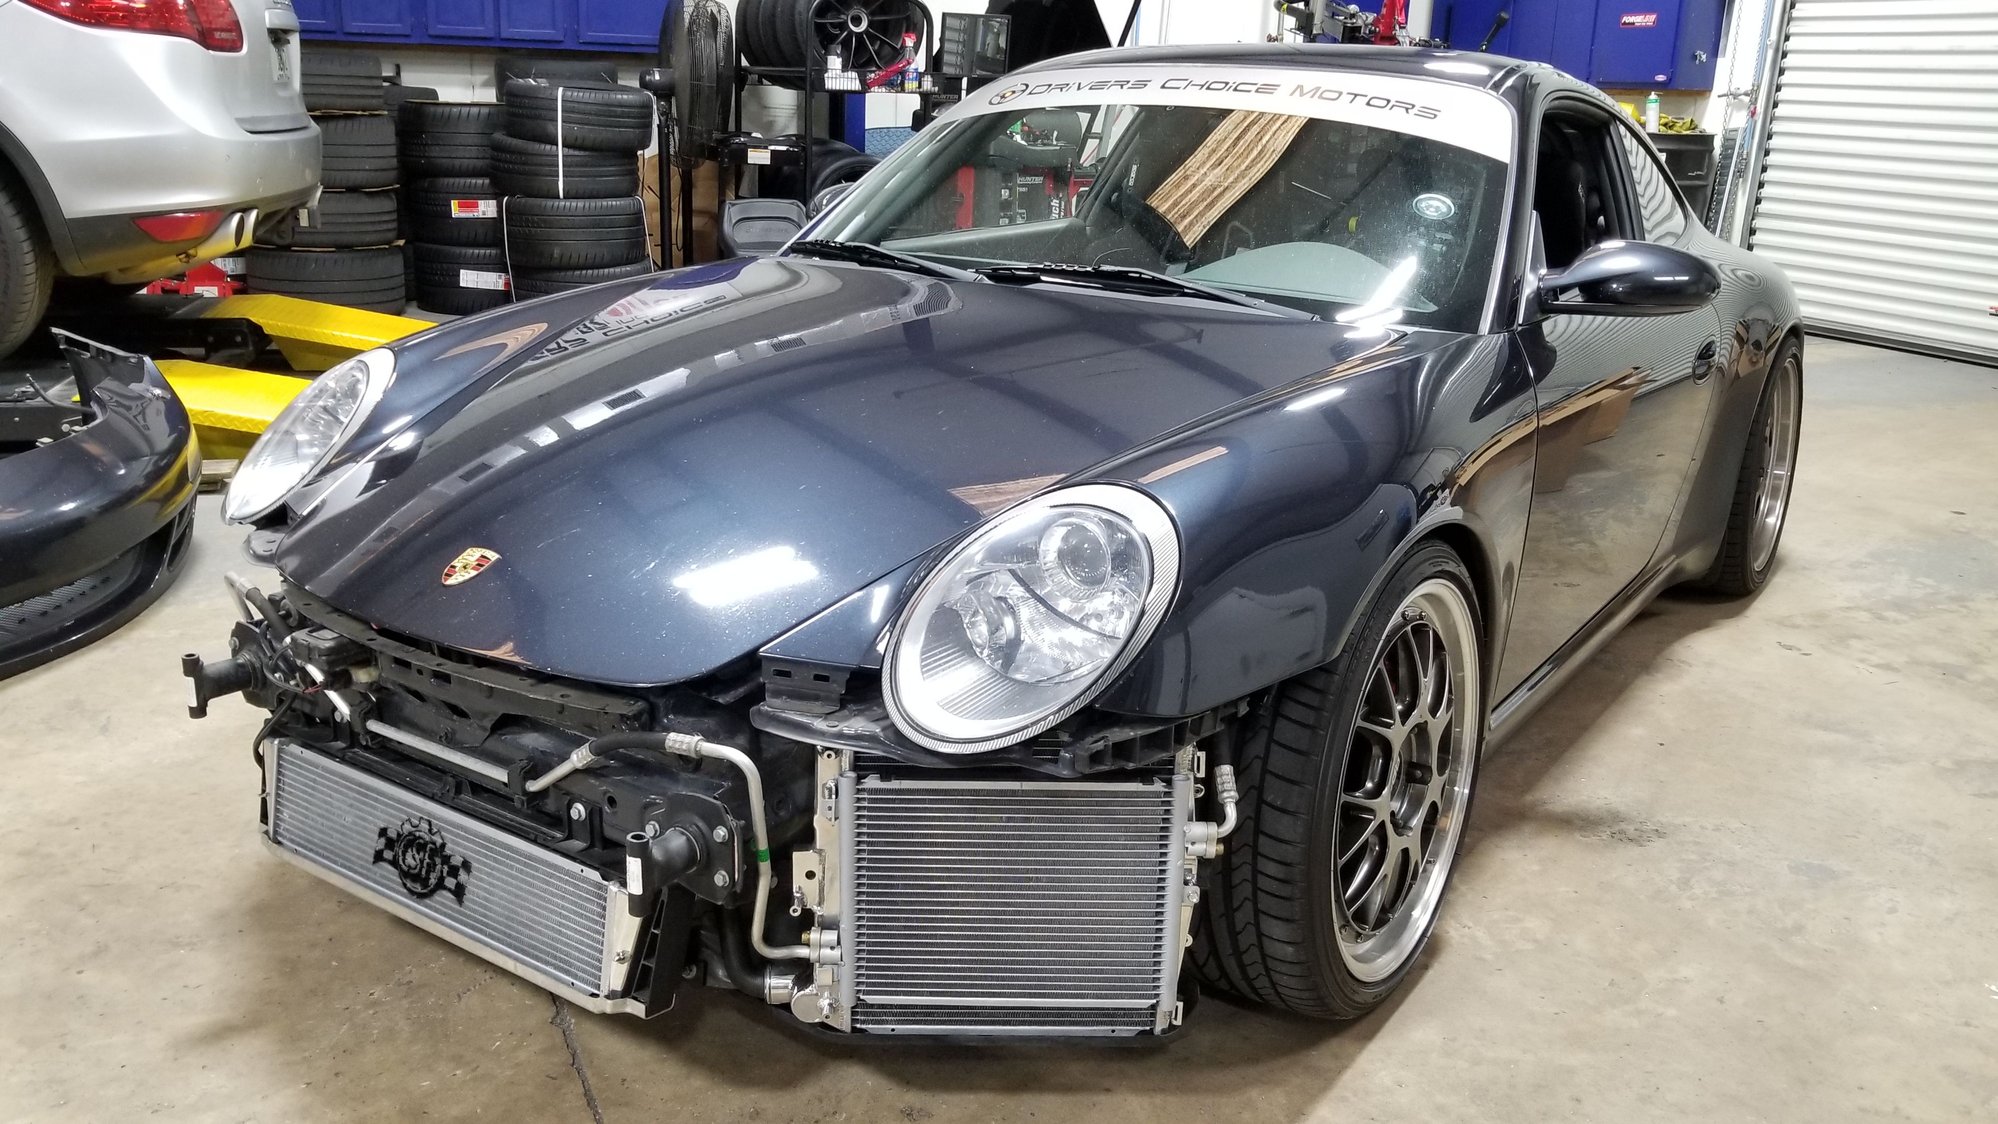
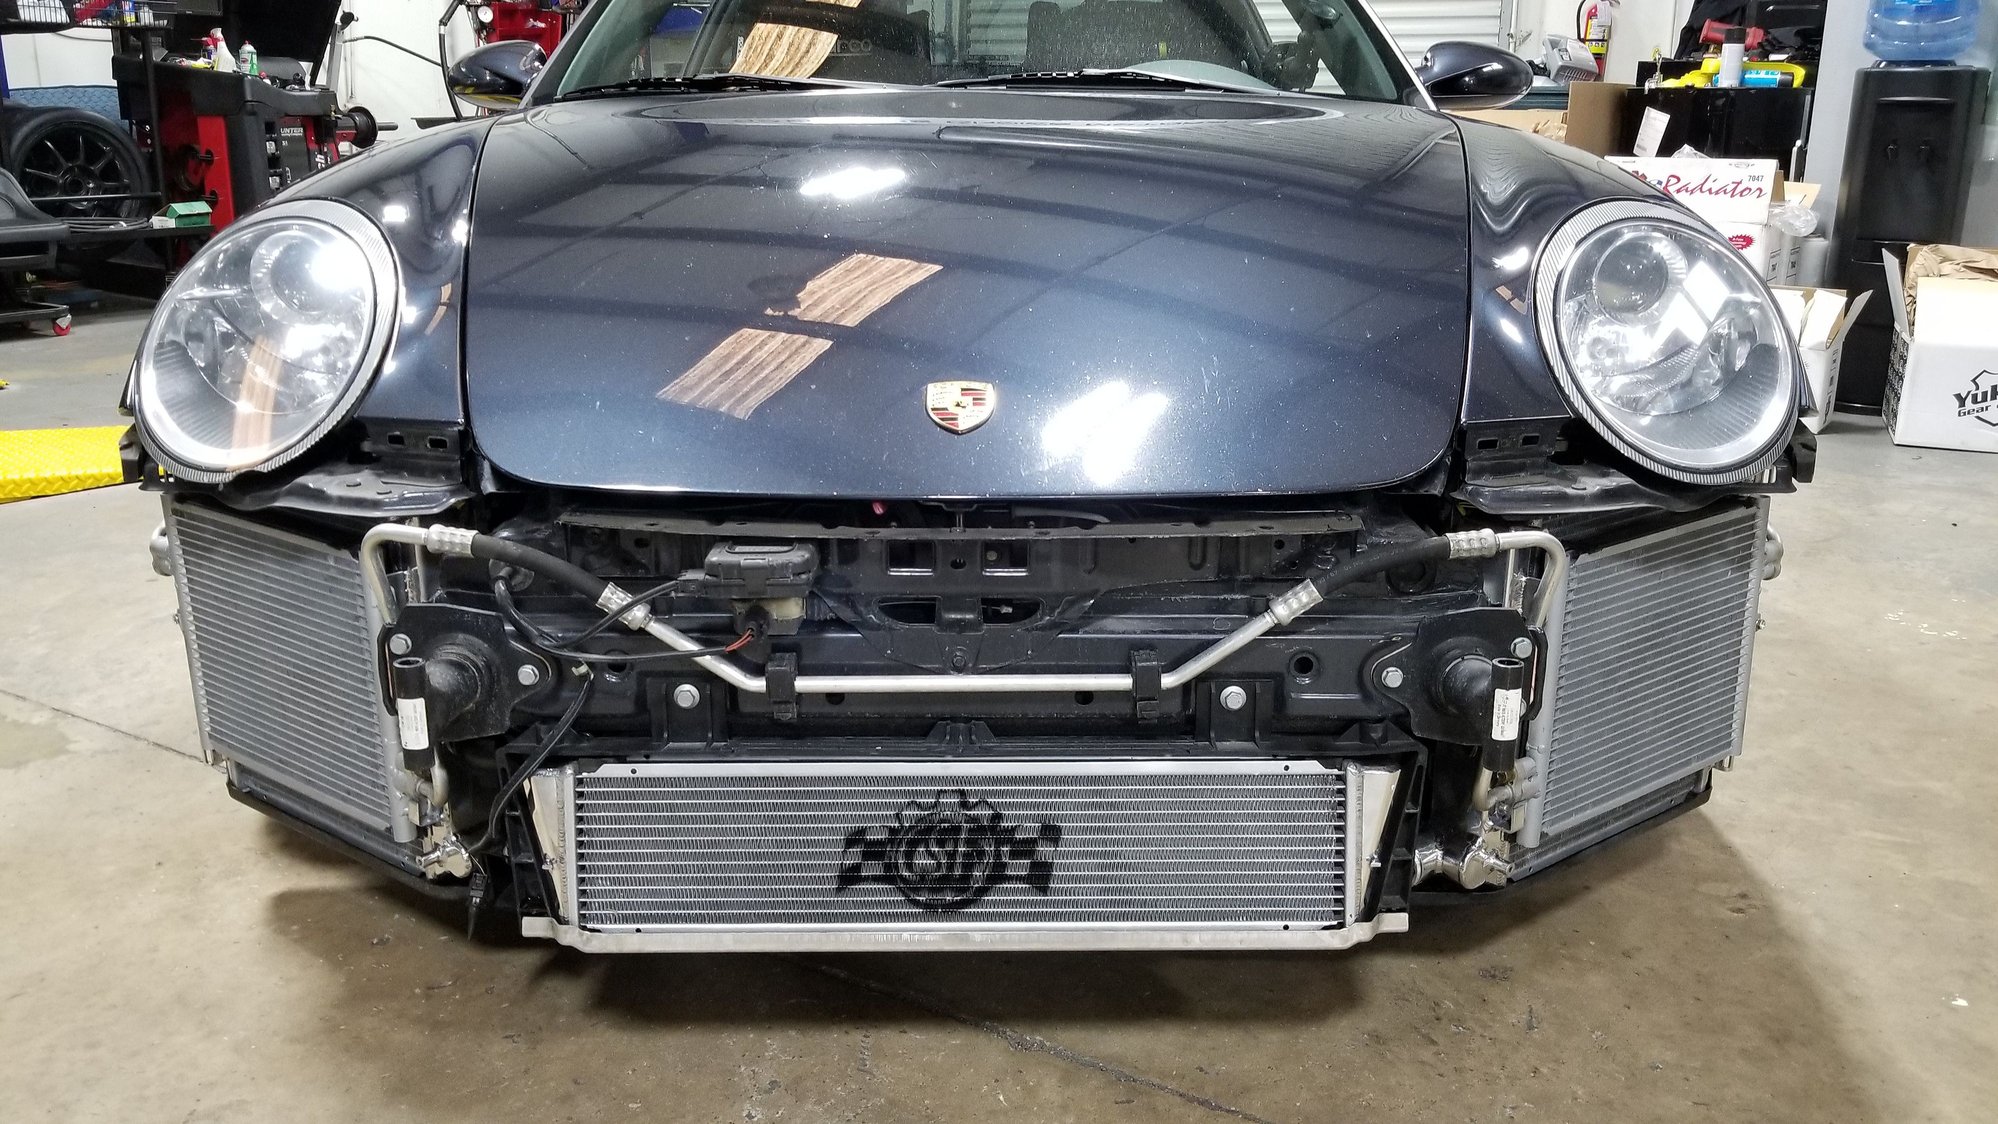
Love the color and aerokit! Plan to do the same long term. FYI You guys keep referring to the radiators, while most of what you see exposed are actually the A/C condensors located in front of the radiators. Doesn't change wanting to use grills to protect from debris, especially on track (I personally have Rennline protecting all 3 inlets now). But, the condensors are taking a majority of the actual abuse. Here's what mine looked like while being replaced after heavy track use during CSF radiator install.
I ordered this front bumper for my 997.1 4S and i am in need of the front bumper wiring harness that connects to the car then fog lights, turn signals etc..i sold the original bumper with the wiring harness (i know stupid). I have been trying to find the PN for this wiring harness but i have been unsuccessful. Does anyone know what the PN is for this harness?
I found the Turbo 997.1 PN: 997 622 501 00 but that will not work on this bumper since the lights are different.
Do you happen to have the PN for the bottom lip from your kit (see pic) ? I received my kit today and mine came primered. I would like to have the black one like yours.


 01-27-2020 | 03:04 PM