When you click on links to various merchants on this site and make a purchase, this can result in this site earning a commission. Affiliate programs and affiliations include, but are not limited to, the eBay Partner Network.
I agree, the airbags need a redesign. Not sure why they can't make a snap out panel, on hinges that you can remove without taking the entire dash out. Then, unbolt the bag and bolt the new one back in with a new panel on top. I need a driver side blinker if anyone has an extra?
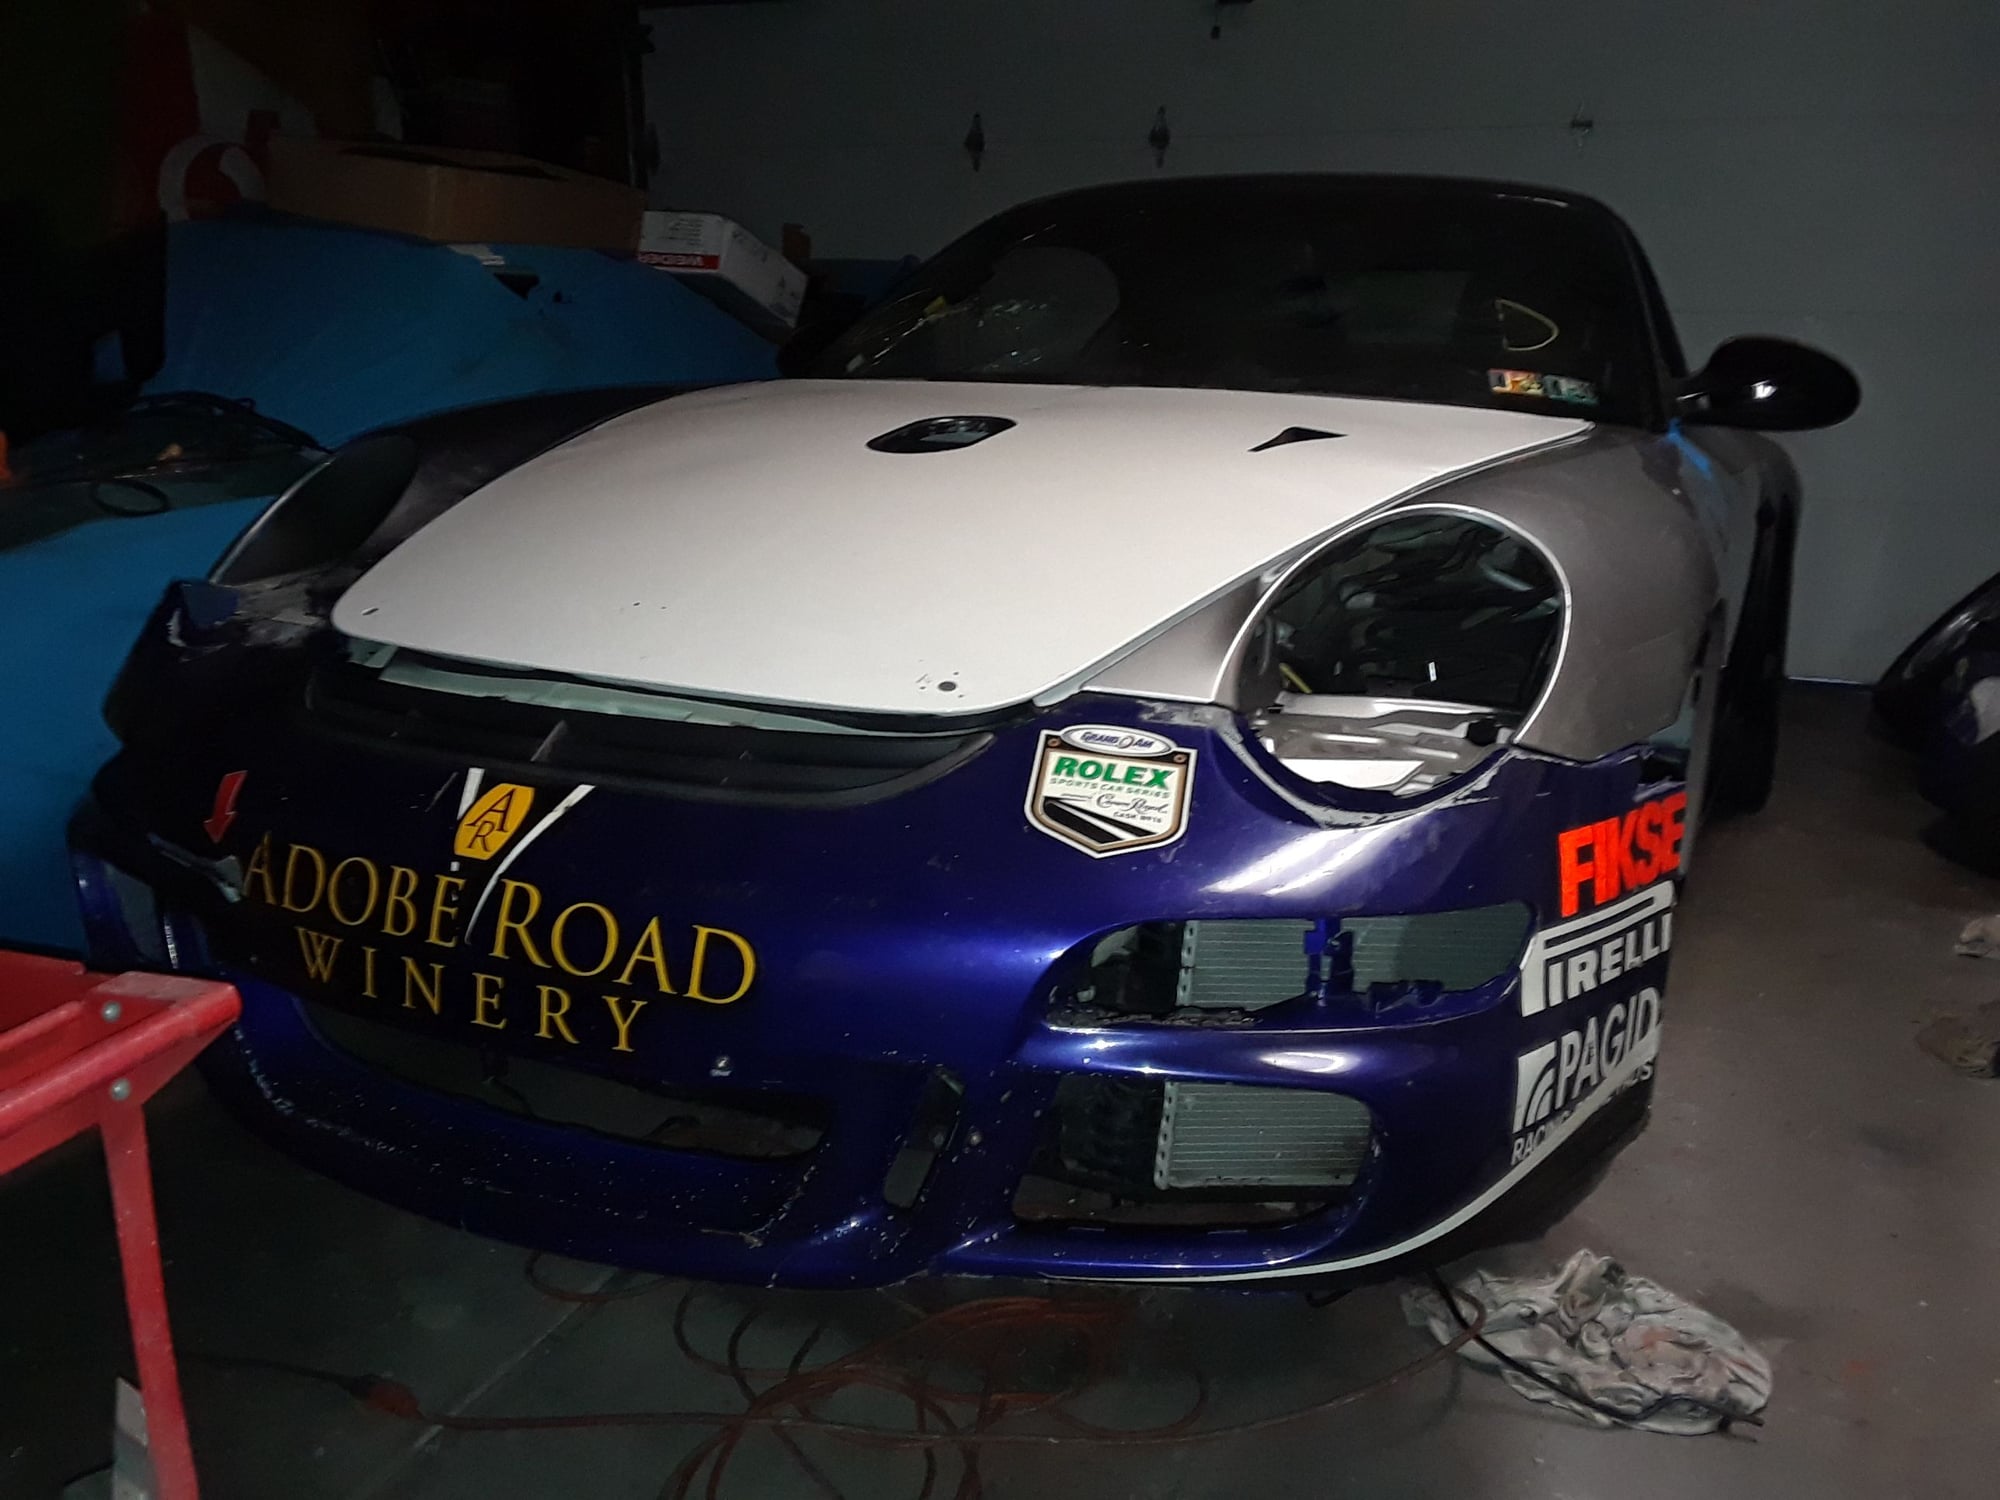
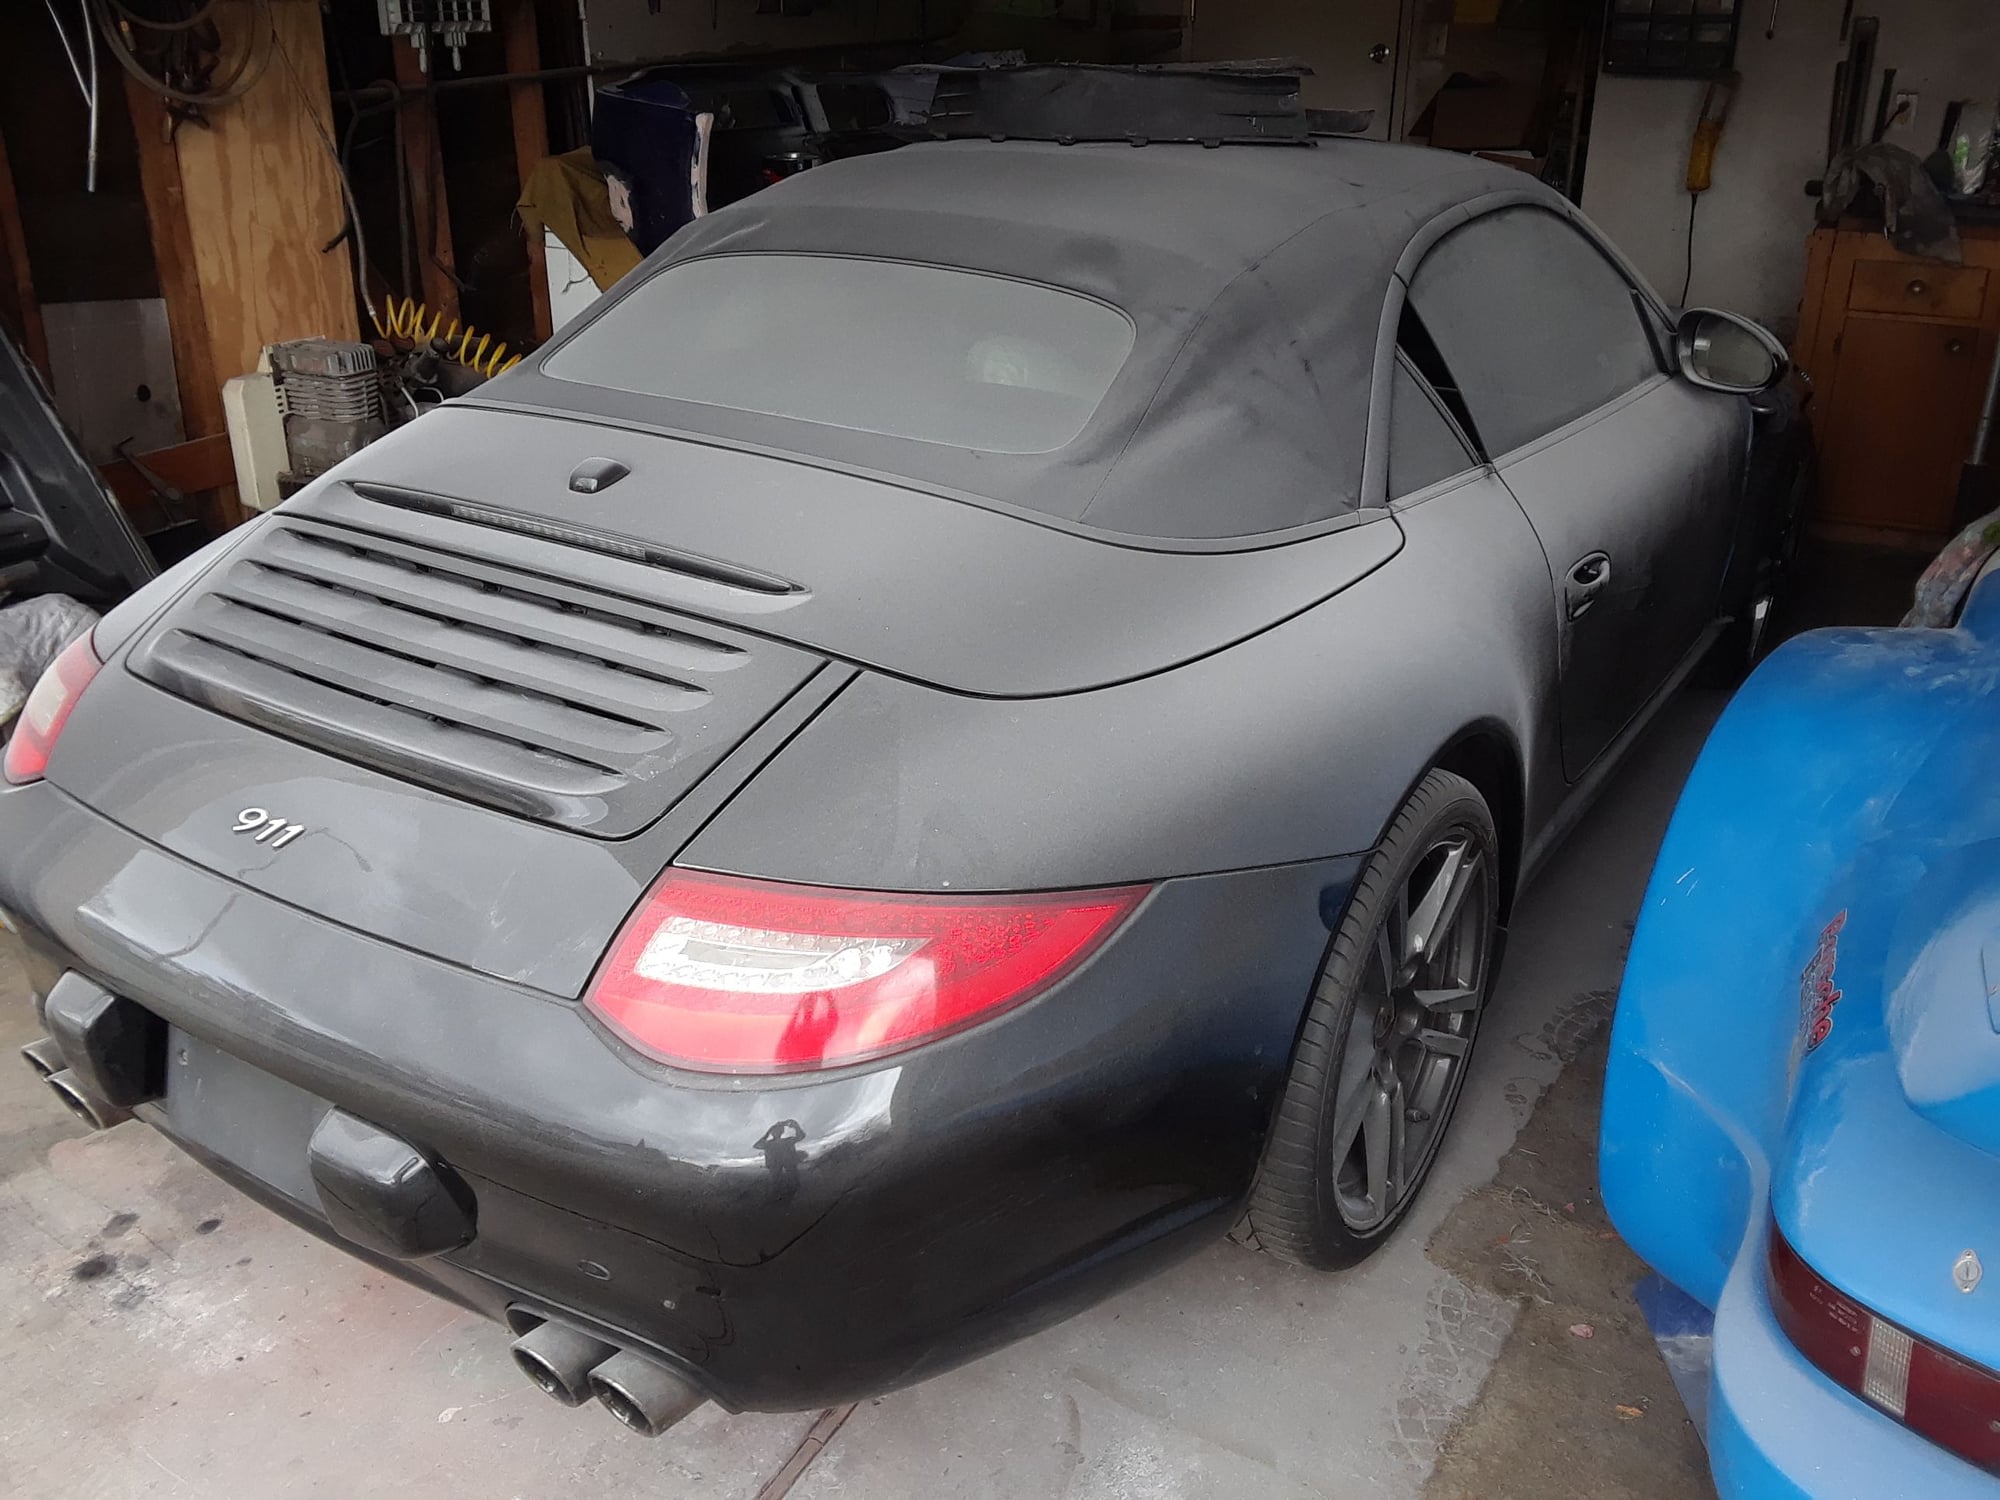
But the color will remain "Black" since it's a limited "Black Edition". Not sure if that makes it special. But, the rest of the car has good paint with little issues and black makes it a little more aggressive.
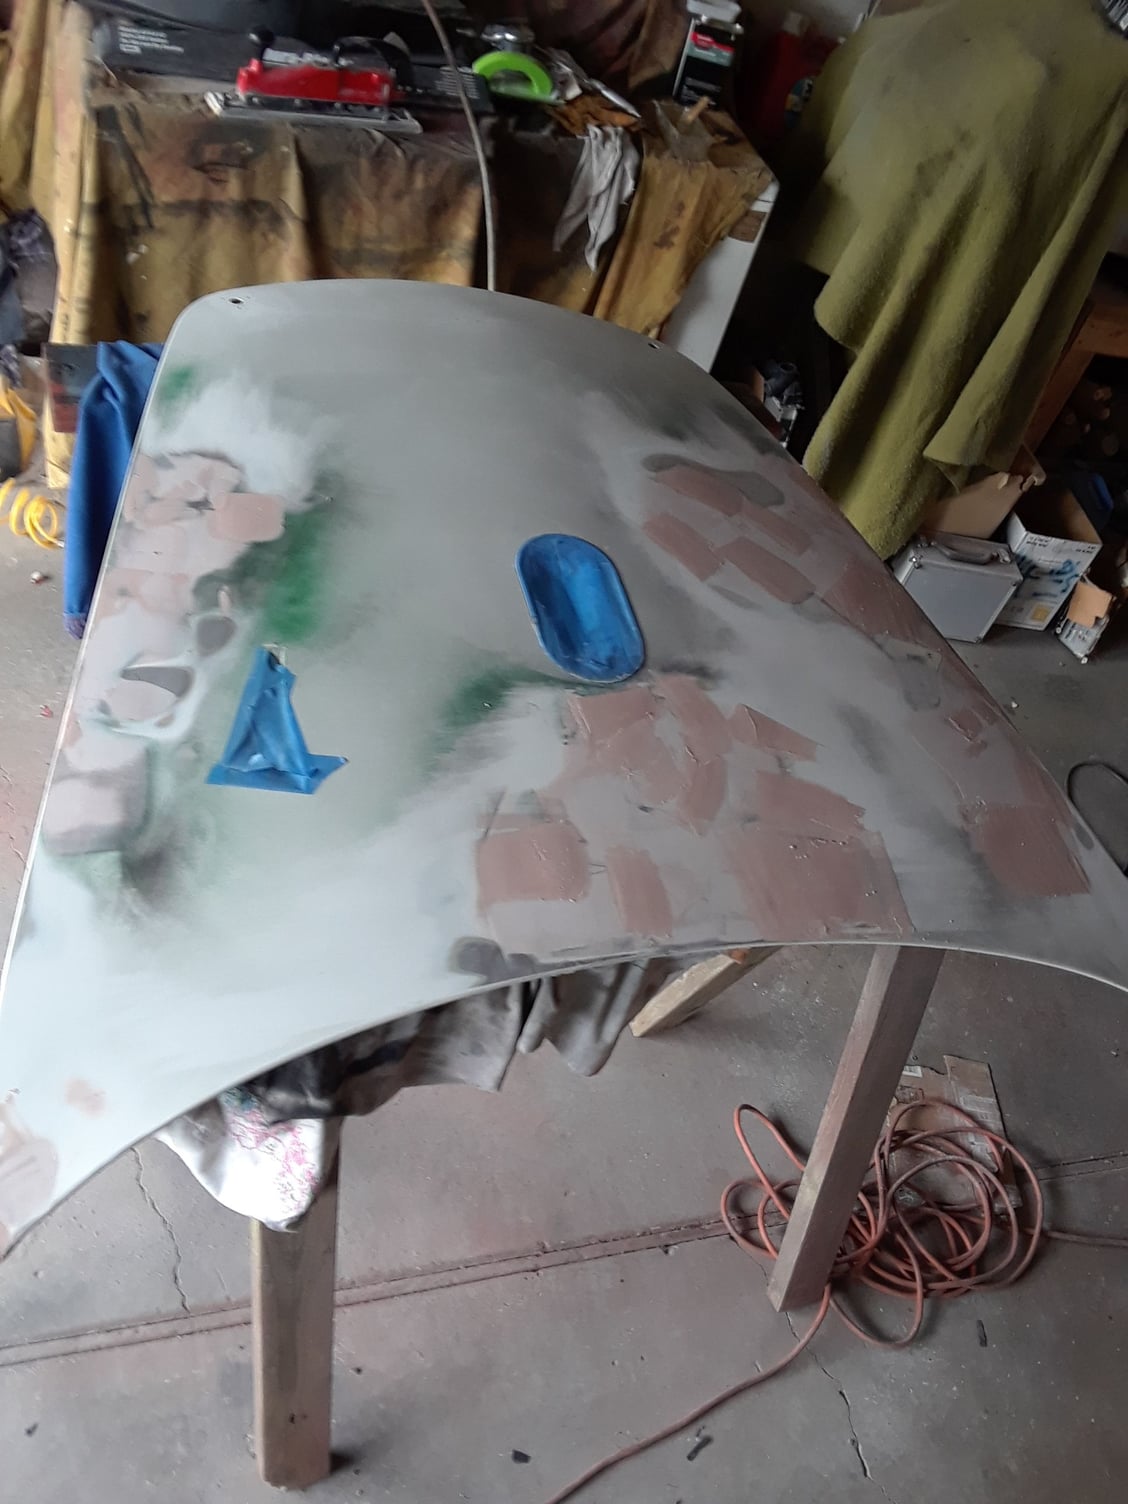
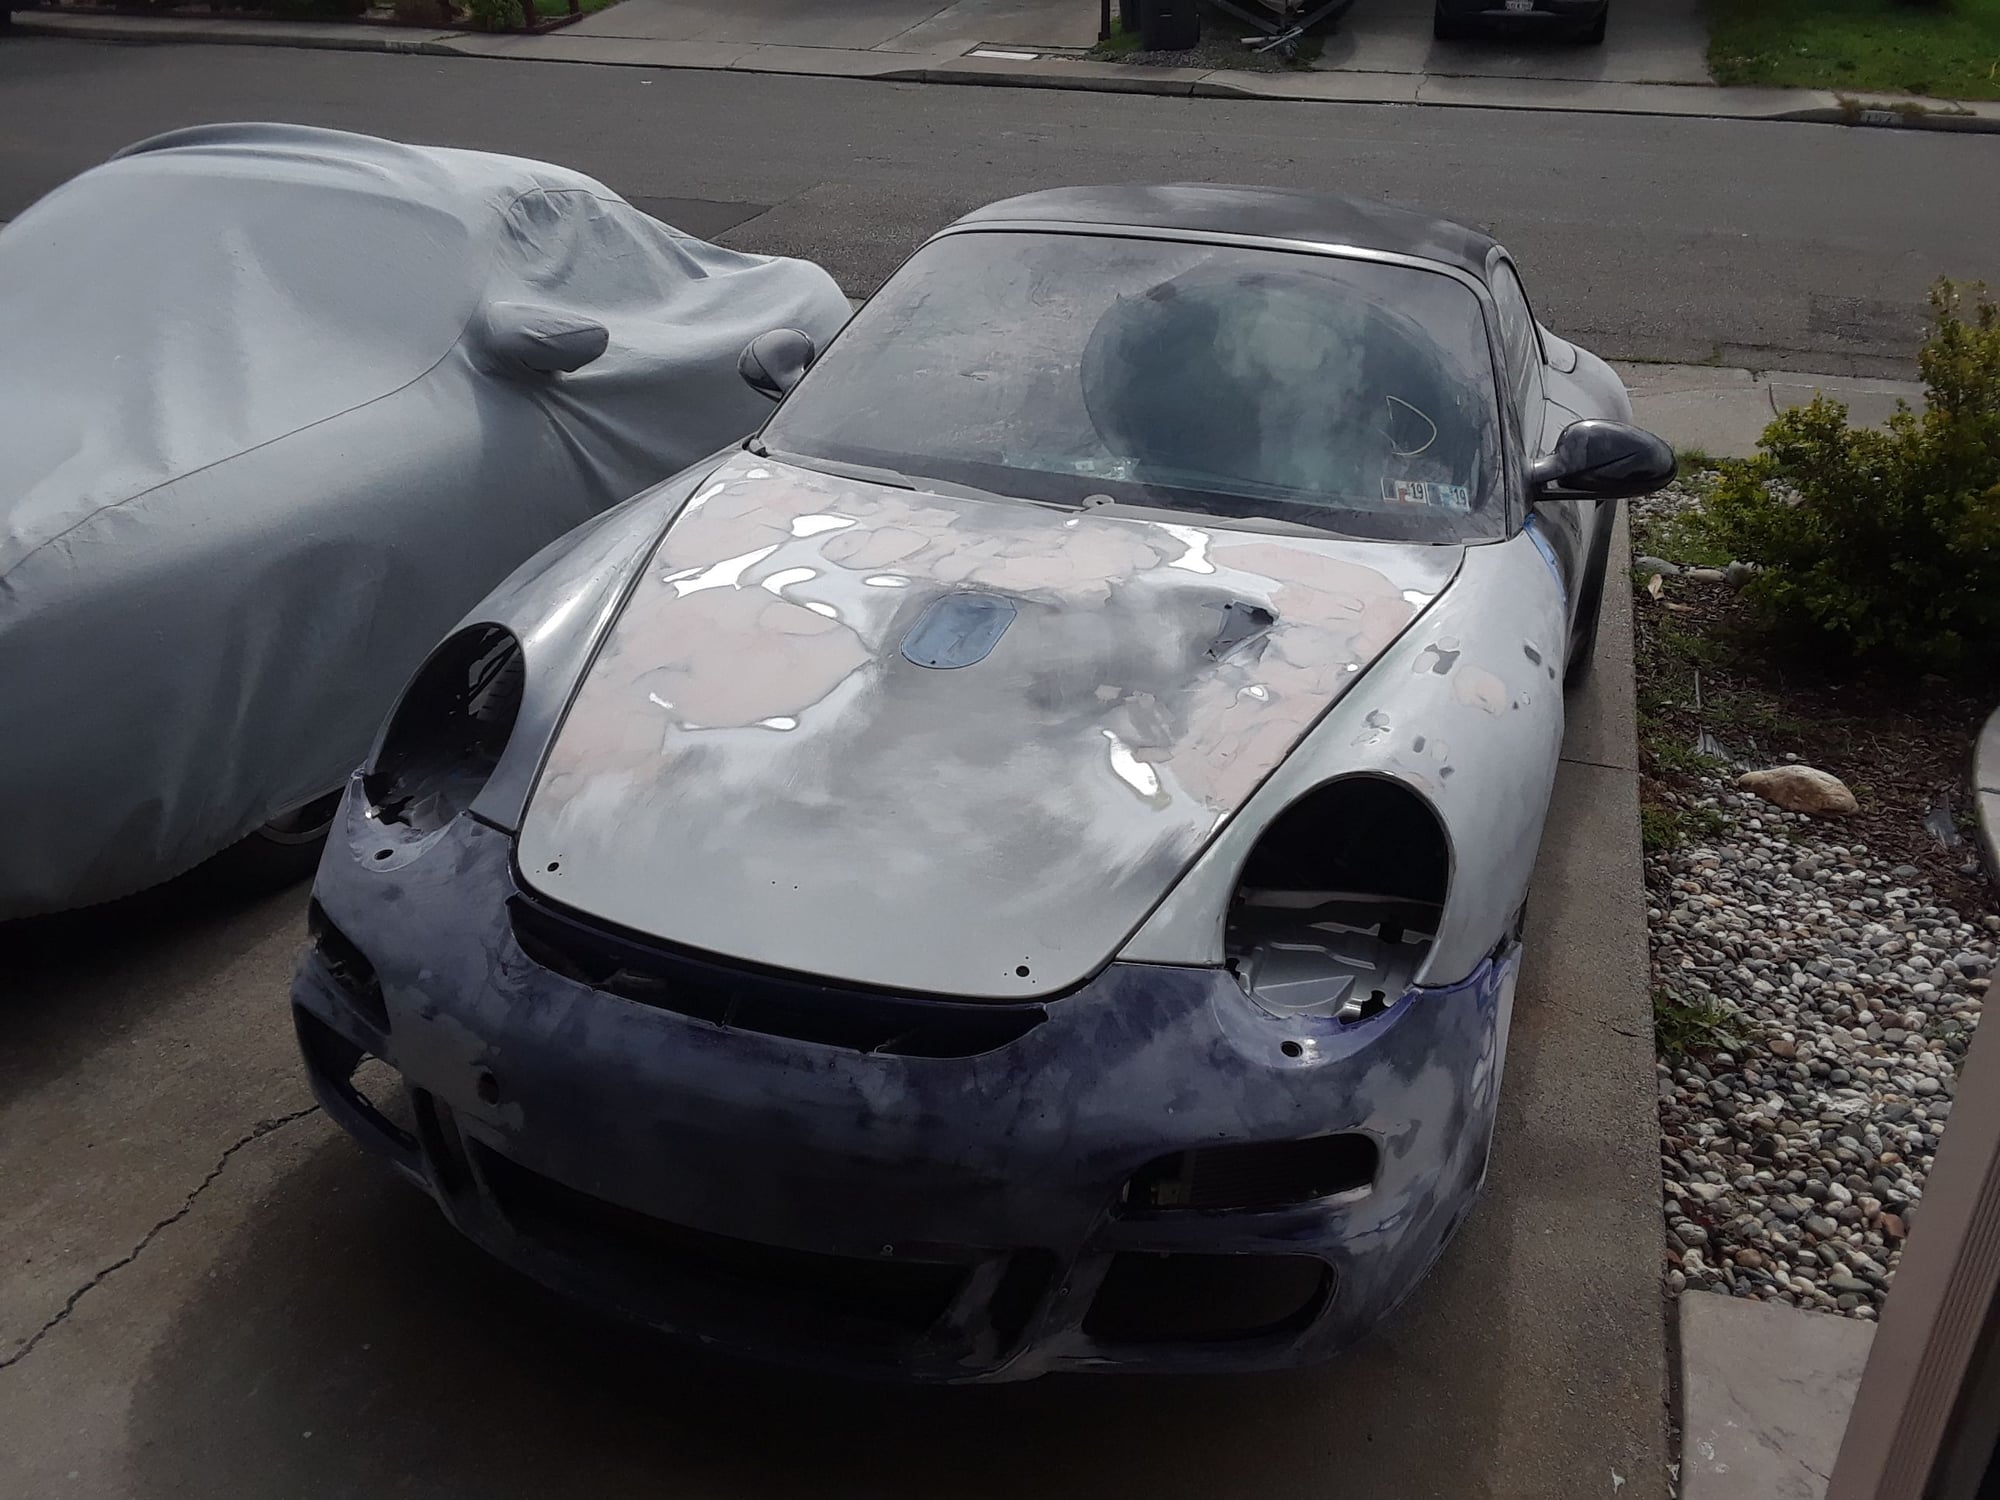
I'm still working on the bumper and hood. Keep finding issues with the bumper. Slots for the lip don't line up so I have to cut new ones and glass over the old ones. A broken tab had to be added back that i didn't realize I needed. The hood was brand new but looks like it had been used as a snow sled. Very wavy surface. But, it's a GT3 hood and will add some aggression to the look. Got it cheap and the GT parts were like crack and I was the addict. I had to have them. I've been body working the hood for two weeks now. Body filler, sand, repeat. Purchased a 30" block sander that helps a lot but patience and a light touch work best. Sprayed down some primer surfacer yesterday so I can see the high and low spots easier.
One thing I can't figure out is the airbag sensor connector. The wires pulled out and it seems they push back in with a special connector tool. But, I'll post on that later. Mocked up Corner glassed in Never ending body work. I want it flat. Snow in Northern CA Before the first coat of primer Primer on. The hood pin holes will be filled in.
The naca duct is to cool the driver. On a race car there would be a tube that goes to the back of the dash and come out the vent. I was trying to think of something that needed cooling in the trunk area but, I don't know.
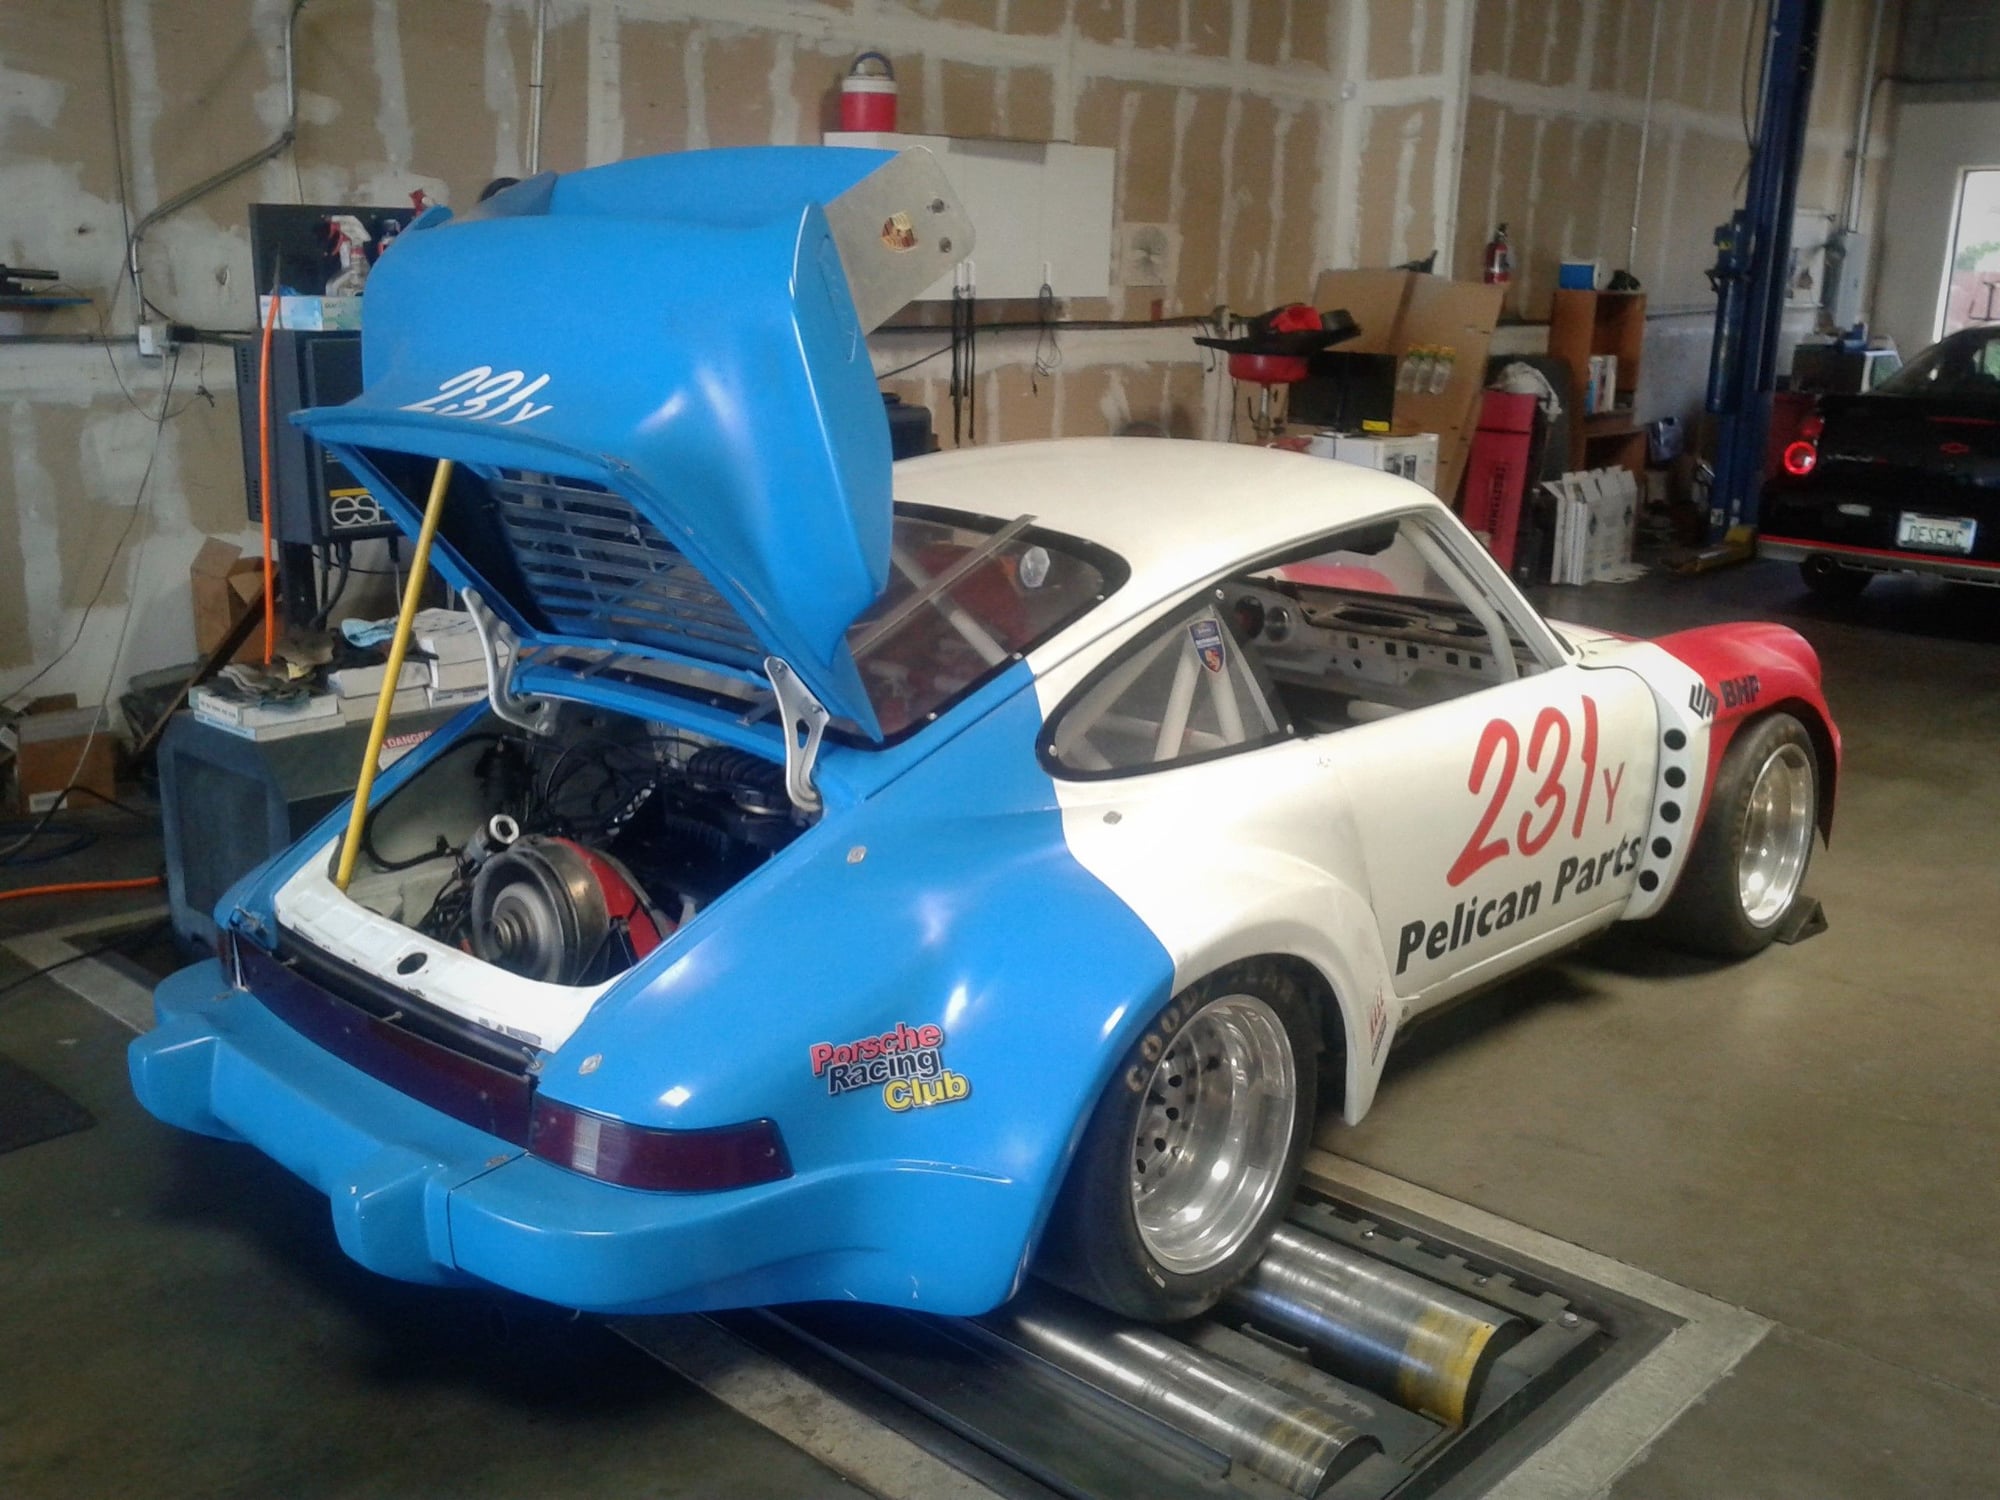
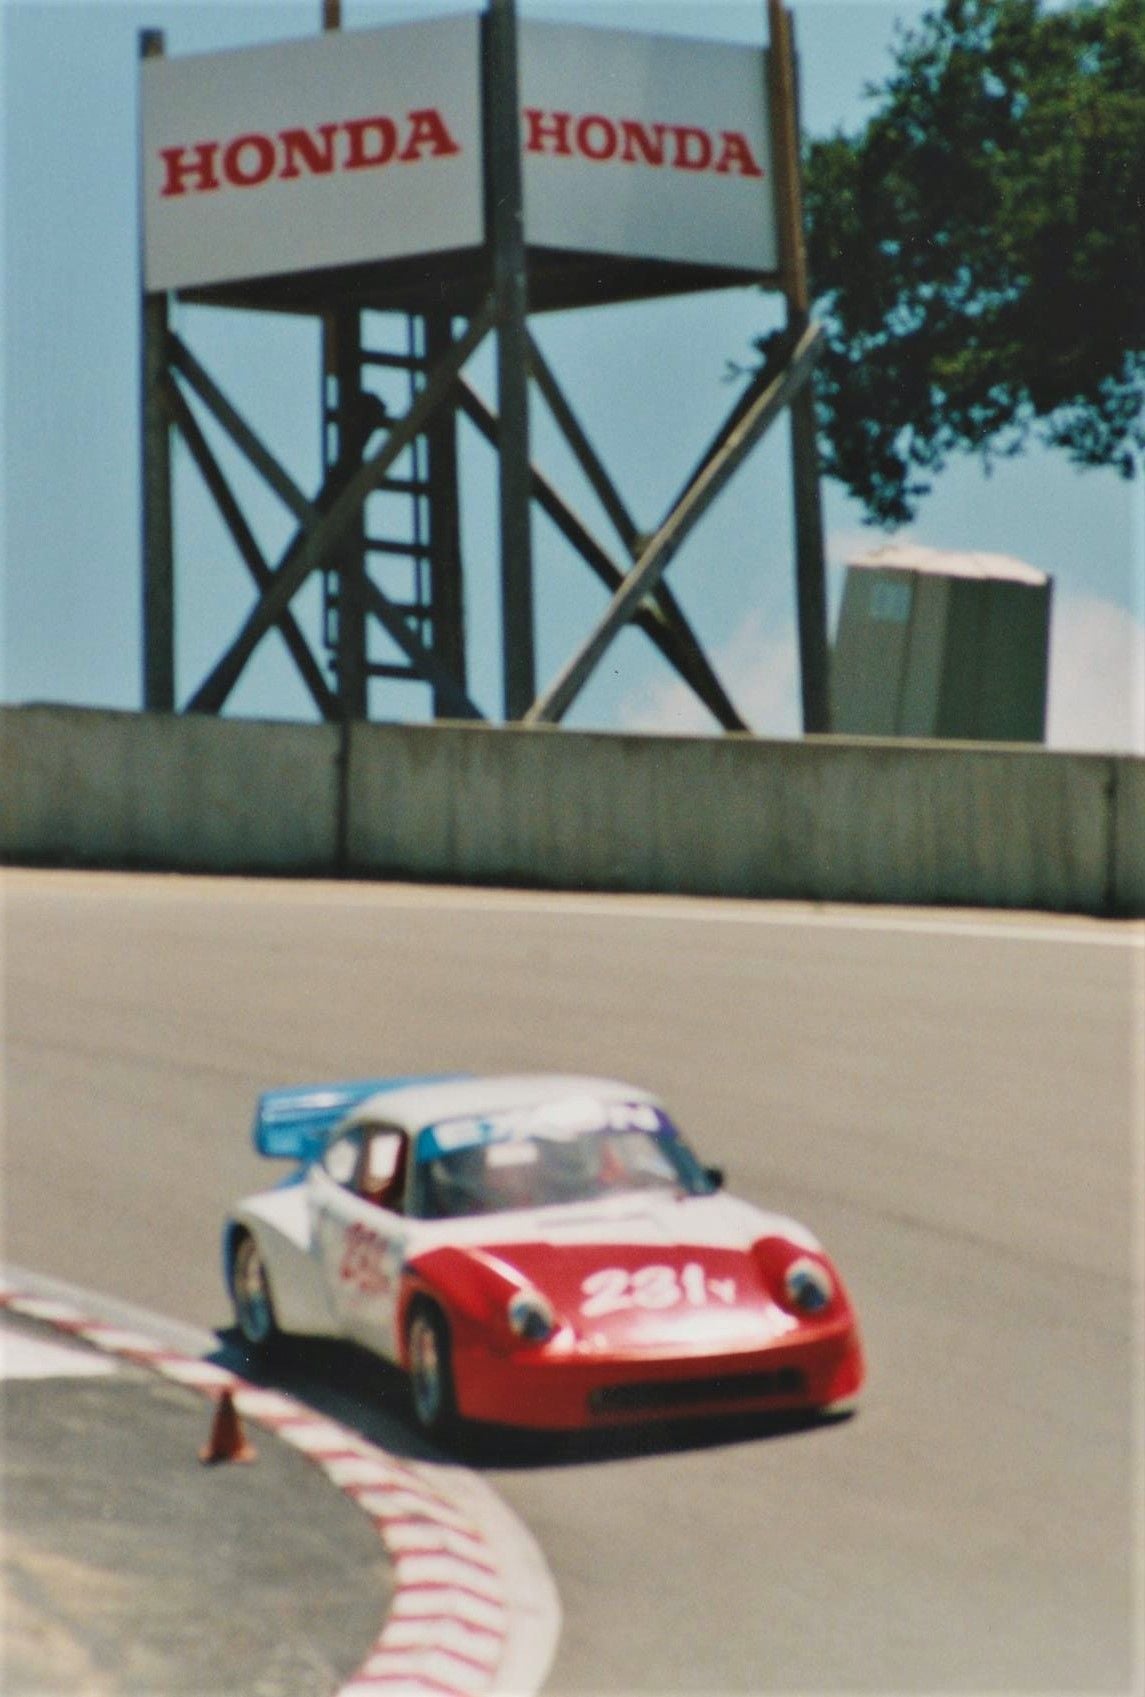
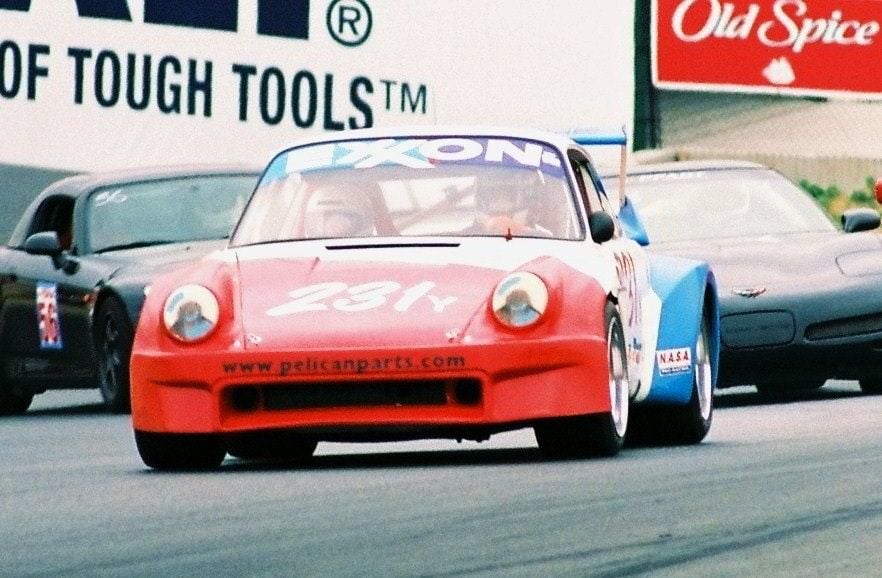
The blue car is a race car. Actually, red white and blue. It's a '69 chassis with upgrades all over. It only has a 3.0L with race headers and phase 9 exhaust. Less than 2000 lbs so it's kinda fun. We were going to take it to a track event, this weekend, at Thunderhill (first event in about 10 years), but all the run groups were full except one. And I would be sharing the car with a friend.
The two pieces, one from the 997 and the other from the 996. Started the fusion. All glassed in. A little black paint... ...and they fit perfect.
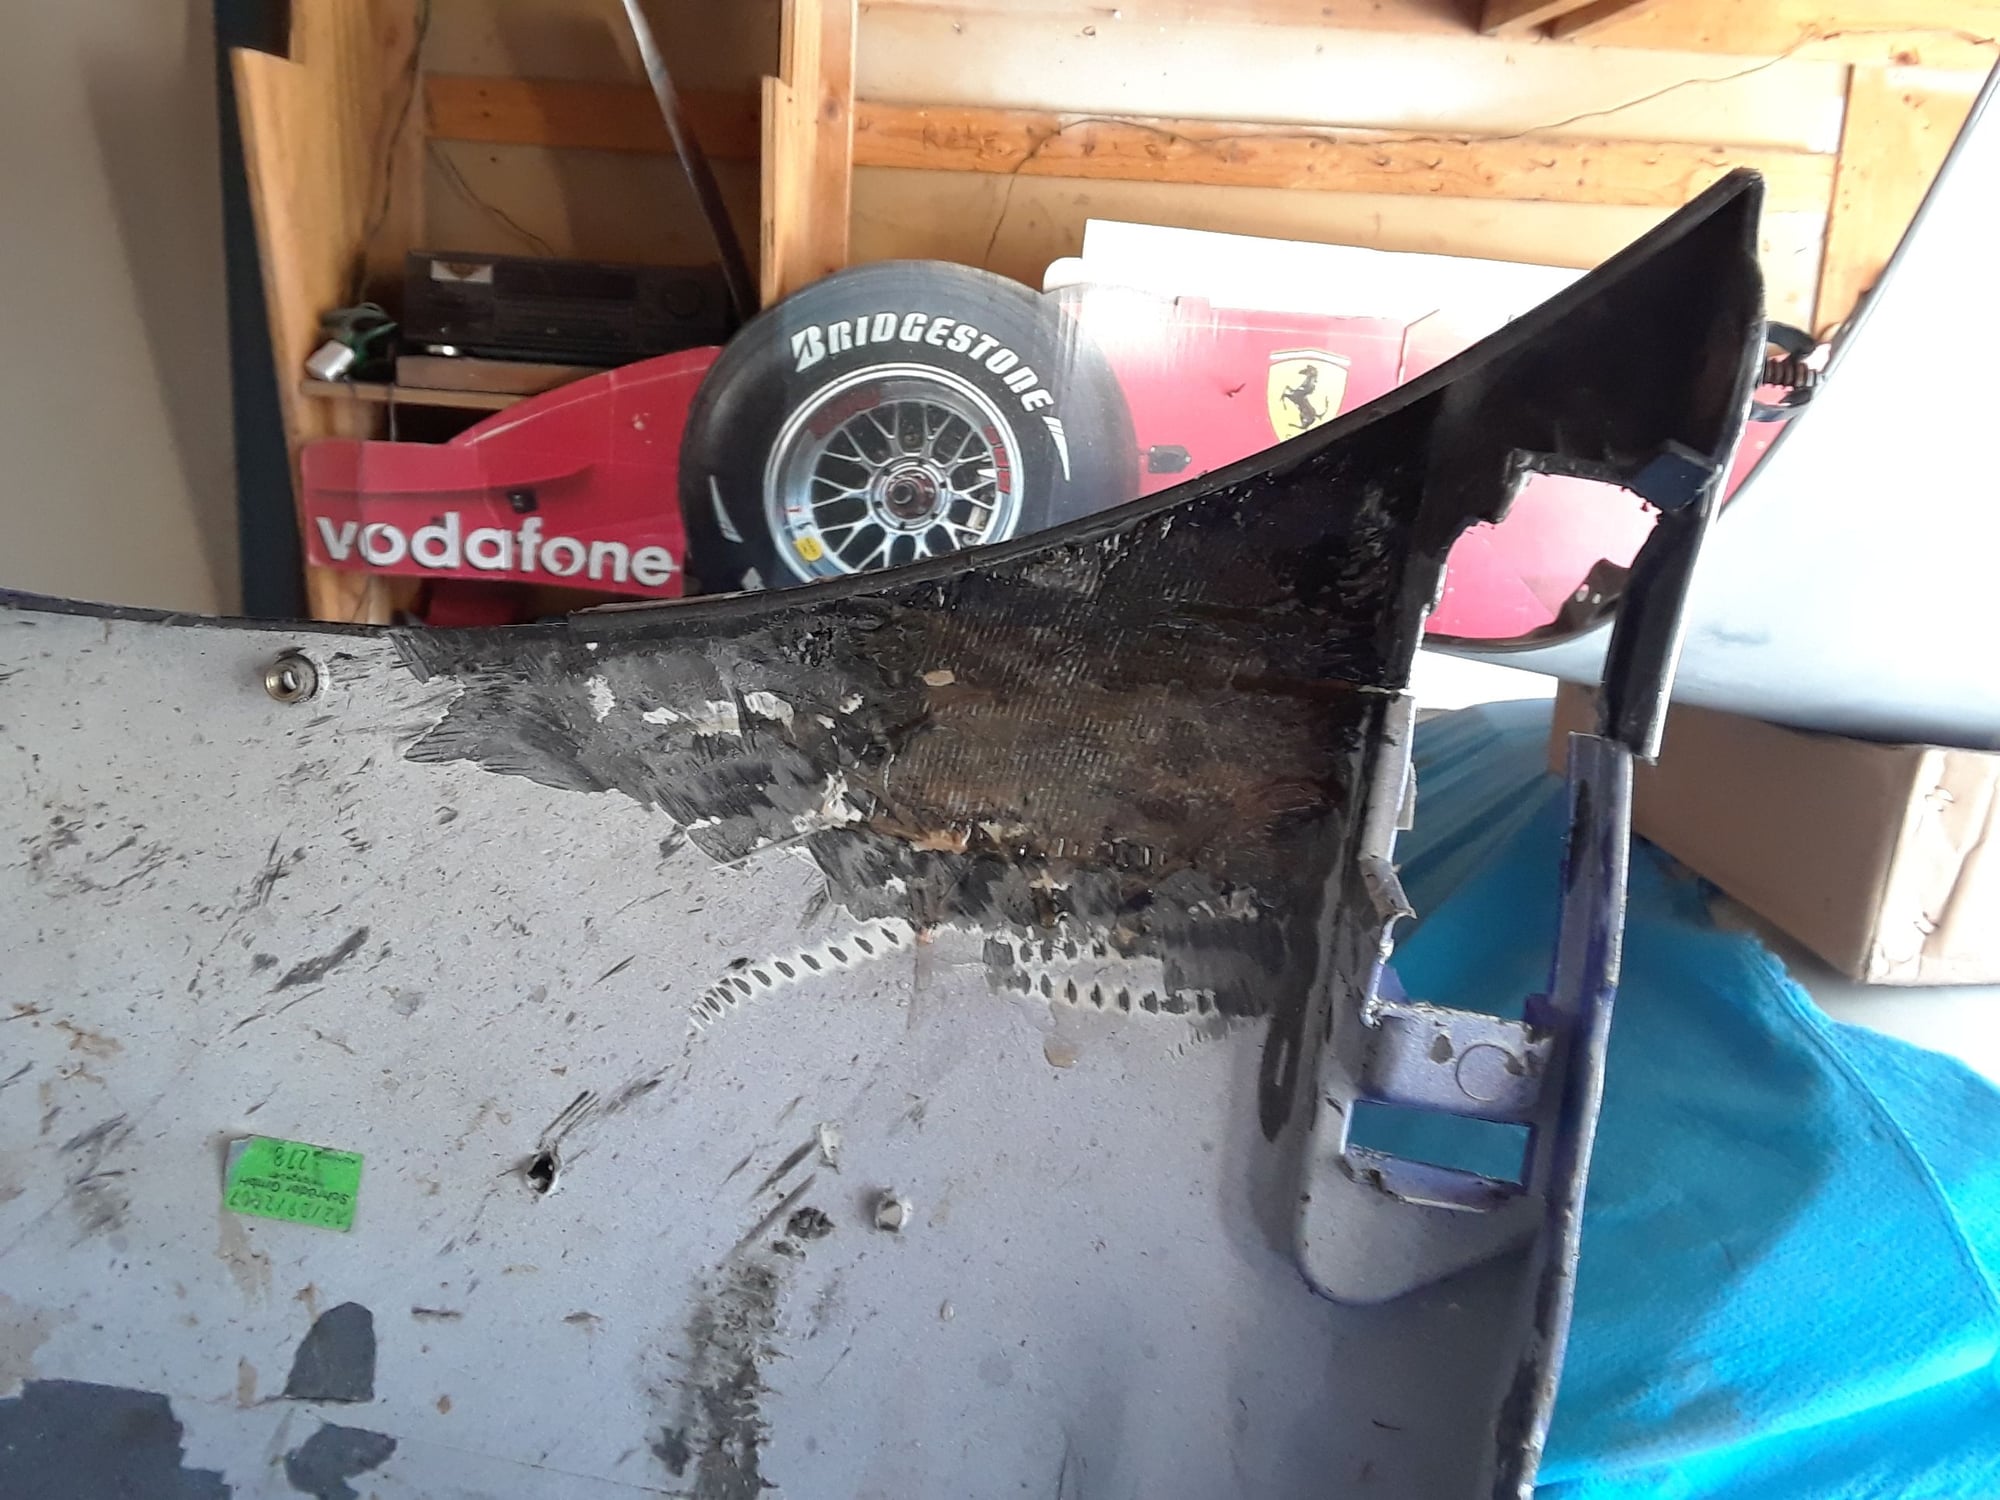
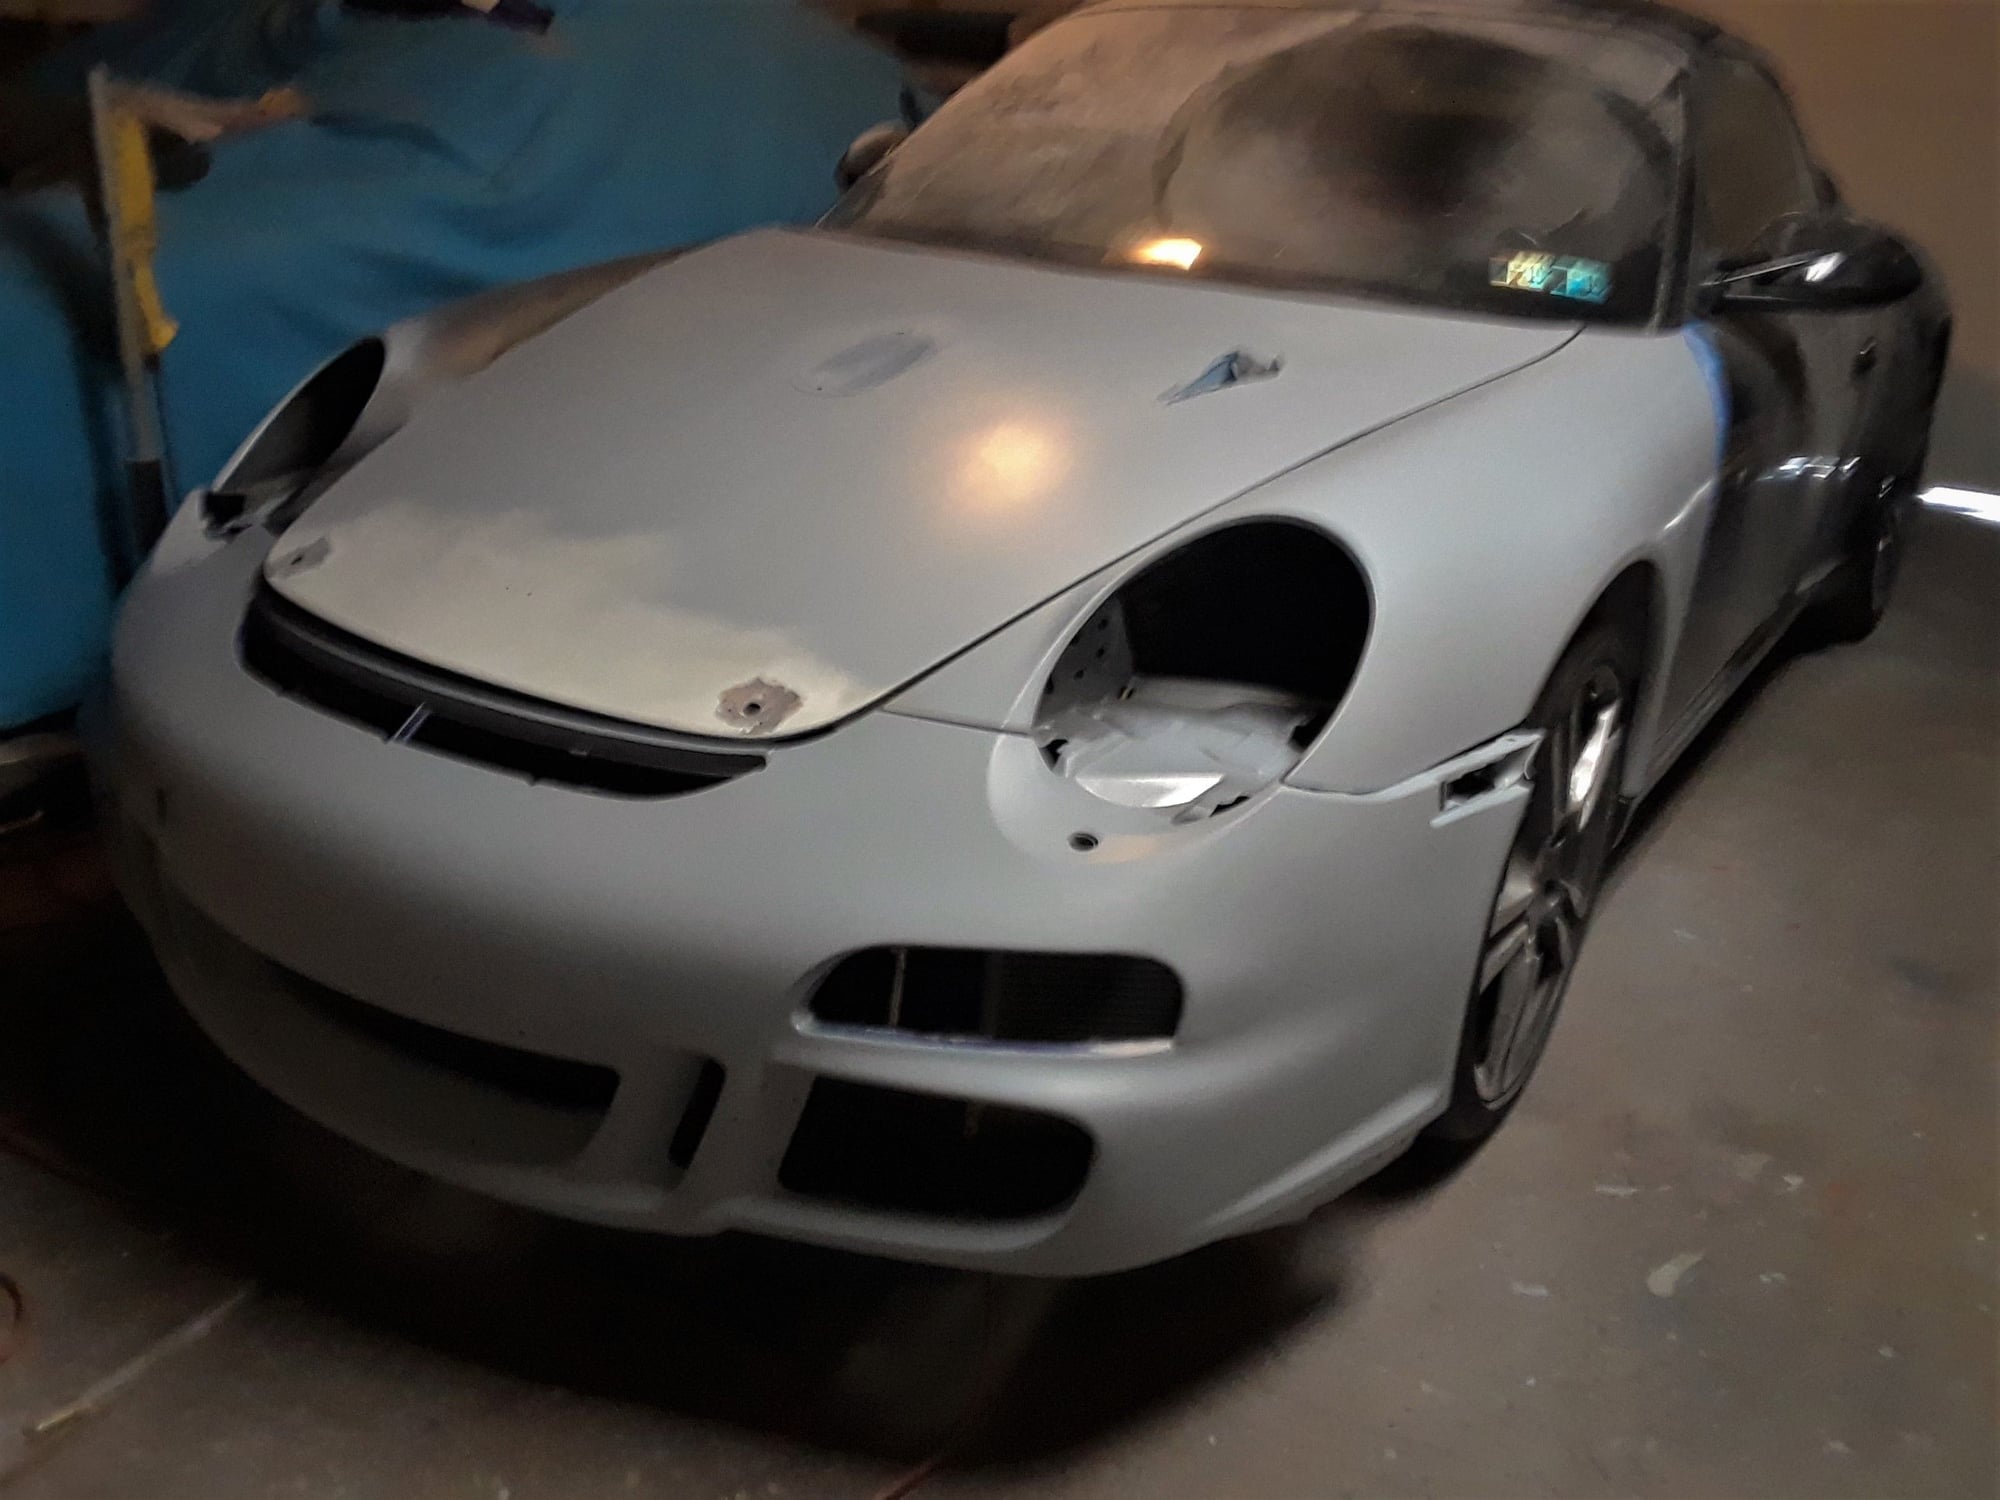
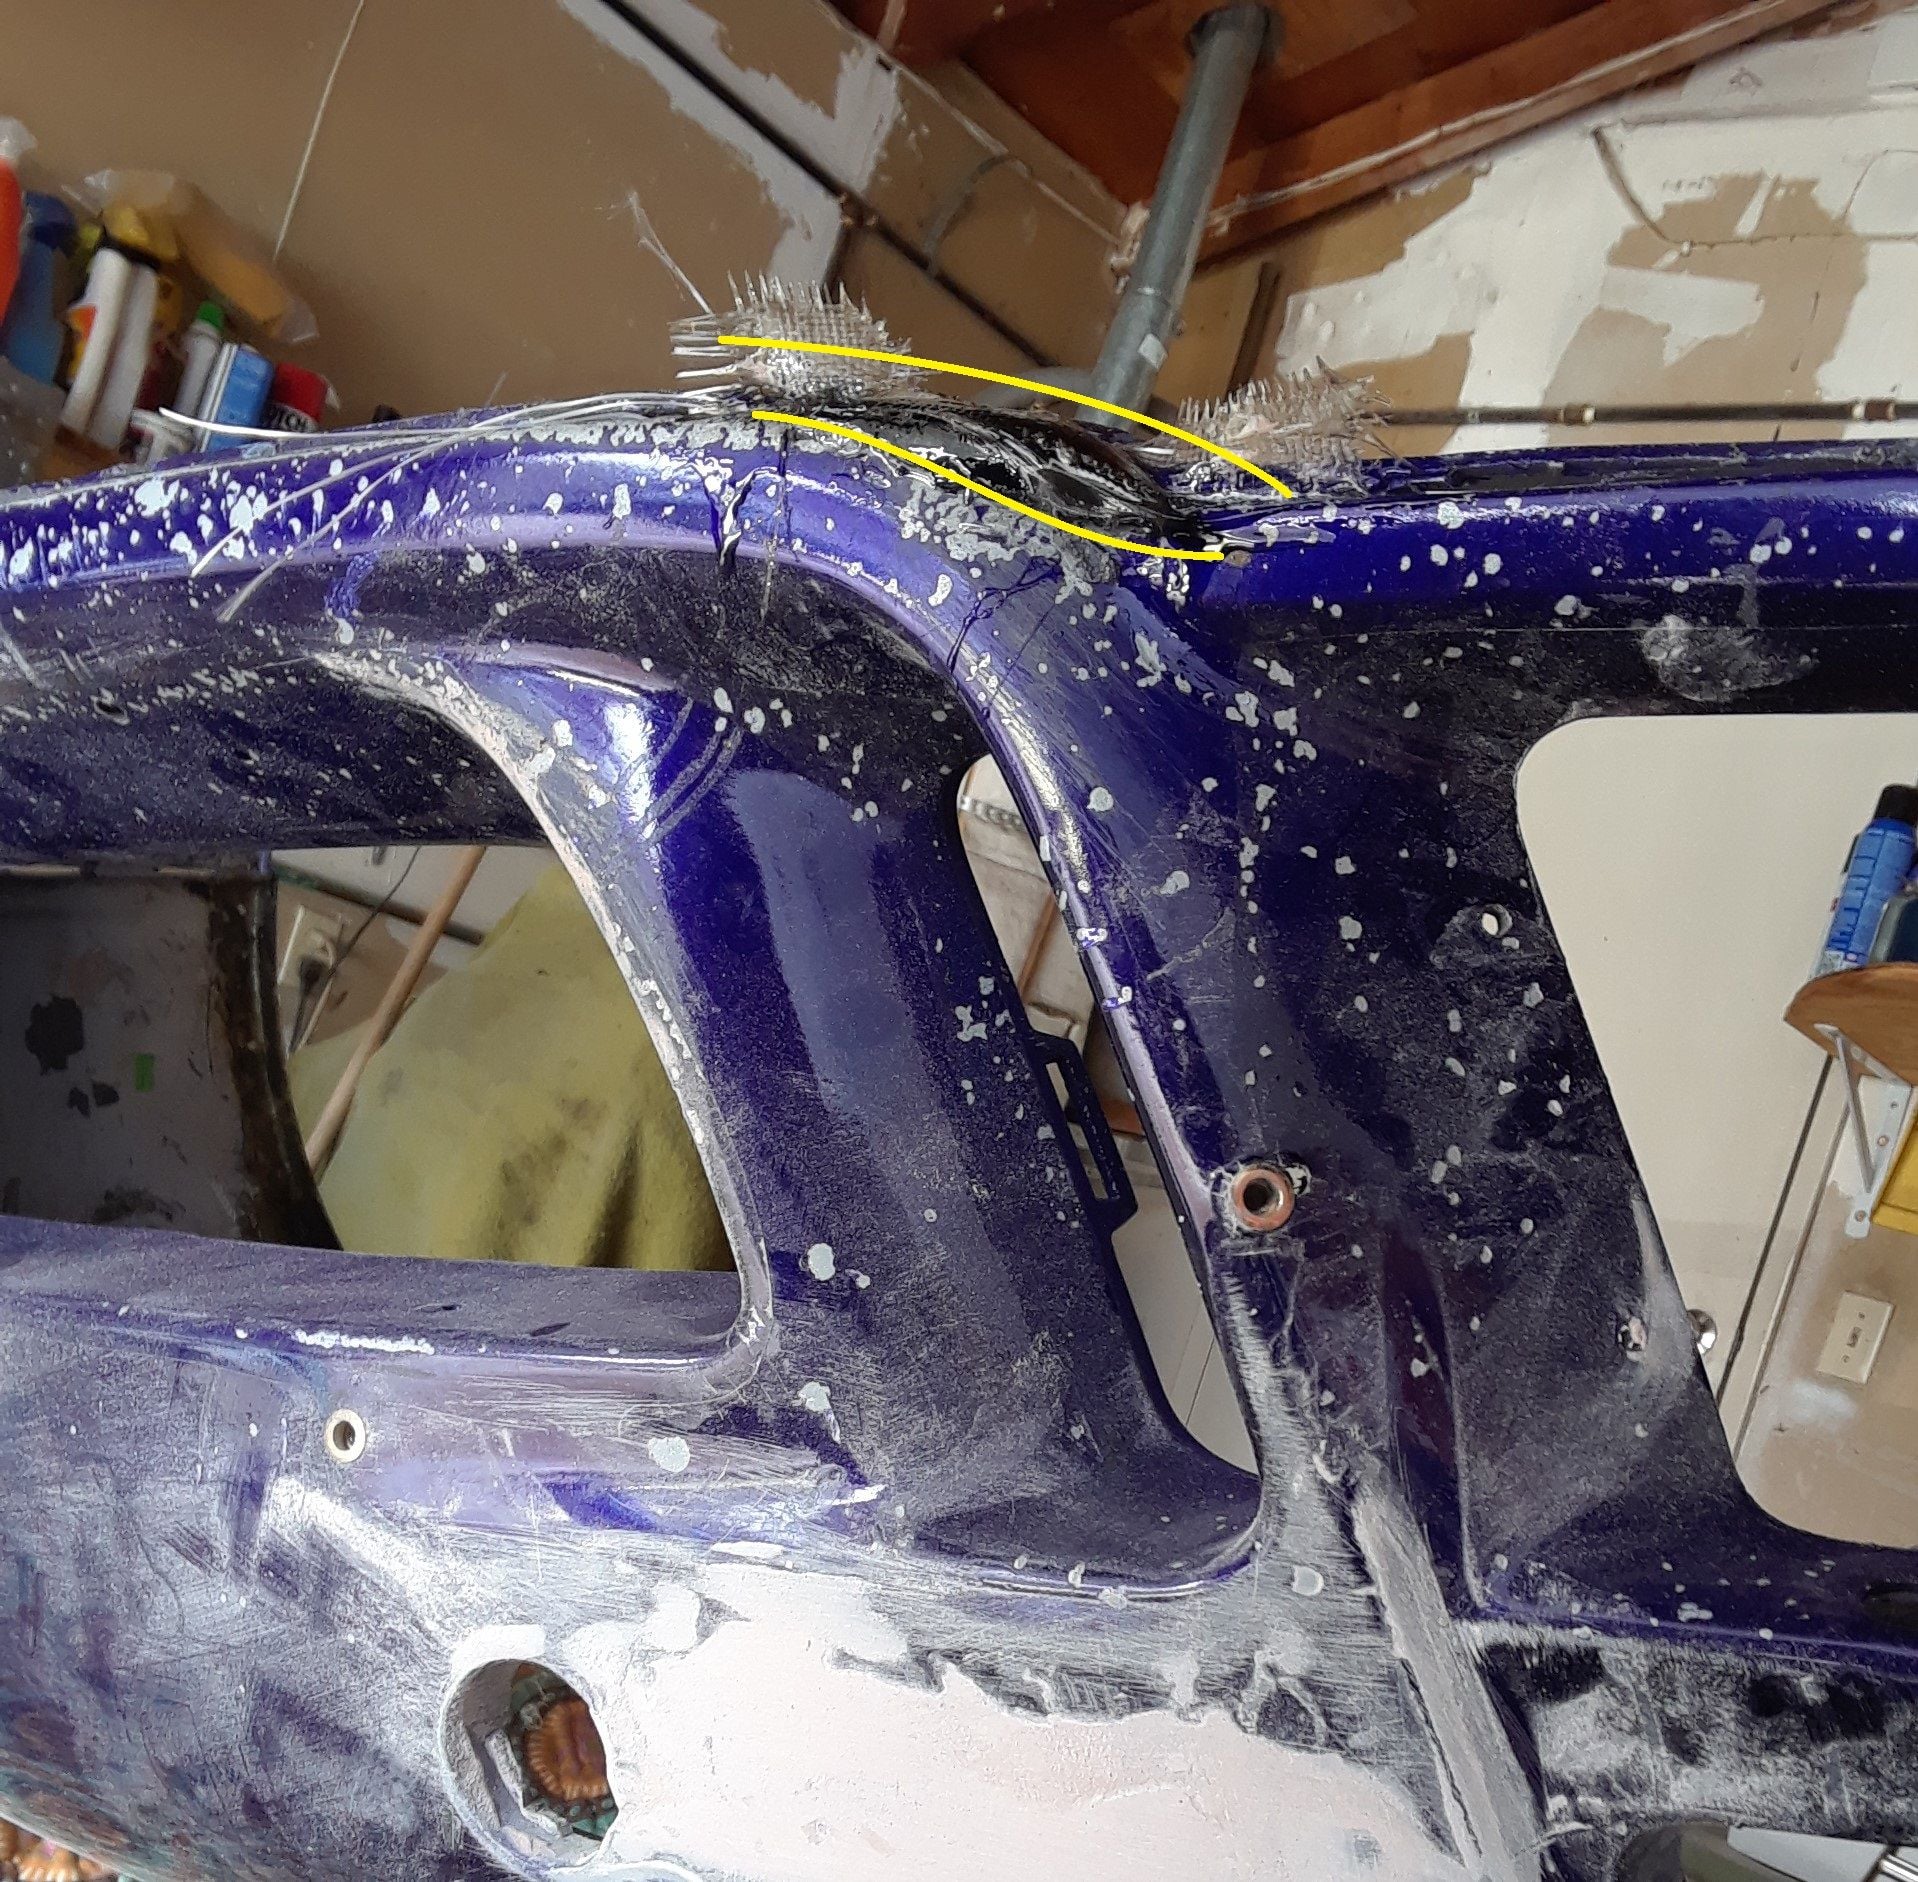
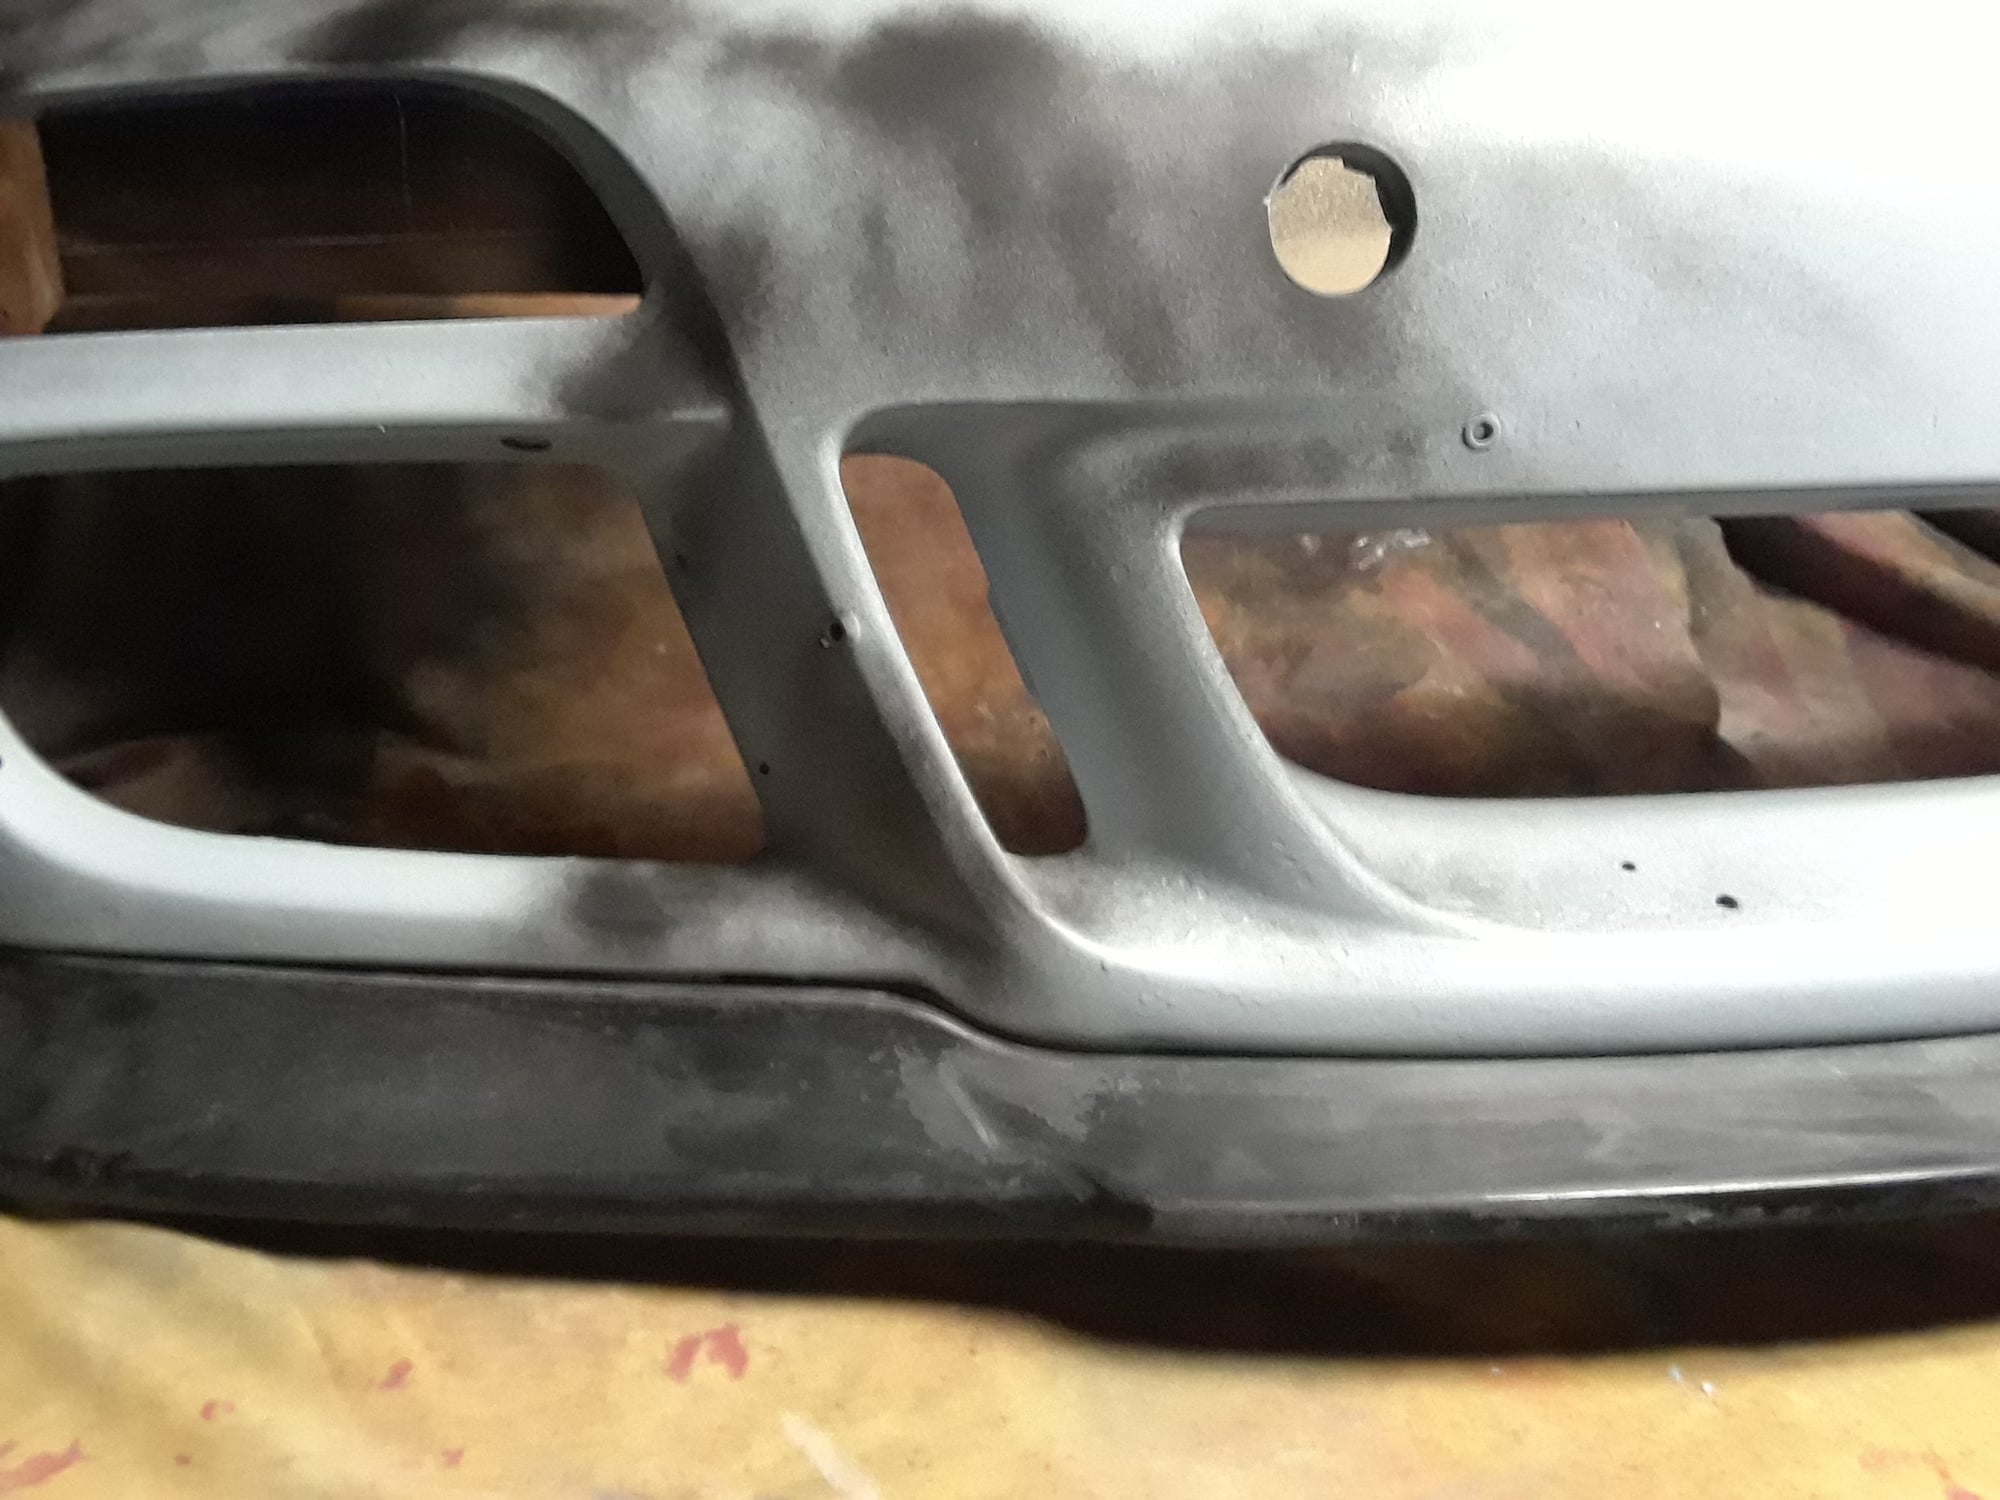
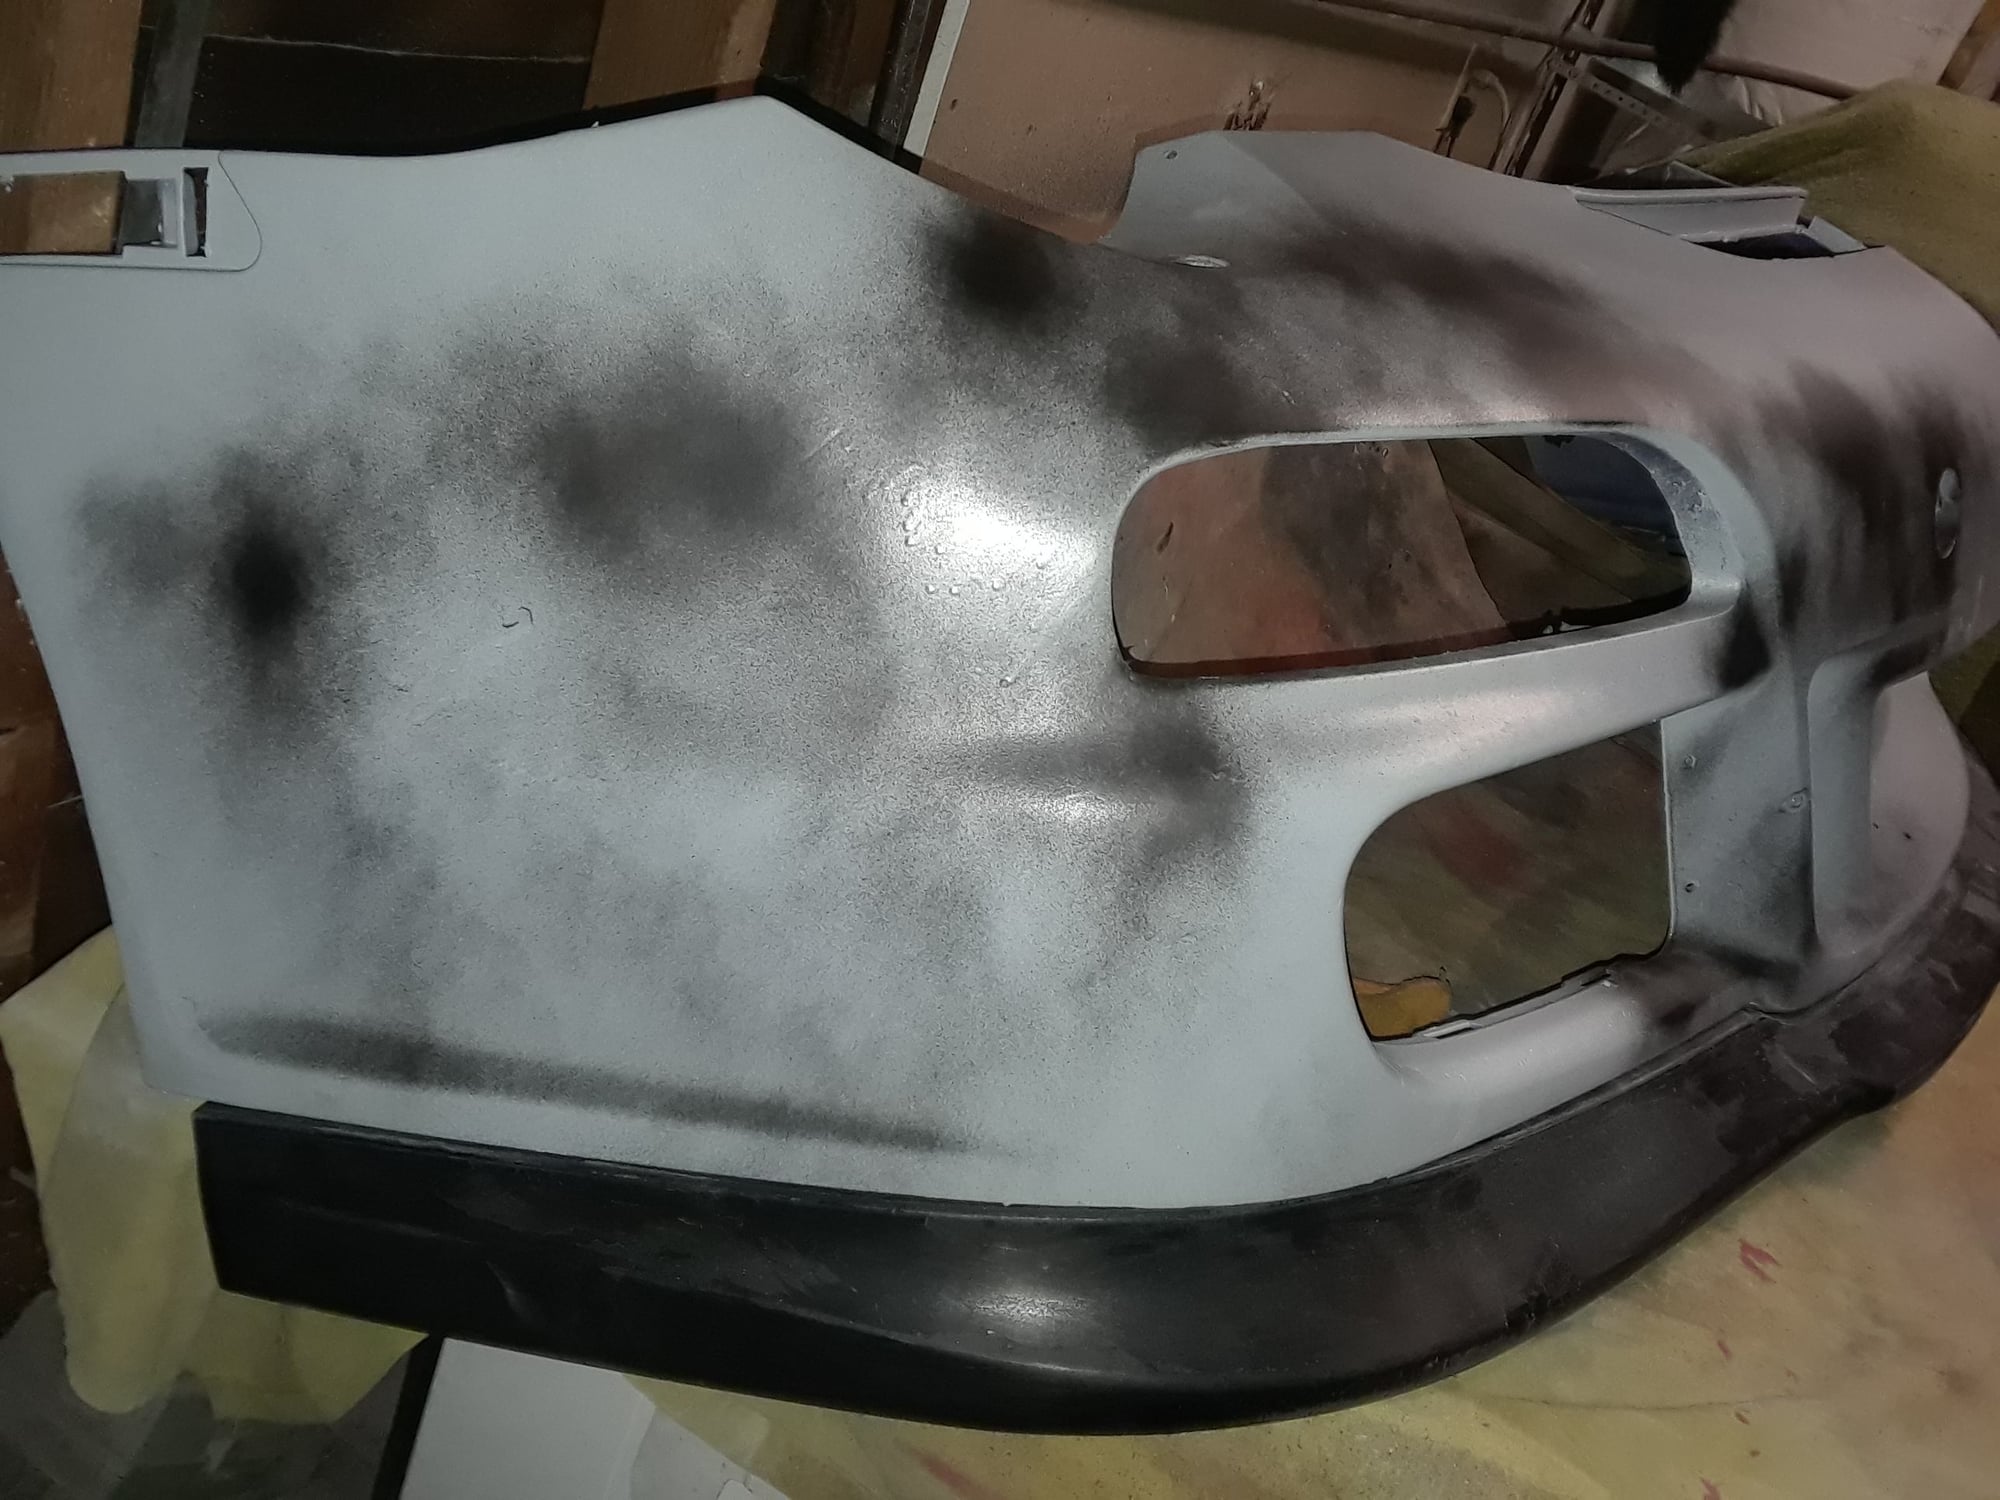
Today, I'm doing (I hope) my last coat of primer. But here are some pix of things I had to fix in the past. The front air ducting was crushed on the drivers side and cracked on the passenger side. Since I'm trying to stick to a budget and this is not a collector/concourse car, I will repair the things that don't show. So, the driver side air duct I got, I believe was off a 996 and didn't have the center ducting. So, I cut the piece off my broken ducting and glassed it on to my new/used 996 ducting. Worked out pretty good. And no one will know, except for you guys, of course. Thanks for the past nice comments. I'll be updating when I have a chance
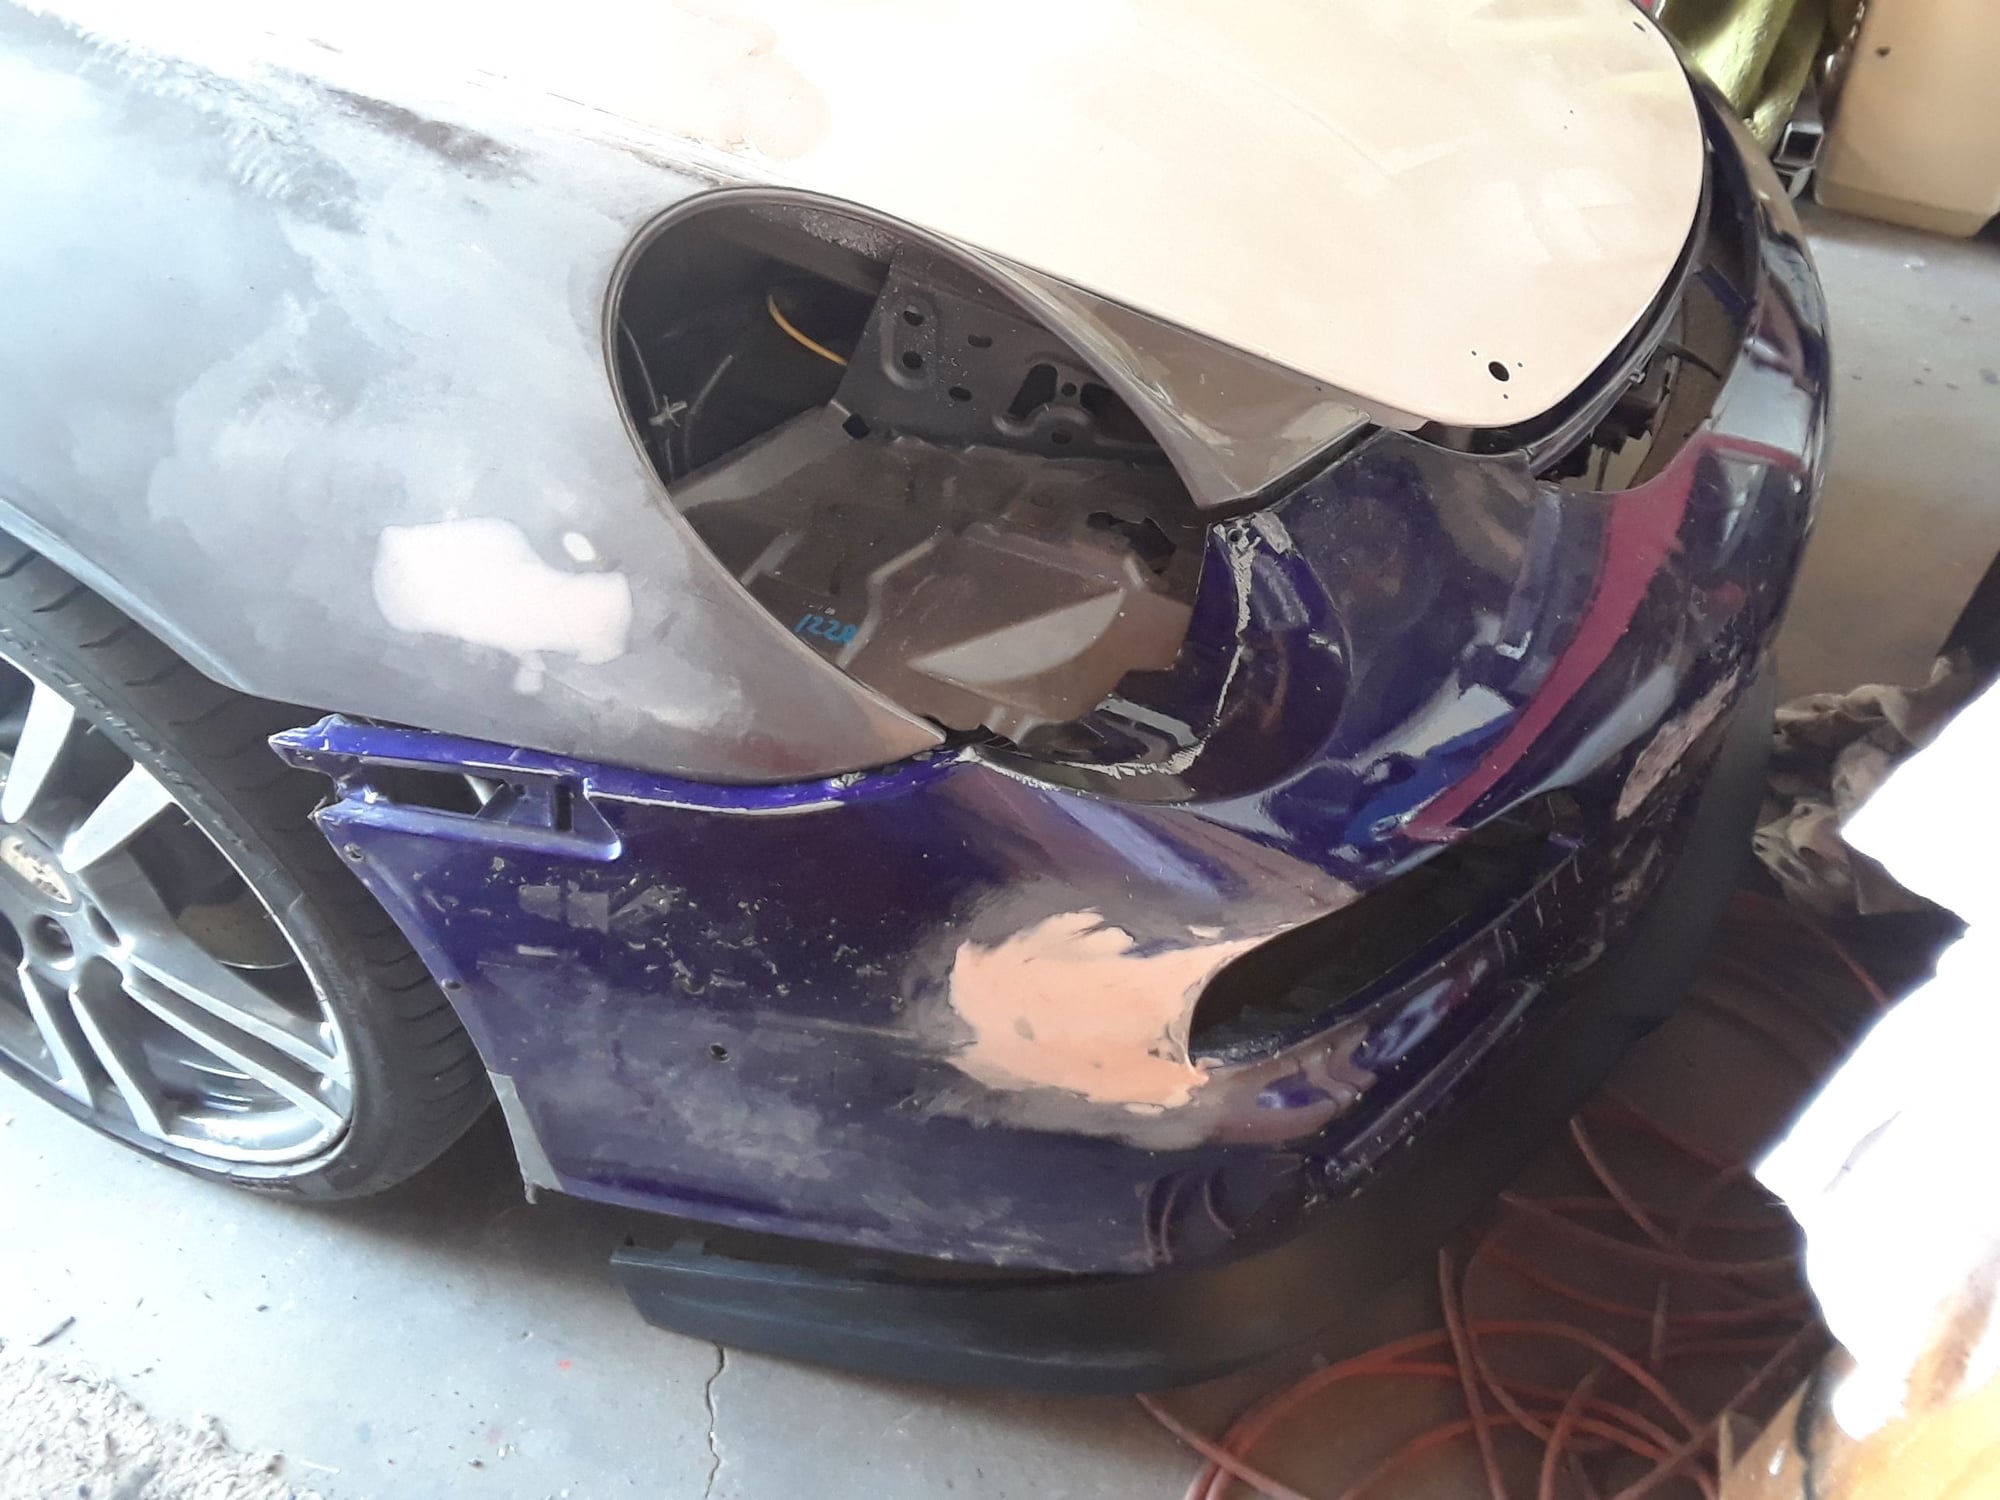
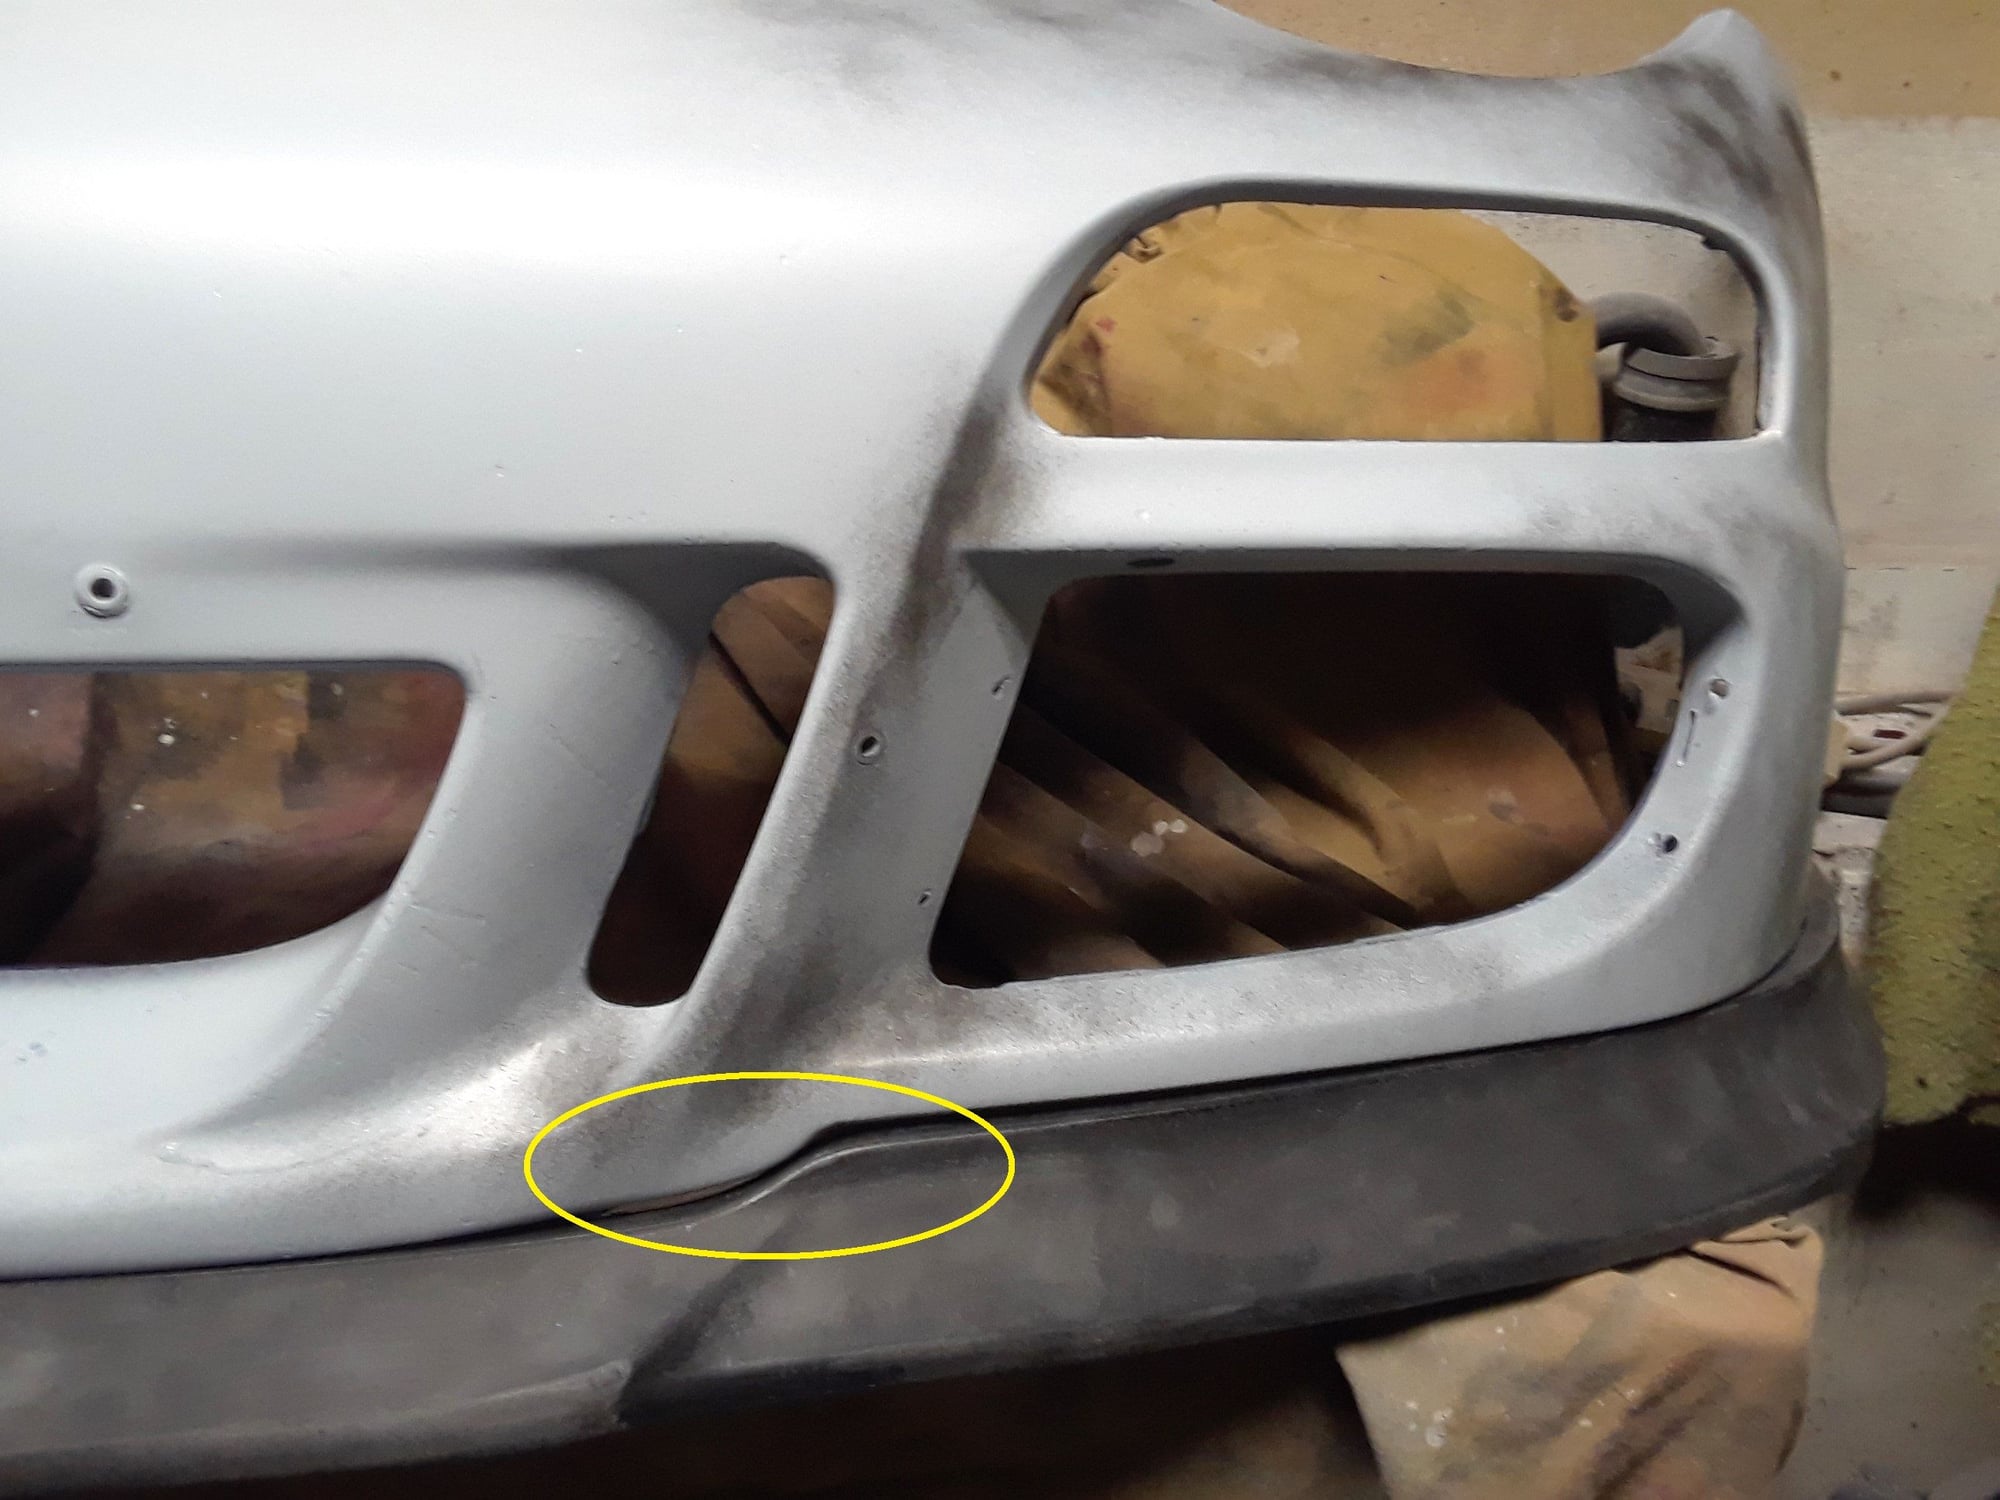
Primer and color are on. I'm a little out of order but I'm happy the color is finally on the car. I'm really happy with the way the front bumper turned out. It still needs some color sanding and polishing but it's a good start. I did have an issue with the bumper, since it flexes so much, I put all the fiberglass on the back side and a little on the front along with the body filler. When it flexed during sanding, I got some hairline cracks in the front side. Since I don't really know what I'm doing I had to add a small piece due to a small gap between the bumper and splitter. Again, JB weld to get it in place then glassed over then filler. Gap filled in but needs a little massaging. the flex crack Ready for color.
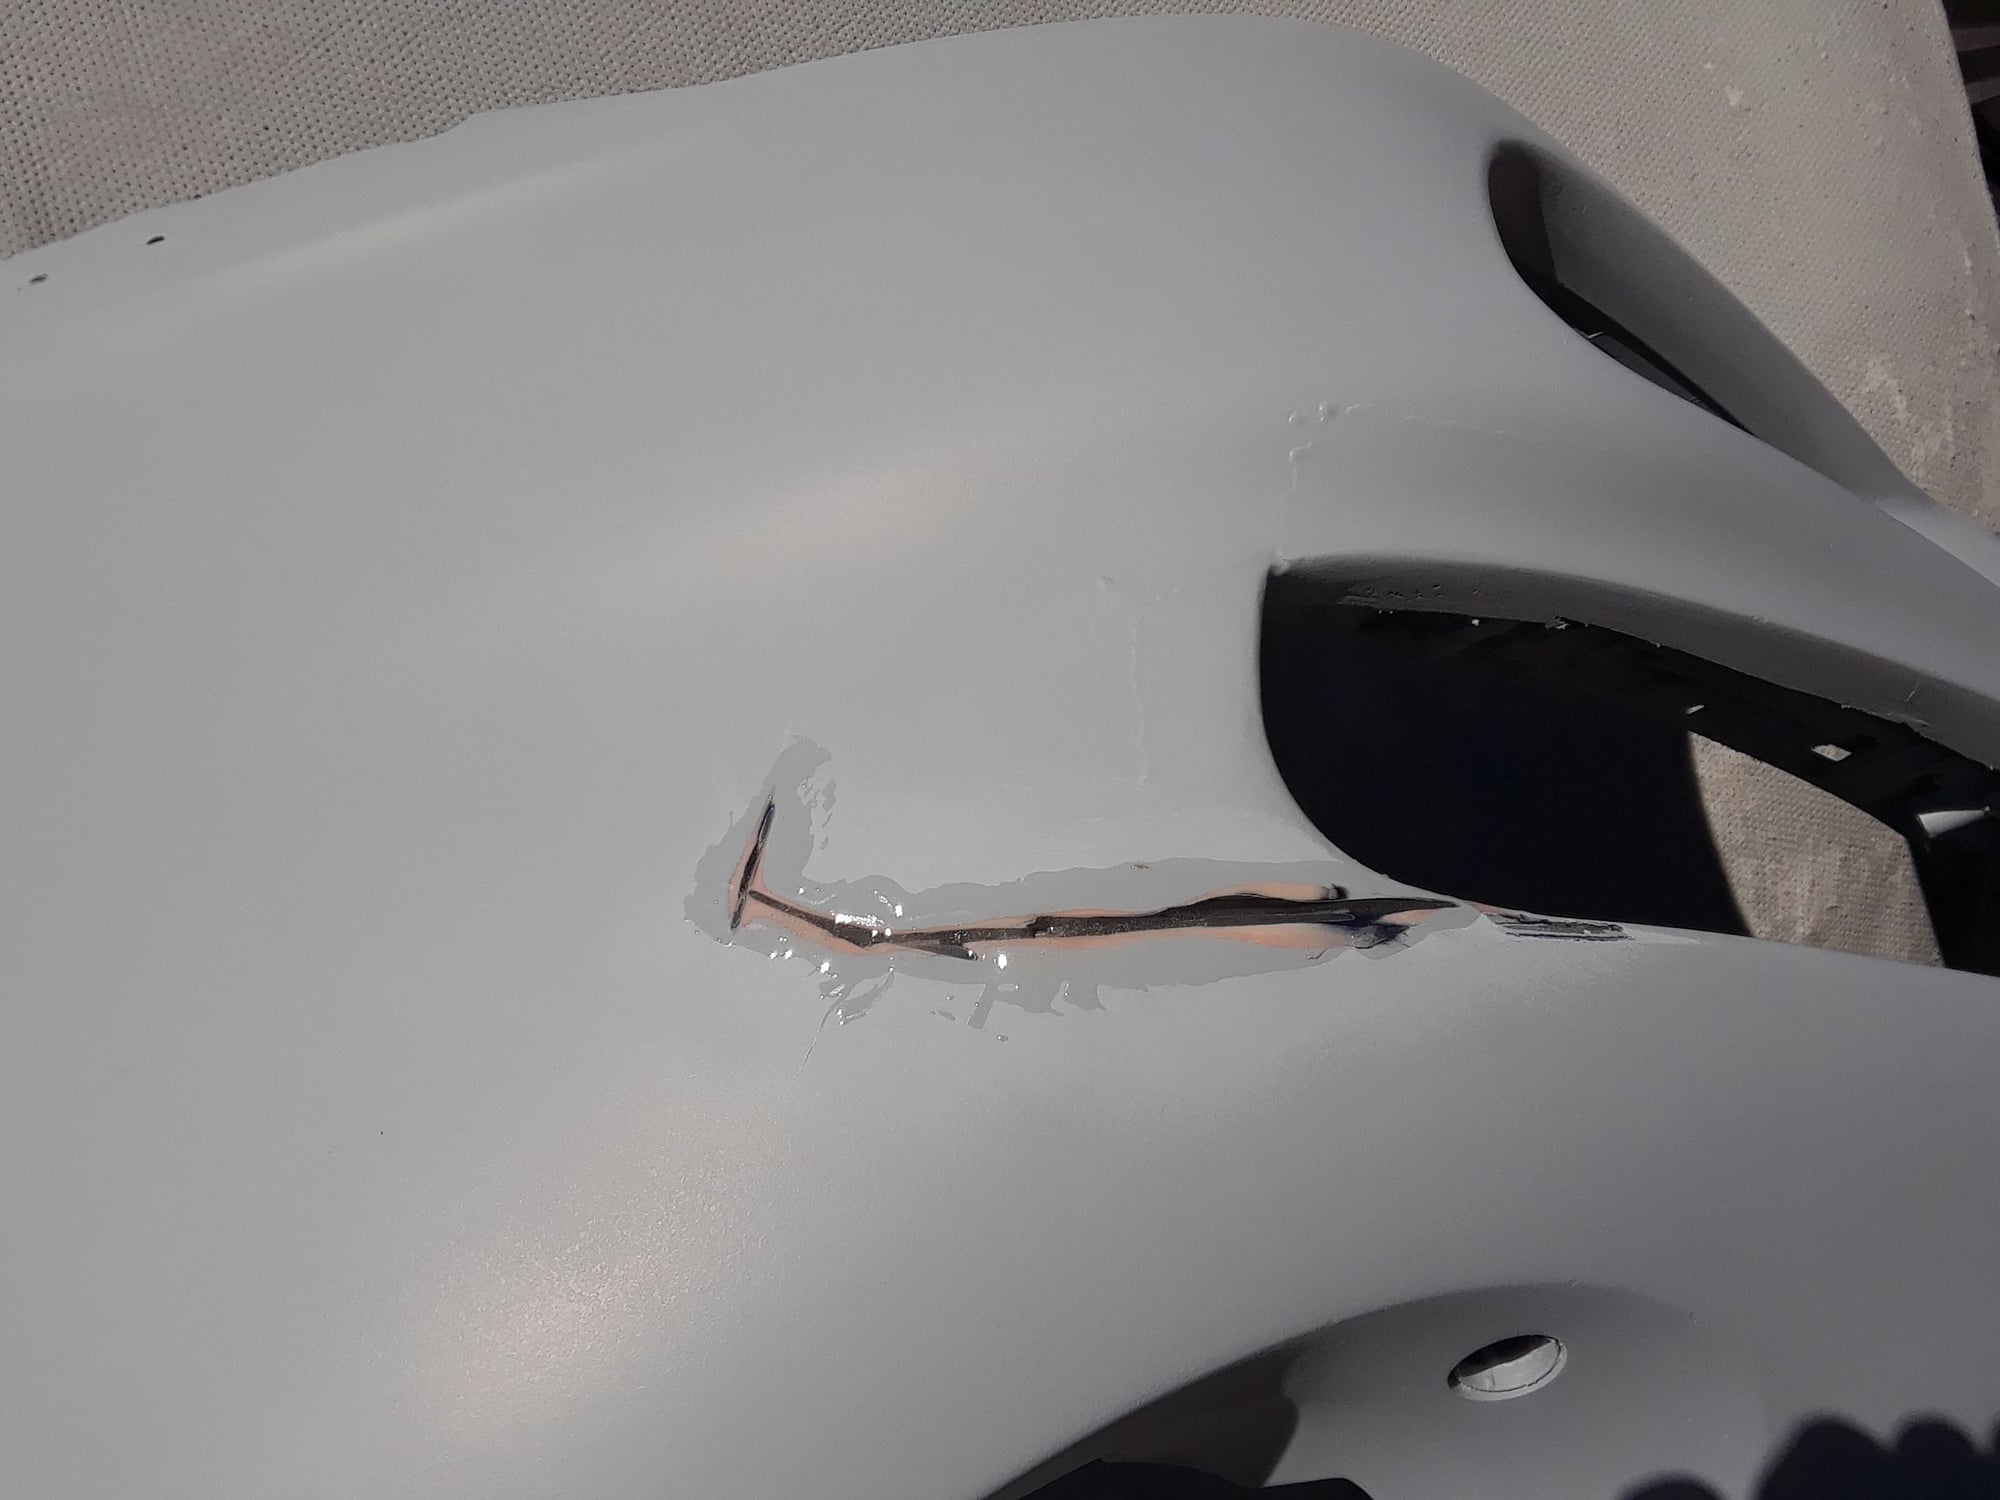
, I ground out the cracks and put in some of our ol' friend, JB Weld (the clear stuff). Seems to have worked pretty good. Here's so me before and after...
The sport Chrono timer is pretty much useless. While it's out, look at replacing it with something else, like a multi-function oled gauge from PLX devices. Should fit perfectly, and you can do the wiring while it's all apart.
That's not quite true. Being a PDK tranny car, the Sport Chrono option will allow you to exploit more that the car can offer.
Note to self: Order a new windshield if I blow my airbag!
Primer and color are on. I'm a little out of order but I'm happy the color is finally on the car. I'm really happy with the way the front bumper turned out. It still needs some color sanding and polishing but it's a good start. I did have an issue with the bumper, since it flexes so much, I put all the fiberglass on the back side and a little on the front along with the body filler. When it flexed during sanding, I got some hairline cracks in the front side. Since I don't really know what I'm doing
I had to add a small piece due to a small gap between the bumper and splitter. Again, JB weld to get it in place then glassed over then filler.
Gap filled in but needs a little massaging.
the flex crack
Ready for color.
, I ground out the cracks and put in some of our ol' friend, JB Weld (the clear stuff). Seems to have worked pretty good. Here's so me before and after...
JB Weld comes in CLEAR now?? Where do I find that stuff??
The clear JB Weld was gotten at my local Walmart. They had two different kinds and called Plasticweld. One says for body panels which is the first one I got but I just picked up this one that has a little higher psi strength. I really like it to hold pieces in place before fiber-glassing. Since it sets quick.
There's so much about the car I'm not familiar with such as the chrono package. I will have to research this when it's on the road. Along with "sport" and "sport +", "launch control, etc...
I did take the hood over to a friends were we welded up the aluminum hood pin holes. Aluminum welding wire and 75% argon and it pretty much worked. Slap on some filler Color but not cleared yet.

 03-07-2019, 02:16 PM