When you click on links to various merchants on this site and make a purchase, this can result in this site earning a commission. Affiliate programs and affiliations include, but are not limited to, the eBay Partner Network.
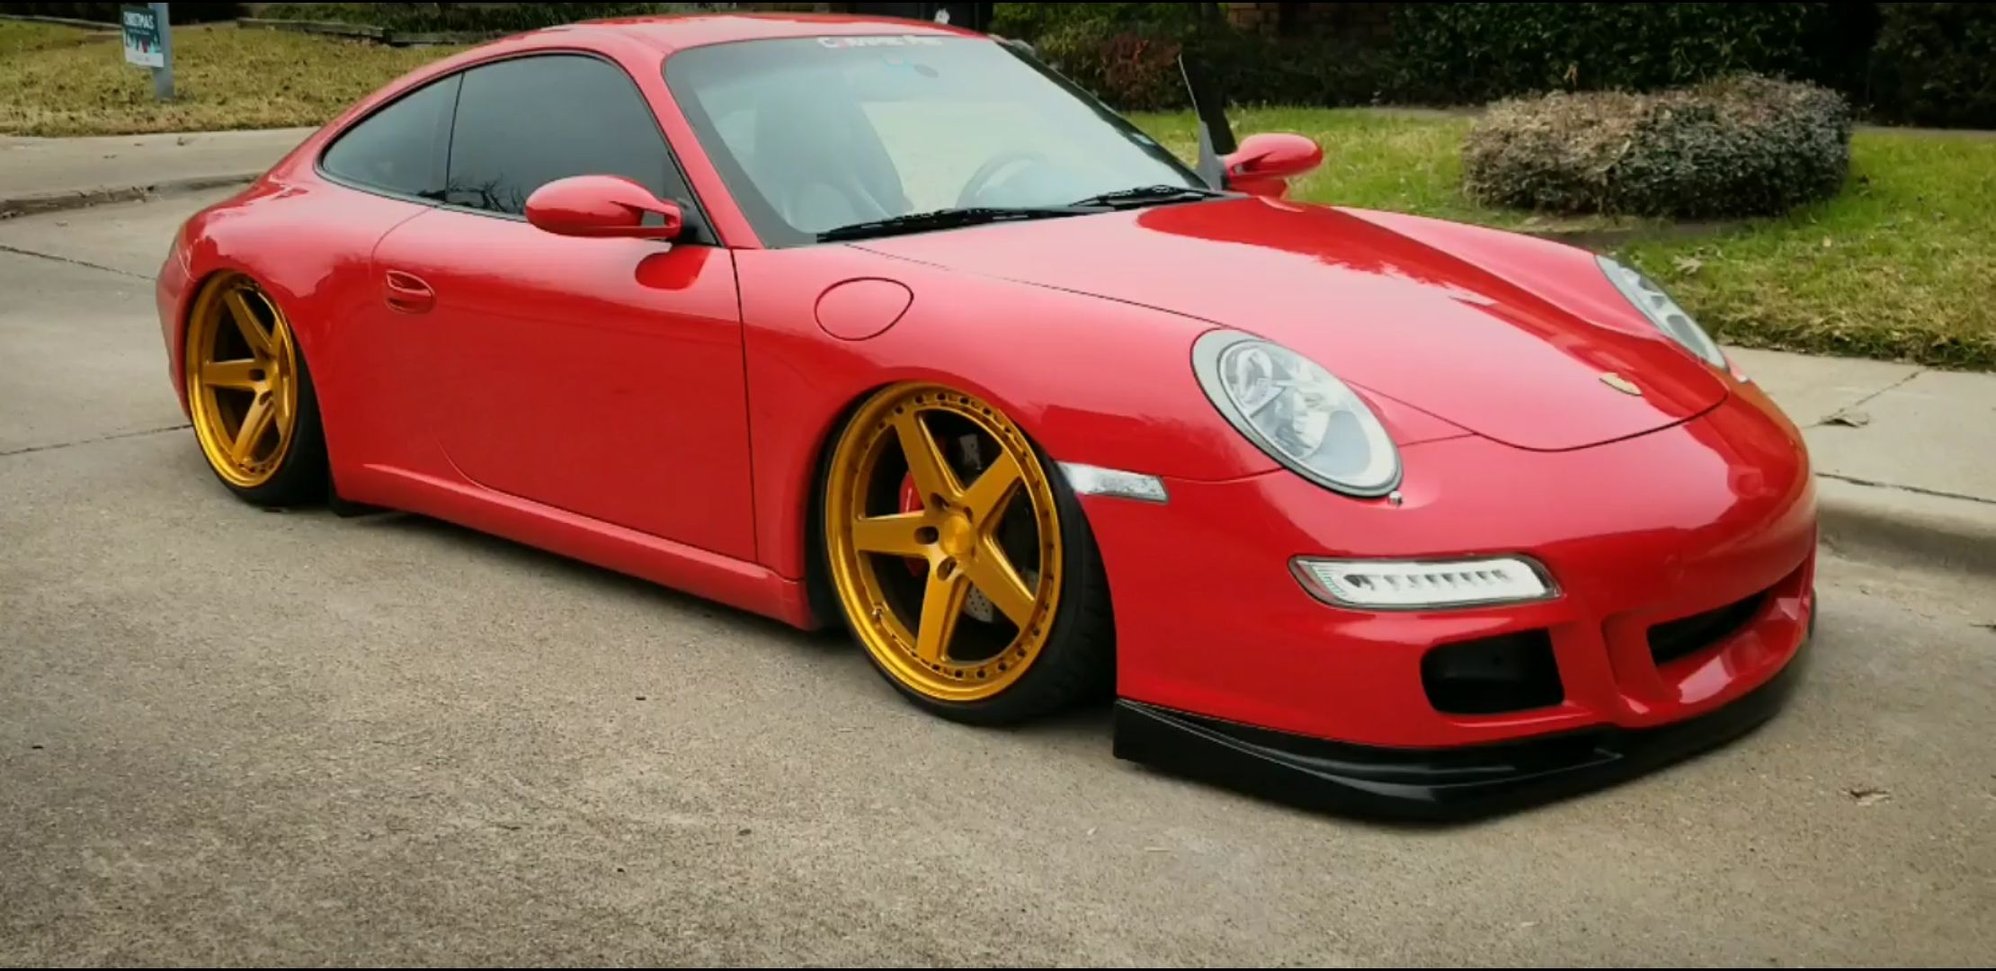
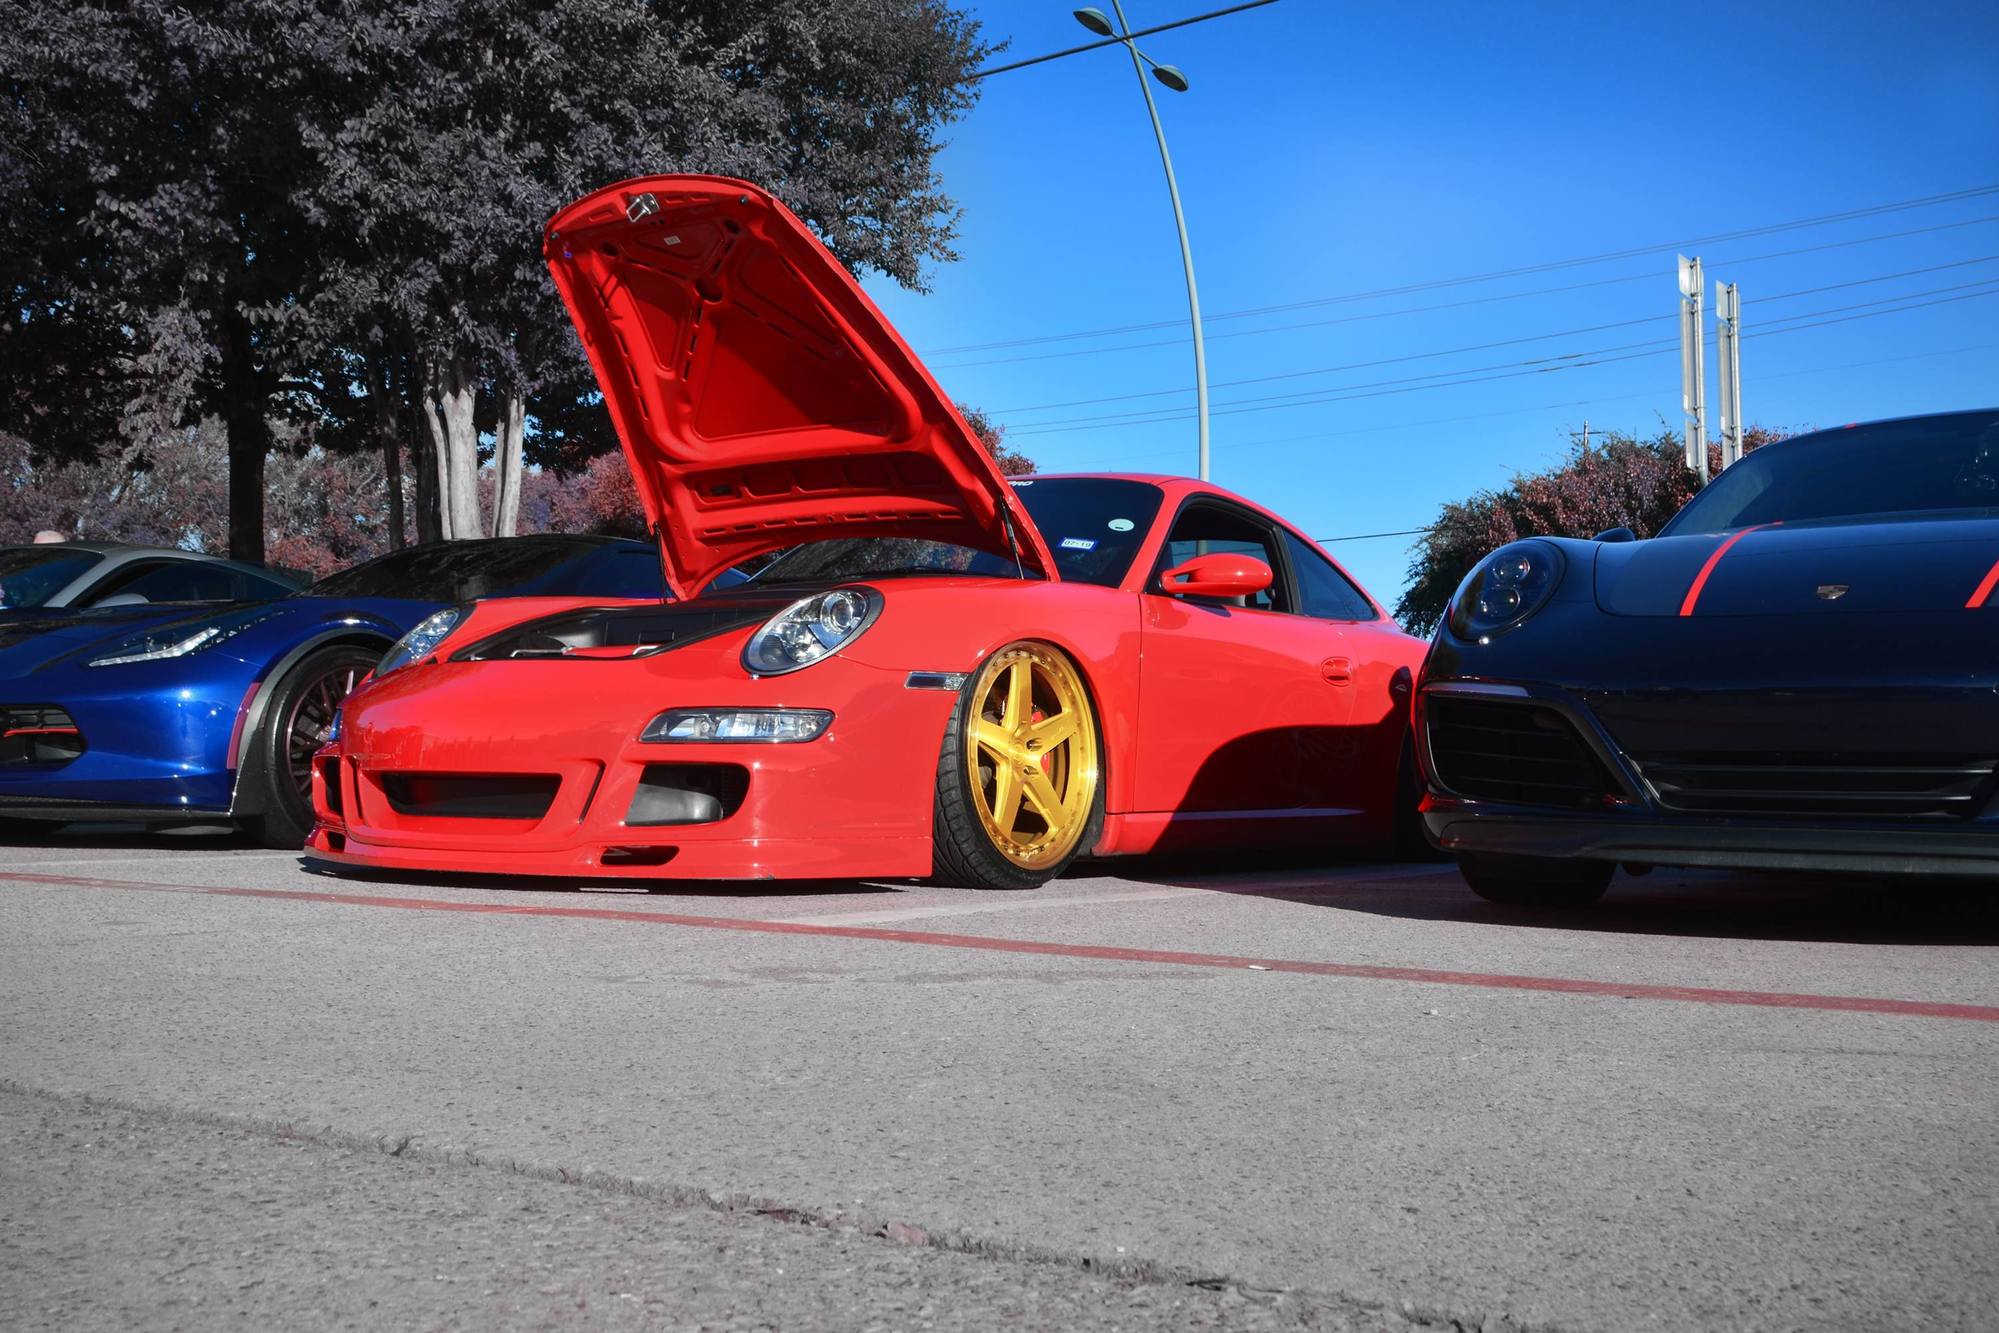
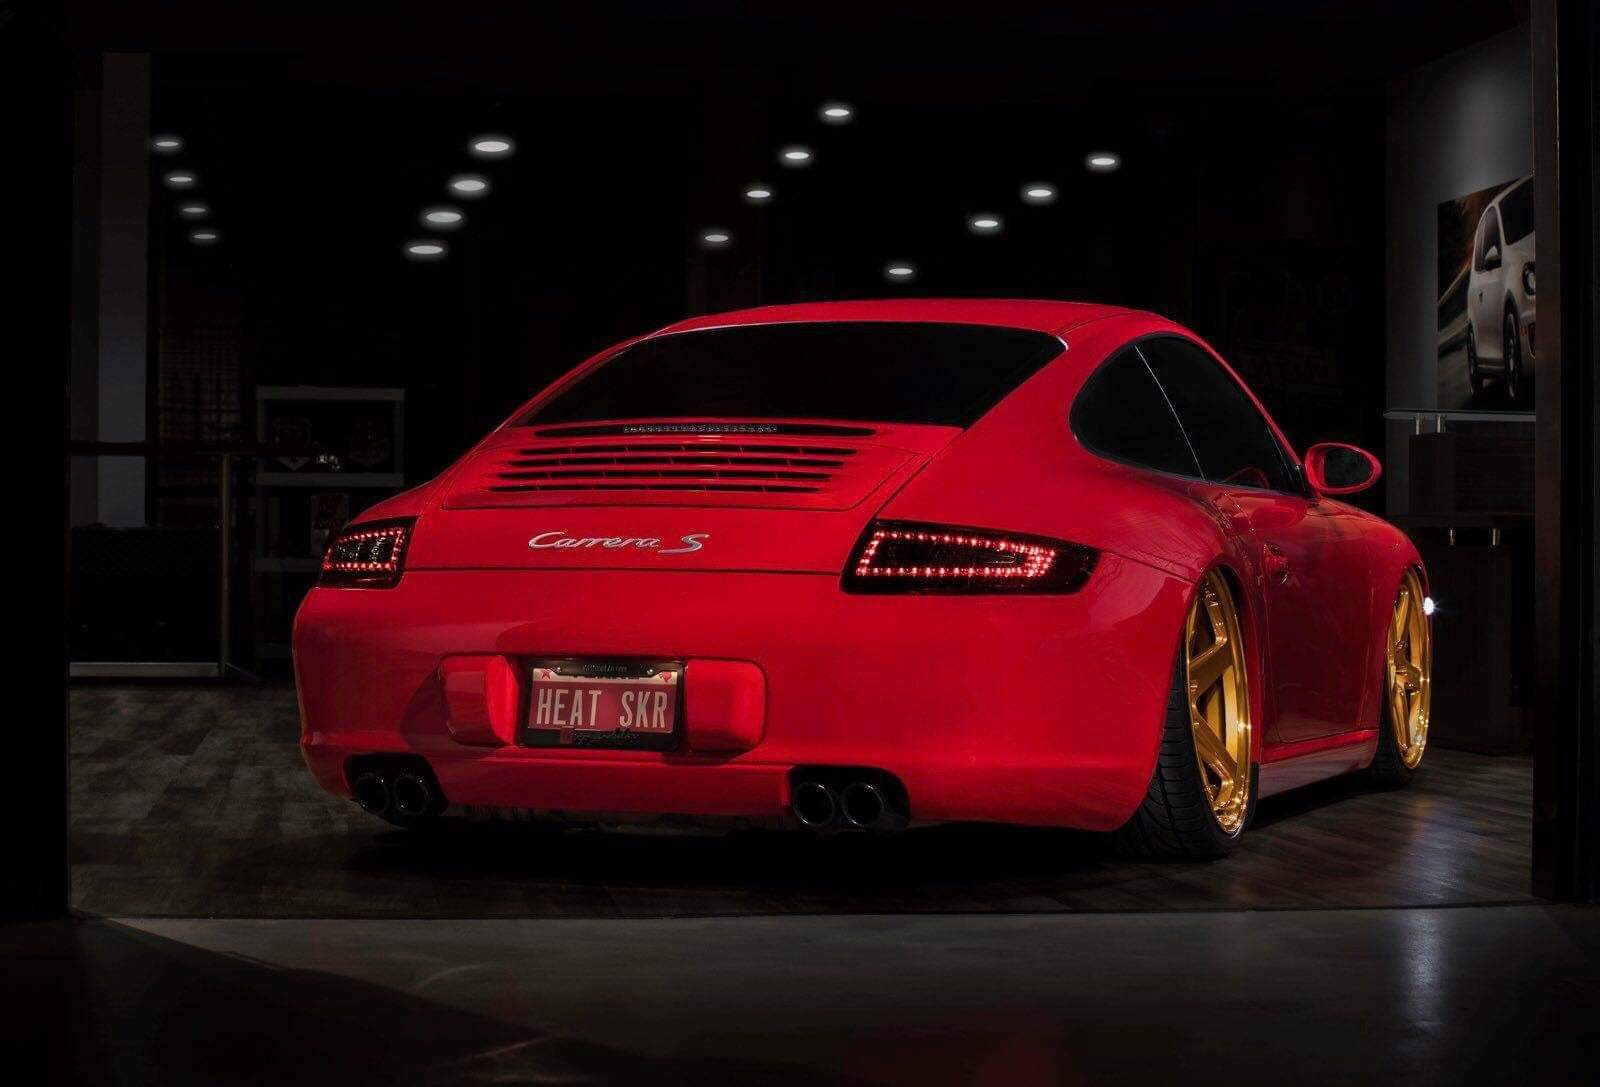
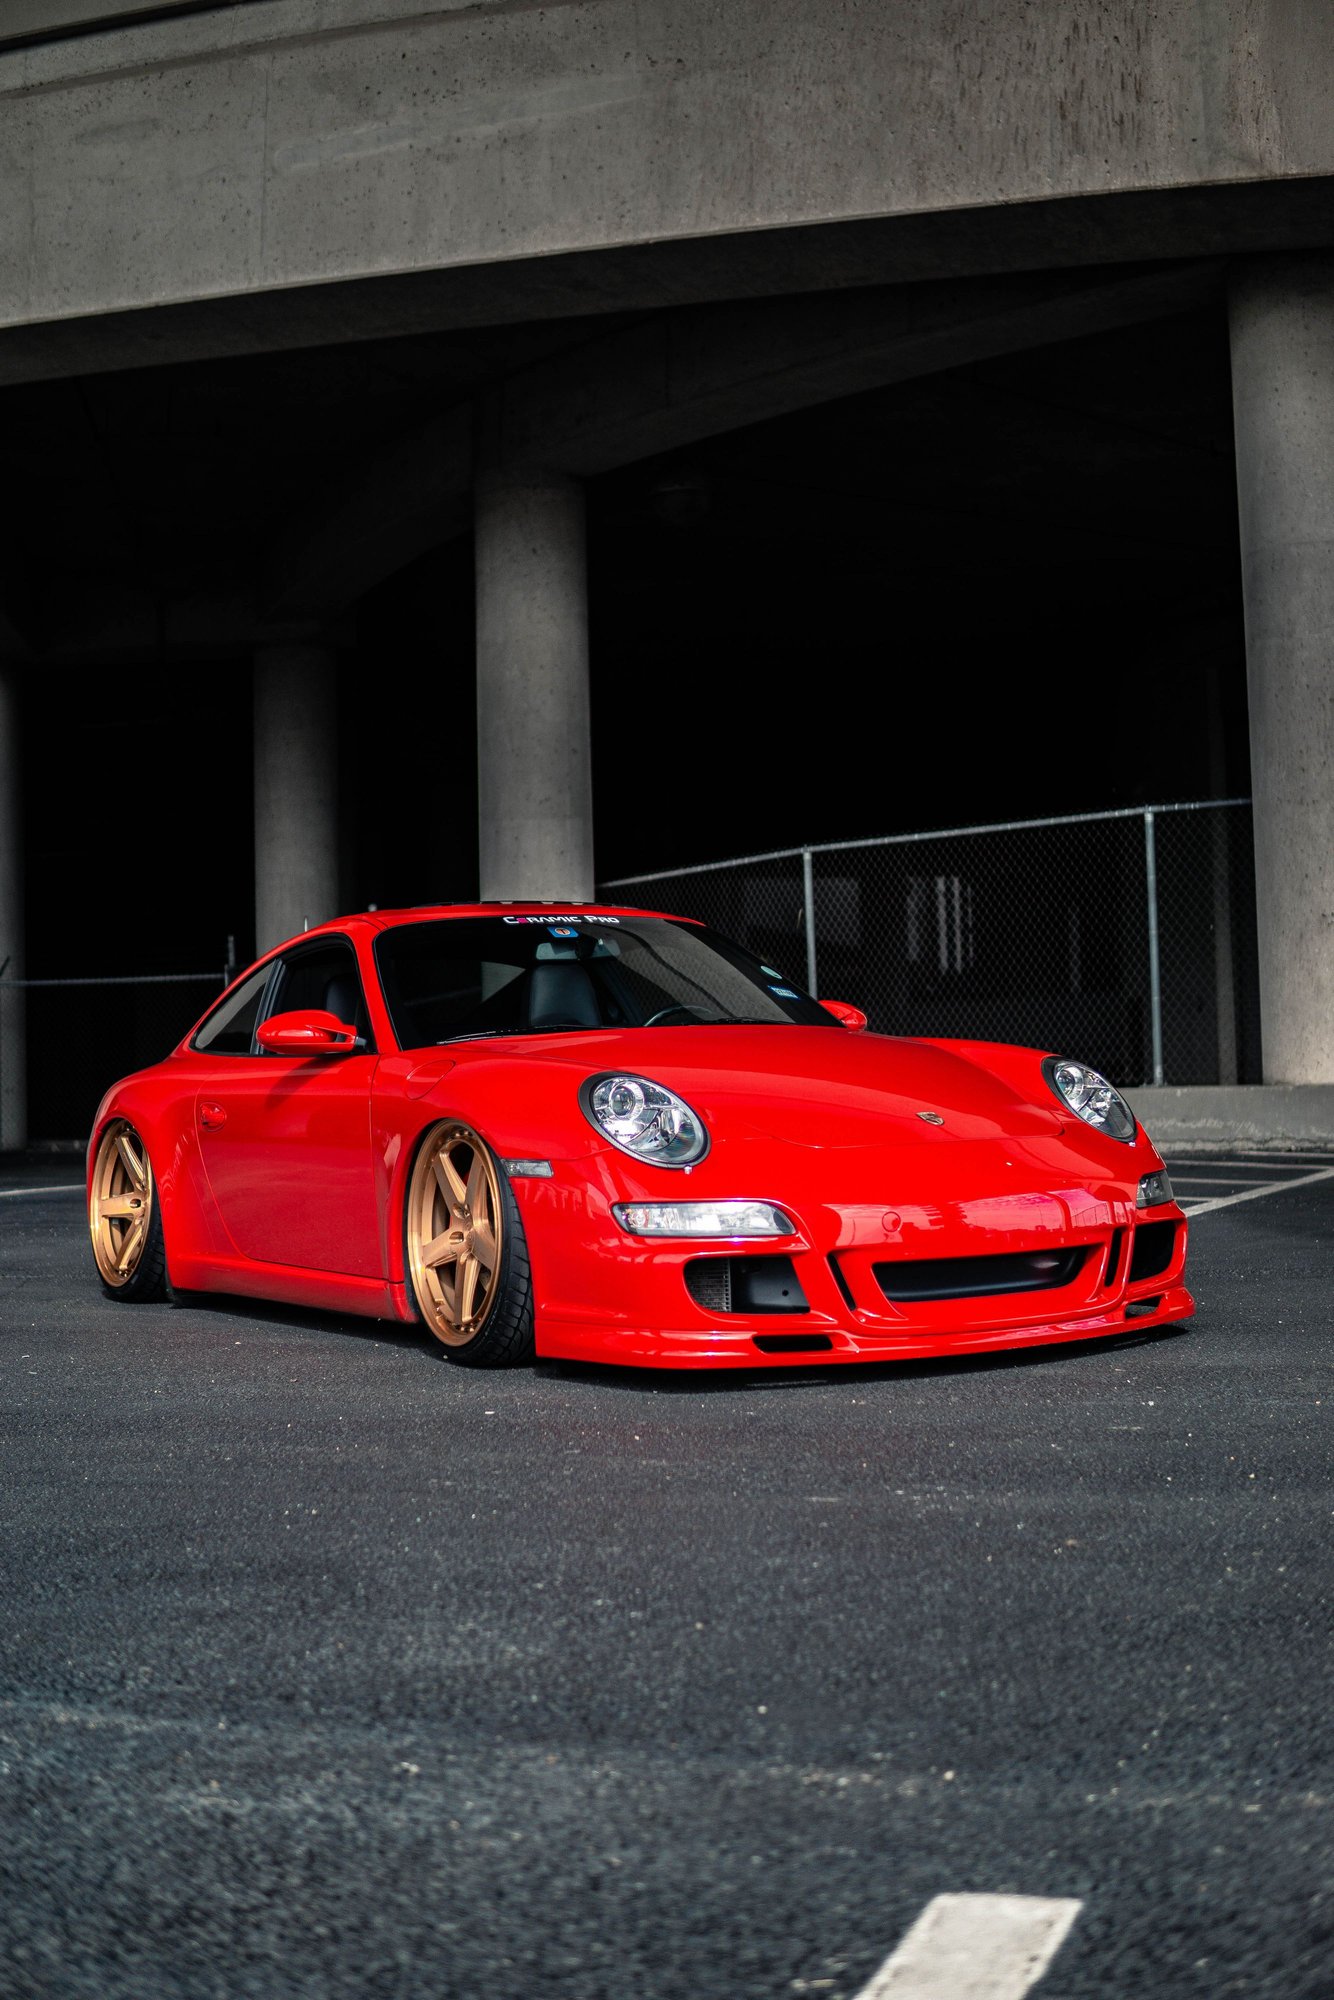
Finally had the tires mounted, wheels installed, and suspension dialed in just right. With an aggressive fitment and going so low we had to make sure address a few concerns:
1. Set 'aired out' to the height that I am shooting for, i.e low enough. With this, we needed to ensure aired out tucks the wheels perfectly and does not ruin fenders.
2. Ensure 'aired up' goes high enough to be able and avoid scraping and destroying my front lip/bumper. My goal was to get it to air as high as OEM or slightly higher since aero bumper is so aggressive and I was scraping even at stock height.
3. Once the suspension is set for the two above, the third part is to make sure the ride height is at a reasonable/recommended PSI. Typically this ranges between 60psi-80psi. Going outside of this range for normal driving can put strain on the bags as well as ride like complete crap.
I feel that we completely achieved this! At the highest, it looks maybe 1/4 inch higher than OEM and at lowest looks killer (in my opinion, of course). Wheels are extremely aggressive but as it goes down, I naturally get a few degrees of negative camber and they tuck with zero issues.
Pics below. Enjoy.
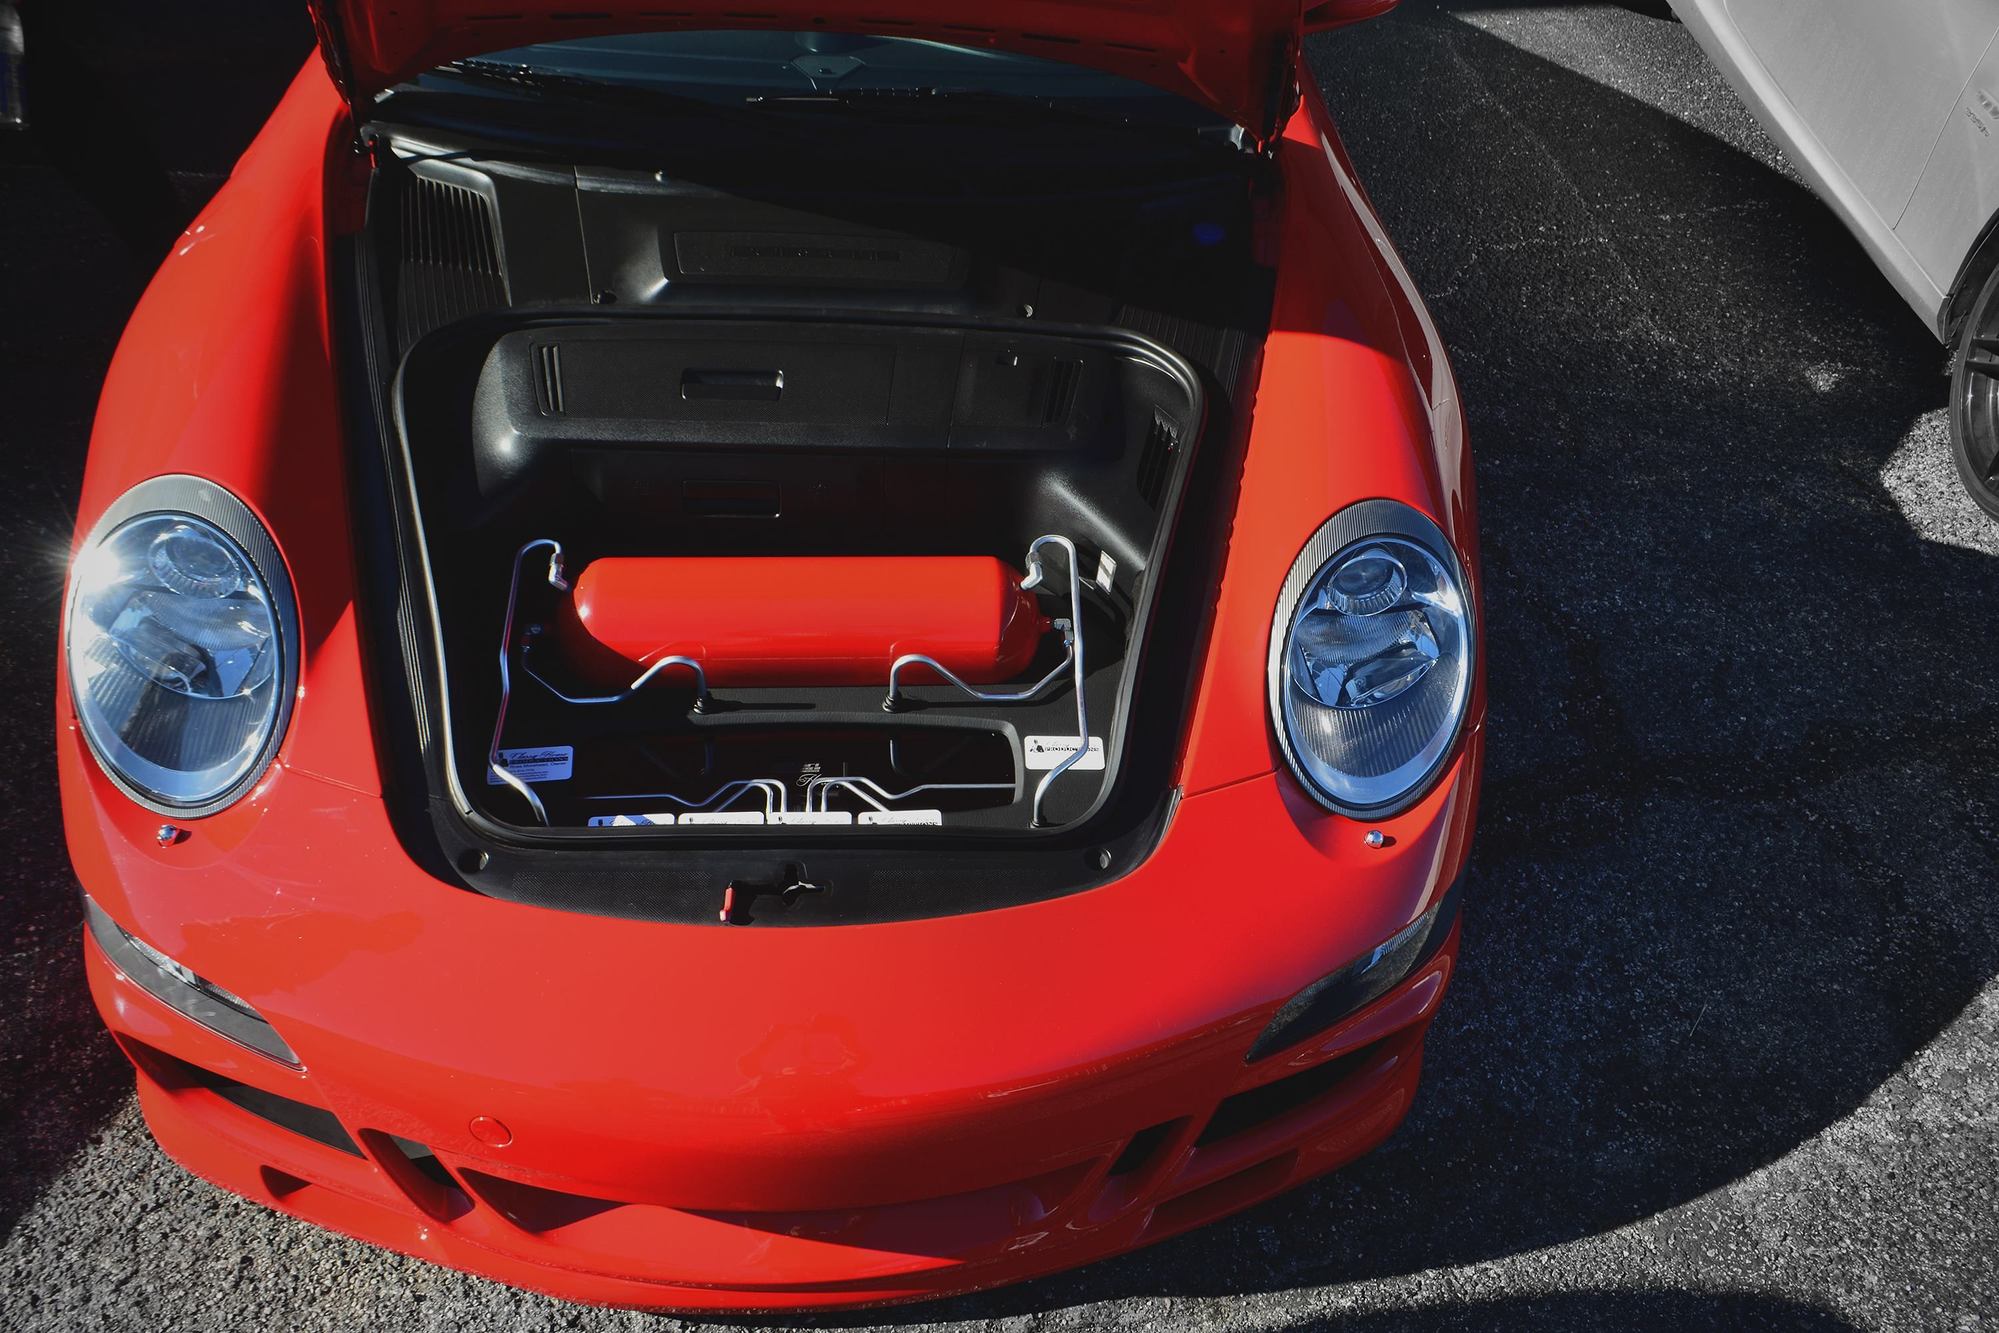
Now the fun part begins for my favorite installer, Classy House Productions, the FRUNK!!! It is a mystery for me what he plans to do but what I do know is that it will involve color matching the tank(s) to guards red and color matching the hardlines to the Dubai Gold. Check him out on instagram. He does custom setups by mail so no excuse for your trunk to be so basic
Hey, take some measurements on that rotor in your prior post as it looks to have a substantial wear lip and might be time to do some brake work while you have the wheels on and off.
Hey, take some measurements on that rotor in your prior post as it looks to have a substantial wear lip and might be time to do some brake work while you have the wheels on and off.
Thanks for the tip, I will be sure to take a look at this.
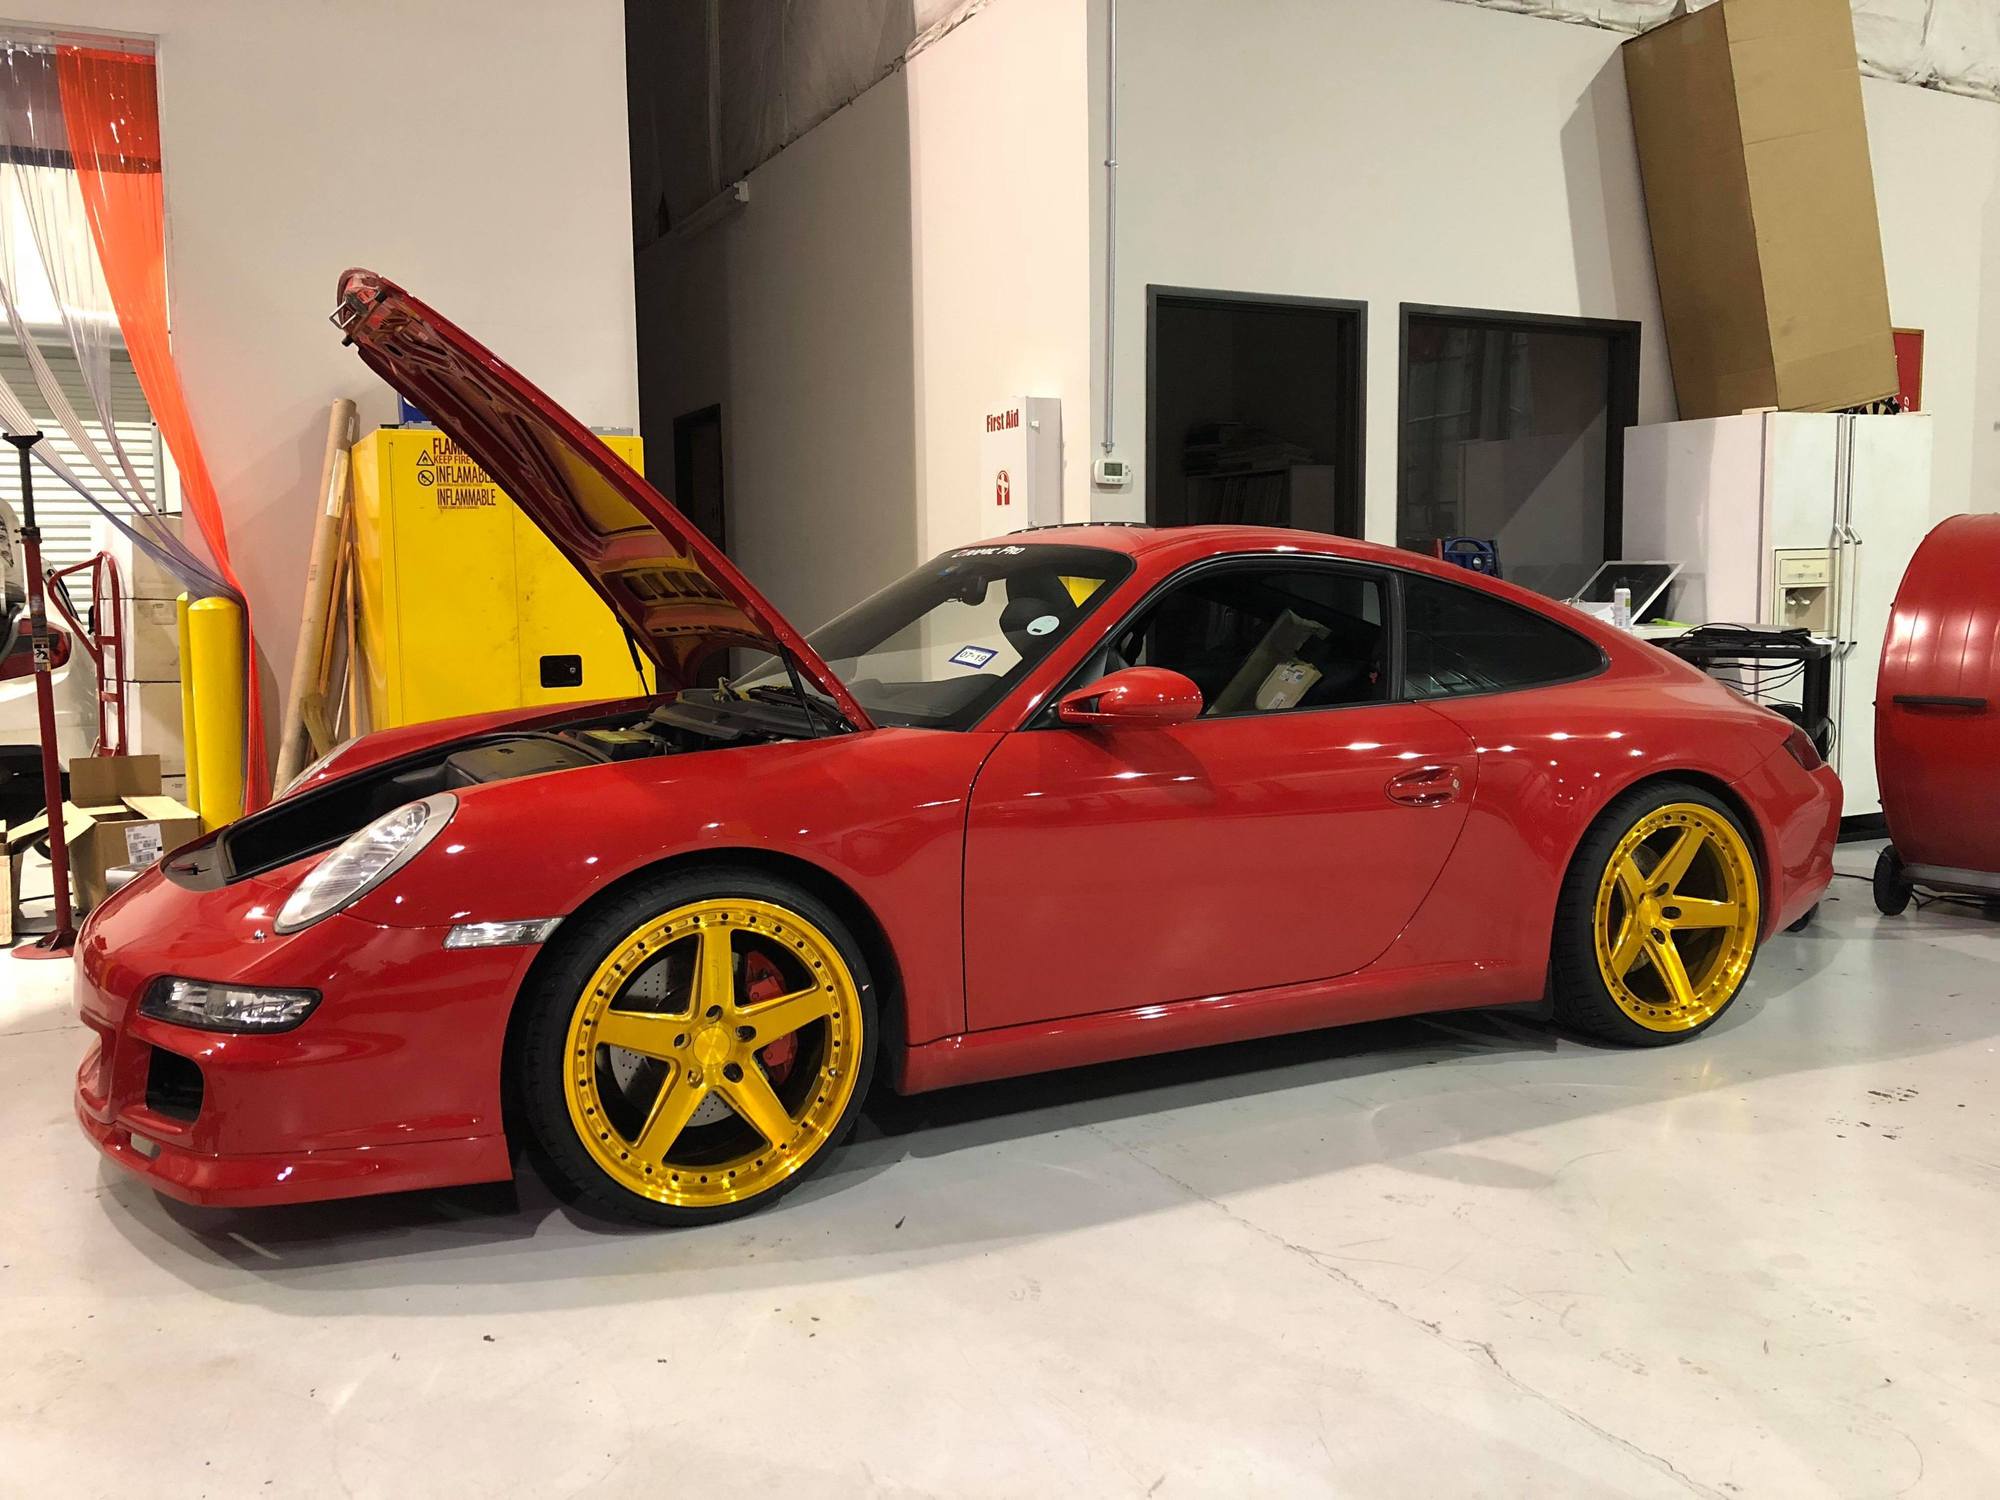
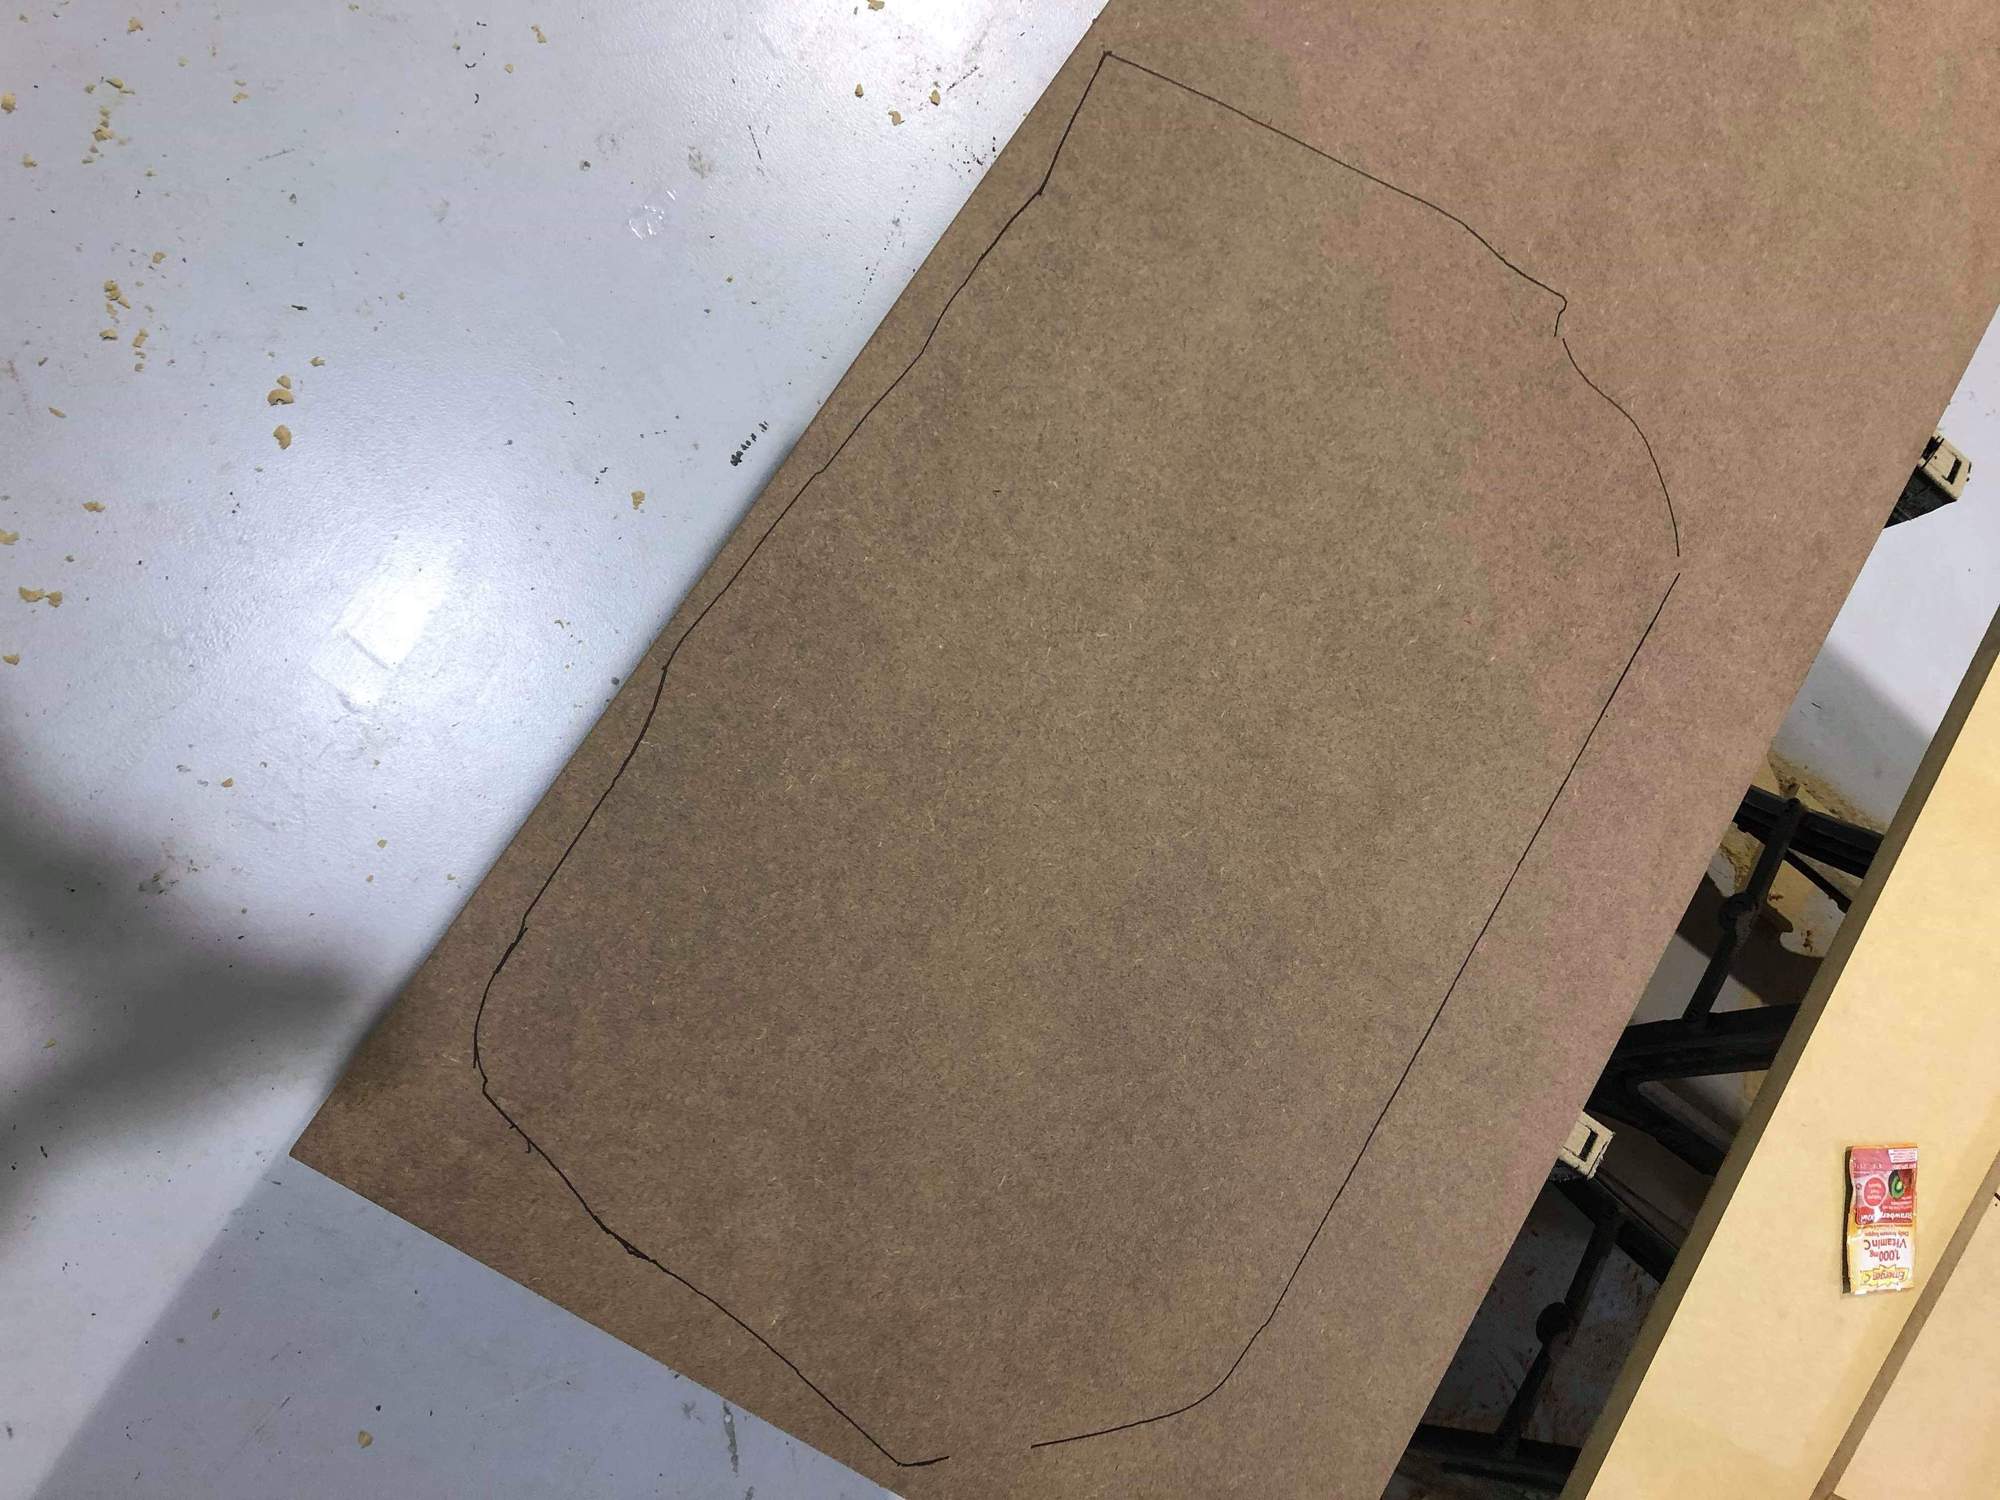
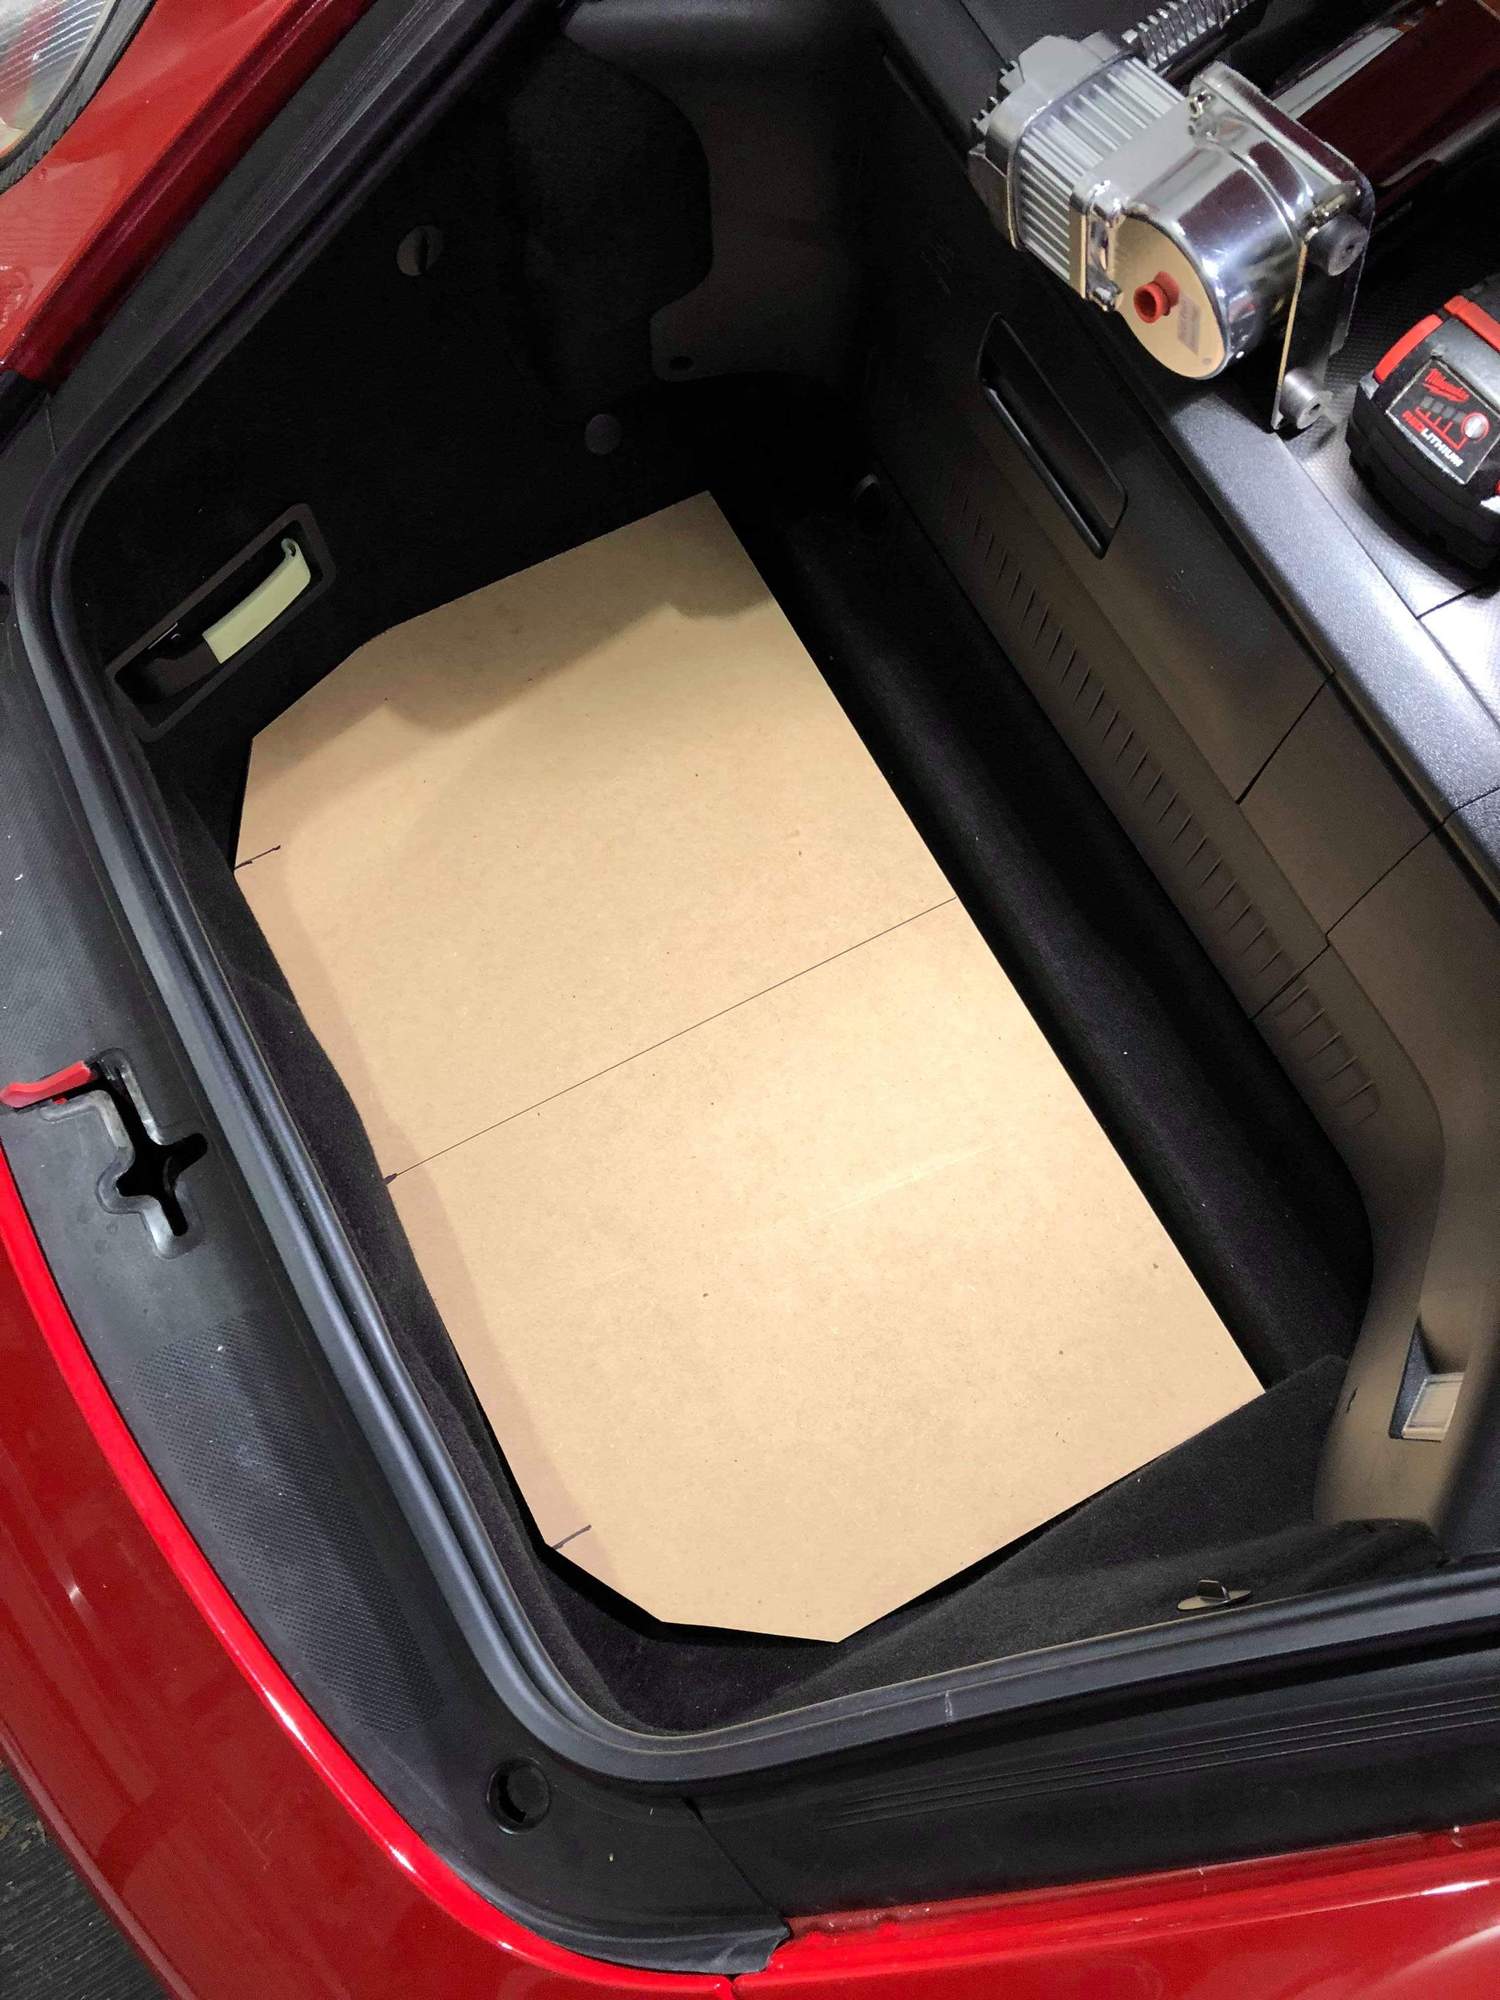
Finally got the car back Saturday morning after a long ~2 months in the shop. The wait was well worth it! The install went smoothly and the frunk design came out better than i could have ever imagined and I am very happy I did not try and give guidance on the design, left it 100% up to the shop. Here are some photos I took this past weekend. I have 3 separate photo sessions with pro photographers booked between this week and next week. They will trickle onto my instagram slowly but want the rennlist group to get them first. Also, once I collect more progress photos, I will post pics so you can all see what the unfinished product looked like!
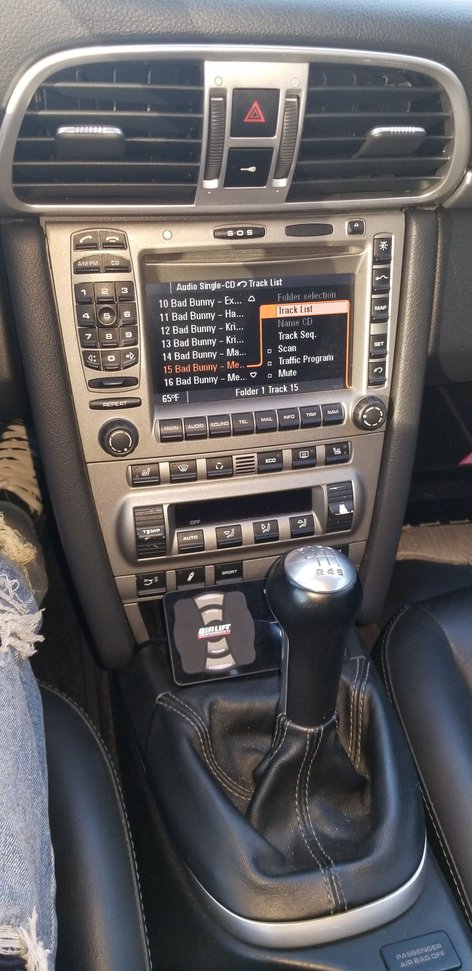
For those interested in how the ride quality is, it feels the exact same as stock, perhaps even slightly stiffer since I ride very low. Think somewhere between PASM & non-pasm. The great thing is if i want to ride smoother i can just air up higher and if i want stiffer i could go even lower. Side Note: I have not coded out PASM so I do get the error. It only shows up on the digital part of the cluster if i leave it alone; If i move away from it, then it causes the exclamation point on the dash. It's an eye sore so I just leave the error on the digital portion. Eventually I will code it out but not a big deal for now.
Paint looks great and the air system contol was done really well too. I personally wouldn't be willing to give up all my frunk storage to an ancillary system like that, but if it's more a show car than a utility one, I guess.
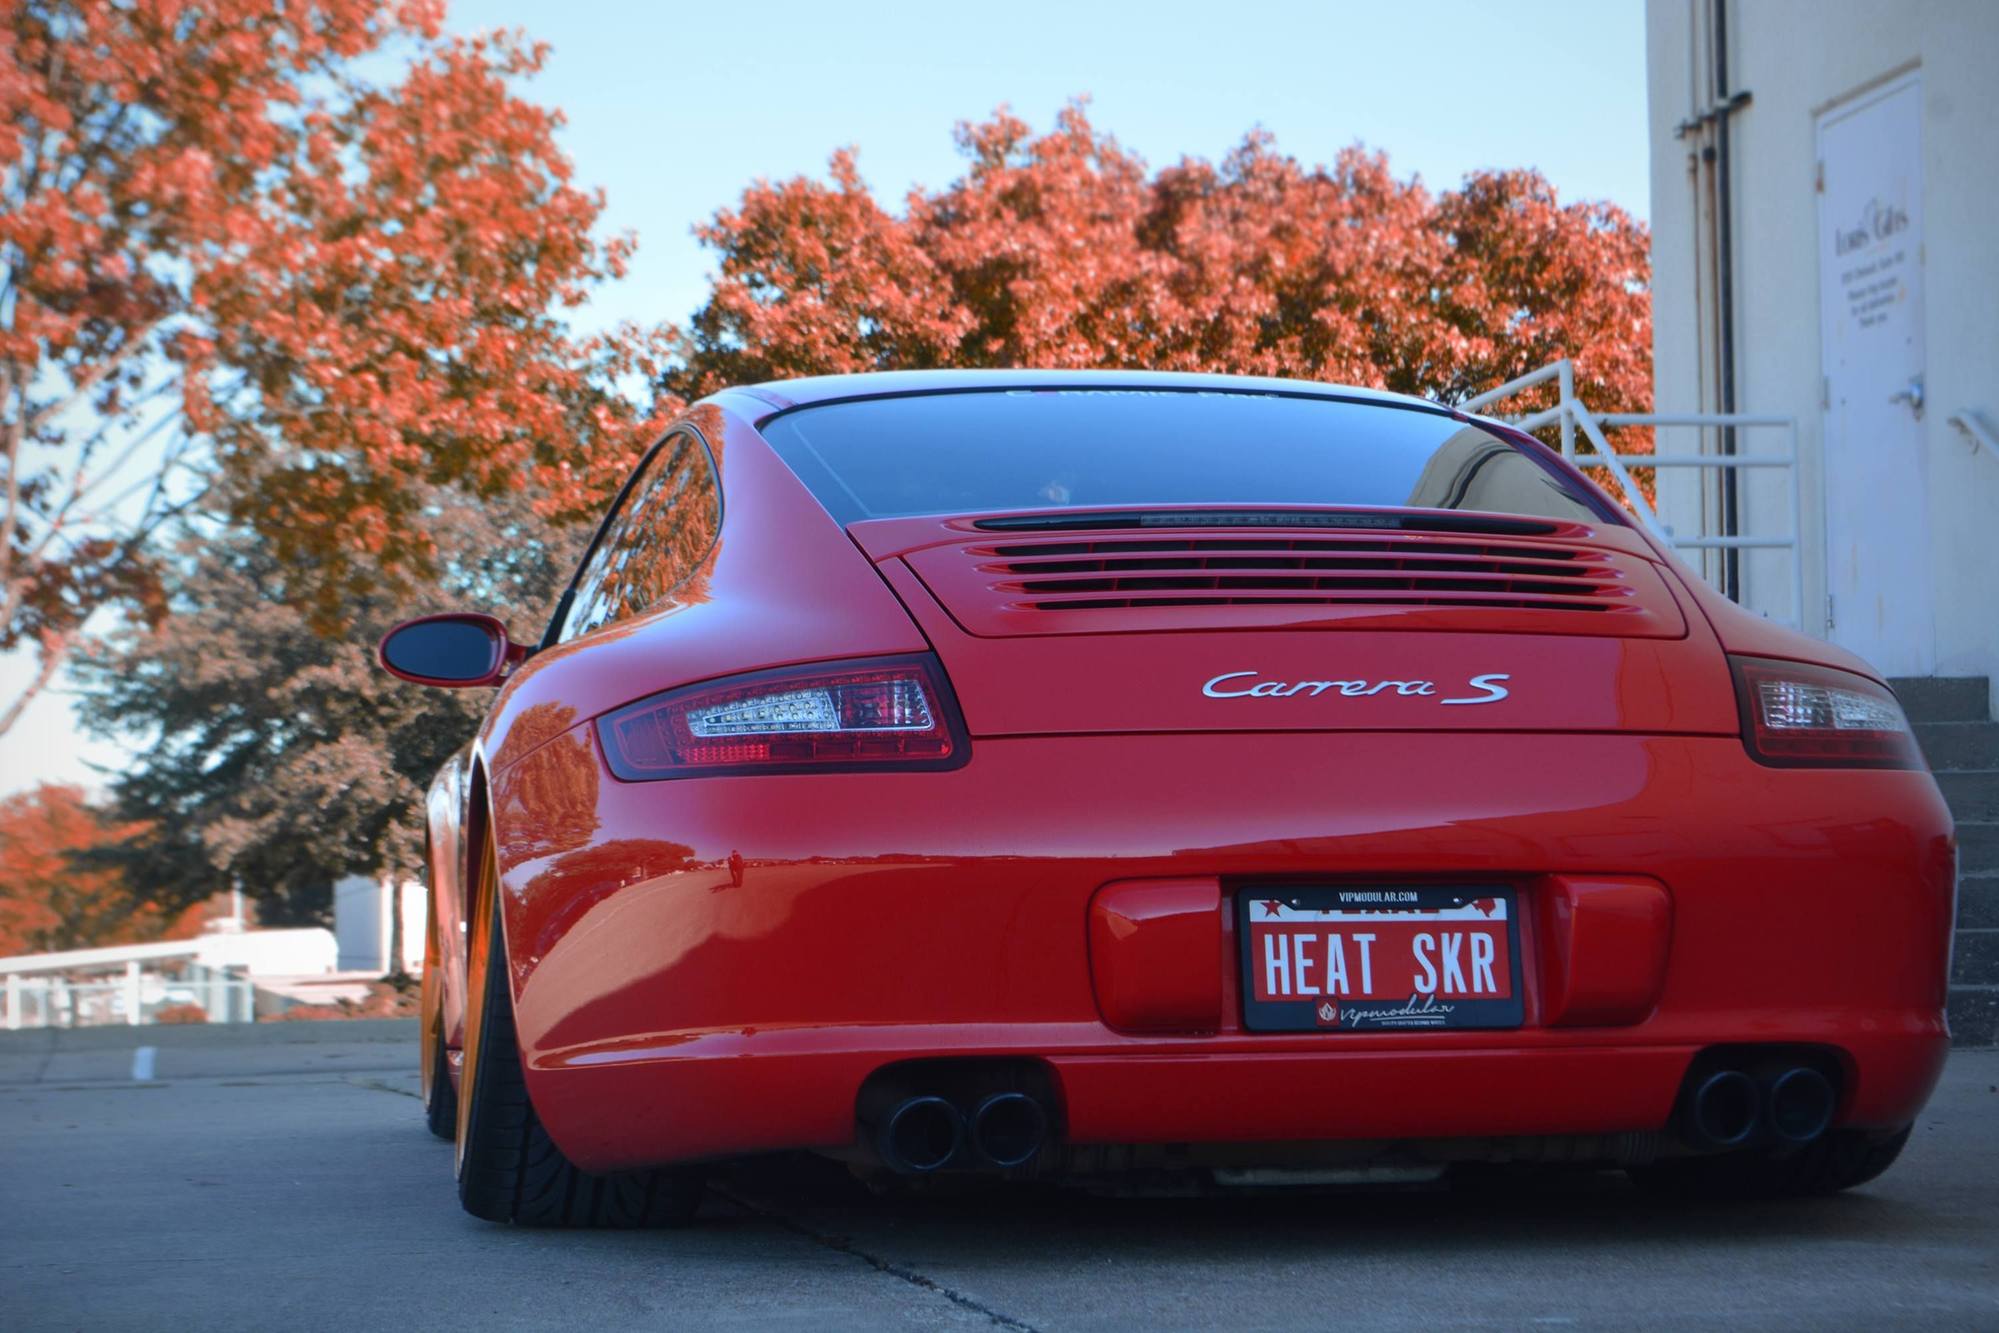
There's something odd with your driver side door alignment though - it's further out at the top than at the bottom. Don't know if it was removed for some paint work at some time, but might need an adjustment.
More to come or with the bumper, wheels, and aero, are you pretty much done?
Paint looks great and the air system contol was done really well too. I personally wouldn't be willing to give up all my frunk storage to an ancillary system like that, but if it's more a show car than a utility one, I guess.
There's something odd with your driver side door alignment though - it's further out at the top than at the bottom. Don't know if it was removed for some paint work at some time, but might need an adjustment.
More to come or with the bumper, wheels, and aero, are you pretty much done?
Show car mostly, will take to 1/2 mile events eventually once i get more power. This is my third vehicle so I was willing to give up the trunk space. Considering a roof rack as an option but hard to justify spending $1k+ on it when i will rarely use it. Not sure I am seeing the issue with the door, perhaps just some angles in the photos. I will take a better look now that you pointed it out once I get home this evening.
Not done with the build, this is really phase 1. Phase 2 is likely sport seats (recaro, sparco, braum, or other), harnesses, and roll cage. Phase 3 is a VF engineering supercharger but with a custom dyno tune from a local performance shop. The base tune they provide is great but only 6psi so extremely conservative. I am shooting for ~500whp on this car. I am open to exploring my options but as of now i know a few people with VF supercharger kits (R8, 911, and Huracan) and they daily their exotics, 20k+ miles with literally zero issues. They push them pretty hard too at 1/2 mile events and spirited drives.
Sounds great !
My RUF supercharged 997 is a blast - need to put it on a dyno but with the intake and exhaust mods, probably around 485 HP so I know what you're talking about.
In both the shots the door looks flush at the bottom, but out a bit at the top with a slightly larger gap. Could be the angle as both are taken from a similar perspective.
1. Progress photos
2. Professional shots
3. Finally installed the front lights to the 991 LED DRL kit. The brand is Revo motor works and they can be sourced via ebay for $350. 5 minute install literally.
Last edited by HeatSeeker; 12-05-2018 at 09:05 PM.
Gobsmacked! Looks look like a SEMA car. Kudos Heatseeker.
Thanks . Really hoping to make it to SEMA next year or year after. Still a ton left to do and definitely feel like the car is getting towards SEMA quality (although i am biased lol).I just need to find a sponsor that wants/needs my car there.
My Audi B8 build (pictured above) is also a really nice build, much more done than the 911 as it sits today and could have gone to SEMA, i know several people with Audi's that made it and have much less done (I have competed against them at big shows and won) but they have a large social media presence so get sponsors and that's where I lose out.
Love the car, was trying to make it out to Cars and Cannolli to see it in person, but couldn't get a baby sitter for the kiddo. Hope to see it soon, love the build.
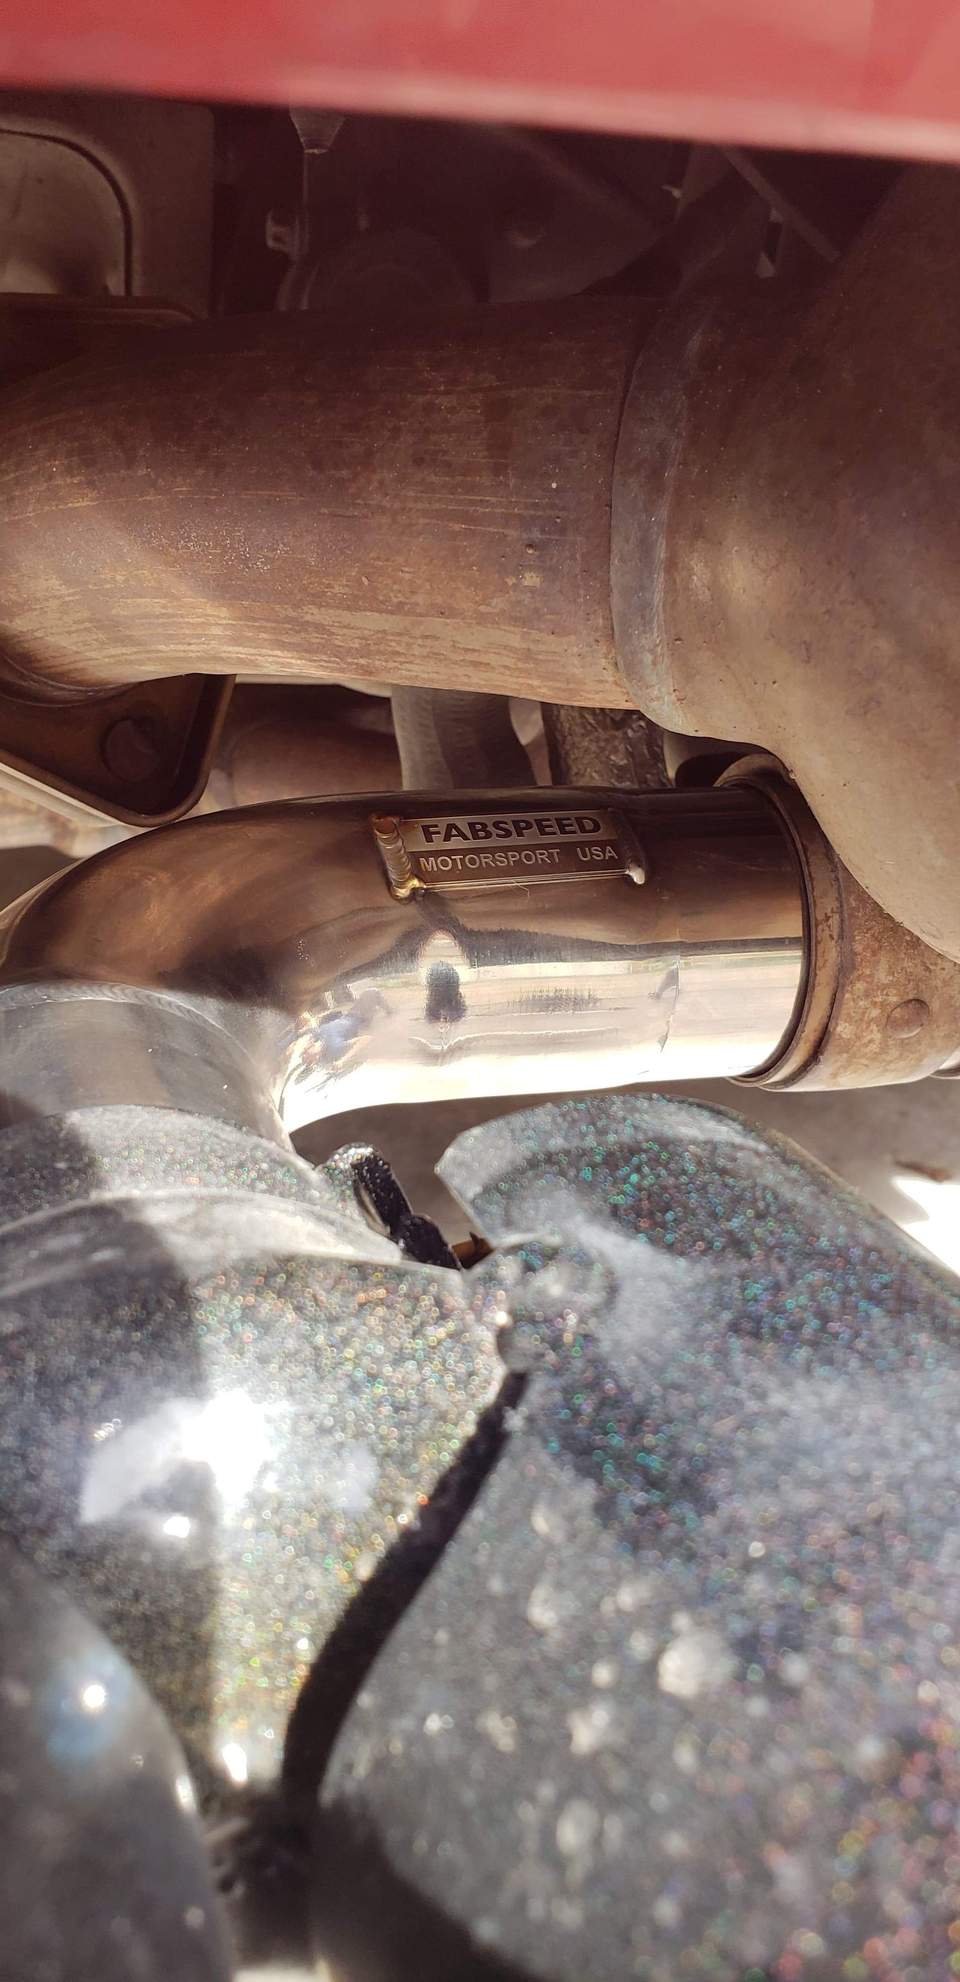
I installed the fabspeed motorsports muffler bypass earlier today as well as a black GT3 cup style front lip. The lip is from eBay and costs $100. I am having some sideskirt extensions fabbed and will post photos/details once installed and good quality/fitment.
So far i really love the bypass, i feel like the exhaust sound finally matches the look the car. The drone is very minor in my opinion and since i typically drive with loud music, i can't even hear it.


 10-26-2018, 12:28 PM


 . Really hoping to make it to SEMA next year or year after. Still a ton left to do and definitely feel like the car is getting towards SEMA quality (although i am biased lol).I just need to find a sponsor that wants/needs my car there.