Notices
997 Forum 2005-2012
Sponsored by:
Sponsored by:

The DIY Guide to Replacing your 997 Coolant Expansion Tank

Thread Tools
 
Search this Thread
 
Old 12-28-2018, 04:25 PM
  #16  
ALEV8
Three Wheelin'
 
ALEV8's Avatar
 
Join Date: Apr 2007
Posts: 1,506
Received 70 Likes on 48 Posts
Default

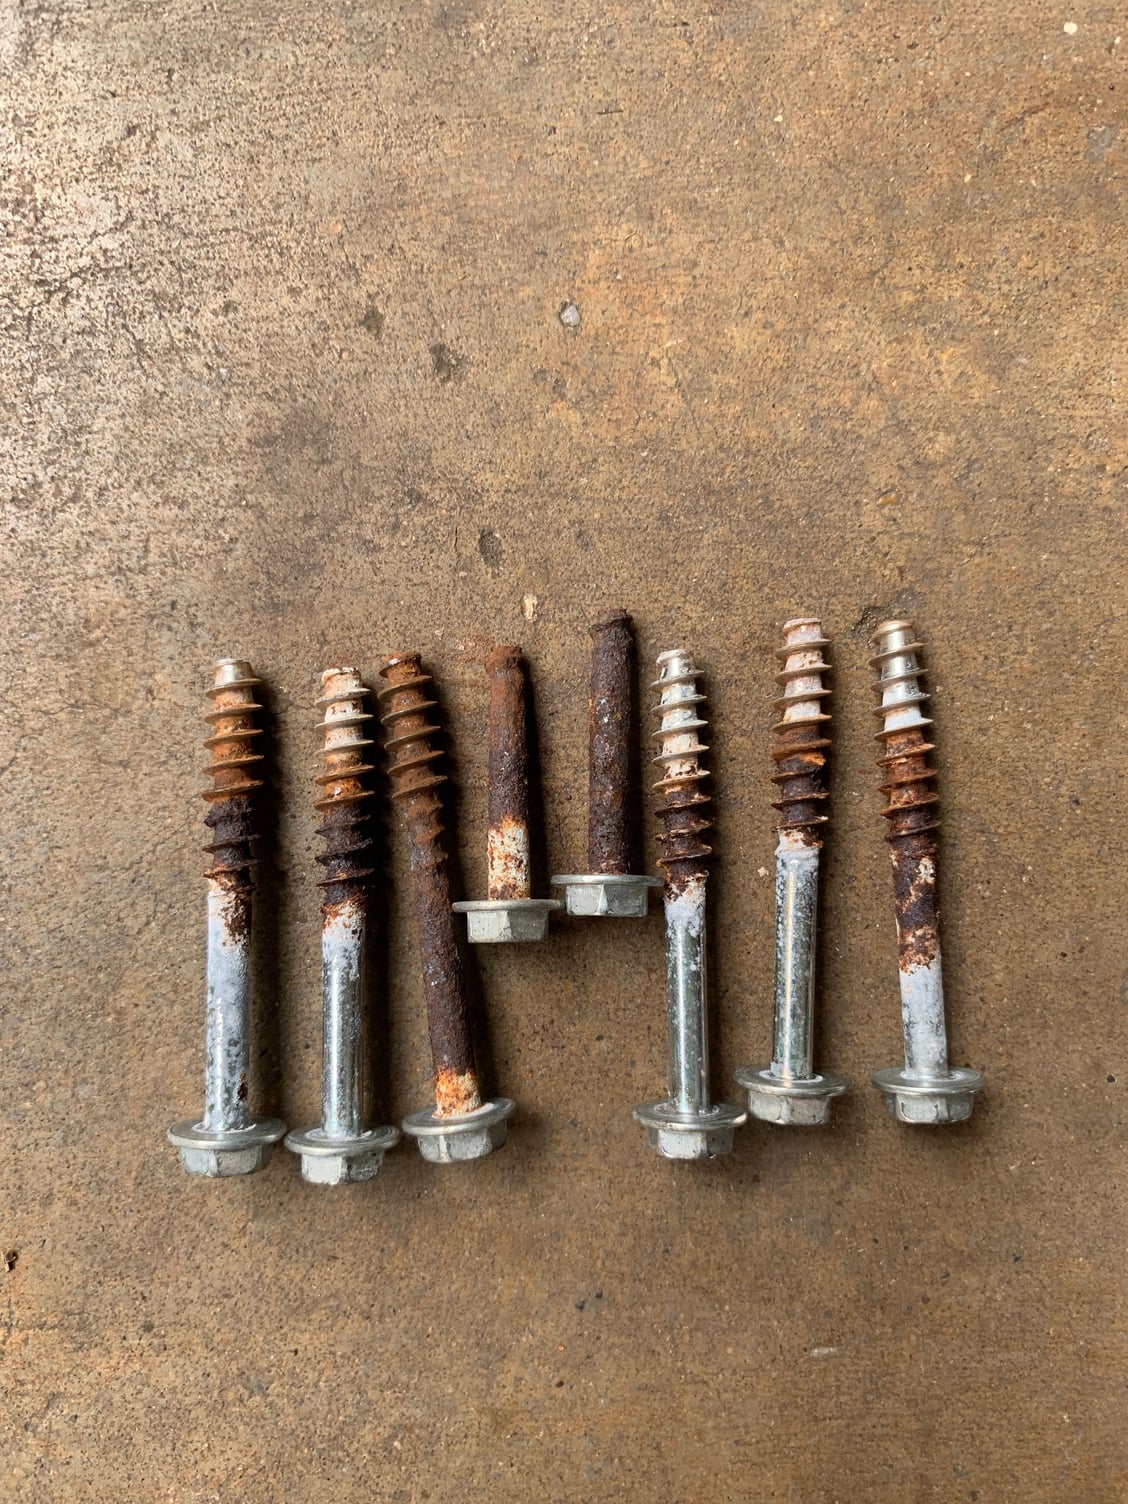
Yessir. Look at the pressure bypass screws just waiting to go at any moment.....rusted clear through. No wonder I smelled coolant but couldn’t see any. The o-rings under that bypass valve were both deformed especially the smaller under the top of the cap. So coolant seeped up and into the screws/holes and sat to cook for years. Tank didn’t discolor but screws didn’t last. My guess is 2010 vintage.


Last edited by ALEV8; 12-28-2018 at 11:09 PM.
Old 12-29-2018, 12:49 AM
  #17  
TheBruce
Three Wheelin'
Thread Starter
 
TheBruce's Avatar
 
Join Date: Feb 2017
Location: San Francisco
Posts: 1,746
Received 444 Likes on 161 Posts
Default

are these in the tank???
Old 12-29-2018, 03:13 PM
  #18  
ALEV8
Three Wheelin'
 
ALEV8's Avatar
 
Join Date: Apr 2007
Posts: 1,506
Received 70 Likes on 48 Posts
Default

Those are the screws that hold down your bypass valve and secure it to the tank!
Old 12-29-2018, 08:21 PM
  #19  
jeebus31
Three Wheelin'
 
jeebus31's Avatar
 
Join Date: Oct 2017
Location: INDY
Posts: 1,318
Received 422 Likes on 233 Posts
Default

Thanks TheBruce for putting this together. My tank has a big ol' crack that I've known about for a few months but I've been putting off this job. It doesn't leak, though. Last night I had a dream that my 997 dumped coolant all over the road and I went nose first into concrete. Woke up and bought the expansion tank. I'll aim to do it the second weekend of Jan.
Old 12-30-2018, 12:34 AM
  #20  
EMC2
Burning Brakes
 
EMC2's Avatar
 
Join Date: Sep 2013
Location: Georgia
Posts: 1,245
Received 429 Likes on 173 Posts
Default

It's clear that a lot of effort went into this.
Really excellent DIY Bruce.
Old 12-30-2018, 01:46 AM
  #21  
TheBruce
Three Wheelin'
Thread Starter
 
TheBruce's Avatar
 
Join Date: Feb 2017
Location: San Francisco
Posts: 1,746
Received 444 Likes on 161 Posts
Default

Thx EMC2 and Jeebus31. Just paying it forward. EMC your library of write-ups is awesome and I love what you have done to your black C2.

Currently researching the next project: water pump replacement. Going to tackle that in the morning as long as I can get my hands on an E15 torx socket somewhere in SF. Thats proving the most challenging part...
Old 01-04-2019, 11:03 PM
  #22  
ALEV8
Three Wheelin'
 
ALEV8's Avatar
 
Join Date: Apr 2007
Posts: 1,506
Received 70 Likes on 48 Posts
Default

Parts arrived at 7pm and had tank in and filled, and motor back up and torqued mounts down in about an hour. Not bad at all. Getting tank out was kinda lame.....
Old 01-05-2019, 06:48 PM
  #23  
TheBruce
Three Wheelin'
Thread Starter
 
TheBruce's Avatar
 
Join Date: Feb 2017
Location: San Francisco
Posts: 1,746
Received 444 Likes on 161 Posts
Default

Originally Posted by ALEV8
Parts arrived at 7pm and had tank in and filled, and motor back up and torqued mounts down in about an hour. Not bad at all. Getting tank out was kinda lame.....
Thats next level @ALEV8. Well done!
Old 01-05-2019, 06:55 PM
  #24  
ALEV8
Three Wheelin'
 
ALEV8's Avatar
 
Join Date: Apr 2007
Posts: 1,506
Received 70 Likes on 48 Posts
Default

Thanks for the tag BRUCE.

Last edited by ALEV8; 01-05-2019 at 07:36 PM.
Old 02-09-2019, 04:56 PM
  #25  
SWO Daddy
Instructor
 
SWO Daddy's Avatar
 
Join Date: Aug 2009
Location: San Antonio, TX
Posts: 185
Received 70 Likes on 27 Posts
Default

Followed the DIY and successfully replaced both the expansion tank and engine mounts. As stated previously, only tricky part was getting the tank out of the bracket and engine bay. A whole lot easier to install new tank then getting the old one out. Thx for the DIY!
Old 05-20-2019, 06:53 AM
  #26  
RajuPatel
Rennlist Member
 
RajuPatel's Avatar
 
Join Date: Mar 2016
Posts: 280
Received 36 Likes on 24 Posts
Default

Is it the same process for the 997.1 Turbo TT?
Old 05-20-2019, 11:14 AM
  #27  
yvesvidal
Pro
 
yvesvidal's Avatar
 
Join Date: Jan 2011
Location: RALEIGH, NC
Posts: 692
Received 119 Likes on 69 Posts
Default

Excellent write-up. Thank you so much for offering this to the 997 community.

Yves
Old 05-20-2019, 11:38 AM
  #28  
TheBruce
Three Wheelin'
Thread Starter
 
TheBruce's Avatar
 
Join Date: Feb 2017
Location: San Francisco
Posts: 1,746
Received 444 Likes on 161 Posts
Default

@yves same to you. I was just paying it forward after reading your write-ups :-)
Old 05-20-2019, 11:40 AM
  #29  
TheBruce
Three Wheelin'
Thread Starter
 
TheBruce's Avatar
 
Join Date: Feb 2017
Location: San Francisco
Posts: 1,746
Received 444 Likes on 161 Posts
Default

@SWO Daddy great! glad it helped. Yea I think if I had to do again it would take me an hour or two max. Once you get the hang of it its pretty easy.

@Raj Patel I dont know, but assume not. I would post on the turbo forum and ask those guys. Good luck!
Old 05-20-2019, 11:42 AM
  #30  
RajuPatel
Rennlist Member
 
RajuPatel's Avatar
 
Join Date: Mar 2016
Posts: 280
Received 36 Likes on 24 Posts
Default

Originally Posted by TheBruce
@SWO Daddy great! glad it helped. Yea I think if I had to do again it would take me an hour or two max. Once you get the hang of it its pretty easy.

@Raj Patel I dont know, but assume not. I would post on the turbo forum and ask those guys. Good luck!
Thanks. Will do. I assume that it would apply to all 997 Gen cars. just wanted to be sure.. Cheers


Quick Reply: The DIY Guide to Replacing your 997 Coolant Expansion Tank


All times are GMT -3. The time now is 10:02 AM.