When you click on links to various merchants on this site and make a purchase, this can result in this site earning a commission. Affiliate programs and affiliations include, but are not limited to, the eBay Partner Network.
The DIY Guide to Replacing your 997 Coolant Expansion Tank
I tackled this project the other day with the help of @mbatarga, @nwGTS and some old posts from @German888. Many thanks.
There is not a great amount of documentation on this so I put together a proper writeup for others. See attached.
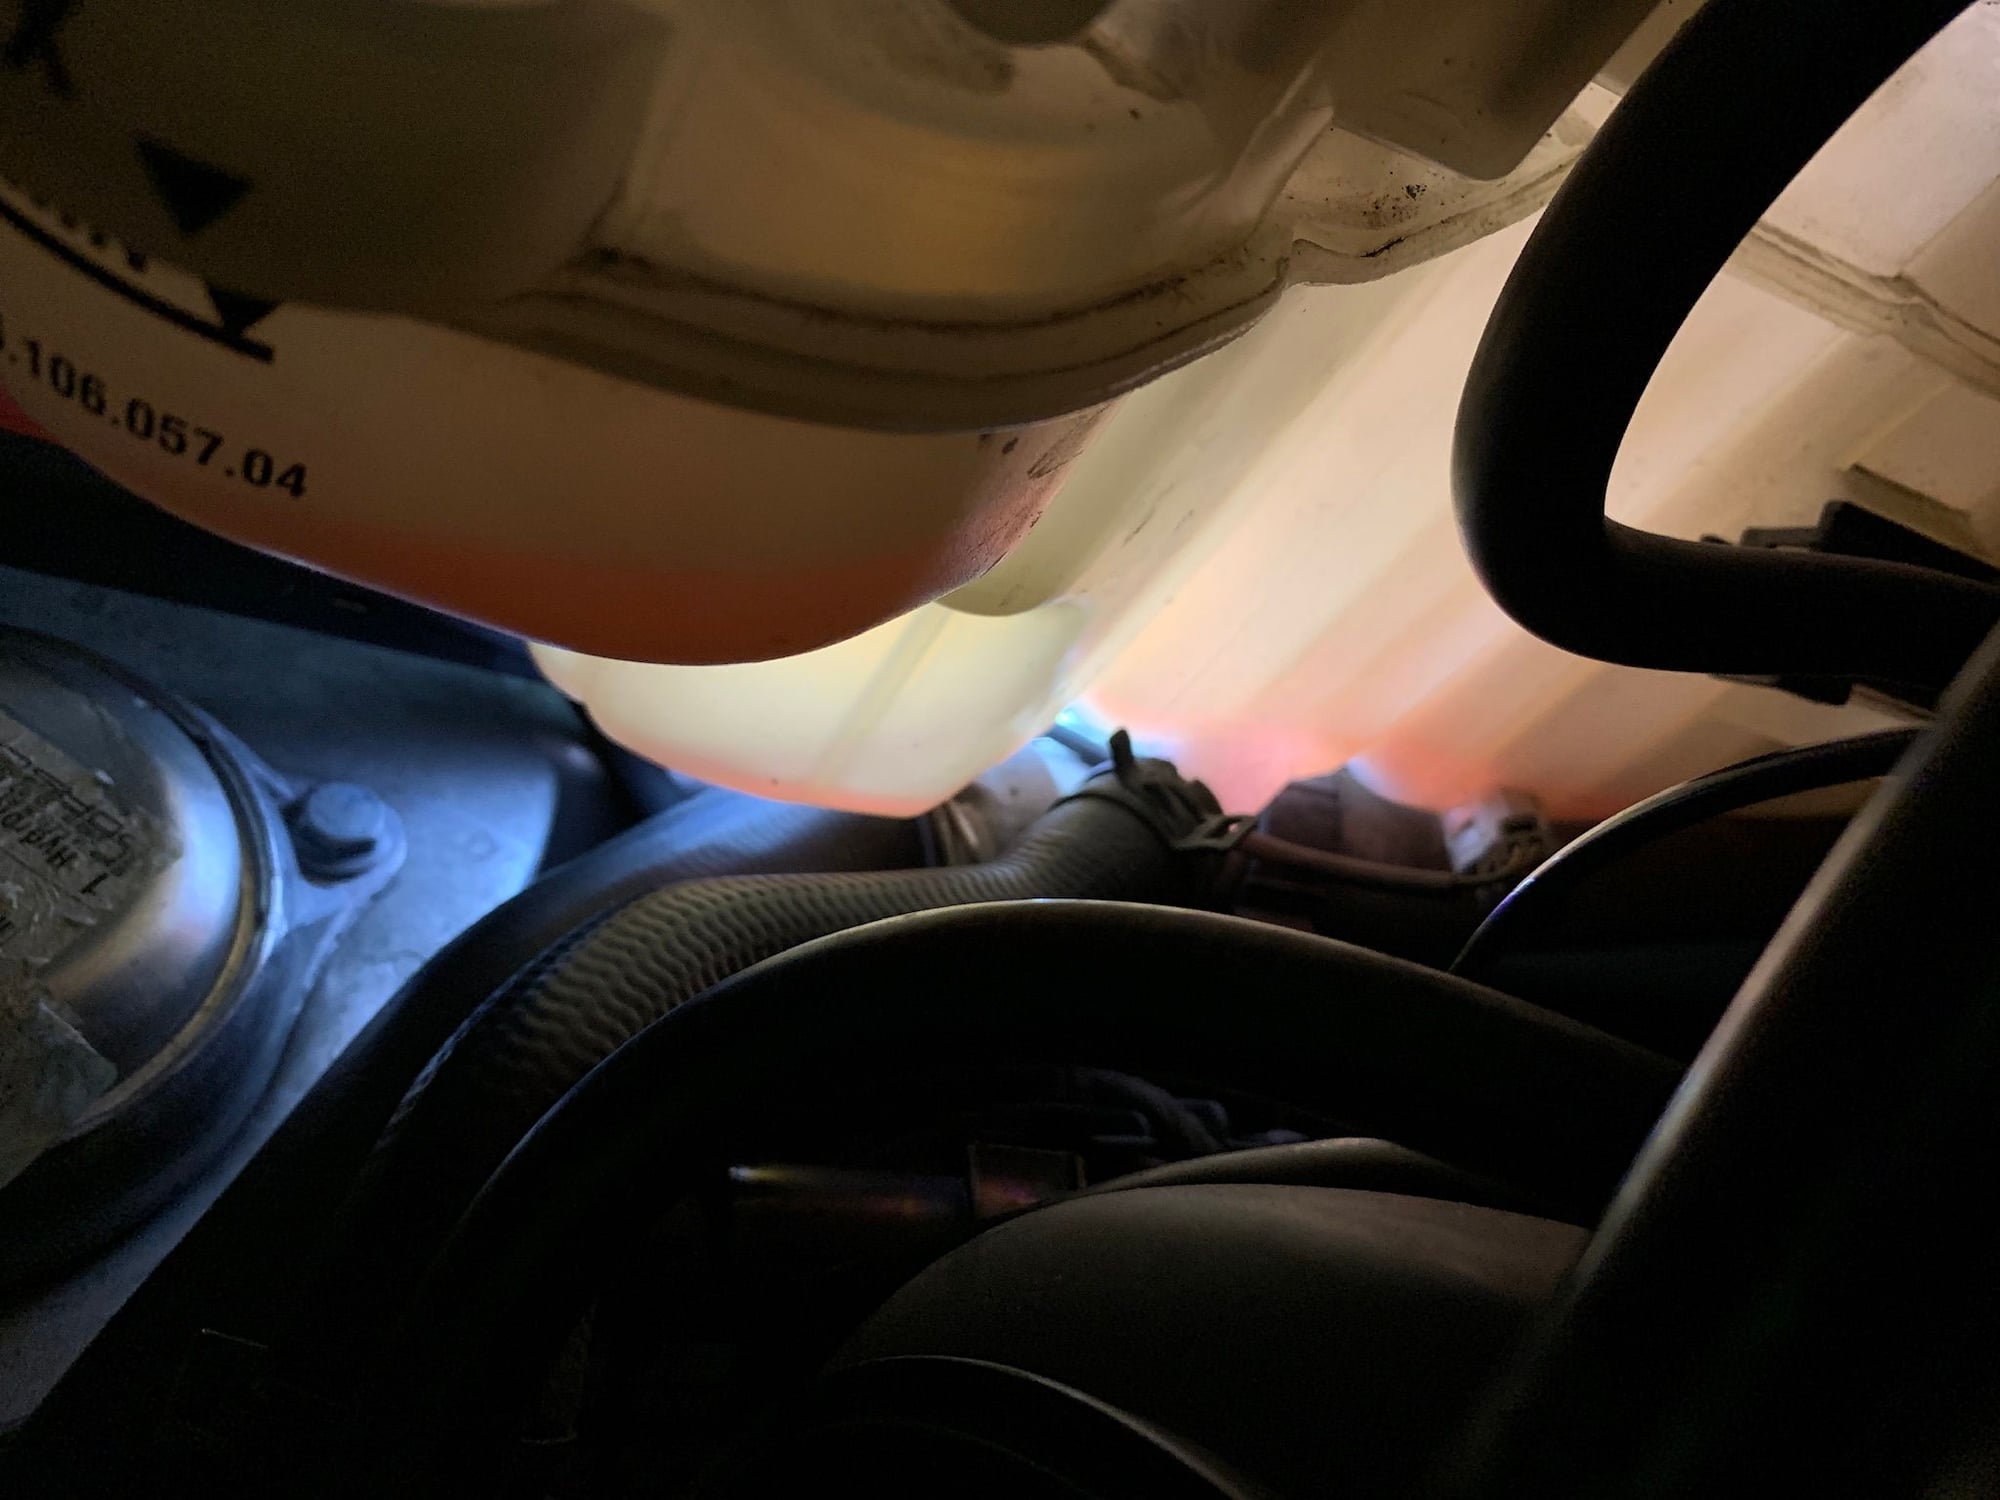
A typical maintenance item with the 997.1 and 997.2 is the coolant expansion tank. It tends to get brittle and crack with age. This can cause a slow coolant leak, or total loss of coolant if not caught in time. Its imperative to inspect the tank regularly, or replace it as a preventive maintenance item.
Its not a hard project if you follow these steps and will only cost you $150 in parts and 3-4hrs work.
The guide was written for a 997.1s C2 and C2S but should be in the ballpark for C4S's and 997.2s.
Just changed mine out last month (2008 C2S). I was surprised by how much cracking it had. Great timing on this write-up, considering the average age of 997s.
You forgot the final step: "Rinse out turkey baster and put back in the drawer in the kitchen when your wife is out."
Glad it helped. Ping me with any questions. Hose clamp pliers are likely the best recommendation. The workshop manual says to remove the fuel rail and id be interested to hear if anyone did that. It will give you more clearance so likely dont have to drop the engine as much.
I had to change my tank today and followed your document step by step. 2007 C4S, 96.000 km
Everything went as you said, perfect.
Thank you so much. Cheers
I had to change my tank today and followed your document step by step. 2007 C4S, 96.000 km
Everything went as you said, perfect.
Thank you so much. Cheers
Y’all are nuts. This is a huge PITA......I dropped the engine but still can’t get the tank out. Don’t ask. Going to replace tank entirely as I thought I could change the o-rings and screws in the black cap. NOPE.
Y�all are nuts. This is a huge PITA......I dropped the engine but still can�t get the tank out. Don�t ask. Going to replace tank entirely as I thought I could change the o-rings and screws in the black cap. NOPE.
No turkey baster anywhere in this house either.
The farther you drop the engine the easier it is to remove. Don�t just drop one side. I used this thread to replace mine this summer.
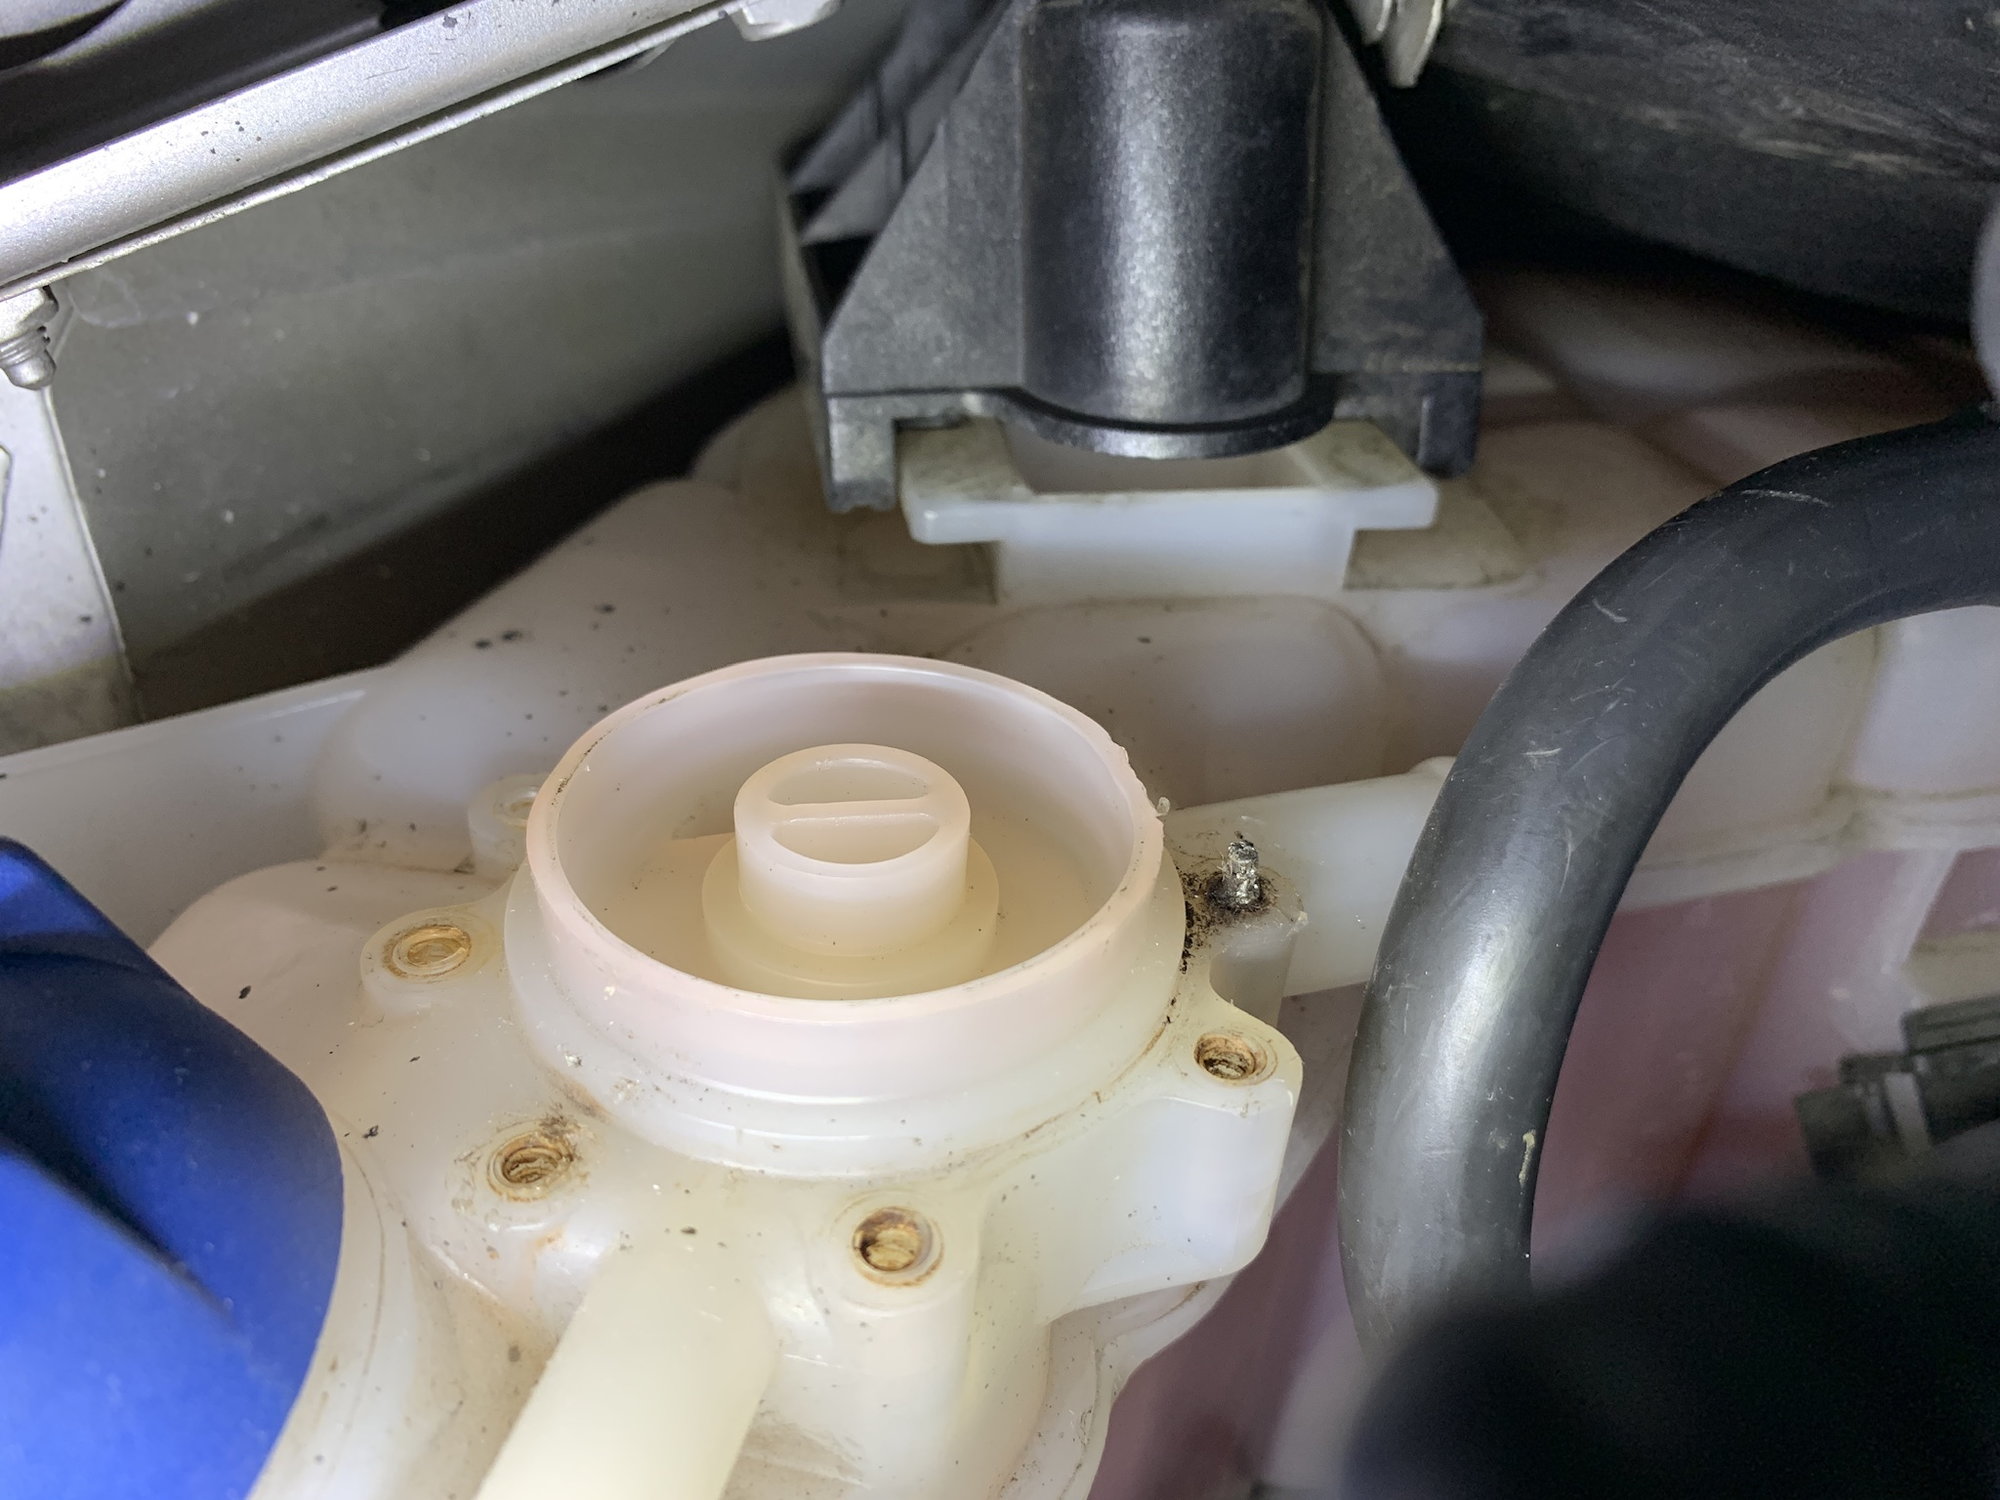
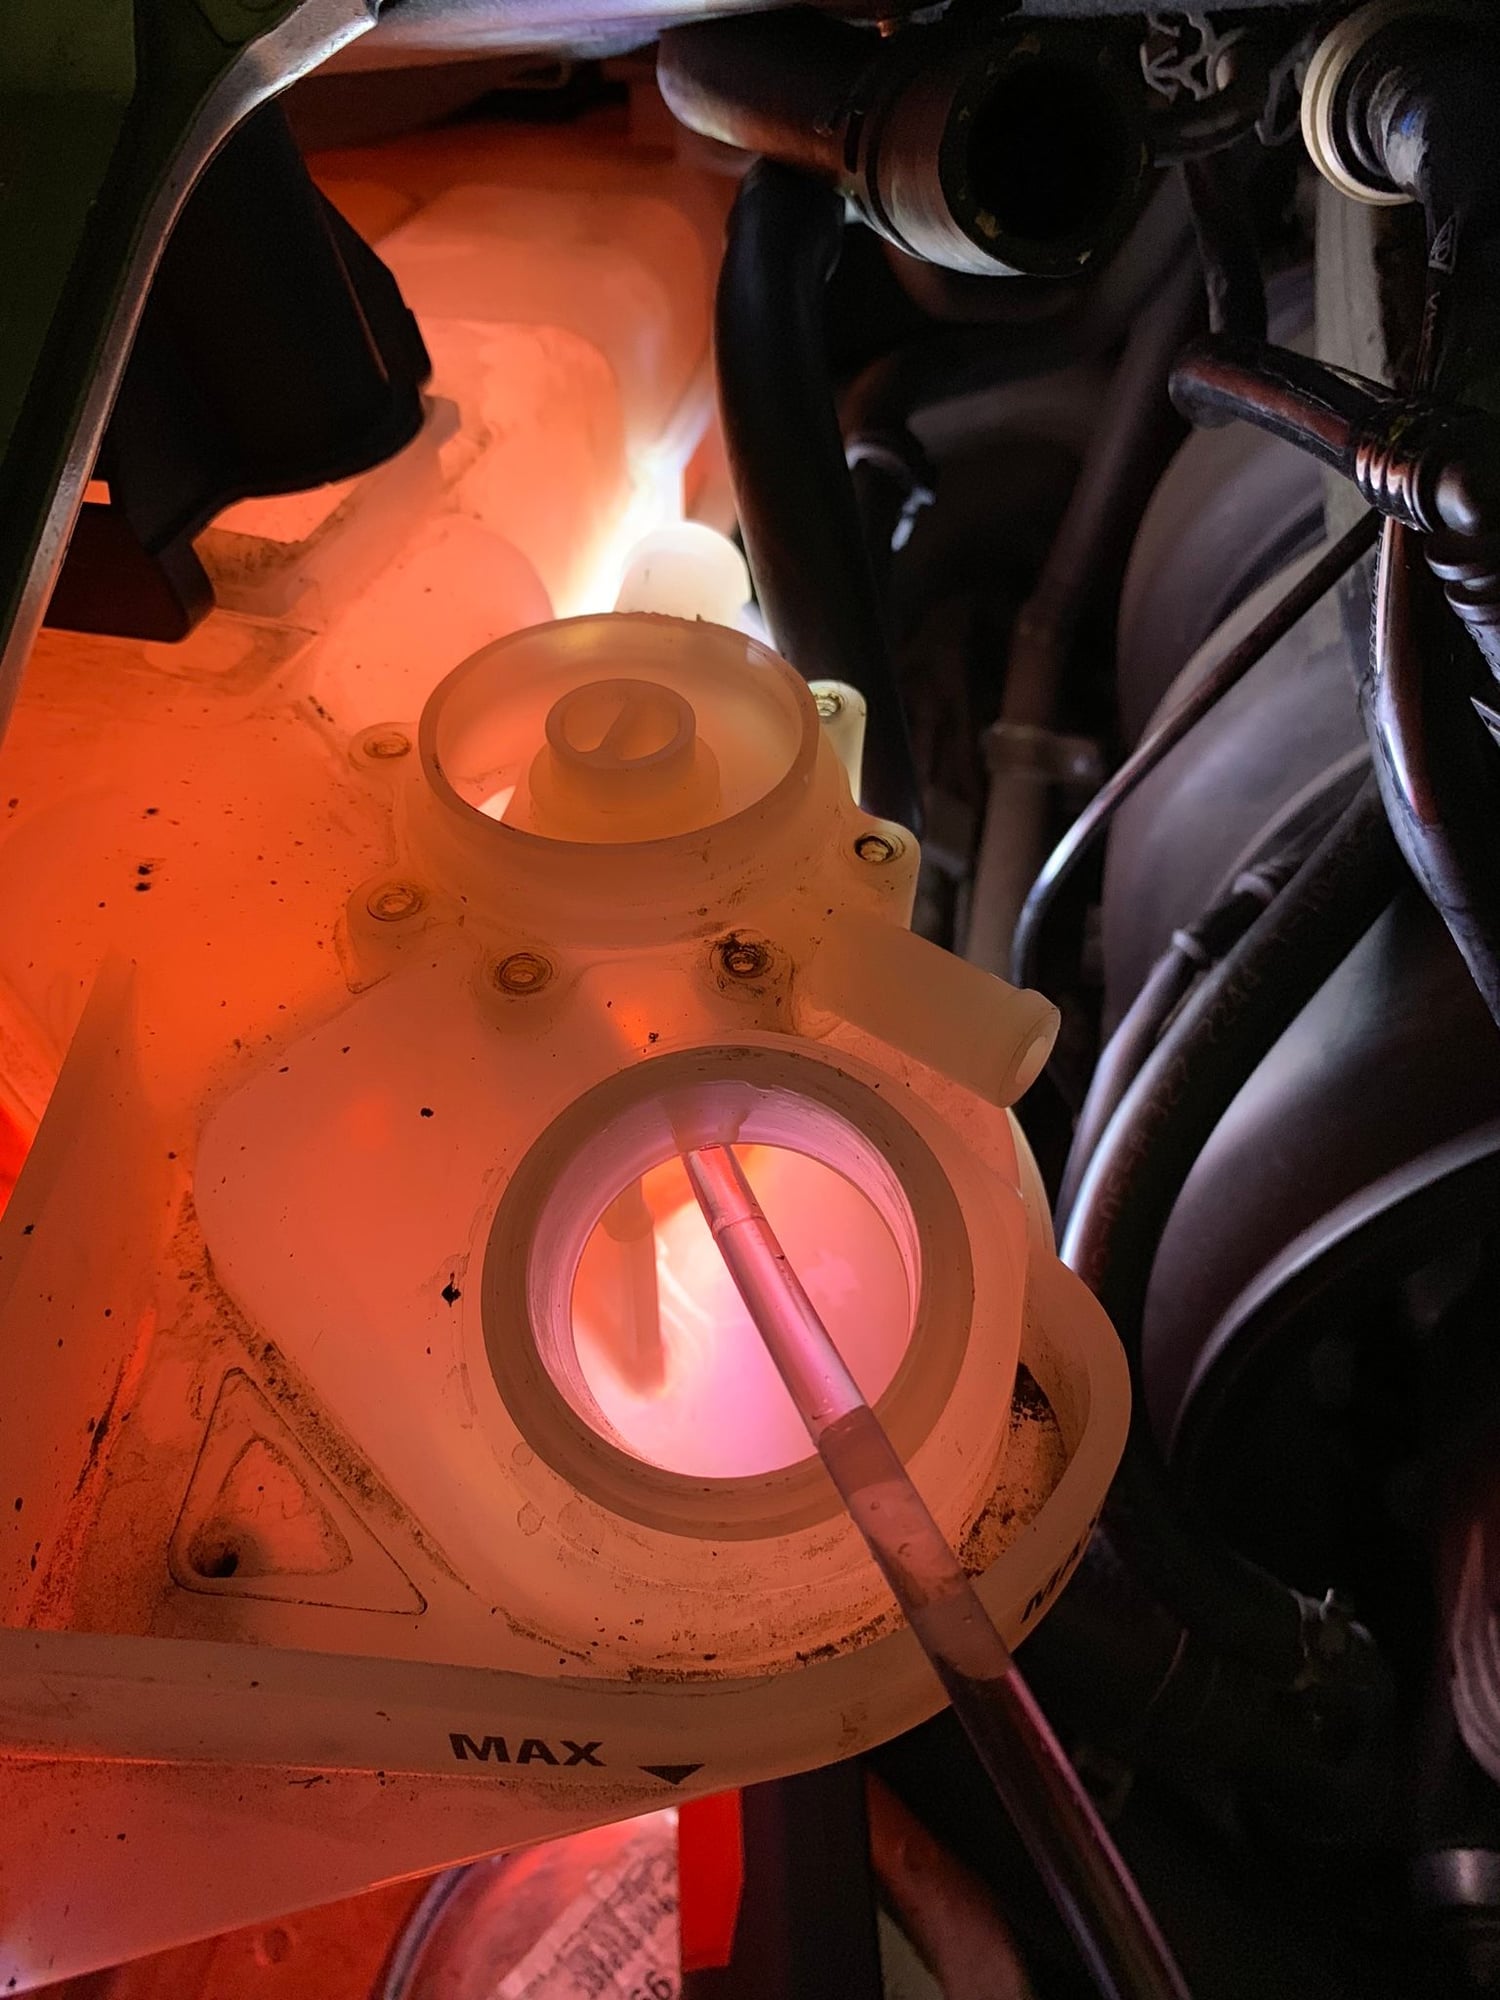
Used some clear tubing for the fish tank to siphon out almost every drop from the expansion tank into a coolant container i kept, today. Then pulled the larger bottom tank hose and stuffed in a wad of paper towels to catch the last bit draining out. Approximately 3.5 qts drained and lost maybe 5oz or less. Removed level sensor and set aside. Ordered new tank from Sonnen with 3 day delivery for 174$. Local dealer had none in stock and can�t get one until next Thu. I left evap line and canister filter line connected so gasoline fumes wouldn�t get me high but i know they should be tucked out of the way/ disconnected. Tank dropped a bit further downwards but not entirely free of the black bracket. Wanted to rest a day as back was killing me so I didn�t wrestle with it further. Transmission is resting on the crossmember. Engine supported fully with jack and 2x12. Inspection with a light revealed telltale vertical cracking developing on side of tank facing intake runners. Tomorrow we try again. I kept getting shut down by the big hose beneath the reservoir with the Henn fitting as it prevents downward travel of the tank but with lower hose disconnected maybe I can now move freely... .not sure what else is hanging up the tank but fuel rail etc isn�t really in the way after dropping engine.
I figured out the bracket trick, and if you don’t tip the tank slightly to clear the bracket it just stays stuck in it. Once I realized that, wiggles right out basically. It has a hairline crack or two so it goes......new one on the way. Pictures appear to show leaks behind the tank but there were none.

 05-19-2018, 05:18 PM