When you click on links to various merchants on this site and make a purchase, this can result in this site earning a commission. Affiliate programs and affiliations include, but are not limited to, the eBay Partner Network.
Picked up my GTS from the paint shop over a month ago. It was in for a complete respray due to damage caused by a sandstorm. It sat in the garage until last Friday when I took it in for a wrap of the front clip.
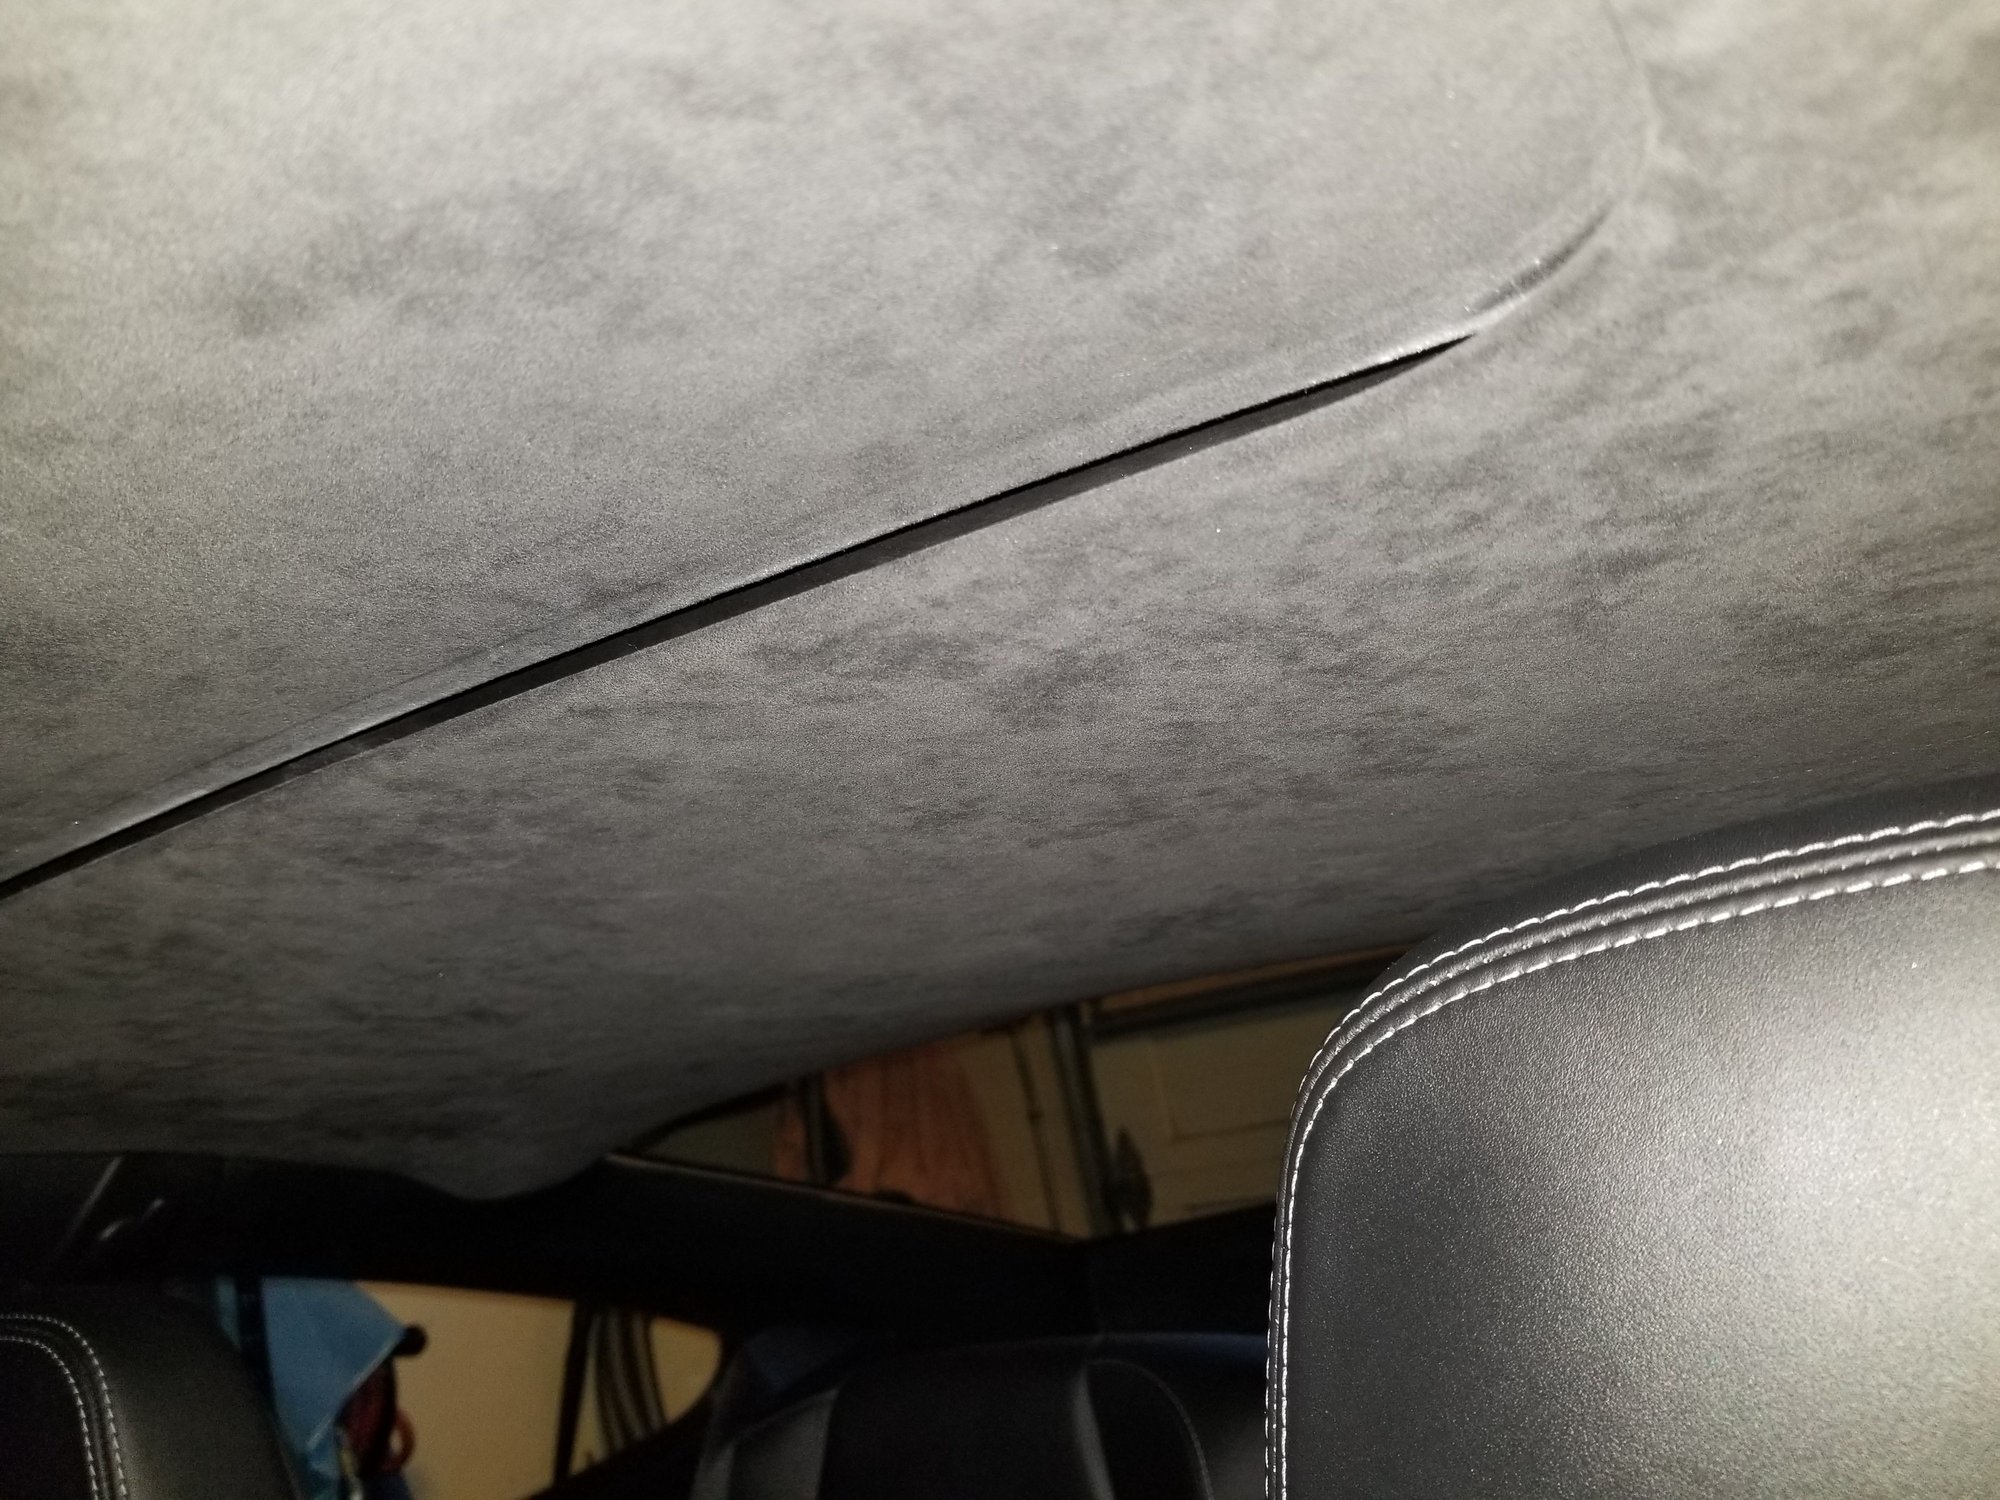
I just noticed that the headliner on the sunroof does not sit flush with the rest of the headliner (see pic). I'll be taking it back to the shop. They say they'll try to repair/adjust it, of course, but that I may have to take it to an upholstery shop (on their dime).
Any idea what needs to be done to fix this?
(BTW, I have opened and closed the sunroof, and the gap remains.)
Rear edge
Last edited by ltcjmramos; 08-01-2017 at 07:02 PM.
I have removed my headliner and sunroof (looking to solve for that stupid thunking rattle) and I can say it is a royal pain. The sunroof has very little adjustments... the roof panel is adjusted by 4 screws but should not impact the sunroof headliner..., they both run on the same track, but the outside panel's 4-screw adjustment is above the interior panel. The tracks are not adjustable as they bold right to roof..... so I don't know how what you see is possible. I suspect the interior headliner (not panel piece) was not attached to the hole rim properly.
If you crack the roof up, rear panel up, not back, can you push or jiggle the interior headliner rim against the hole rim? If so, there is your problem.
Anyway, it looks like they did something wrong... obviously. Take it back, that is not good work.... obviously.
Checked with sunroof raised. The inner liner seems solidly attached. However, the liner piece on the sunroof is not attached. I attach pics that show the separation (I hope).
Please excuse the misorientation. Don't know how to fix.
The underside, inner liner is not attached to the roof panel and should move. So, you should be able to put your hand between the metal roof and liner and push down.... the inner liner will swing down (it is spring loaded. This bouncing is what causes much of the wooden sounding rattles.
See my pic and short vid below ... the pic is me pushing down on the inner panel to show the spongy compression foam.
Having said this, there is something not right about your setup..
Peace
Bruce in Philly
Looking at your original pic again, it appears that your liner is too far forward..... is this so? The depression on the back of the liner shows compression marks (as it should)... this is where the liner presses down onto the smooth, black hole rim (where the big roof liner attaches at the hole). When you close the clam down (from upward crack) the liner should seat down on that smooth hole rim hence the depression marks....
The inner liner attaches to the metal roof at the leading edge of the roof panel and liner (not the rear as it springs up and down).... but back about an inch or so between them (you can't see this)....... Maybe they did not snap this back together properly...... So, try this, but be careful....:
Open the roof with the motor, slide it back (not clam), about four inches and stop. Then sitting in the seat, take both hands, and with your finger tips, grab the leading edge of the liner only and try and push back like your trying to open the roof by hand. By grabbing just the liner, you should be able to "unsnap" the liner from the exteriour roof panel... and the inner liner will then slide back like it regularly opens.... but instead, only the liner will slide back. If the liner is properly snapped into the roof panel, it will take some force to unsnap it. You don't have to push hard for this test as we are just testing to see if the liner is snapped to the roof properly. If you can easily slide the liner back, even an inch, without the roof panel moving.... the liner was improperly snapped to the roof.
Check you PM, I have a Porsche tech bulletin on how to remove the roof to repair rattles... it describes this procedure although the pics are lousy.
Bruce, thanks for the assist. From what you say, and what I would expect, the sunroof liner would sit squarely on the cutout, not raised above it. It may also be that it's not centered correctly. But, no question, tain't right. Back it goes to the shop.
Being raised above is really odd....... the interior liner is spring loaded, hinged at the front, to swing down and put pressure on the interior black rim.


 07-31-2017 | 11:45 AM