When you click on links to various merchants on this site and make a purchase, this can result in this site earning a commission. Affiliate programs and affiliations include, but are not limited to, the eBay Partner Network.
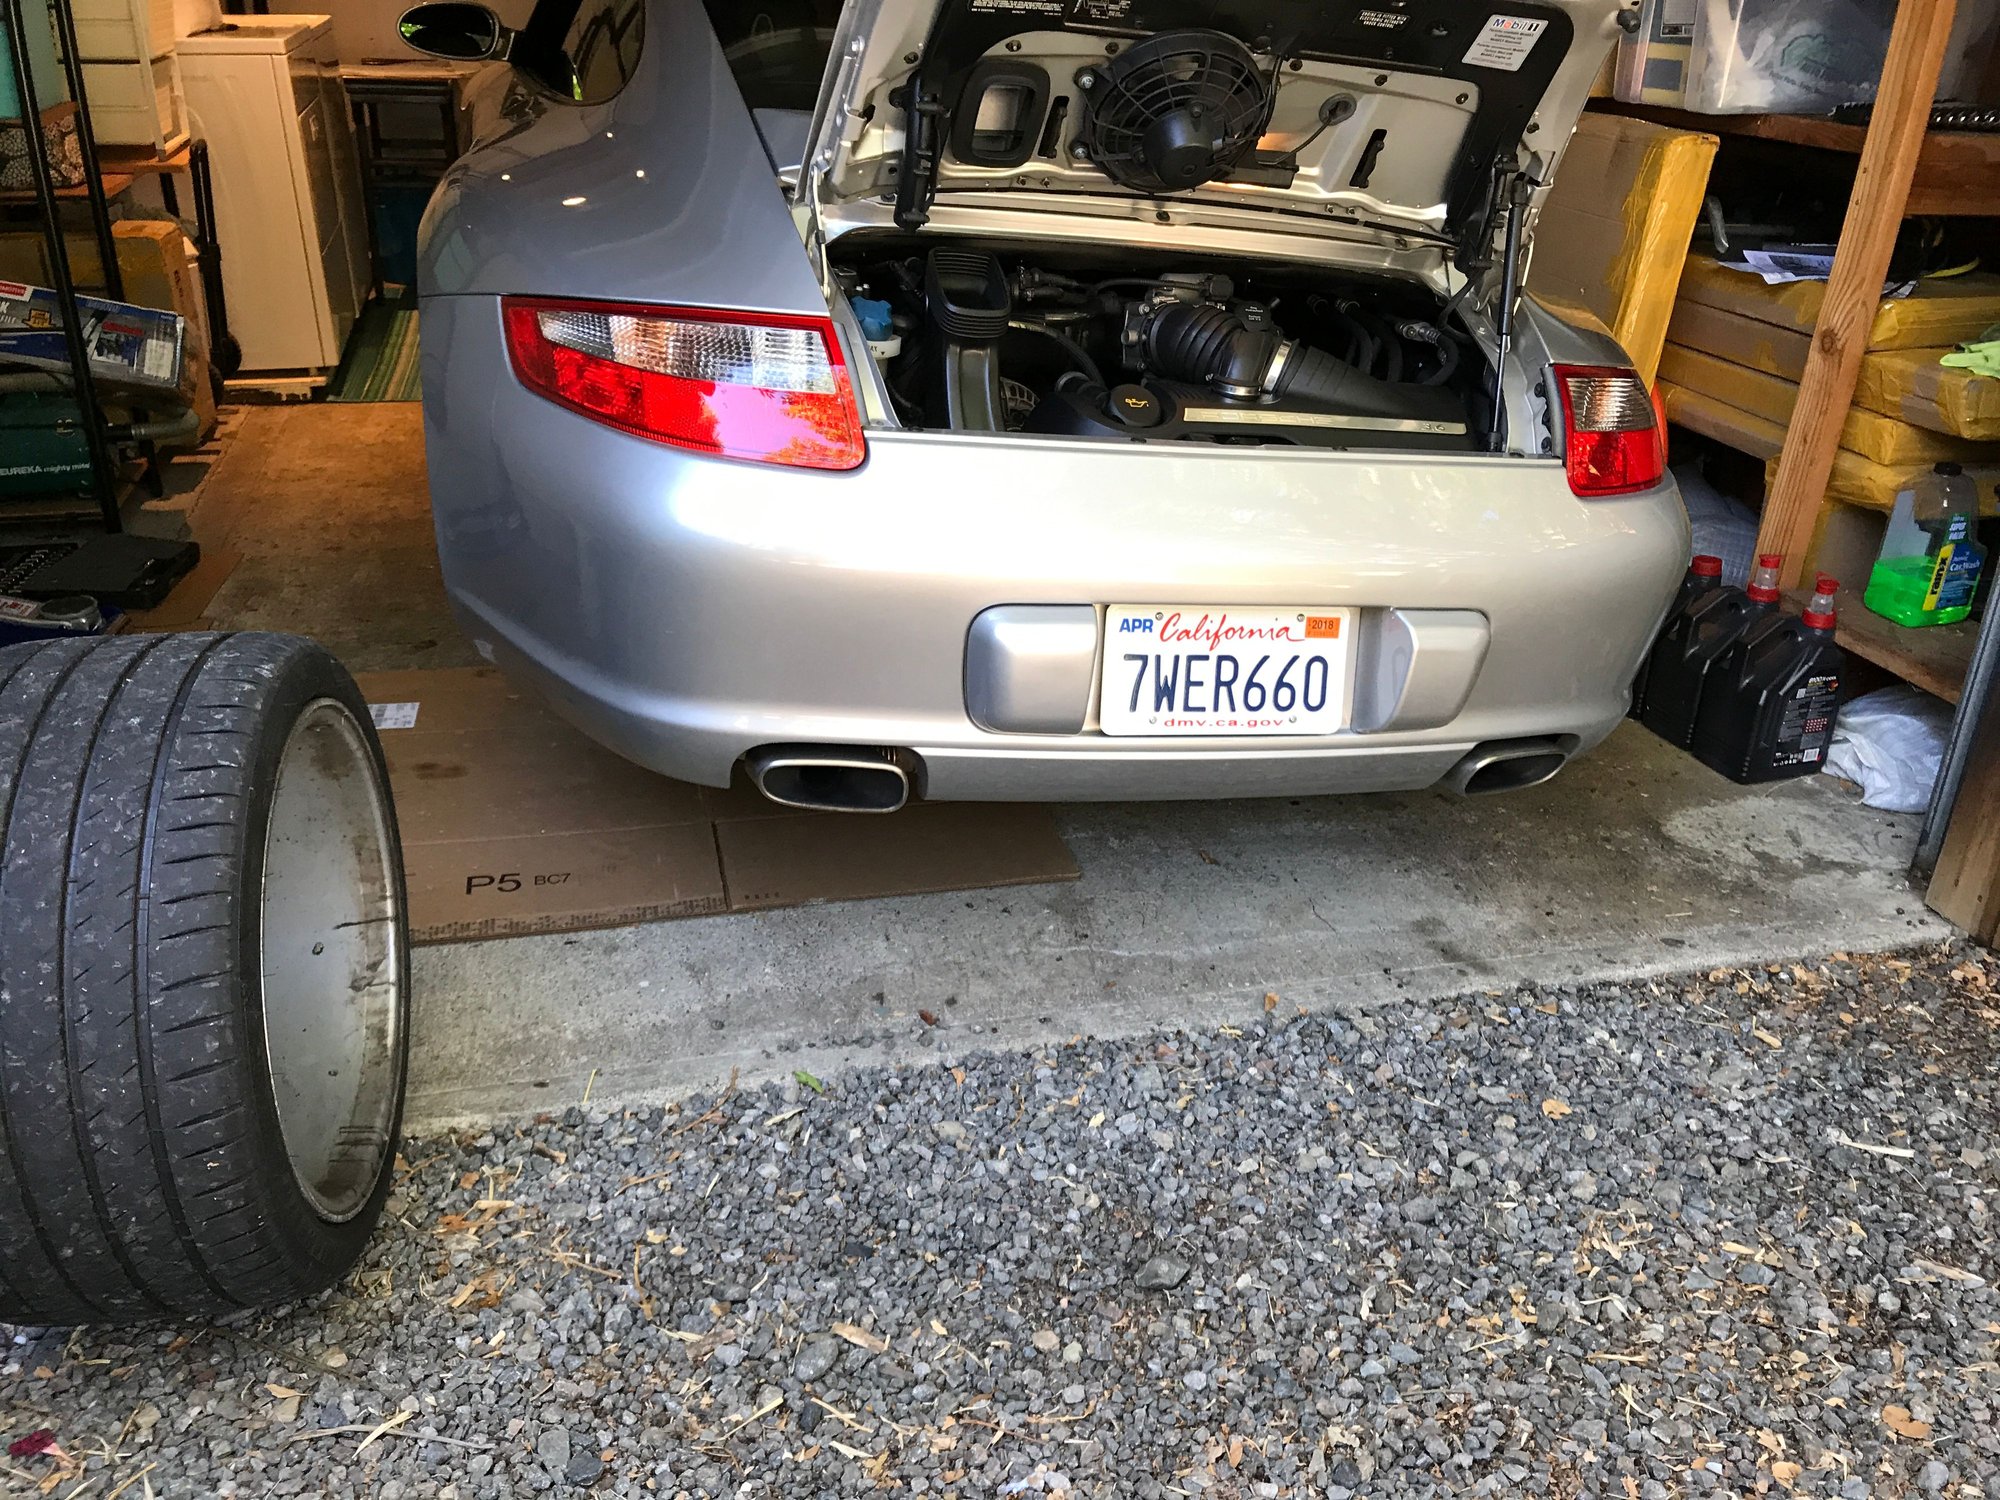
The project begins...I will do a larger write up whenever it ends. This one is definelty not for the faint of heart. I've been taking baby steps so first started by cleaning the wheel wells and wheels to get a lay of the land and make sure I had all the right tools. I didn't. The DIY posts I was reading look to have some gaps. Many are old and missing images. Others are for 996s and they look to have a different wheel carrier design. I have been having to piece together from the workshop manual and 3-4 different posts.
I started on the fronts but stopped to regroup after I ran into a few issues.
First, one of the 13mm strut bolts sheered when I was loosening it. Strike 1. I ordered a new strut mount and hopefully can pick it up tomorrow.
Second, I wasn't able to get the wheel carrier to drop far enough to remove the front strut. The post I read didn't mention taking off the tie rod. After reading the workshop manual I realized my error. I don't have a ball joint separator so I'm off to harbor freight in the morning.
Any tips from guys who have done the job appreciated.
Have you tried to remove the tie rod end yet? Many times, a press isn't needed (whatever you do, don't use a pickle fork). Just loosen the retaining nut but don't remove it. Give the outside of the joint a couple hard raps with a mini sledge or a ball peen hammer. They almost always break free. Leaving the nut on the shaft prevents the control arm from falling once they separate.
Thx Iceter! Wish I tried that yesterday but I was worried about banging on it. I picked up the ball joint separator and new strut mount this morning so I'm starting act 2.
So once the tie rod is removed from the carrier the assembly will come down enough to get clearance?
Thx Iceter! Wish I tried that yesterday but I was worried about banging on it. I picked up the ball joint separator and new strut mount this morning so I'm starting act 2.
So once the tie rod is removed from the carrier the assembly will come down enough to get clearance?
Any other tips on remover the strut nut?
Best way to remove the strut top nut is to use one of the socket sets for long bolts that allows the bolt to pass through the center. This allows you to put a torx or Allen (depending on the type you have) through the center of the ratchet assembly to keep the strut from turning while you loosen the top nut.
I've got the tie rod off, spring compressed, but still can't get enough clearance. I can get it down part way but concerned it's going to get jammed on the fender.
Any thought? Do I need to loosen the lower control arm?
I'm not saying it the safest or best way to do things, but I used a couple of ratcheting cargo straps to compress the spring and strut enough to clear the fender. I couldn't ever get a spring compressor to work for me. Just have to make sure the straps are secure around all the bits so it doesn't pop loose.
That strut nut is a b*itch without the special spanner tool to hold the dish shaped washer, otherwise the whole thing just spins. I think I used some channel lock pliers and my body weight to hold it. Without the special tool you'll just have to use some ingenuity but it can be done.
I'm not saying it the safest or best way to do things, but I used a couple of ratcheting cargo straps to compress the spring and strut enough to clear the fender. I couldn't ever get a spring compressor to work for me. Just have to make sure the straps are secure around all the bits so it doesn't pop loose.
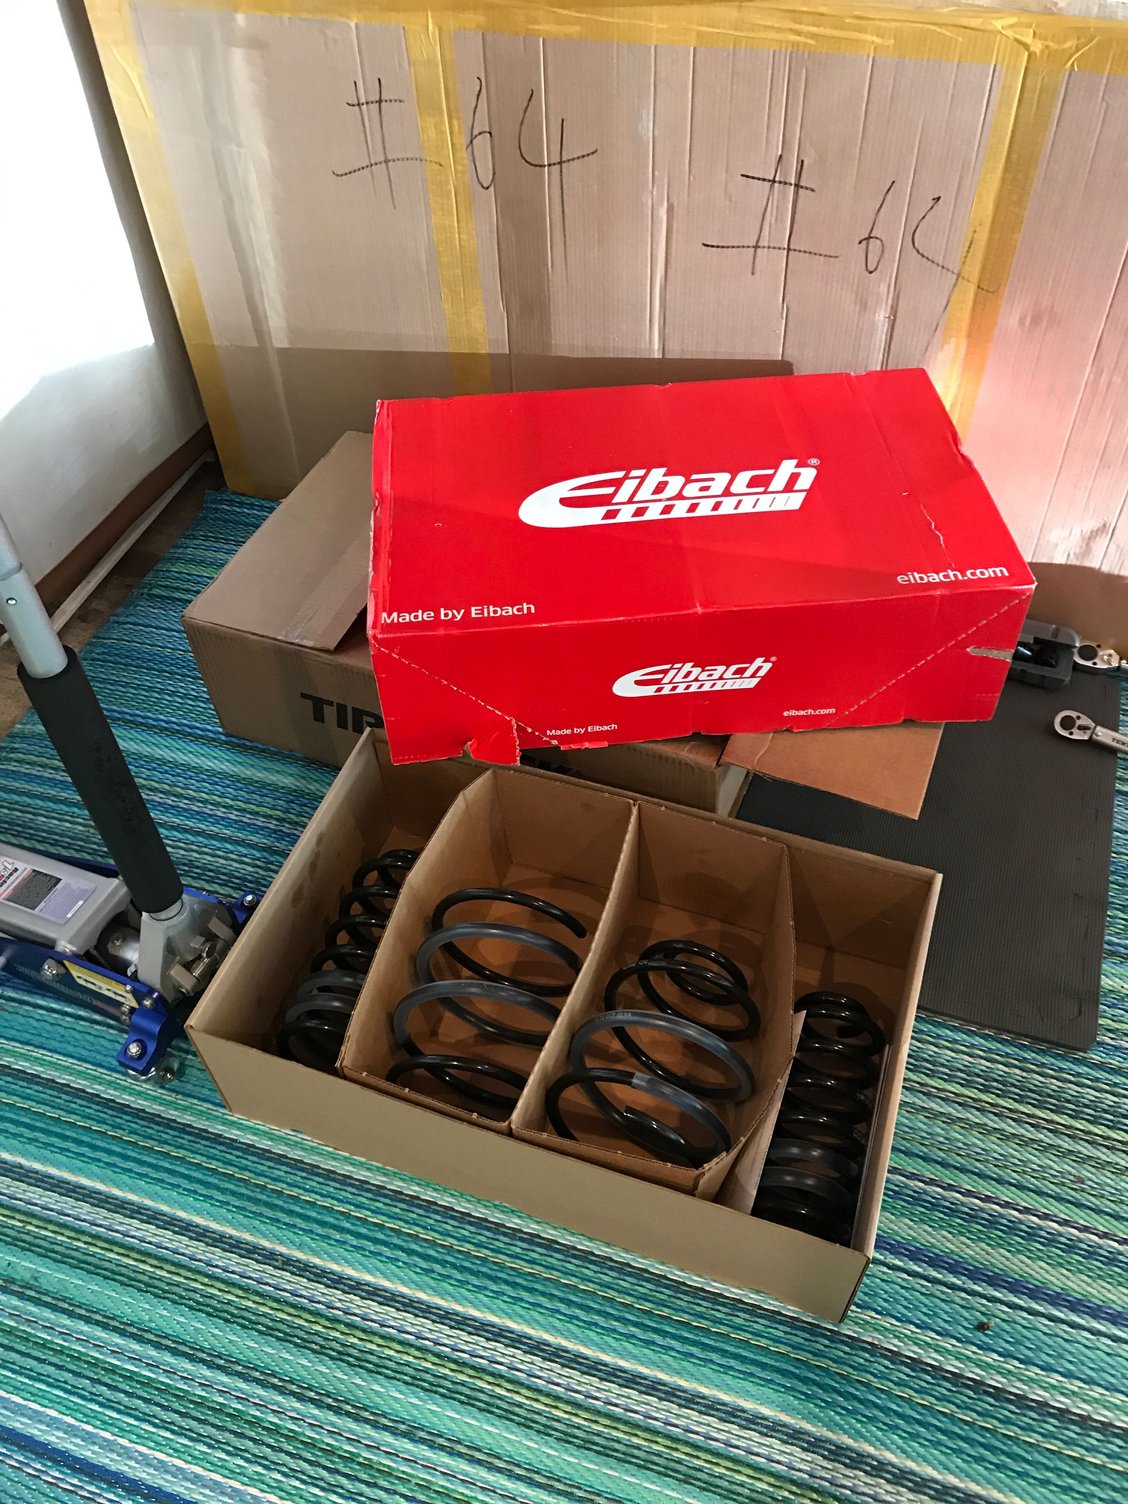
Thanks! Yea the compressors don't seem to do much work and wanted to confirm that was the issue. They only have clearance to get one rung of springs. I was thinking of supplementing with 175lb zip ties...however the workshop manual doesn't even mention needing to compress the springs.
That strut nut is a b*itch without the special spanner tool to hold the dish shaped washer, otherwise the whole thing just spins. I think I used some channel lock pliers and my body weight to hold it. Without the special tool you'll just have to use some ingenuity but it can be done.
I was able to loosen the strut nut ok. I don't have PASM so its easier. A 21mm socket was enough to loosen it and I can get it the rest of the way when the strut is off.
Thanks! Yea the compressors don't seem to do much work and wanted to confirm that was the issue. They only have clearance to get one rung of springs. I was thinking of supplementing with 175lb zip ties...however the workshop manual doesn't even mention needing to compress the springs.
I wrapped the straps around the top of the strut and down under the hub carrier and compressed the whole thing enough to clear the fender. You just have to play with it a bit to make sure the straps are secure and don't slip or damage and bend something else. Shade-tree stuff but we work with what we got. I wasn't so worried about sacrificing body parts as I was about scratching my paint. lol
Yeah, maybe because mine was PASM it had that spanner washer thing. Non-PASM must be a bit easier in that respect. Good luck with the DIY.
Is there really an "issue" with installing just the rear springs? Yes it may change the handling of the car... but I mean technically you could still do it right?
Guys, guys, guys... removing the tie rod is NOT necessary. It's also not necessary to put spring compressors on the spring while the strut is still on the car.
Just loosen the inner control arm bolt (control arm to frame) and the whole hub will be able to drop low enough for you to remove the strut from the knuckle.
Is there really an "issue" with installing just the rear springs? Yes it may change the handling of the car... but I mean technically you could still do it right?
Of course you could do it.. technically you can remove the springs alltogether, but it's not recommended..


 08-01-2017, 10:30 PM