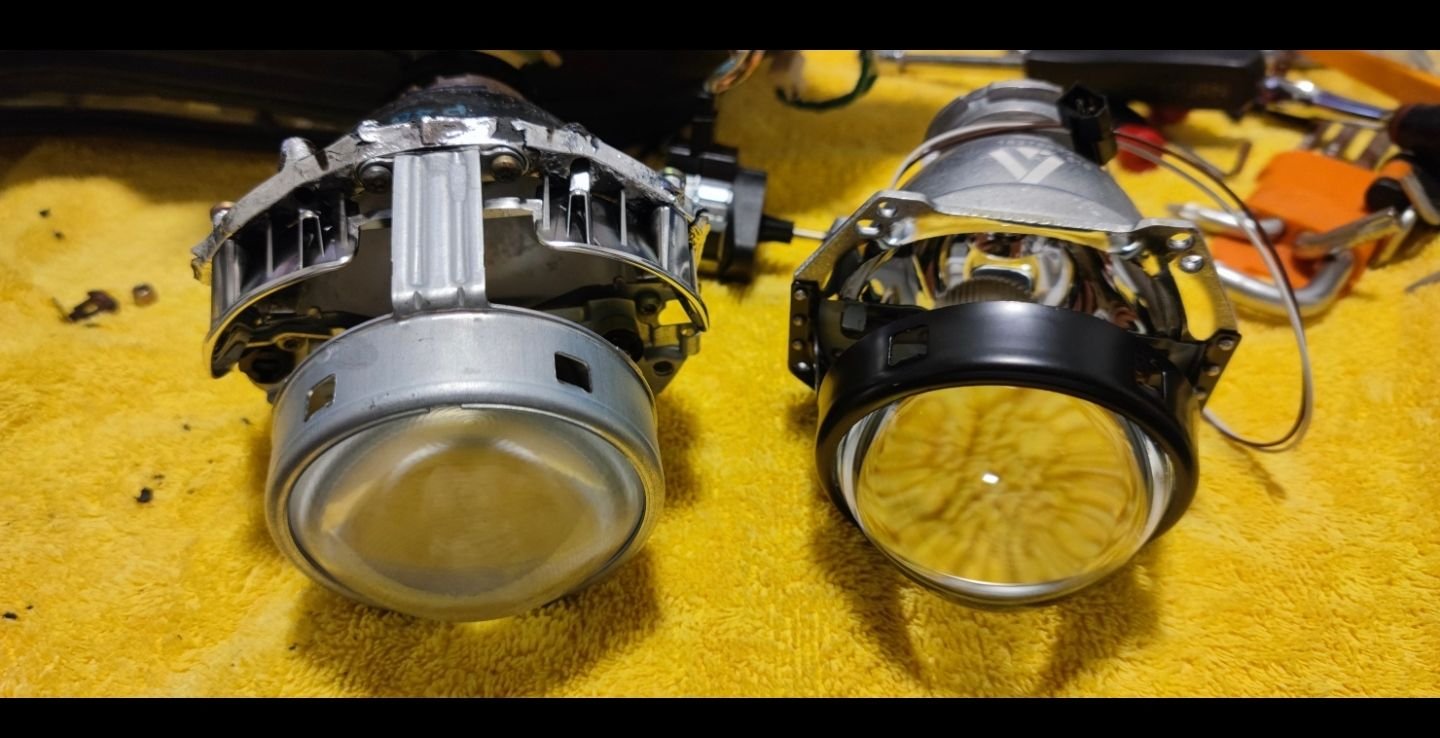
Updated Litronic Headlights for the 996.2!
#46
Rennlist Member
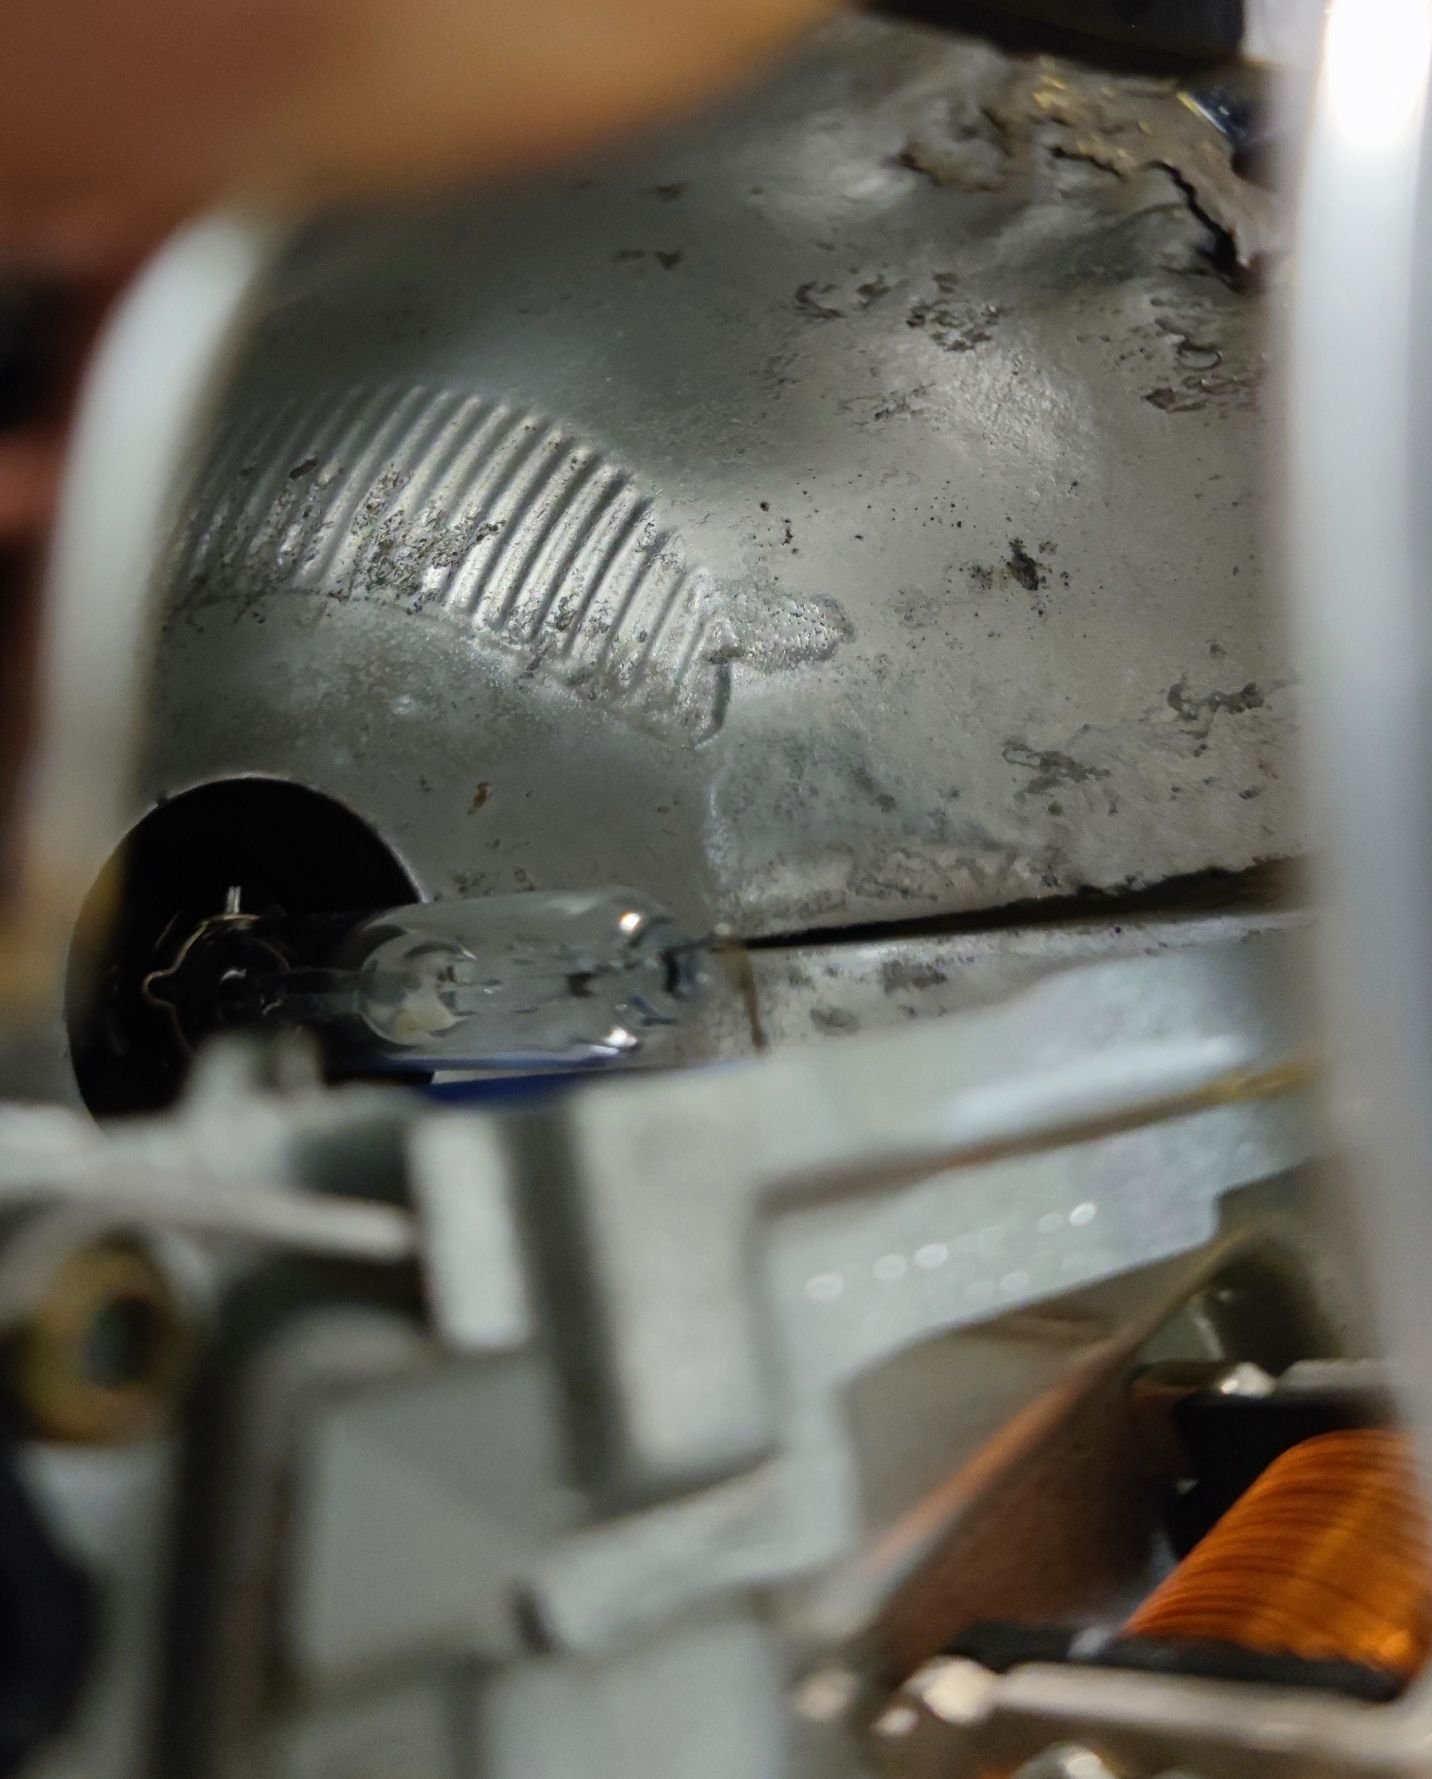
There is an H11 halogen in a reflector bowl beneath the projector. That bulb is a "supplemental" high beam; I chose not to use it with the new projector.
The following users liked this post:
NoogaSparrow (12-06-2021)
#47
RL Community Team
Rennlist Member
Rennlist Member
Ahhhh, good ole H11s...
#48
Rennlist Member
#50
Rennlist Member
*I also have the Philips Xtreme bulbs both before and after
The following users liked this post:
paopao (12-08-2021)
#51
Rennlist Member
I still haven't pulled the trigger on new bulbs. Osram has come out with a new one recently (CBN) that I'm thinking about trying.
I've got Morimoto retrofits on my CRX and Suburban and both are just using Morimoto bulbs that I've been happy with.
I've got Morimoto retrofits on my CRX and Suburban and both are just using Morimoto bulbs that I've been happy with.
#52
Pro
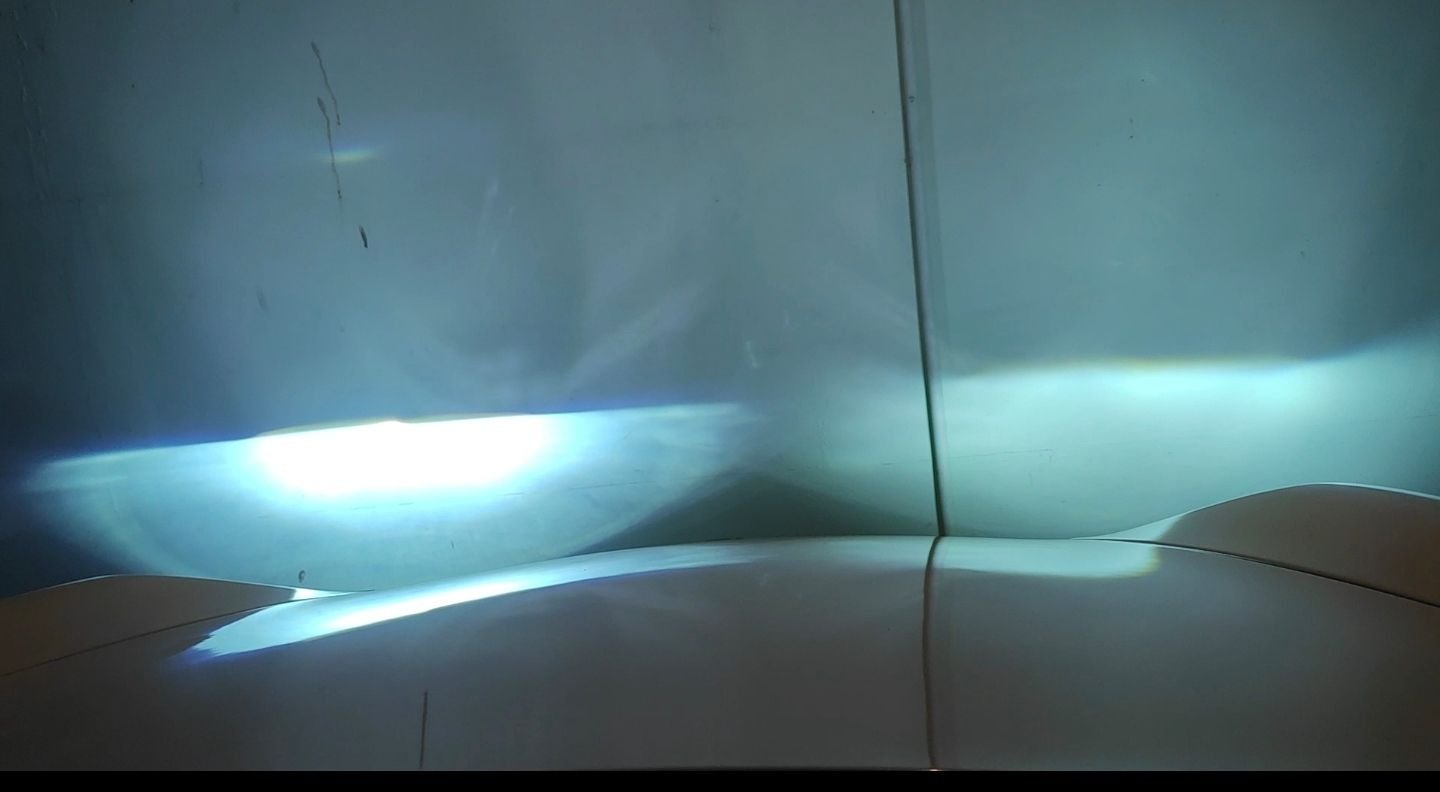
the real world results are significantly better than stock. The output is much more clear, broad, and visible. Even in low light settings I can see my lights painting signs significantly further out. And before you think it, I reaimed my lights to match what they were prior to the mod. This is well worth the $200 or whatever it was to do.
*I also have the Philips Xtreme bulbs both before and after
*I also have the Philips Xtreme bulbs both before and after
Also glad you had the same bulb before / after to even comparison!
I know the extreme bulbs are ultra nice, but I'm thinking of just upgrading to the Osram 66240, just because the extreme are around double the cost, and can't imagine the output is relative...
#53
I installed the passenger side projector yesterday. The cut off is a lot more crisp on the new projector. I'll hopefully install the drivers side today and I'll snap a few pics of the process:


#54
Here's a few pictures of the process. First headlight took me almost 2 hours, the second was only one hour including taking the pictures. There's the Retrofitlabs guide how to install the kit, but I feel like some sections would have benefit of better video / pictures so snapped a couple. Feel free to comment if you would have done some differently.
Here's the original guide from Retrofit lab:
The kit:

1. Take off the cover and remove the ground wire to get some more play on the cover and let it sit on top of the lights. Ground wire is held on with a 7mm hex nut.

2. Take off the automatic leveling motor and it's wiring harness and pop off the balljoing, you can pop it off by just by pulling it. The motor is held on with two TX20 screws.

3. Take off the high beam wiring connector:

4. Pop off the third ball joint by pushing it with your thumb:

5. Remove the TX20 screw from the side and slide this assembly half way on top of the tabs securing it in place:

6. Pry off these adjustment screws by a flat head screw driver. They arent being held by anything. If they are not coming out, move the mechanism a little back or forward to get it where the screws come off more easily

7. Voila:

8. Pop out the last balljoing under the cover on the other side:

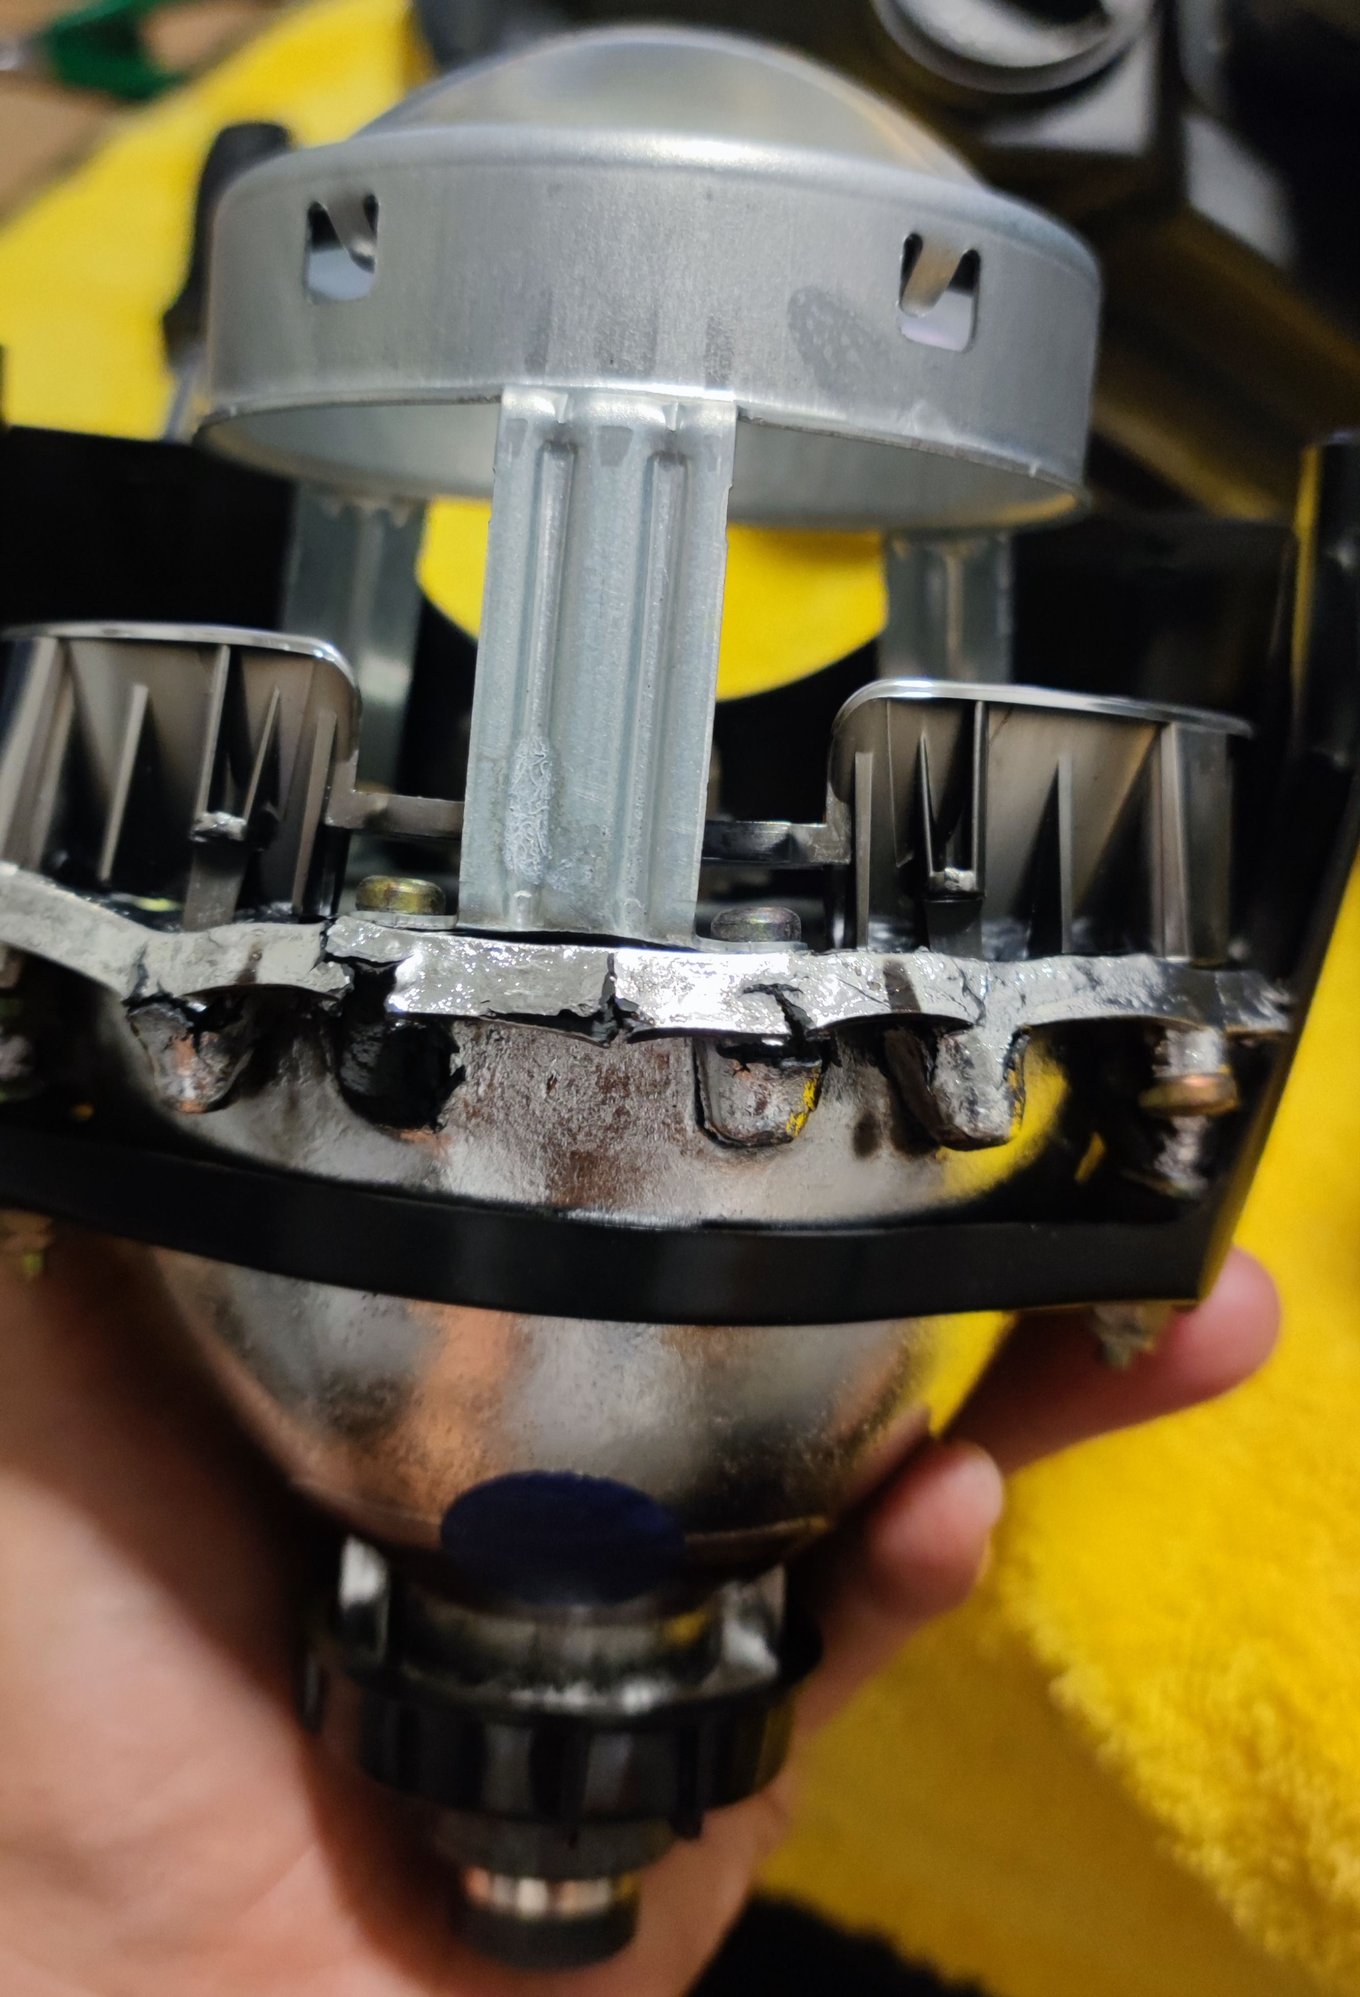
9 and 10. Remove the TX20 screws that is holding in the projector assembly. The drivers side had four and the passanger side had three screws. The fourth is a little hard to get to, I decided not to install it back as the other side comes from the factory with three screws:


11. Take off the stand for the projector:

12. Install the adapter on the new projector and the stand you just removed. I used some blue loctite on the bolts. The longer 20mm adapters come first to the projector, then the shorter ones are installed on the adapter plate and then the stand. This process is documented quite good on the retrpfit labs install guide.

13. Install the projector to the headlight and secure it with the TX20 screws. Also install back the mechanism you remove on step 7. I had some trouble popping in this balljoing, but I managed to get it in with a 90-degree tool that I had (pictures). I had to pull it from the back and push it in at the same time. Same goes for the automatic leveling ball joint. Also remember to pop in the third balljoint on the side:

14. Installed back along with the side mechanism and automatic leveling motor. As my car already had the OEM bixenons, I cut the old harness connector and soldered it on the new projectors wires. Remember to install the ground wire that you removed on step 1. I put it under one of the nuts holding the stand.

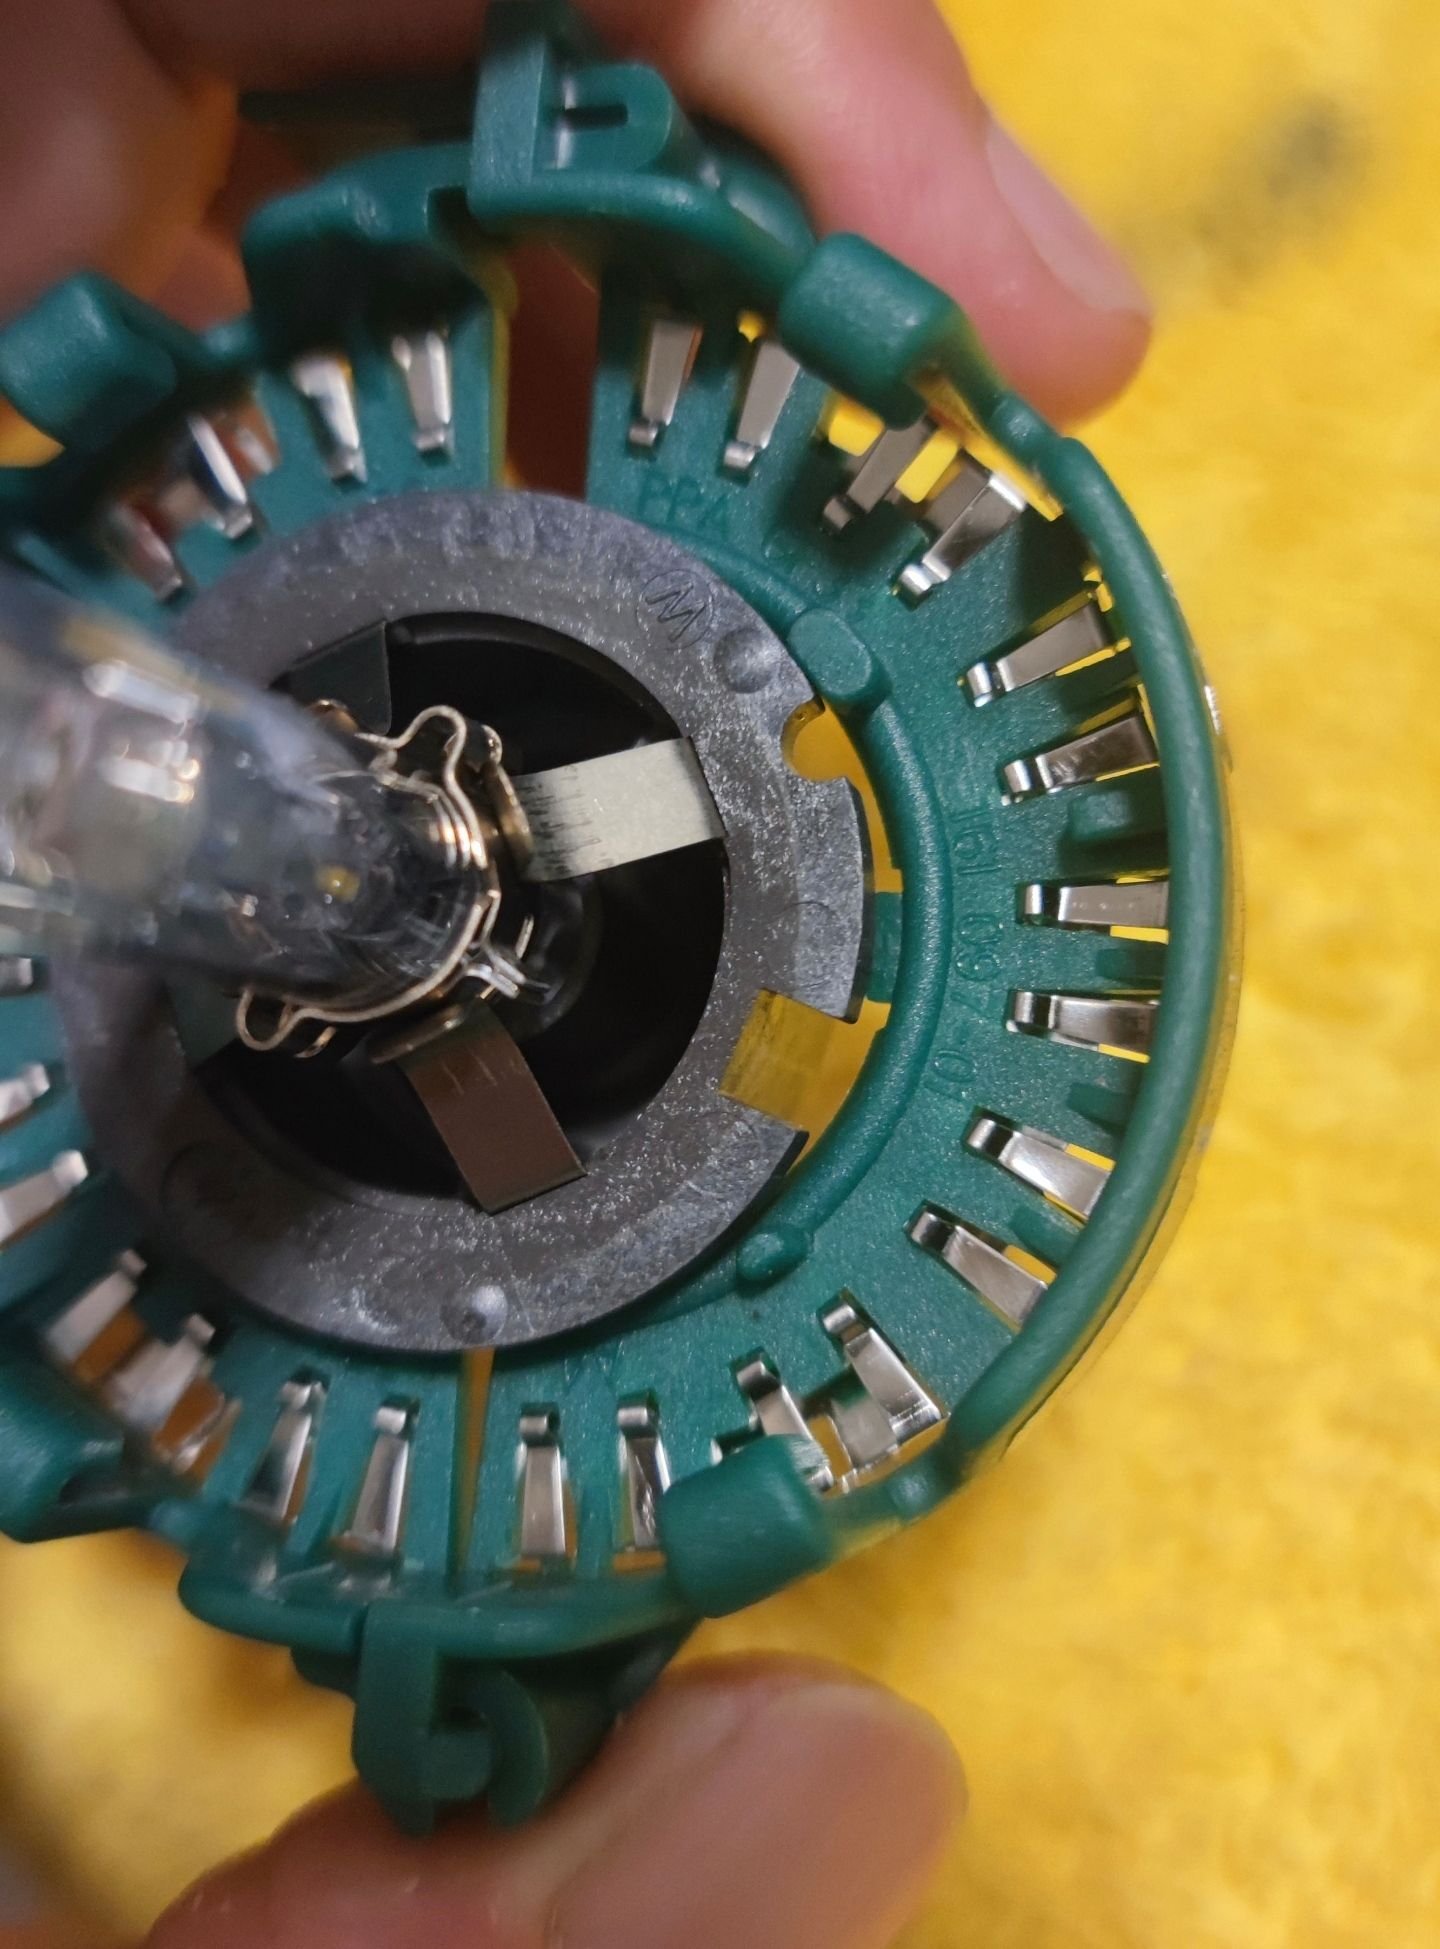
Here's a guide how to install the bulb on the ring. I thought they send me the wrong rings, but it seems like it's an universal ring and that's why it seems like it doesnt fit, but it does:
15. Enjoy the new improved lighting:

Here's the original guide from Retrofit lab:
The kit:

1. Take off the cover and remove the ground wire to get some more play on the cover and let it sit on top of the lights. Ground wire is held on with a 7mm hex nut.

2. Take off the automatic leveling motor and it's wiring harness and pop off the balljoing, you can pop it off by just by pulling it. The motor is held on with two TX20 screws.

3. Take off the high beam wiring connector:

4. Pop off the third ball joint by pushing it with your thumb:

5. Remove the TX20 screw from the side and slide this assembly half way on top of the tabs securing it in place:

6. Pry off these adjustment screws by a flat head screw driver. They arent being held by anything. If they are not coming out, move the mechanism a little back or forward to get it where the screws come off more easily

7. Voila:

8. Pop out the last balljoing under the cover on the other side:

9 and 10. Remove the TX20 screws that is holding in the projector assembly. The drivers side had four and the passanger side had three screws. The fourth is a little hard to get to, I decided not to install it back as the other side comes from the factory with three screws:


11. Take off the stand for the projector:

12. Install the adapter on the new projector and the stand you just removed. I used some blue loctite on the bolts. The longer 20mm adapters come first to the projector, then the shorter ones are installed on the adapter plate and then the stand. This process is documented quite good on the retrpfit labs install guide.

13. Install the projector to the headlight and secure it with the TX20 screws. Also install back the mechanism you remove on step 7. I had some trouble popping in this balljoing, but I managed to get it in with a 90-degree tool that I had (pictures). I had to pull it from the back and push it in at the same time. Same goes for the automatic leveling ball joint. Also remember to pop in the third balljoint on the side:

14. Installed back along with the side mechanism and automatic leveling motor. As my car already had the OEM bixenons, I cut the old harness connector and soldered it on the new projectors wires. Remember to install the ground wire that you removed on step 1. I put it under one of the nuts holding the stand.

Here's a guide how to install the bulb on the ring. I thought they send me the wrong rings, but it seems like it's an universal ring and that's why it seems like it doesnt fit, but it does:
15. Enjoy the new improved lighting:

Last edited by 2jzhx60; 12-26-2021 at 03:01 AM.
The following 5 users liked this post by 2jzhx60:
CRYSTALCLEAR (10-24-2023),
LinwoodM (12-20-2021),
NoogaSparrow (12-20-2021),
Testdr (12-19-2021),
Volkerst (11-14-2023)
The following users liked this post:
Volkerst (11-14-2023)
#56
They also sell the ballasts if you are upgrading from H7 to bixenon and I am sure they can be bought separately. Heres the kit for the H7 upgrade:
https://retrofitlab.com/products/por...
But yeah, I used the OEM ballasts.
https://retrofitlab.com/products/por...
But yeah, I used the OEM ballasts.
#57
Rennlist Member
Thread Starter
I installed mine on my MK1 996. Lighting is significantly improved. I'm running Phillips Xtreme vision Gen 2 bulbs and now the lights have a purple blue hue when viewing the car at a distance. Looks very cool and modern. Very happy with this upgrade. I feel much more confident driving through New England wooded areas at night where deer can pop out at any moment. Brights are so much more powerful also. Well worth the 179 dollars spent on the kit.
Maybe an Admin should add this thread to the DIY sticky.
Maybe an Admin should add this thread to the DIY sticky.
Last edited by MoeMonney; 12-26-2021 at 12:08 AM.
The following 2 users liked this post by Testdr:
CRYSTALCLEAR (10-24-2023),
tom__w (12-30-2021)
#60
The holders are universal. I also thought they wont fit and contacted Retrofit lab about this and they sent me this link.
One of the tabs dont match but they still fit fine. Kinda wierd that they are like that
One of the tabs dont match but they still fit fine. Kinda wierd that they are like that


