Headlight protection info
 10-28-2007, 06:15 PM
#1
Banned
Thread Starter
Join Date: Apr 2006
Location: Connecticut
Posts: 1,027
Likes: 0
Received 0 Likes
on
0 Posts
Have thought about this for a while. Decided to do it after looking at TRG's cars last Friday, all with lens film. Austin made me do it :-)
Check here: http://lamin-x.com/
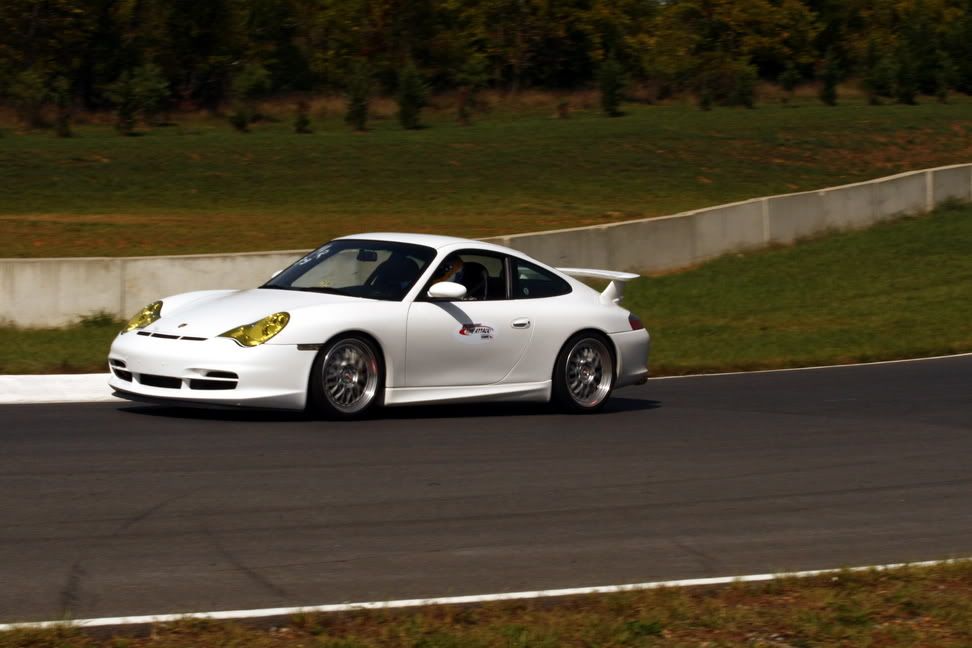
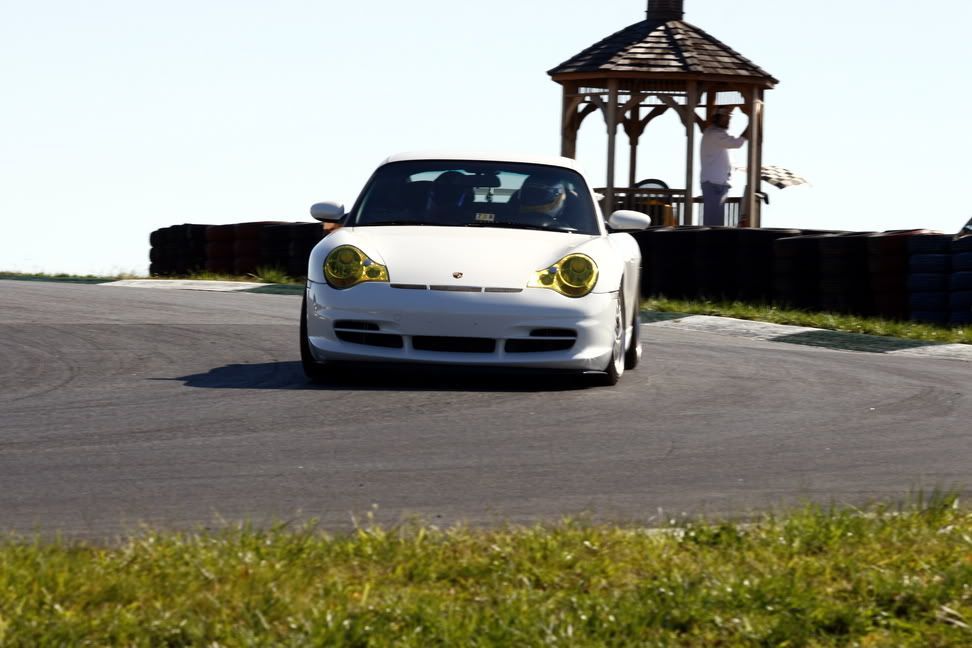
I went with yellow. Don't know if it's street legal or not. Don't care much. I've only driven at night three times, all short distance, since March in this car. I have been way more likely to either risk cracking a lens or being hard to see in the rain on a track. I'll post a review once I get them and install them.
They have to be easier than the windshield film I put on that always wanted to come up along the sides.
Check here: http://lamin-x.com/
I went with yellow. Don't know if it's street legal or not. Don't care much. I've only driven at night three times, all short distance, since March in this car. I have been way more likely to either risk cracking a lens or being hard to see in the rain on a track. I'll post a review once I get them and install them.
They have to be easier than the windshield film I put on that always wanted to come up along the sides.

 10-28-2007, 10:25 PM
#4
Rennlist Member
I have the Lamin-X as well, I actually ordered after I saw Datax post about them, so thanks Ken!! 
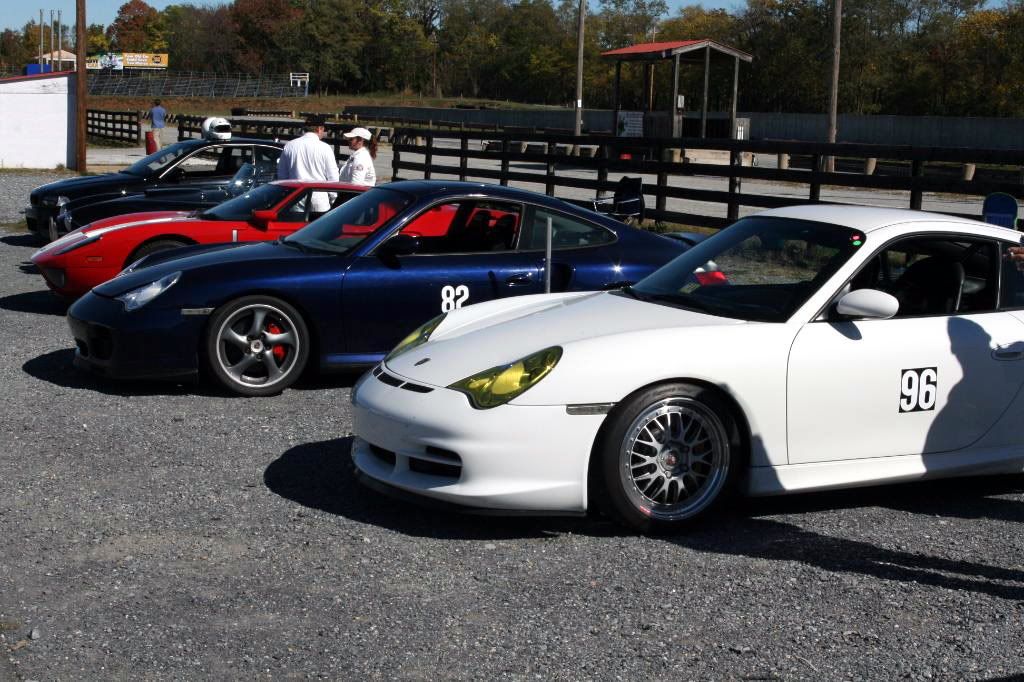
I have the clear ones and you can't tell they're there at all! The headlights are $2,000 /each so this is a cheap insurance for rock chips etc.

I have the clear ones and you can't tell they're there at all! The headlights are $2,000 /each so this is a cheap insurance for rock chips etc.
10-28-2007, 10:38 PM
#5
Banned
Thread Starter
Join Date: Apr 2006
Location: Connecticut
Posts: 1,027
Likes: 0
Received 0 Likes
on
0 Posts
Ok, now I like the clear too. Spectacular photo Juha. My yellows are ordered already though. If they are not to my liking I may try the blue. Just feel some color would be fun as long as the street driving issue is not big to me.
Clear is cool though. You have the protection which is the #1 issue, track visability (for others who see me behind them) was big to me but certainly secondary. Someone who can't see a GT3 coming up may need more than a yellow lens for a wakeup :-)
Clear is cool though. You have the protection which is the #1 issue, track visability (for others who see me behind them) was big to me but certainly secondary. Someone who can't see a GT3 coming up may need more than a yellow lens for a wakeup :-)


Trending Topics
10-30-2007, 08:31 PM
#8
Nordschleife Master
10-30-2007, 08:59 PM
#9
On the first day I installed them I noticed the slightest change in the color of the beams, but the lights are so powerful after a few days I could not tell anymore. They seemed brighter blue in the beginning. They actually seemed to fade a little bit over the first month or so and became the color you see in the pictures which really seemed to eventually have no effect.
 10-31-2007, 12:25 AM
#13
Rennlist Member
http://lamin-x.com/ecommerce/os/cata...ab07ea9d59ab09
10-31-2007, 02:26 PM
#15
Just tape some type of paper down and trace around the front, flat, flush part of your headlight (you'll see what I mean) and then lay that over the Lamin-X and cut it. When you get one side done, flip over the Lamin-X and trace the outline on the other piece so they're identical. You can cut it with scissors, it's not that hard to do.
I've done it twice now. I found it was easiest to tape the the final thing down with blue tape exactly where I wanted it. I would then un-tape the vertical edge where it meets the hood and peel back an inch or so and stick it down. Then untape the outer edge by the fender, reach underneath and begin pulling the backing off while sticking it down with the little blade thing. Slowly work your way out and up but try not to stretch the material or you will make it too big like pizza dough.