Tensioner under A/C compressor - remove for IMS bearing replacement?
 06-21-2017, 01:54 PM
#16
OK, got it. The double blade style for locking both cams is what I assumed was correct...and the single was optional as the directions stated.
The fun should be starting soon...have a tons of parts already but have a ton more to order...really happy to be part of the club here. These cars are really special.
Chris
The fun should be starting soon...have a tons of parts already but have a ton more to order...really happy to be part of the club here. These cars are really special.
Chris
 06-21-2017, 02:27 PM
#17
Rennlist Member
This is news to me. I have a 3.6 as well and performed the procedure with the single blade lock on the lower cam like in the video.
06-21-2017, 03:06 PM
#18
Instructor
Thread Starter
Join Date: Jan 2017
Location: Northwest Suburb of Chicago - AE #0956
Posts: 135
Likes: 0
Received 0 Likes
on
0 Posts
I have both the single and double lock tool so I will use the double. Just try to keep things as still as possible.
I assume by that video and being a 5-chain engine that pulling all three tensioners was mandatory?
I assume by that video and being a 5-chain engine that pulling all three tensioners was mandatory?
06-21-2017, 03:17 PM
#19
The double blade also verifies the timing the same time, which should be done anyway whenever an IMS retrofit is performed. I'm pretty sure that's one of the many steps in Jake's evaluation process.
06-21-2017, 03:29 PM
#20
Rennlist Member
The double blade lets you lock both cams (on the same bank) so it's more robust. The single blade was designed for the 3.4 engines (and Boxster's engine too) because the best you can do is to lock the exhaust cam. The intake cam has no slot at the end of the cam.
The double blade also verifies the timing the same time, which should be done anyway whenever an IMS retrofit is performed. I'm pretty sure that's one of the many steps in Jake's evaluation process.
The double blade also verifies the timing the same time, which should be done anyway whenever an IMS retrofit is performed. I'm pretty sure that's one of the many steps in Jake's evaluation process.
06-21-2017, 03:32 PM
#21
Instructor
Thread Starter
Join Date: Jan 2017
Location: Northwest Suburb of Chicago - AE #0956
Posts: 135
Likes: 0
Received 0 Likes
on
0 Posts
More terrific information, thanks guys.
Lastly, did either of you go as far to make sure the other bank was all lined up and in time when you where done with the bearing install?
Chris
Lastly, did either of you go as far to make sure the other bank was all lined up and in time when you where done with the bearing install?
Chris
 06-21-2017, 04:02 PM
#24
FYI in case you have not seen it
http://theimssolution.com/wp-content...-Checklist.pdf
http://theimssolution.com/documentation-and-downloads/
http://theimssolution.com/wp-content...-Checklist.pdf
http://theimssolution.com/documentation-and-downloads/
06-23-2017, 12:24 PM
#25
Rennlist Member
One thing that is not shown on the video is to clean out the hose after cutting. Run solvent through it until you are sure that it is clean.
You don't want to inject debris into your new bearing. I do this whenever I put a hose on whether it's pre-made or I have made it.
You don't want to inject debris into your new bearing. I do this whenever I put a hose on whether it's pre-made or I have made it.
06-23-2017, 01:54 PM
#26
Shameful Thread Killer
Rennlist Member
Rennlist Member
Having just done this job, I locked both sides. I did a 5 chain, and was not going to risk any possibility of cam movement. The AC removal was a major step, but glad I removed tension from the front chain, and locked the cam in place. I also did two rotations of the crank by hand after bearing install and rechecked the cam slots vertical before closing things up.
06-23-2017, 01:58 PM
#27
Rennlist Member
The new kits (I got the dual row Solution) come with the hose pre-made so no worries about cleaning debris out of the hose after cutting. Not so sure about the length though. It seems like it could have been a little shorter. I also didn't read the caution about aftermarket rear sway-bars until after I installed it. I'm hoping to not have any interference, but I've got a bad feeling...
07-03-2017, 01:50 AM
#28
Instructor
Thread Starter
Join Date: Jan 2017
Location: Northwest Suburb of Chicago - AE #0956
Posts: 135
Likes: 0
Received 0 Likes
on
0 Posts
Started on the fun this last weekend. So far things have been pretty smooth, typical aggravation with tight spots.
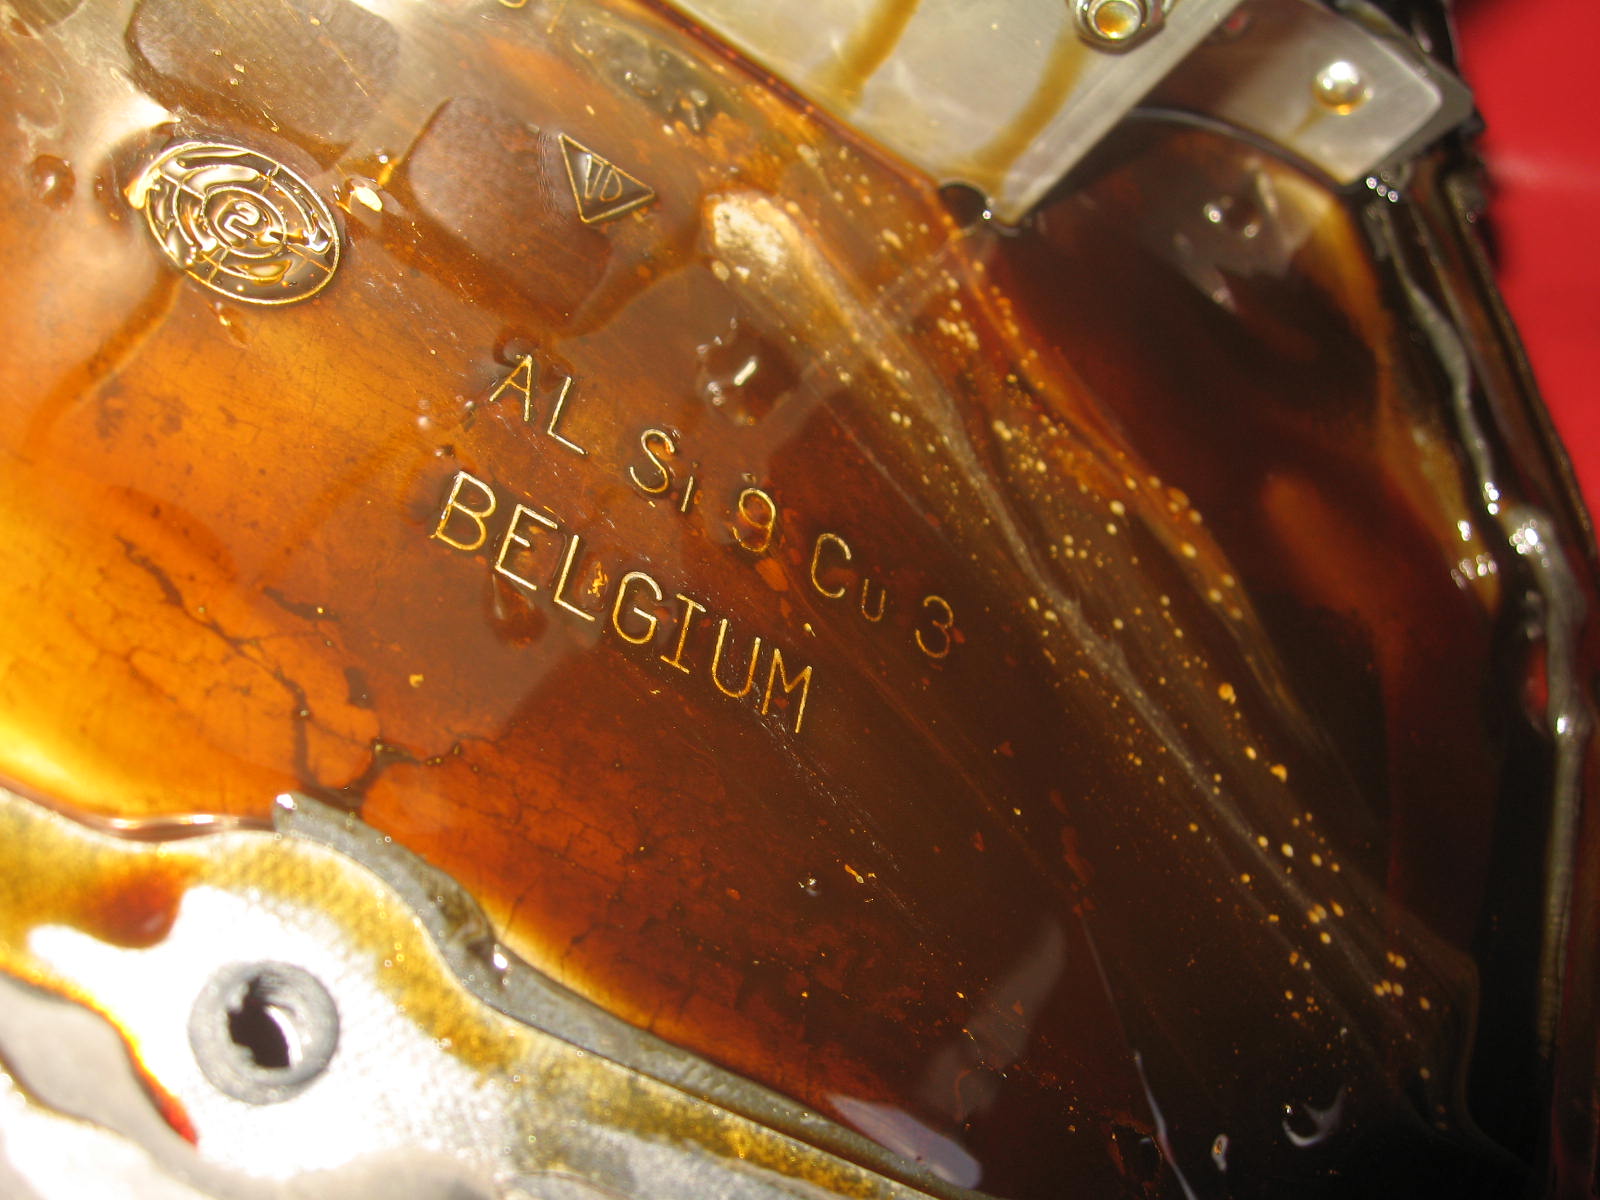
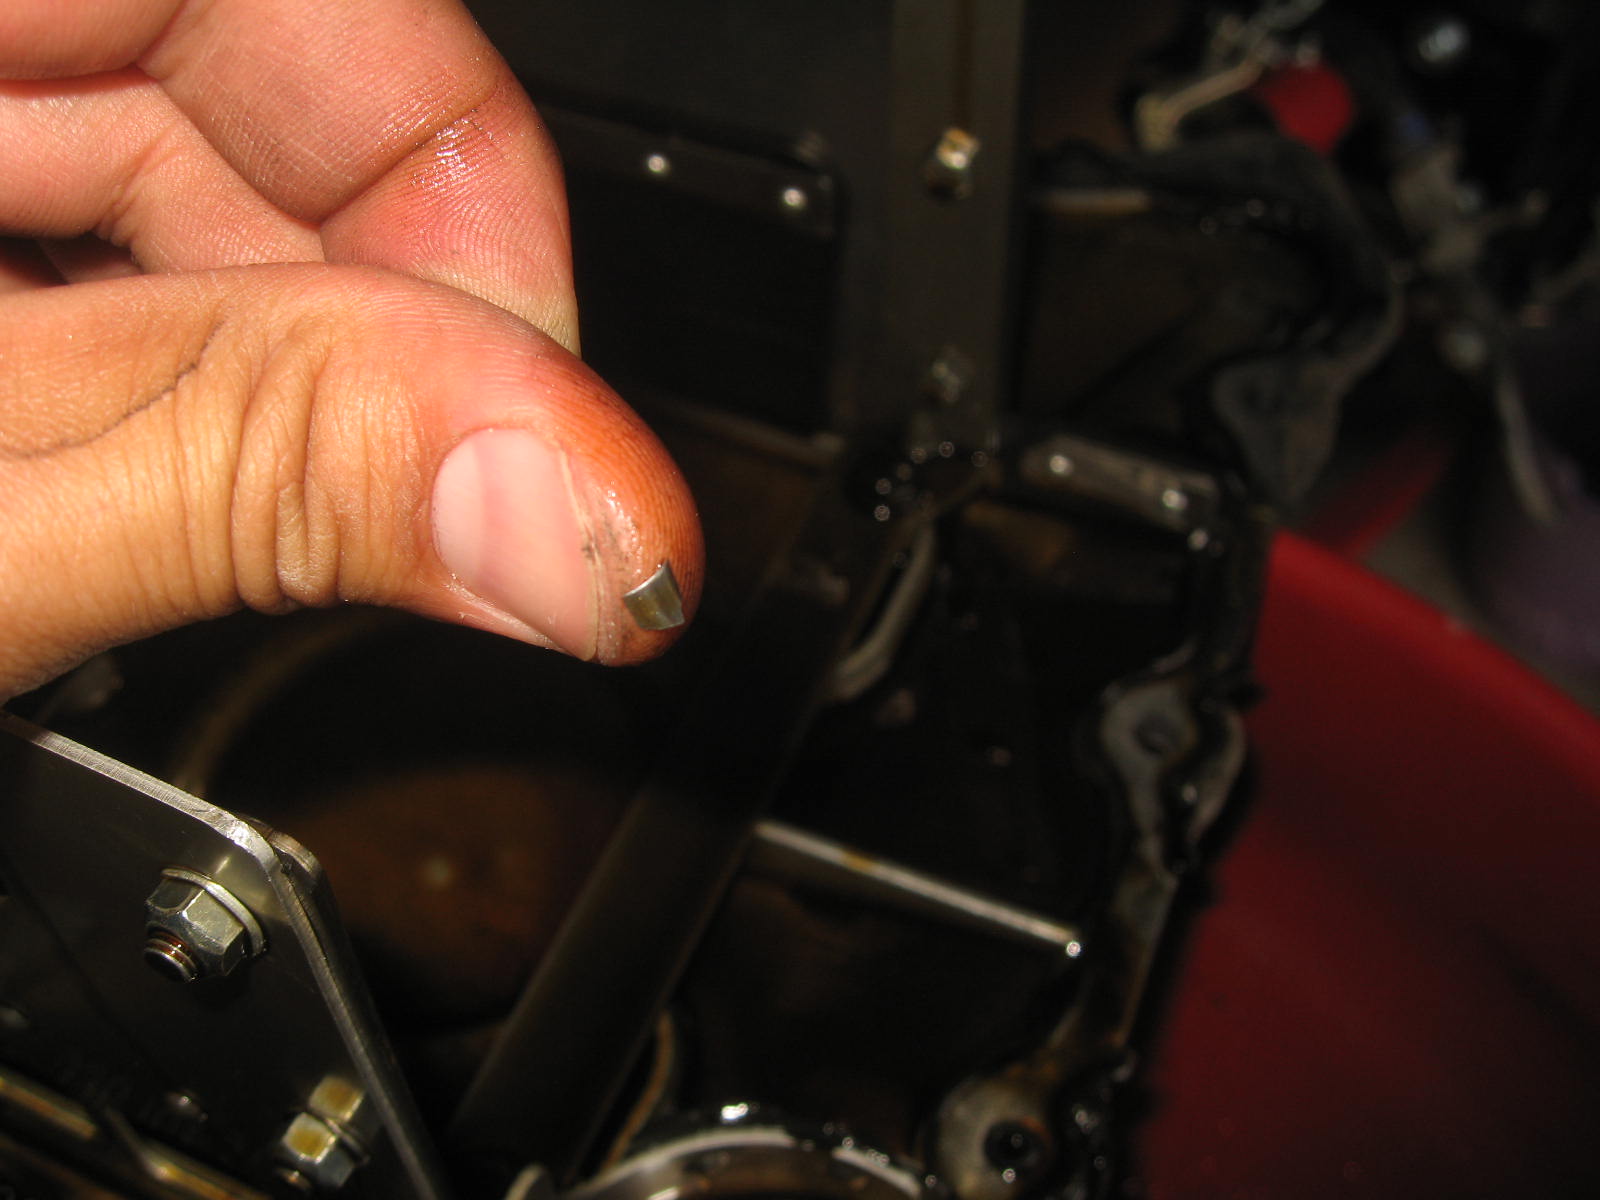
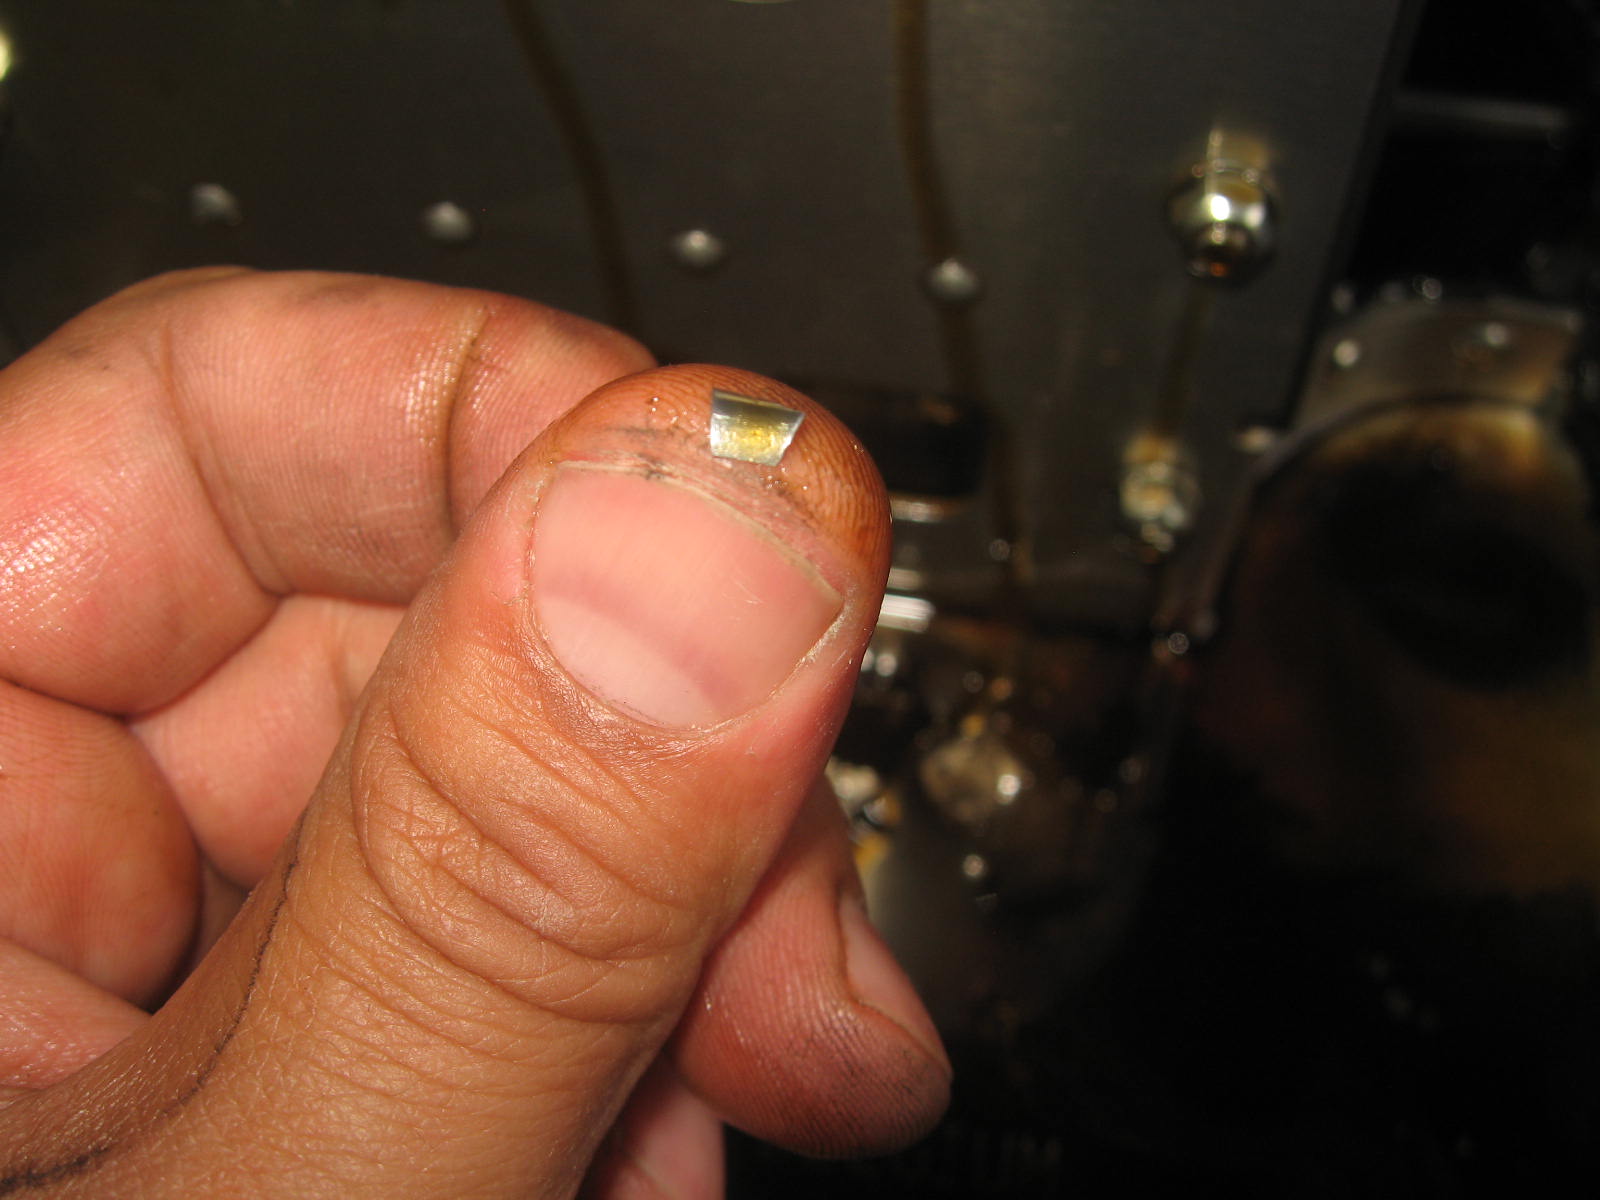
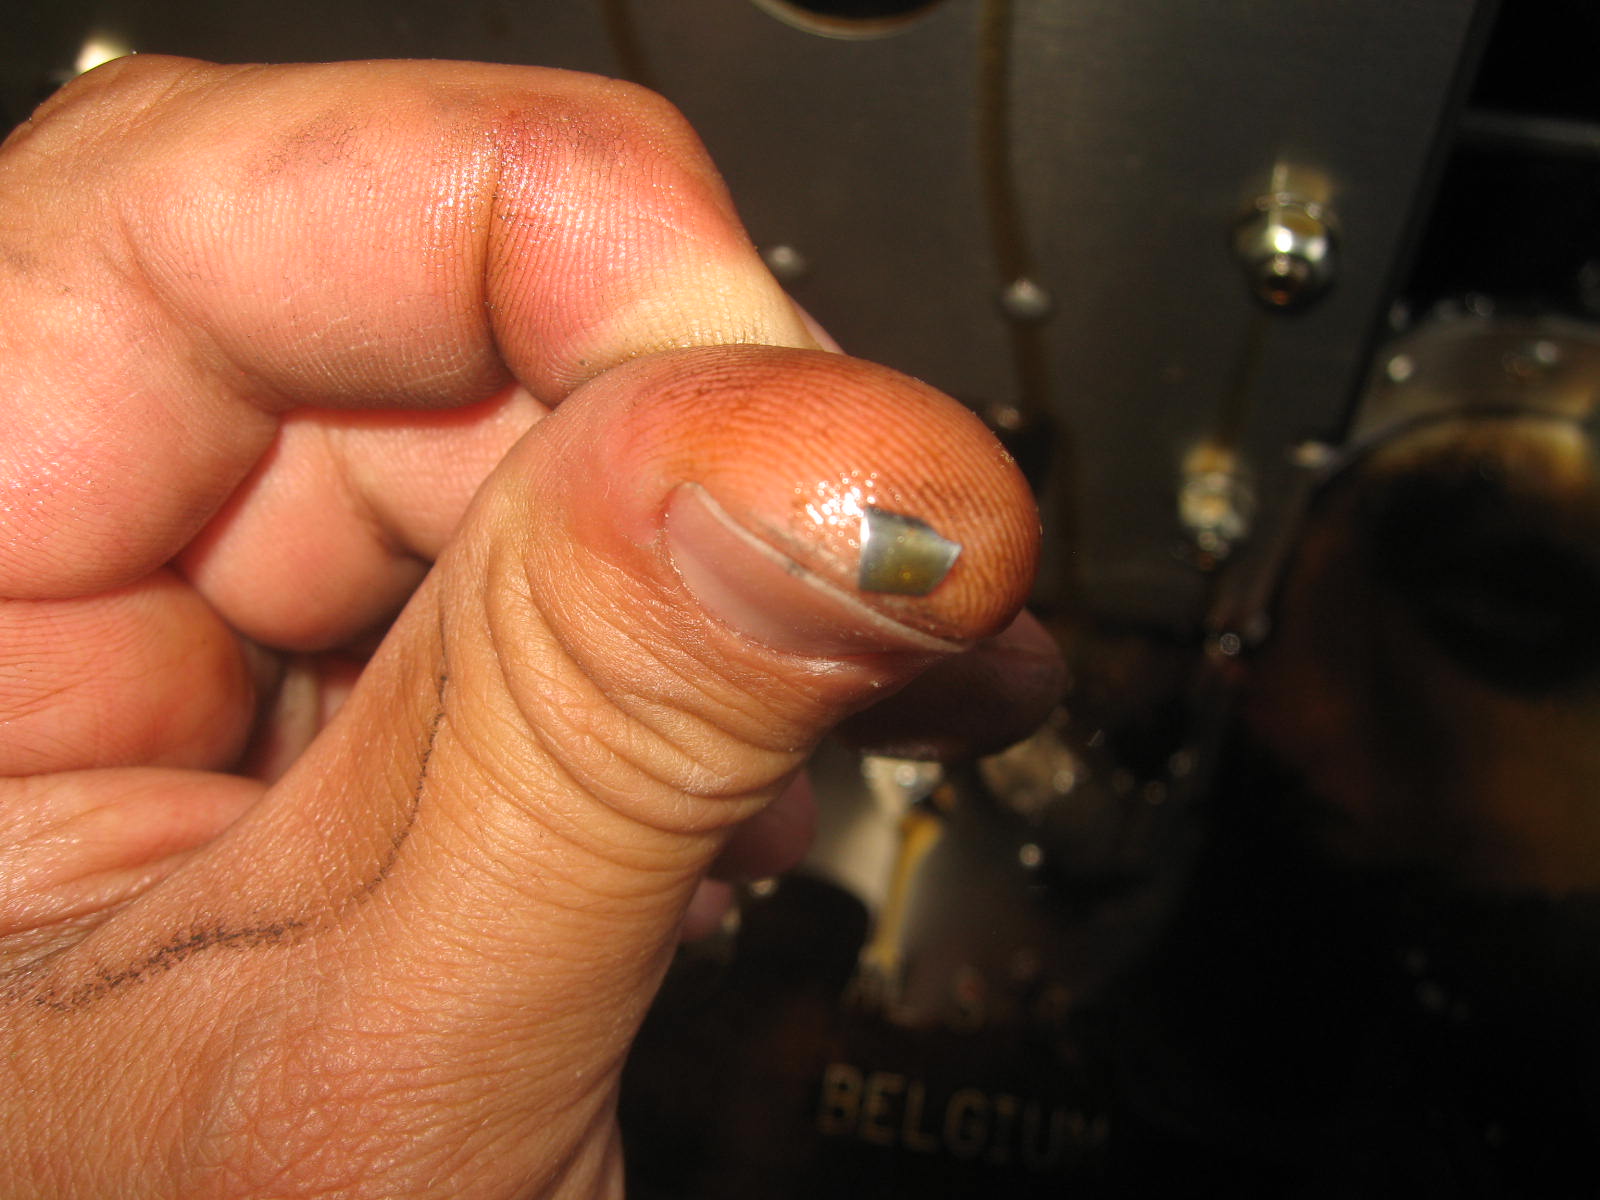
Found a small piece of metal when the pan was removed. Tiny piece of plastic from what I assume is a chain guide. Oil had a few white colored �dots� or speckles which I chalked up to being most likely moisture�? Don�t think I should be too alarmed about that but who knows for now.
Oil looked good otherwise as did the internals I could see from the bottom. Filter was perfect, no metal or anything that resembled glitter.
I�d like to somehow get a scope in there to see the cylinder walls.
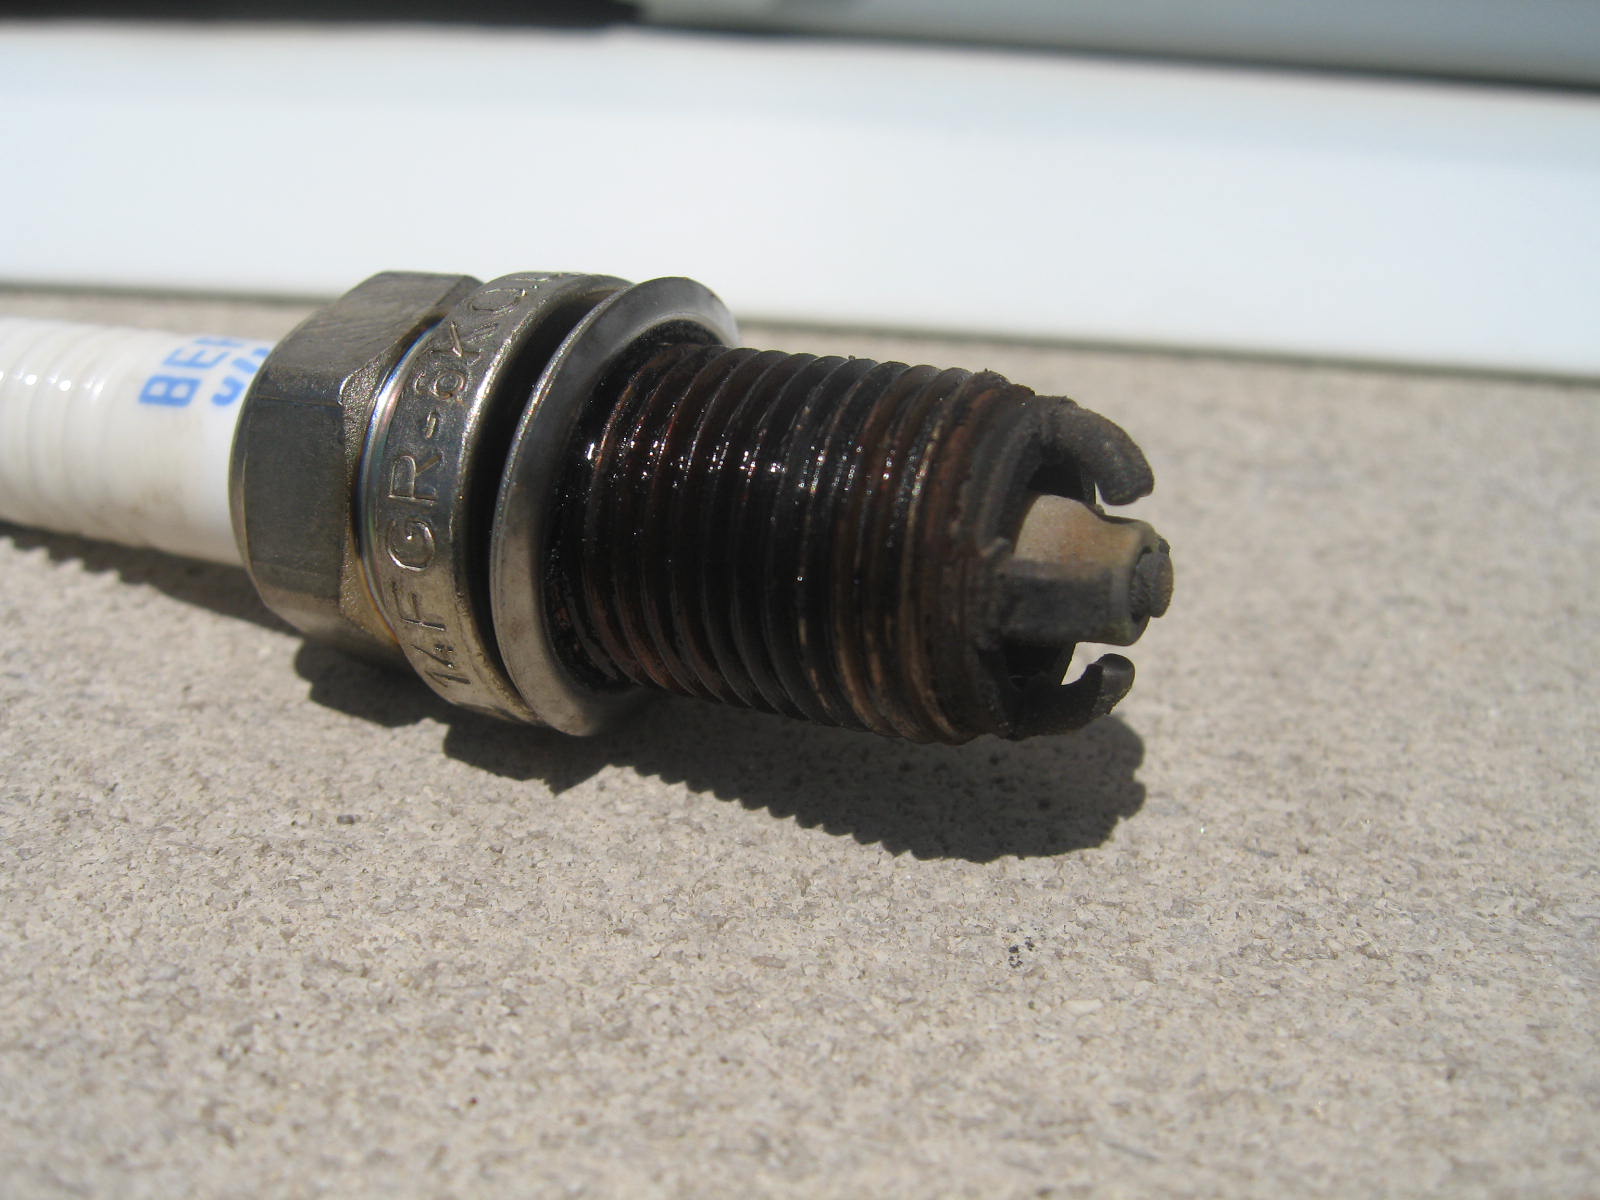
Spark plug looks original and �used��all this is getting replaced with my pile of parts.
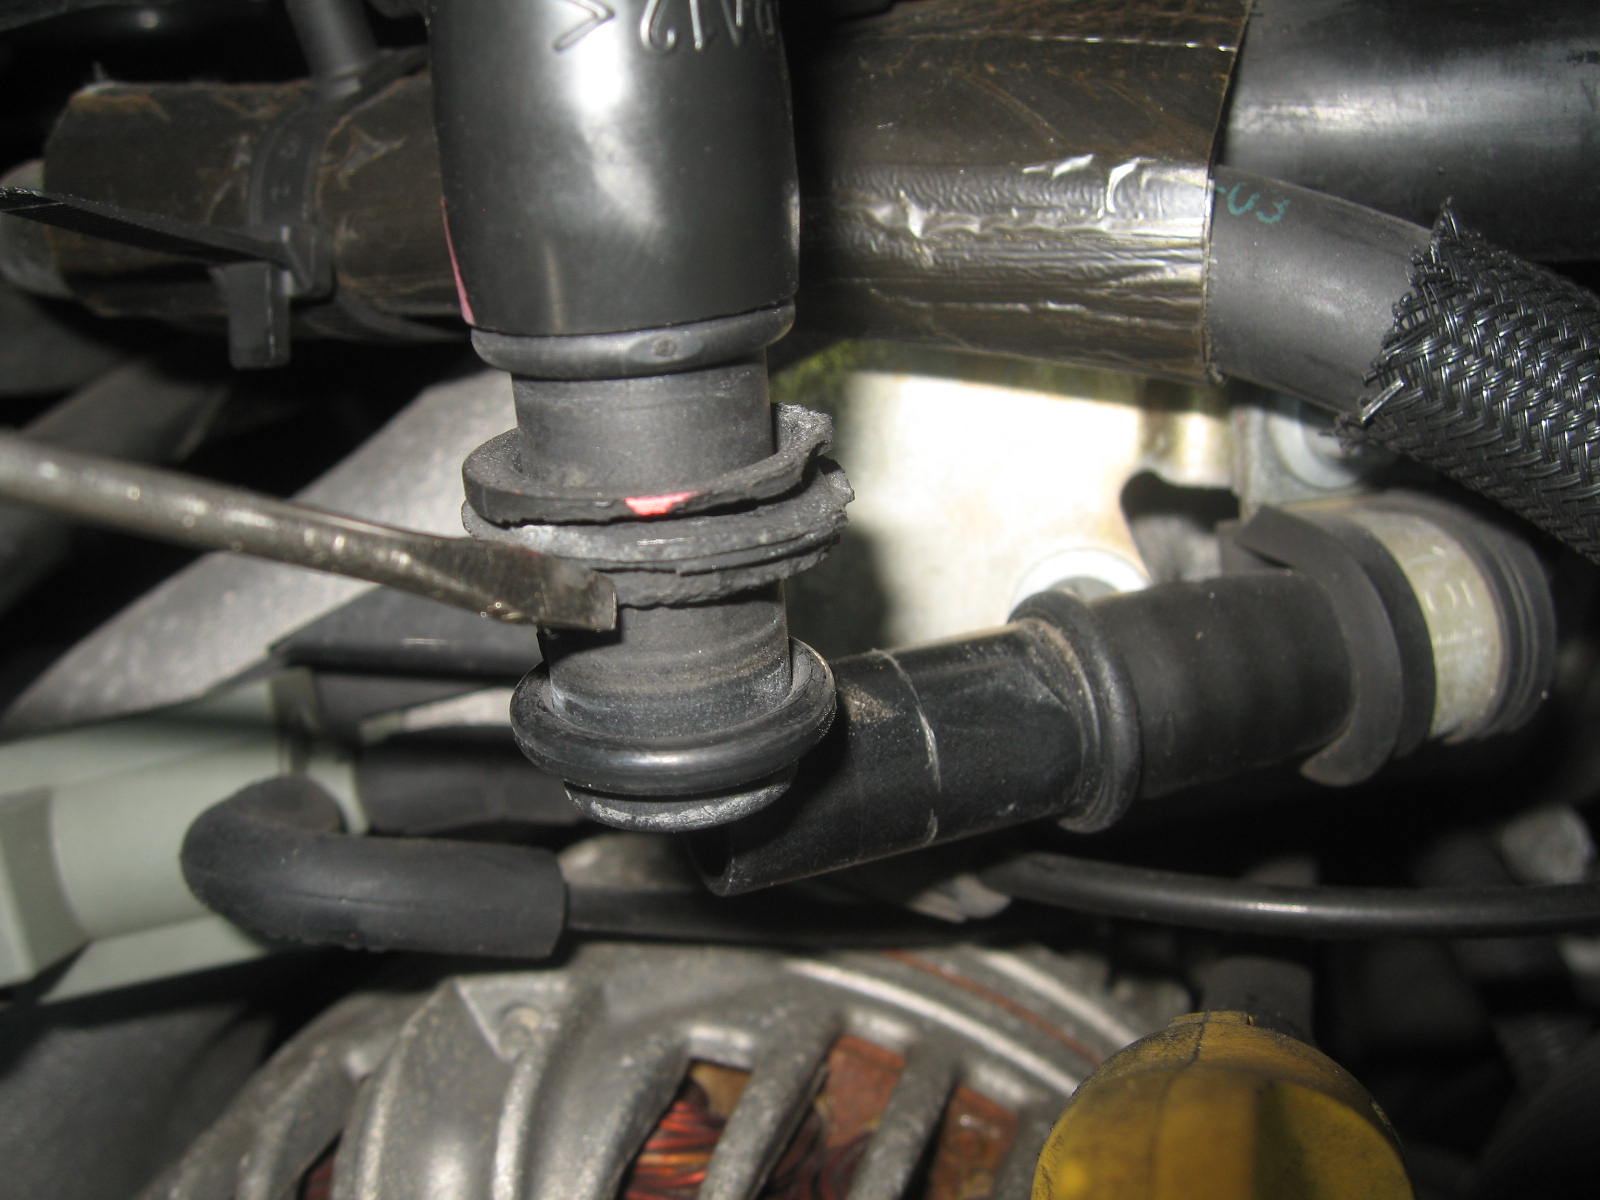
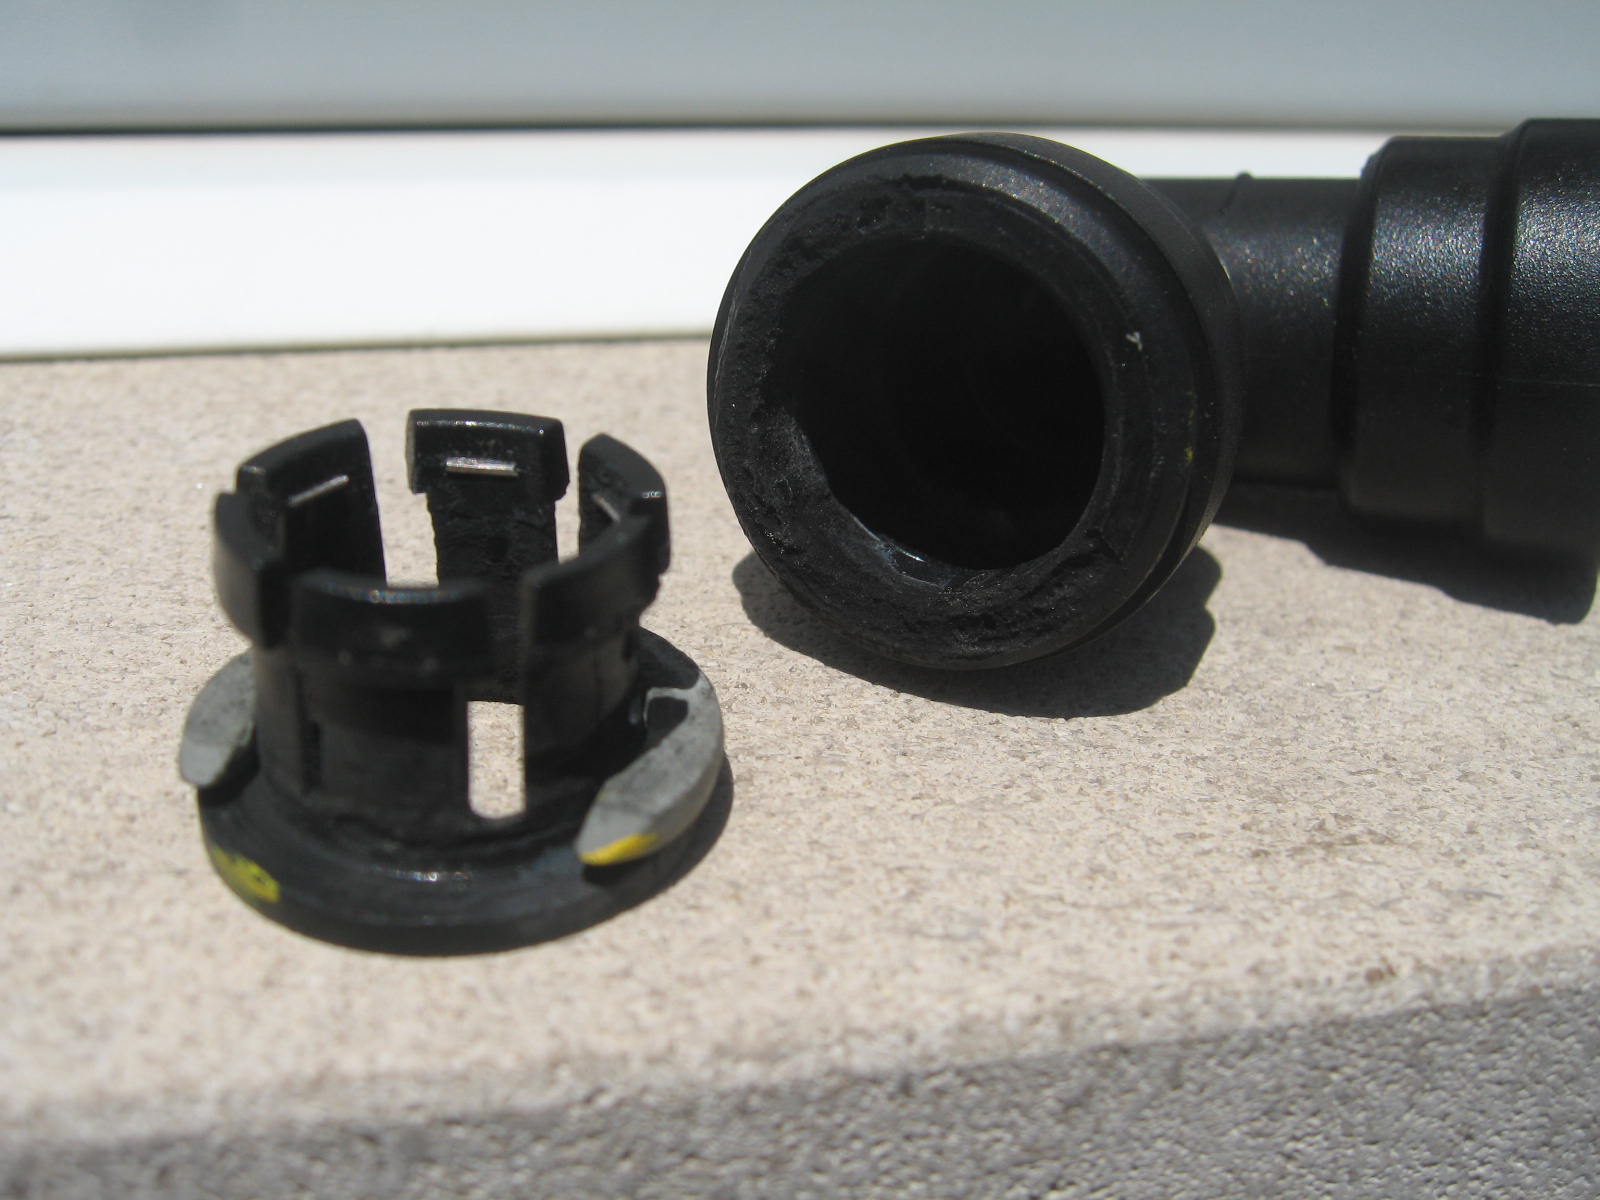
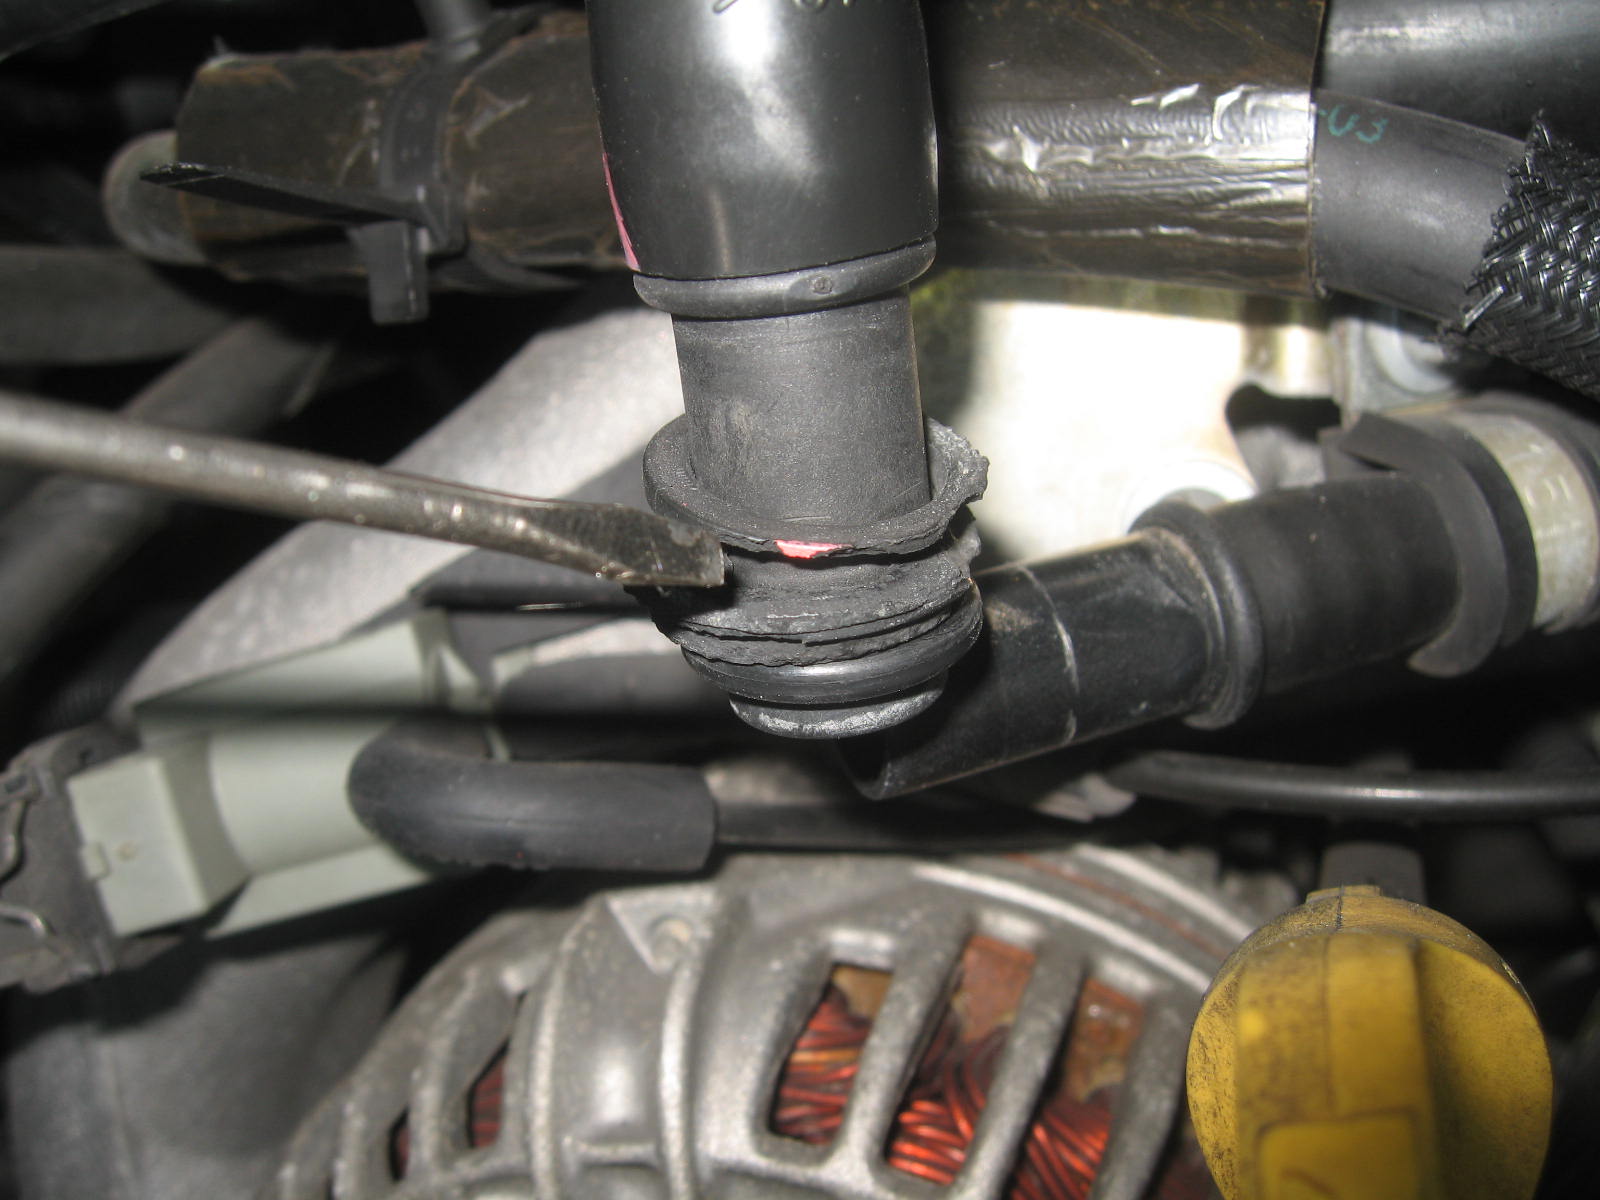
Lastly, the hose in the pictures below had a half broken plastic 90 degree connector�I managed to finish it off. I think this hose goes to the AOS then loops in the front to I have no idea at this point. I think I found the hose part number in the parts book I have but after pulling the elbow off thought perhaps I could just push on a rubber 90 degree elbow that I can perhaps locate somewhere. The rest of those hose appears to be ok for now.
On to the transmission removal next!
Chris
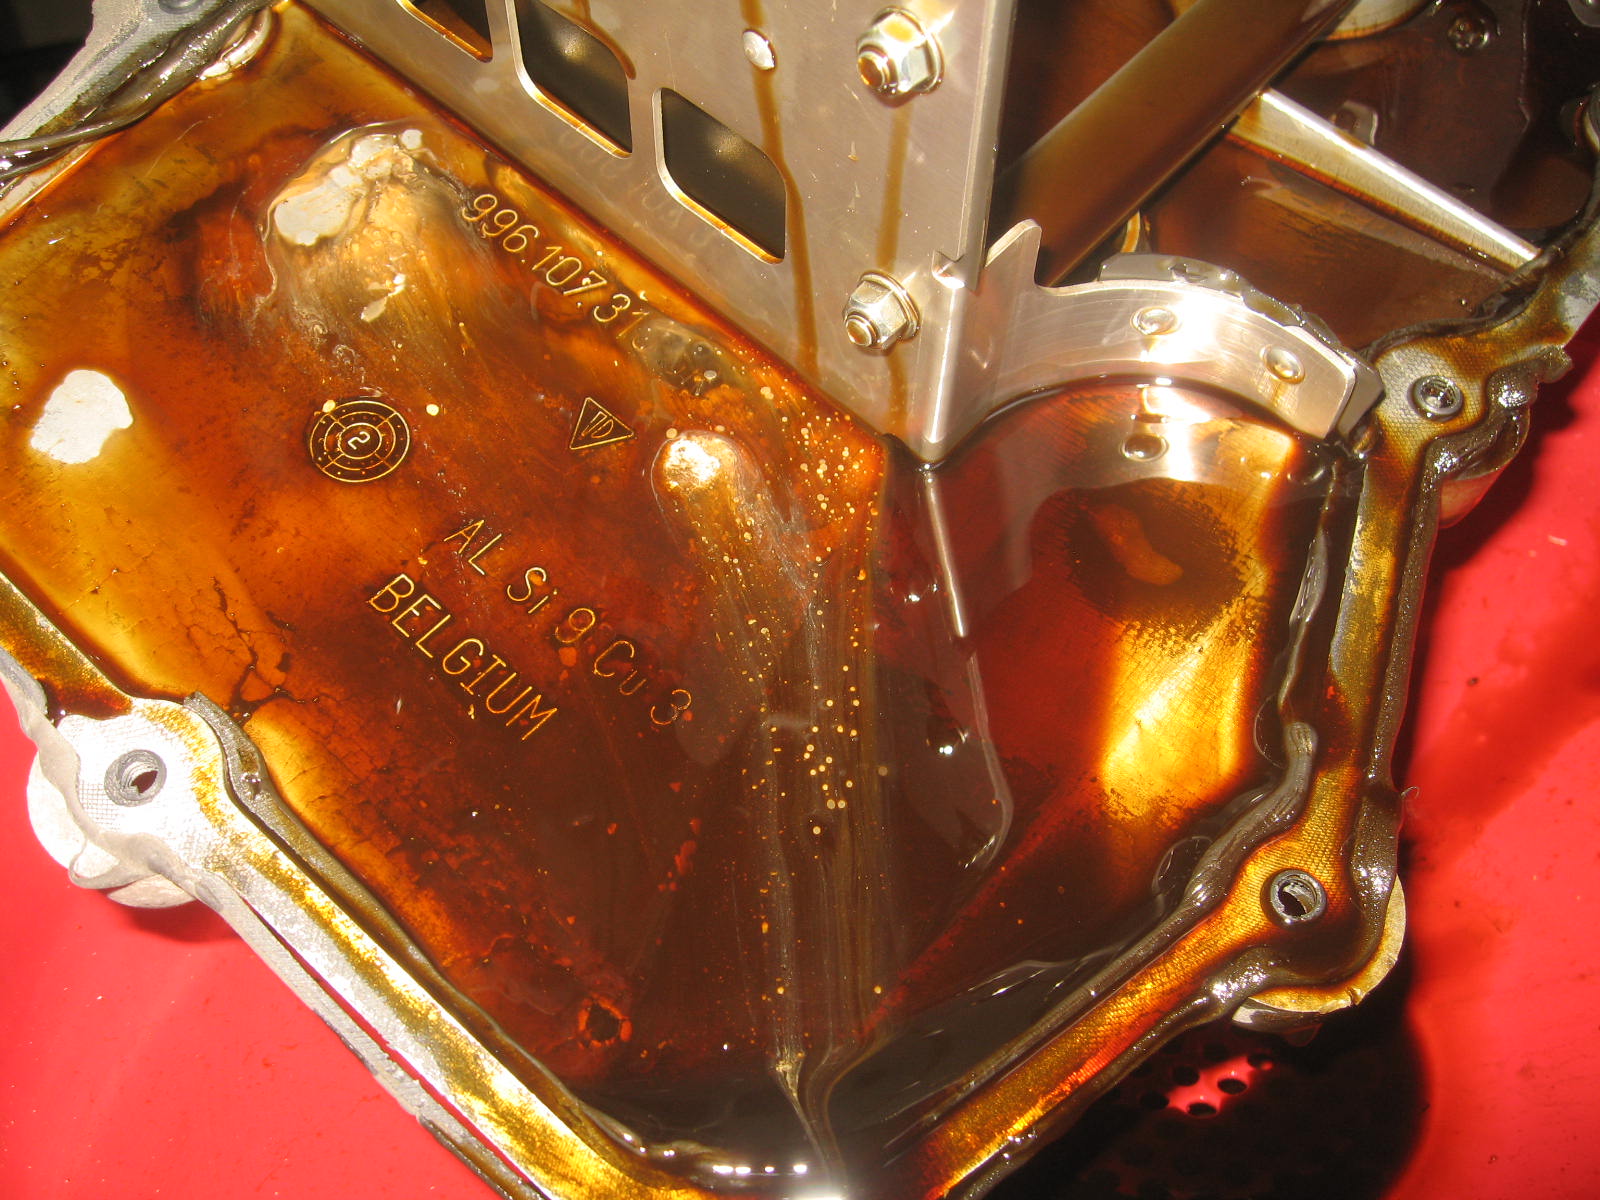
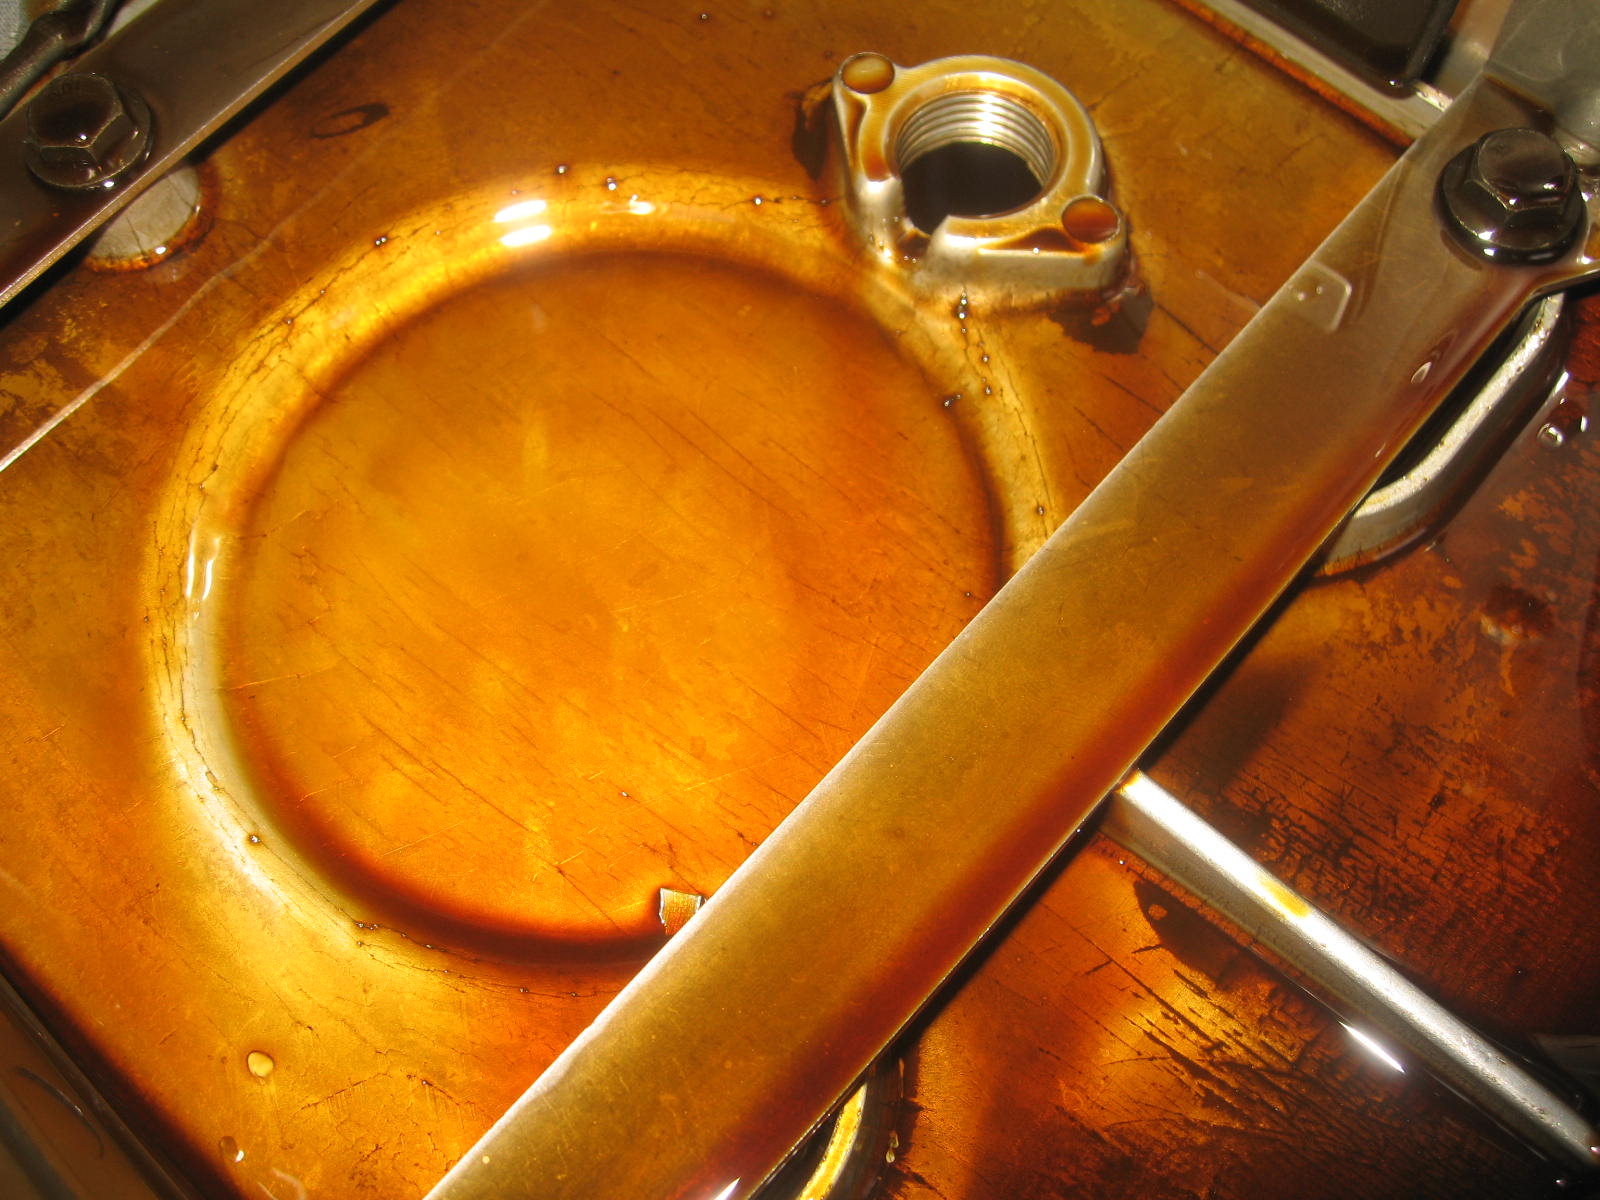
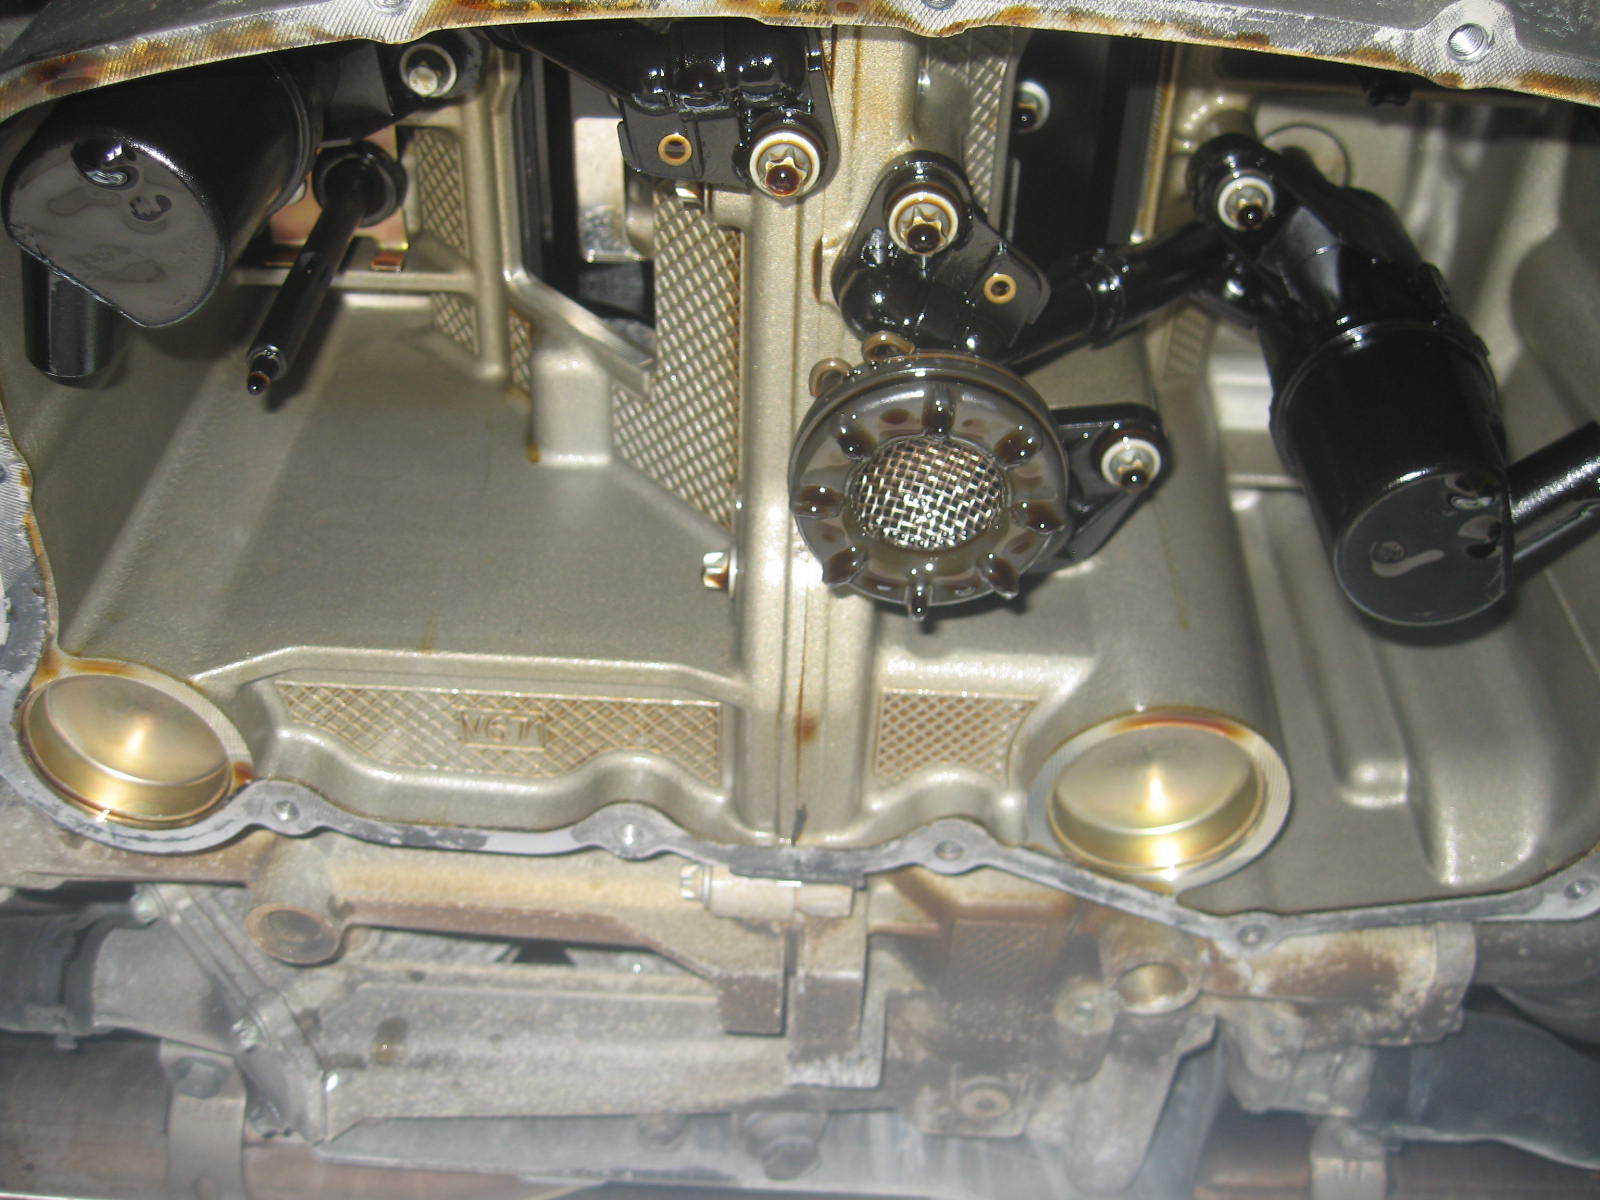

Found a small piece of metal when the pan was removed. Tiny piece of plastic from what I assume is a chain guide. Oil had a few white colored �dots� or speckles which I chalked up to being most likely moisture�? Don�t think I should be too alarmed about that but who knows for now.
Oil looked good otherwise as did the internals I could see from the bottom. Filter was perfect, no metal or anything that resembled glitter.
I�d like to somehow get a scope in there to see the cylinder walls.
Spark plug looks original and �used��all this is getting replaced with my pile of parts.
Lastly, the hose in the pictures below had a half broken plastic 90 degree connector�I managed to finish it off. I think this hose goes to the AOS then loops in the front to I have no idea at this point. I think I found the hose part number in the parts book I have but after pulling the elbow off thought perhaps I could just push on a rubber 90 degree elbow that I can perhaps locate somewhere. The rest of those hose appears to be ok for now.
On to the transmission removal next!
Chris