When you click on links to various merchants on this site and make a purchase, this can result in this site earning a commission. Affiliate programs and affiliations include, but are not limited to, the eBay Partner Network.
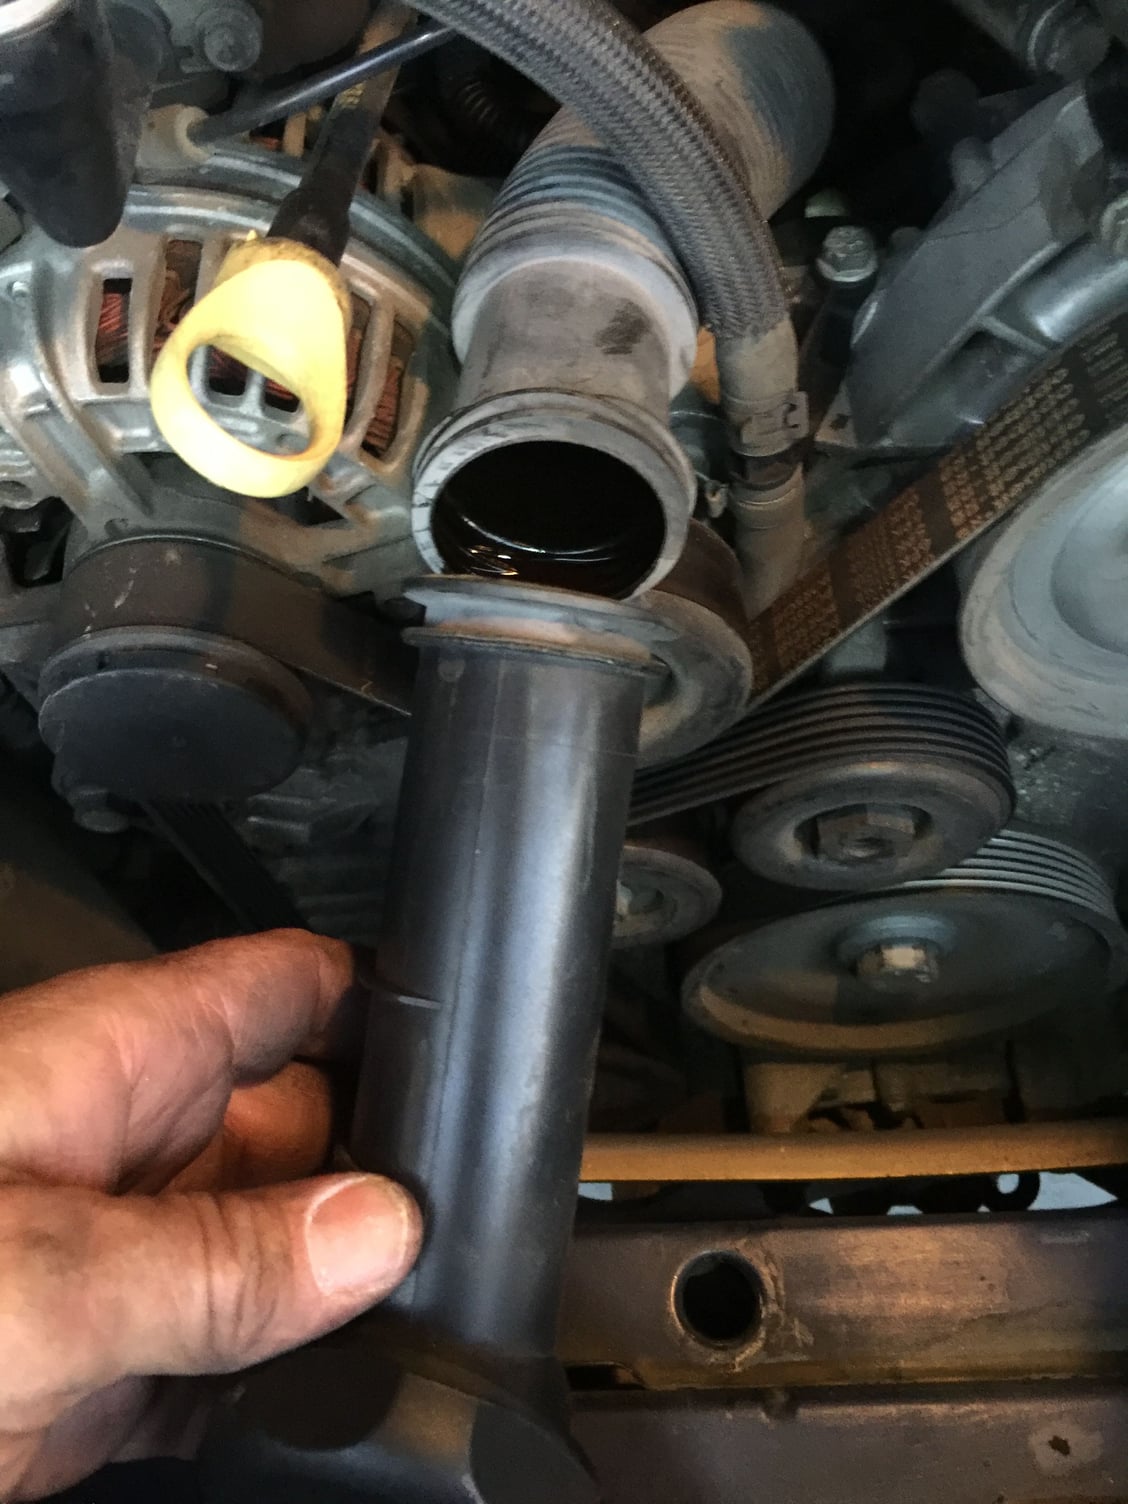
Changed my motor Mounts today...And broke my oil filler tube...
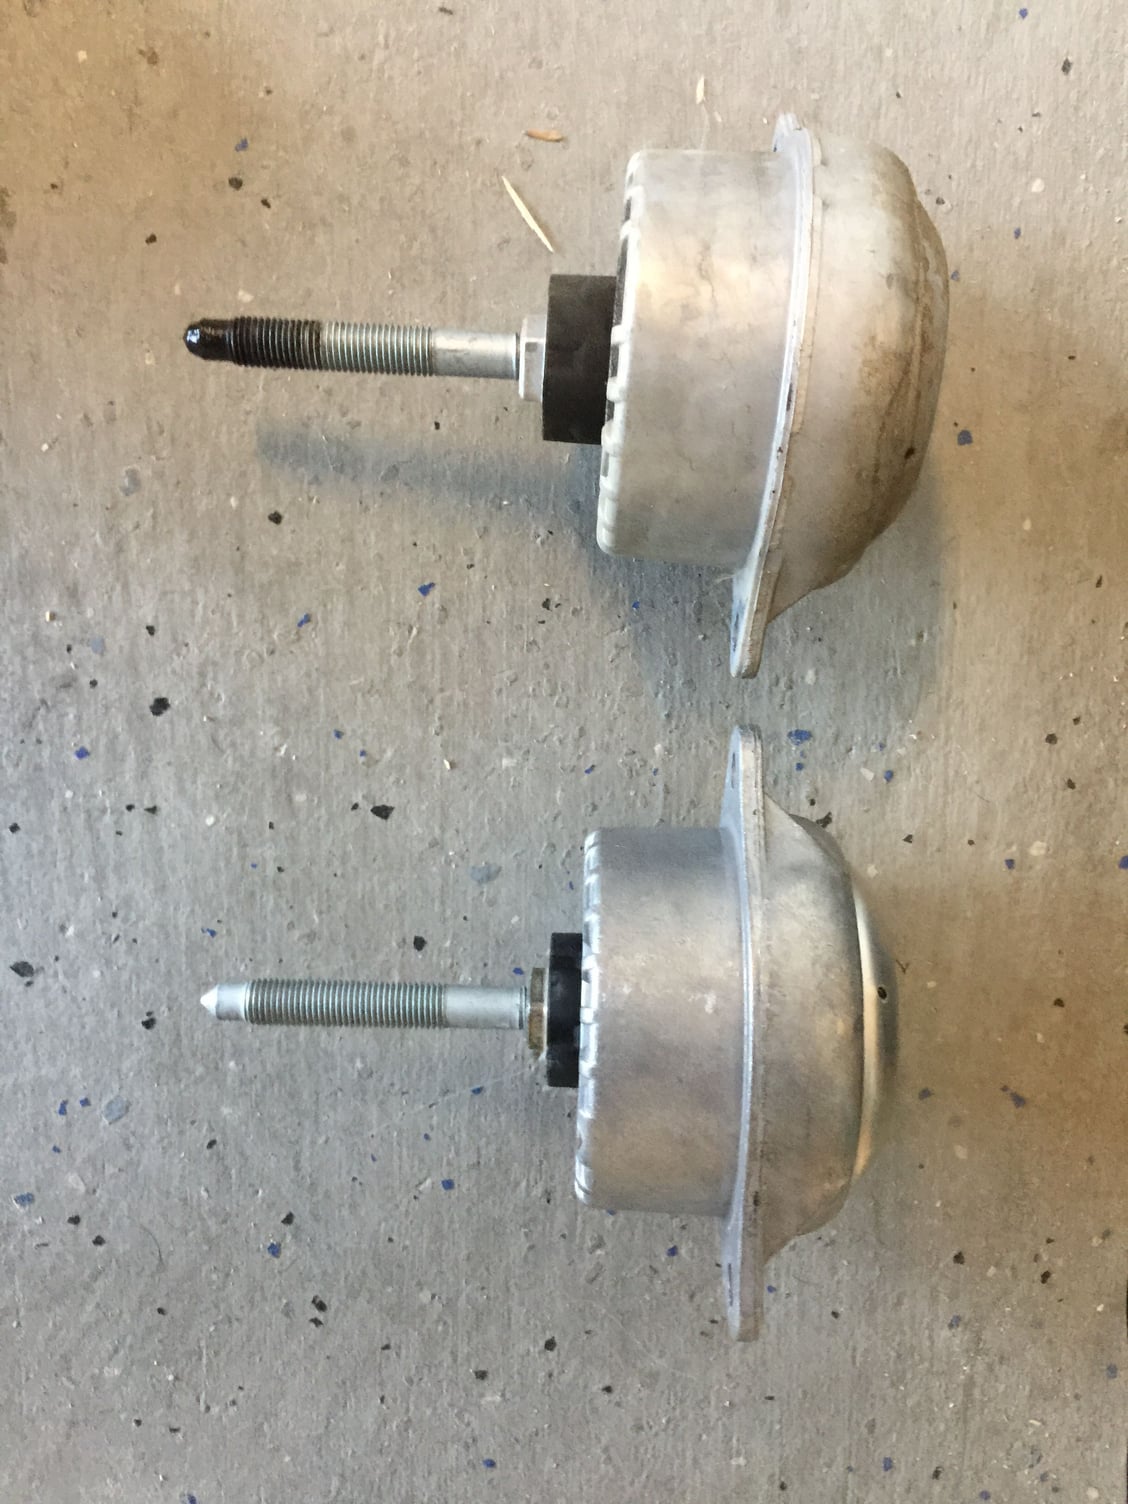
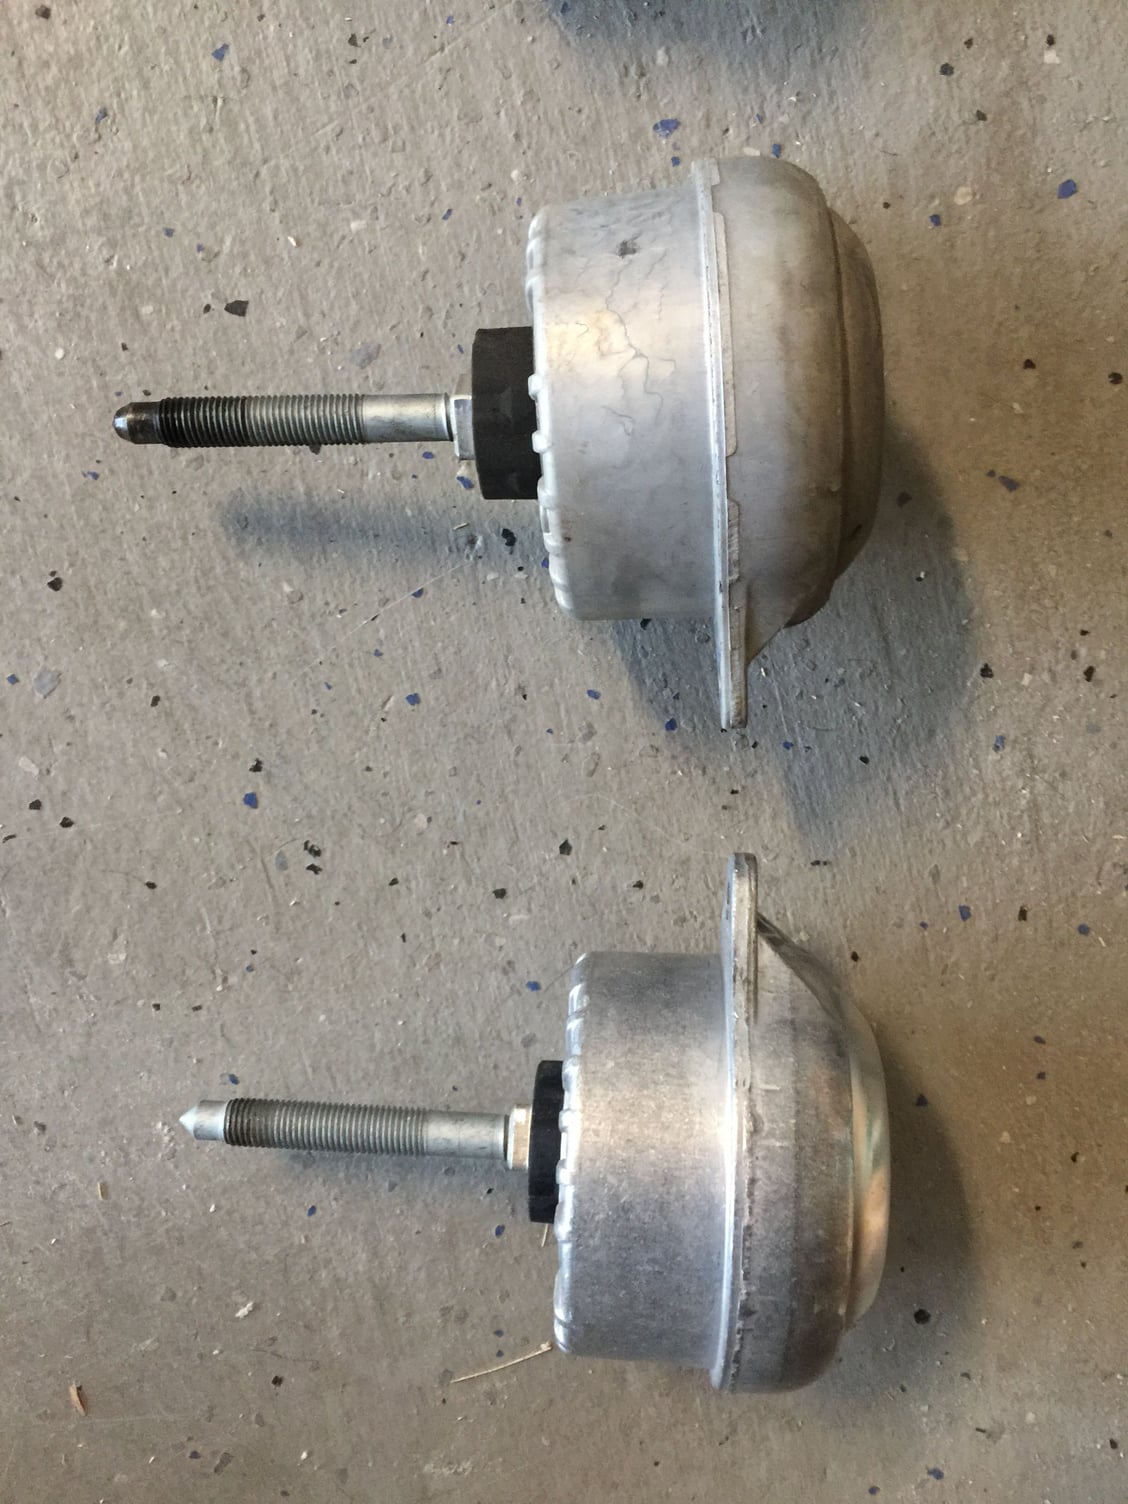
Car has 111K on it now so I decided it was time for some new mounts. Went with OEM type. Don't plan to track the car and did not want any extra vibration. Very straightforward job. The biggest pain was moving the smog pump out of the way on the drivers side. Needed a breaker bar on the drivers side lower bolt, but the right side came off easily.
All went well until I was putting the air box back in and broke the oil filler tube. About a $80 dollar mistake and what sounds like a pain in the but install. Oh well, the fun of working on stuff yourself. Biggest bummer is not getting to drive the car to see if I notice anything after putting in the motor mounts.
13mm socket for the top bolts. 18mm deep socket for the lower bolts, breaker bar might be needed as well.
I broke my OFT first and replaced the motor mounts while I had everything out. I was able to do it by removing the airbox, serpentine, alternator and throttle body but I had an 18" extension and a u joint at the socket.
BTW, I would go ahead and buy this: Connection Piece for Oil Separator Vent Hoses 996 106 226 52. Don't ask me why.
Ha ha. Thanks for the tip...I can only imagine what happened. I will put it on the list. Thank you again.
Nice garage floor epoxy and yeah it' sucks that after installling the new mounts you can't go test drive the car and enjoy the fruits of your labor. Hope you get a new filler tube soon and you get your car back on the road.
Thank you very much. Already placed the order and I start my 6 days off here on Wednesday morning...hopefully in by this weekend. Cheers
Originally Posted by Device2
Nice garage floor epoxy and yeah it' sucks that after installling the new mounts you can't go test drive the car and enjoy the fruits of your labor. Hope you get a new filler tube soon and you get your car back on the road.
I broke my oil filler pipe when I forgot to remove it from the clip of the air box. I had to remove the alternator to get the new filler in place. Disconnect the battery. A trick in removing the alternator which is held on by only two bolts. Firstly disconnect the electric plug of the evap switch over attachment at the top front of the surround of the alternator space or you will not have enough room available. Then remove both evap rubber elbow and straight tubes so you do not break the thin evap lines when working. The evap lines are very brittle and will break very easily. Slide them carefully to one side. Now remove the two small bolts of the holding bracket of the evap switch over valve and put that on the floor.
Then slacken off the bottom left alternator bolt but do not remove it. The other alternator bolt is on the right and is the center of a belt guide wheel. Loosen that up so it is a good quarter inch out. Then spray WD40 or PB blaster to the back part of that bolt where it again goes into the back part of the alternator. That long bolt lays on a shelf or guide shelf. There is a movable bung that has to go back about a quarter inch. To get it to 'go back' hit the bolt at the front with a hammer and the bung should go back after spraying it. If you do not loosen that bung, you will not get that alternator to drop free from the shelf. You cannot remove it over the shelf as the top of the alternator hits the top of the area it is in. Not enough room. It has to drop free passed the shelf. You will actually see the bung go back enough to miss the end of the shelf. When it drops free, you can then remove that long bolt and then the shorter one previously slackened off. The left bolt uses a LID which has coolant behind it as an anchor point or at least it goes through the lid. Now you should be able to lift the alternator over the left bolt hole of the lid and tip it forward to remove the plug and earth wire from the rear. Then you can put the alternator on the floor. I found it very helpful to remove the rubber tube from the Air Injection motor and push that tube back alongside the alternator. I re-routed that tube to the outside of the alternator space so I could easily handle the alternator with my left hand. I re-routed it back to the outside and onto the secondary air injection pump. Putting the alternator back. Connect up and then lift over left bolt hole. then lift right side and push right long bolt along the shelf and into the rear bung. The bung comes over the end of the guide shelf as you tighten it up. Don't forget the top bracket and evap lines and electric plug.
I can now remove the aletrnator and replace it within half an hour. Pelican parts says it takes 4 hours. I have had to do it seven times for various evap jobs. Now you have lots of space to remove and replace the oil filler tube. Go for it.
Last edited by Hurdigurdiman; 03-07-2017 at 09:33 AM.
.thanks. Dry much for the helpful insight! Much appreciated. Hope to get the part in tomorrow so I can start the job.
Originally Posted by Hurdigurdiman
I broke my oil filler pipe when I forgot to remove it from the clip of the air box. I had to remove the alternator to get the new filler in place. Disconnect the battery. A trick in removing the alternator which is held on by only two bolts. Firstly disconnect the electric plug of the evap switch over attachment at the top front of the surround of the alternator space or you will not have enough room available. Then remove both evap rubber elbow and straight tubes so you do not break the thin evap lines when working. The evap lines are very brittle and will break very easily. Slide them carefully to one side. Now remove the two small bolts of the holding bracket of the evap switch over valve and put that on the floor.
Then slacken off the bottom left alternator bolt but do not remove it. The other alternator bolt is on the right and is the center of a belt guide wheel. Loosen that up so it is a good quarter inch out. Then spray WD40 or PB blaster to the back part of that bolt where it again goes into the back part of the alternator. That long bolt lays on a shelf or guide shelf. There is a movable bung that has to go back about a quarter inch. To get it to 'go back' hit the bolt at the front with a hammer and the bung should go back after spraying it. If you do not loosen that bung, you will not get that alternator to drop free from the shelf. You cannot remove it over the shelf as the top of the alternator hits the top of the area it is in. Not enough room. It has to drop free passed the shelf. You will actually see the bung go back enough to miss the end of the shelf. When it drops free, you can then remove that long bolt and then the shorter one previously slackened off. The left bolt uses a LID which has coolant behind it as an anchor point or at least it goes through the lid. Now you should be able to lift the alternator over the left bolt hole of the lid and tip it forward to remove the plug and earth wire from the rear. Then you can put the alternator on the floor. I found it very helpful to remove the rubber tube from the Air Injection motor and push that tube back alongside the alternator. I re-routed that tube to the outside of the alternator space so I could easily handle the alternator with my left hand. I re-routed it back to the outside and onto the secondary air injection pump. Putting the alternator back. Connect up and then lift over left bolt hole. then lift right side and push right long bolt along the shelf and into the rear bung. The bung comes over the end of the guide shelf as you tighten it up. Don't forget the top bracket and evap lines and electric plug.
I can now remove the aletrnator and replace it within half an hour. Pelican parts says it takes 4 hours. I have had to do it seven times for various evap jobs. Now you have lots of space to remove and replace the oil filler tube. Go for it.
So based on these comments, there's no chance you'll break that coolant fitting while working in that part of the engine bay...
Originally Posted by tokika
I broke my OFT first and replaced the motor mounts while I had everything out. I was able to do it by removing the airbox, serpentine, alternator and throttle body but I had an 18" extension and a u joint at the socket.
BTW, I would go ahead and buy this: Connection Piece for Oil Separator Vent Hoses 996 106 226 52. Don't ask me why.
Originally Posted by Imo000
Get a spare coolant coupler (the one sitting right of that oil filler tube) as more than likely it will snap while replacing the filler tube.
Get a spare coolant coupler (the one sitting right of that oil filler tube) as more than likely it will snap while replacing the filler tube.
Ya, well you and takika were both correct. Snapped that today messing with the alternator removal. By the way, any help with getting that bushing to move would be greatly appreciated. I am completely stalled. I have searched and searched and followed directions to no avail. I can't tell if I have even moved the bushing let alone see the damn thing. How do I know it has moved enough from the tapping?
Turn the "bushing" bolt enough for it to stick out. Put a piece of wood on it, hammer that piece of wood as hard as you can for 5 minutes. I mean, HAMMER IT! Take out the bushing bolt, see if alternator moves up or down. If it moves a little, then use the breaker bar to free it (I did). Then I took the alternator to the HF...and pushed the bushing in all the way with the bench vice and socket over the back part of the bushing.
This is a giant pain in butt!!! I'll keep hitting it. Thank you for your help. I can rotate it very slightly clockwise, until it hits the intake deal, but it will not budge off the right side.
Originally Posted by Kalashnikov
Turn the "bushing" bolt enough for it to stick out. Put a piece of wood on it, hammer that piece of wood as hard as you can for 5 minutes. I mean, HAMMER IT! Take out the bushing bolt, see if alternator moves up or down. If it moves a little, then use the breaker bar to free it (I did). Then I took the alternator to the HF...and pushed the bushing in all the way with the bench vice and socket over the back part of the bushing.
I did exactly that but decided to wait until I remove the engine (bound to happen, right :-) to replace the filler tube. I used this and 2 hose clamps:
Ya, well you and takika were both correct. Snapped that today messing with the alternator removal. By the way, any help with getting that bushing to move would be greatly appreciated. I am completely stalled. I have searched and searched and followed directions to no avail. I can't tell if I have even moved the bushing let alone see the damn thing. How do I know it has moved enough from the tapping?
Get the brass fitting from Home Depot to repair that broken plastic coolant coupler. Drill out the old plastic fitting and use it to slide the brass Home Depot fitting into. This way it will act as a bracket to keep the coolant line away form the serpentine belt and the brass fitting will last forever.
Try using a small crow bar to get the alternator to start moving, maybe tap the alternator flange with a hammer to loosen up the busing on the other side. Doesn't need to loosed much, just a little bit will be enough to get the alternator free from the engine.
 03-06-2017, 11:04 PM


 Snapped that today messing with the alternator removal. By the way, any help with getting that bushing to move would be greatly appreciated. I am completely stalled. I have searched and searched and followed directions to no avail. I can't tell if I have even moved the bushing let alone see the damn thing. How do I know it has moved enough from the tapping?