When you click on links to various merchants on this site and make a purchase, this can result in this site earning a commission. Affiliate programs and affiliations include, but are not limited to, the eBay Partner Network.
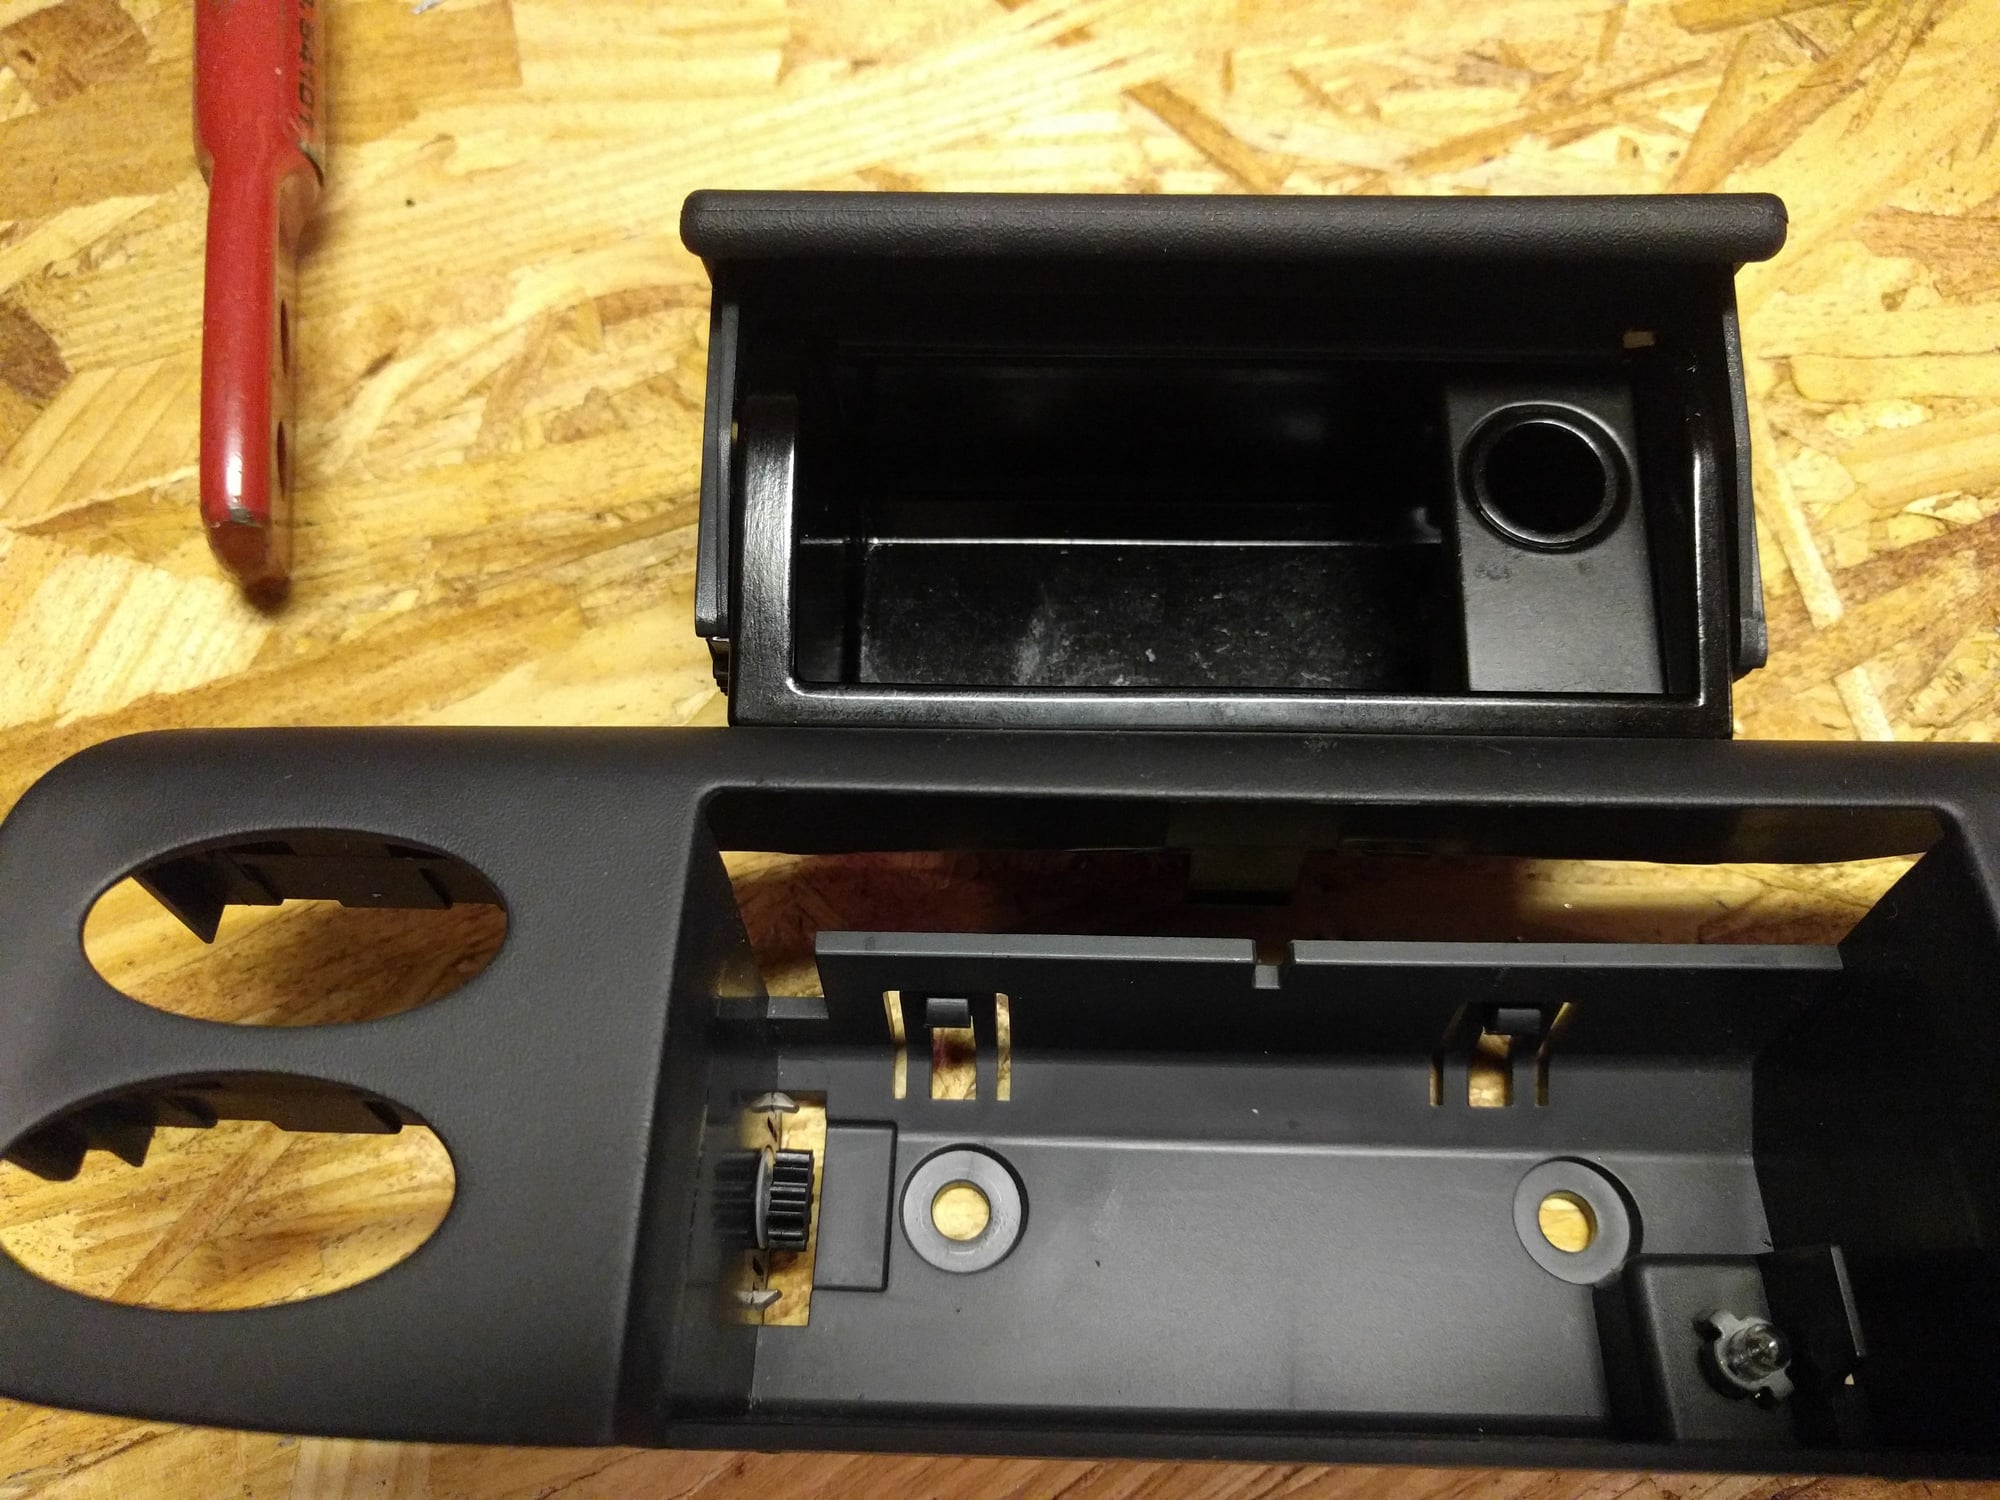
I am planning on doing the ashtray delete modification and would like to know if there is a preferred method for removing the old ashtray surround portion of the console or does one just start prying?
Thanks from a newbie
Ok, is there a proper technique/tool/cuss word that one uses to get the window switches out? I didn't have much luck removing switches when I was playing around behind the Nav/audio panel. Also, I suppose if I have the new ashtrayless insert in front of me I can look to see what the attachment points are and that should facilitate removal of the old one.
It's been years though, do you have to pop the switches out of that and pop them into the new piece? You might. It ain't hard once you have it out though. My basis for that is the fact that I accomplished it and I'm an idiot.
Remove screw that are under the ash tray then it will come out. Disconnect the wire- pop "inward" on window switches. Push them into the new set up. screw in and your done. Takes 5 minutes... I used the instructions from one of the carbon fiber companies that makes aftermarket center consoles for mine.
I did the ashtray delete on my 996. The window switches pop off using a small flat screwdriver. The first one was a challenge but once you figure it out, the other 3 were a piece of cake.
I took the opportunity to add contrast by painting it alumma-look silver. Turned out great!
Following all of the above advice, it was indeed, easy as pie. With such good luck on my first DIY project on the 996, I am now going to move on to replacing my IMSB. :-)
Following all of the above advice, it was indeed, easy as pie. With such good luck on my first DIY project on the 996, I am now going to move on to replacing my IMSB. :-)
Once you start with the mods you tend to never stop
I did the ashtray delete on my 996. The window switches pop off using a small flat screwdriver. The first one was a challenge but once you figure it out, the other 3 were a piece of cake.
I took the opportunity to add contrast by painting it alumma-look silver. Turned out great!
That's what I was planning on doing since I have the aluminum trim package on the car (shift, break, steering and gauges). What type of paint did you use for the plastic part?
That's what I was planning on doing since I have the aluminum trim package on the car (shift, break, steering and gauges). What type of paint did you use for the plastic part?
Dupli-Color spray at Auto Zone. I'm sorry but I don't remember the exact color but there were 4-5 shades of silver that were all real close with that very subtle metallic like the OEM aluma look. Since it was in a high contact area, I put 3 coats on as well as a final coat of matte clear poly. It held up great.
Talos Takes Your 991 Porsche 911 GT3 to the Next Level for a Cool $1.13 Million
Slideshow: Talos Vehicles has transformed the Porsche 911 GT3 RS into a carbon-bodied, race-inspired machine that costs well over $1 million before the donor car is even included.
9 Vehicles Porsche Helped Engineer that Aren't Porsches
Slideshow: Long before engineering consulting became trendy, Porsche was quietly helping other automakers build everything from supercars to economy hatchbacks.
9 Features and Characteristics That Only Porsche People Understand
Slideshow: Some brands build cars. Porsche builds traditions, obsessions, and a few habits that stopped making sense decades ago but somehow became part of the charm.
This Builder Is Turning Heads With Its Slantnose 911 Creation
Slideshow: A small Polish tuner has reimagined the Porsche 911 Slantnose for the modern era, blending 1980s nostalgia with widebody tuning culture and serious performance upgrades.
Porsche 911 GT3 Artisan Edition Pays Homage to Japanese Culture
Slideshow: Porsche has created a Japan-only 911 GT3 Artisan Edition that blends track-ready hardware with design cues inspired by traditional Japanese craftsmanship.