When you click on links to various merchants on this site and make a purchase, this can result in this site earning a commission. Affiliate programs and affiliations include, but are not limited to, the eBay Partner Network.
Awesome! Good luck with it tonight. I'm going to revisit mine as well. I'll definitely shoot you a message if this comes to a standstill. Again I think the secret is to disengage the motor for the angular attachment of the shade. But didn't you have to do this already to get the gear tubes in?
For sure. The motor has to come out in order to replace the gear tubes. And I think you are right that you need to remove the motor in order to attach the shade since the shade has to be inserted in an angle.
I think my earlier attempt to insert the shade without removing the motor worked because the clips on the shade weren't actually in the guides. They were between the guides attached to the gear tube and the front of the car. The shade would still work in that case...
You do realize that this discussion about about the sun blind only right?
I've had my Targa for more than 8 years and haven't had any issues other than a little squeaking and now a broken sun shade.
And this appears to be fairly easy to fix with ~$100 worth of parts from Porsche. Or ~$400 to completely replace the sun blind with a thicker one. Hardly worth writing-off the roof.
Yes I was referring to the poster that said removal was $12k
Wait, are you saying you found a shade that completely blocks the sun and it's just a mesh? Can you post pictures of it if you have?
Not that I know of. I had a Porsche part number somewhere for a replacement blind that was apparently thicker than the original. But it still wasn't a complete block.
It is a fairly time consuming job the first time, but I could probably do it again in less than an hour the next time.
The main challenges I ran into were
The new drive tubes were hard to insert. Apparently the plastic piece attached to the end of the drive tube is a bit bigger on the 997 than on the 996. The screw for the mounting bracket for the blind shaft was in the way. I had to apply a little force with a screwdriver to get it past the screw. I did get it to fit though without any modifications.
Winding the blind to the right tension and inserting it into the bracket took a few attempts.
Actually inserting the blind 'bow' into the two drive tube brackets was actually fairly easy. The motor definitely has to be out, but with a screwdriver I was able to position the passenger side bracket a little offset so the bow could be inserted on an angle.
I'll try to post more detailed instructions later. But the main things I learned were
There is more room to work with both seats pushed all the way forward.
Removing the cover for the electric motor is a little tricky. It is held on by 6 clips and pulls straight down. I used a screwdriver to apply pressure near the base of each clip.
Be very careful pulling out the "metal input shaft" piece. Mine started to bend in the middle when removing one of the sides. It isn't as sturdy as it looks
I inserted the blind by moving the bracket on the passenger side a little closer to the front of the car. Then inserted the blind on an angle and slowly straightened out the blind while inserting the driver's side. Pretty simple.
After inserting the blind I pushed the blind all the way to the rear of the car (retracted). I then rolled the blind and inserted the drivers side of the shaft. Using my smallest drill bit (the only thing I had that would fit in the bind shaft hole) I tightened the shaft about 8 rotations or so. Then I used needle-nosed pliers to hold the shaft, remove the drill bit from the shaft, and insert the shaft into the driver's side mount without letting it unwind. This step took a few tries...
Everything was pretty straight forward to reconnect. Although 1 of the phillips screws used for the "metal input shaft" was shorter than the other two. I used the shorter ones in the holes near the blind motor but I forgot where they were originally
Since I did this over two evening, I used my leftover time to do the following
Clean the blind using 303 Aerospace protectant. Seemed to work well and might help a little with UV protectant
Also cleaned the motor cover with the same. Easier when out.
Greased the channels the blind travels in using some lithium grease and a cotton swab
Oiled the blind motor
Made sure every exposed screw/bolt was tight. Hopefully reduce any squeaks from the targa roof
Hope this helps. Feel free to PM me with any questions that I can help answer.
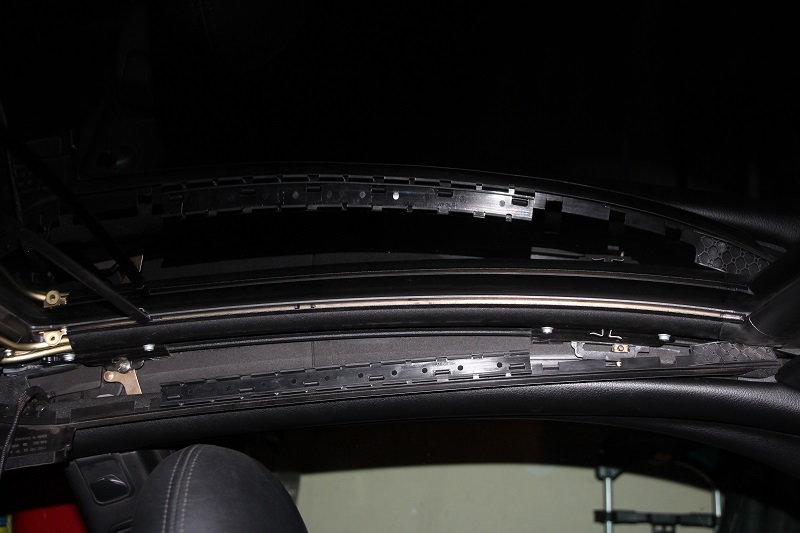
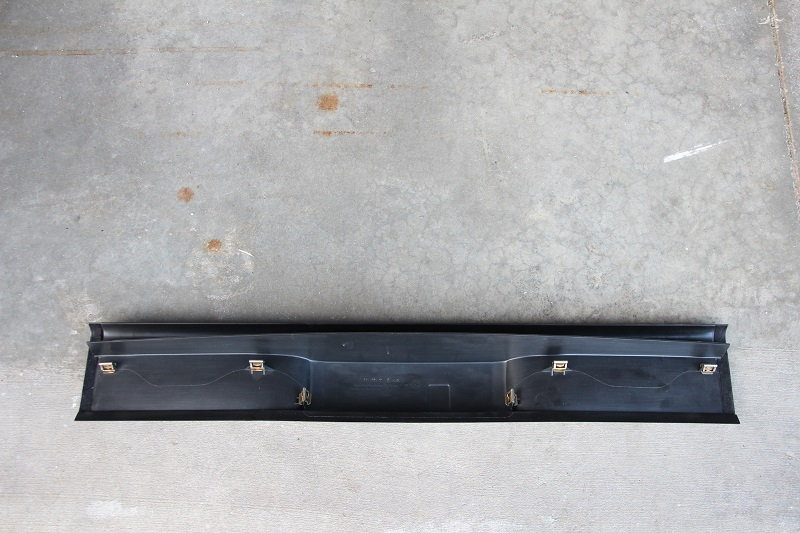
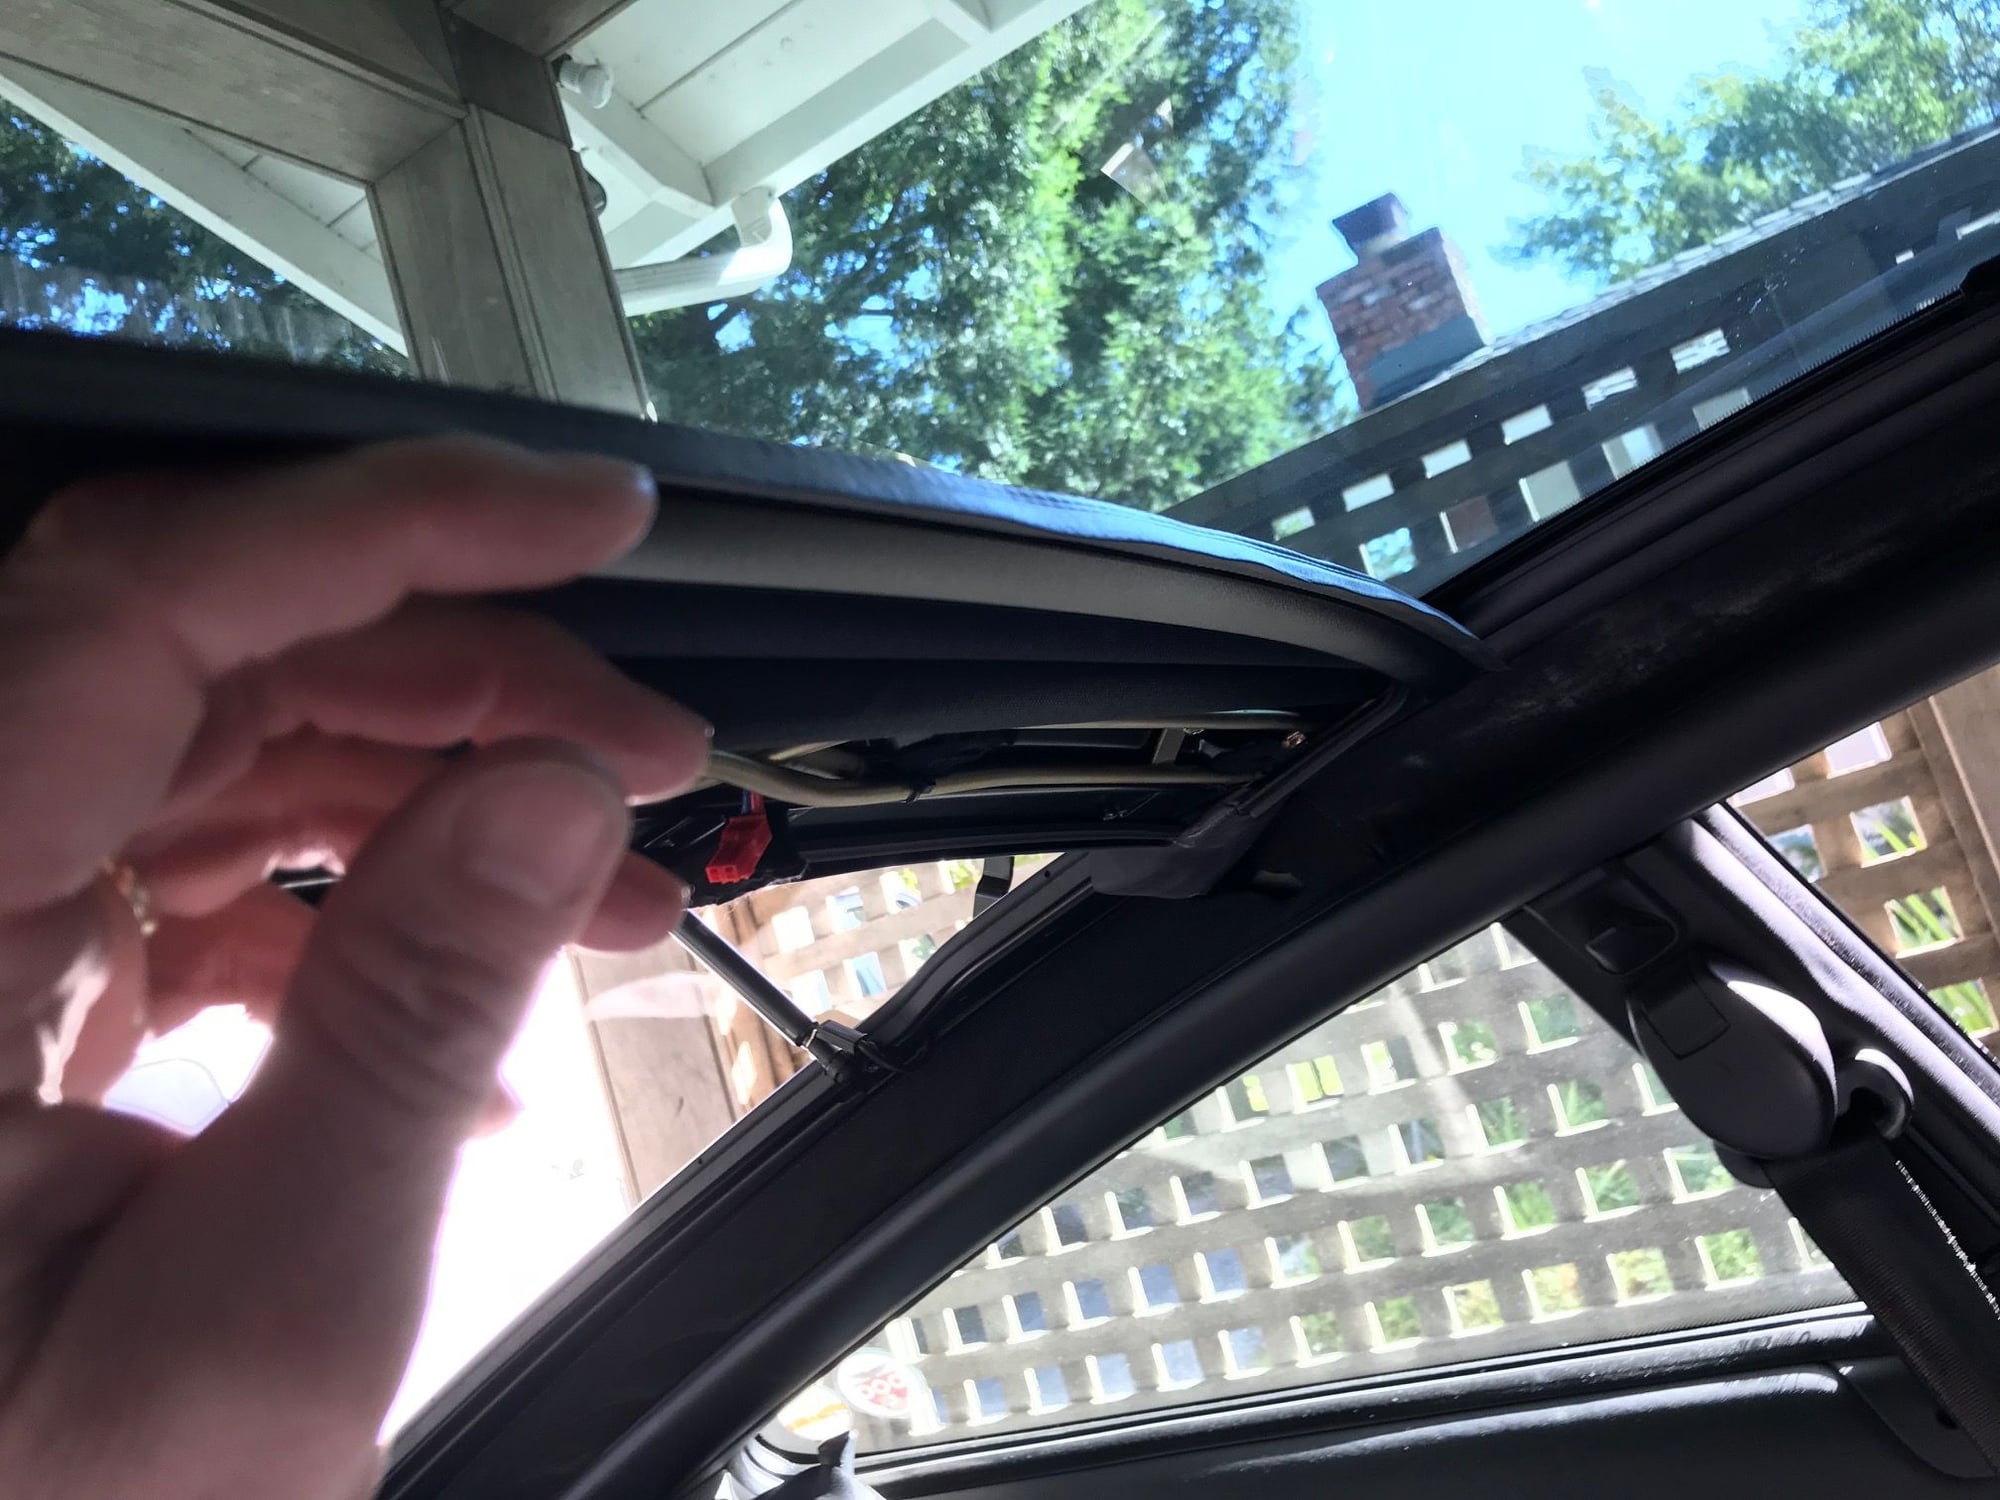
Pictures are of the cloth cover to access the blind parts, the metal input shaft with the motor removed, and the motor cover.
Pulls straight down from the back, just need to watch the upside-down T connector
Be careful not to let the metal tubs bend in the middle. Mine seemed pretty weak.
How it would be in the car if you were looking from the rear towards the front.
It is a fairly time consuming job the first time, but I could probably do it again in less than an hour the next time.
The main challenges I ran into were
The new drive tubes were hard to insert. Apparently the plastic piece attached to the end of the drive tube is a bit bigger on the 997 than on the 996. The screw for the mounting bracket for the blind shaft was in the way. I had to apply a little force with a screwdriver to get it past the screw. I did get it to fit though without any modifications.
Winding the blind to the right tension and inserting it into the bracket took a few attempts.
Actually inserting the blind 'bow' into the two drive tube brackets was actually fairly easy. The motor definitely has to be out, but with a screwdriver I was able to position the passenger side bracket a little offset so the bow could be inserted on an angle.
I'll try to post more detailed instructions later. But the main things I learned were
There is more room to work with both seats pushed all the way forward.
Removing the cover for the electric motor is a little tricky. It is held on by 6 clips and pulls straight down. I used a screwdriver to apply pressure near the base of each clip.
Be very careful pulling out the "metal input shaft" piece. Mine started to bend in the middle when removing one of the sides. It isn't as sturdy as it looks
I inserted the blind by moving the bracket on the passenger side a little closer to the front of the car. Then inserted the blind on an angle and slowly straightened out the blind while inserting the driver's side. Pretty simple.
After inserting the blind I pushed the blind all the way to the rear of the car (retracted). I then rolled the blind and inserted the drivers side of the shaft. Using my smallest drill bit (the only thing I had that would fit in the bind shaft hole) I tightened the shaft about 8 rotations or so. Then I used needle-nosed pliers to hold the shaft, remove the drill bit from the shaft, and insert the shaft into the driver's side mount without letting it unwind. This step took a few tries...
Everything was pretty straight forward to reconnect. Although 1 of the phillips screws used for the "metal input shaft" was shorter than the other two. I used the shorter ones in the holes near the blind motor but I forgot where they were originally
Since I did this over two evening, I used my leftover time to do the following
Clean the blind using 303 Aerospace protectant. Seemed to work well and might help a little with UV protectant
Also cleaned the motor cover with the same. Easier when out.
Greased the channels the blind travels in using some lithium grease and a cotton swab
Oiled the blind motor
Made sure every exposed screw/bolt was tight. Hopefully reduce any squeaks from the targa roof
Hope this helps. Feel free to PM me with any questions that I can help answer.
Pictures are of the cloth cover to access the blind parts, the metal input shaft with the motor removed, and the motor cover.
Pulls straight down from the back, just need to watch the upside-down T connector
Be careful not to let the metal tubs bend in the middle. Mine seemed pretty weak.
How it would be in the car if you were looking from the rear towards the front.
Hey congrats on the install!! I'm the middle of mine now I'm trying to pull off the fabric liner that hides the guides... I feel like it's going to break. I can see a few T connectors that have pulled off easily, but the area opposite the motor equipment at either ends feels uneasy. Does it need to come out from the far rear first? Thanks in advance & great write up by the way!!!
Thanks for the informational posts on installation of a replacement Targa shade. I just completed mine and took some photos documenting the process.
As kgoertz said, slide the front seats all the way forward and tilt them forward as well. I did all of this work from the back seat on the passenger side. I fully closed the glass roof and opened the rear window to give myself headroom.
Overview
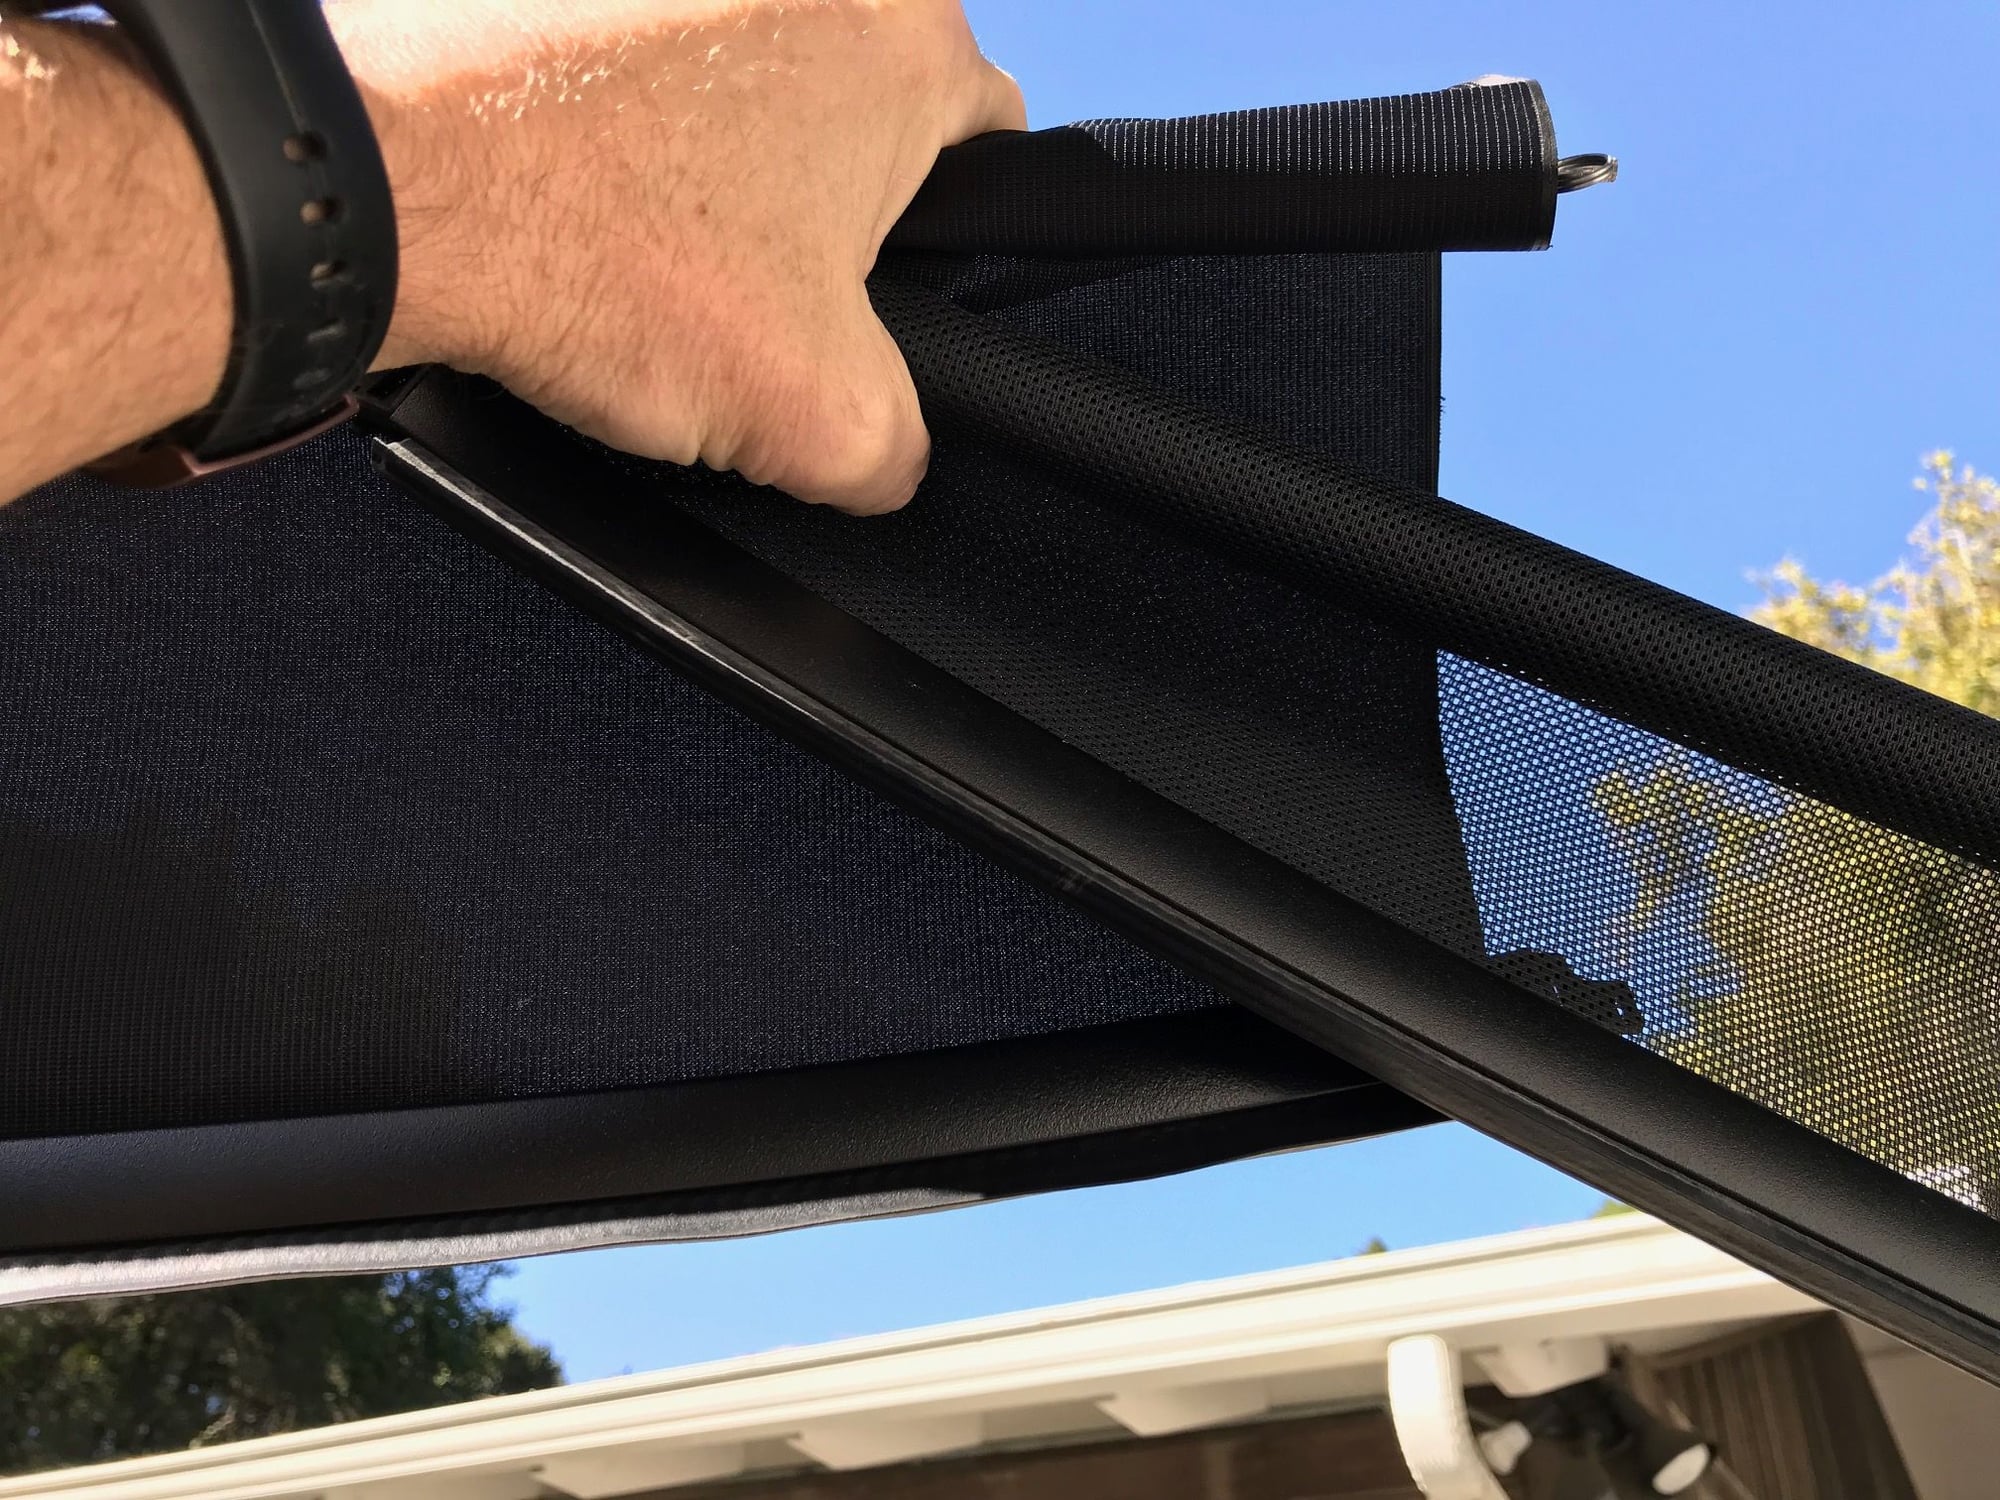
I bought a darker Targa shade, part number 997.562.405.00 from Suncoast Parts, for $400. It looks like a few dealers and parts stores sell it, for wildly varying prices.
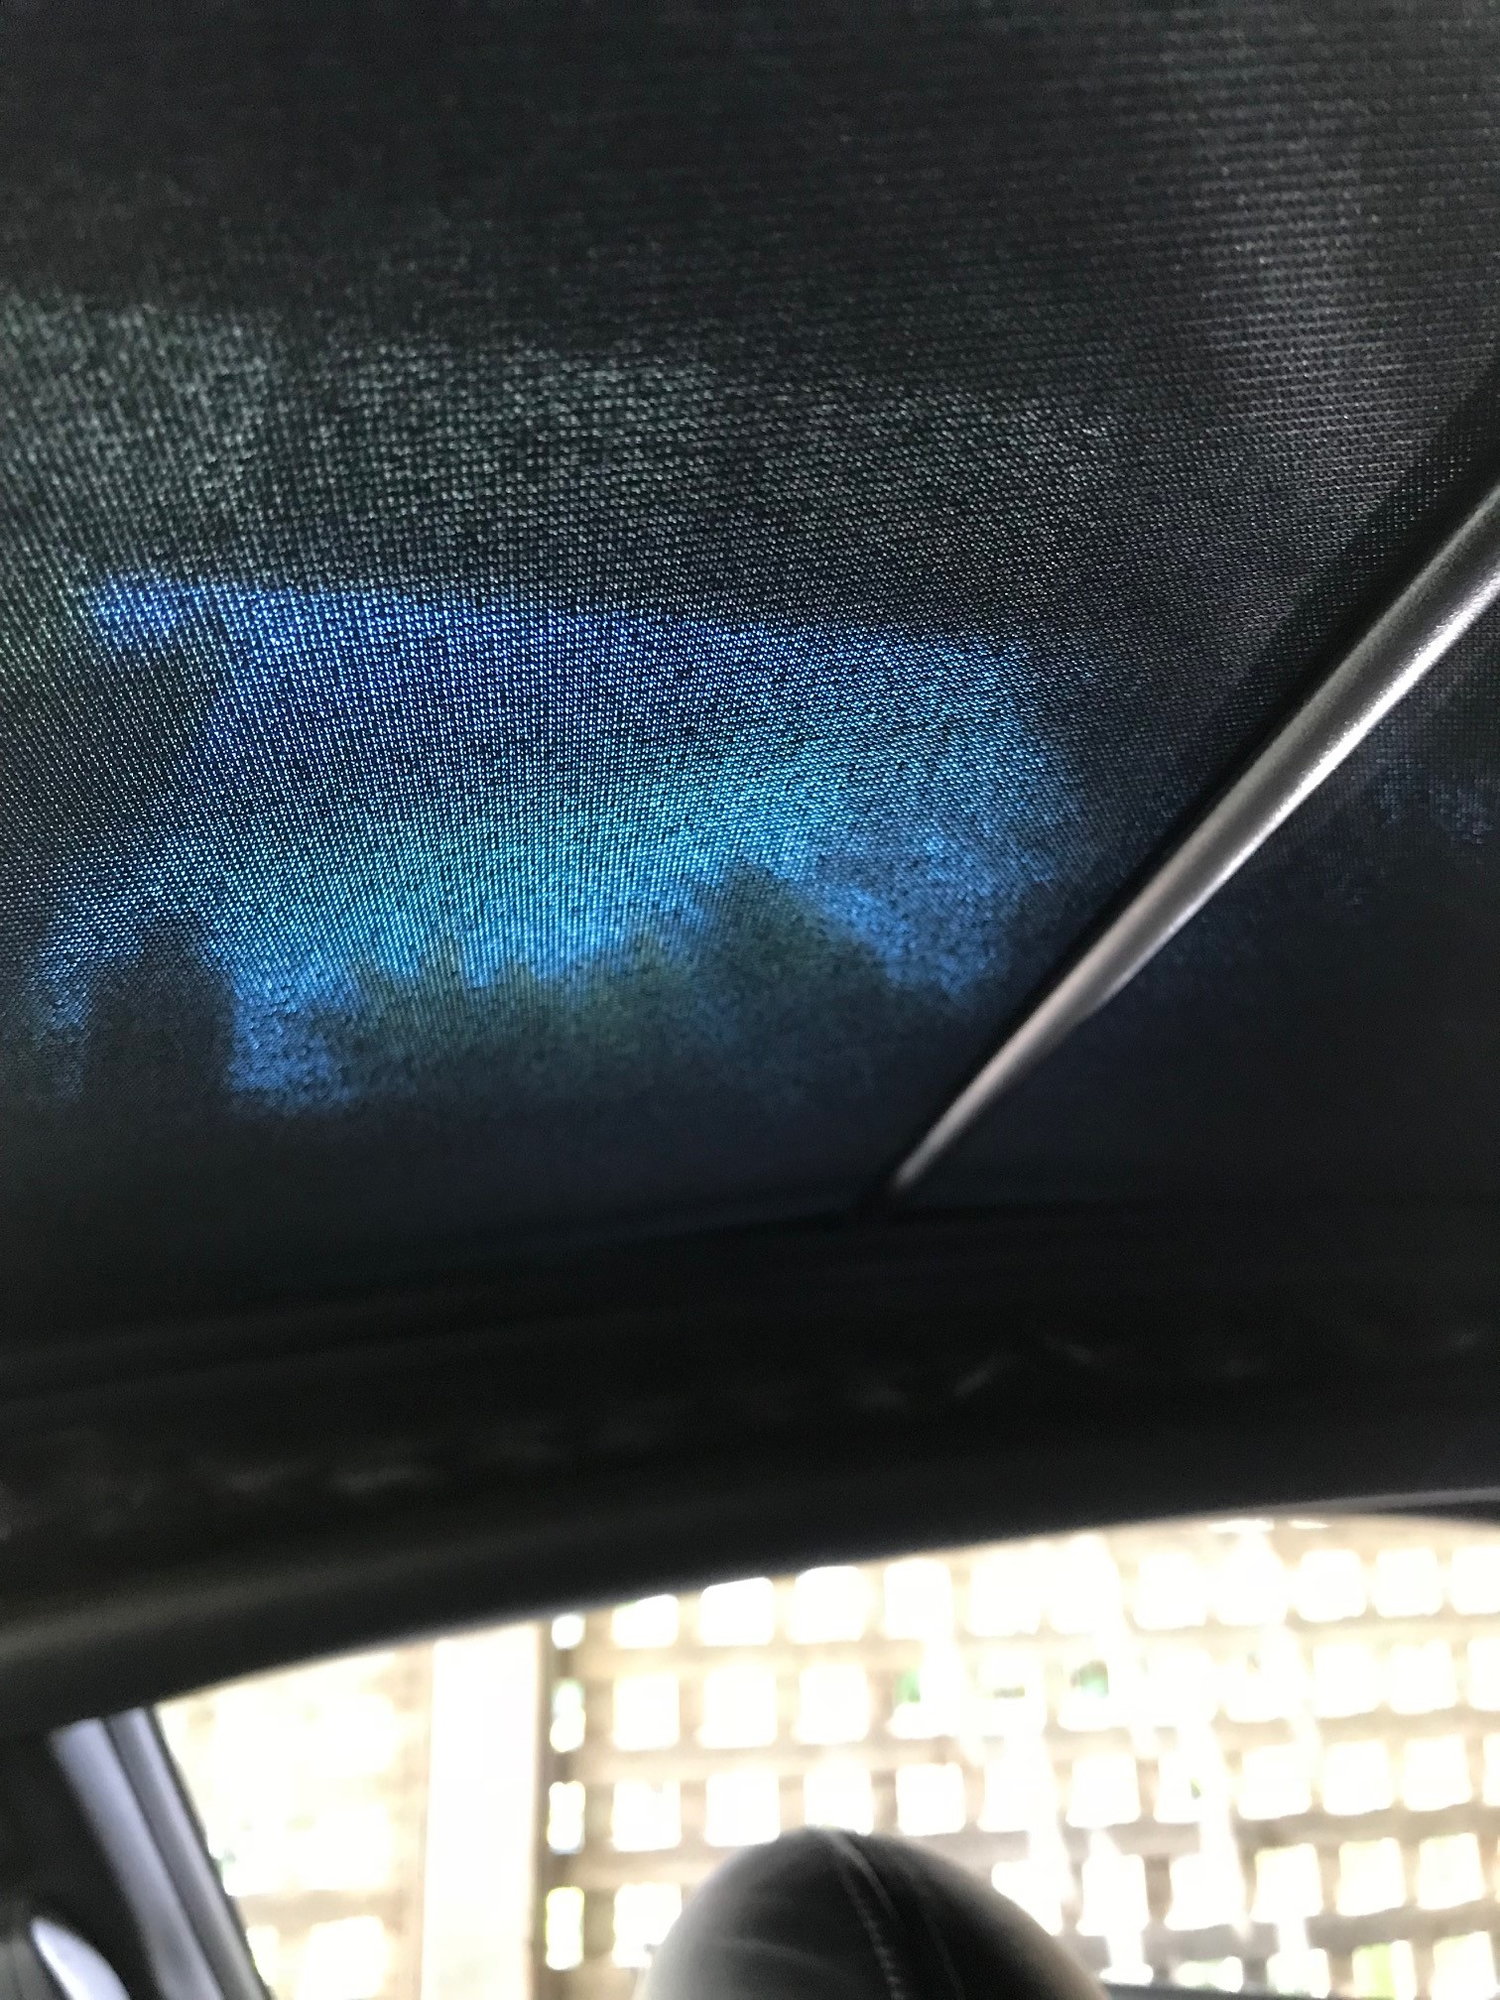
Here's a photo of the old shade on the right and the new shade on the left. The new one is much darker.
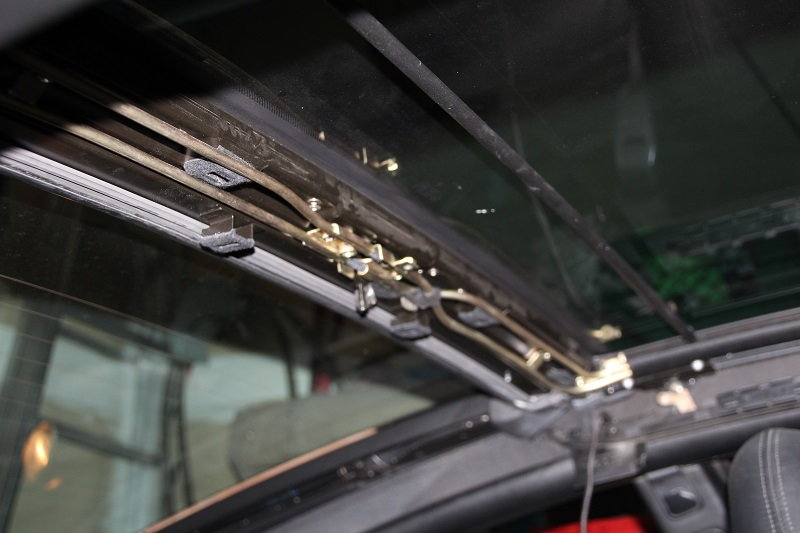
Shade operation
There is an electric motor under the back of the sliding Targa top. It has a gear on top. When this gear rotates, the teeth move two tight coils of wire in the drive system. These coils of wire slide within tubes that go to the left and right sides of the roof. At the ends of the two coils are slots into which the front rod of the shade fit. There are also "pushers" halfway along the drive coils that push on the middle rod.
The shade is stored in a roll at the back of the Targa window. The drive system pulls the shade off of the roll when extending the shade. When retracting the shade, the drive system moves backward, but it is coil springs inside of the shade roll that roll it back up.
Removing the old shade
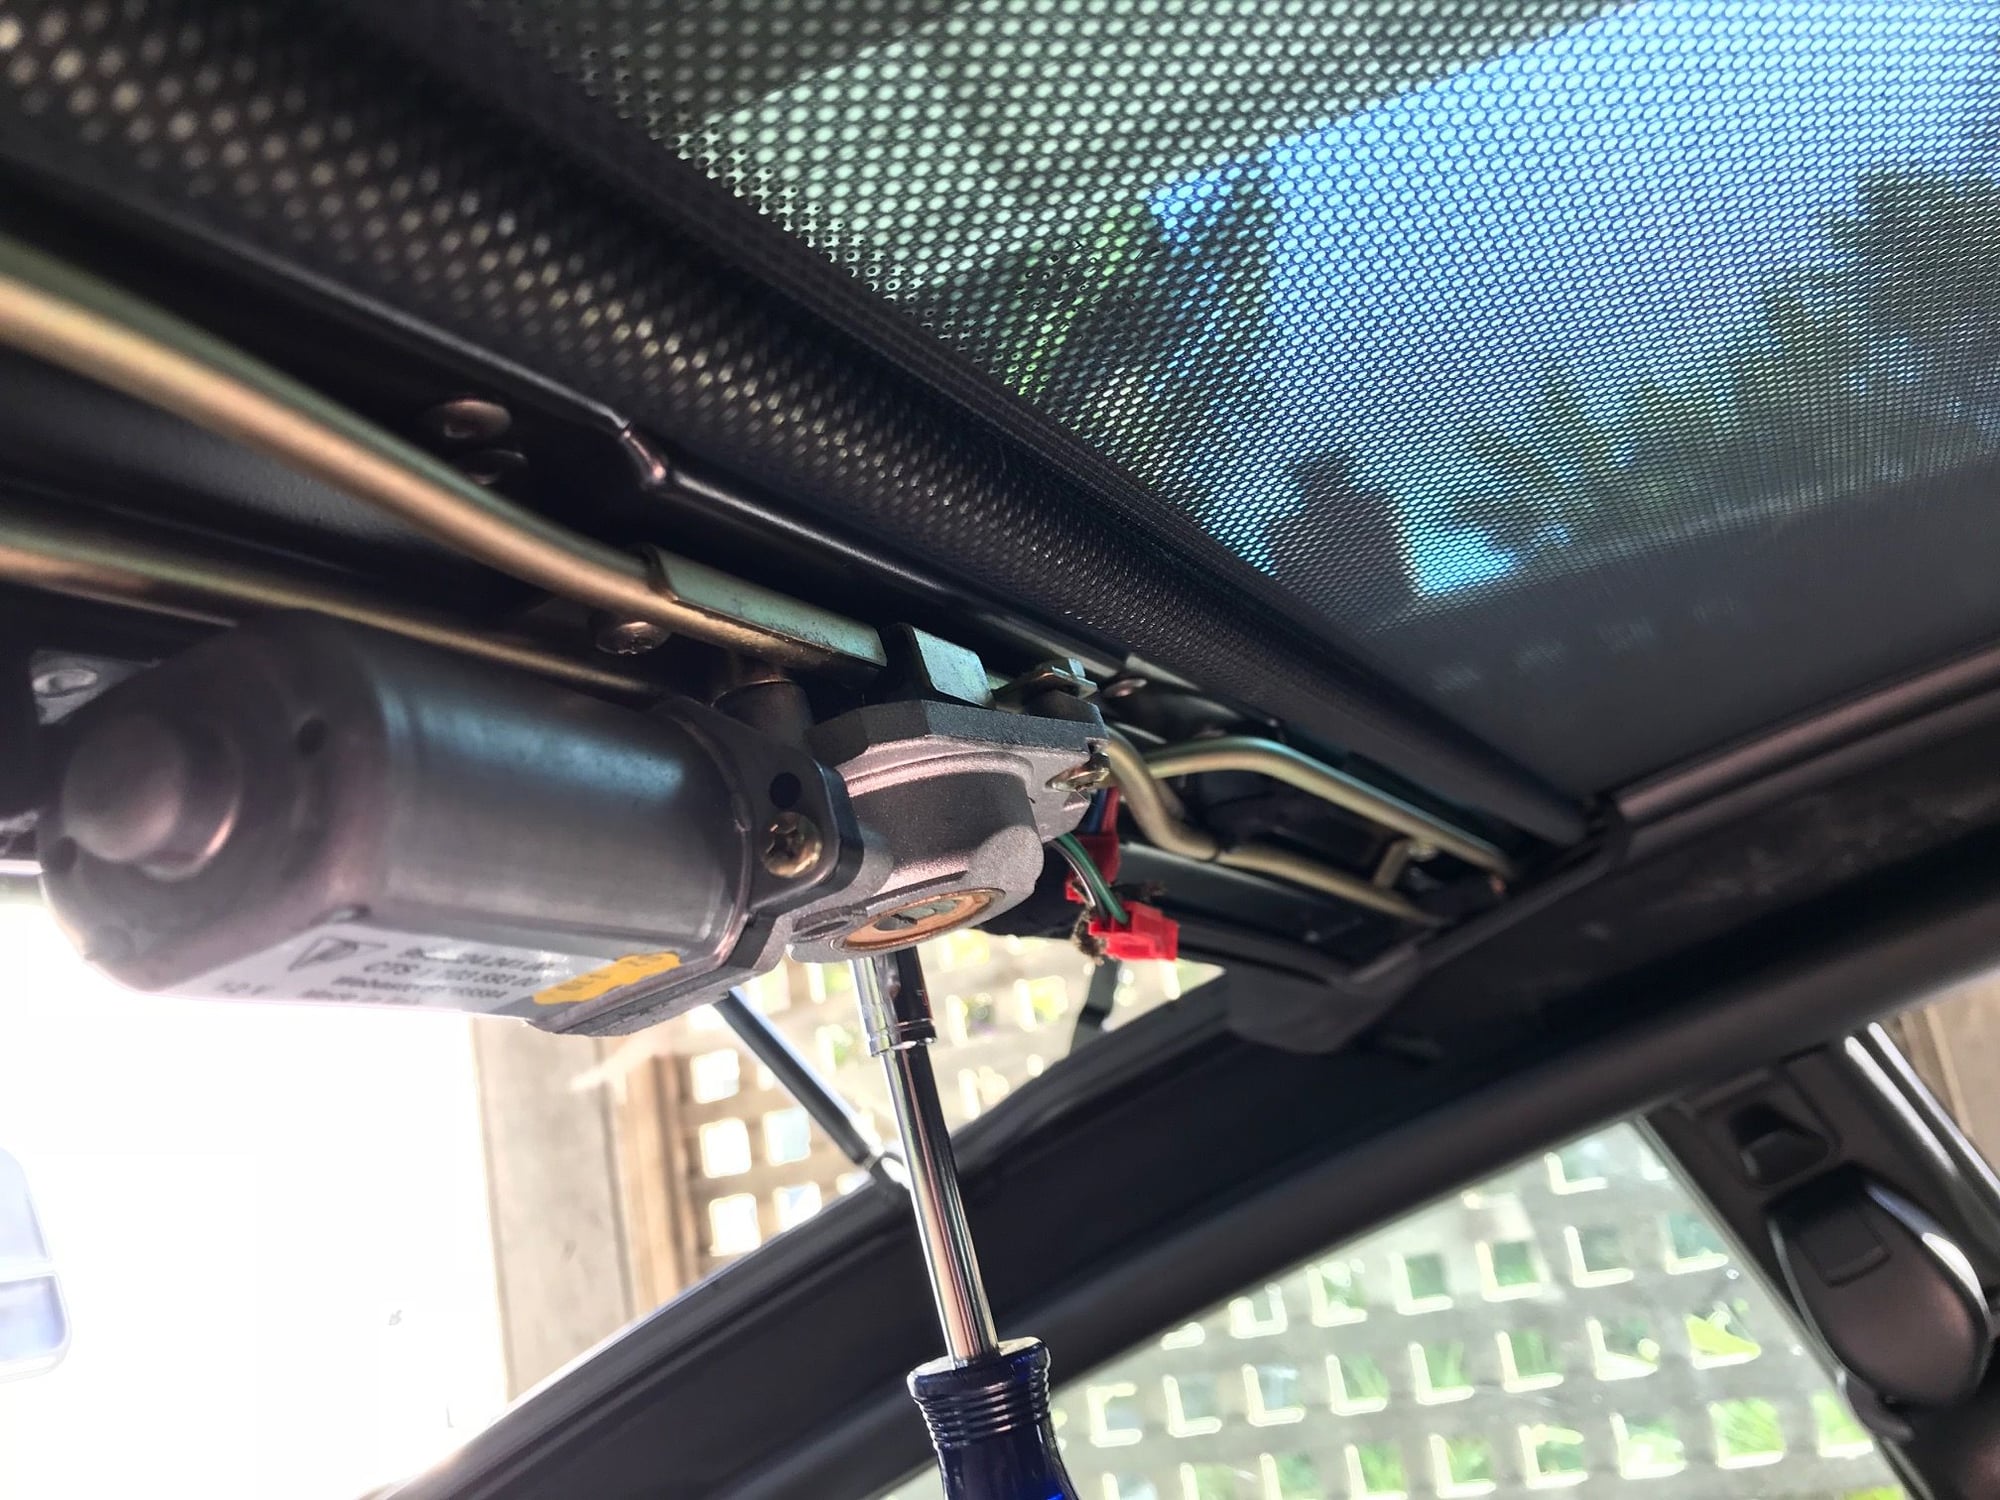
Remove the plastic cover over the shade motor by pulling straight down on the front side, tilting it free.
This exposes the motor.
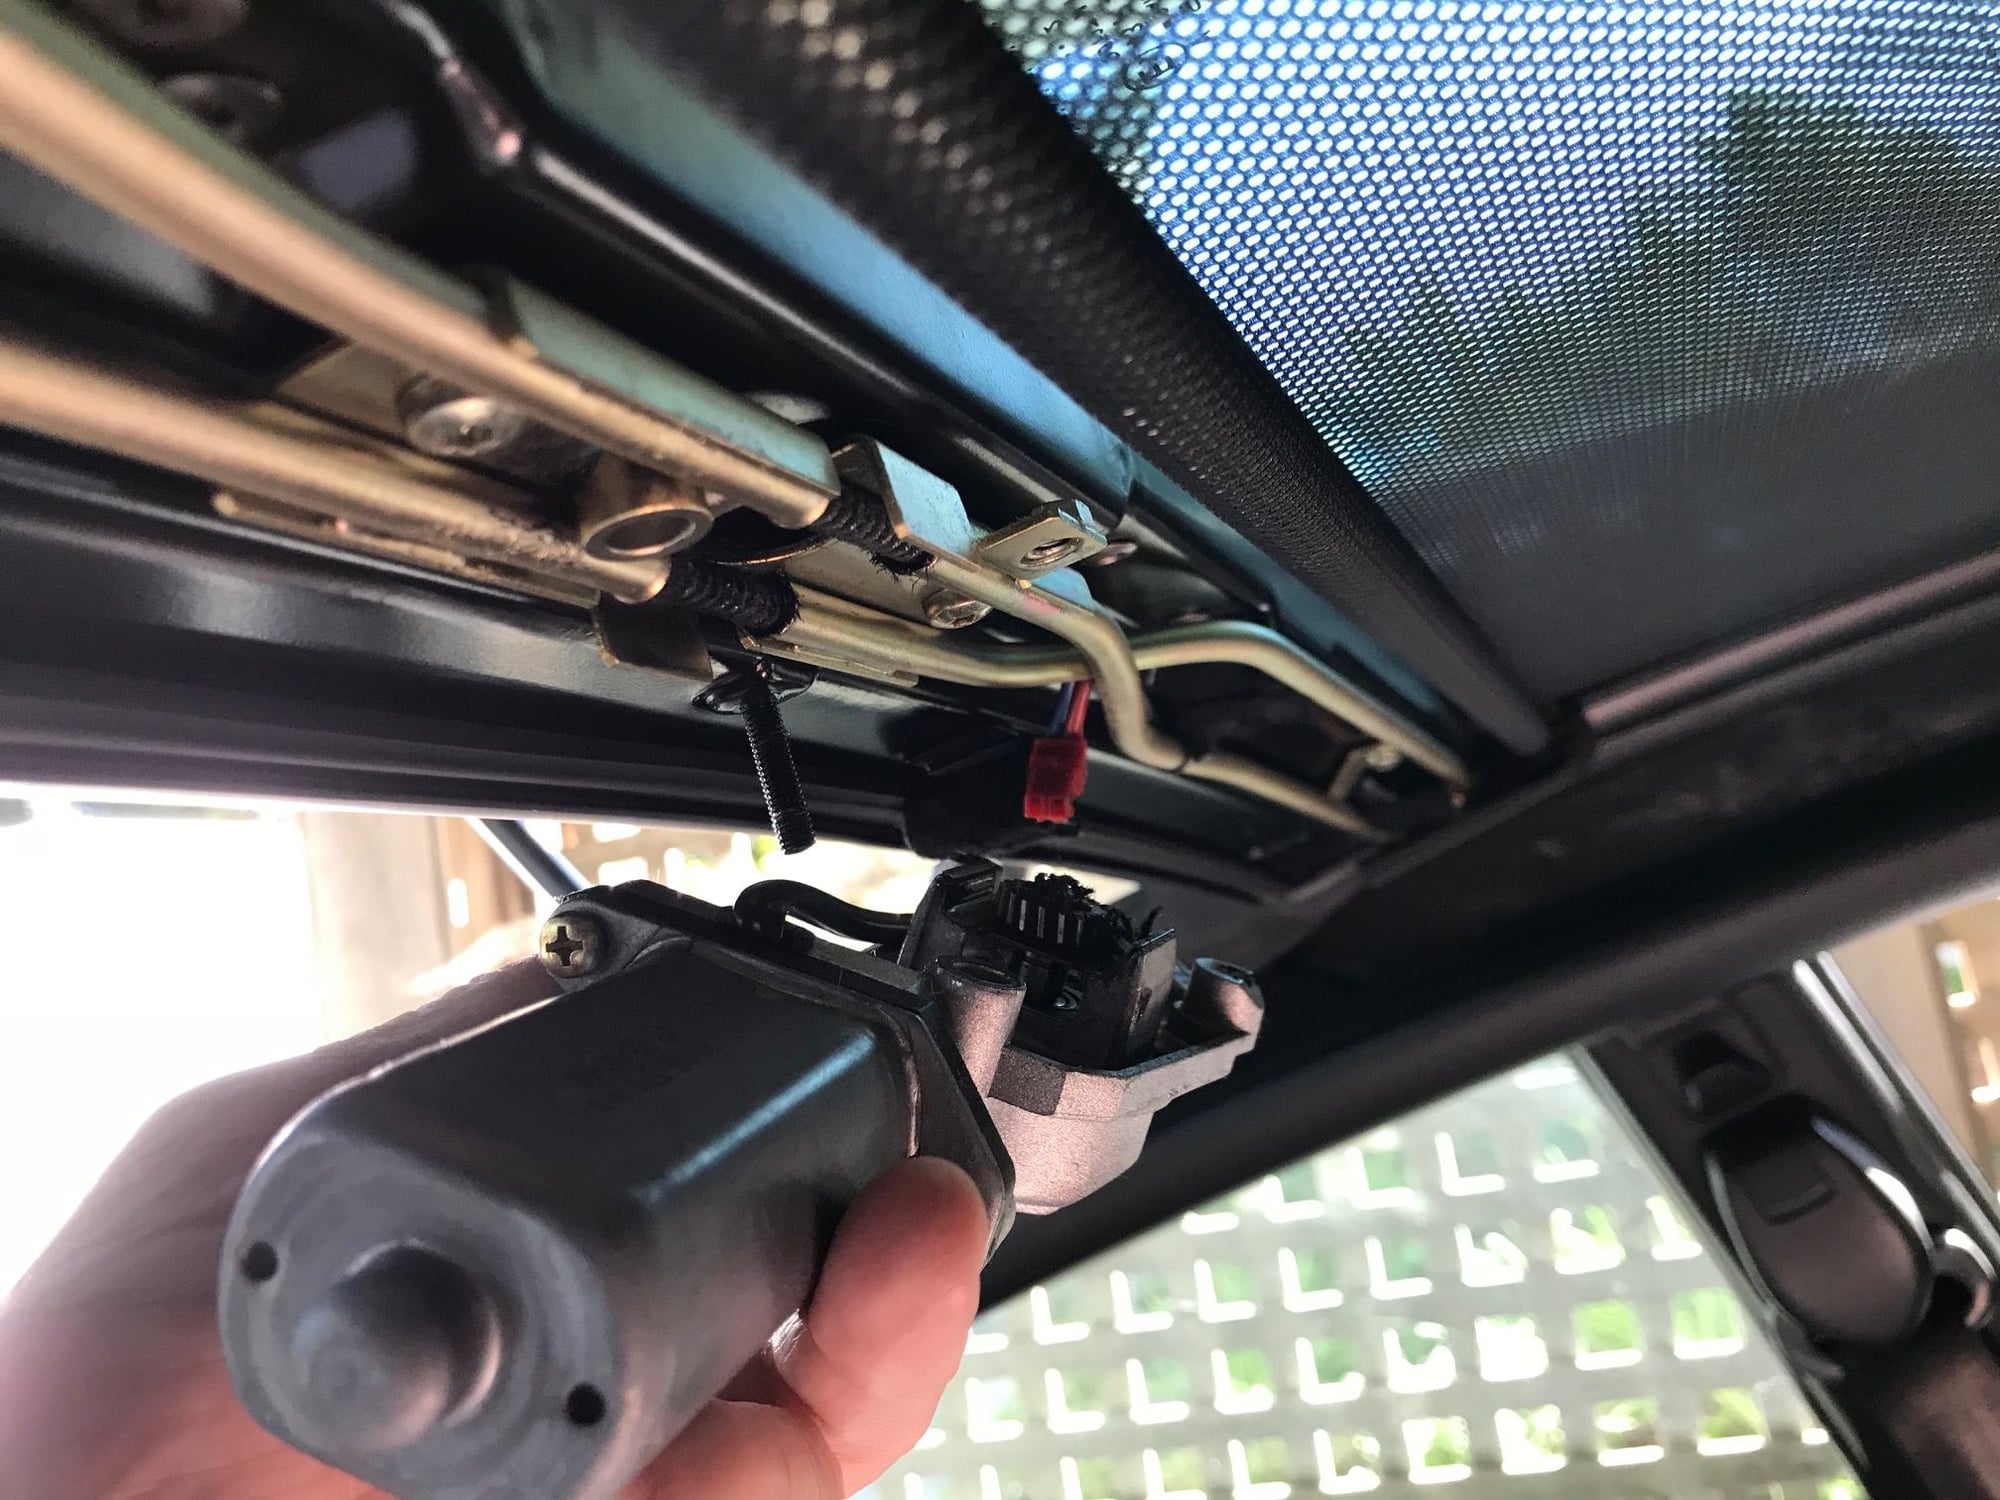
Remove the two Torx screws and one nut holding the motor in. The motor will fall free straight down. Removing the motor enables moving the two drives on each side separately.
Grasp the front "rod" and pull the right side back a few inches so that it is at a diagonal. Now the two ends can be pulled free of the left and right drives. The rod is hollow on the ends. There is a little plastic fitting on each end that fits into the drive. Remove these. One of mine was stuck and I had to break it out in pieces with needle-nose pliers.
The middle rod can also be removed at this point. If it is still in too tight to remove, pull back on the right side a few more inches so that it is at more of a diagonal.
Let the shade be rolled up by its internal spring.
The shade is held in place left-to-right by a spring pushing along its axis.
Grasp the rolled-up shade and push it to the right. This compresses the axial spring. Tilt the left side free and remove the whole shade.
Installing the new shade.
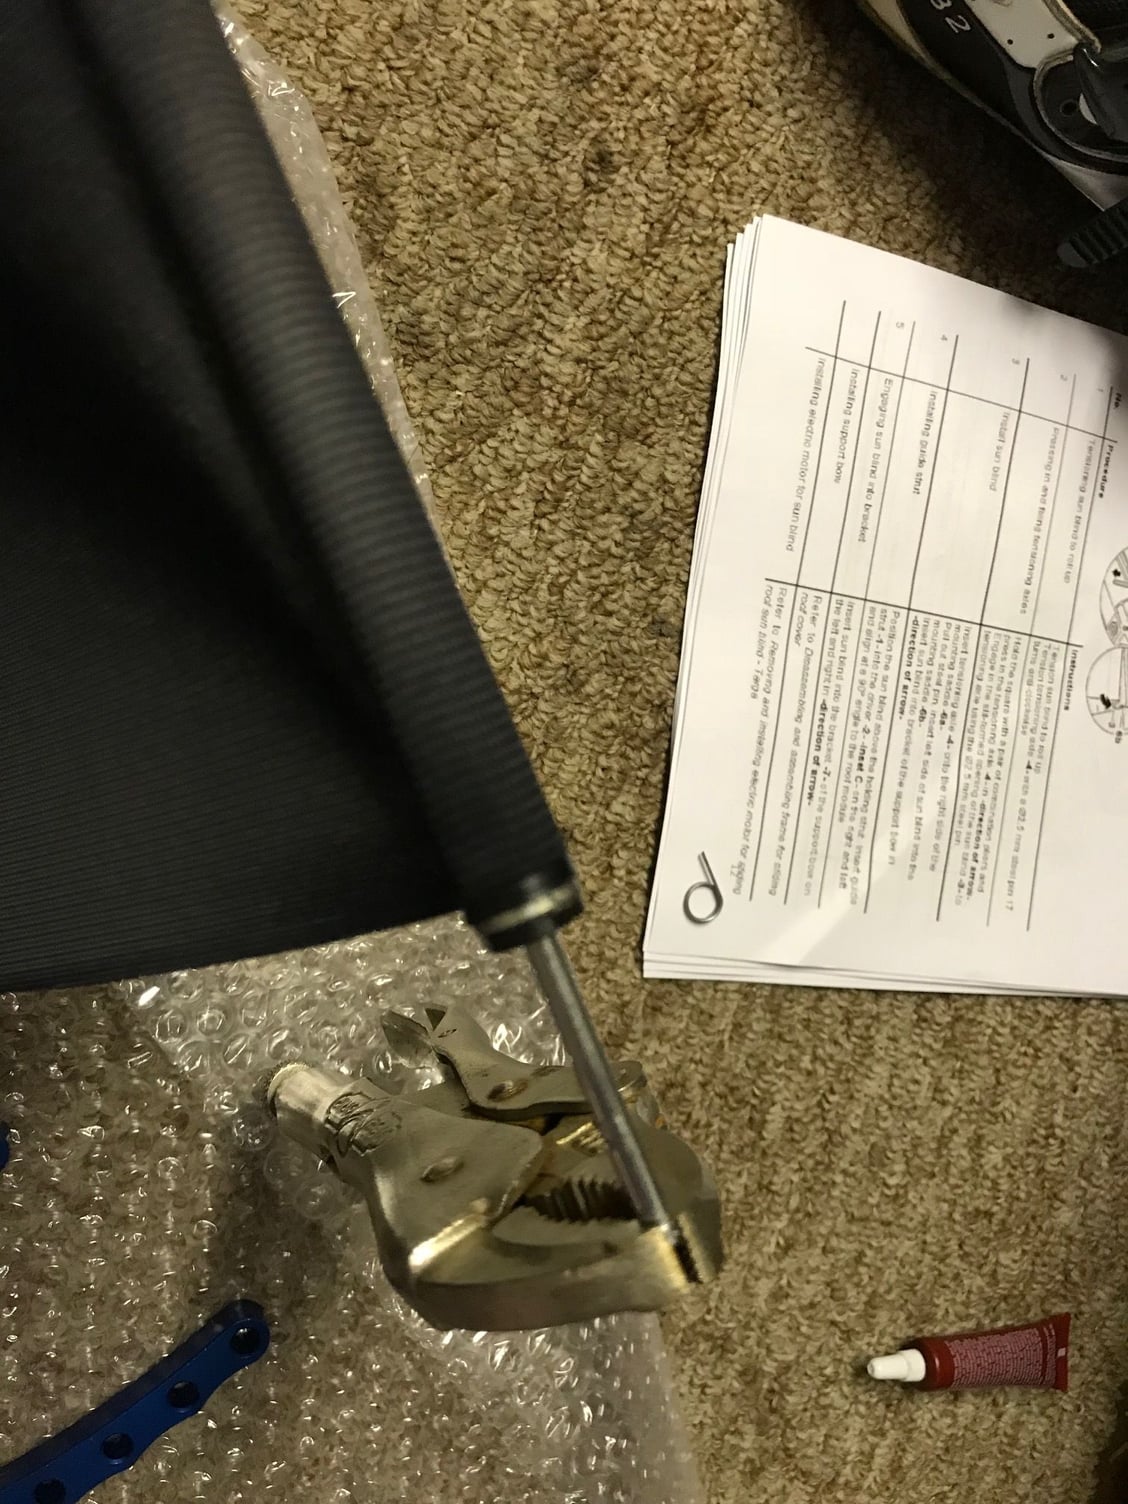
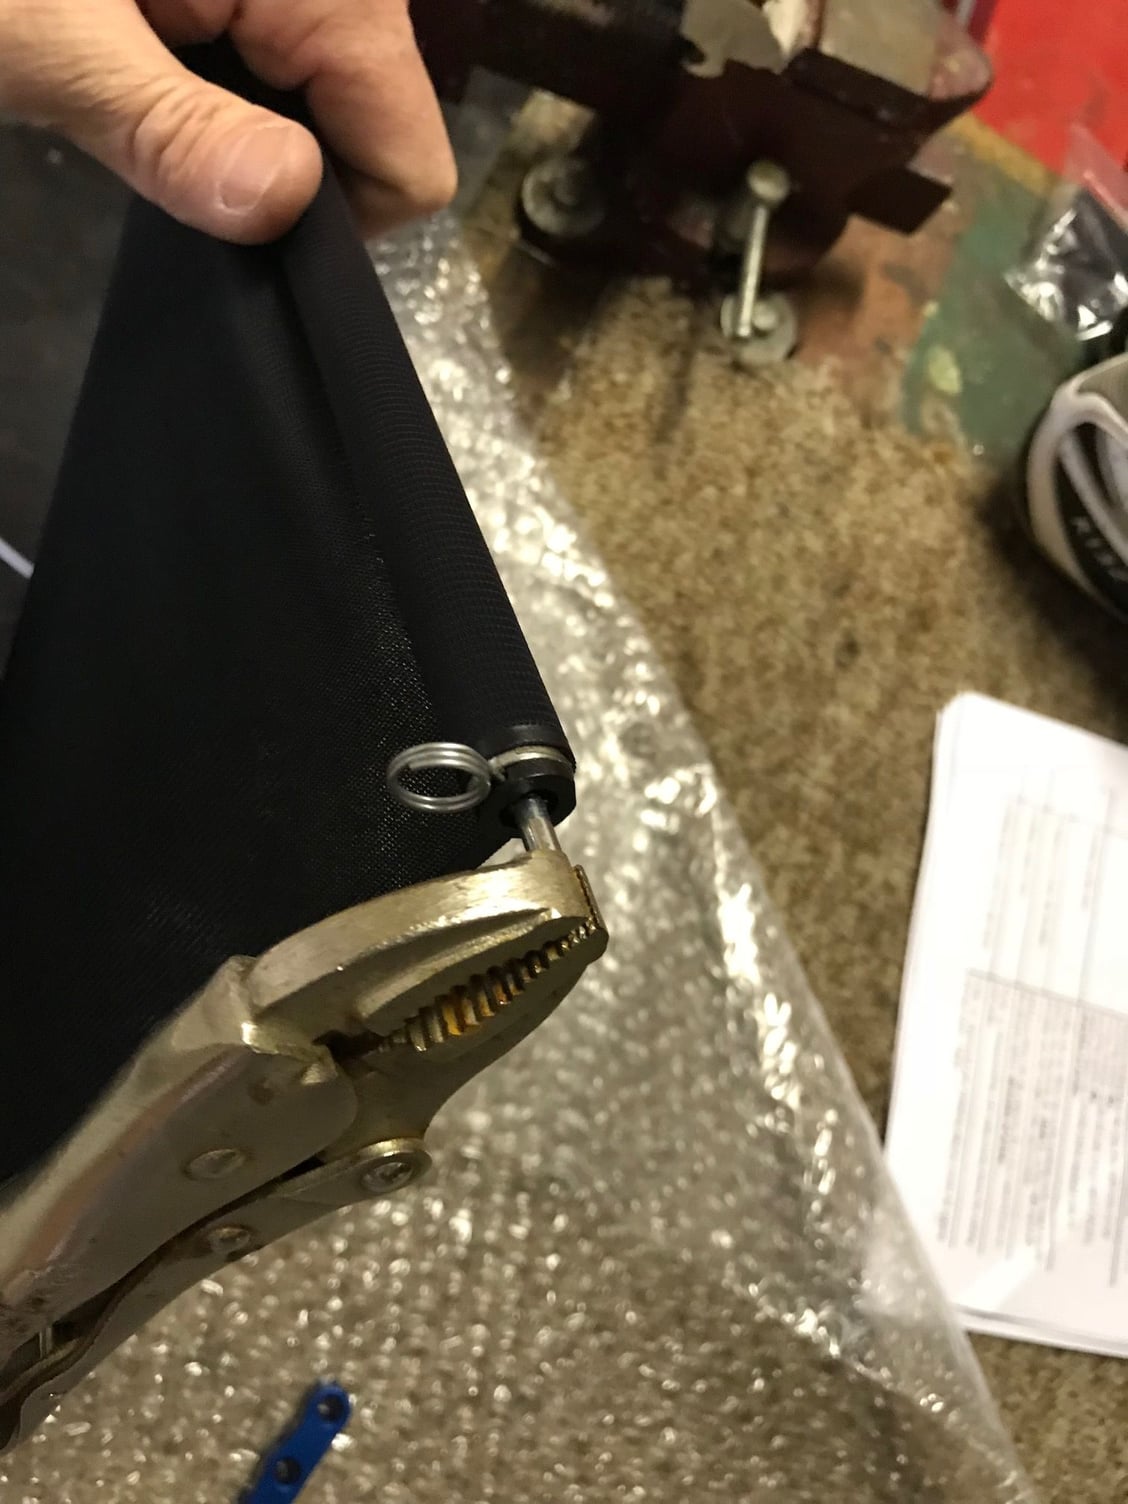
Pull out the pin and let the roll-up spring unwind. Clip a vise-grip onto the square end. Hold the shade in your left hand. Roll the vise-grip17 turns counter-clockwise.
Push the pin in through the hole in the shade "frame" and into the hole in the square end of the shaft. This holds the shade rolled up.
Remove the vise-grip.
With the new shade in the car, position the roll with the shade coming off the top of the roll.
Push the right side into place and compress the axial spring. Swing the left side into place,
Using needle-nose pliers, remove the pin. This is tight, but you can squeeze the pliers in at an angle.
Pull the front "rod" of the shade forward. It should travel smoothly to the front of the car.
Insert the left and right sides of the rod into the drive diagonally, then force them straight. This is the trickiest part. I could just squeeze the side of my head against the top window and see the little slots in the drive in the left and right sides where the rod need to go. If needed, slide a flathead screwdriver into one side of the drive and force it forward or backward.
Next, install the middle rod. The drive also pushes on it, but only backward. Thus, the ends don't fit into slots, but just fit in back of "pushers" in the drive. Also, the shade must be positioned withing the gaps at the ends of the middle rods.
Finally, reinstall the motor and motor cover. One of the screws was very loose when I went to work on this, so I put Loctite on all of these fittings upon reassembly.
The gear on my motor had threads in it that I cleaned out. I also put a little lithium grease on the teeth
I also sprayed silicone lubricant into the slots along which the shade rods move.
BUMP
This is a must read for any Targa owner this helped me out so much tonight. My motor was falling out and it misaligned the shade. I didn't touch it for the longest time fearing I would cause damage of difficult to find parts.
Got my shade fixed in about 15 minutes.
Thanks!
BUMP
This is a must read for any Targa owner this helped me out so much tonight. My motor was falling out and it misaligned the shade. I didn't touch it for the longest time fearing I would cause damage of difficult to find parts.
Got my shade fixed in about 15 minutes.
Thanks!
Great! That's the beauty of Rennlist and the Internet.
Great thread! My sun shade hasn't been retracting correctly and this gave me enough confidence to diagnose it instead of paying a dealer. I removed the motor and it turns out that the issue is that the guide on the passenger side is broken. I know it's been a while but @kgoertz , do you remember how you went about removing the broken gear tube? Did you have to remove a bunch of trim? Any help is super appreciated.
Hi @awisernig ,
I don't think I had to remove any other trim to remove the gear tubes. Just the big piece of trim covering the motor assembly and the side trim that covers the rails. While I don't remember the exact details I don't remember it being particularly challenging. I thought the gear tubes just pulled out when removing the motor assembly and the copper tubing. But be really careful with the copper tubing since mine was pretty fragile and bent easily.
Thanks so much for the fast reply. I'l give it a shot.
I'm not sure if these parts changed numbers or if you made an error when typing initially but they now start with 997. Thanks for the tip I was able to locate the parts through my dealer but they wouldn't have found them had I not located the part numbers. They wanted to sell me a whole new shade at over $700.
I'm not sure if these parts changed numbers or if you made an error when typing initially but they now start with 997. Thanks for the tip I was able to locate the parts through my dealer but they wouldn't have found them had I not located the part numbers. They wanted to sell me a whole new shade at over $700.
 06-01-2016, 06:27 PM