
996 Oil Leak
 06-12-2012, 12:18 AM
#31
Drifting
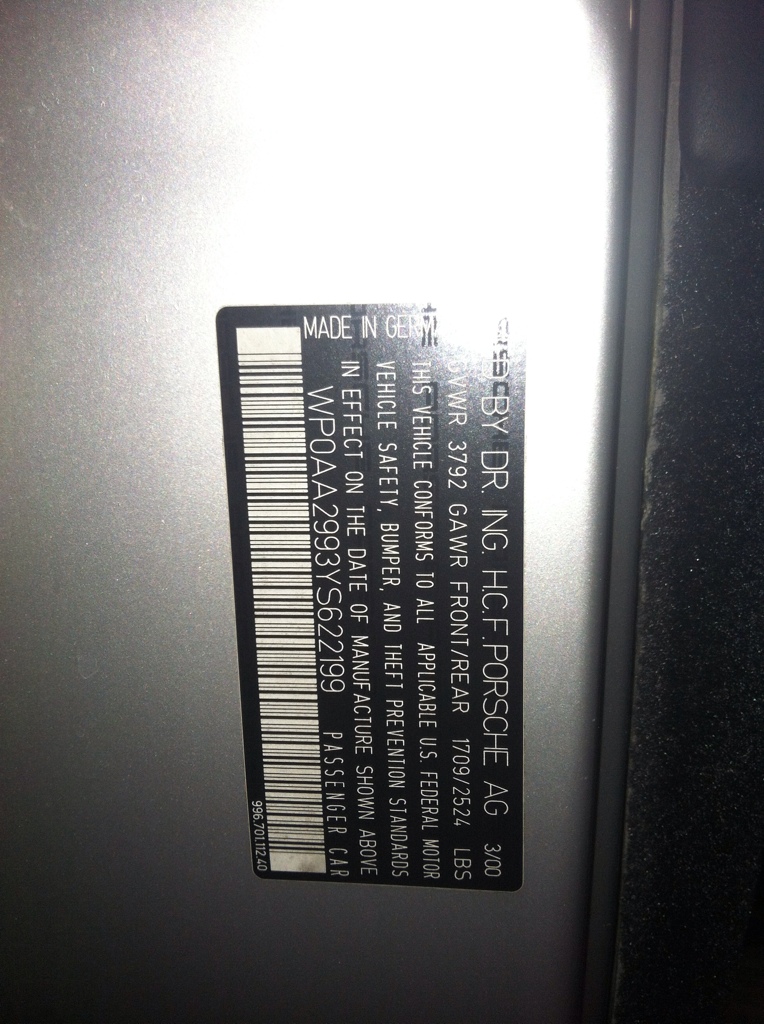
Can you let us know the build date of your car? It's on the label on the door below the door latch assembly, my 2000 was delivered in Feb 2000 and has a 11/99 build date on the label.

 06-12-2012, 12:46 PM
#33
Instructor
Thread Starter

Parts have been ordered! I probably won't get everything in time to put the car back together this weekend. It might be another week or so until the next update.

 06-19-2012, 09:27 PM
#38
Instructor
Thread Starter
My IMS bearing was in fine shape. What a relief. I replaced it anyway though.
Today I worked on my 911 some more. I didn�t do a very good job of taking pictures. It was probably 95 F degrees today in Iowa. And I�m almost 40-years old. Not a fun day to be constantly climbing under and out-from-under the car. Taking pictures was not a priority. Sorry. There are plenty of threads on how to do this already, check them for instructions.
I did get confused on a few things so I had to keep coming into the house to read the internet. I tried to get some pictures of the things that I wasn�t able to find good documentation on the internets.
One of the things I couldn�t easily find documentation on was how to pin the crank pulley for Top Dead Center, and also how to check cam timing. To get access to the crank pulley bolt you have to pull the air box out. I turned it (the pulley, the nut is 24mm so plan ahead when you go tool shopping, a 32mm is also handy for removing the cam tensioners) clockwise while facing the front of the car. I hope that is the right way to turn the engine over.
For the cam timing, it was not clear which cam plugs to pull to be able to see the cam timing marks. I ended up pulling the plugs on the passenger side front of the engine and the lower plug on the driver�s side rear of the engine. Then I turned the crank pulley until the tear drop shaped hole was at about 11 o�clock. In this position the locking pin can be inserted in the tear drop hole and locks the engine from turning. Make sure the cam timing marks (grooves) are straight up and down and then install the cam locks that came with the LN Engineering tool kit. I had to grind down one of the cam lock tools so that it would fit in to the cam timing grooves. Not sure what LN Engineering expects you to do here - maybe I did it wrong? Then you bolt the pax side cam timing lock (I used the double lock here) to the head using the negative ground strap bolt that is in between the intake and exhaust cam plugs.
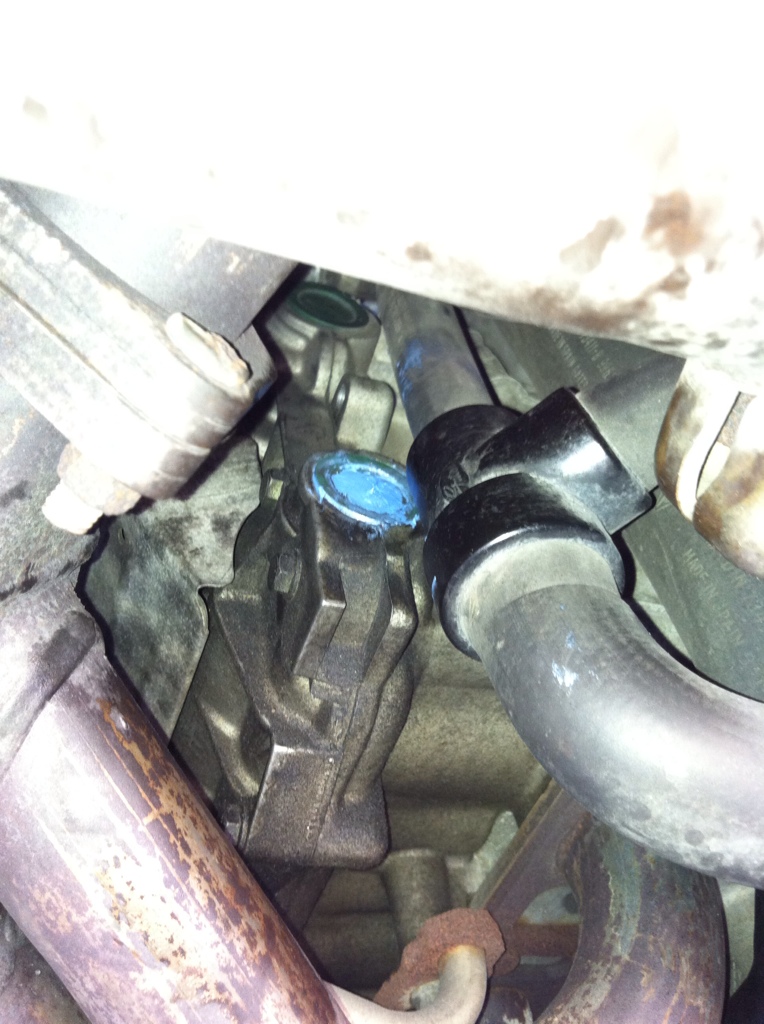
Here�s a picture of the driver�s side rear cam plug. I didn�t order new plugs so I just used some blue RTV to cover the hole you have to poke in the middle of them to remove them. Wow that looks really ugly in the picture. I suppose I could order some new cam plugs.
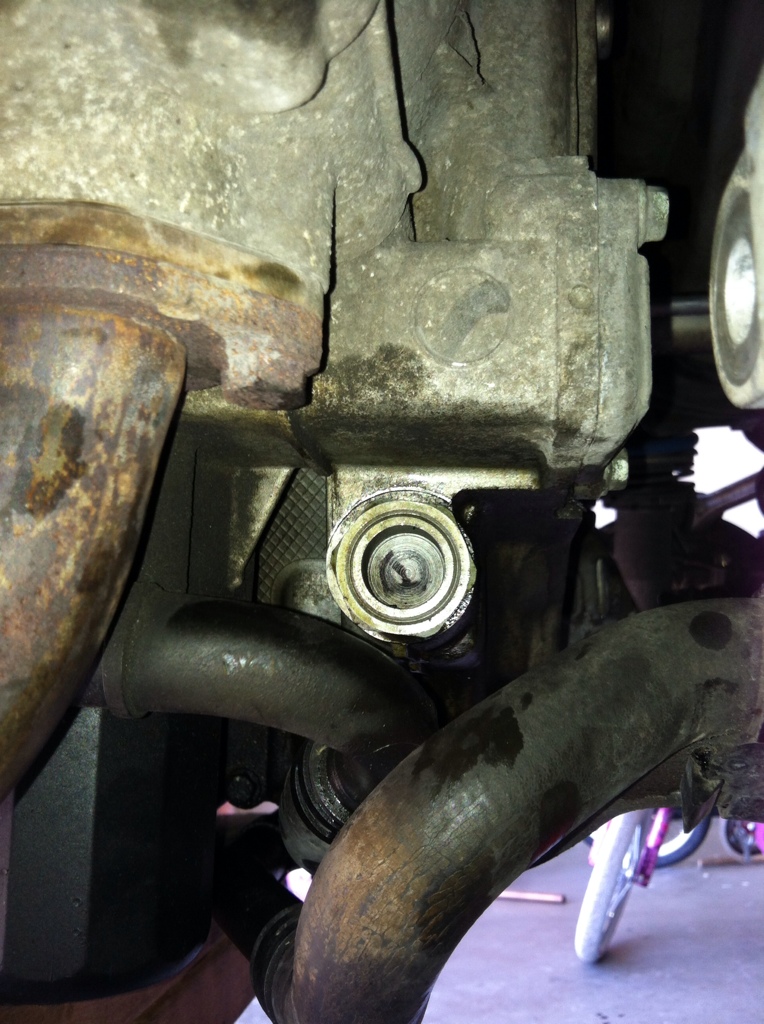
Picture of driver�s side cam tensioner. I removed this and the one on the pax side. I didn�t remove the mysterious 3rd cam tensioner.
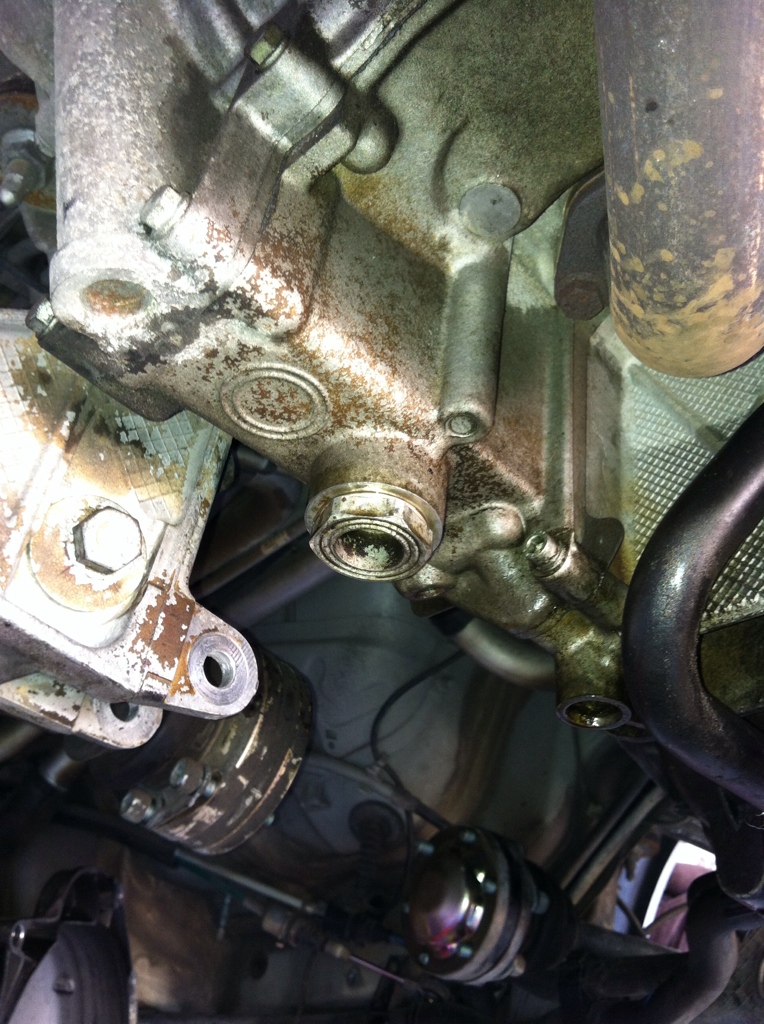
The pax side cam tensioner is hard to find at first, you have to look in from the side of the car.
After I got the timing organized I pulled the pax and driver�s side cam tensioners. I didn�t pull the mysterious 3rd cam tensioner. I don�t even know where it is.
I also used the set screws in the Pelican Parts IMS bearing kit to push against the IMS gear in hopes of keeping the shaft centered. I have read on the webz that the shaft can sometimes get pulled to one side or the other if you do not remove the mysterious 3rd cam tensioner. If this happens it can be difficult to reinstall the IMS bearing, so I�ve heard on the innerwebz.
In my case the shaft did not get pulled off center. I used the LN Engineering bearing puller and my double row bearing came right out with no problems. It didn�t seem like I had to use an �extreme amount of force� to get the bearing spring clip to release.
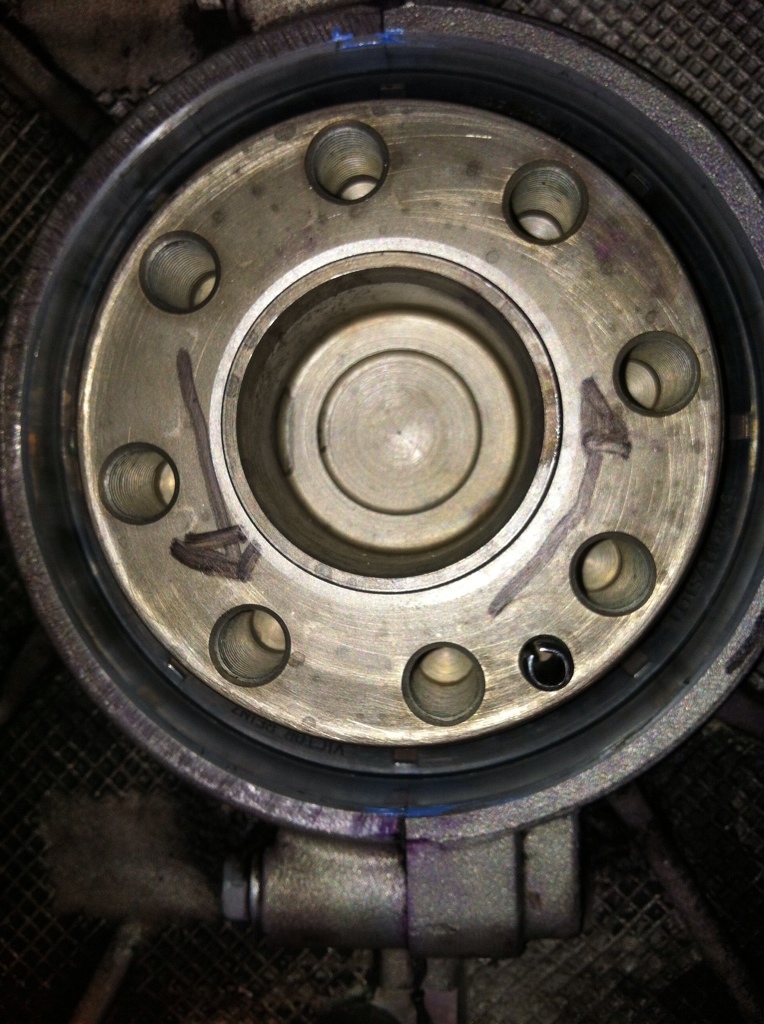
I had the new bearing and tool in the freezer for about and hour or two so when I reinstalled them. They went right back in with no problem. I buttoned everything up and cleaned up for the day. I�ll be out of town until next Tuesday so I should be posting next week on how I made a home made RMS installation tool. After I finish the RMS installation it should be a cake walk to get the new clutch bolted up, and the transmission reinstalled.
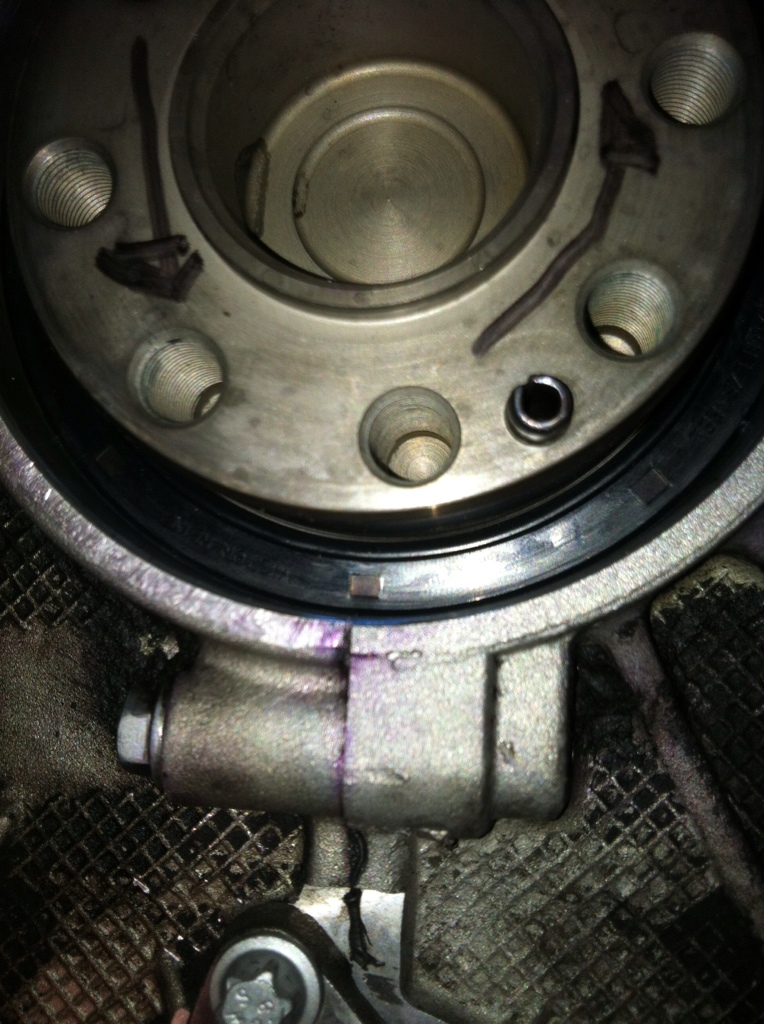
Money shot of replaced Intermediate Shaft Bearing.
Today I worked on my 911 some more. I didn�t do a very good job of taking pictures. It was probably 95 F degrees today in Iowa. And I�m almost 40-years old. Not a fun day to be constantly climbing under and out-from-under the car. Taking pictures was not a priority. Sorry. There are plenty of threads on how to do this already, check them for instructions.
I did get confused on a few things so I had to keep coming into the house to read the internet. I tried to get some pictures of the things that I wasn�t able to find good documentation on the internets.
One of the things I couldn�t easily find documentation on was how to pin the crank pulley for Top Dead Center, and also how to check cam timing. To get access to the crank pulley bolt you have to pull the air box out. I turned it (the pulley, the nut is 24mm so plan ahead when you go tool shopping, a 32mm is also handy for removing the cam tensioners) clockwise while facing the front of the car. I hope that is the right way to turn the engine over.
For the cam timing, it was not clear which cam plugs to pull to be able to see the cam timing marks. I ended up pulling the plugs on the passenger side front of the engine and the lower plug on the driver�s side rear of the engine. Then I turned the crank pulley until the tear drop shaped hole was at about 11 o�clock. In this position the locking pin can be inserted in the tear drop hole and locks the engine from turning. Make sure the cam timing marks (grooves) are straight up and down and then install the cam locks that came with the LN Engineering tool kit. I had to grind down one of the cam lock tools so that it would fit in to the cam timing grooves. Not sure what LN Engineering expects you to do here - maybe I did it wrong? Then you bolt the pax side cam timing lock (I used the double lock here) to the head using the negative ground strap bolt that is in between the intake and exhaust cam plugs.
Here�s a picture of the driver�s side rear cam plug. I didn�t order new plugs so I just used some blue RTV to cover the hole you have to poke in the middle of them to remove them. Wow that looks really ugly in the picture. I suppose I could order some new cam plugs.
Picture of driver�s side cam tensioner. I removed this and the one on the pax side. I didn�t remove the mysterious 3rd cam tensioner.
The pax side cam tensioner is hard to find at first, you have to look in from the side of the car.
After I got the timing organized I pulled the pax and driver�s side cam tensioners. I didn�t pull the mysterious 3rd cam tensioner. I don�t even know where it is.
I also used the set screws in the Pelican Parts IMS bearing kit to push against the IMS gear in hopes of keeping the shaft centered. I have read on the webz that the shaft can sometimes get pulled to one side or the other if you do not remove the mysterious 3rd cam tensioner. If this happens it can be difficult to reinstall the IMS bearing, so I�ve heard on the innerwebz.
In my case the shaft did not get pulled off center. I used the LN Engineering bearing puller and my double row bearing came right out with no problems. It didn�t seem like I had to use an �extreme amount of force� to get the bearing spring clip to release.
I had the new bearing and tool in the freezer for about and hour or two so when I reinstalled them. They went right back in with no problem. I buttoned everything up and cleaned up for the day. I�ll be out of town until next Tuesday so I should be posting next week on how I made a home made RMS installation tool. After I finish the RMS installation it should be a cake walk to get the new clutch bolted up, and the transmission reinstalled.
Money shot of replaced Intermediate Shaft Bearing.
06-21-2012, 02:06 AM
#39
Three Wheelin'
Oh yeah...looking good Dave.
That looks like the old style RMS too...the new style has rectangular holes pressed into the rubber instead of round holes.
I elected to leave my new style RMS in place because it wasn't leaking and I was struggling with my home made tool.
We'll see if I have to pay the price down the road.
That looks like the old style RMS too...the new style has rectangular holes pressed into the rubber instead of round holes.
I elected to leave my new style RMS in place because it wasn't leaking and I was struggling with my home made tool.
We'll see if I have to pay the price down the road.
 06-25-2012, 11:03 PM
#42
Instructor
Thread Starter
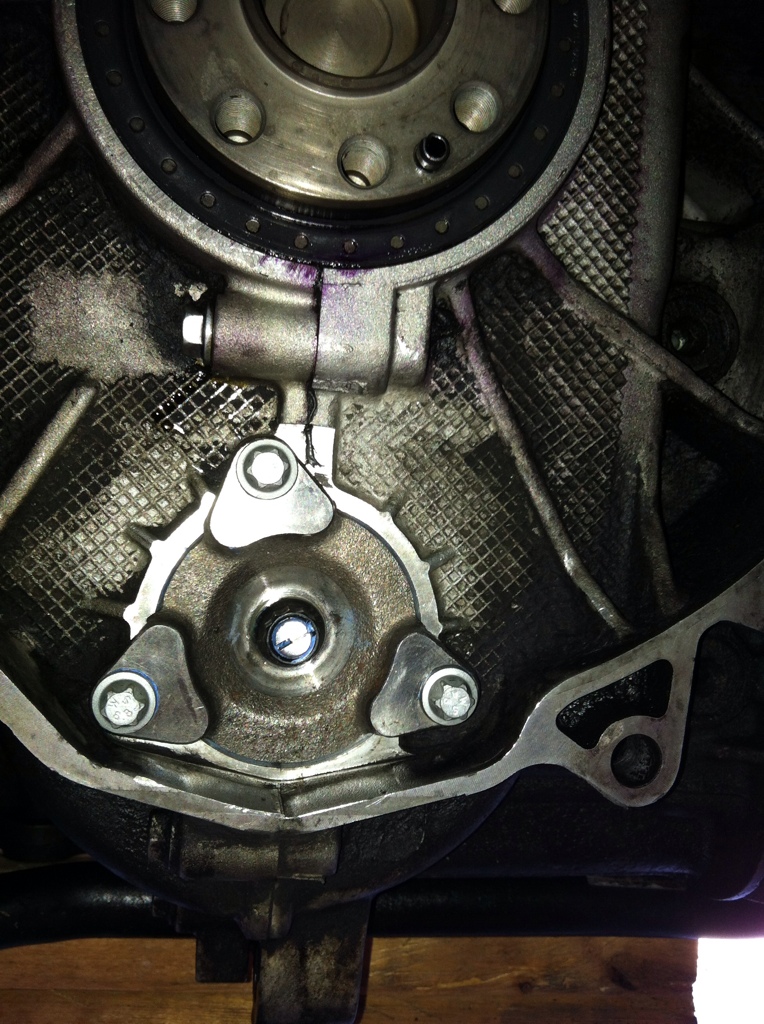
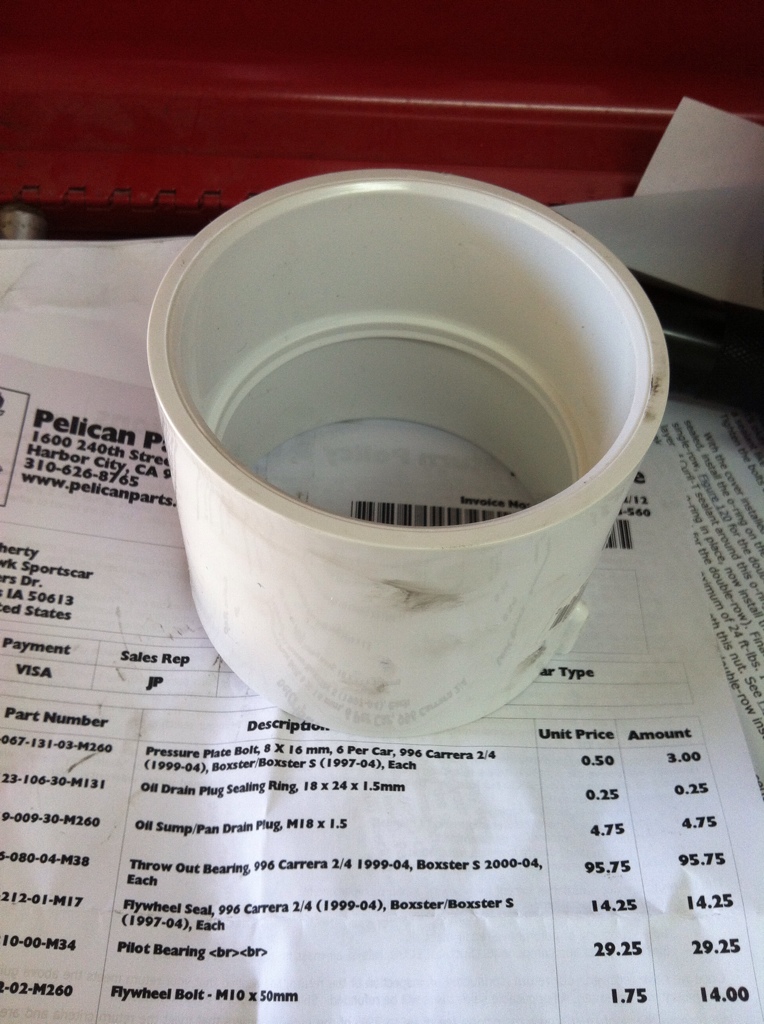
Oops. Just pressing the seal in with a pvc pipe and hoping it goes in straight doesn�t work. That lesson cost me $14.25. I�m going to have to order another seal and borrow the Porsche special tool to install it from somebody.
PVC install tool � this didn�t work out so good.
Seal is not in straight and I pushed it in way too far. Lucky it didn�t fall in the engine. Porsche did not design in a stop for the seal to rest against. It could fall in the engine if some idiot pushed it in too far. Luckily, I'm not an idiot. Just a moron.
I just got back from a long weekend visiting my wife�s family in The Motor City. I was hoping to get the 911 put back together tonight but it looks like it will be about another week until I get it put back together.
That means I get to drive this truck for another week. I had a 2004 Ford F150 but I sold it about a month ago. I am planning to replace it with a Jeep Wrangler this fall. In the mean time I had to borrow my dad�s old truck.
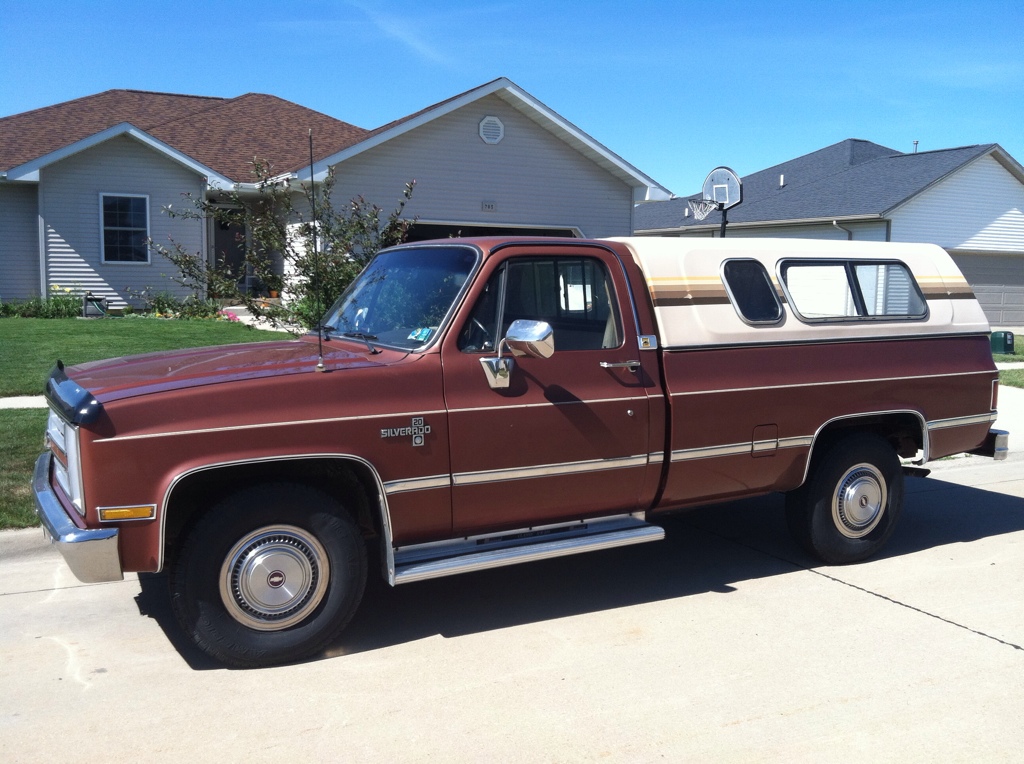
My grandpa actually bought this truck in about 1990. It is a 1986 Chevy Silverado �-ton. My grandparents drove it clear to Alaska and back in 1991 and camped in a pick-up camper they had at the time. That must have been about the last big road trip they took before they got too old.
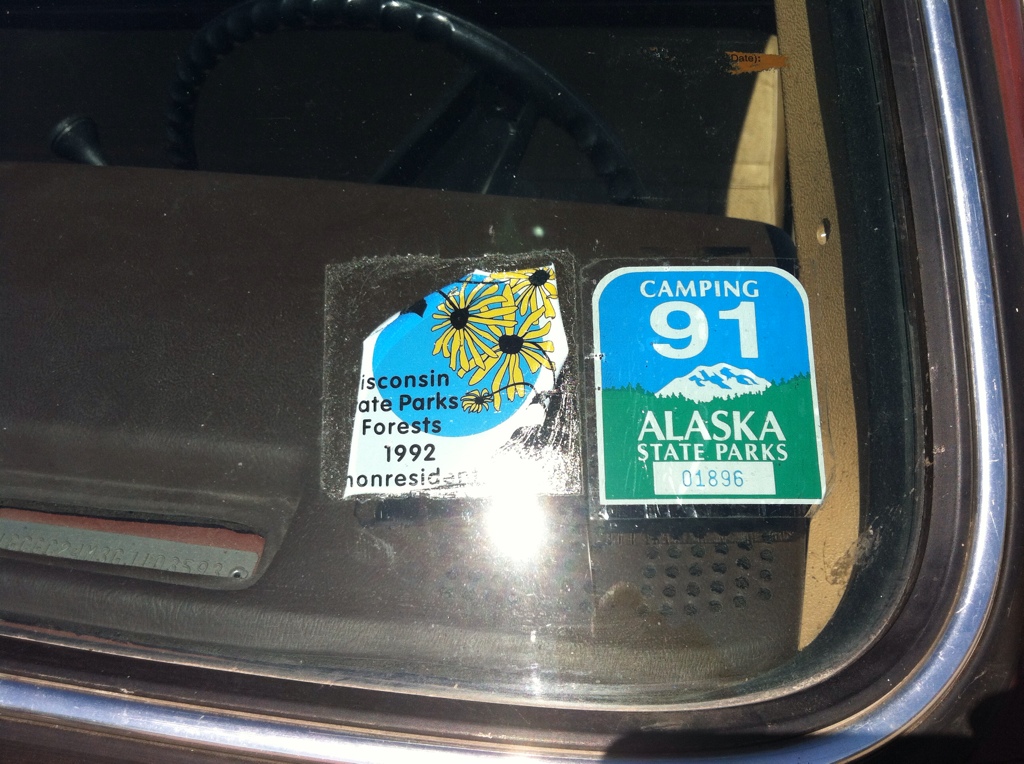
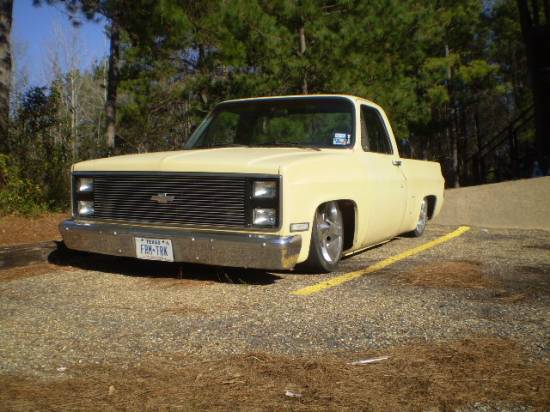
It is actually a very clean truck, no rust and has never been driven in salt in the winter. Very unusual for Iowa. I suppose that someday it will be mine and I will have to put an air bag suspension on it so it can lay frame and soup up the big 350 cubic inch V8.

PVC install tool � this didn�t work out so good.
Seal is not in straight and I pushed it in way too far. Lucky it didn�t fall in the engine. Porsche did not design in a stop for the seal to rest against. It could fall in the engine if some idiot pushed it in too far. Luckily, I'm not an idiot. Just a moron.
I just got back from a long weekend visiting my wife�s family in The Motor City. I was hoping to get the 911 put back together tonight but it looks like it will be about another week until I get it put back together.
That means I get to drive this truck for another week. I had a 2004 Ford F150 but I sold it about a month ago. I am planning to replace it with a Jeep Wrangler this fall. In the mean time I had to borrow my dad�s old truck.
My grandpa actually bought this truck in about 1990. It is a 1986 Chevy Silverado �-ton. My grandparents drove it clear to Alaska and back in 1991 and camped in a pick-up camper they had at the time. That must have been about the last big road trip they took before they got too old.
It is actually a very clean truck, no rust and has never been driven in salt in the winter. Very unusual for Iowa. I suppose that someday it will be mine and I will have to put an air bag suspension on it so it can lay frame and soup up the big 350 cubic inch V8.
06-26-2012, 10:09 AM
#43
Instructor
Thread Starter
I ordered a new rear main aka flywheel seal, the Porsche special tool to install it, and a clutch alignment tool because I forgot to order that when I ordered my first batch of parts.
Between the intermediate shaft bearing special tool ($190) and the flywheel aka rear main seal special tool I'll have $380 worth of special tools for this car. Still way better than paying for a shop to do the job. Plus I get to bond with my car. Or whatever. I like driving them not working on them.
If anyone wants to borrow the tools from me let me know
 07-06-2012, 01:45 AM
#45
Instructor
Thread Starter
Still waiting for the special tool to arrive so I can install the rear main seal and get this thing back together. Driving that 1986 Chevy truck with no a/c is a bitch. It's supposed to be 102 � tomorrow!