When you click on links to various merchants on this site and make a purchase, this can result in this site earning a commission. Affiliate programs and affiliations include, but are not limited to, the eBay Partner Network.
Let me start off by stating this is the first time I have worked on a Porsche. Most of my wrenching has been done on Alfa's and BMW's. I am impressed with this Porsches engine layout. I thought it would be much worse than it has been. When you peek under the car or look in the engine compartment it looks like 10 lbs of Sh*t stuffed in a 5 lb sack!! But I am not impressed with this stupid spark plug tube. They had to know when they concocted this design it would leak.
I am in the process of doing the 60K service on my 1999 C2 Cab which includes replacement of the spark plugs. Because I read on Renntech that the spark plug tubes often leak and possibly crack I also ordered 6 new tubes and all new seals. I have only done the passenger side, and discovered that 2 of the 3 seals were deformed and leaking oil. Those deformed seals must have become deformed by Otto when he popped them in the motor in Stuttgart. There is no way they could break and creep like that with time. I used a synthetic grease to lube them up and they easily popped right in.
Of note, the spark plugs I found in my motor were Bosch, not Beru. I ordered new Bosch ones from Pelican.
I went to West Marine who is a marine retailer to locate the T handle rubber expanding transom plug. The plug was $6. The 1" (25.4mm) plug was too small. The spark plug tube is 26.3mm dia. Even when I screwed the plug in as tight as I could get it, the plug wouldn't expand large enough to fit tight inside the tube. So I ended up buying a 1-1/4" plug and trimmed it down to fit. I used razor blades and a peanut grinder with a wire wheel to shape the plug. The reshaped plug worked perfectly and easily pulled the tubes out.
You will note from the pictures how oily everything was. (My first clue my O rings had failed!) Despite this, the car never leaked oil on the ground or used oil. The tube leak was probably contained mostly by the outer seal. Although some did seep past. The tubes were full of oil, even on the one good seal.
It took 3 cans of carb cleaner on the passenger side, and one can of electrical contact cleaner to clean up the 3 coil packs and plugs. I presprayed with an engine degreaser and let sit overnight before I cleaned with the carb cleaner. It looks much better. All of the coil packs were fine and had no cracks.
Some people have noted it helps to remove the muffflers. ABSOLUTELY. I don't see how you can do this job otherwise. At least not with normal sized hands. Plus I didn't want to take any chances with the tube removal, spark plug threading and replacement of the coil packs. Considering how easy it is to drop the muffflers it's a no brainer. Most of these pics are the passenger side which is the "easy" side. The drivers side is worse. I started on the drivers side and gave up, then moved to the passenger side. That's tonight.
To remove the muffler you need to loosen the two 17mm bolts on the round cat to muffler clamp. Push the clamp towards the cat side until the clamp is flush with the end of the pipe. Then there are 3 nuts which have to be removed from the plate which is attached to the bracket with the 4 pipe supports. The muffler is free at this point. You need to remove the rear tire too because the muffler slides forward and then down. I didn't know what I was doing, so I also removed the 2 very long bolts which bolt the muffler to the bracket, but in hindsight I don't think I needed to do that. That's it and then you have excellent access.
The third picture down shows the support plate with the 3 holes that have the three nuts which have to be removed to seperate the muffler from the support bracket. The first and second pictures (before) shows the muffler bracket before I removed the muffler with one of the two long bolts (looks like a dumbell), that I don't think I needed to remove.
Lastly, despite the warnings against using anti seize, I lightly used it. I have 30 years of experience (weekend warrior) of working on all aluminum engines, and I have never once had a problem with anti seize. I use the gold Lubro Moly brand and am careful when I torque fasteners. When I replace these plugs next time, I know they won't be seized and will screw out safely. It makes no sense to me to not use anti seize on a spark plug. When water, aluminum and steel are connected together it makes sense to me to use anti seize.
All this work was done on a cold motor, not a warm one as suggested by PAG in the workshop manual.
Cafelu Hi ..I am removing the mufflers to do my plugs and sleeves. You say "To remove the muffler you need to loosen the two 17mm bolts on the round cat to muffler clamp. Push the clamp towards the cat side until the clamp is flush with the end of the pipe.
I am having one hell of a time even removing the first two nuts holding the side by side clamps on the back pipe. I have sprayed them about 2 hours ago and they don't move. I hope I am on the correct clamps, one bolt holding each side by side clamps. Correct? The 17 mil ring spanner wrench seems slightly too large. I have used another wrench on the head of that one for leverage and get a slip off and still not moved one as yet. Do you have a method of yours to loosen these bolts? Here is a link to a photo of the nuts and clamps in question. Are these the correct nuts and clamps?
The pic is of the correct bolt/nut/clamp combo.
If yours are that rusty get 4 new ones to replace them.
I would wire brush them, get a *"cup" brush for your drill, to remove some of the rust and then heat the nuts red/orange hot.
On the passenger side I have done the two easiest plugs and sleeves using the correct tools no problem. The third on that side nearest the back of the car I will have to remove the muffler. So I was in AutoZone and bought PB blaster and soaked all again. Also got a long reach 17 mil (like a plug extractor) Then after my dinner I put that onto the end of my Tork wrench. It came off this time haha. Snapped clean in half and fell out. Hell I can always get new bolts (and would have to do that anyway) so I will go ahead and snap the other three off. Bolts have two chances with me, come off or snap. The other three on another bracket to be removed, look pretty clean and should come out OK. (famous last words). So up to now, no injury but knocked the glass out of my spectacles. I am using my old specs now. ****ing cars... Pain in the effin **** lol.
So I snapped the other one off and eventually after a load of effing and blinding the muffler came free. That's enough for one day. There is always tomorrow. Gonna watch Man United on the tele now. I believe that the hard muffler to remove is on the drivers side. That's cheered me up no end the bastard hahaha.
Last edited by Hurdigurdiman; 10-06-2013 at 10:32 PM.
I didn't have any trouble with my bolts. They came clean apart. My car is 60K mile CA car that is garaged and isn't driven in the rain for the most part. So I have no corrosion underneath.
For working exhaust bolts and such in a home shop, the new generation of cordless impact drivers work amazingly well. Much more compact and convenient than air tools, and the impact action does a great job of loosening stubborn fasteners without snapping them as often happens when you just put a big breaker bar on stubborn bolts. It also works great for just running bolts off and on, though I'll typically stop it short when running bolts on and do a final tightn/torque with a hand ratchet or torque wrench if it's an important fastener.
I have a Makita compact 18V Lithium-Ion setup which has been fantastic, but their are several top quality alternatives as well.
...also, after removing my exhaust the first time by removing the three blind mounting bolts, I reversed the two long bolts and can now remove the exhaust just by pulling those instead of the three blind bolts.
So I did the job as preventative Maintenance. I bought plugs and sleeves about a year ago. The car was running just fine anyway but decided to do them. I had no idea when the plugs and sleeves were changed. I did find out on the very first coil passenger side that another screw had been used in that part so obviously these were not the same plugs which left the factory in Stuttgart. Nothing at all appeared wrong with any of the old plugs or sleeves as I changed them. Here is a photo of them. This was probably the hardest DIY I have had to do on the car but I enjoyed every minute of doing it. I jacked the engine as high as the jack would go and used two stands. The back of the car was about two foot off the floor. Removed back wheels and mufflers. I did not have to remove the two long bolts of the muffler. Just the tail pipe part and the three in the bracket and it was off. Then using a crawler slid around under the car to complete the job. The marine plug on the sleeves worked for me treat. One big glitch and all my fault I tried for like Everrrrrrrrr to put a coil back into where I had put the new sleeve and plug . Oh for two hours before I realize that the plug spanner had been left on the new plug. haha. Apart from a slight bump on the forehead I am unscathed. Aching, muscle weary and 6 pounds lighter than when I started the job. Loved it and the car is purring away good. I have yet to put the rear wheels back on and take it on the road. http://www.ex-lancs.com/web/plugs.jpg
Good for you Hurdigurdiman, you must feel good after tackling that job. Let us know if your Porsche drives just a little bit crisper now with new plugs.
-go with oem tubes and o-rings
-transom or bolt/washer method to extract
-install o-rings dry on tube and apply small amount of silicone lube on outside of o-rings on install
I did this job on my 986 which was pretty easy. With the engine being backwards to the 986, sounds like it makes it an awful job. I think I'll wait to run bad for this one.
I did this job on my 986 which was pretty easy. With the engine being backwards to the 986, sounds like it makes it an awful job. I think I'll wait to run bad for this one.
Wasn't hard at all. It was the first thing I did after taking delivery. Pop the bumper, cats and mufflers and easy access to all coil packs and spark plugs. Reassemble and enjoy the adult beverage of your choice.
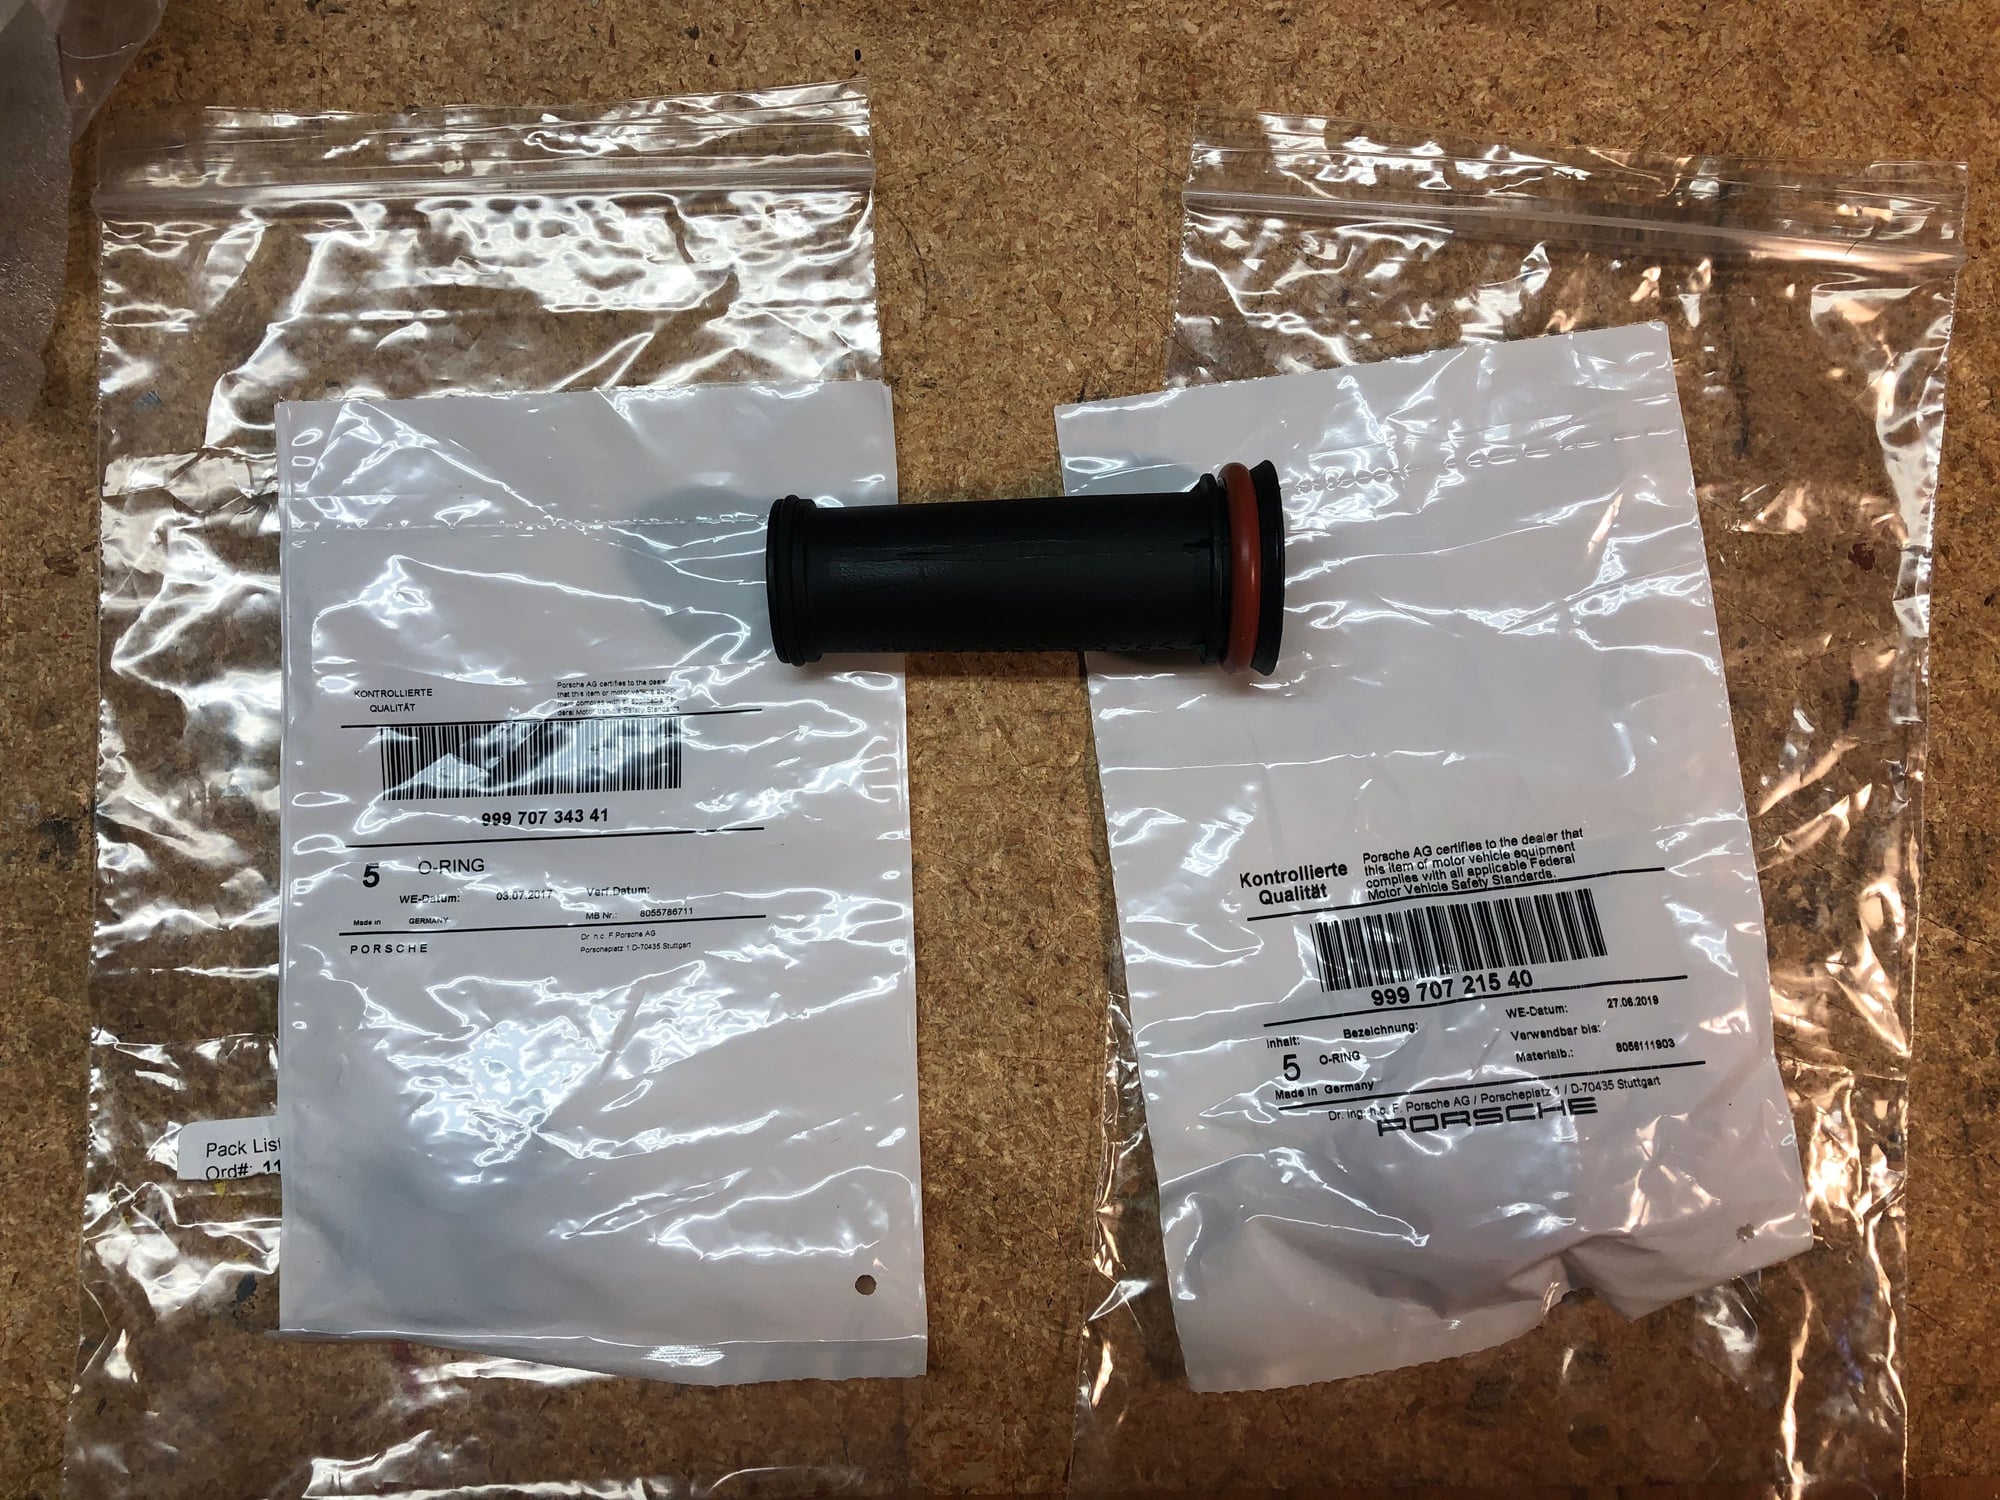
Getting parts together. Wanted to make sure I got the correct o-rings from the dealer (their website says it doesn't fit my 99 996, but their online catalog is not so great...but they have good prices).
I've double checked in the PET, AutoAtlanta and Pelican but wanted to double check here, especially as the inner/smaller o-rings I got from the dealer are black, not green like I've seen in some write ups.
 10-06-2013, 03:19 PM