When you click on links to various merchants on this site and make a purchase, this can result in this site earning a commission. Affiliate programs and affiliations include, but are not limited to, the eBay Partner Network.
Can anyone recommend a windshield wiper that doesn't tap the cowl? I have modern Bosch wipers. They look cool, but I think they are wider at the tip than what was originally spec'd on the car. So, when on the high wiper speed, it taps the cowl, "tap, tap, tap, tap, tap..."
I've confirmed that mine are the correct size. I've tried to reorient the wiper arm by removing it then rotating it one notch, but then it's too high. Maybe there's a way to micro-adjust the angle of the wiper ams?
Forgot to mention:
Replaced spark plugs, coils & tubes - No problem
Replaced water pump & coolant - No problem
Replaced coolant tank - No problem
Replaced windshield wipers - F&*$@#ed it up and broke the new wiper
A lot depends on your current configuration and the desired end configuration. I have a similar thread where I went from a double-din system to single din and moved a lot of those modules around. Maybe this thread can help you figure out what's involved: https://rennlist.com/forums/996-foru...do-i-need.html
Current configuration from top to bottom is. Cupholders, Single Din, cubby, HVAC
3.
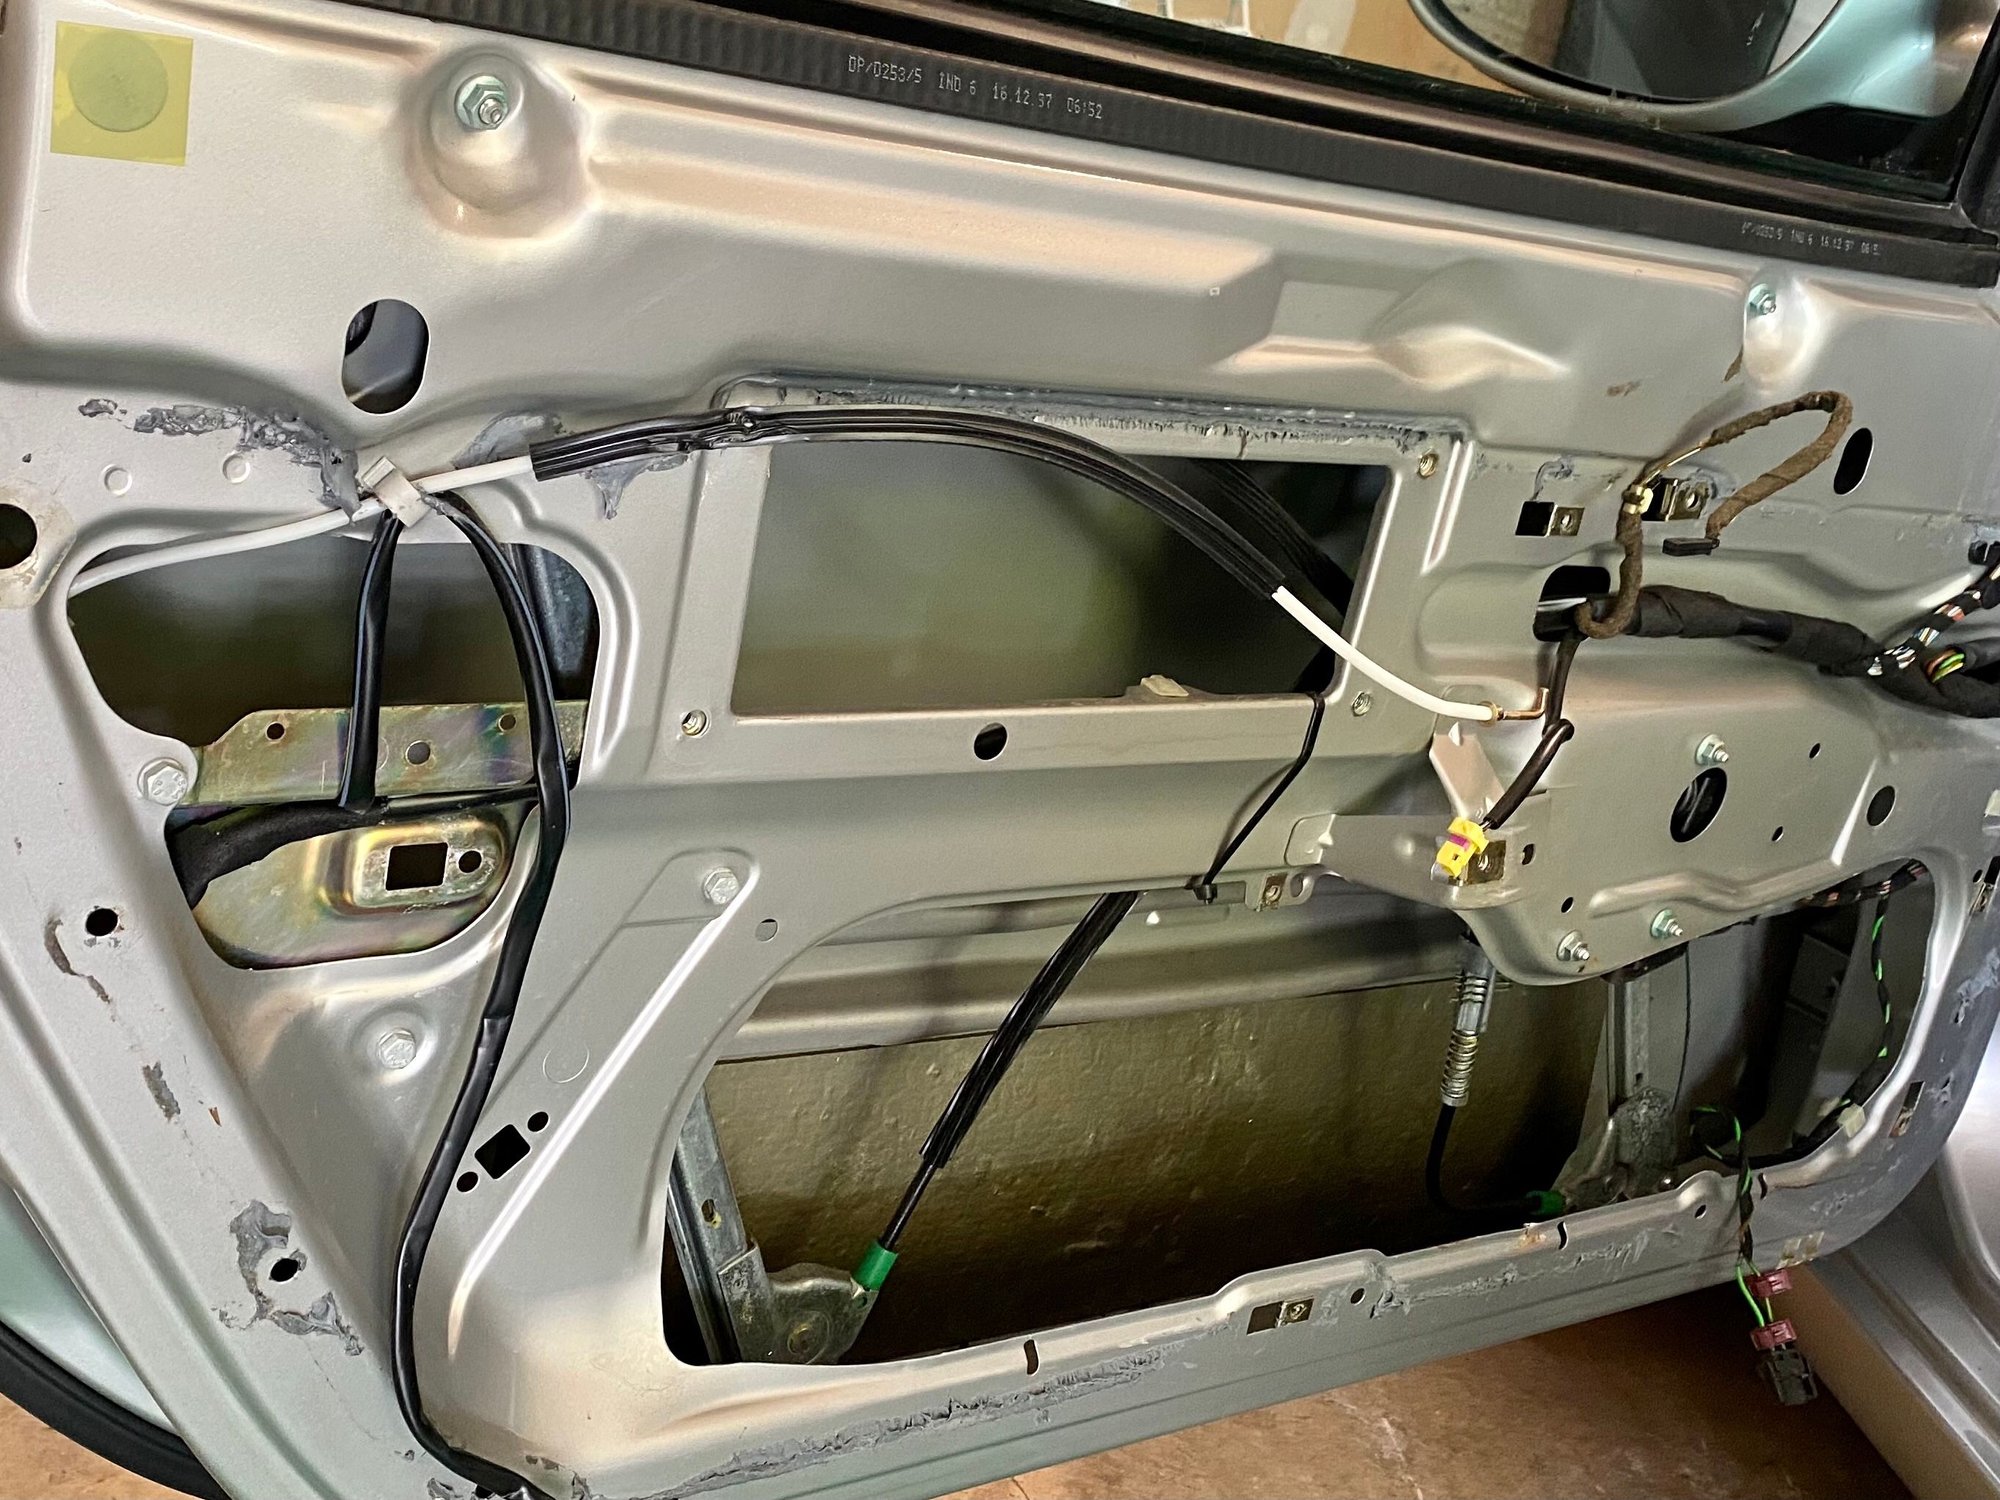
Front regulators take about 20 minutes once you have done it a few times.
If it is your first time it will probably take twice as long.
I would rate it a 4 1/2
Took me a little longer than twice 20 minutes.
Okay, a lot longer haha
Originally Posted by TheChunkNorris
I have one but haven�t installed it yet, I�d be curious to see if you do it.
Thanks for the motivation, seriously
Originally Posted by DBJoe996
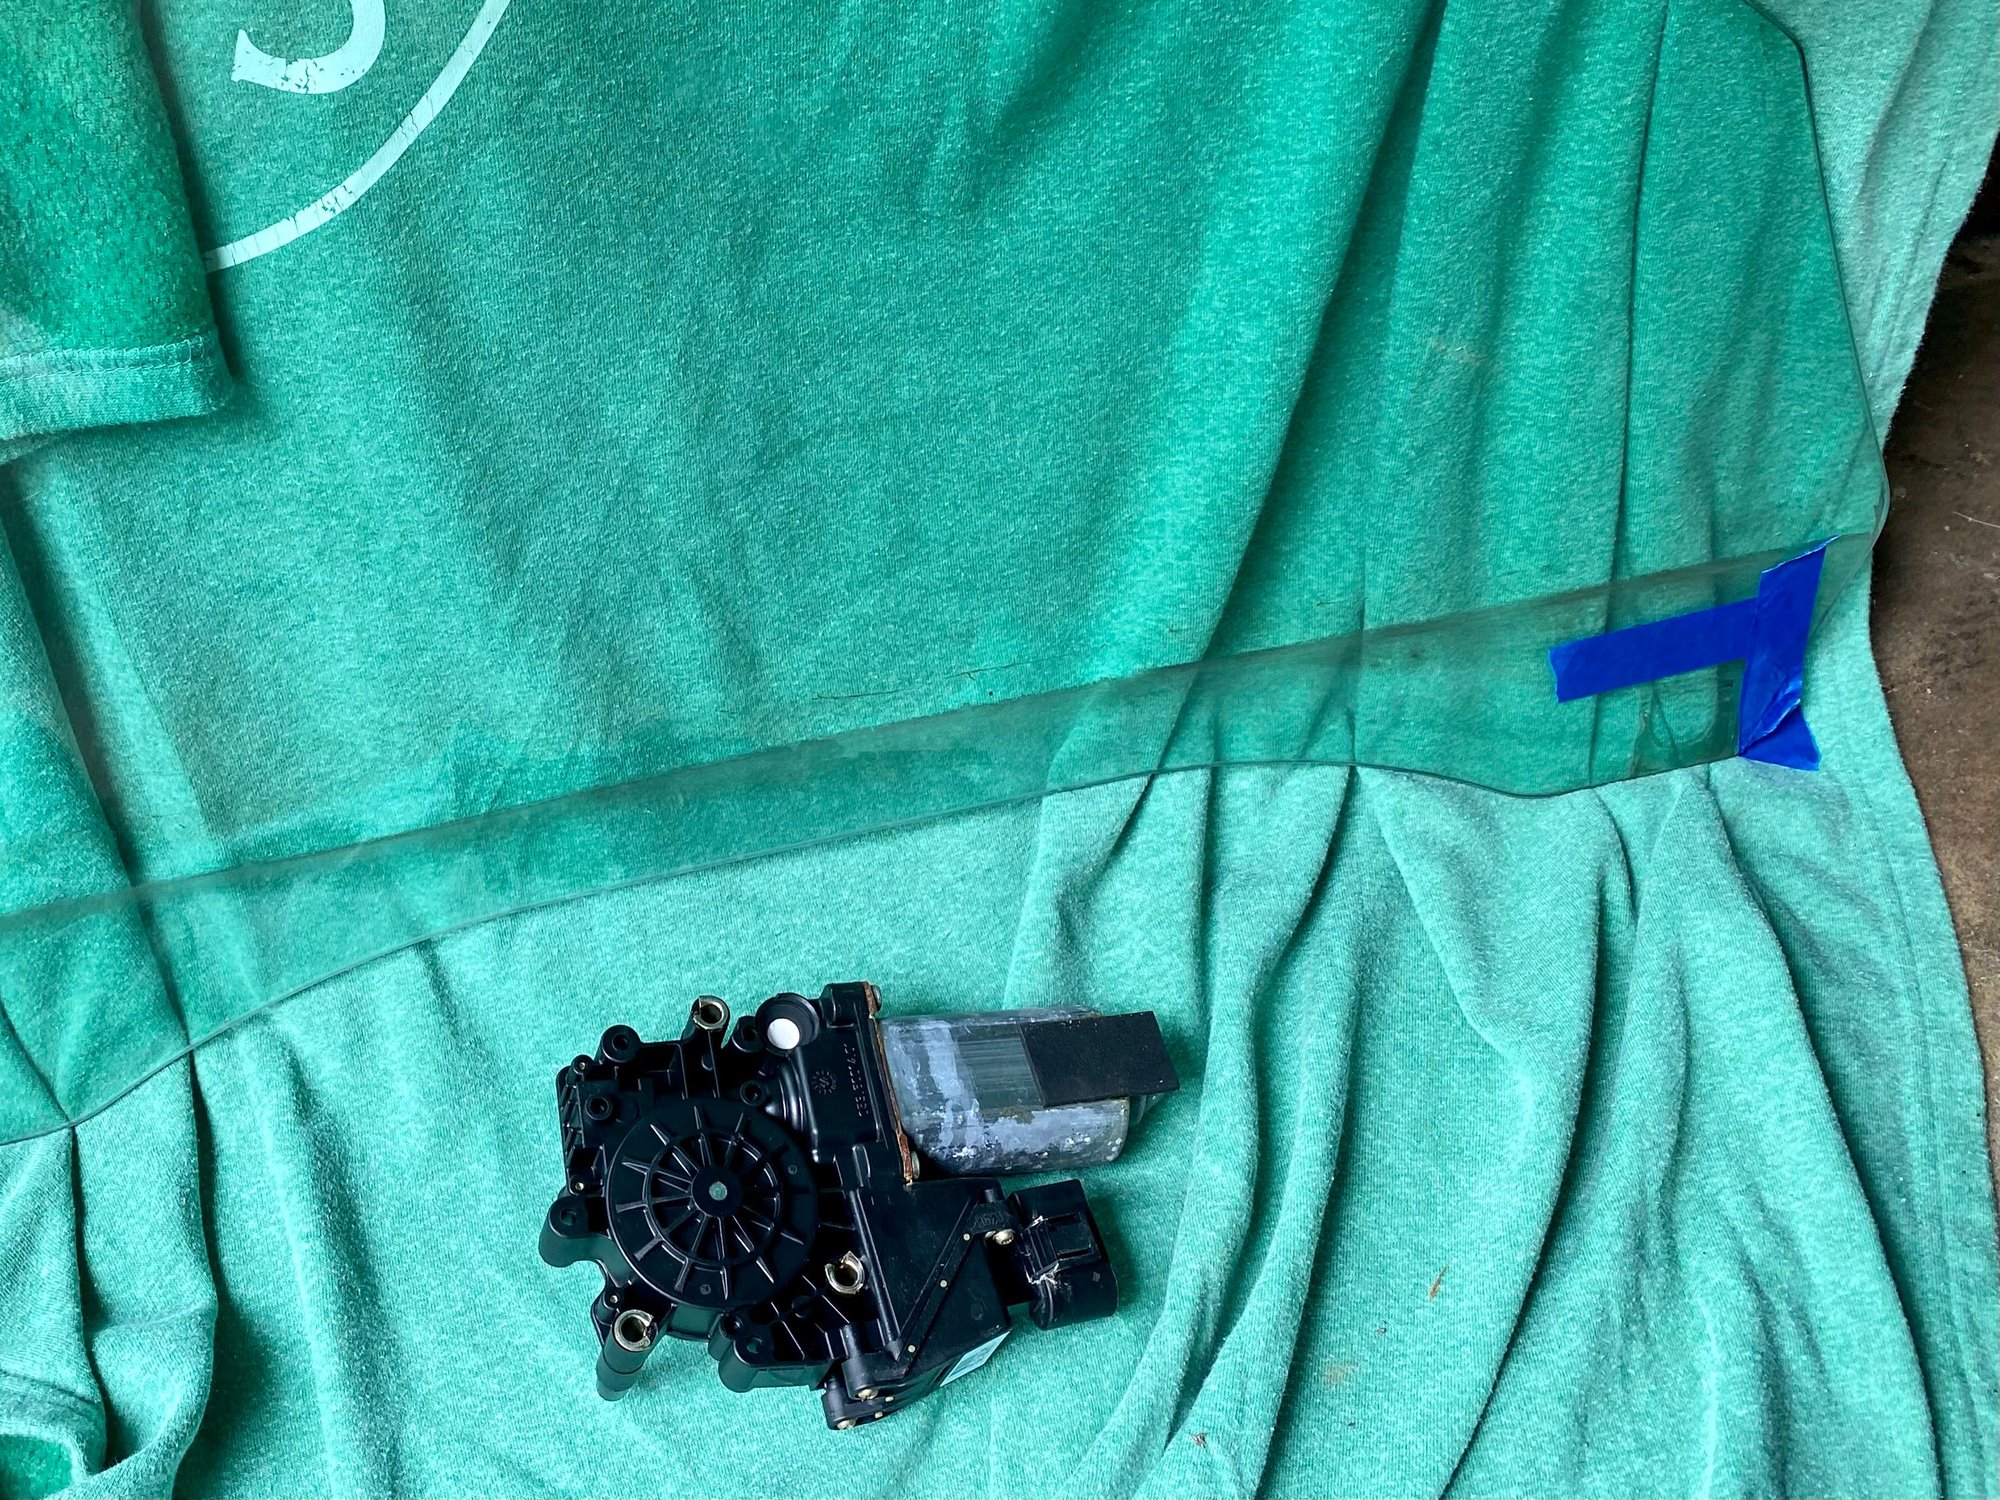
Be sure to do two things: take a sharpie or grease pencil and mark the window glass before you loosen the regulator window glass clamps; do the same thing for the bottom of the regulator (the two feet that sit inside the door). This will save hours getting the regulator and window glass back in place.
Great advice to mark the glass and bottom of the regulator.
I just took my time and documented every step and it wasn�t that bad.
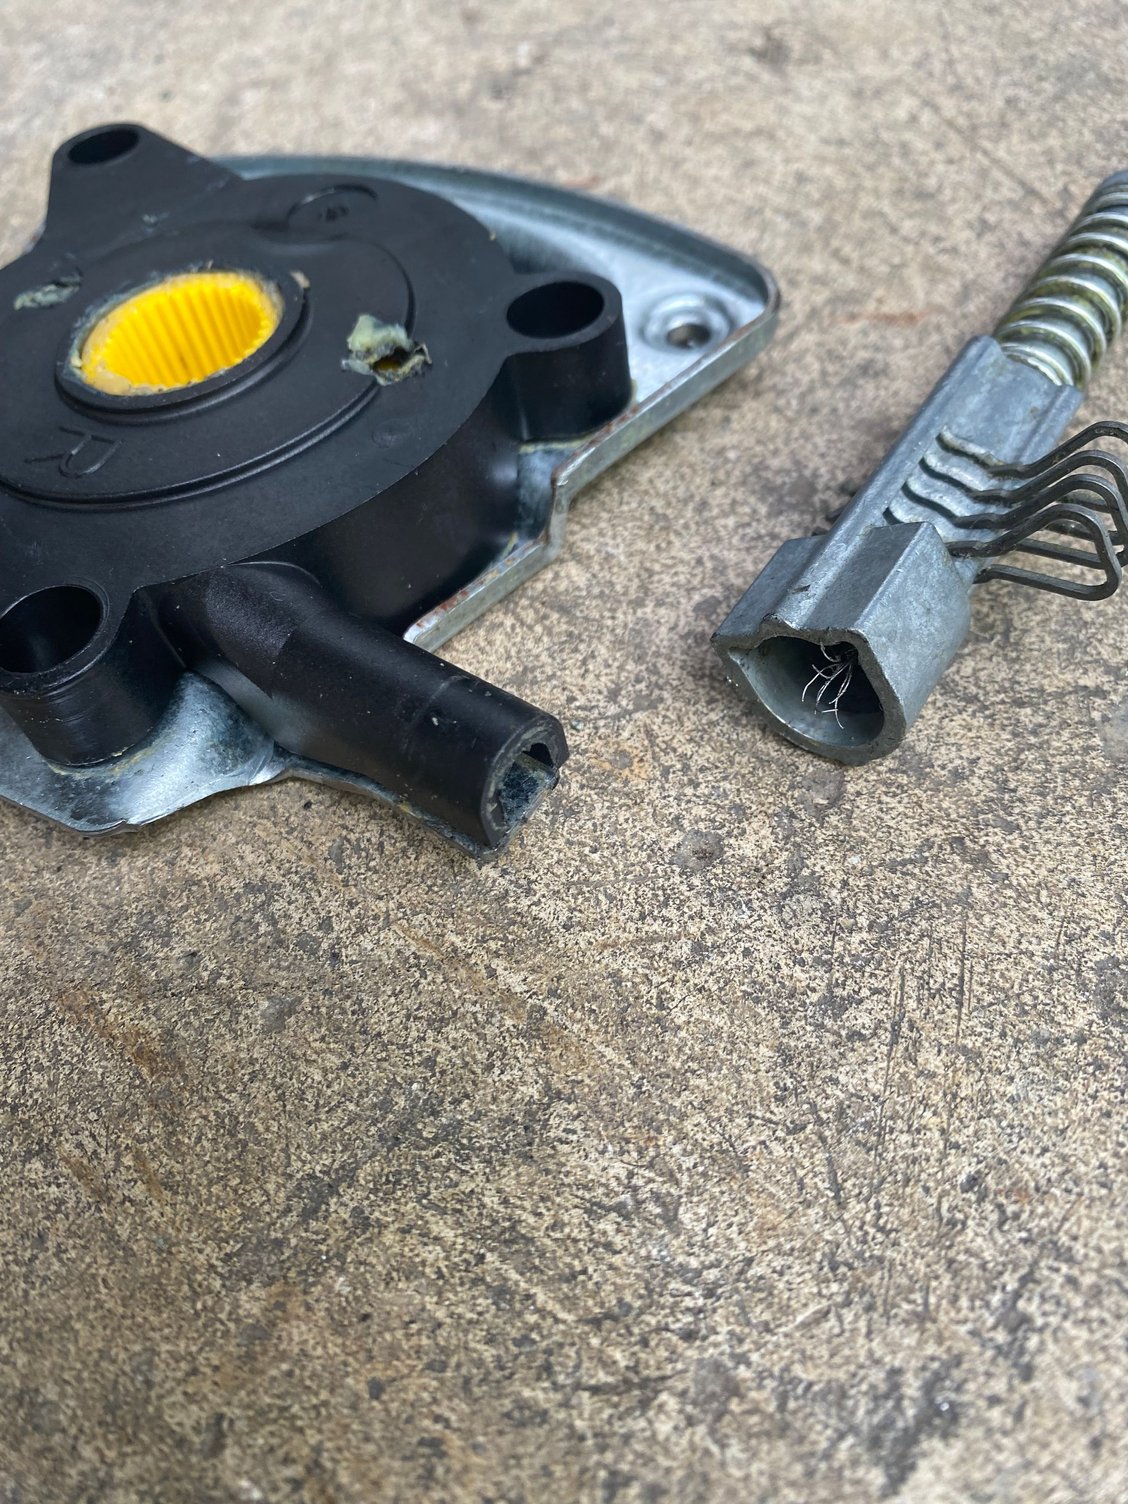
Looks like it was the original regulator and the cable broke at the motor.
Going to remove my bumper and clean out the radiators, first time doing it. Is there anything else I should do while I have it apart? Any pitfalls or other things to do while I have it apart?
Can anyone recommend a windshield wiper that doesn't tap the cowl? I have modern Bosch wipers. They look cool, but I think they are wider at the tip than what was originally spec'd on the car. So, when on the high wiper speed, it taps the cowl, "tap, tap, tap, tap, tap..."
I've confirmed that mine are the correct size. I've tried to reorient the wiper arm by removing it then rotating it one notch, but then it's too high. Maybe there's a way to micro-adjust the angle of the wiper ams?
I would get the next size down if BOSCH is what you want. That would correct your issue.
Going to remove my bumper and clean out the radiators, first time doing it. Is there anything else I should do while I have it apart? Any pitfalls or other things to do while I have it apart?
Fairly straight-forward process, just be careful when separating the condensors from the radiators that you don't put too much force on the AC lines. I was surprised how much debris was trapped between my condensors & rads.
Going to remove my bumper and clean out the radiators, first time doing it. Is there anything else I should do while I have it apart? Any pitfalls or other things to do while I have it apart?
I would make sure you relocate or locate the frunk emergency pull cable so that it can be used in the future. Also make sure both horns work properly today. The horns are cheap to replace, and if one fails, I would replace them both. I think it�s super easy if the bumper cover is already off.
And just use a regular hose - not a pressure washer - to clean the radiators and AC condensers.
I finished this last night so I didn�t see these suggestions... Anyways, mines an early build so it�s a pull cable for the frunk, but I didn�t see the emergency release anyways. Also on the horn, it was like 11pm so I wasn�t going to test them. Definitely things I�ll keep my eye out for next time. It was pretty easy to remove anyways 👍🏼
New owner and member here. 1999 996 Carrera 4 Cab.
I have the spoiler light coming on indicating no auto deploy/retract. Deployed manually to discover that the teeth were shredded in drive unit. Removed and replaced with a used unit that had mint teeth. Manual mode now fully deploys and fully retracts.
Light still coming on with no auto deploy/retract. Loooking back through service records of PO. When they discovered the issue they �deployed spoiler and locked in up position�.
My thought is that they probably pulled the relays for the spoiler and that they control the auto (speed) aspect of the system. Looks like I�ll need to get the top in service position and get in that way to access those relays.
Am I on the right track?
thanks!
Welcome to the forum...!!!
Probably have to figure out how the previous owner "locked out the spoiler".
But Yes, under the behind rear seat carpet panel, access to remove is in top service position. This is where the #2(up) & #8(down) spoiler relays are.
I finished this last night so I didn�t see these suggestions... Anyways, mines an early build so it�s a pull cable for the frunk, but I didn�t see the emergency release anyways. Also on the horn, it was like 11pm so I wasn�t going to test them. Definitely things I�ll keep my eye out for next time. It was pretty easy to remove anyways 👍🏼
No worries, I�m sure you�re fine. Good job getting it all done
 07-11-2024, 05:28 PM