When you click on links to various merchants on this site and make a purchase, this can result in this site earning a commission. Affiliate programs and affiliations include, but are not limited to, the eBay Partner Network.
It's been a while since I posted updates, but I've been continuing to refresh my '02 Carrera and it's becoming even more enjoyable to drive every day!
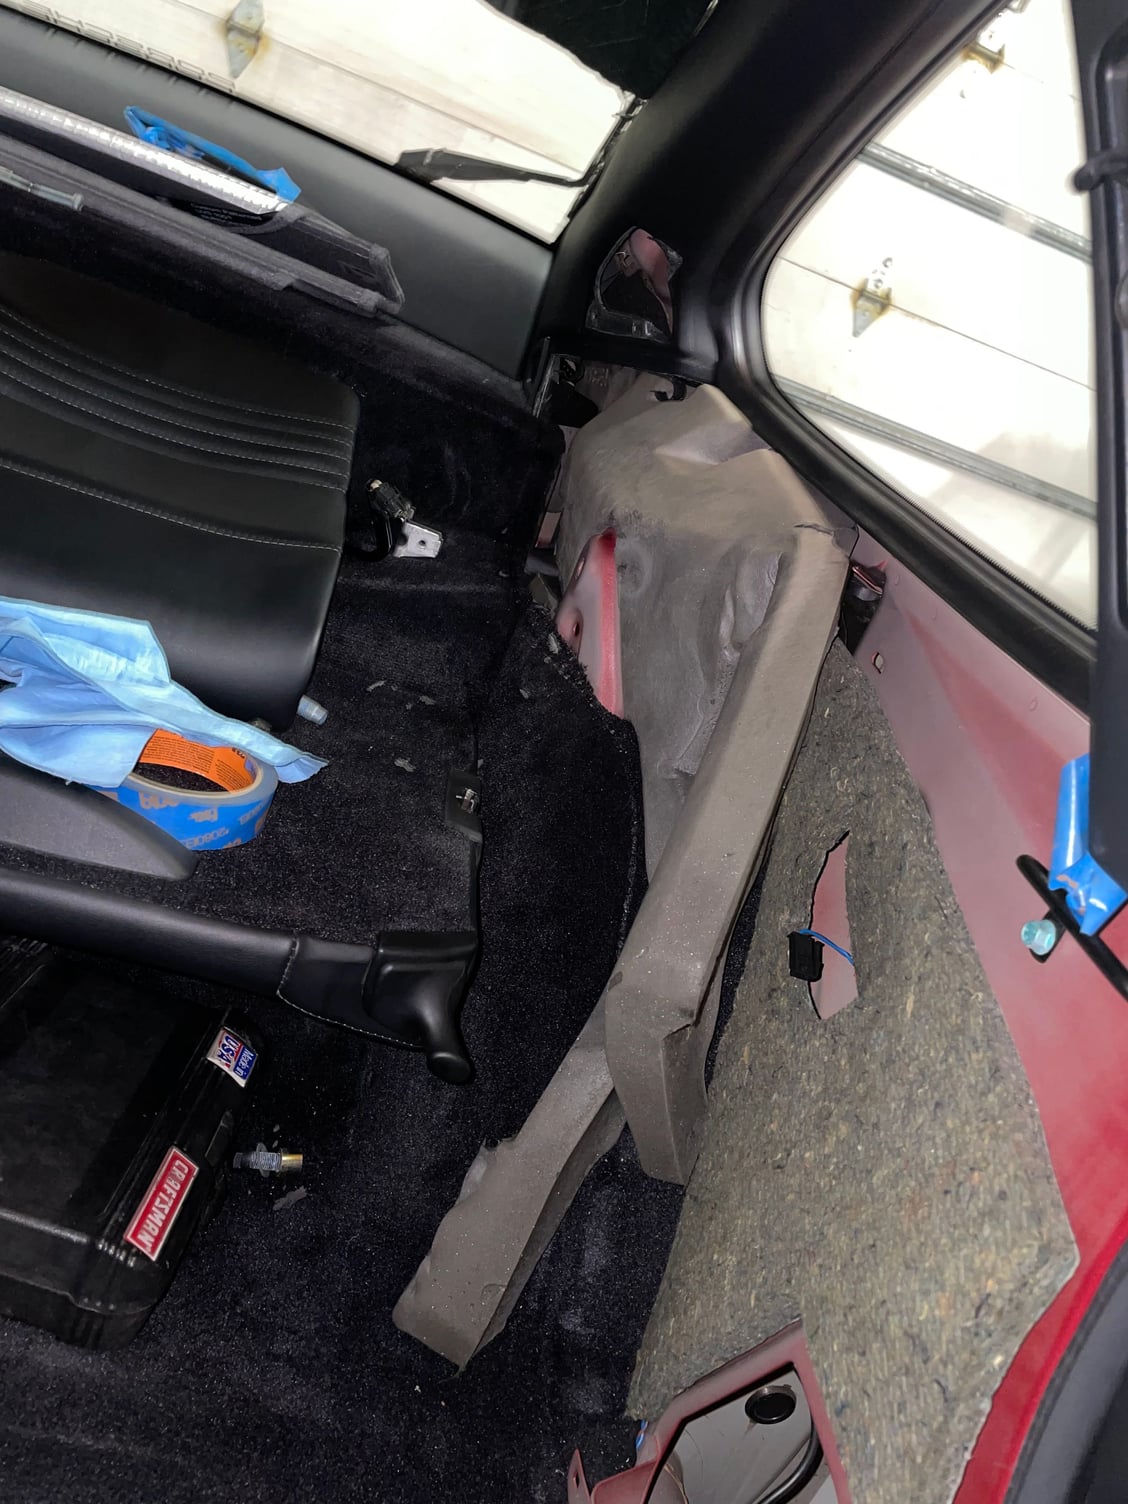
Once the exterior restoration work was done, I started to focus on the interior. I had plans to paint the center console and I also wanted to upgrade the seat belts to match. The driver's side seat belt was also slow to retract and needed to be removed to be repaired anyway, so this would be a good time to have the belts re-webbed to a different color. I want to say choosing the color was the toughest part, but in reality removing the interior side panel was extremely time consuming since the leather was 20 years old and I didn't want to scrape the leather or brake any plastic brackets. Even more broken bracket can lead to having an annoying interior noise while driving. The trim pieces and panels have to be removed with extreme car, which is one of the reasons I don't trust a shop to do this work for me. It would be too time consuming for them.
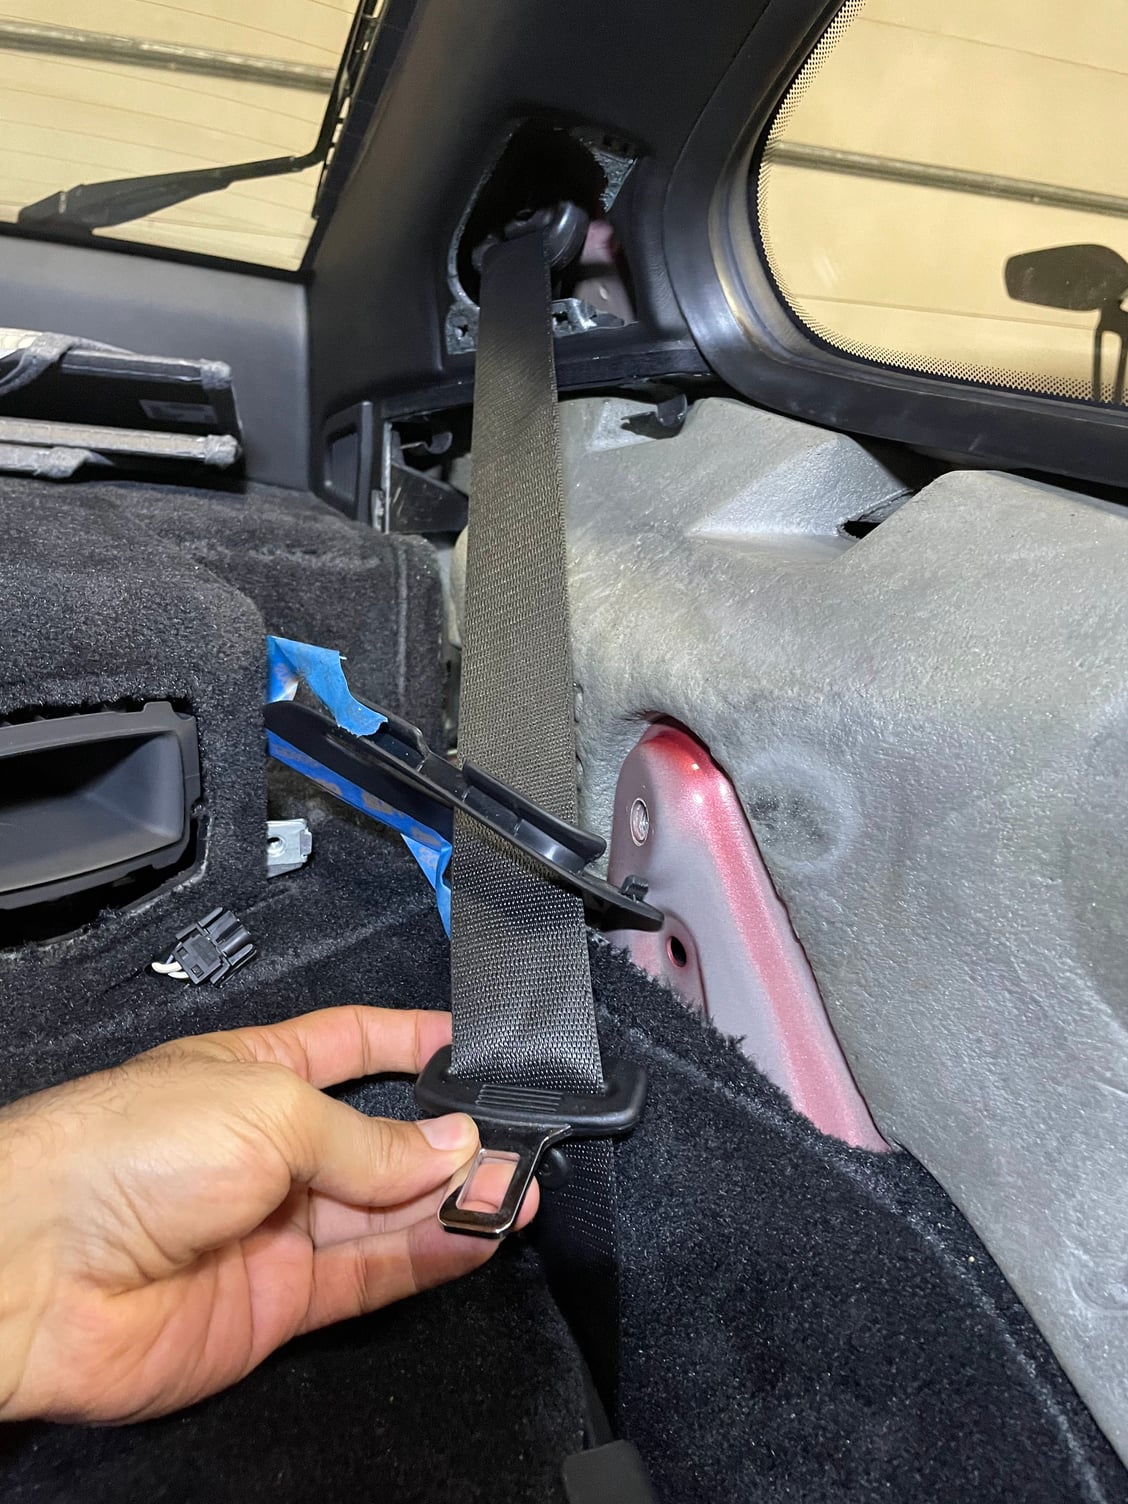
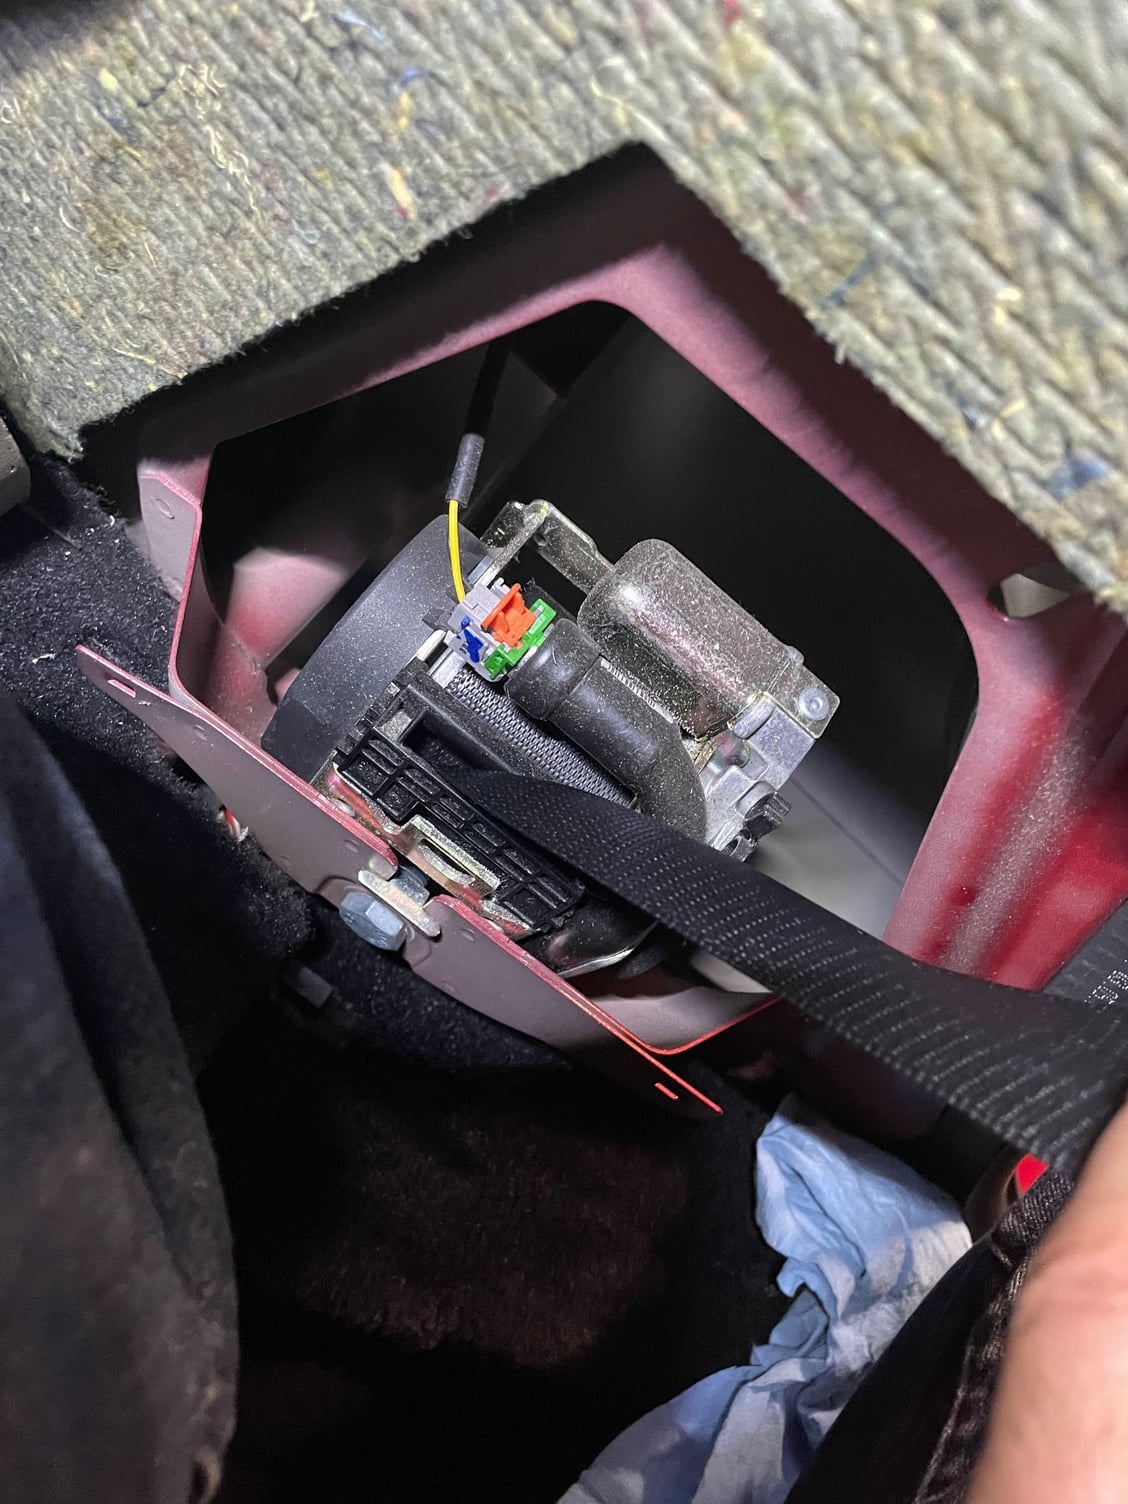
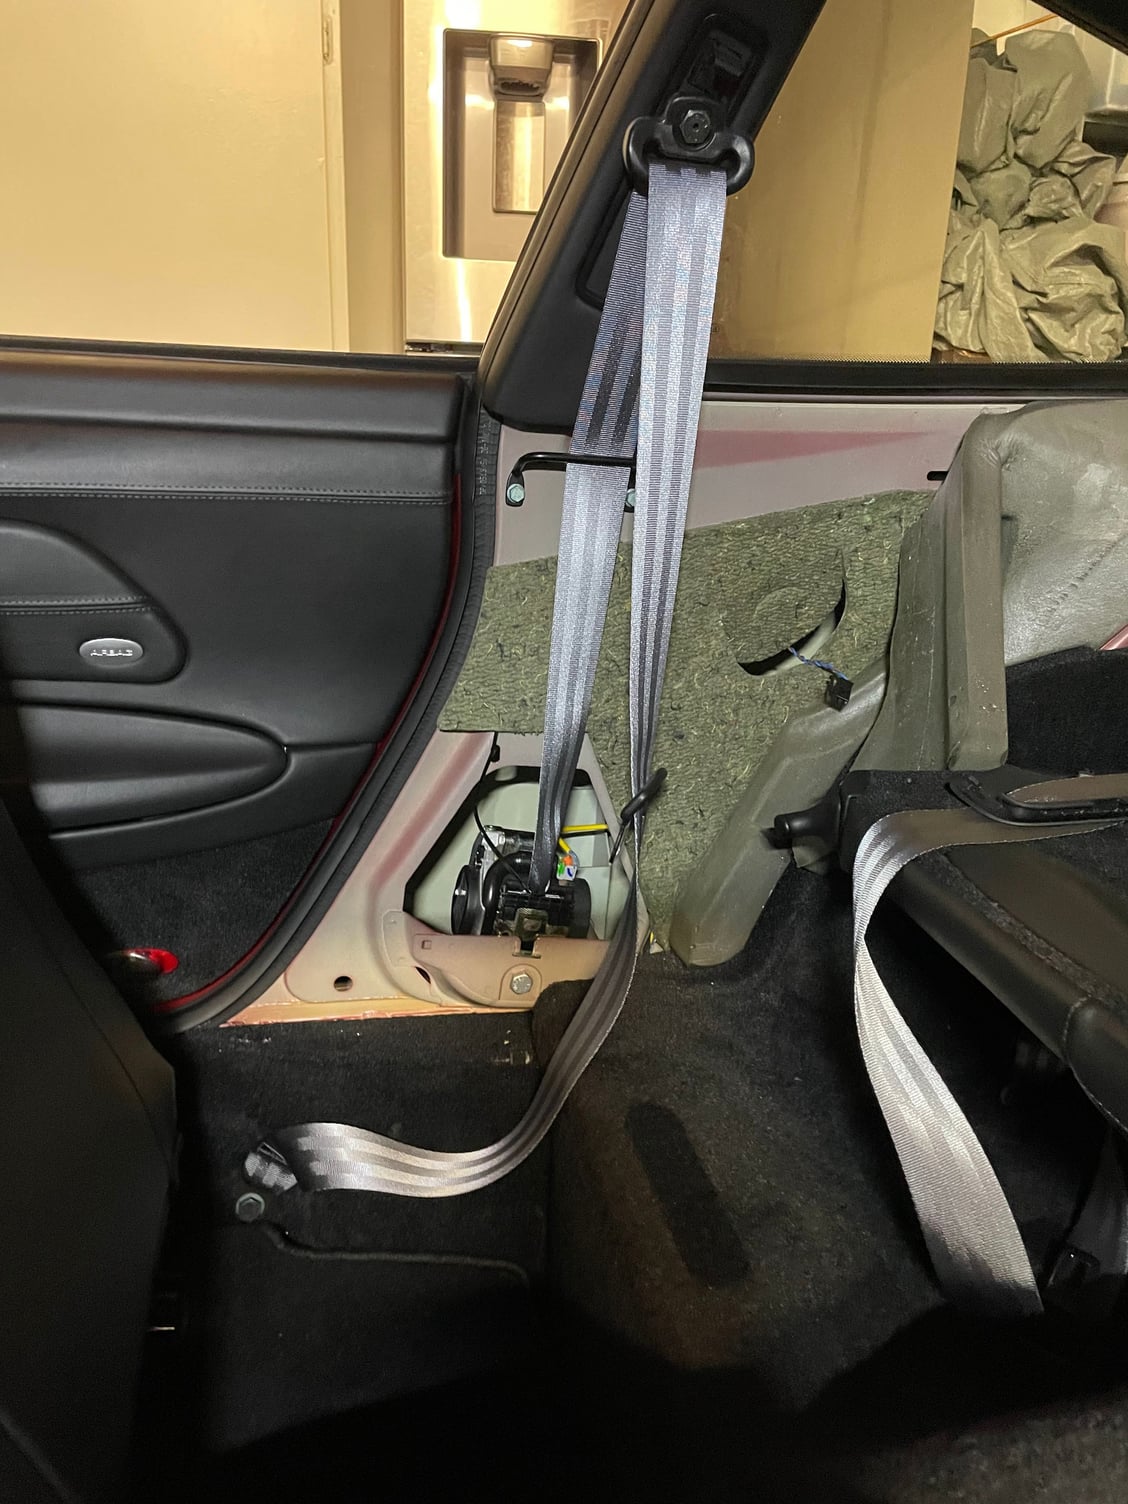
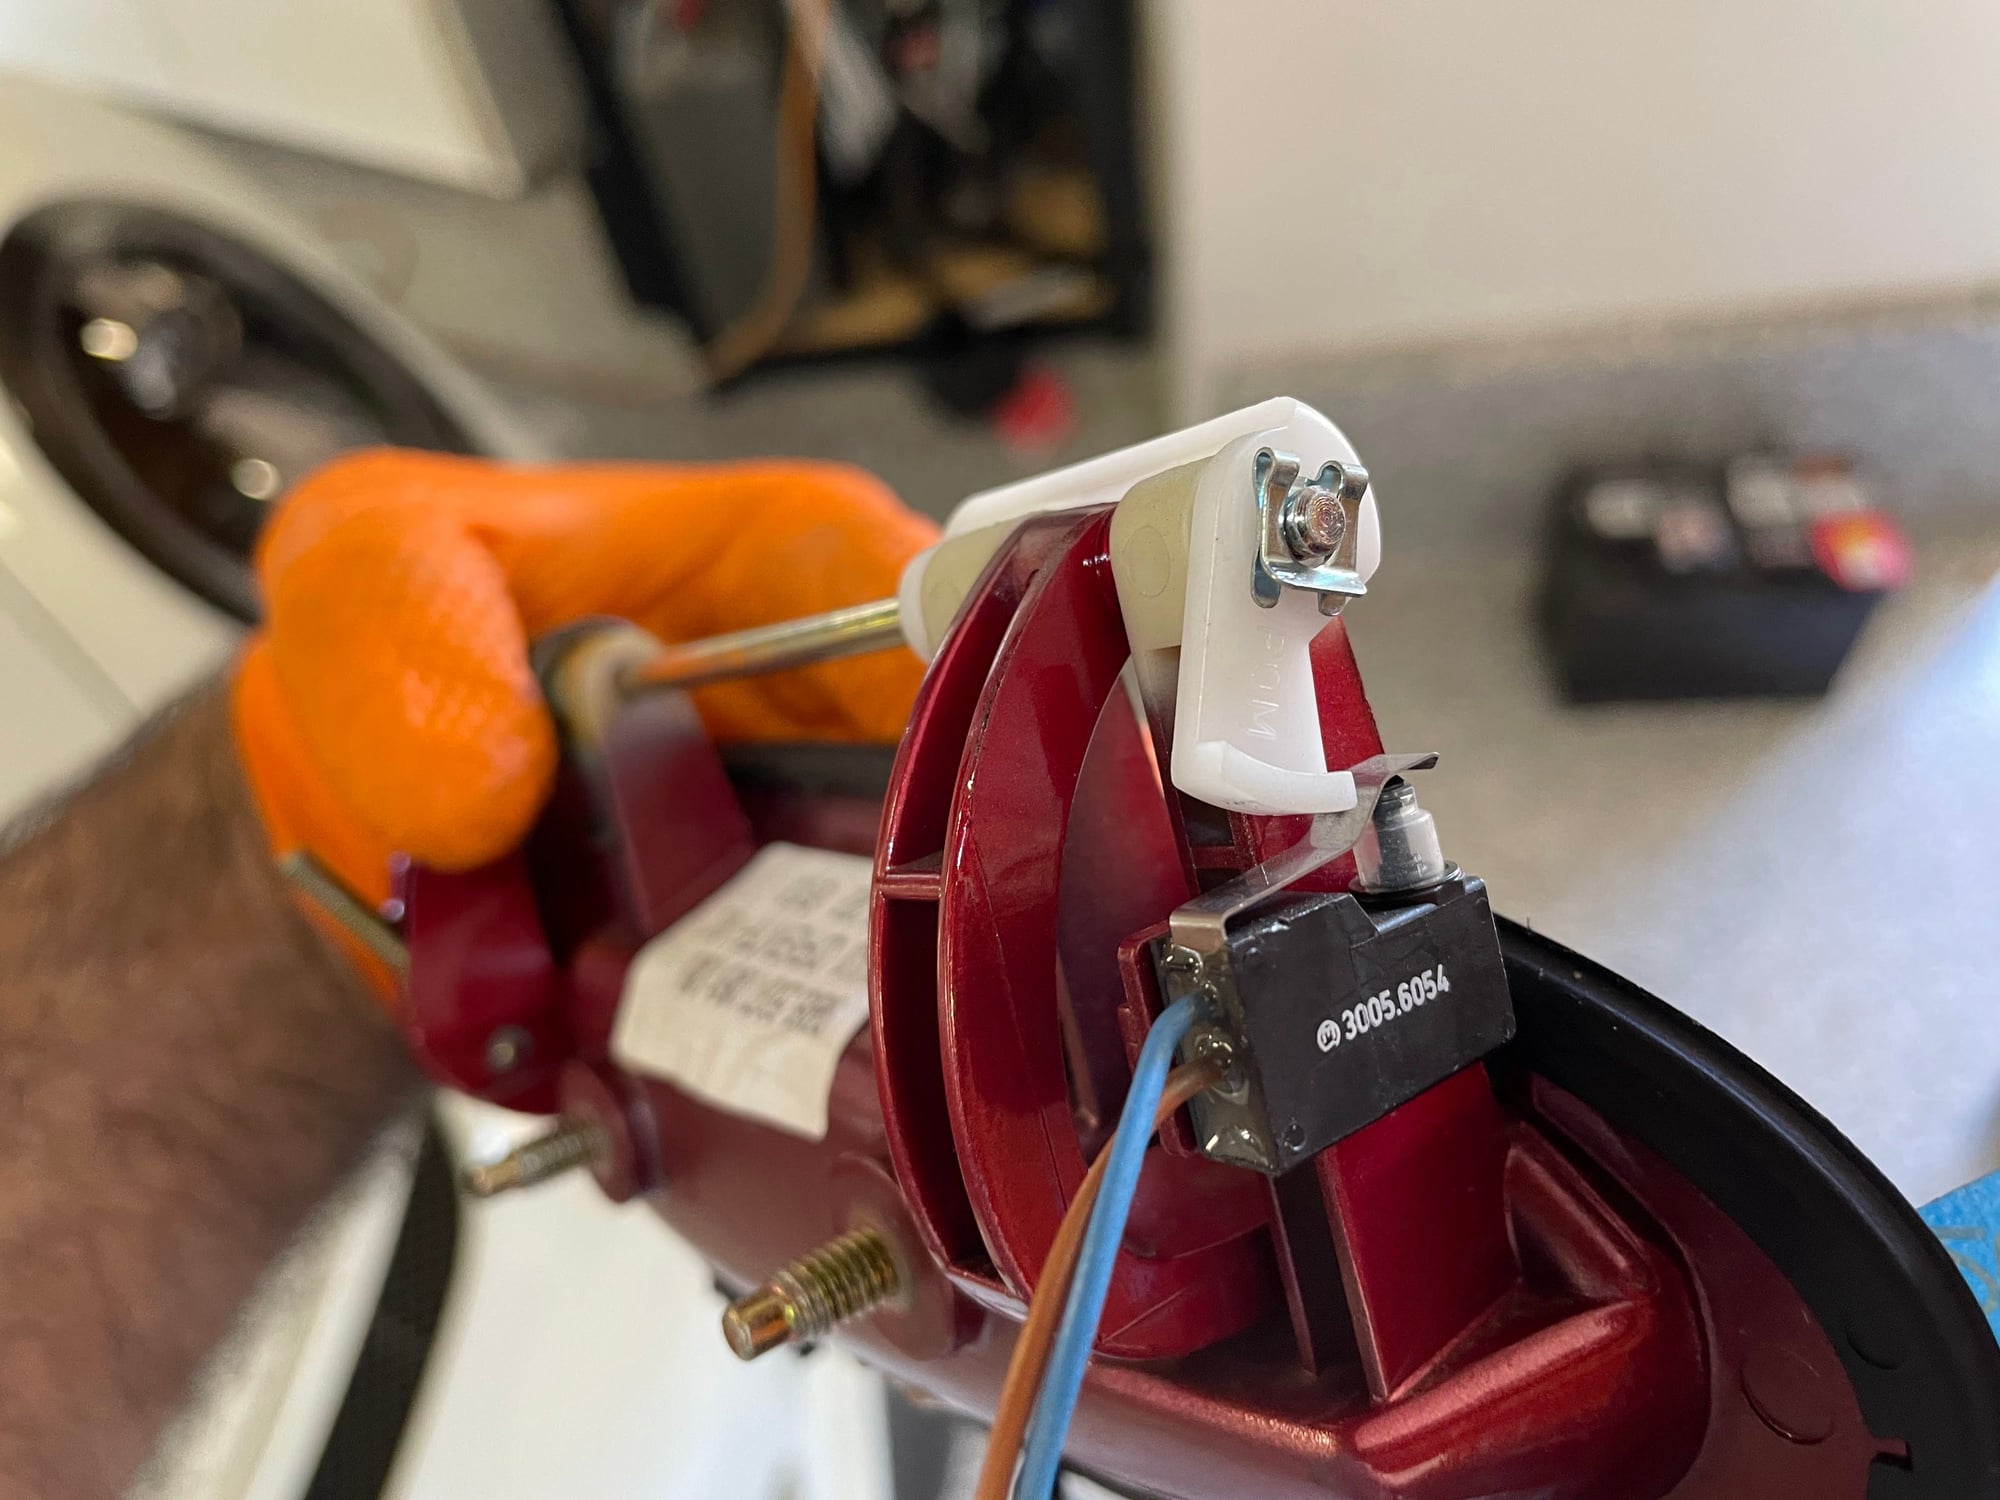
Once the panels are off, removing the belts requires opening bolts and unplugging the wires. The rear belts don't have wires to remove. Figuring out the proper procedure to remove the plastic adjusting mechanism around the front belt took some time and it wants to come apart.
Driver's side 996 interior panel removed. There is a foam insert sandwiched in between. Driver's belt. You can see the sensor wire you need to carefully remove.
That wasn't fun!
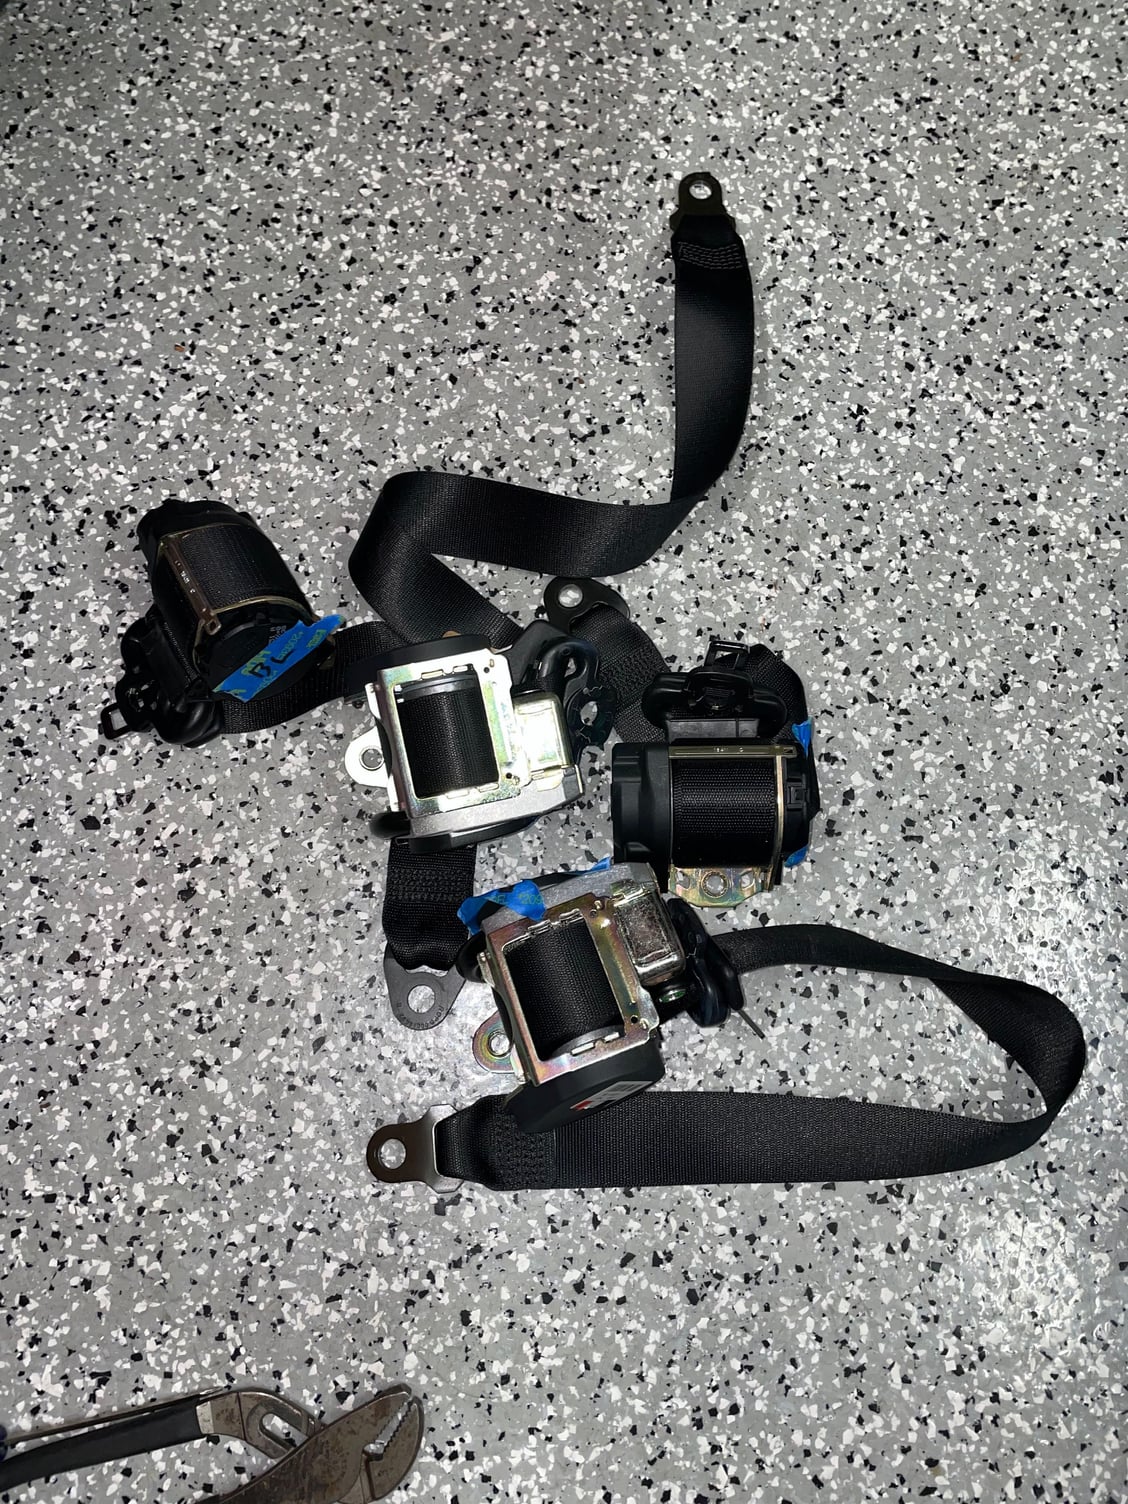
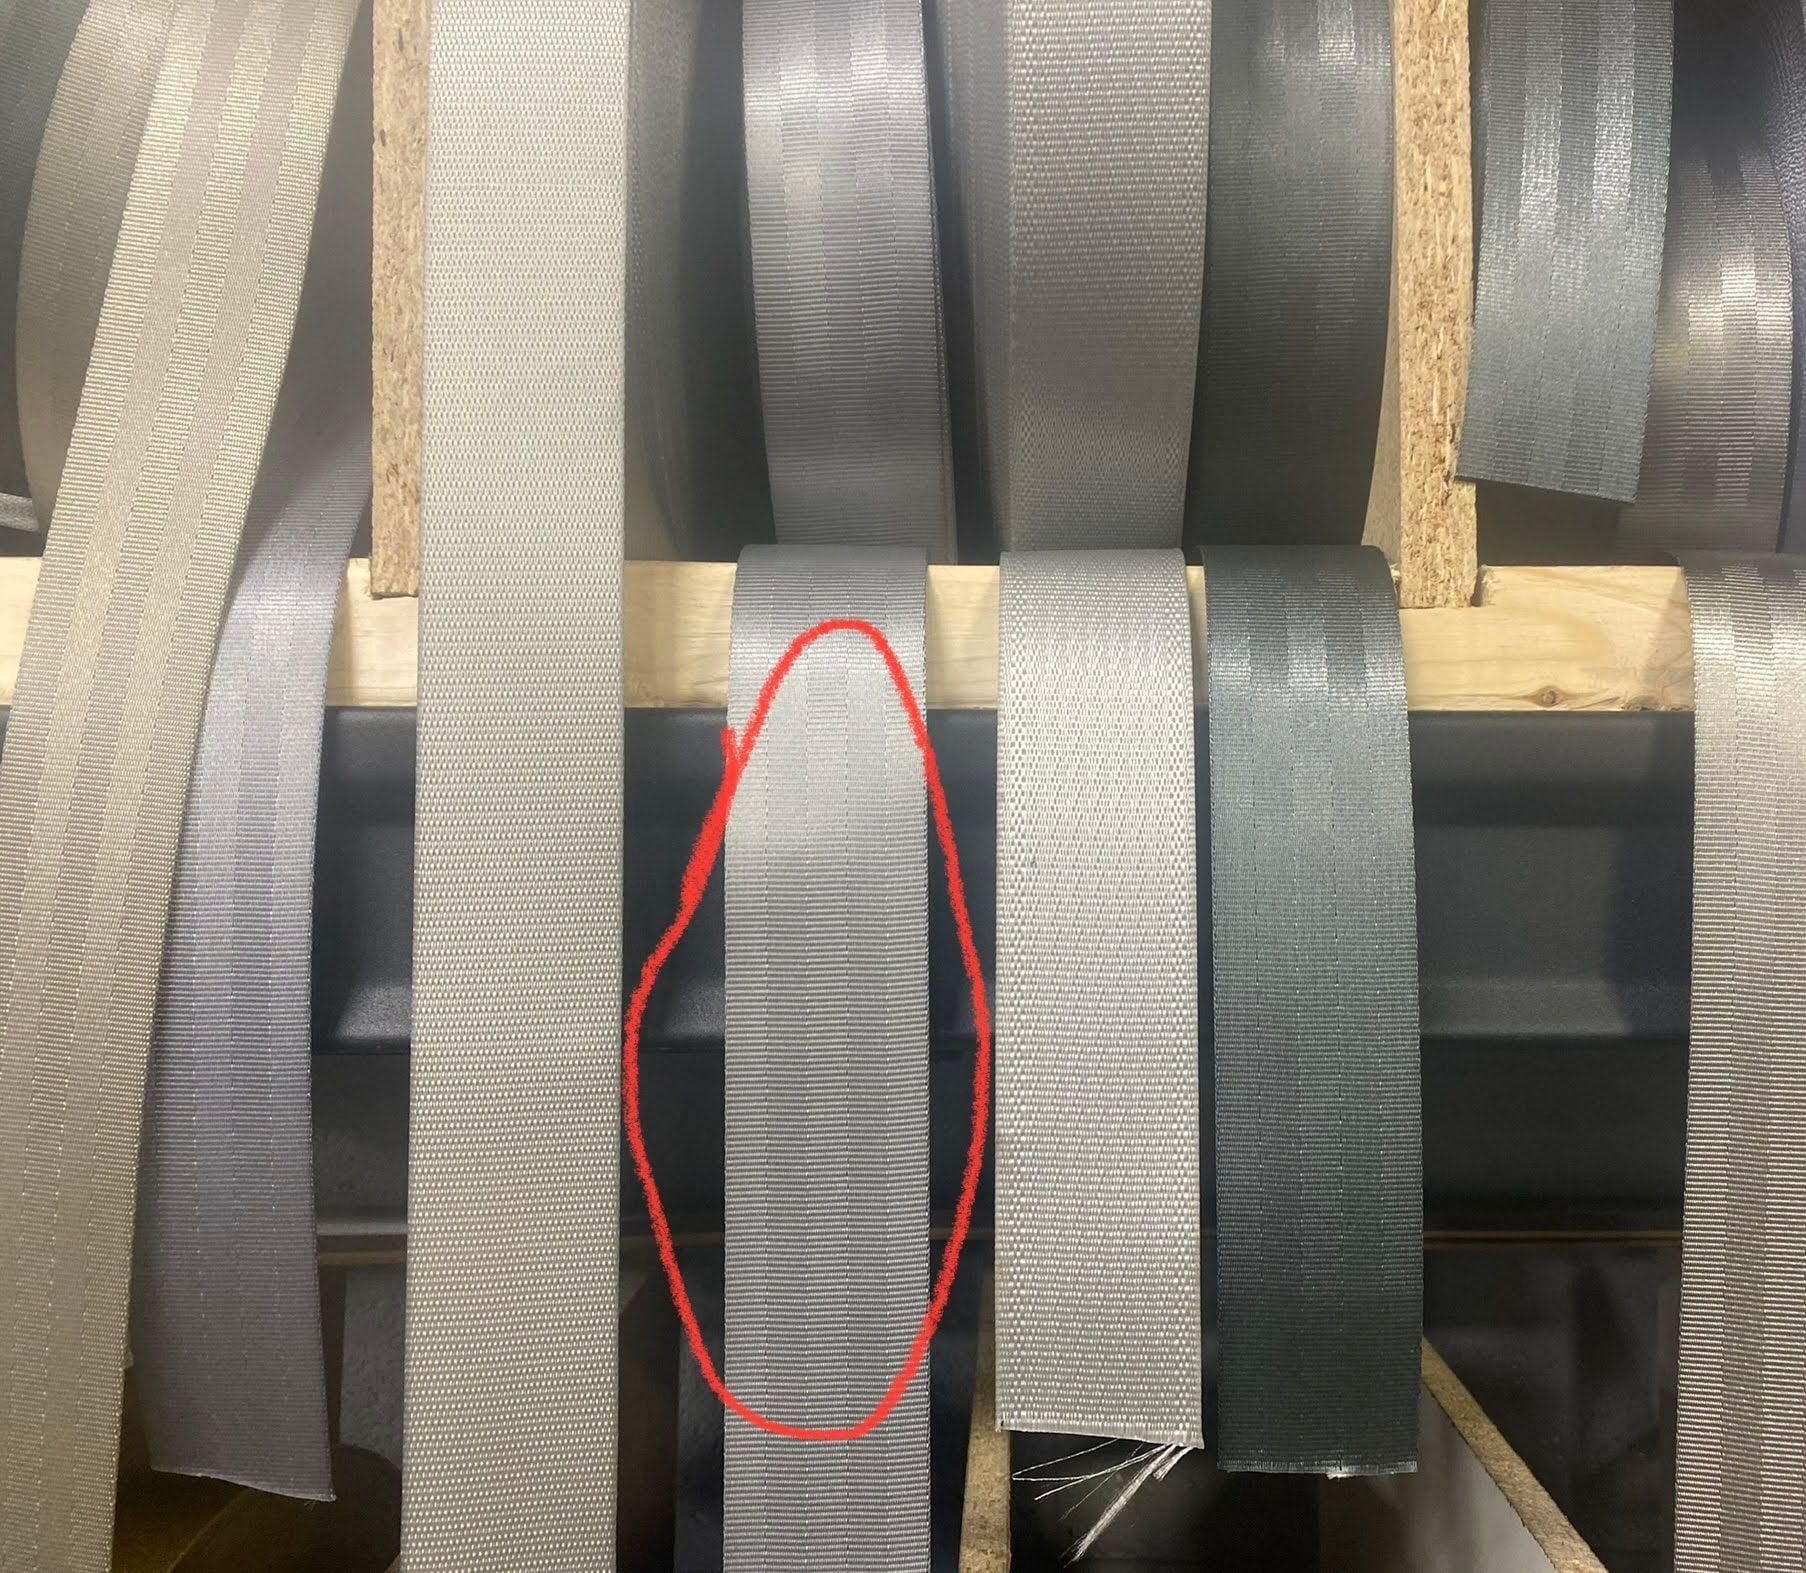
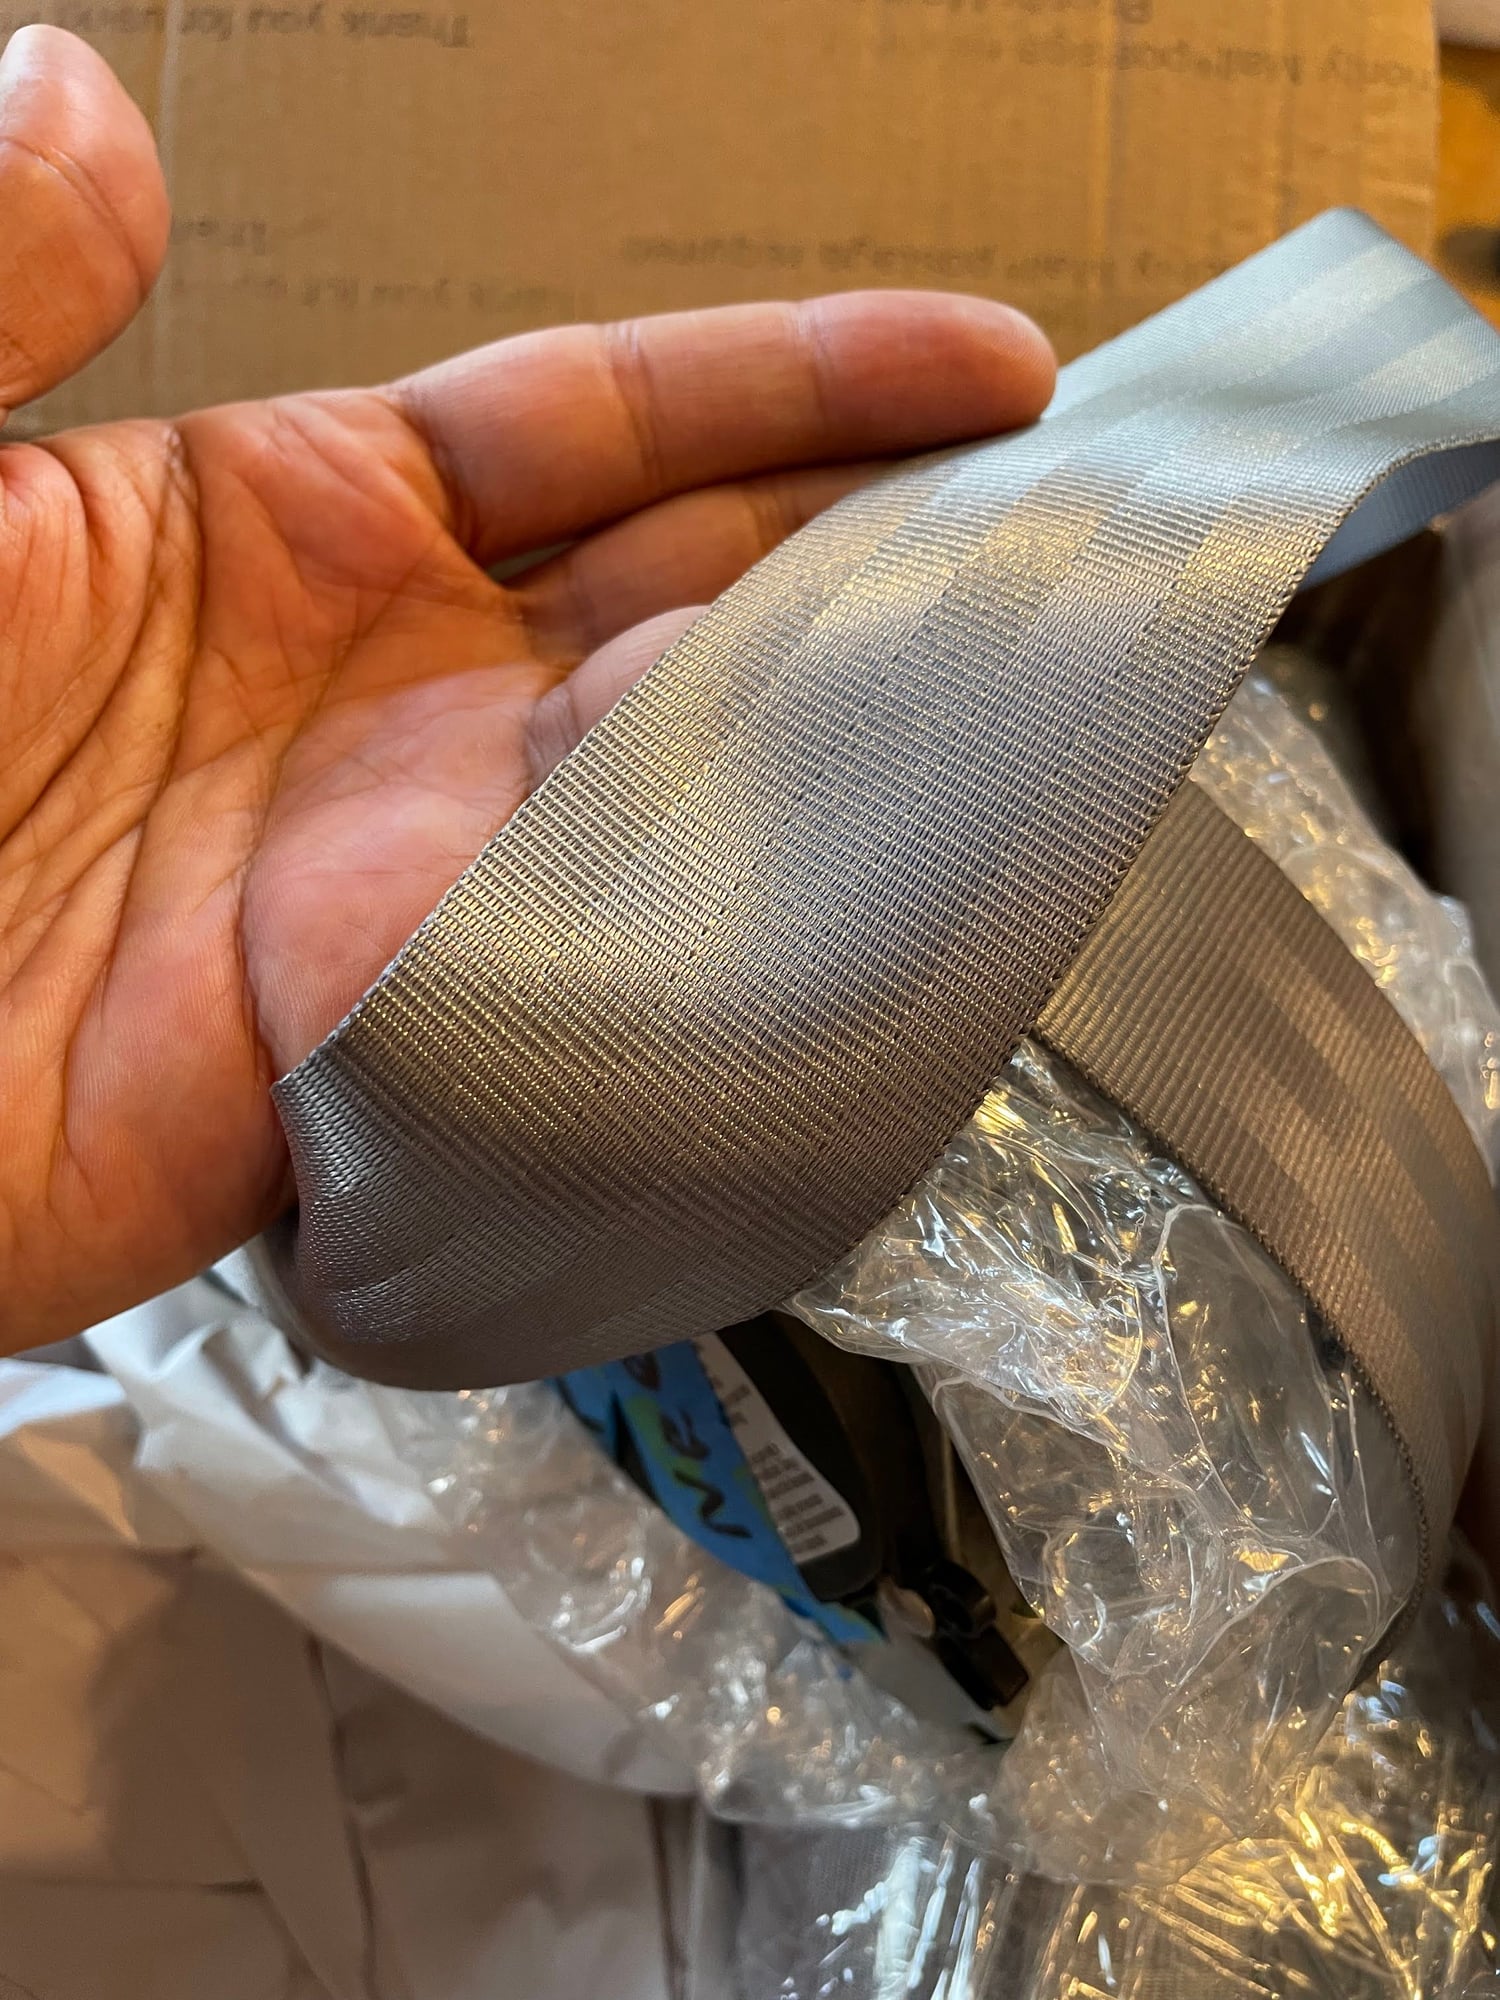
In terms of choosing a color for the belts, my default color is typically red for black interiors. But red wasn't an option on the '02 Carrera to my knowledge and red wouldn't match any other color on the car since the brake calipers are black. The other alternative was grey/silver, since some of the interior accents are silver and the color would be period correct. I was also planning to repaint the center console silver, so they would match. I used Safety Restore for the work and they gave me several choices for the grey/silver belts. I ultimately chose the color closest to Meteor Gray, which is an OEM color.
Choosing the right color was not easy. I'm really happy with the color I chose. The belts look bright in the sunlight or with a flash. In normal daylight inside the car they look darker.
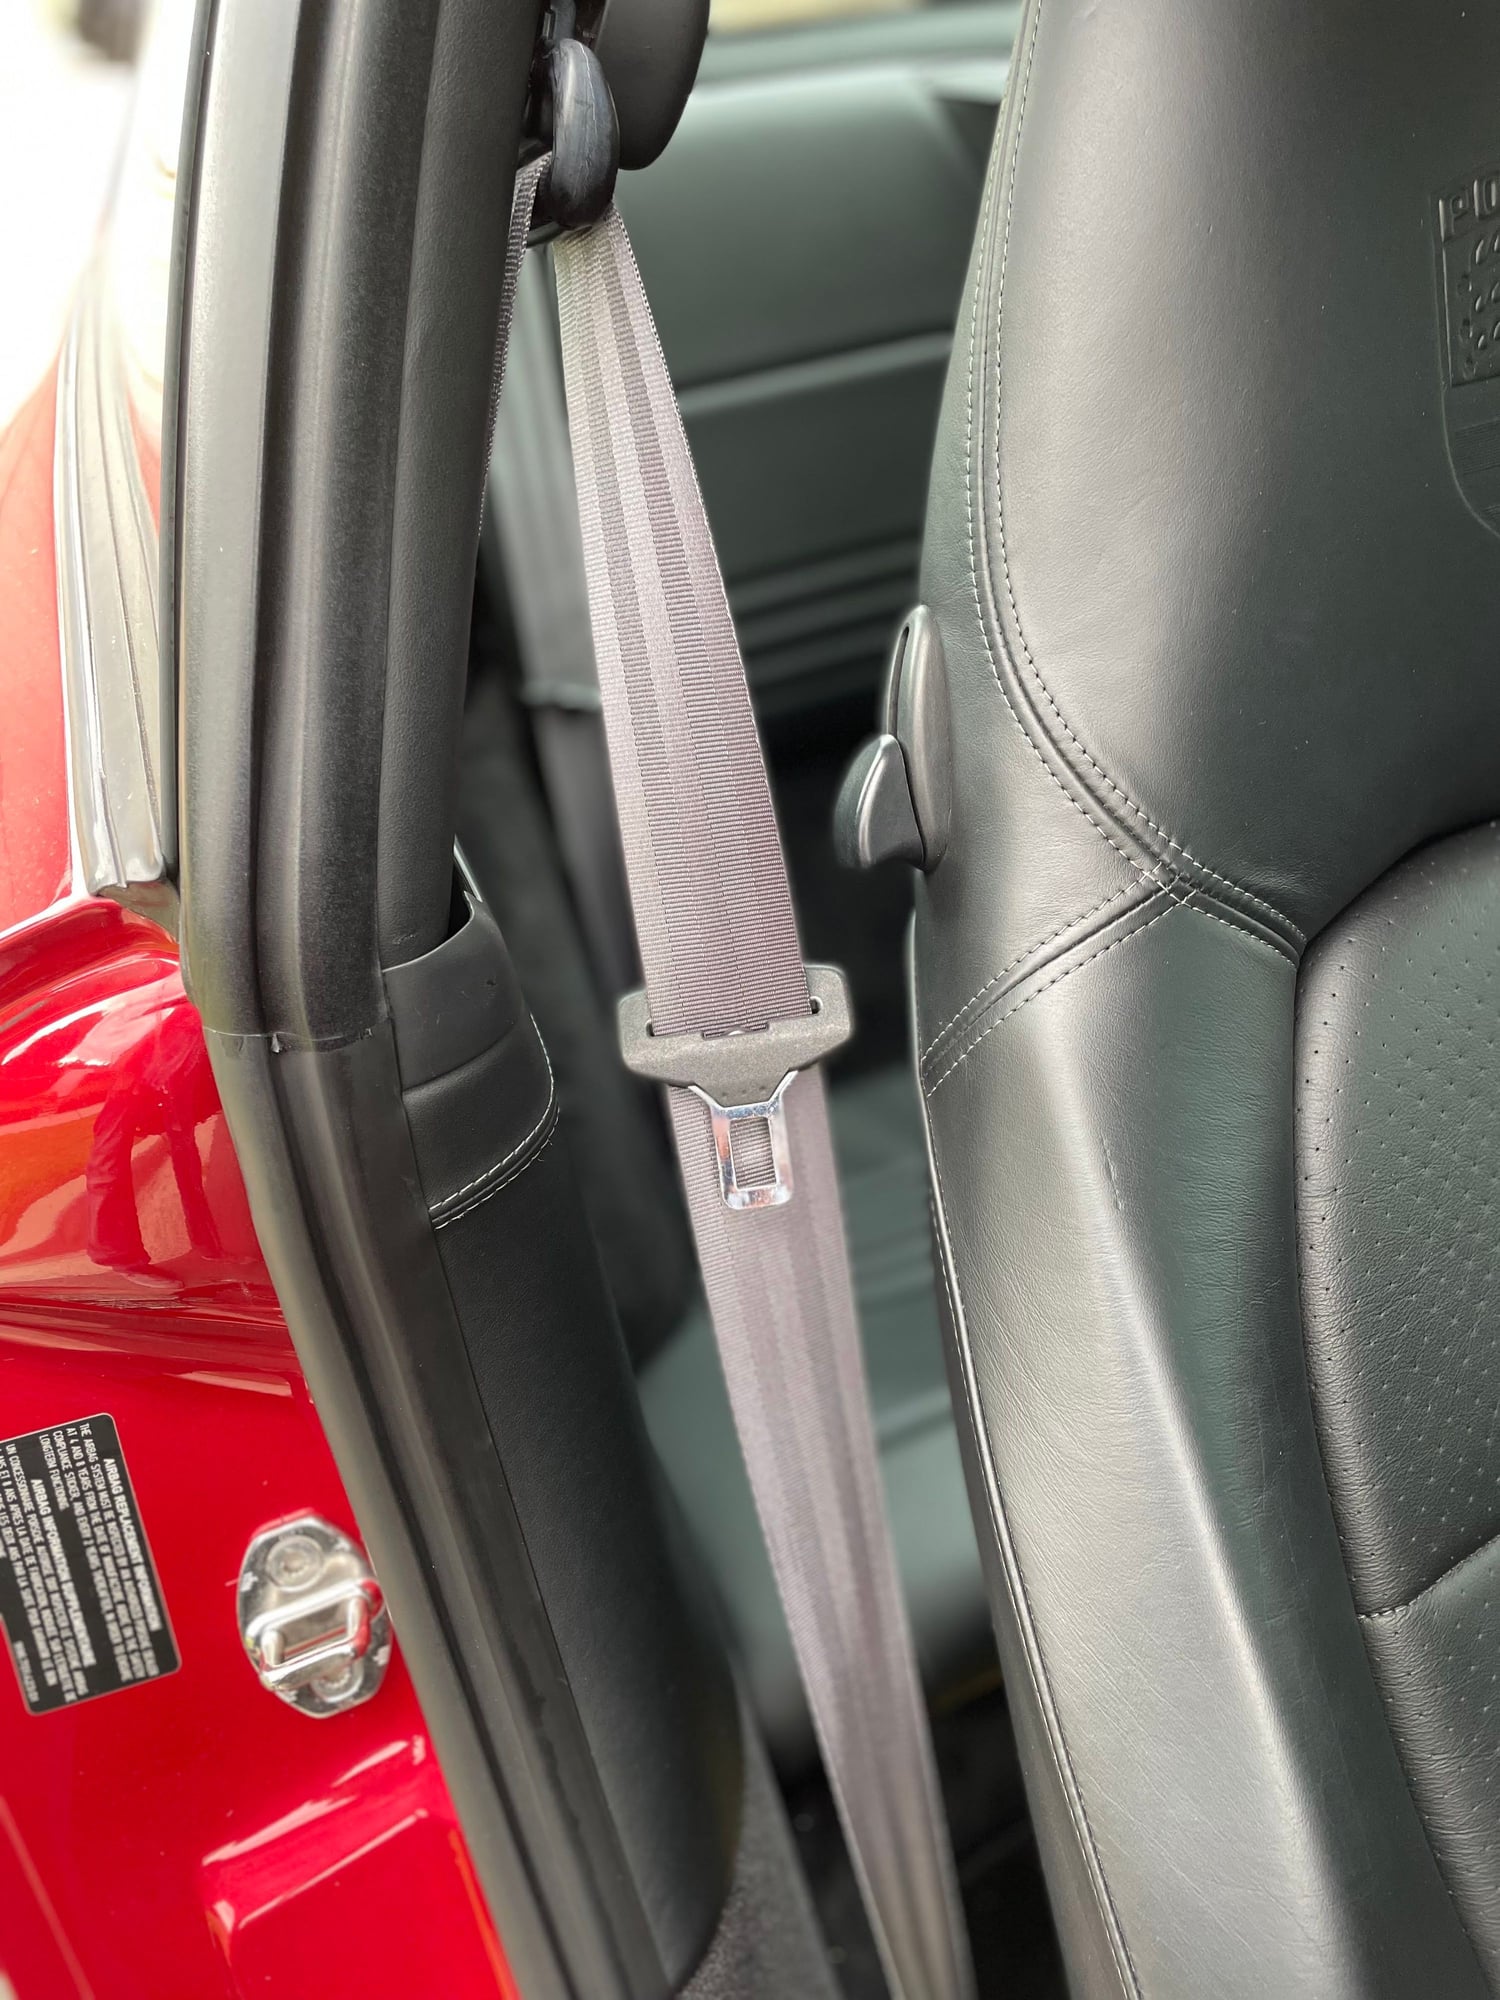
Once installed, it brightens up the interior for sure, although it's a very subtle upgrade. Perhaps red or yellow would have been a better choice for some, but for me it was important to have the interior colors complement each other and match the look of the outside. Ultimately I think it's a classy touch. I also noticed the new belt color matches the grey stitching in the seats and door panels, which is ever better. Lastly, I had the driver's side belt mechanism repaired while it was being re-webbed, so the belt feels brand new again.
Hi and congrats on the purchase. If you don't have a ton of experience, I would just give yourself plenty of time to work on the car in case you get stuck anywhere. Hopefully you have other means of transportation and can leave the car indoors so it's not too cold when you're working on it.
I'm happy to answer any questions if you want to DM me. I'm also happy to let you borrow some tools such as the one needed to replace the inner tie rod since you live fairly close to me. I find it very rewarding to work on these cars and you really feel the difference once you hit ACH or canyons roads.
-Daniel
Thanks, i may take you up on that! This is my weekender car and yes will be garage. Just have to bite bullet and get started. Did you use OE suspension parts, or the Melye kits you can find on Pelican?
I used a mix of OE and aftermarket parts. I've done a few of these and I've had no issues with after market control arms and links. Pelican is a great source, as it FCP Euro. I would recommend replacing the inner and outer tie rods, shocks/struts, all coffin control arms and sway bar links. The other links are optional if the bushings are not worn, but at this age they typically need to be replaced and doing so would really help the car freshen up. The shock tower mounts are also recommended, especially for the front which tend to wear out faster.
It's been a couple of months since I last posted and I've been thoroughly enjoying the refreshed 996! I'm a little behind on posting updates on the progress, but here's where I left off:
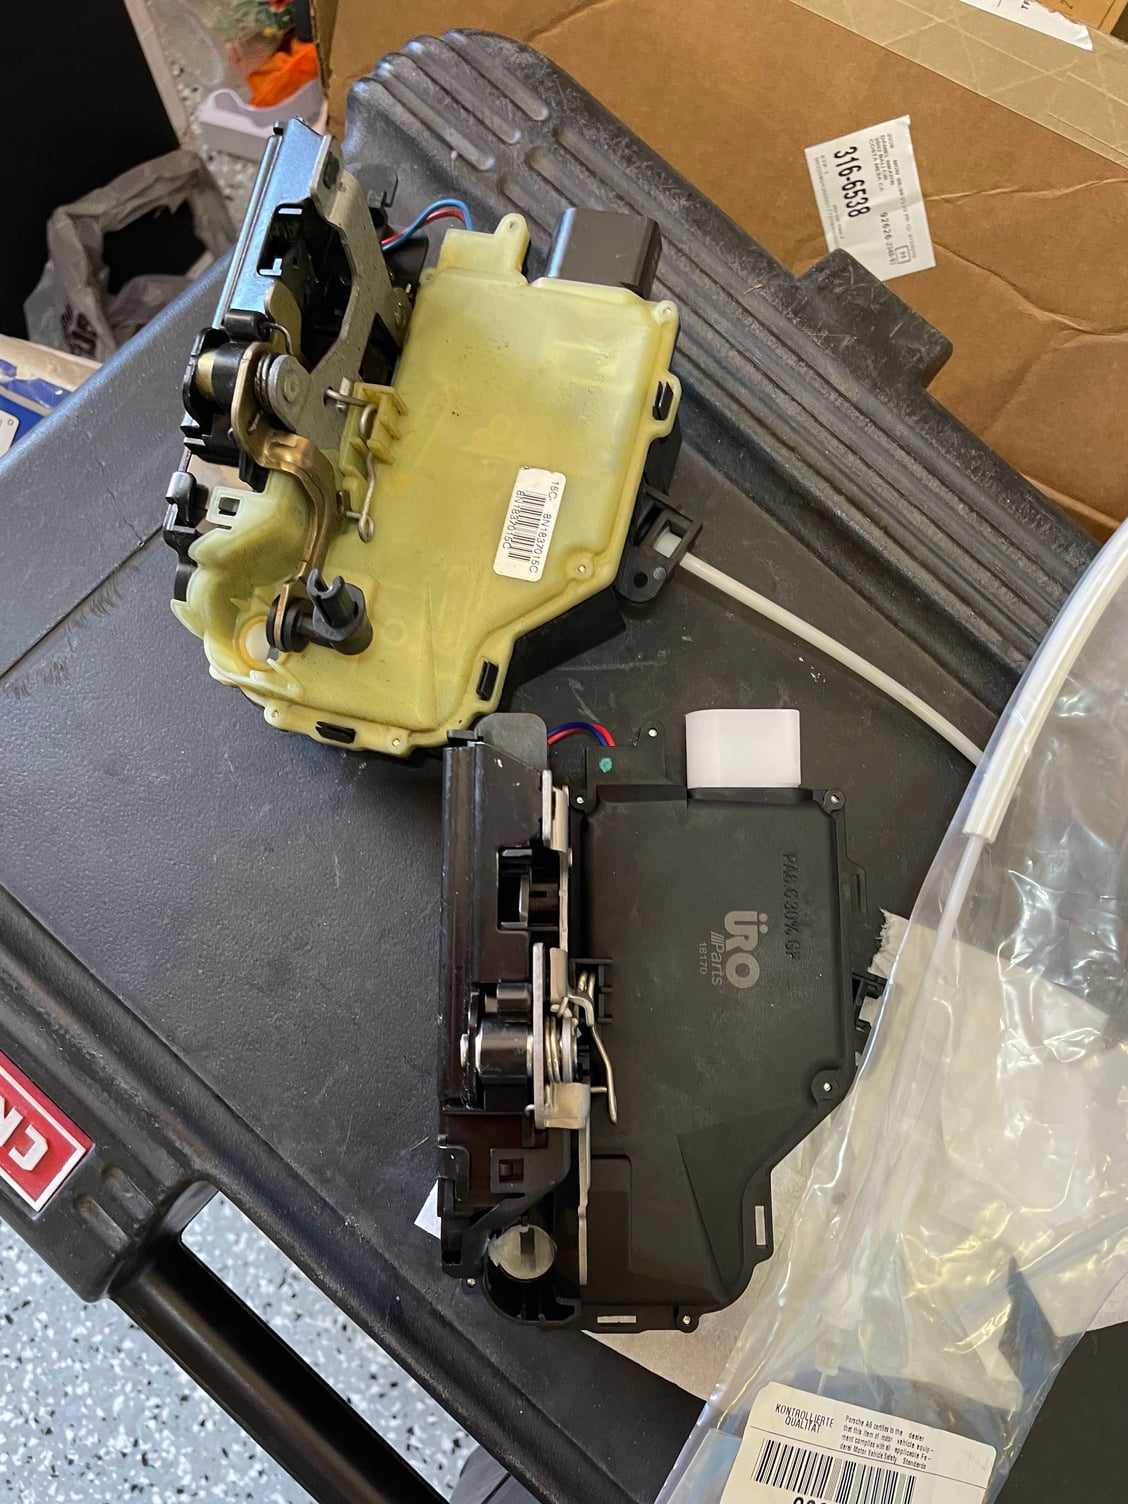
With the new seat belts installed front and back, I move on to address the driver's side door handle, which would require me to pull the handle twice when inside, even with after I pressed the door unlock button. This was a clear signal that the door lock mechanism was starting to fail. So I replaced the mechanism and the cable with new parts. The DIY process is covered thoroughly on RL, so the process was straight forward, although getting inside the door to remove the exterior handle required some patience.
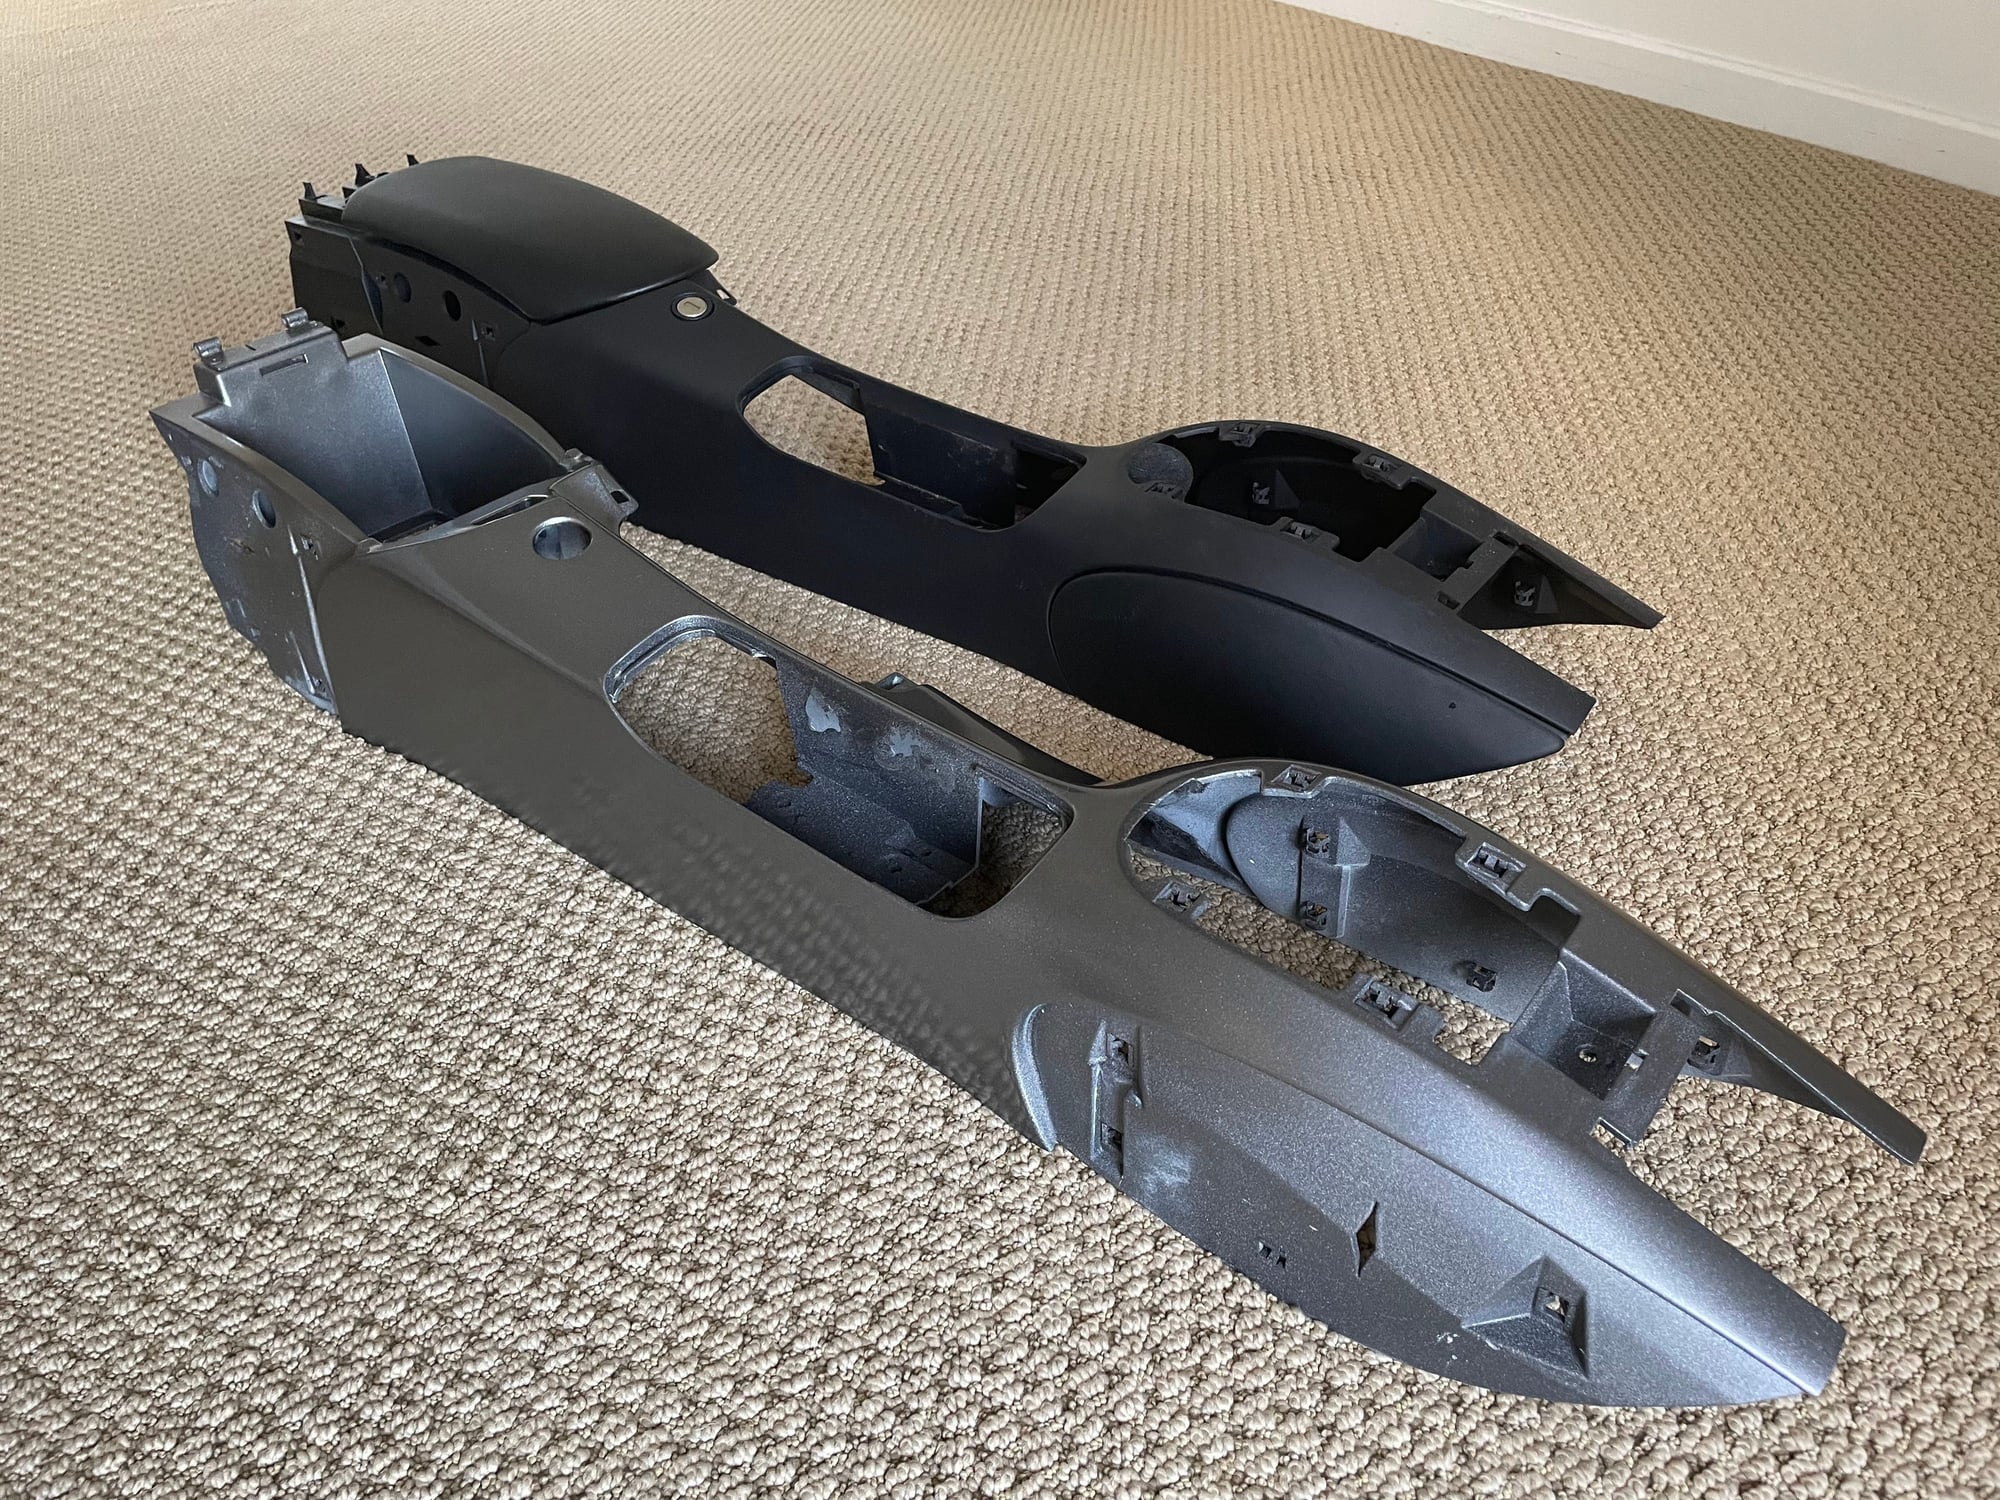
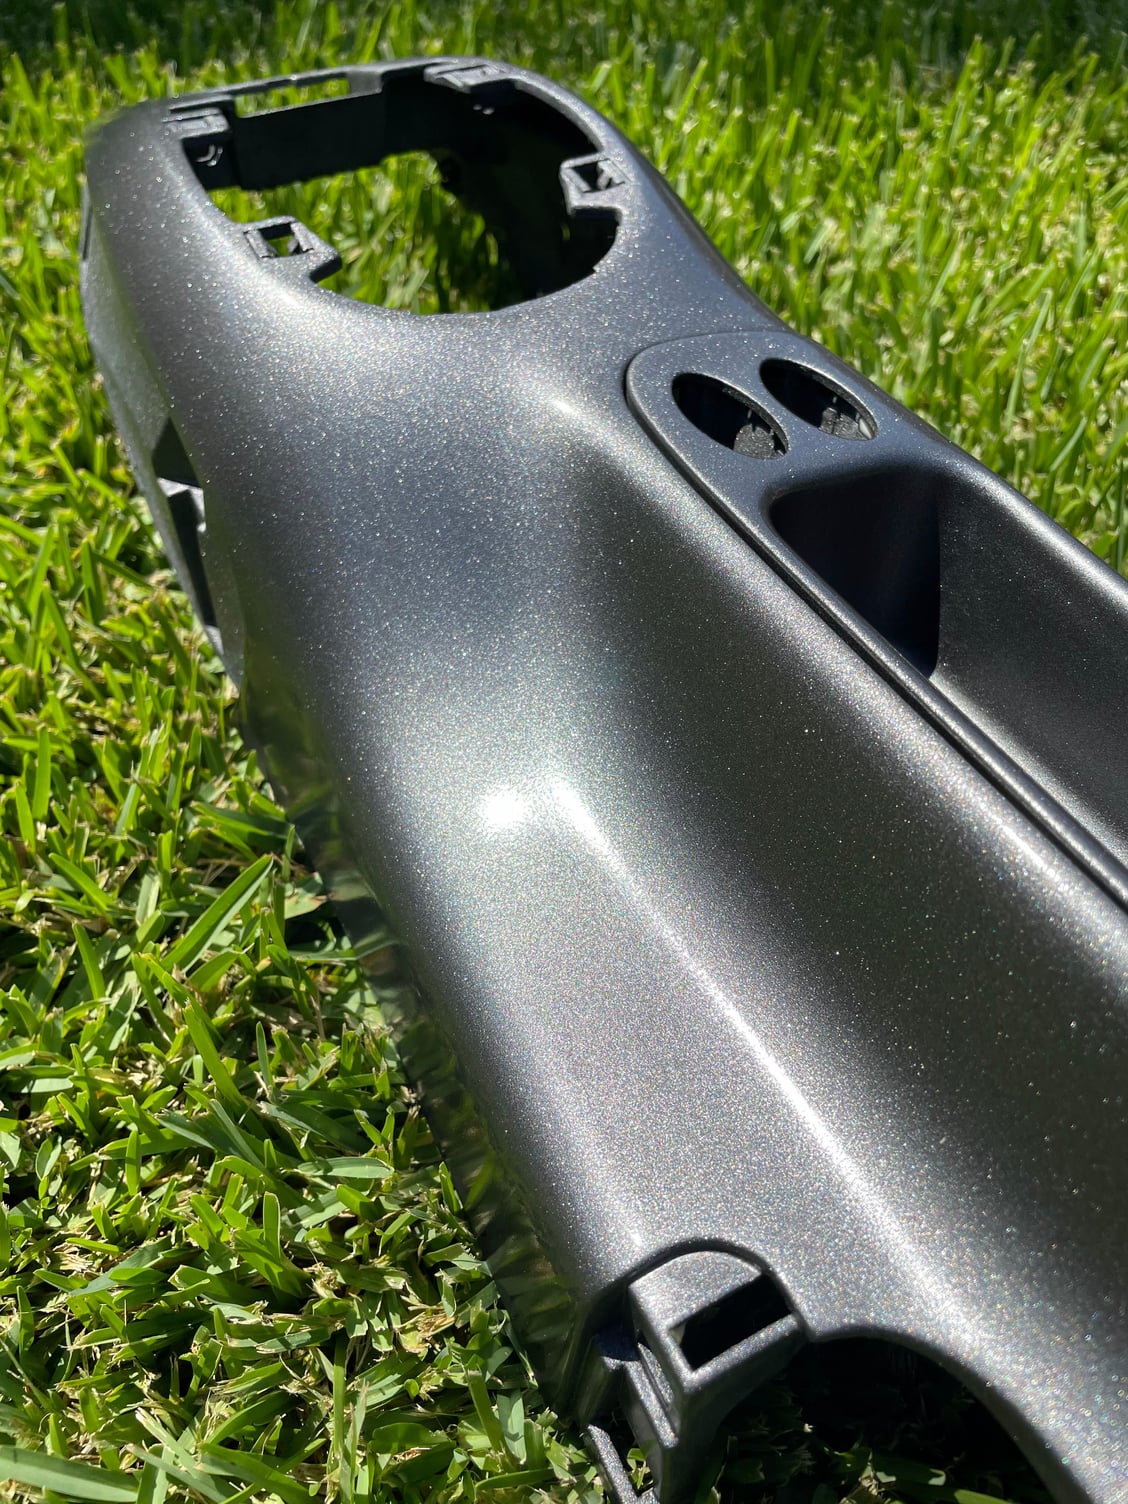
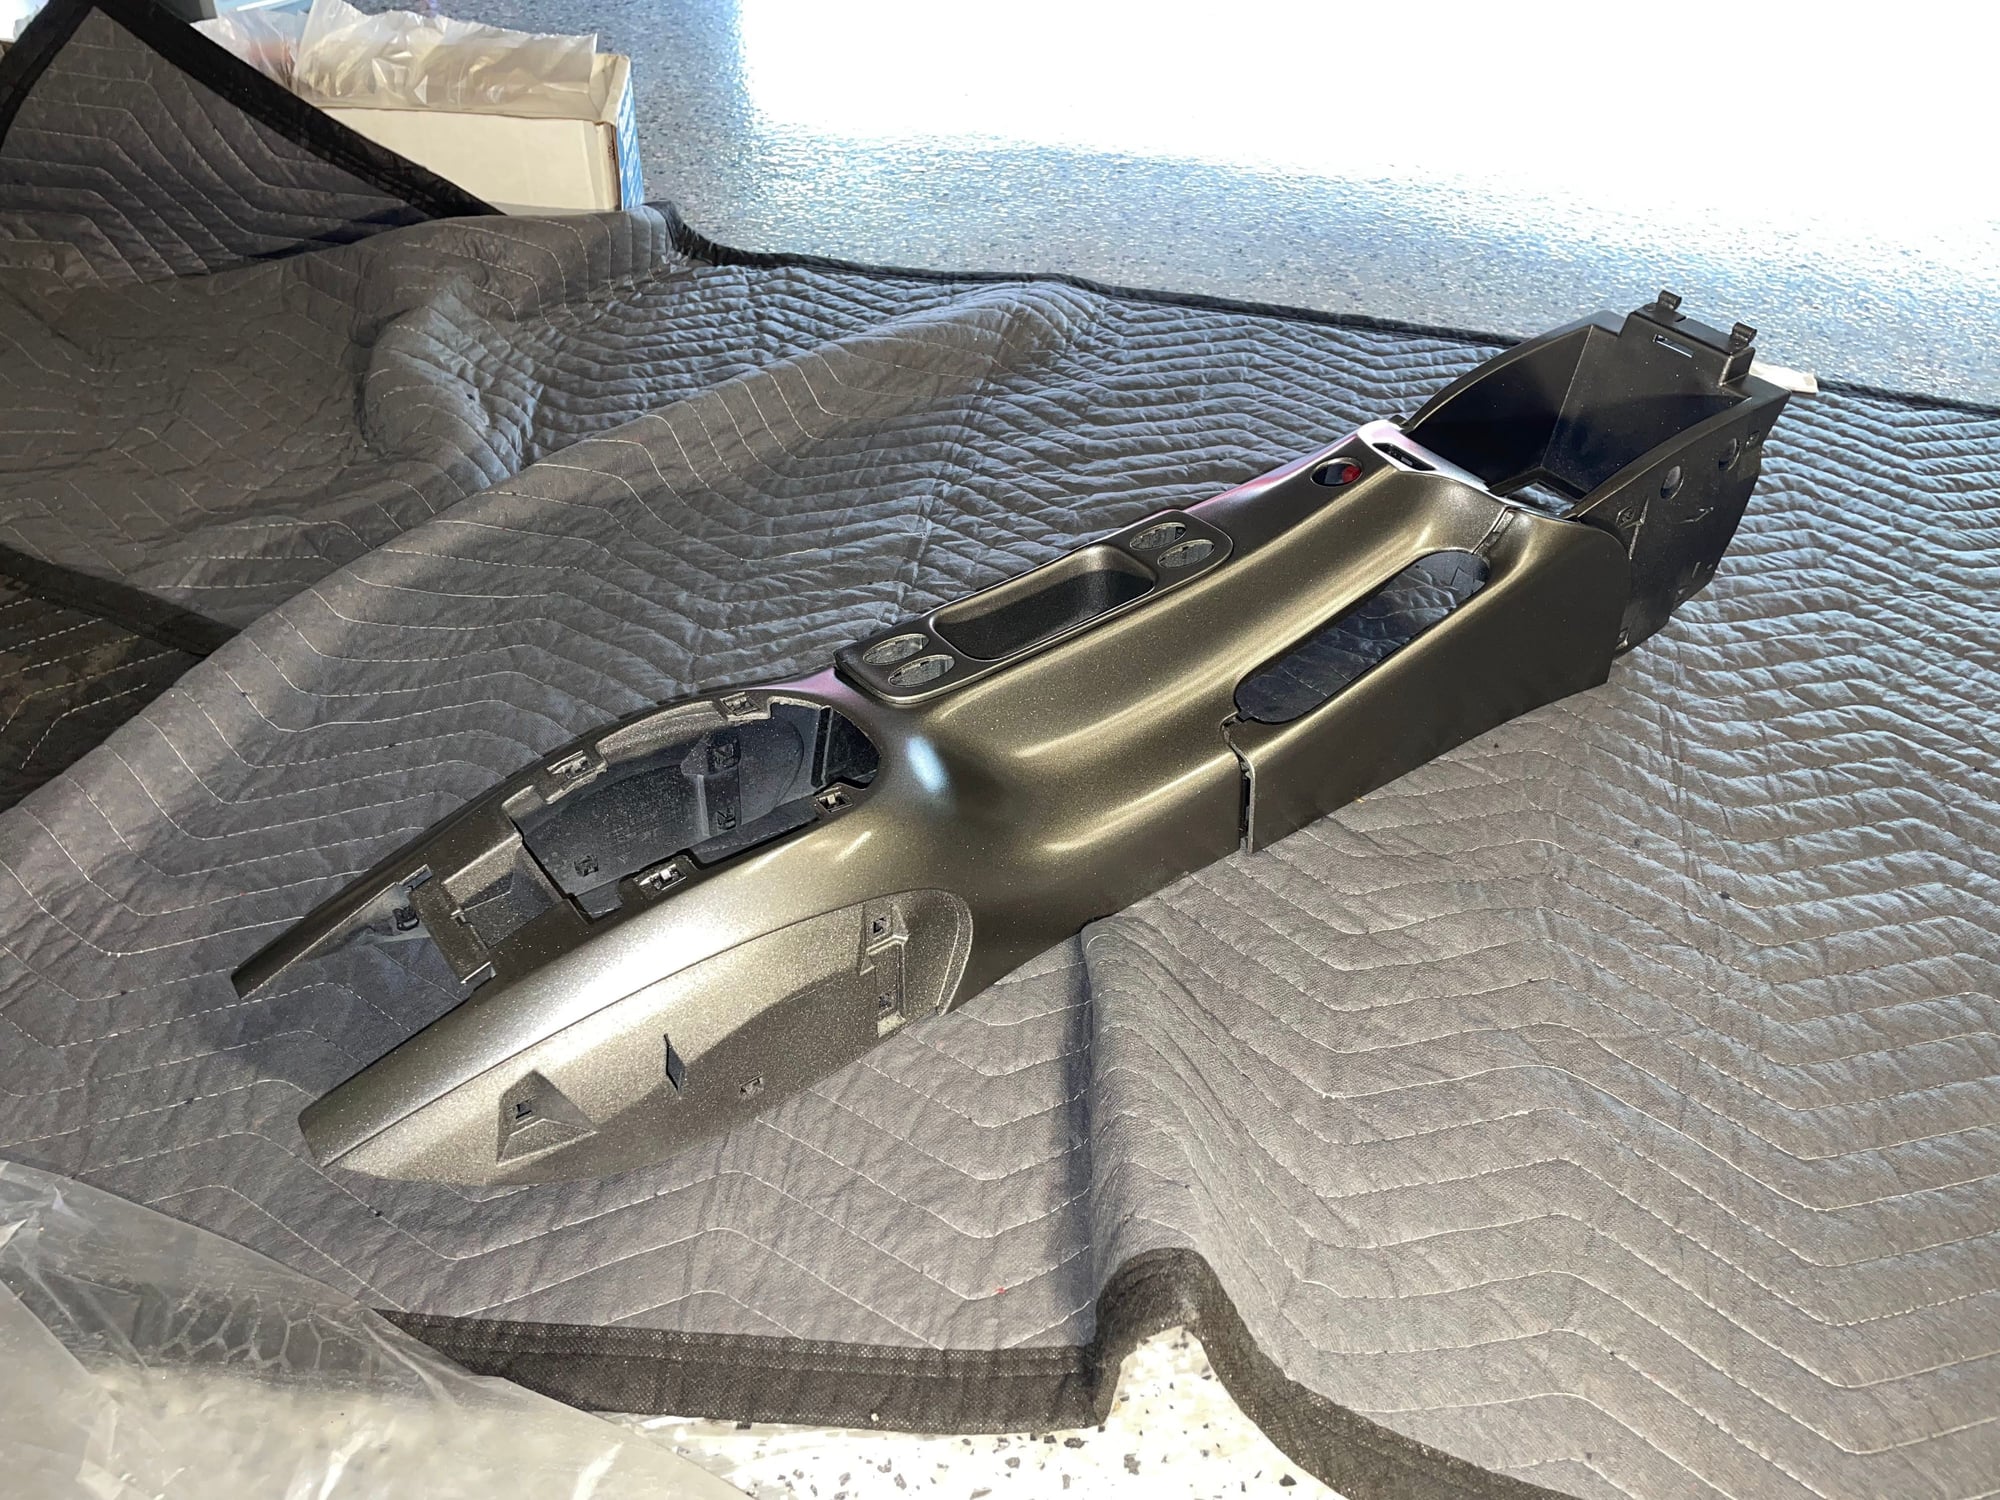
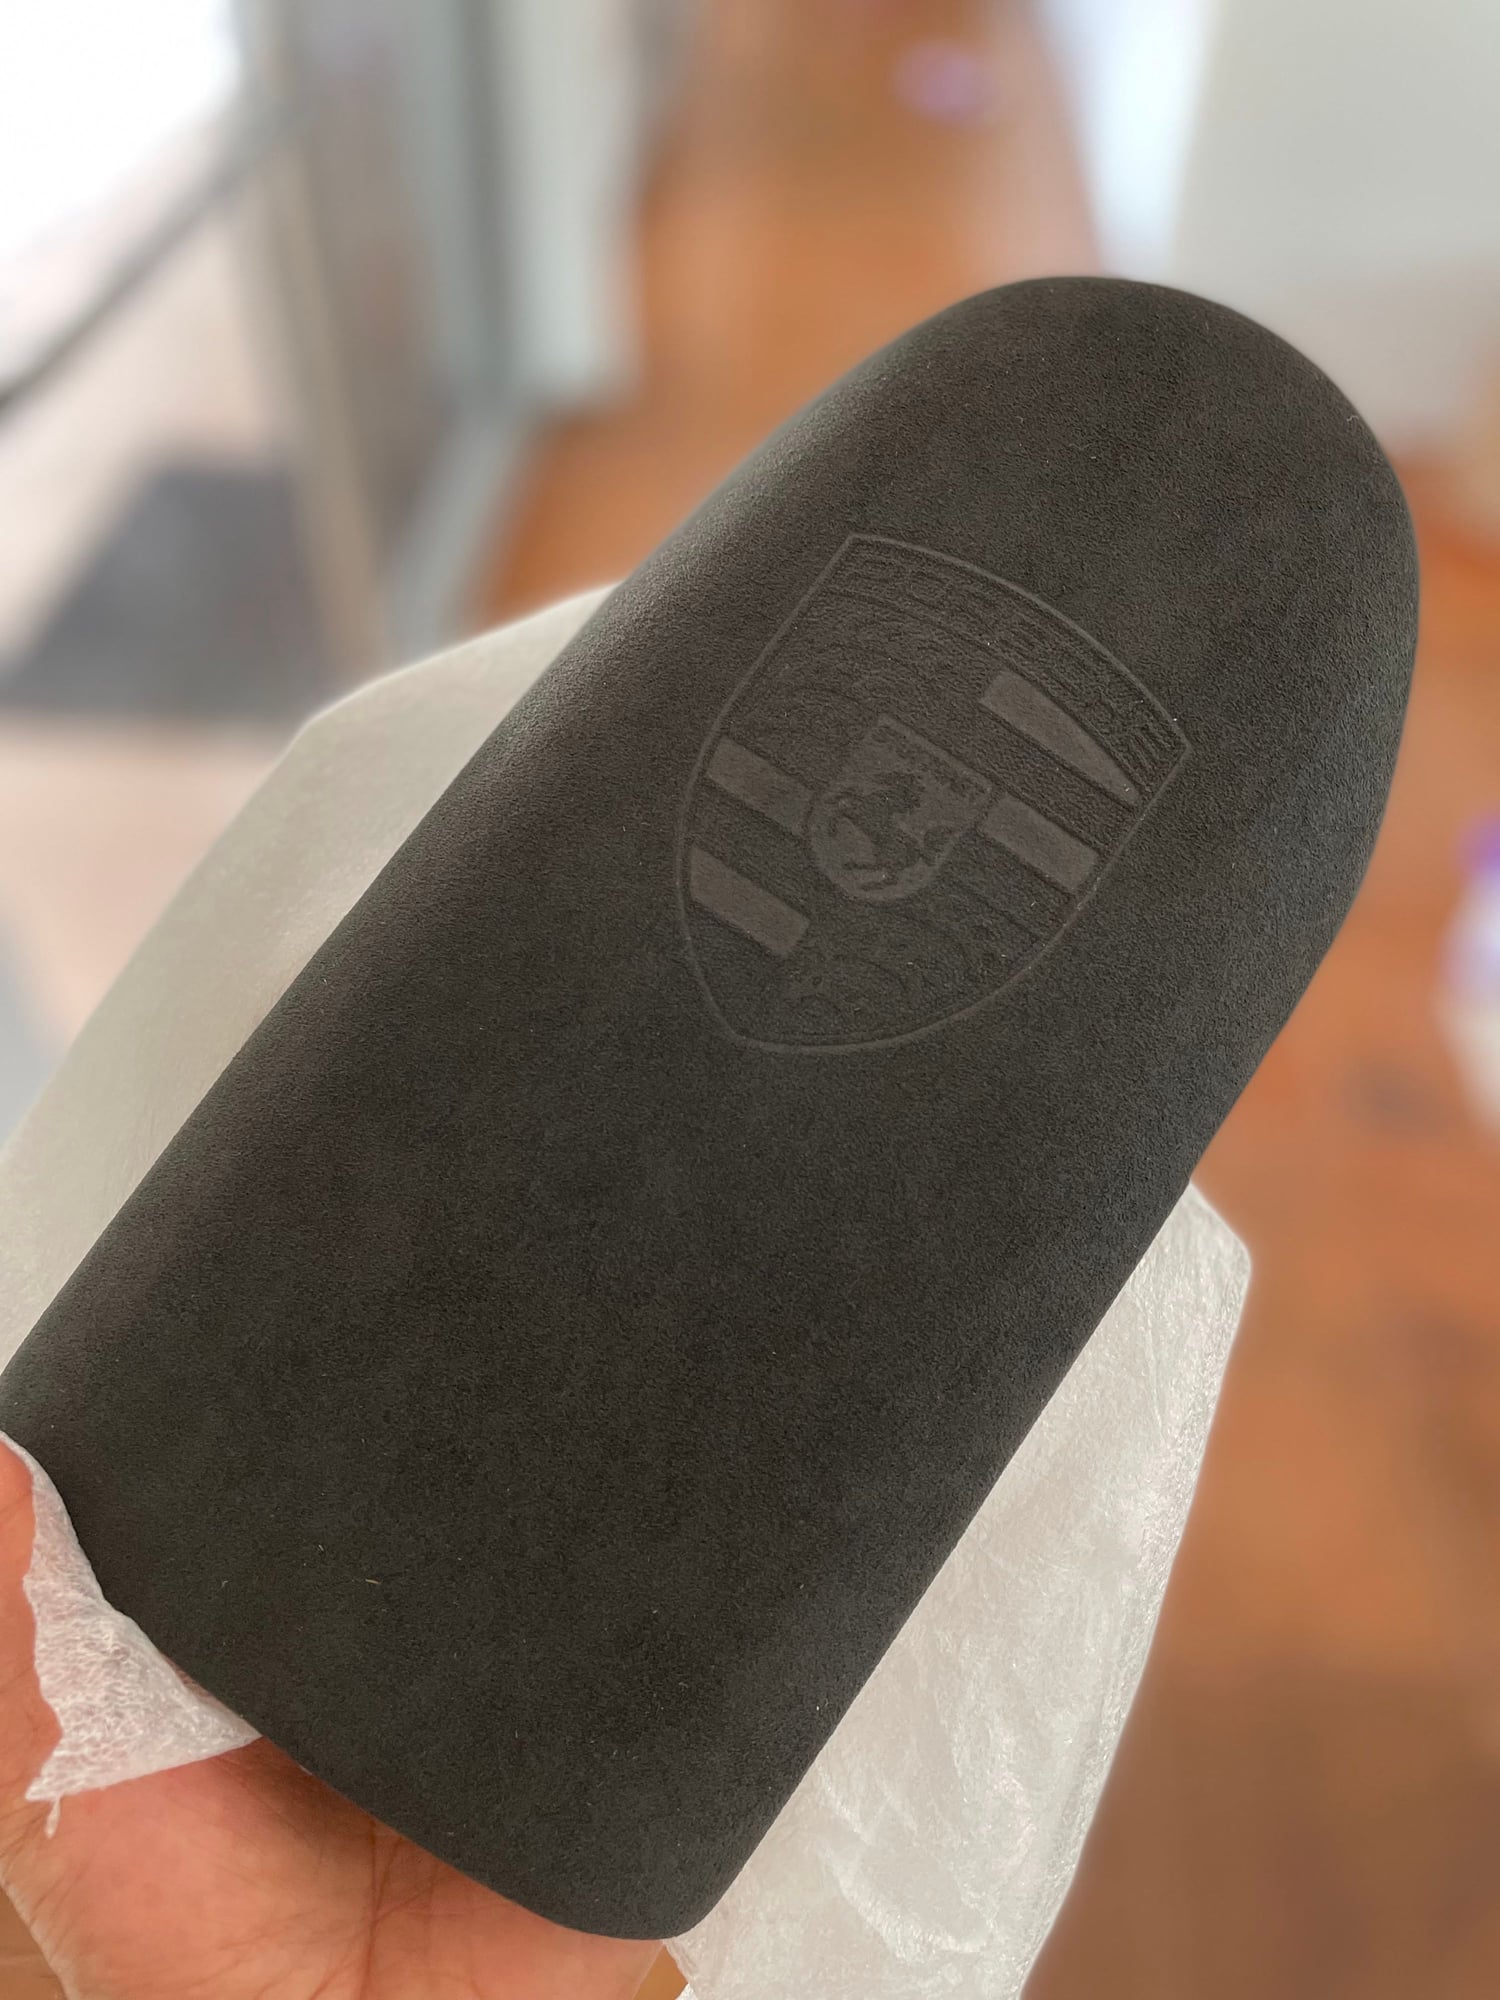
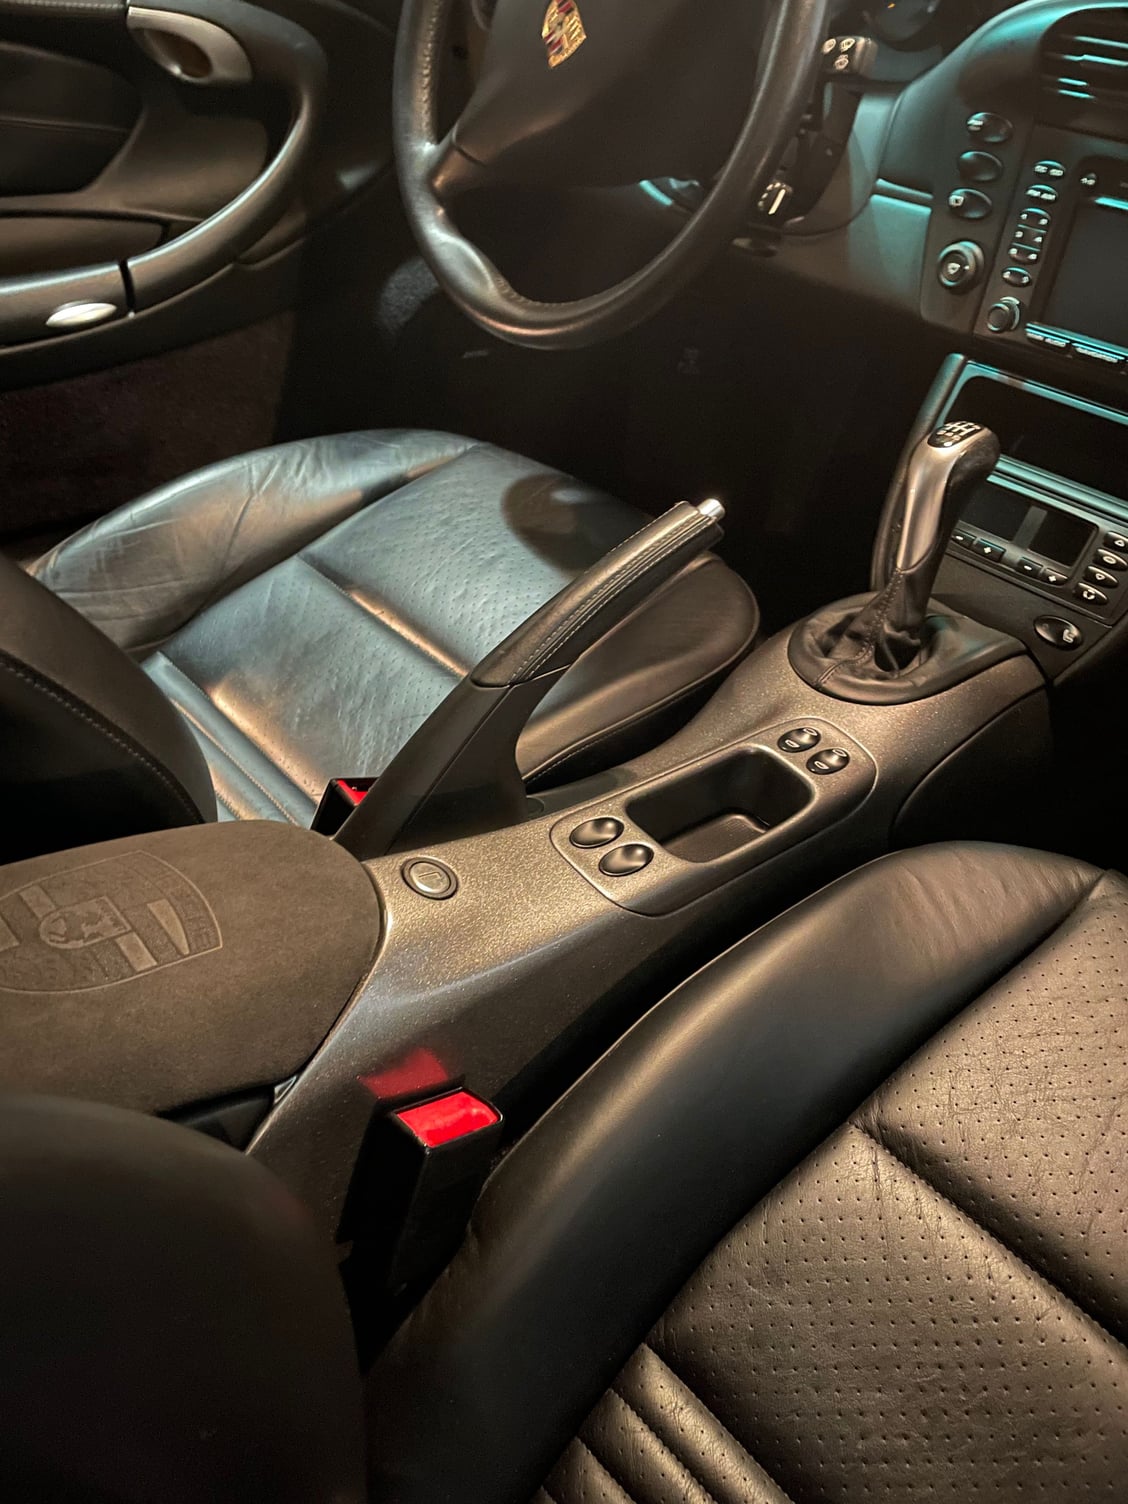
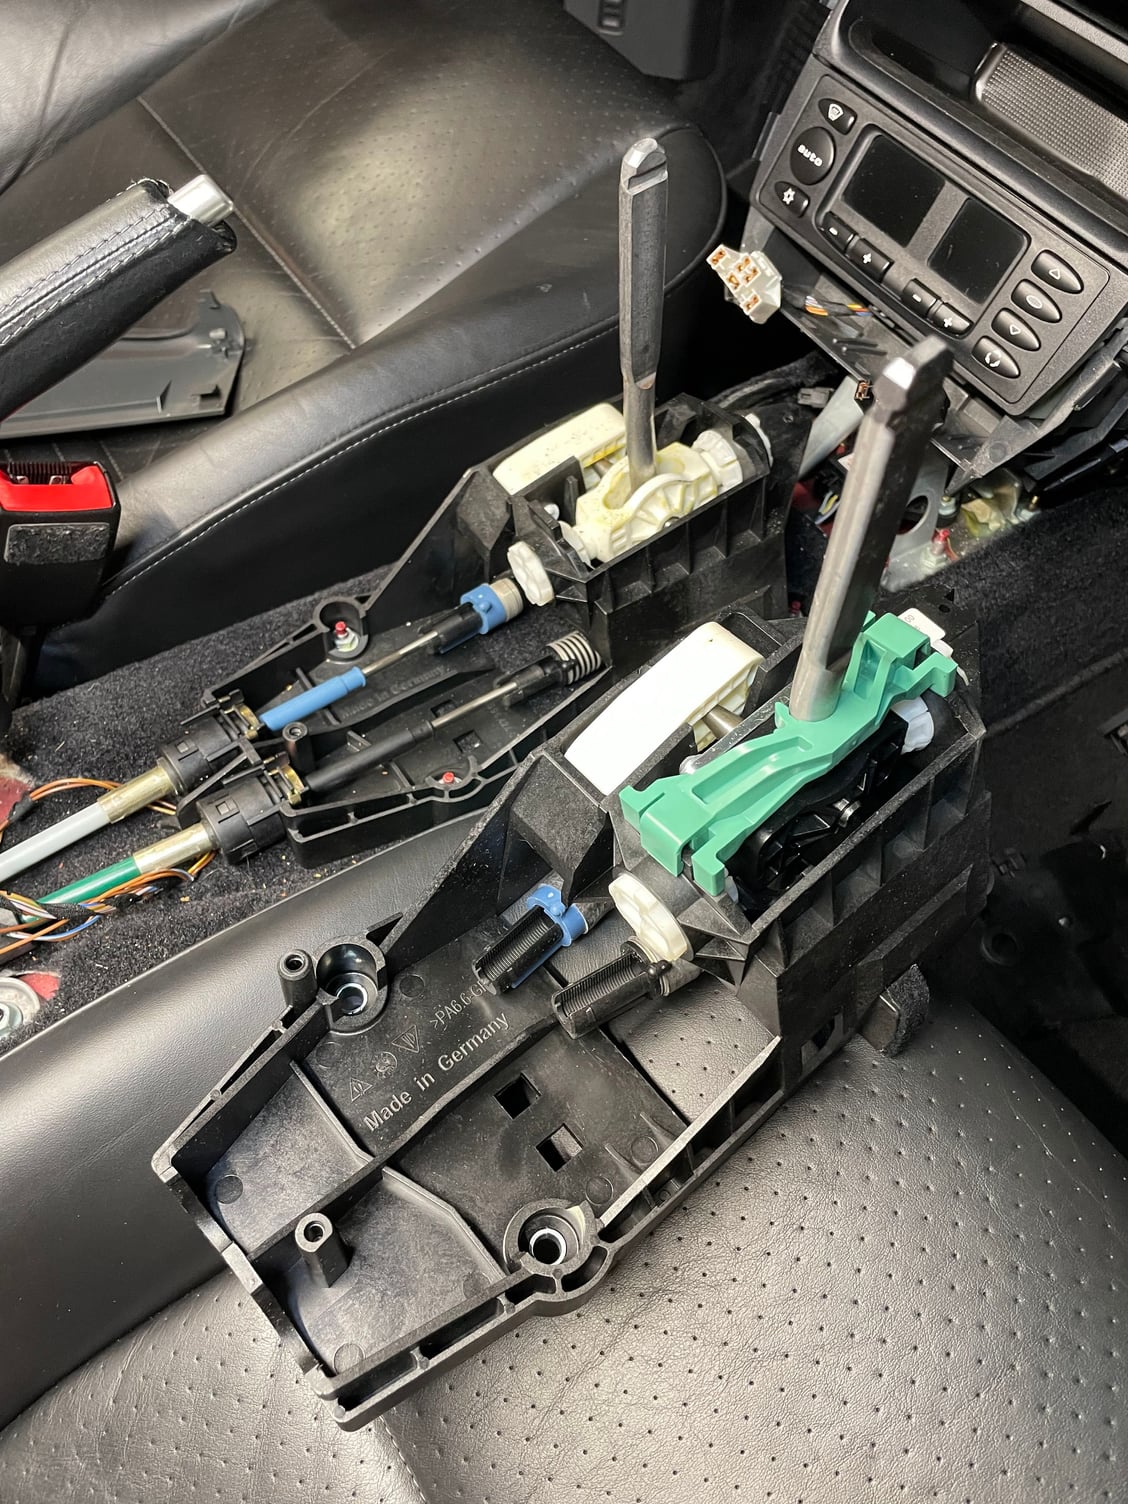
After that, it was time to brighten up the original black center console to complement the new grey belts. I purchased a second console and painted it meteor grey metallic, the closest factory color to the belts. I added some new factory hardware to fresh up the coin holder and some other parts and then finished it off with a very rare factory CXX porsche crest list in alcantara. While the console was out, I also upgraded the factory shifter to the 997 sport shifter to reduce the throw. The original mechanism was in pretty good shape, but upgraded to the 997 mechanism certainly improved the shifts.
New vs old door lock actuators
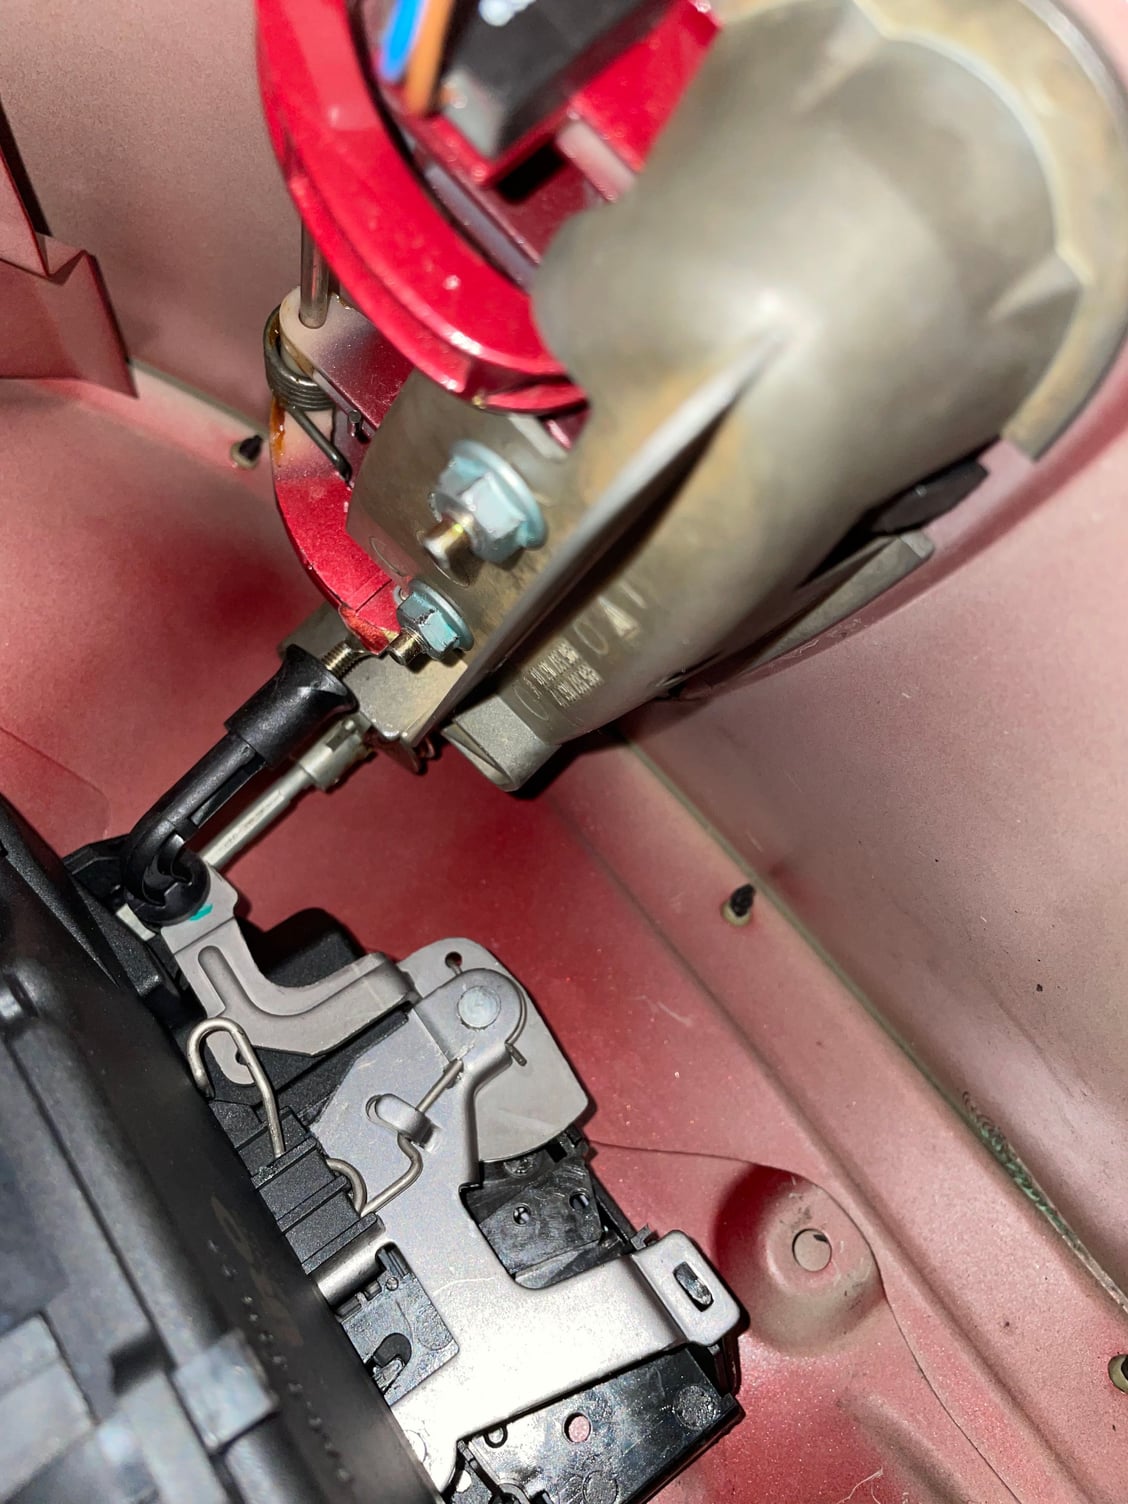
Inside the door. Looks brand new ;-)
closely inspected all of the parts while the handle was out and the door was open to make sure nothing else needed replacement.
Original vs repainted console
The finished product looks amazing.
Alcantara factory center lid
Everything installed. The painted center console brings the interior to life.
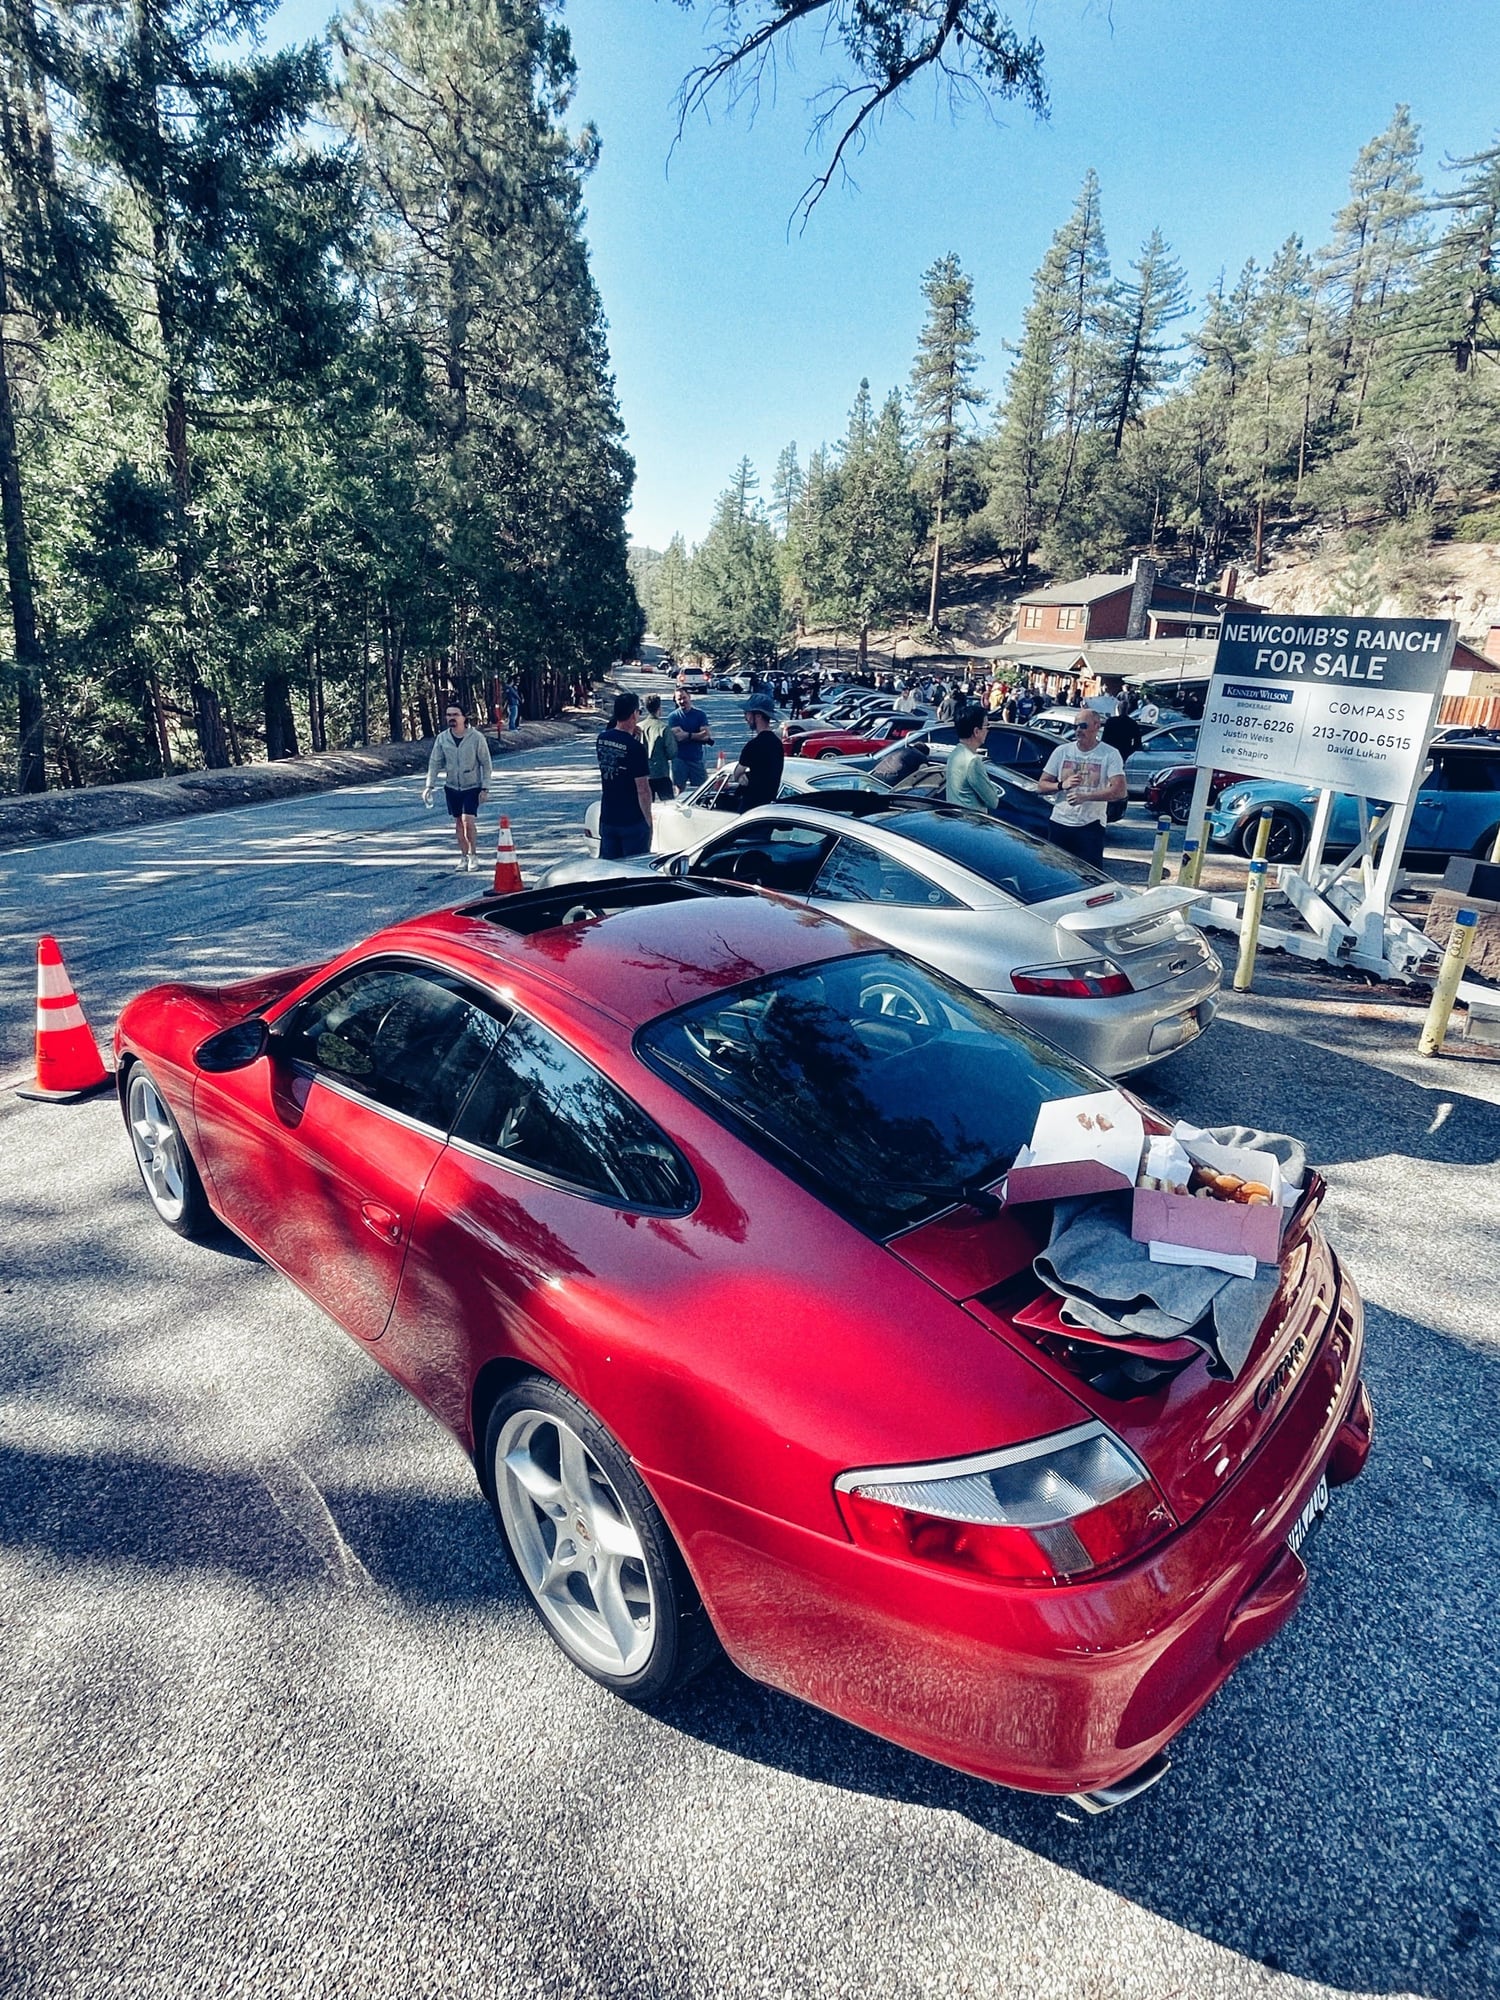
In October I met up with a few friends and headed up crest to Newcombs Ranch for the Good Vibes Breakfast Club. This was the same weekend as Luft, so there was a good deal of Porsches in attendance and I was able to meet a few of the members of the 996 community. The 996 did great and handled the curves spectacularly.
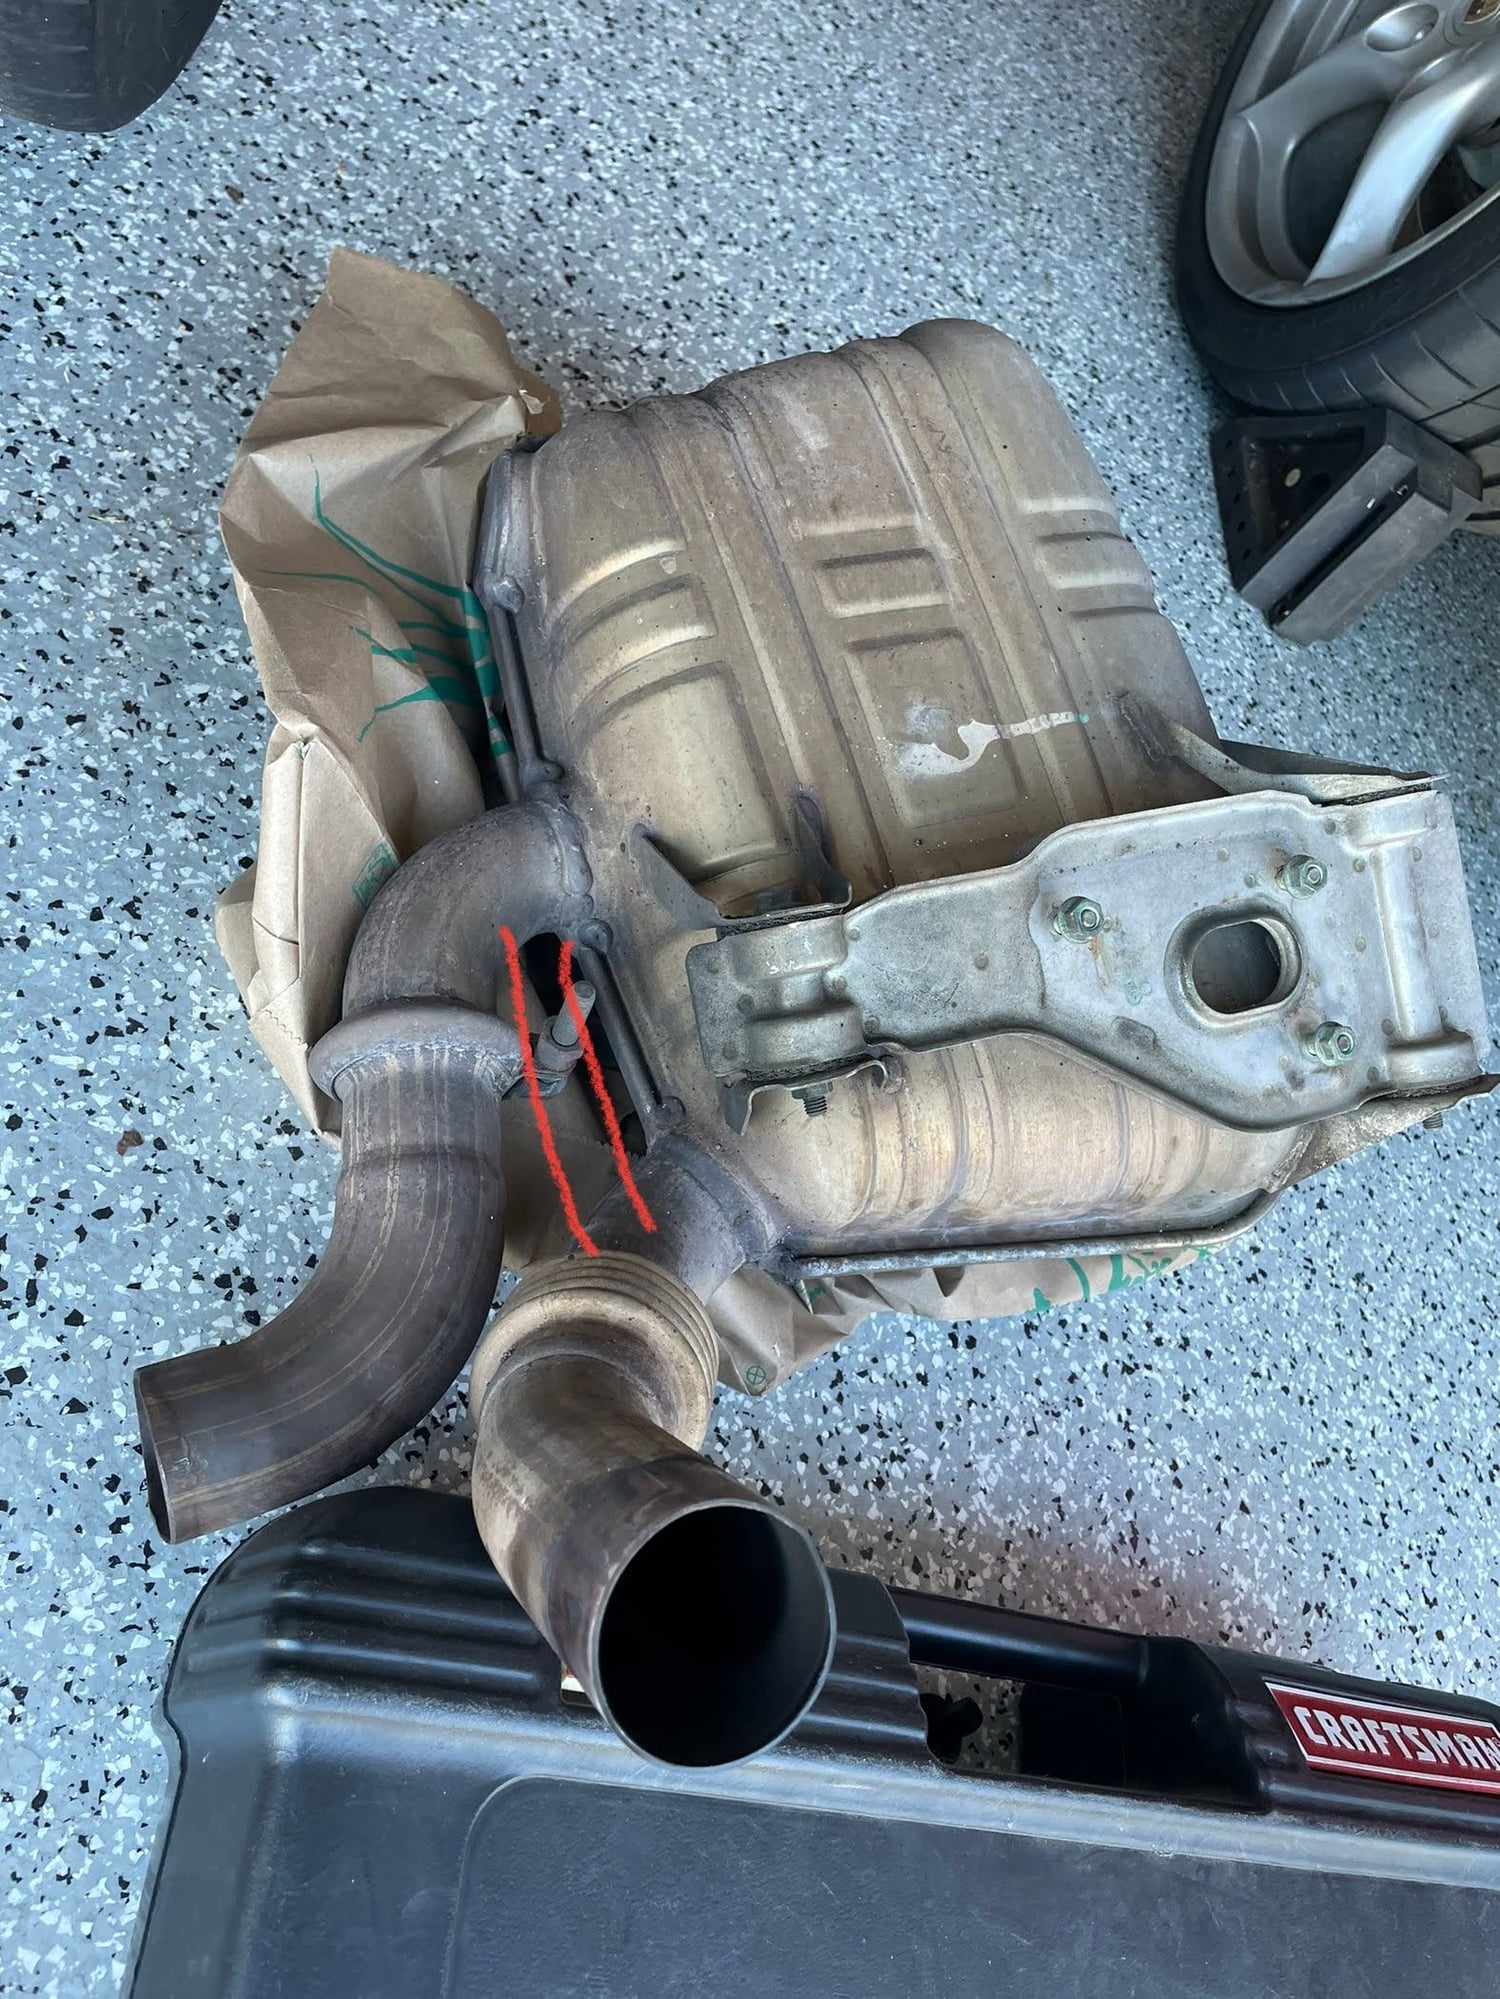
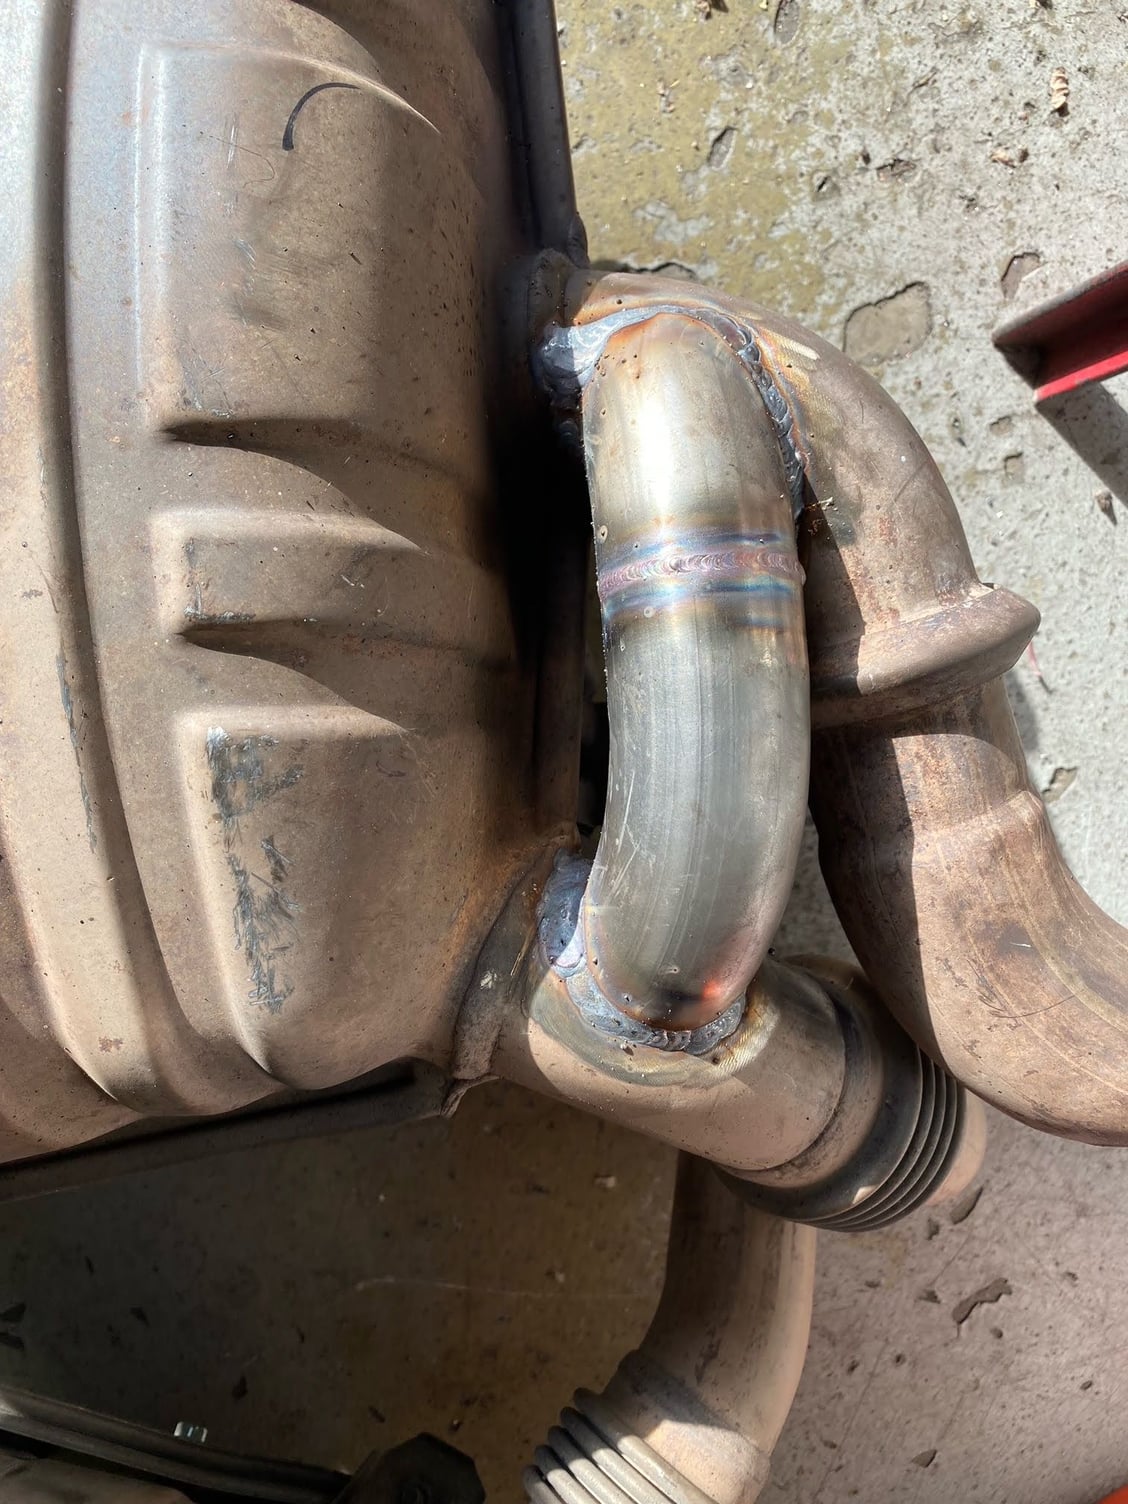
Next up was something I should have done long ago...the Gundo hack! I removed the mufflers and had a local exhaust shop perform the hack using the same gauge steel as the mufflers. Removing and reinstalling the mufflers is really easy and you don't even need to remove the rear wheels. The difference is sound is subtle, but very noticeable with the windows down or at higher RPM. The car sounds like a Porsche now!
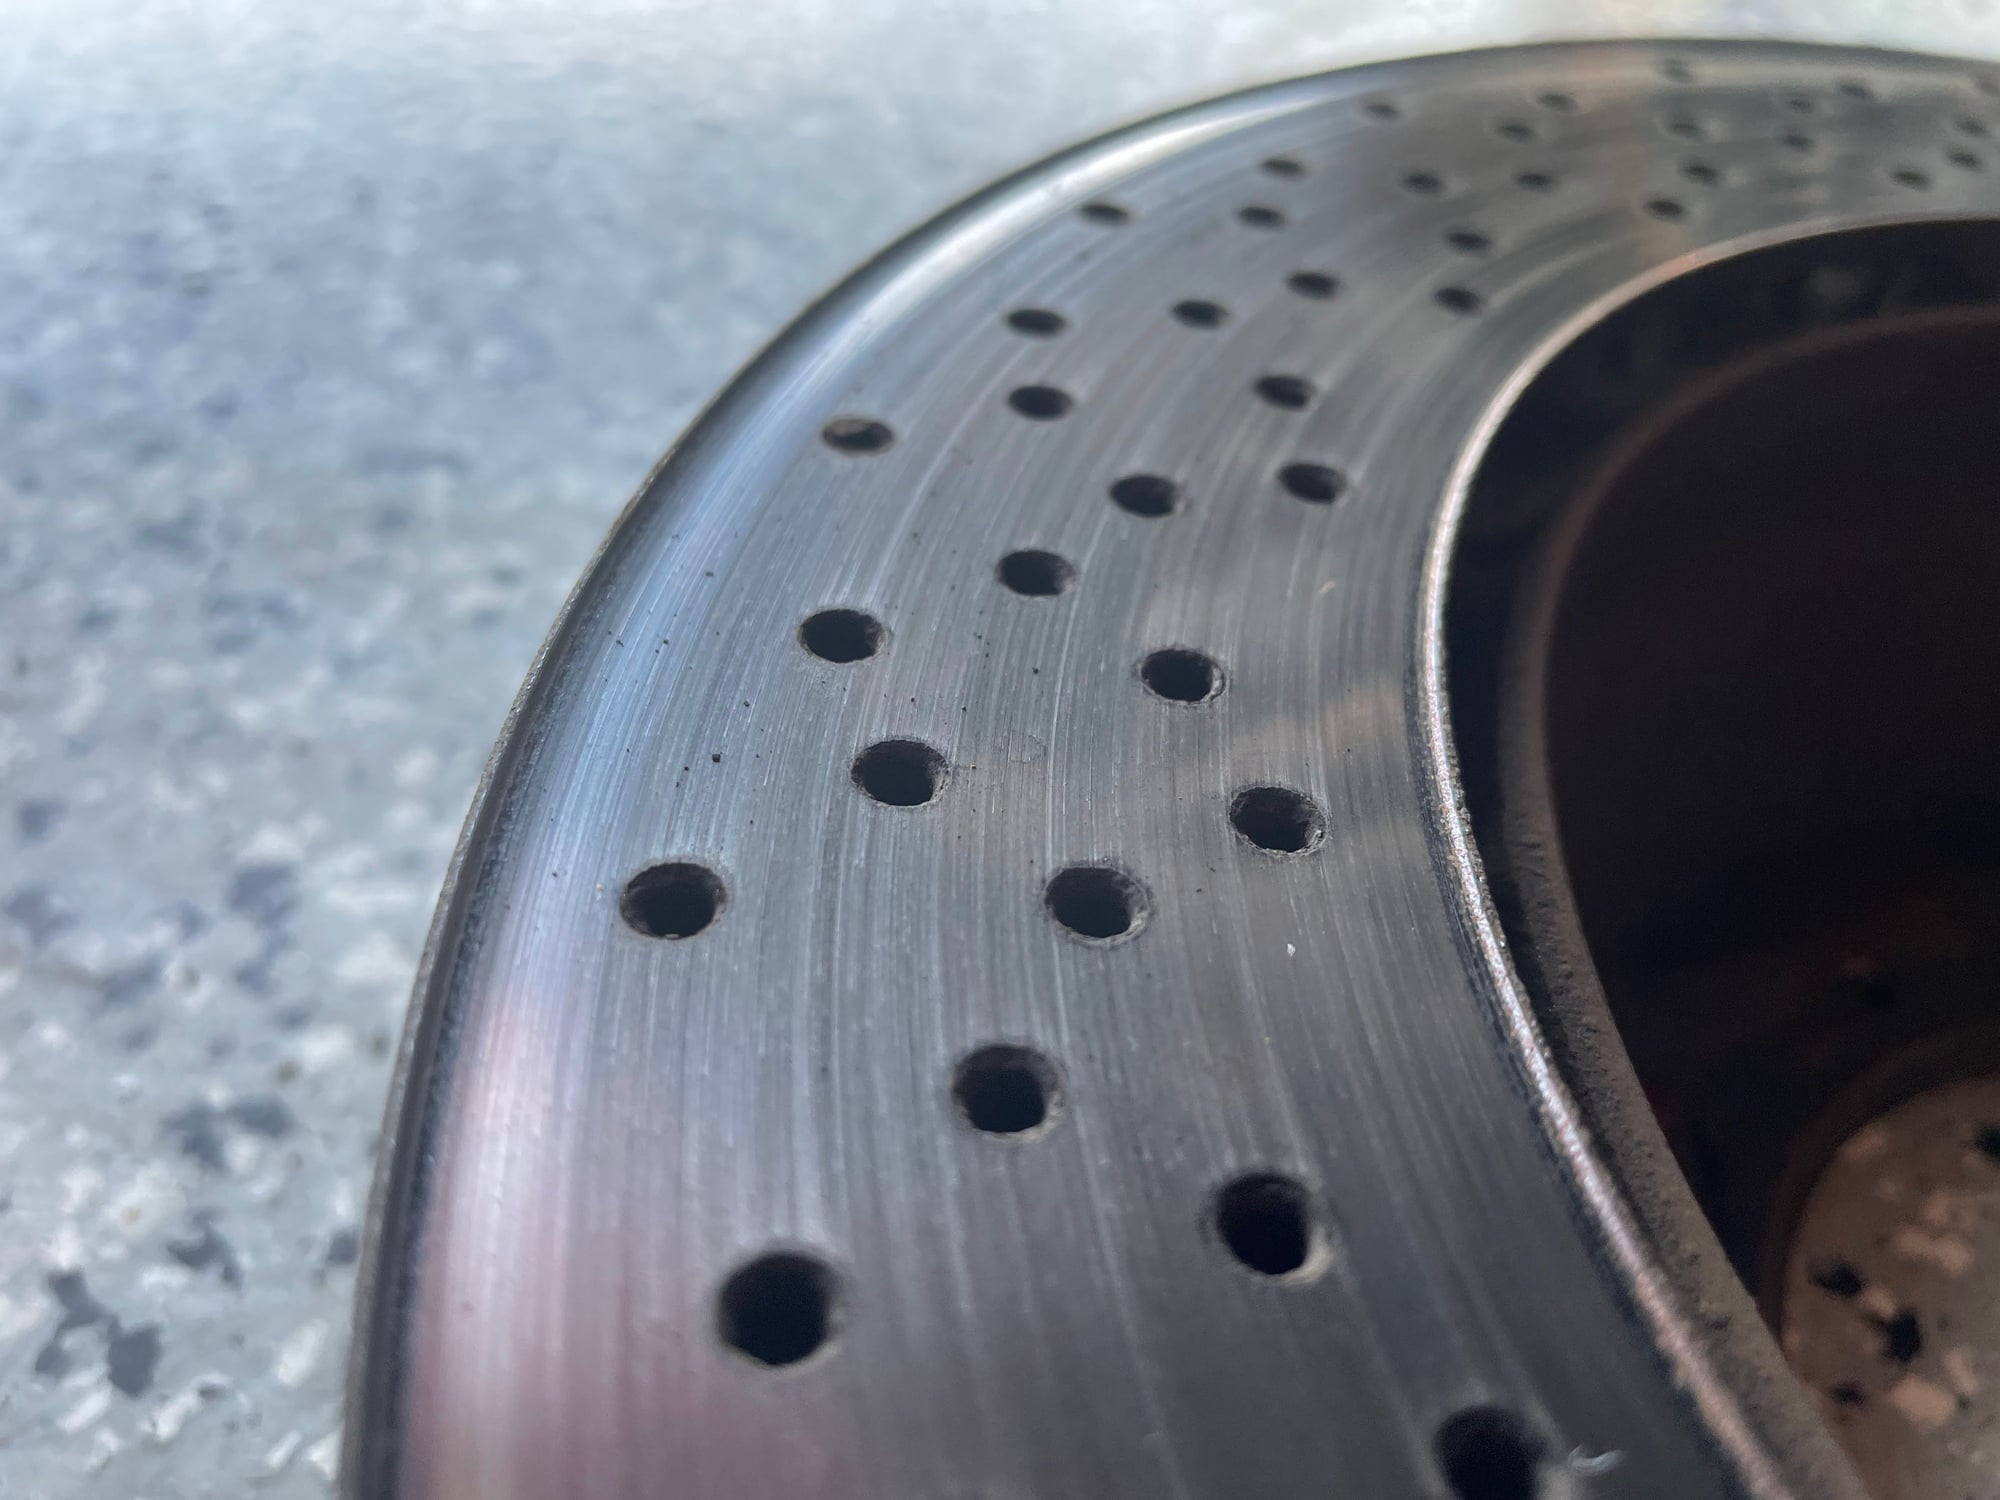
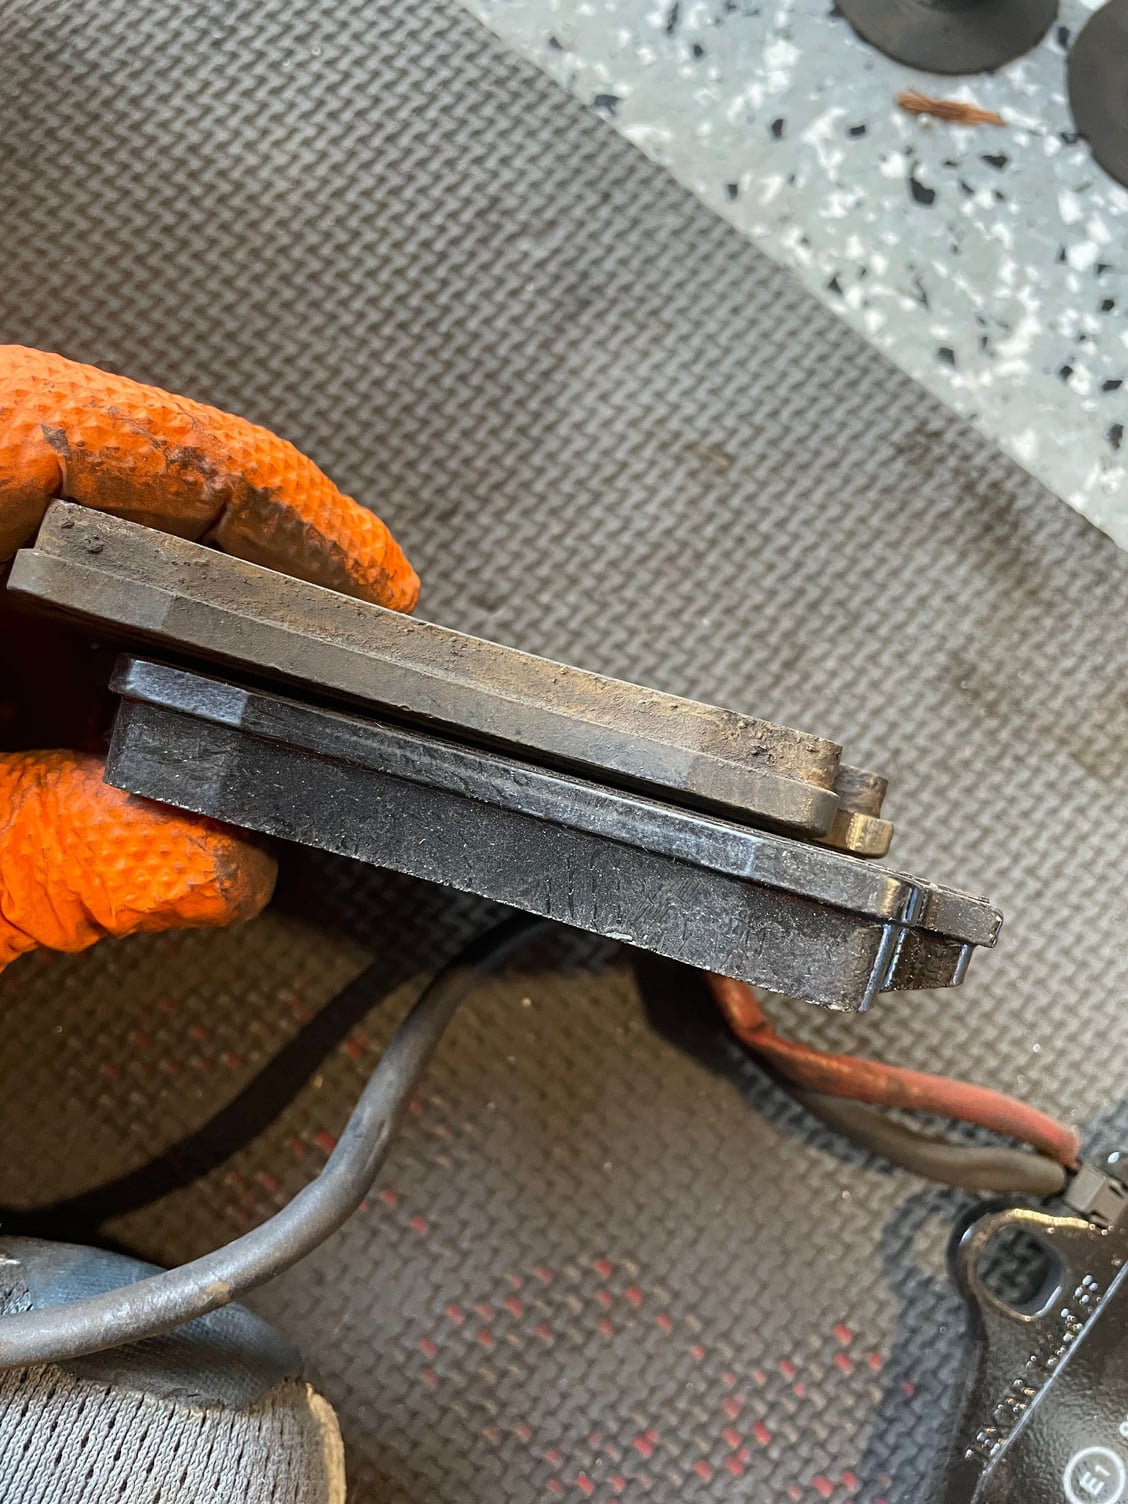
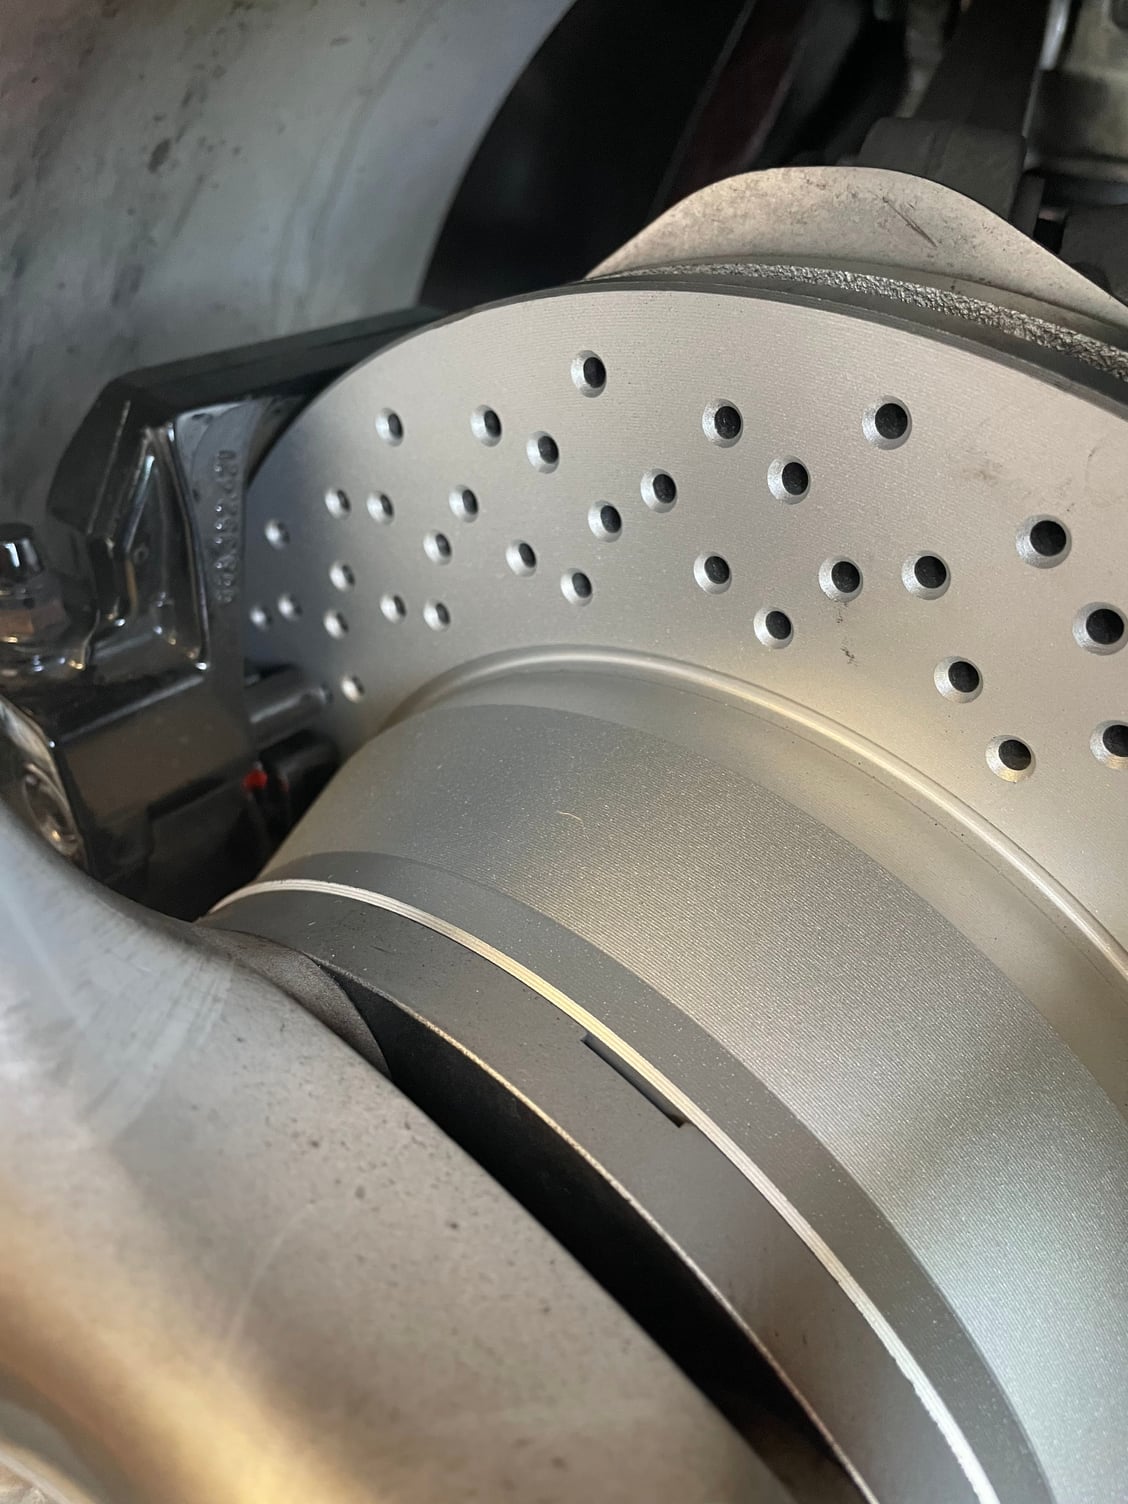
At the same time I also replaced the rear brake rotors, pads and sensors. The fronts were recently replaced. Doing this vastly improved the braking and the car feels totally different under braking.
I'm interested in doing something similar with a center console. Where did you source your paint? What sort of prep did you do?
My interior is Metropol Blue, a.k.a. Might As Well Be Black. Seat belts are Maritime Blue. I thought it might be fun to do a console in that color.
There are a few great DIY threads on RL which I used, but I started with light sanding to prep the plastic, then a few coats of primer, 3 coats of paint and 2-3 coats of clear and then cut and polish. Many have had luck with using simple spray cats from Home Depot. I opted for using Duplicolor paints from Summit, as they come in a variety of OEM colors for domestic cars, some of which you can match pretty closely to your car's paint.
I just read through the entire thread. Incredible work! And the results are amazing. That color really does look phenomenal post paint correction!
Thank you sir. I am smitten with this color and now that all of this work has been done to the car, every single drive is amazing. I was entertaining selling it a few weeks ago when a 991.2 GT3 popped up with the perfect spec, but I already have a GT car and I don't want to lose the connection this car gives me. I still have a few more updates I need to post when I have more time.
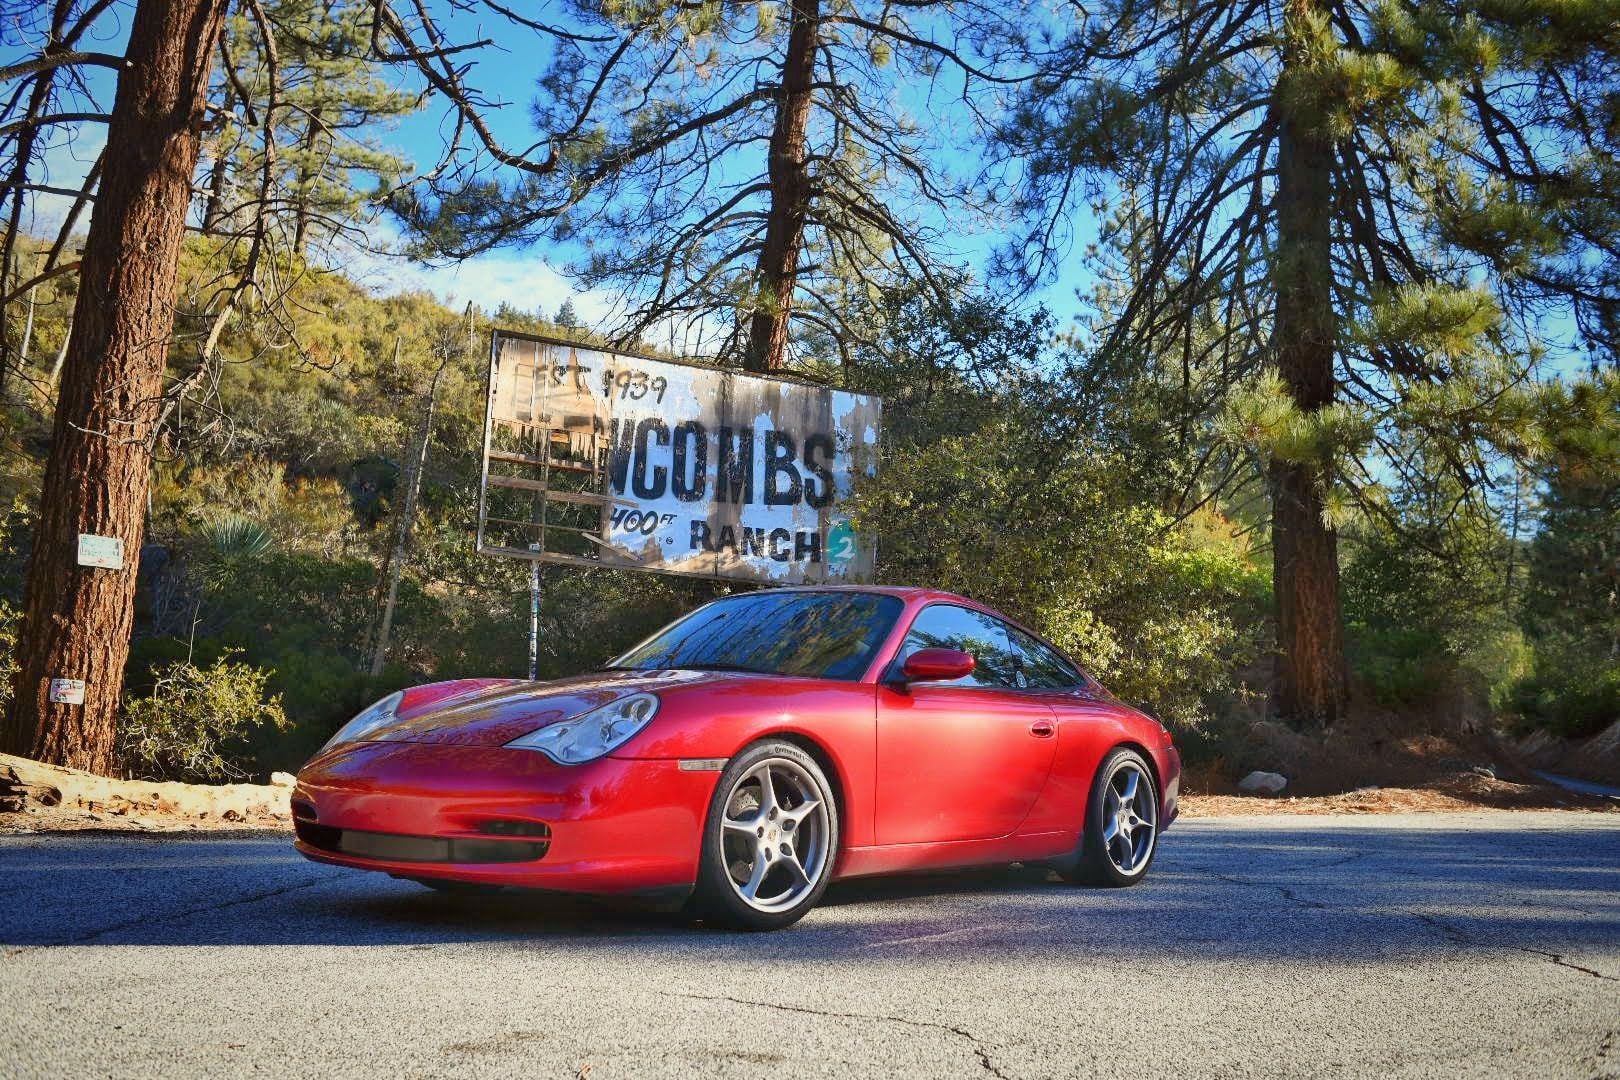
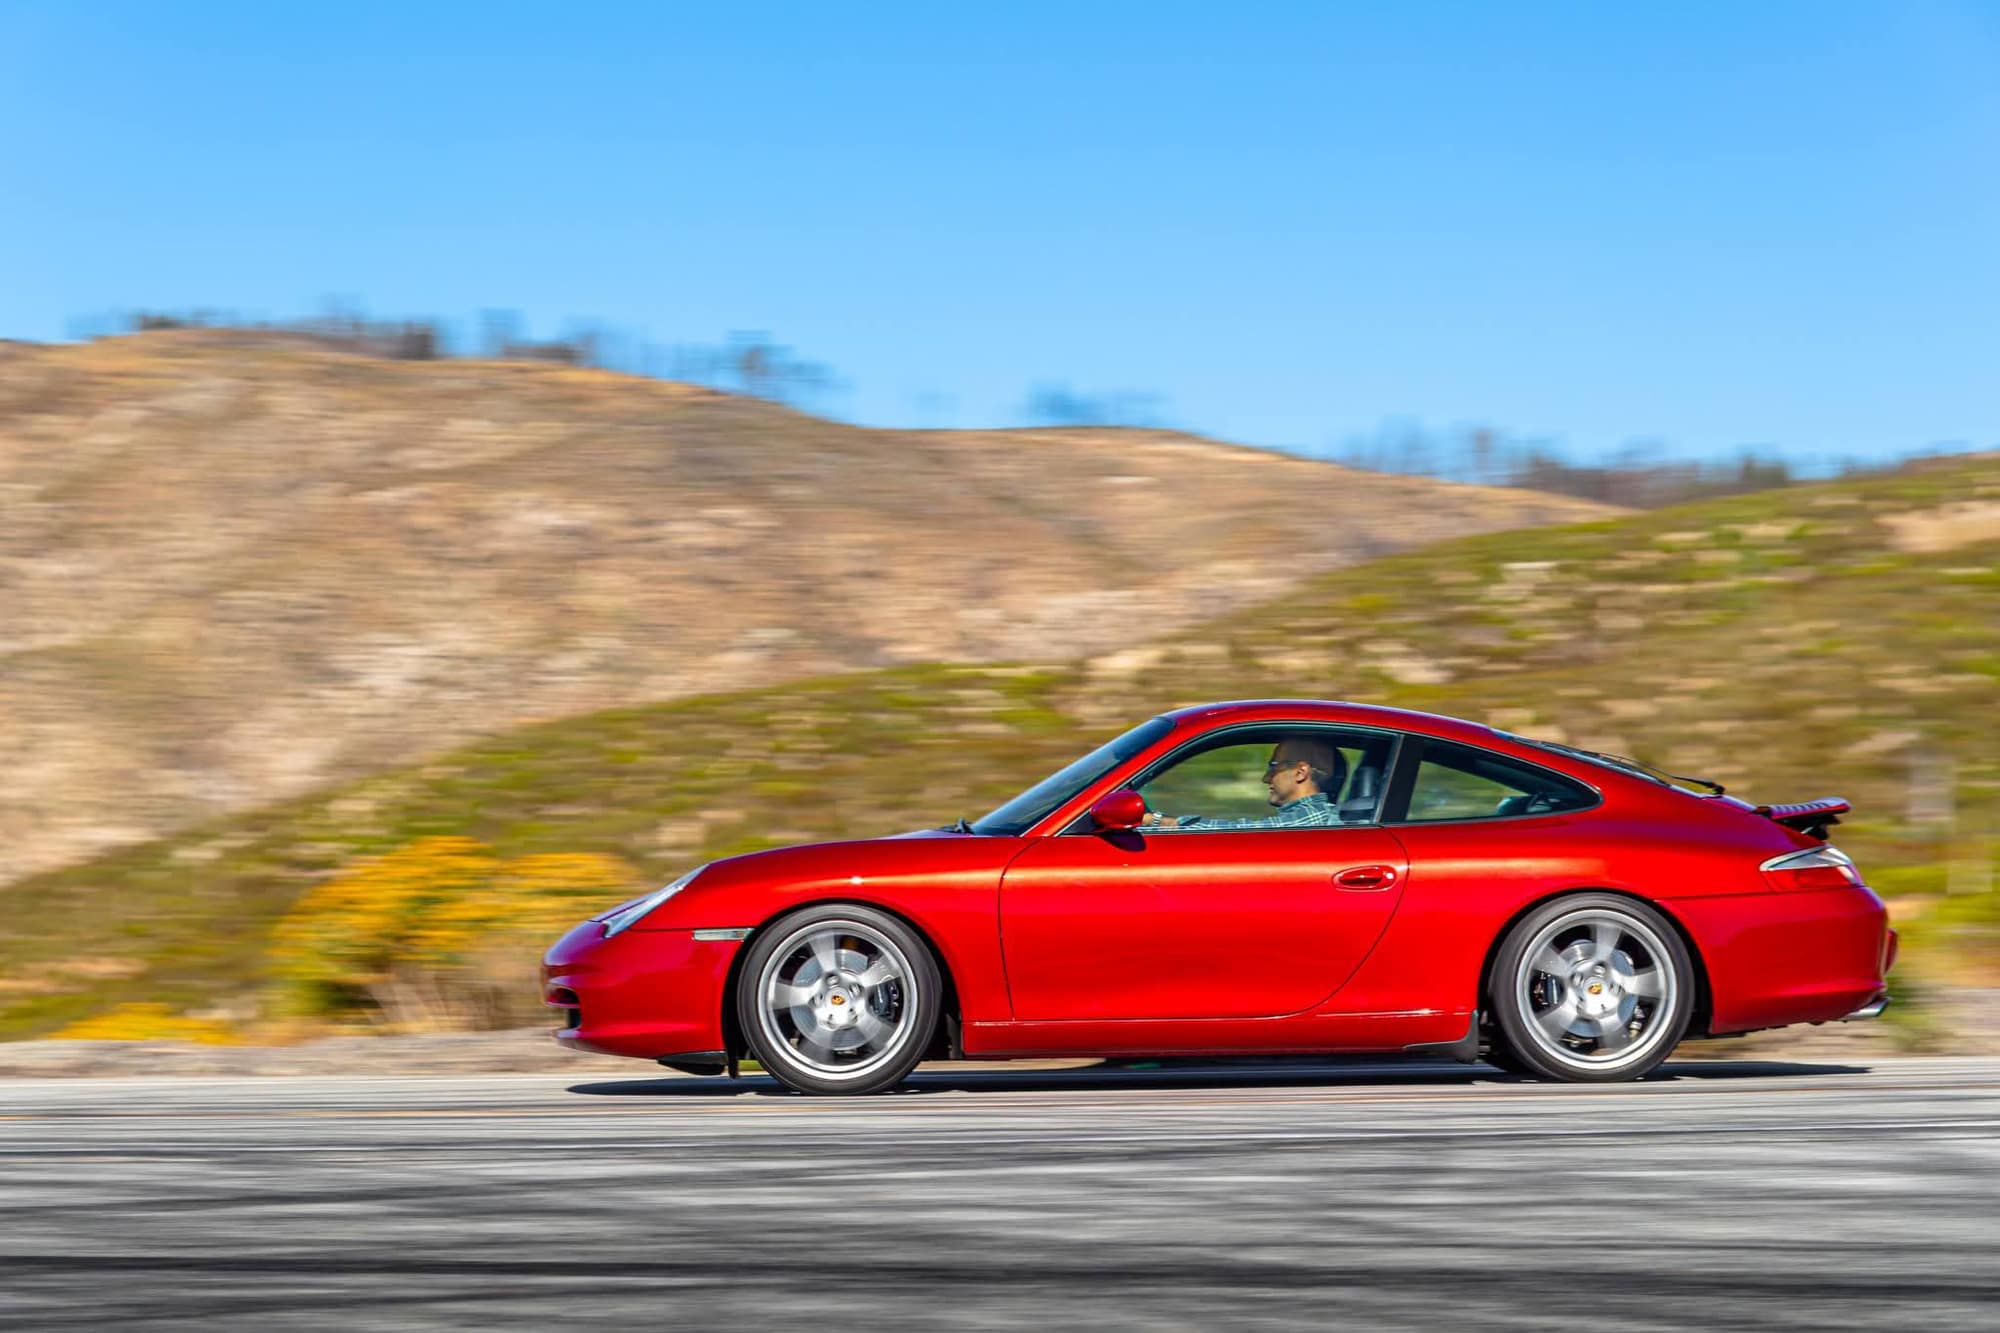
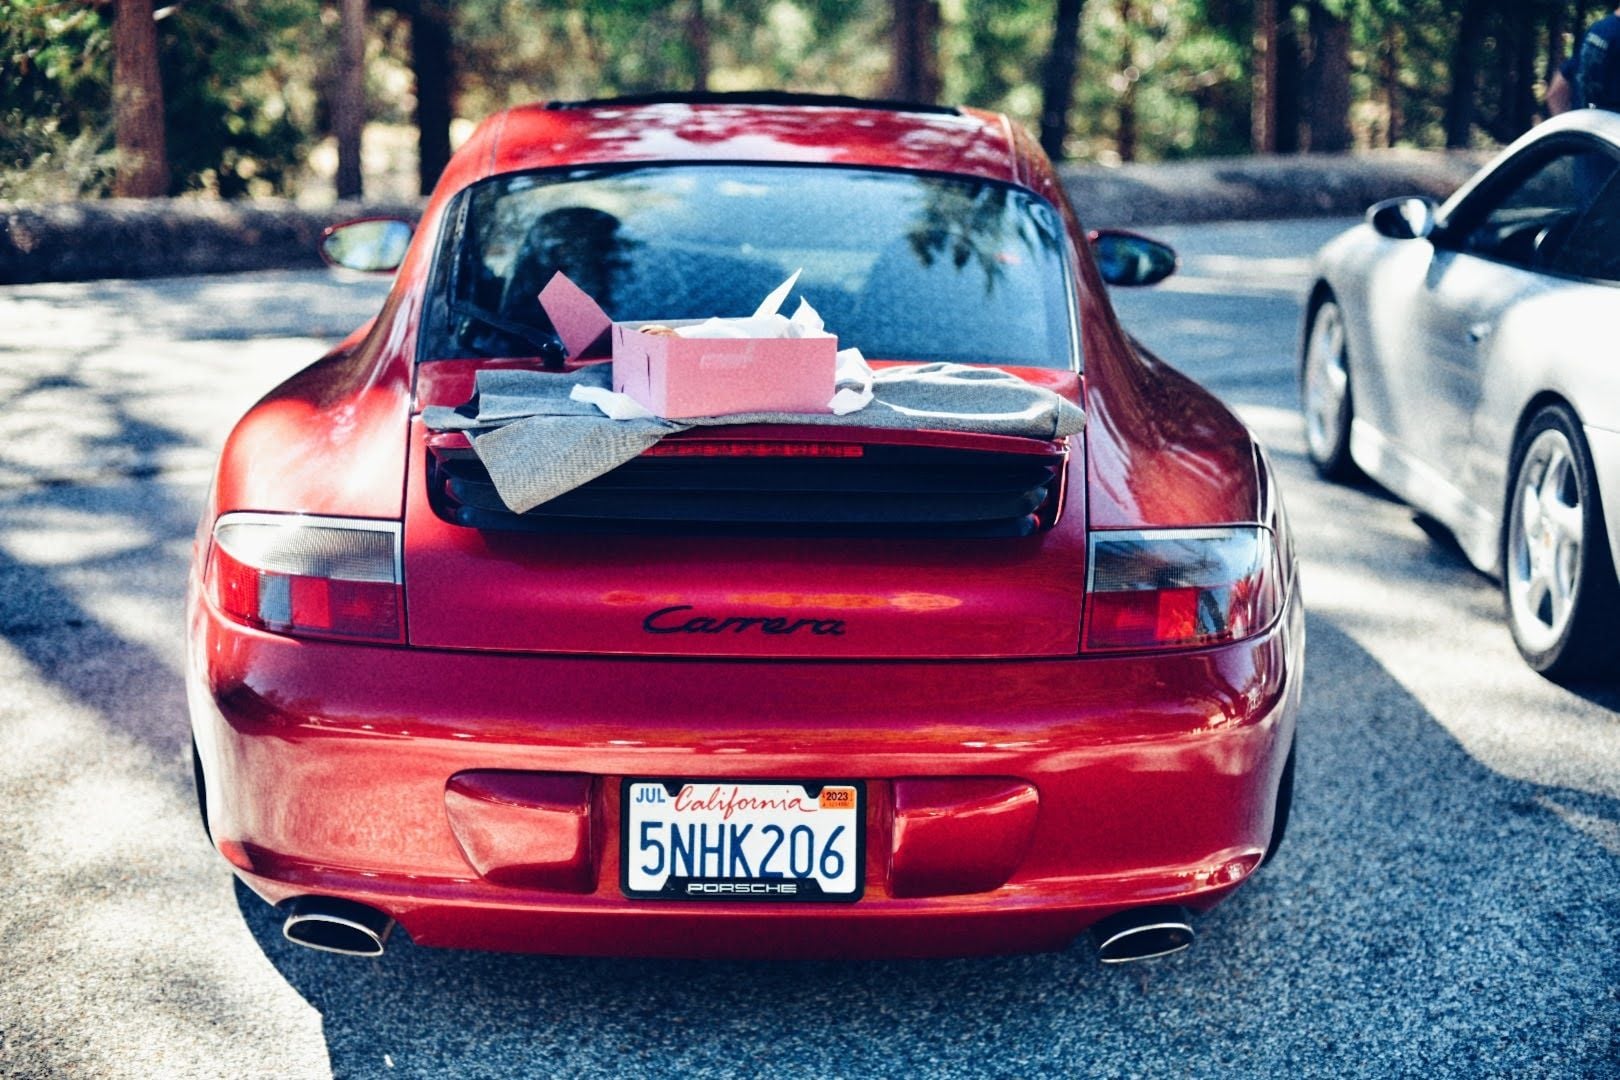
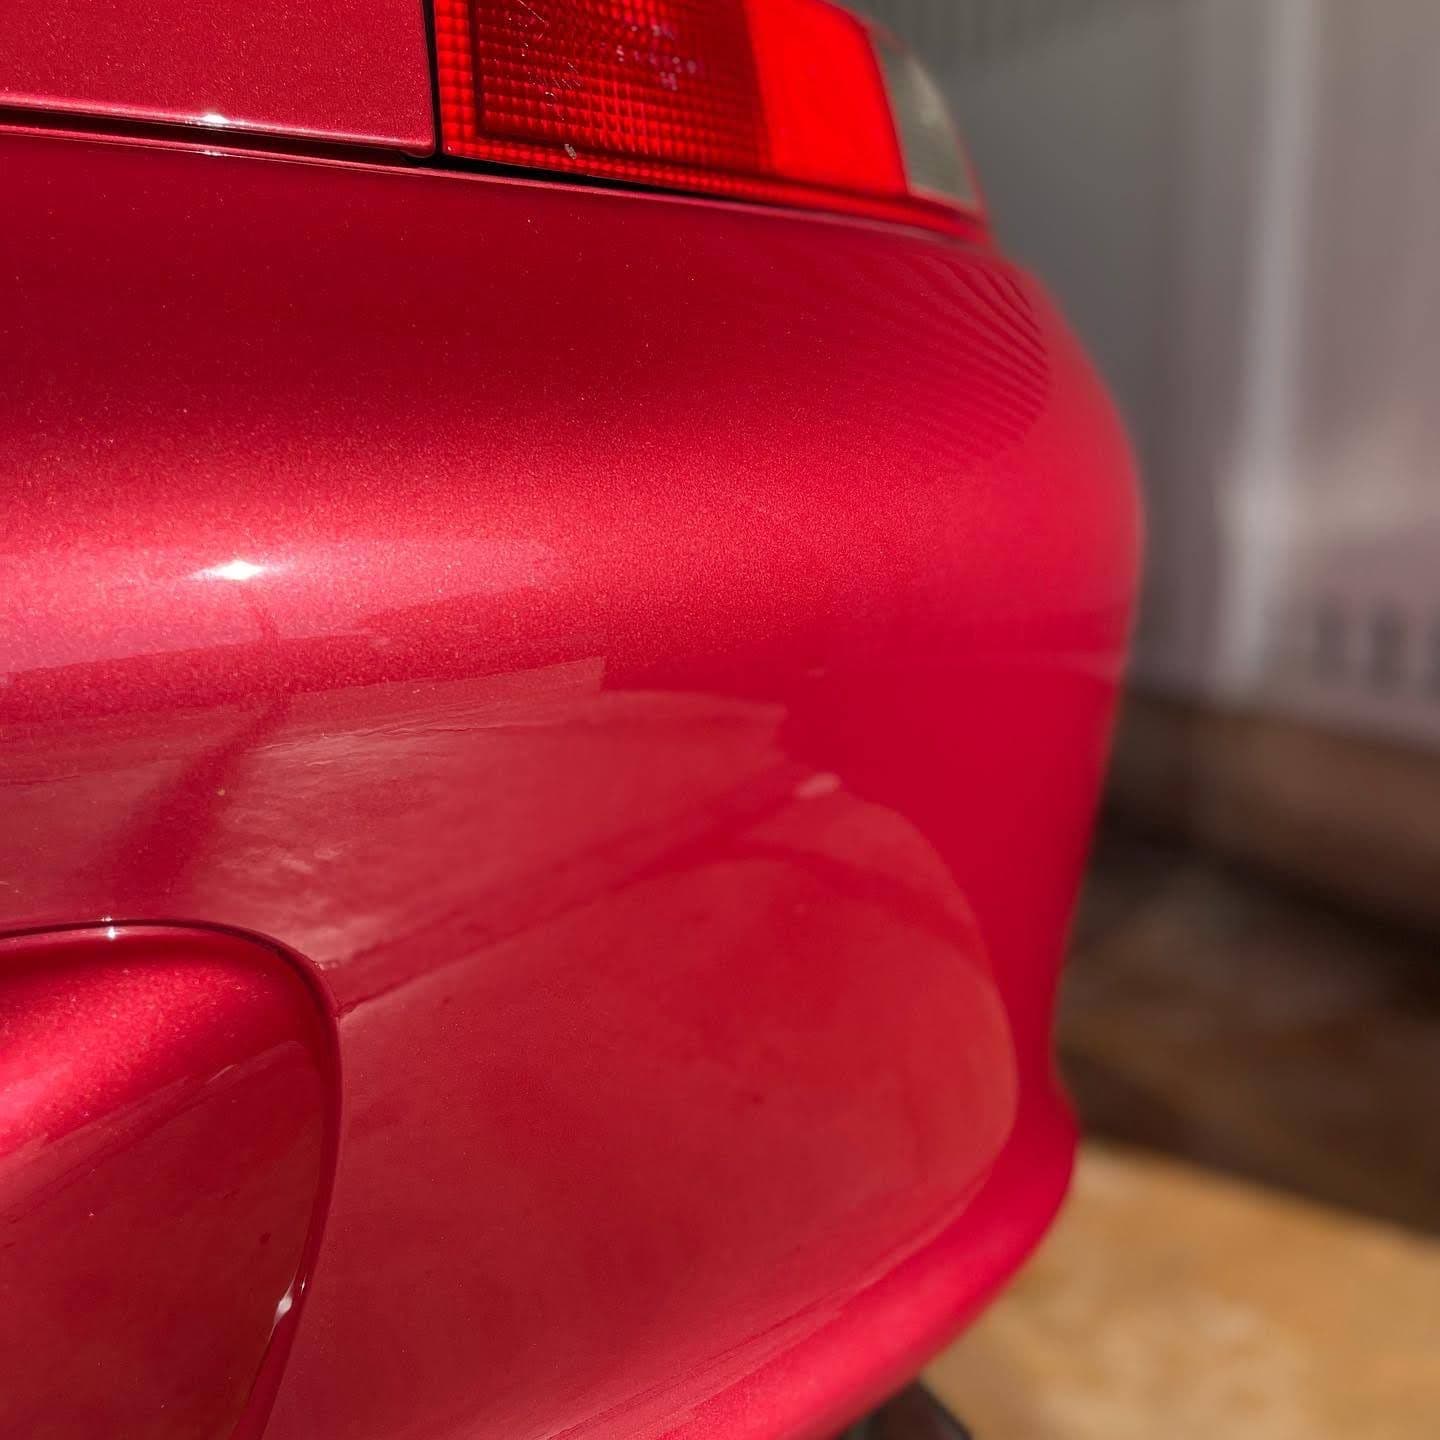
Here are a few recent pics. IF anyone is in the market for a 996, I would strongly suggest considering a color like Orient Red instead of the typical Silver, Black or White. A few years ago I would have never considered it, but I'm so glad I did. I'm hoping to meet more 996 owners in the OC/SoCal so we can do more group drives.
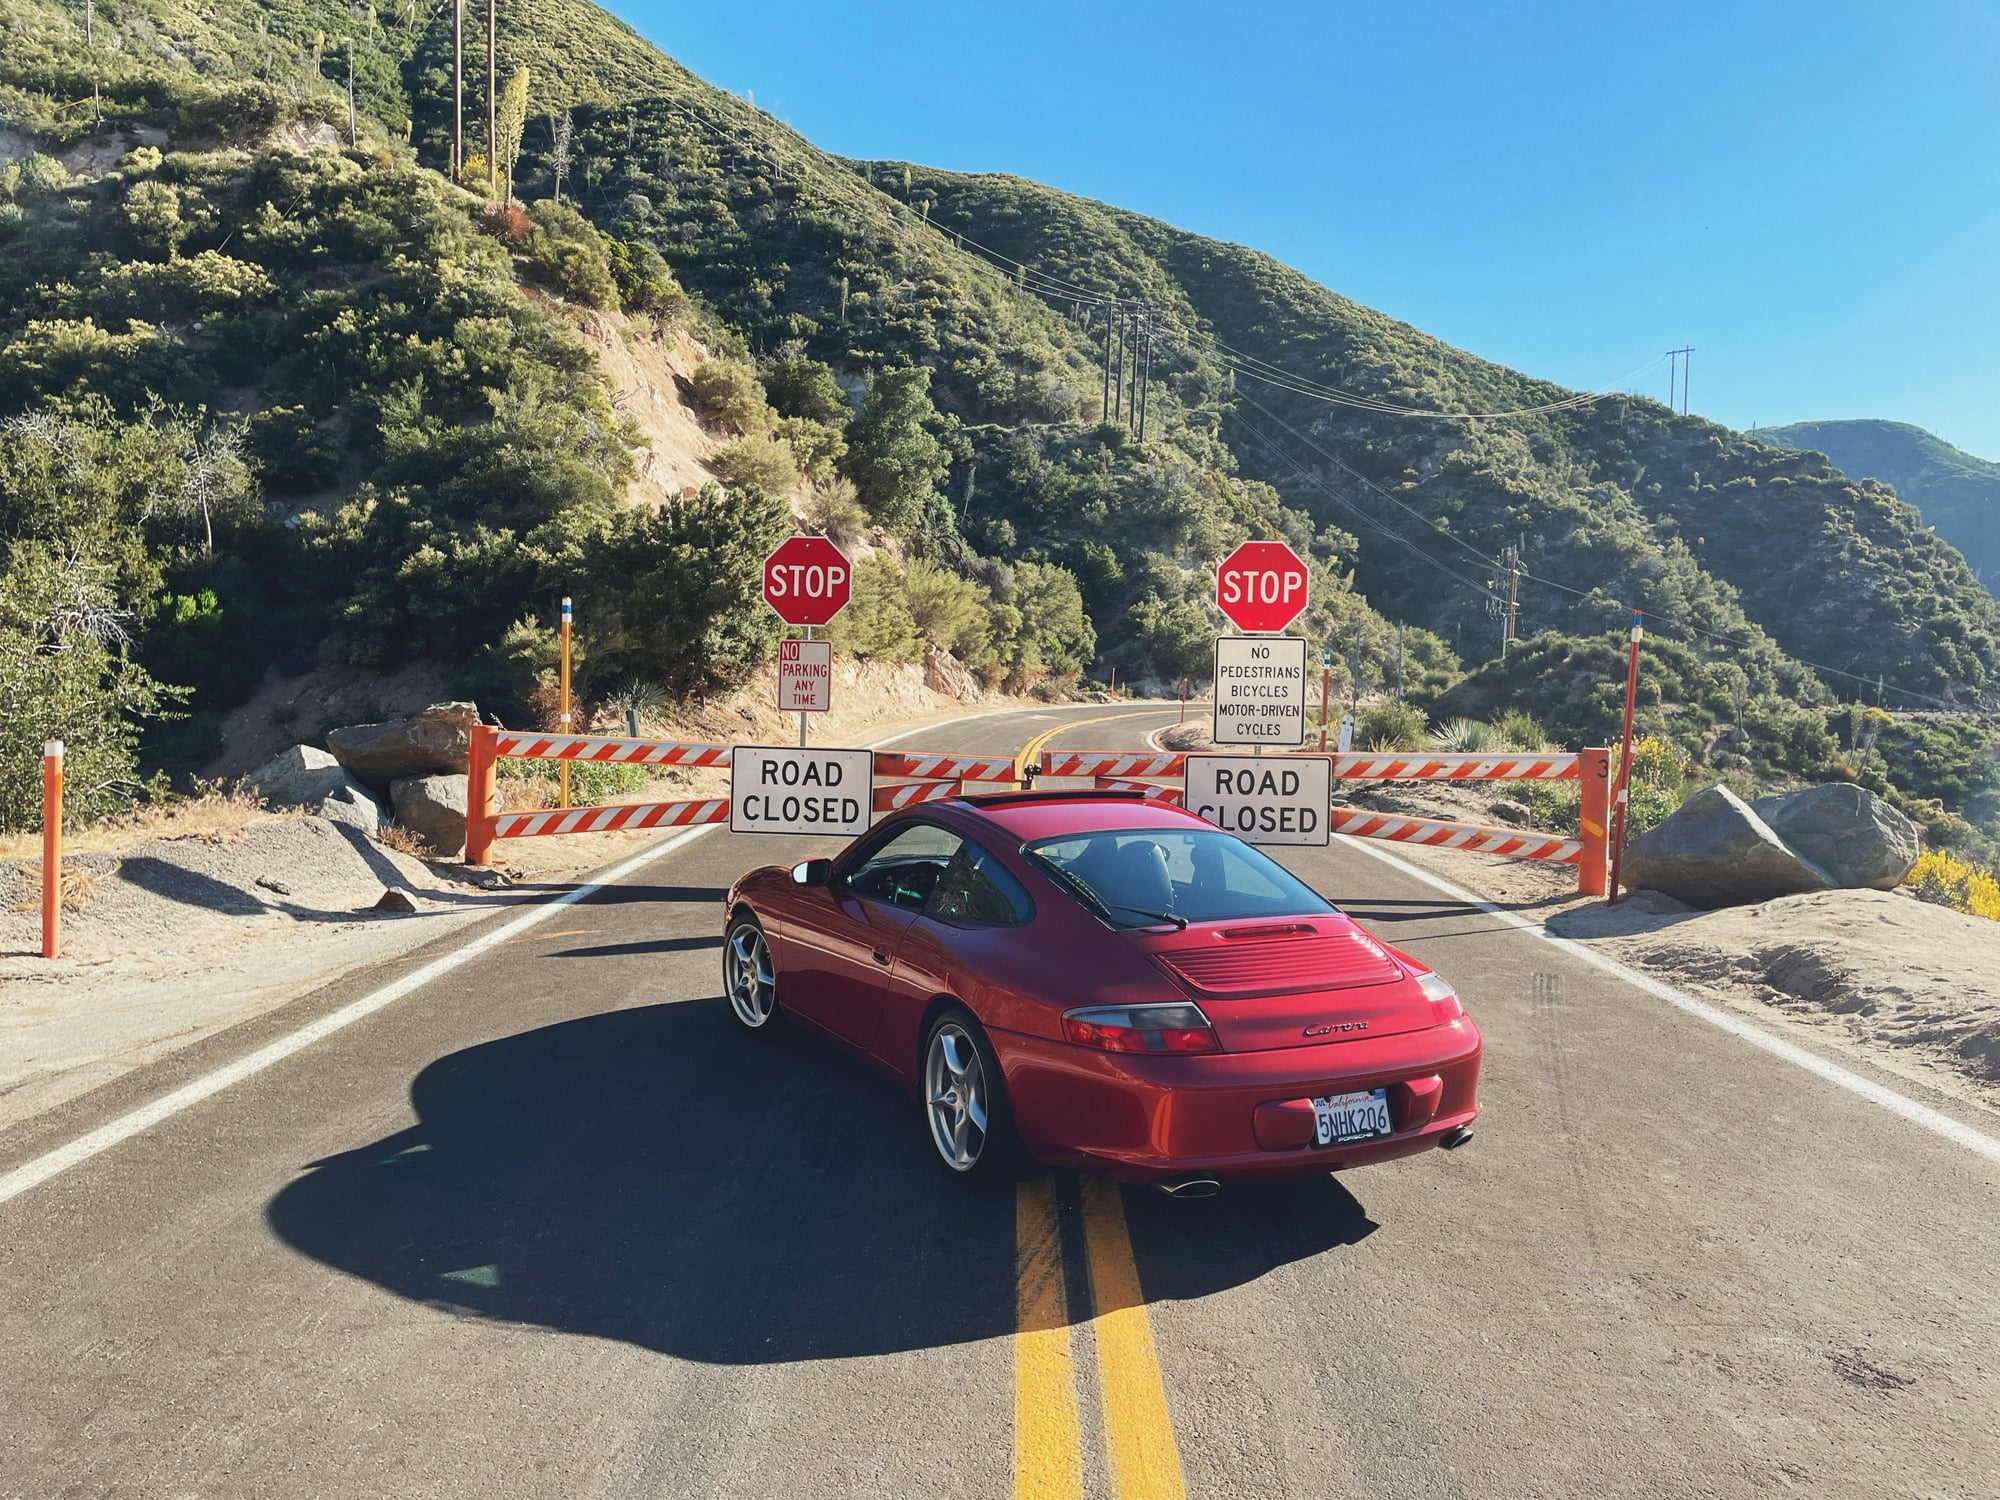
Favorite angle of the 996 Orient Red looks brilliant in the sun. Another canyon run up Angeles Crest Highway. We still have months before it's open all the way to Newcombs. She's amazing to drive early mornings
Here are a few recent pics. IF anyone is in the market for a 996, I would strongly suggest considering a color like Orient Red instead of the typical Silver, Black or White. A few years ago I would have never considered it, but I'm so glad I did. I'm hoping to meet more 996 owners in the OC/SoCal so we can do more group drives.
Favorite angle of the 996 Orient Red looks brilliant in the sun. Another canyon run up Angeles Crest Highway. We still have months before it's open all the way to Newcombs. She's amazing to drive early mornings
Looks great
My favorite color 996, but I am a little bias
Memory of last year
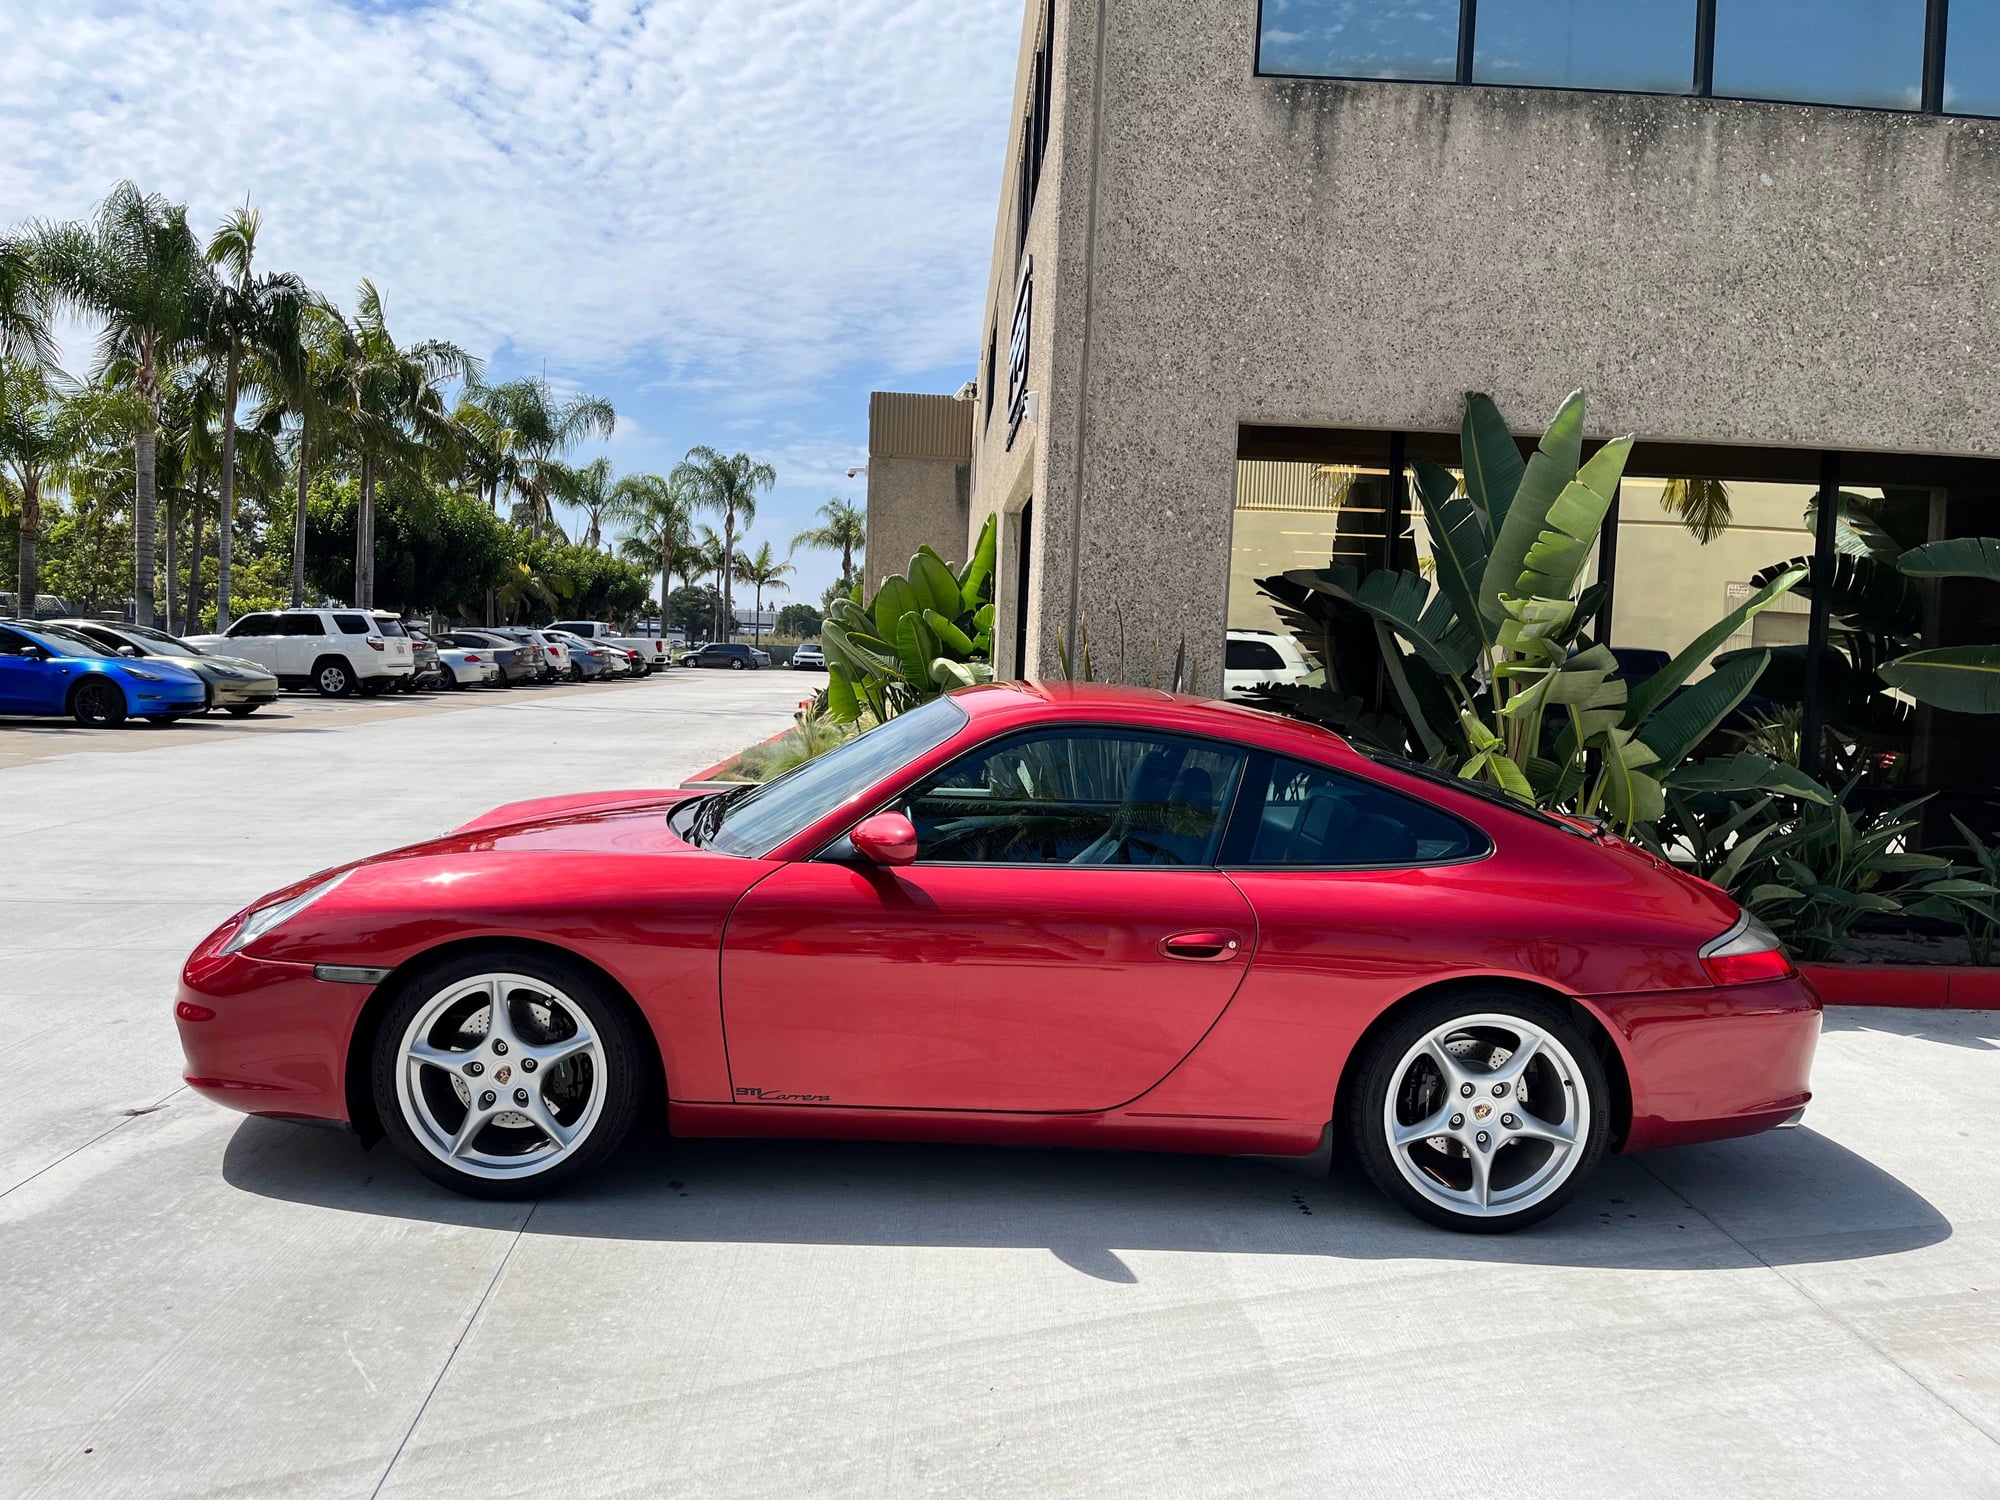
A few updates to the 2002 996. The car has been an absolute joy to drive and usually my first choice between the two other 911s in the garage. With the record heat we've been having this summer and since I find myself spending more time in the car, I decided to have all of the windows tinted with ceramic film to reduce the heat coming into the interior. I like the stock look, so I went with the lightest film available, which is 70%. I used XPEL Prime XL Plus, which is supposed to block 50-70% of the heat. I think this is a must for modern classics who are purists and want to keep their glass looking stock. Below is a picture from the tint shop to show the clarify. You can barely tell there's any tint on the glass, but temps inside are much lower.
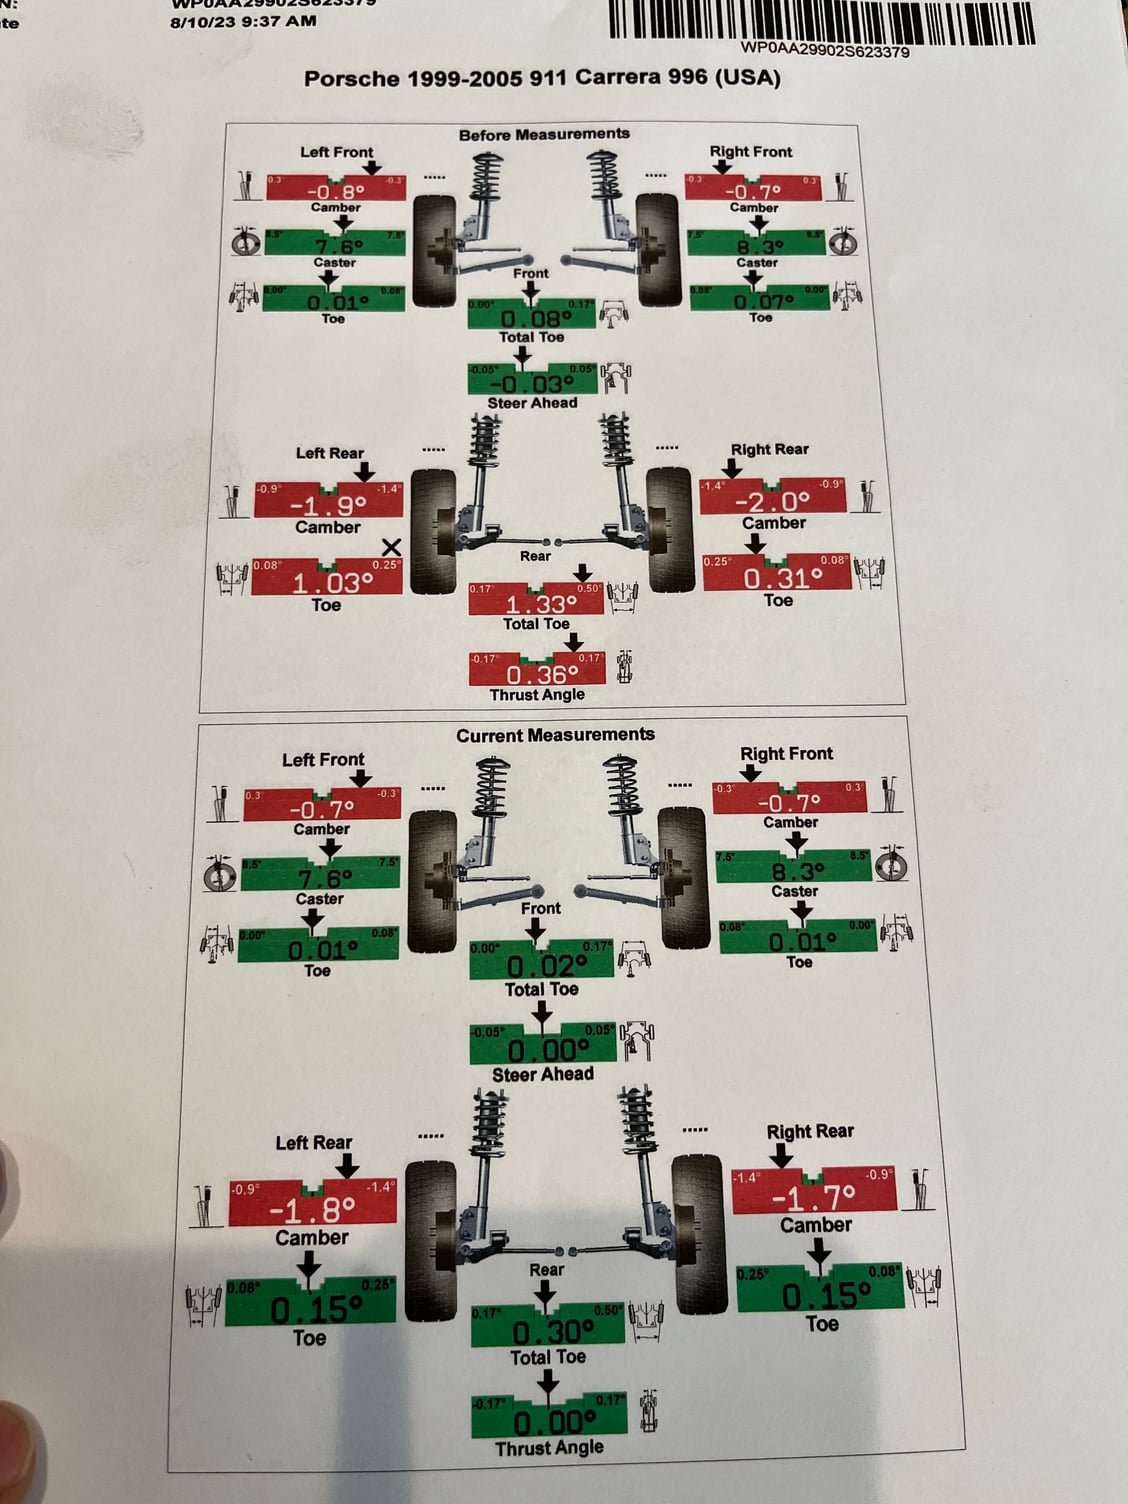
Next order of business was to have a 4-wheel laser alignment performed. The back end was feeling a little loose on high speed elevation changes, like freeway transitions. I inspected the suspension and found the adjustable bolt for the rear lower control arm, which adjusts toe, to be just slightly loose. So it was time for an alignment. My car is setup with spacers, Eibach springs and Bilstein sport shocks. The final alignment specs are at the bottom of the printout below.
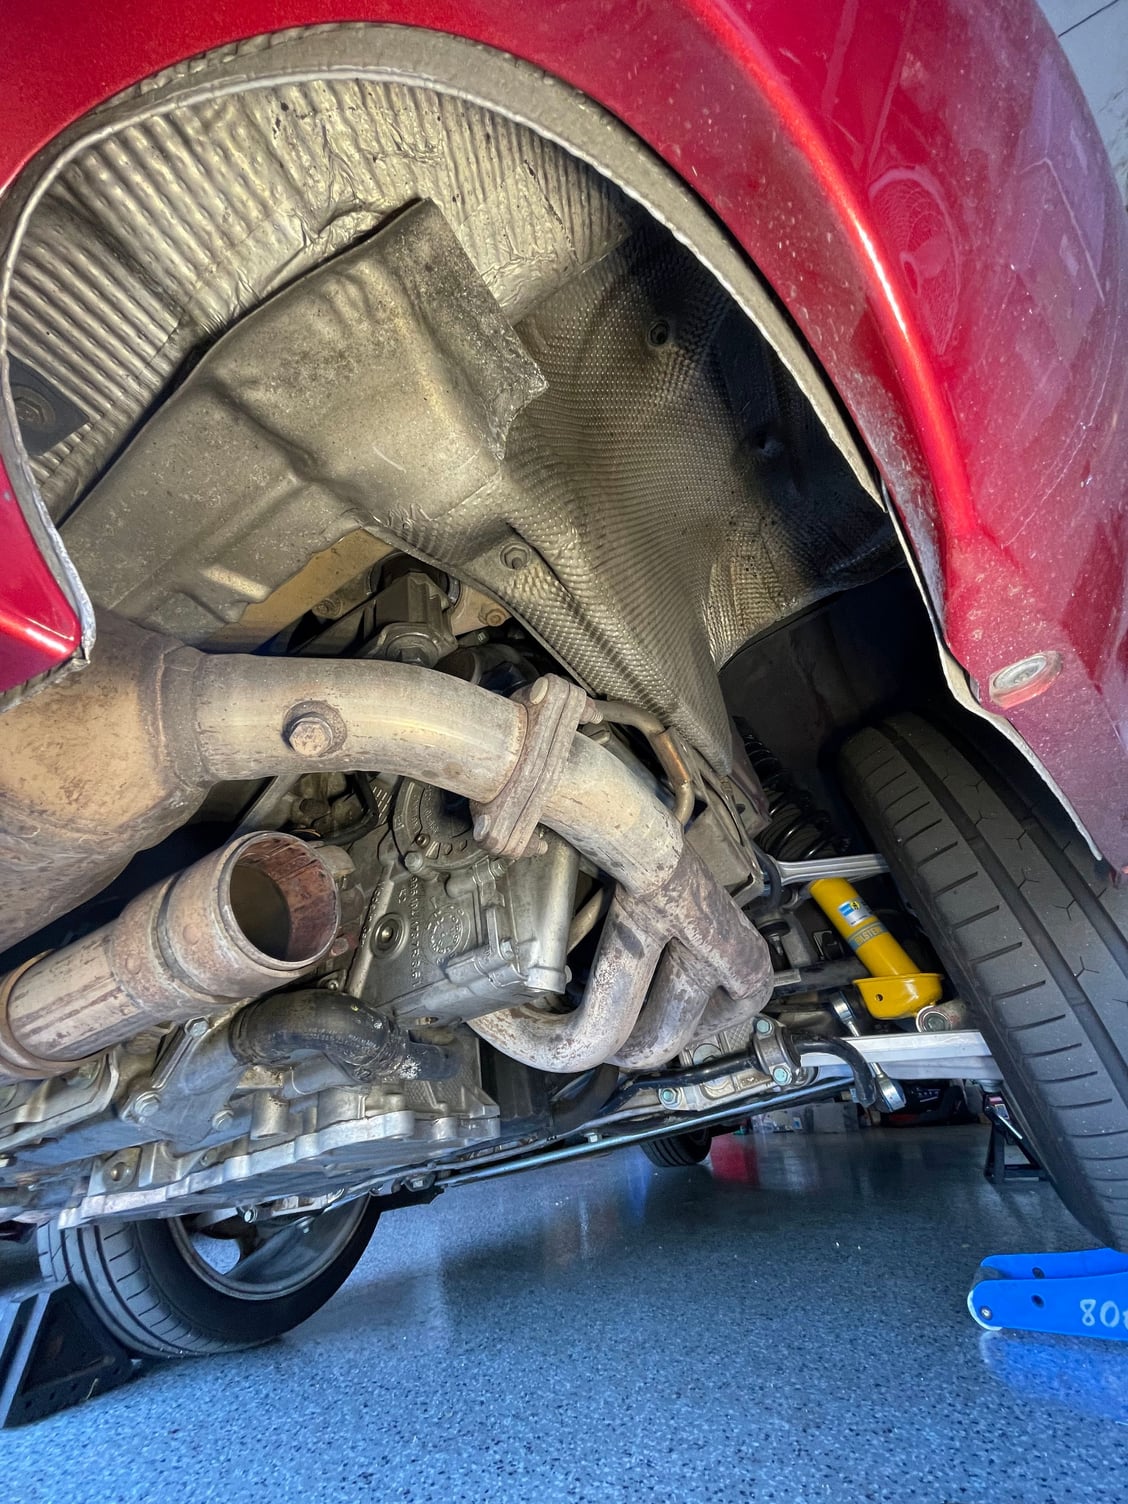
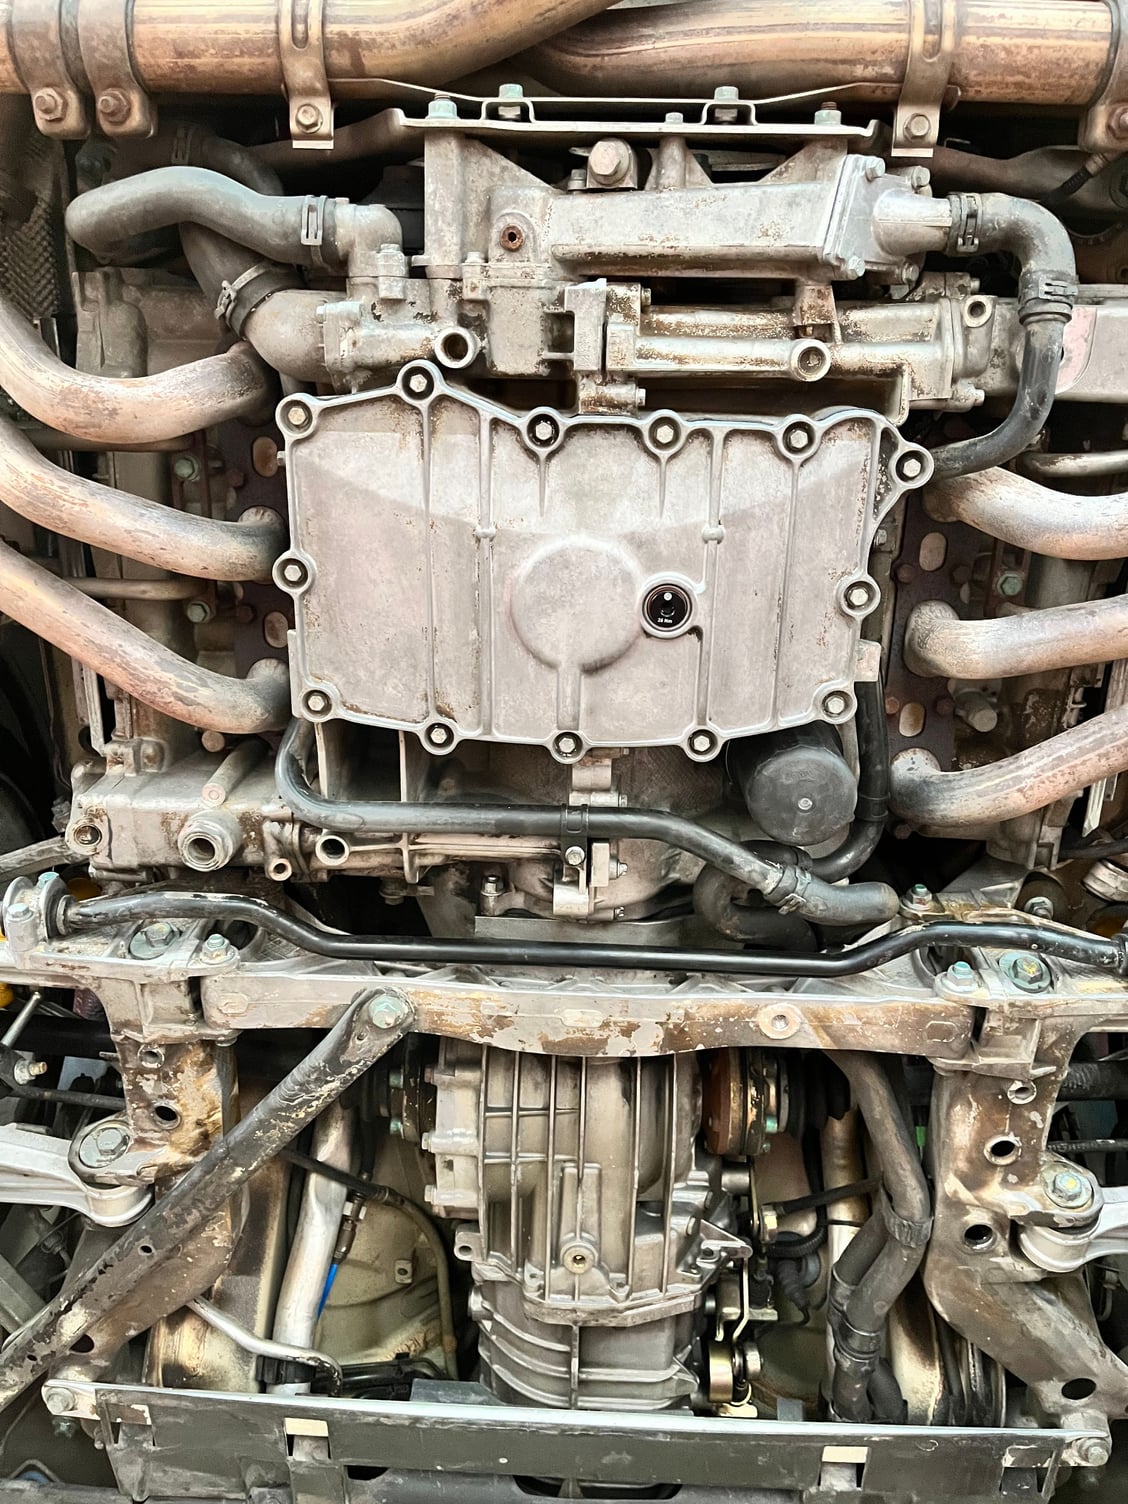
While the car was on the lift I snuck in a shot of the underside. You can see one of the chassis braces is off for the technician to gain better access to the suspension bolts. I'm pretty happy with the condition of how everything looks, but I'd love to do a dry ice cleaning at some point.
 12-10-2022, 01:20 PM