When you click on links to various merchants on this site and make a purchase, this can result in this site earning a commission. Affiliate programs and affiliations include, but are not limited to, the eBay Partner Network.
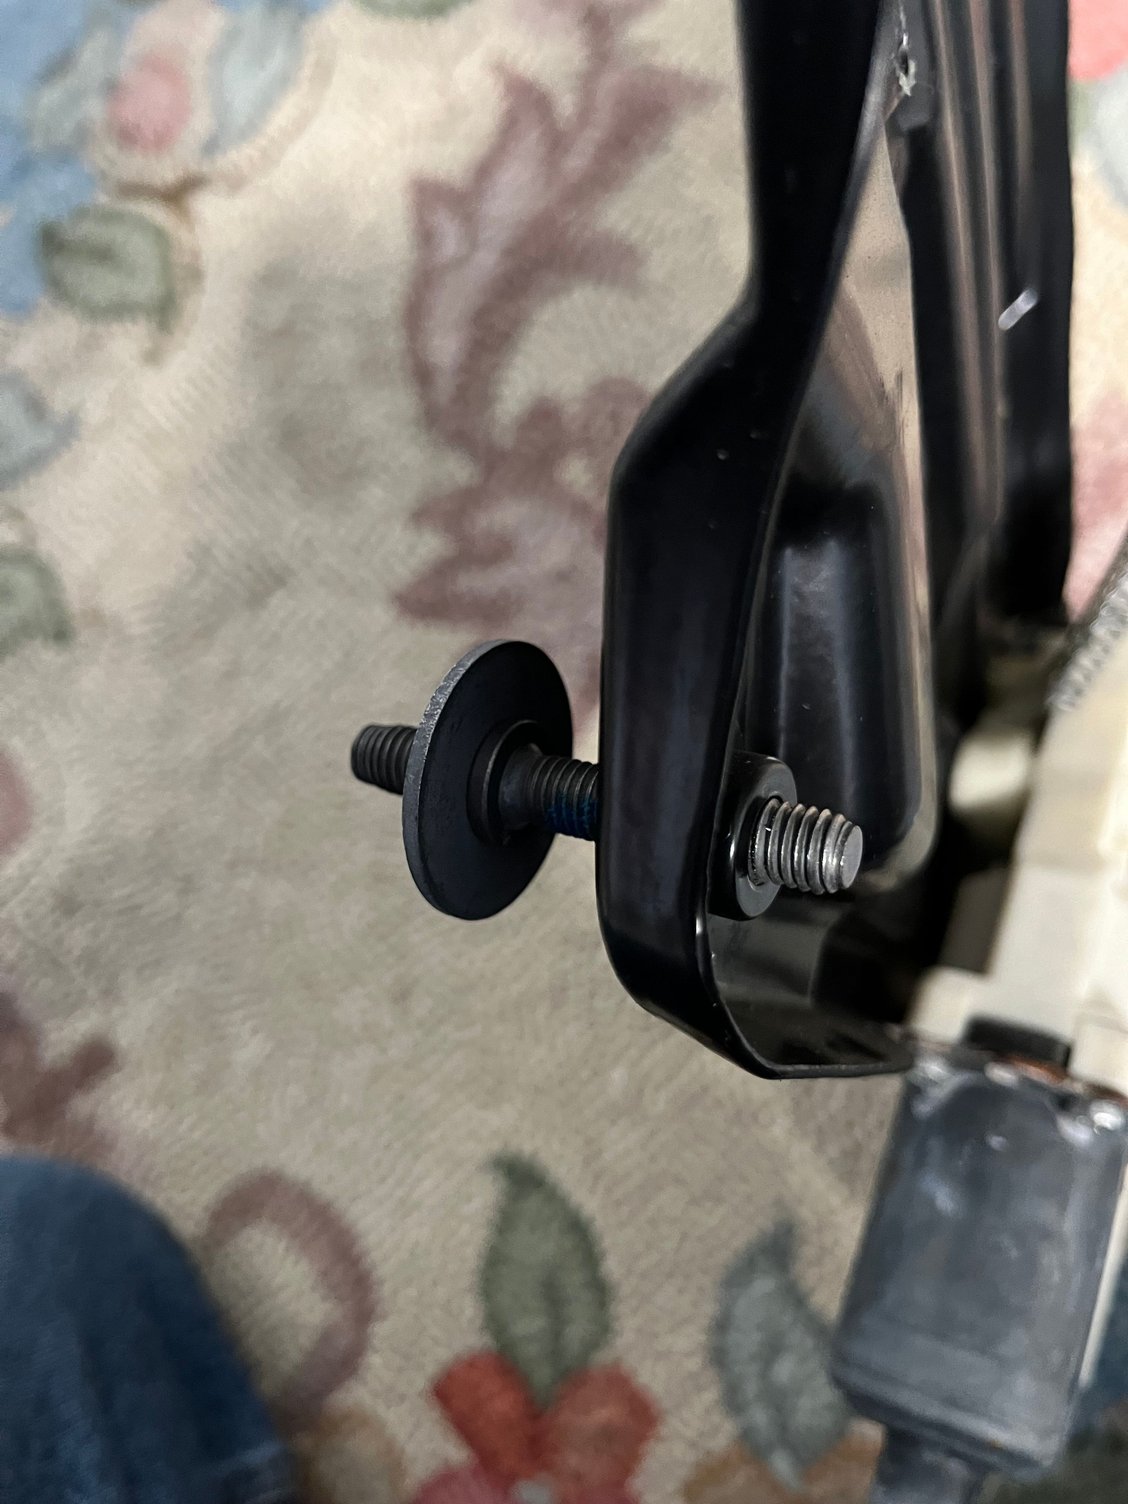
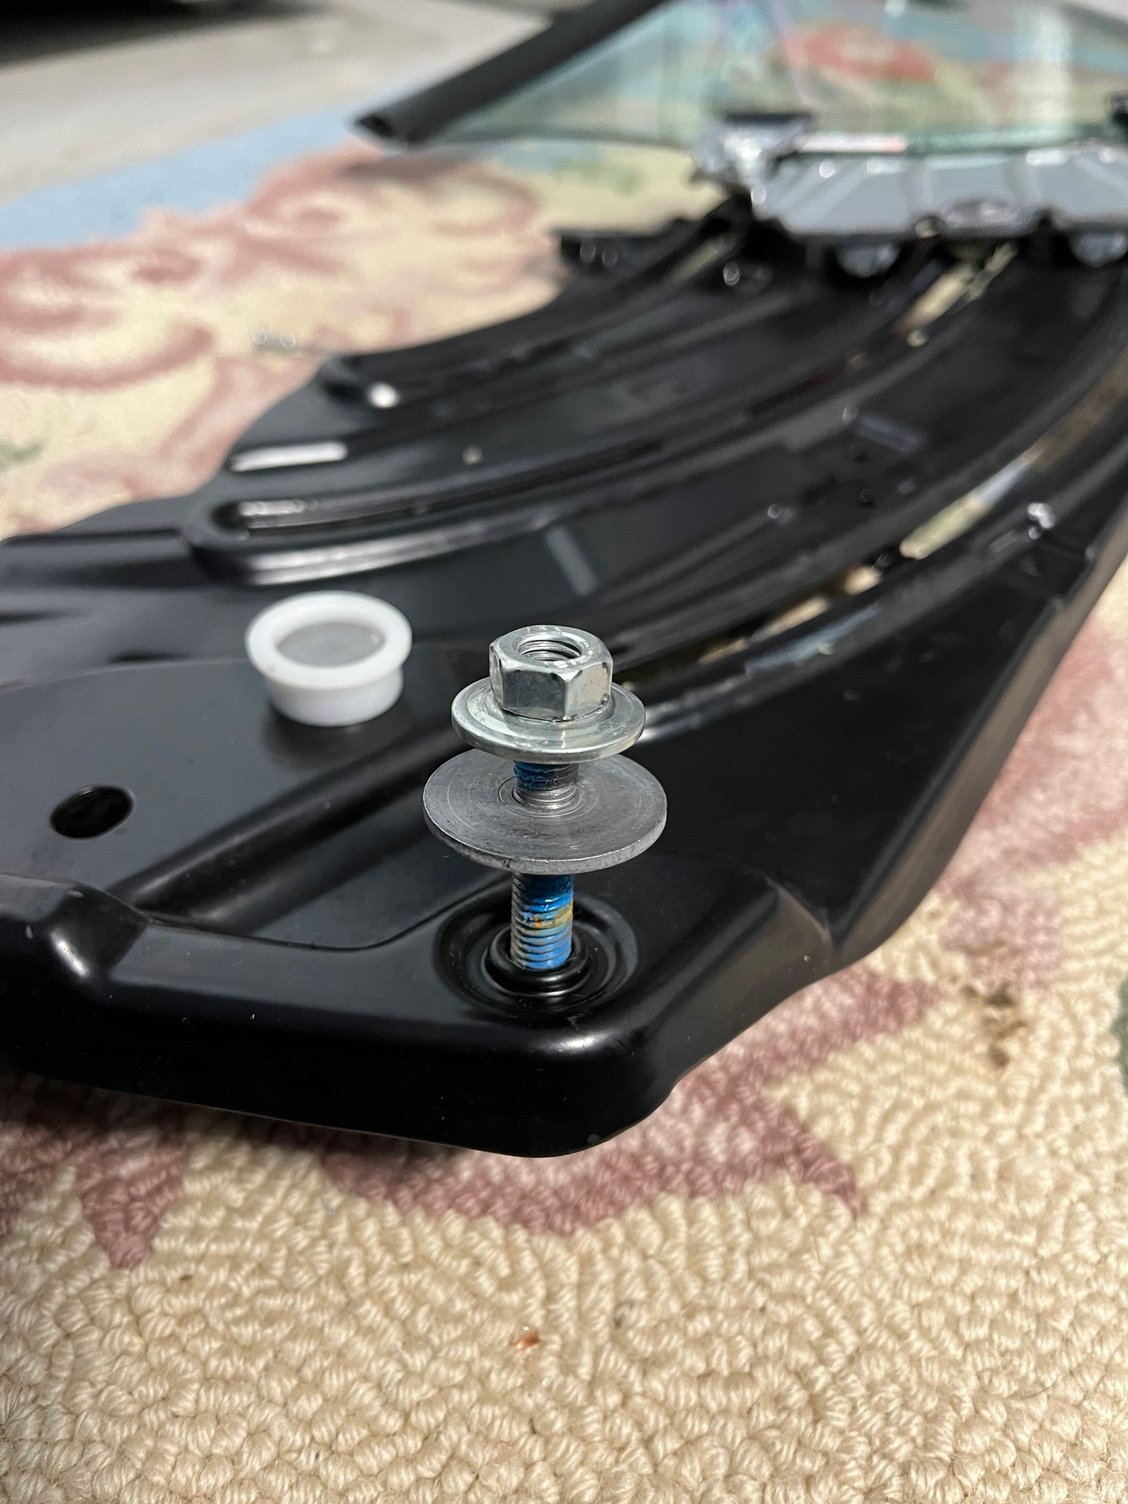
So here�s the question for that #9 bolt. The bolt itself is just screwed into the frame so it will spin when removing the nut. Would it be better to install another nut on the backside so the bolt will not spin? Like a locking nut. This way you can just use your 13 mm socket to tighten up?
My regulator failed twice because i didn't replace the pulley. it warps and causes the cable to come off. The second time I sent my reg to a place that rebuilds it with an aluminum pulley for 120 bucks or so
Power Window Repair
Finally finished the job today, the reassembly went much smoother other than losing another bolt for #9. A few suggestions,
1. purchase a 9 in or longer 3 mm allen wrench, makes it much easier for that #9 bolt
2. When removing any of the 13 mm nuts that are set back into the framing, put some gum or other sticky stuff in your socket. This will take care of losing nuts.
3. Use a 2x4 for spreading the cab mechanism from the frame. This will allow plenty of room to remove the regulator. I used a thick screwdriver handle the first time to remove the regulator which was a bit short on thickness.
4 when installing #9 nut, first use the allen wrench to tighten the bolt with the backing washer to the adjustment frame. This way the bolt will be somewhat tight so you can thread the nut on (using the sticky stuff). Tighten everything up while checking the window alignment and pitch.
5. Recheck all the nuts, recheck that the window goes up and down and for cabs, check the roof mechanism. Then be sure the seat belt works properly before installing the remaining trim.
Next time, which will likely occur with the other window, I could probably knock this out in a day. I set by regulator off for a full rebuild for $240 by Window Motor World through Ebay.
I might even hold a tech secession for PCA for the next window, haha

 11-29-2023, 06:40 PM