When you click on links to various merchants on this site and make a purchase, this can result in this site earning a commission. Affiliate programs and affiliations include, but are not limited to, the eBay Partner Network.
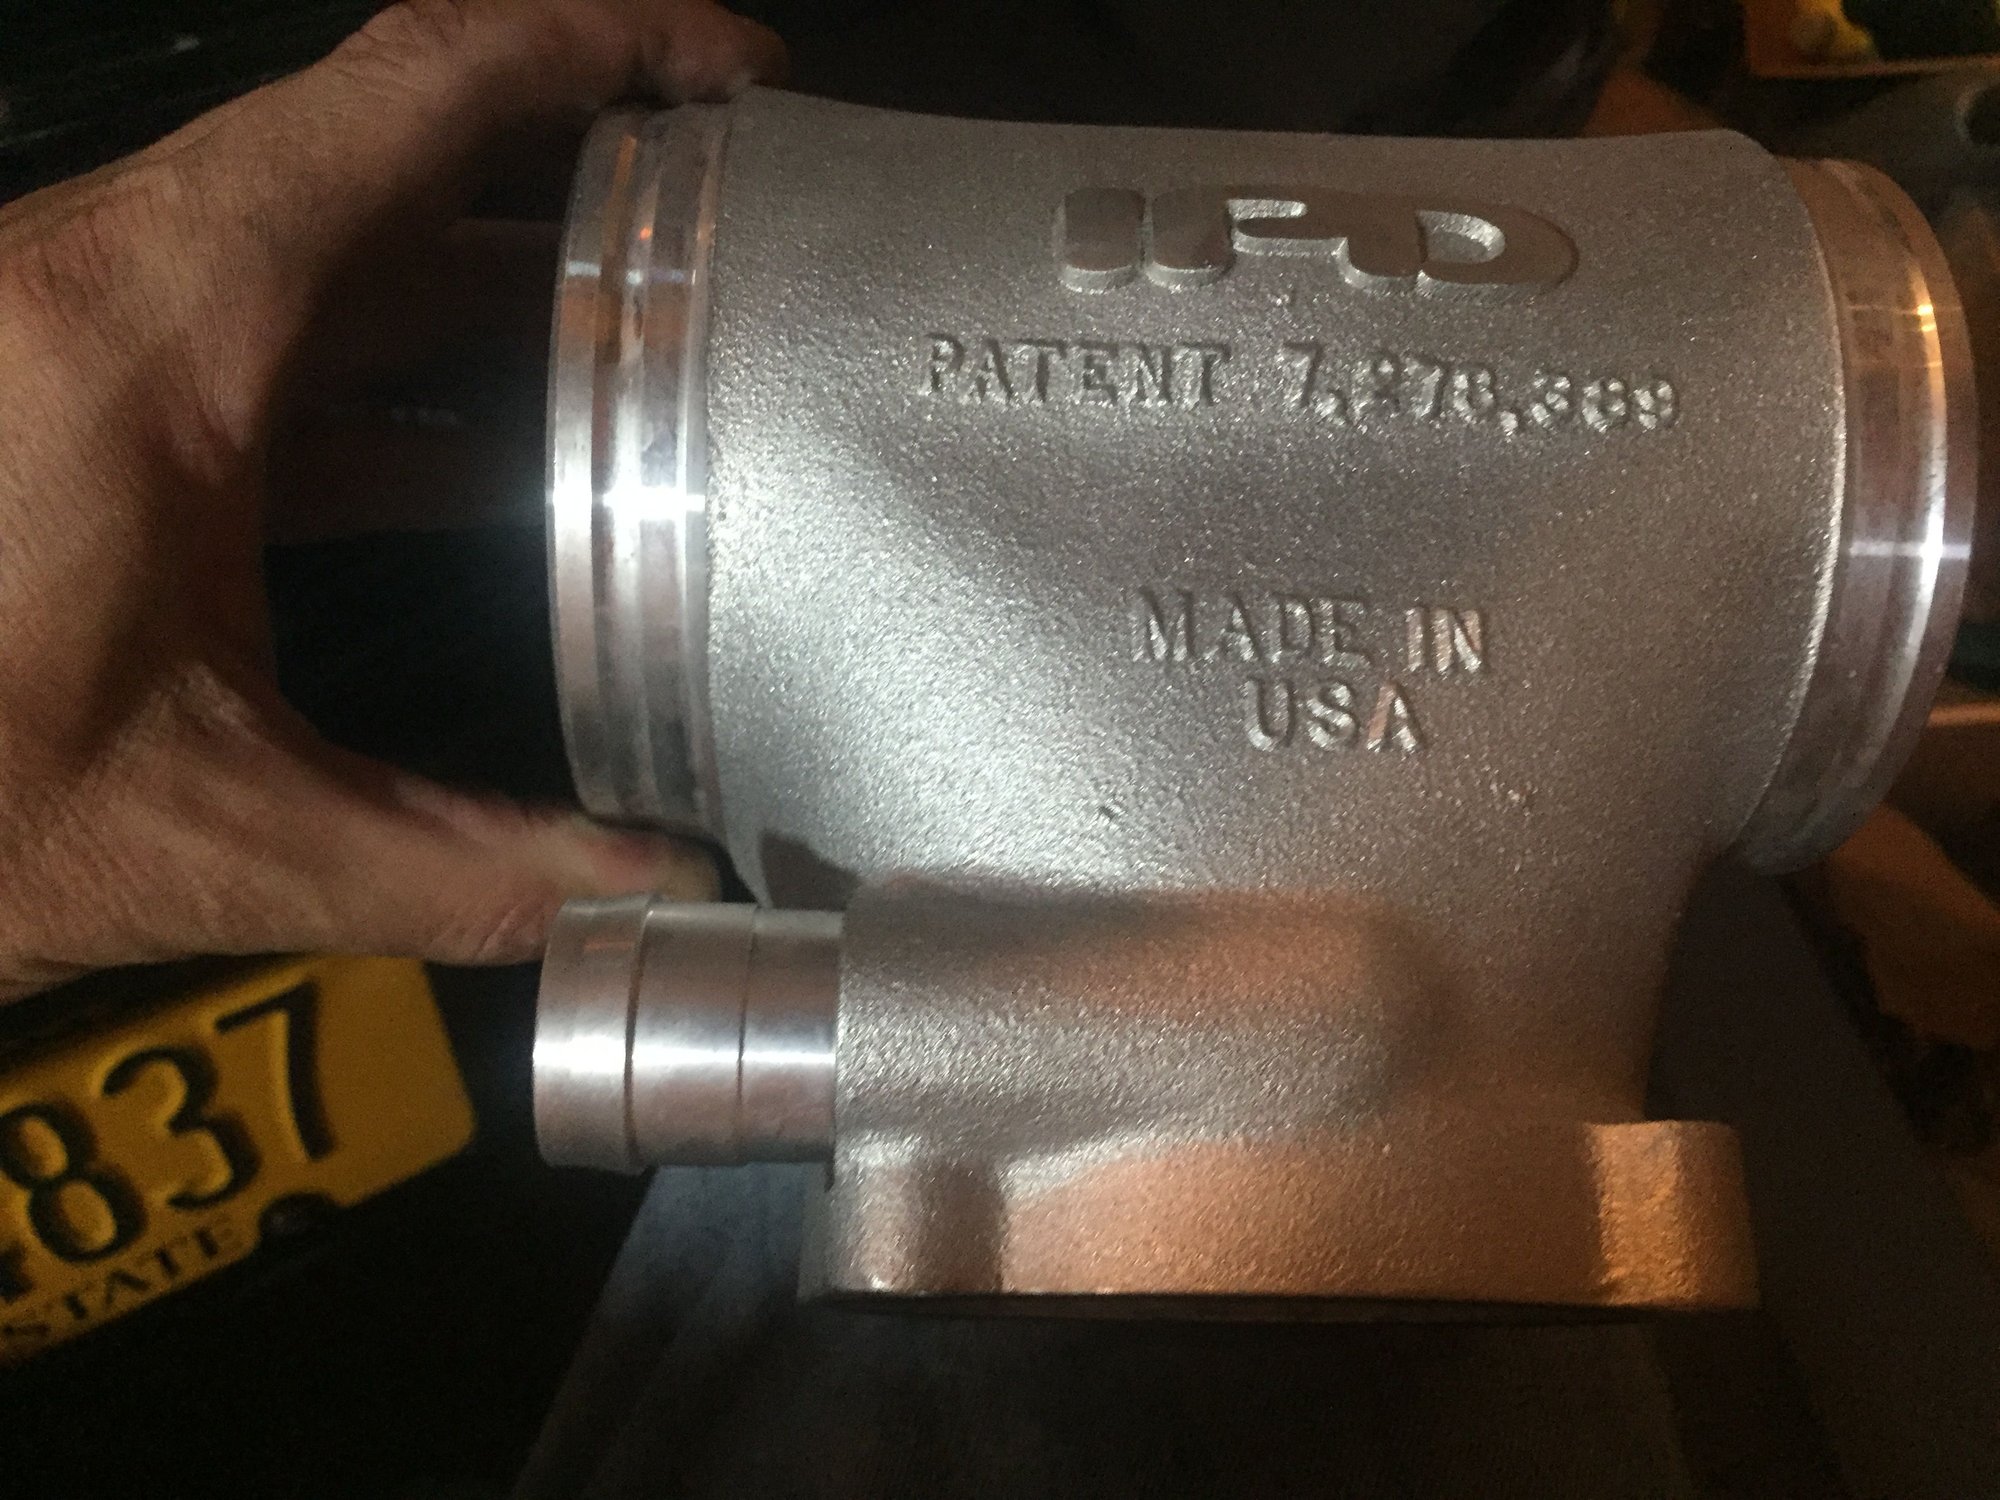
IPD Competition Plenum, GT3 Throttle Body installation
I had a few "free" hours yesterday afternoon, so I decided to take a shot at this.
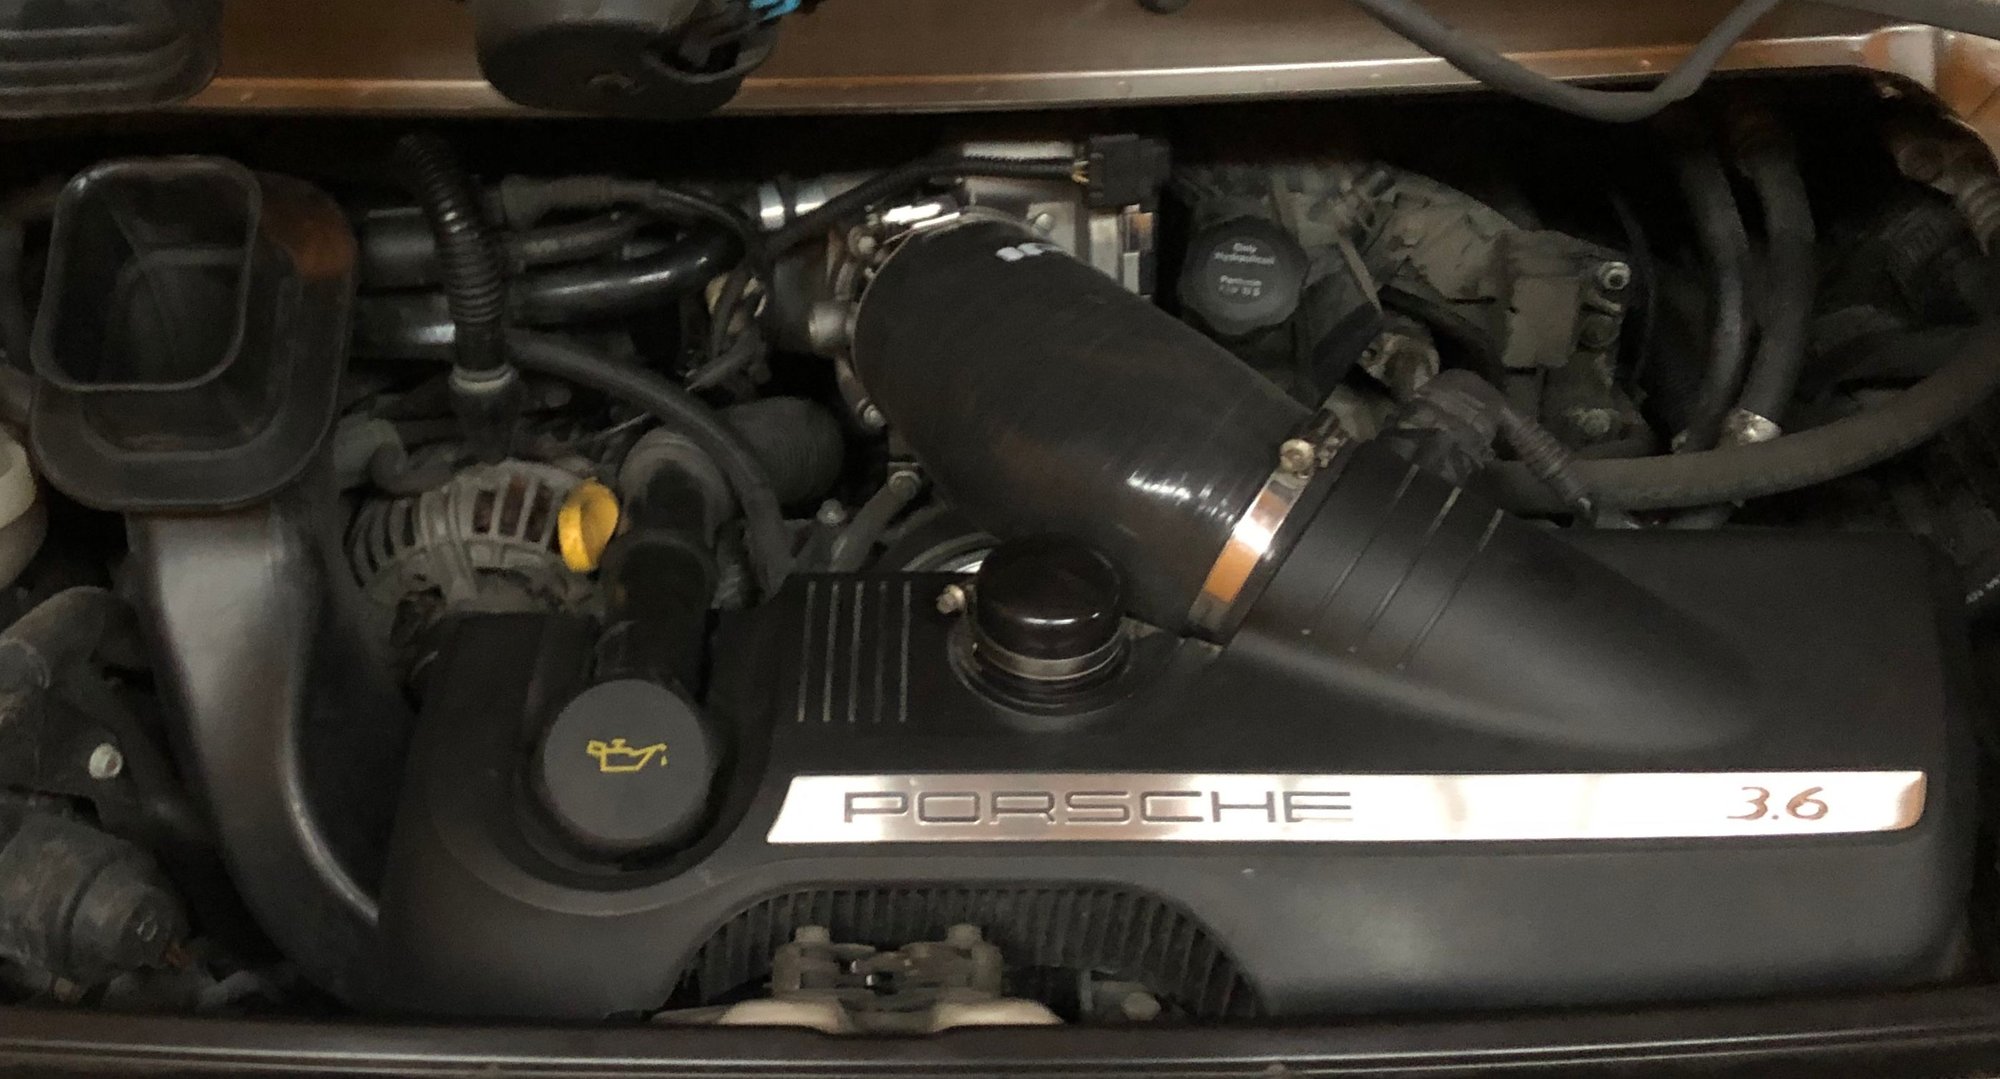
A) Remove airbox, throttlebody and intake plenum. This is all very straight forward, and was uneventful. Everything came apart easily and there was no breakage of any plastic parts! Removing the intake plenum itself simply entailed loosening the two large hose clamps** (worm drive) closest to the plenum (don't loosen the clamps to the intake runners) and pulling the plenum out - it takes a little force but the rubber collars that hold it to the intake runners are flexible enough to let the plenum pull right out.
** Hopefully your engine builder installed these clamps with the screws facing toward the back of the car - if not, you're going to have serious difficulties getting them off!
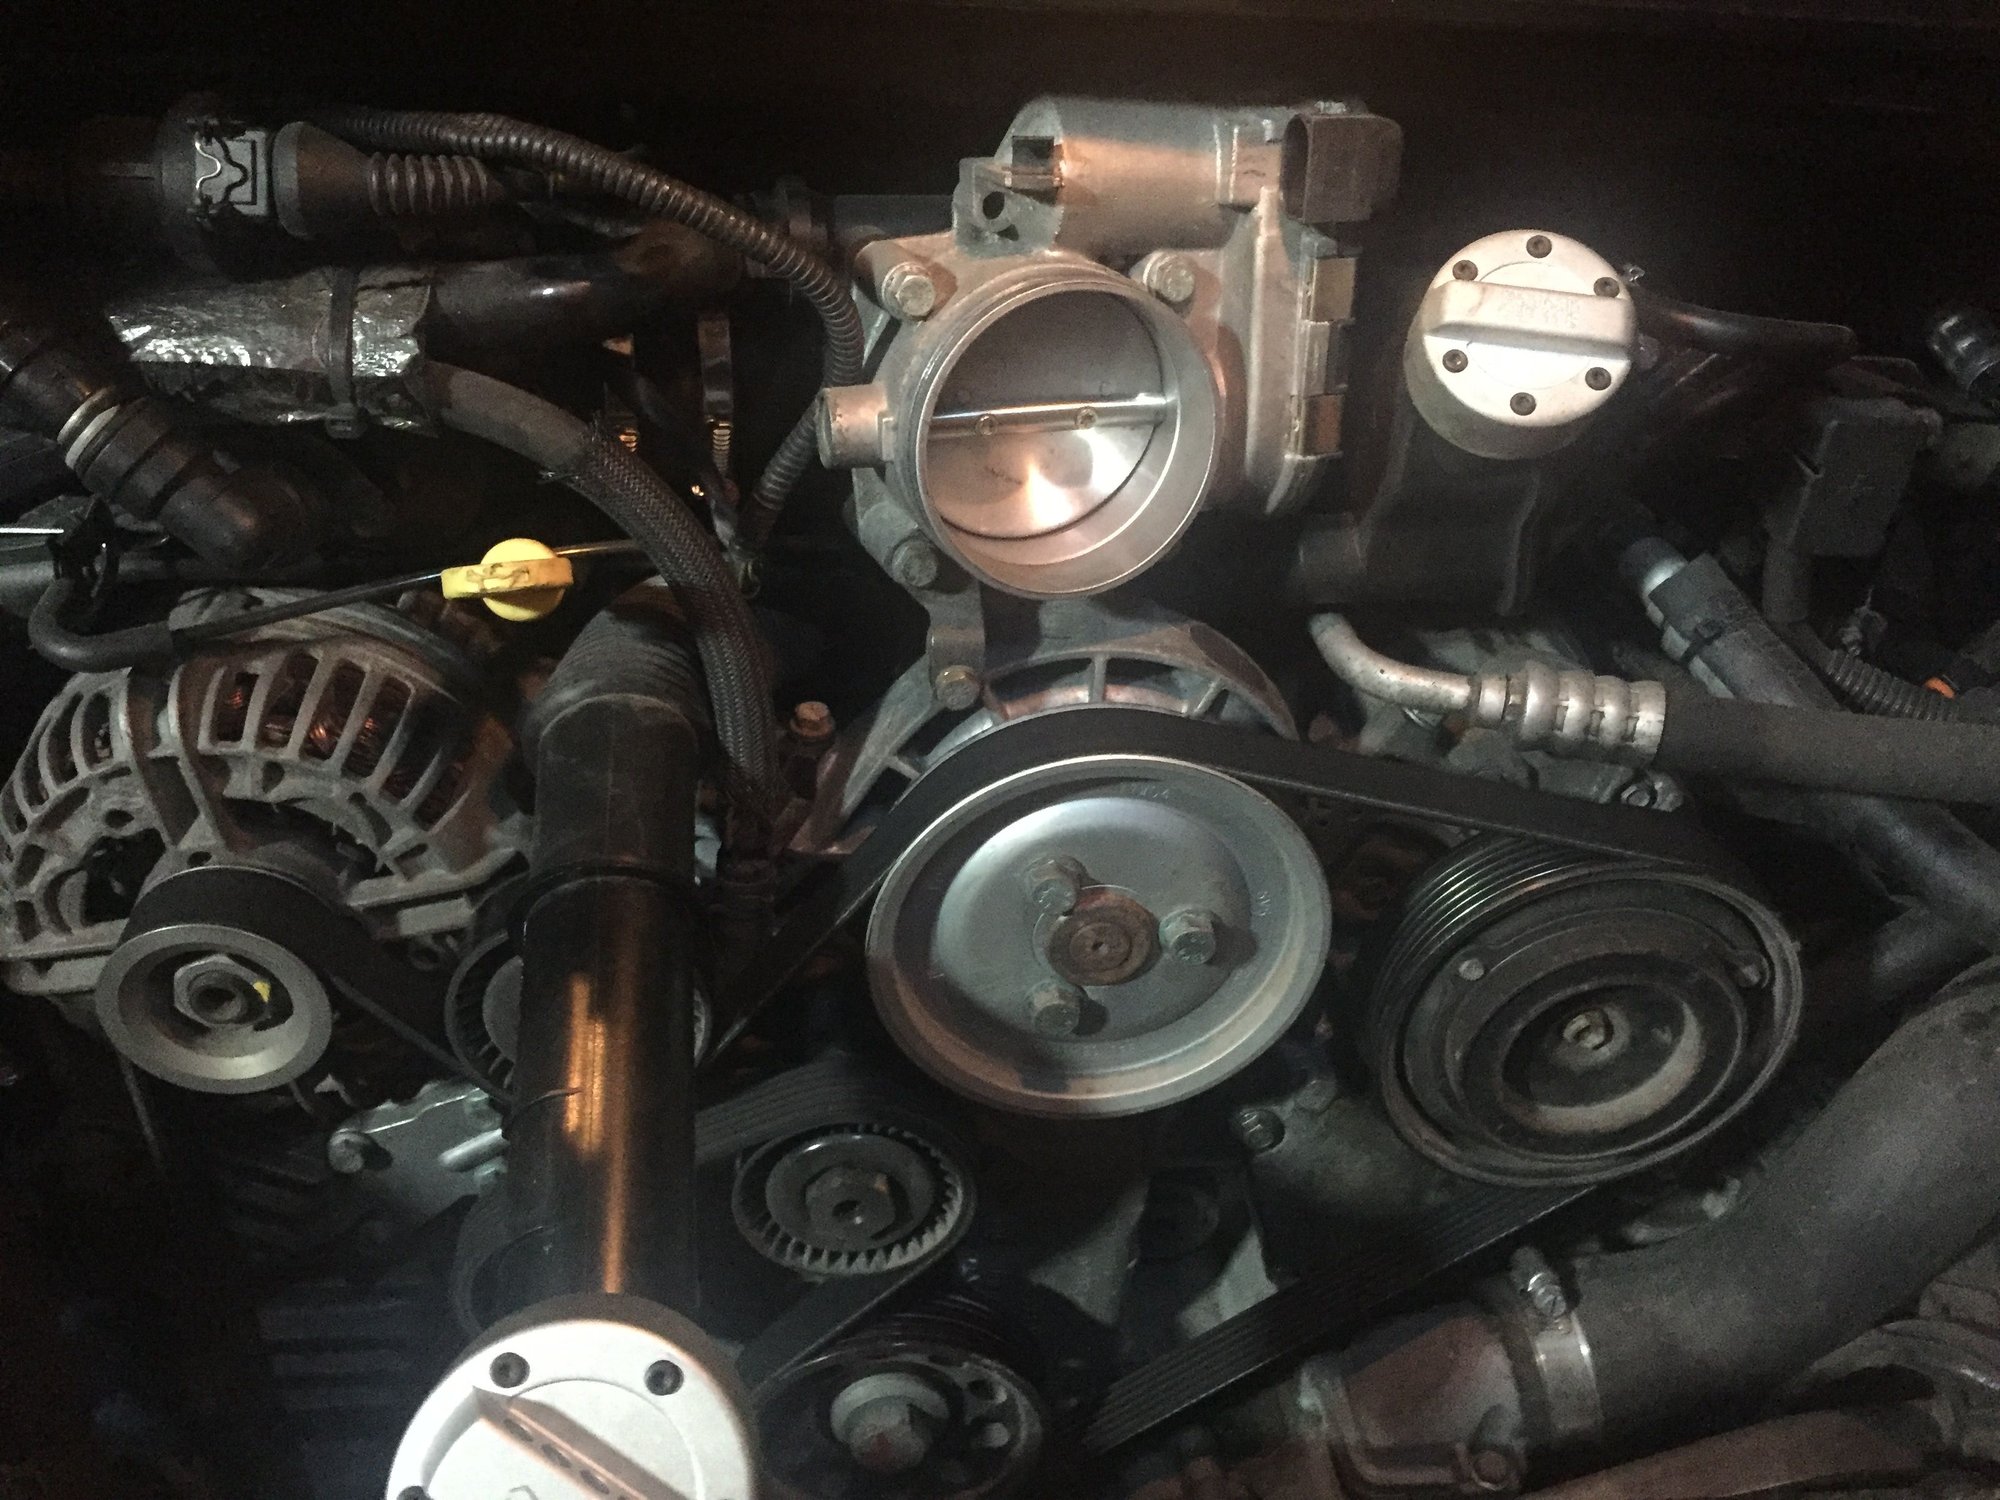
B) As you're working around the power steering pump and other engine components, you may realize (as in my case) that several of them are HOT! (I had to drive 20 minutes or so to my shop)... I just draped a shop towel over them to make working more comfortable - I also had a nice fan blowing on me as it was about 88 degrees and 95% humidity...
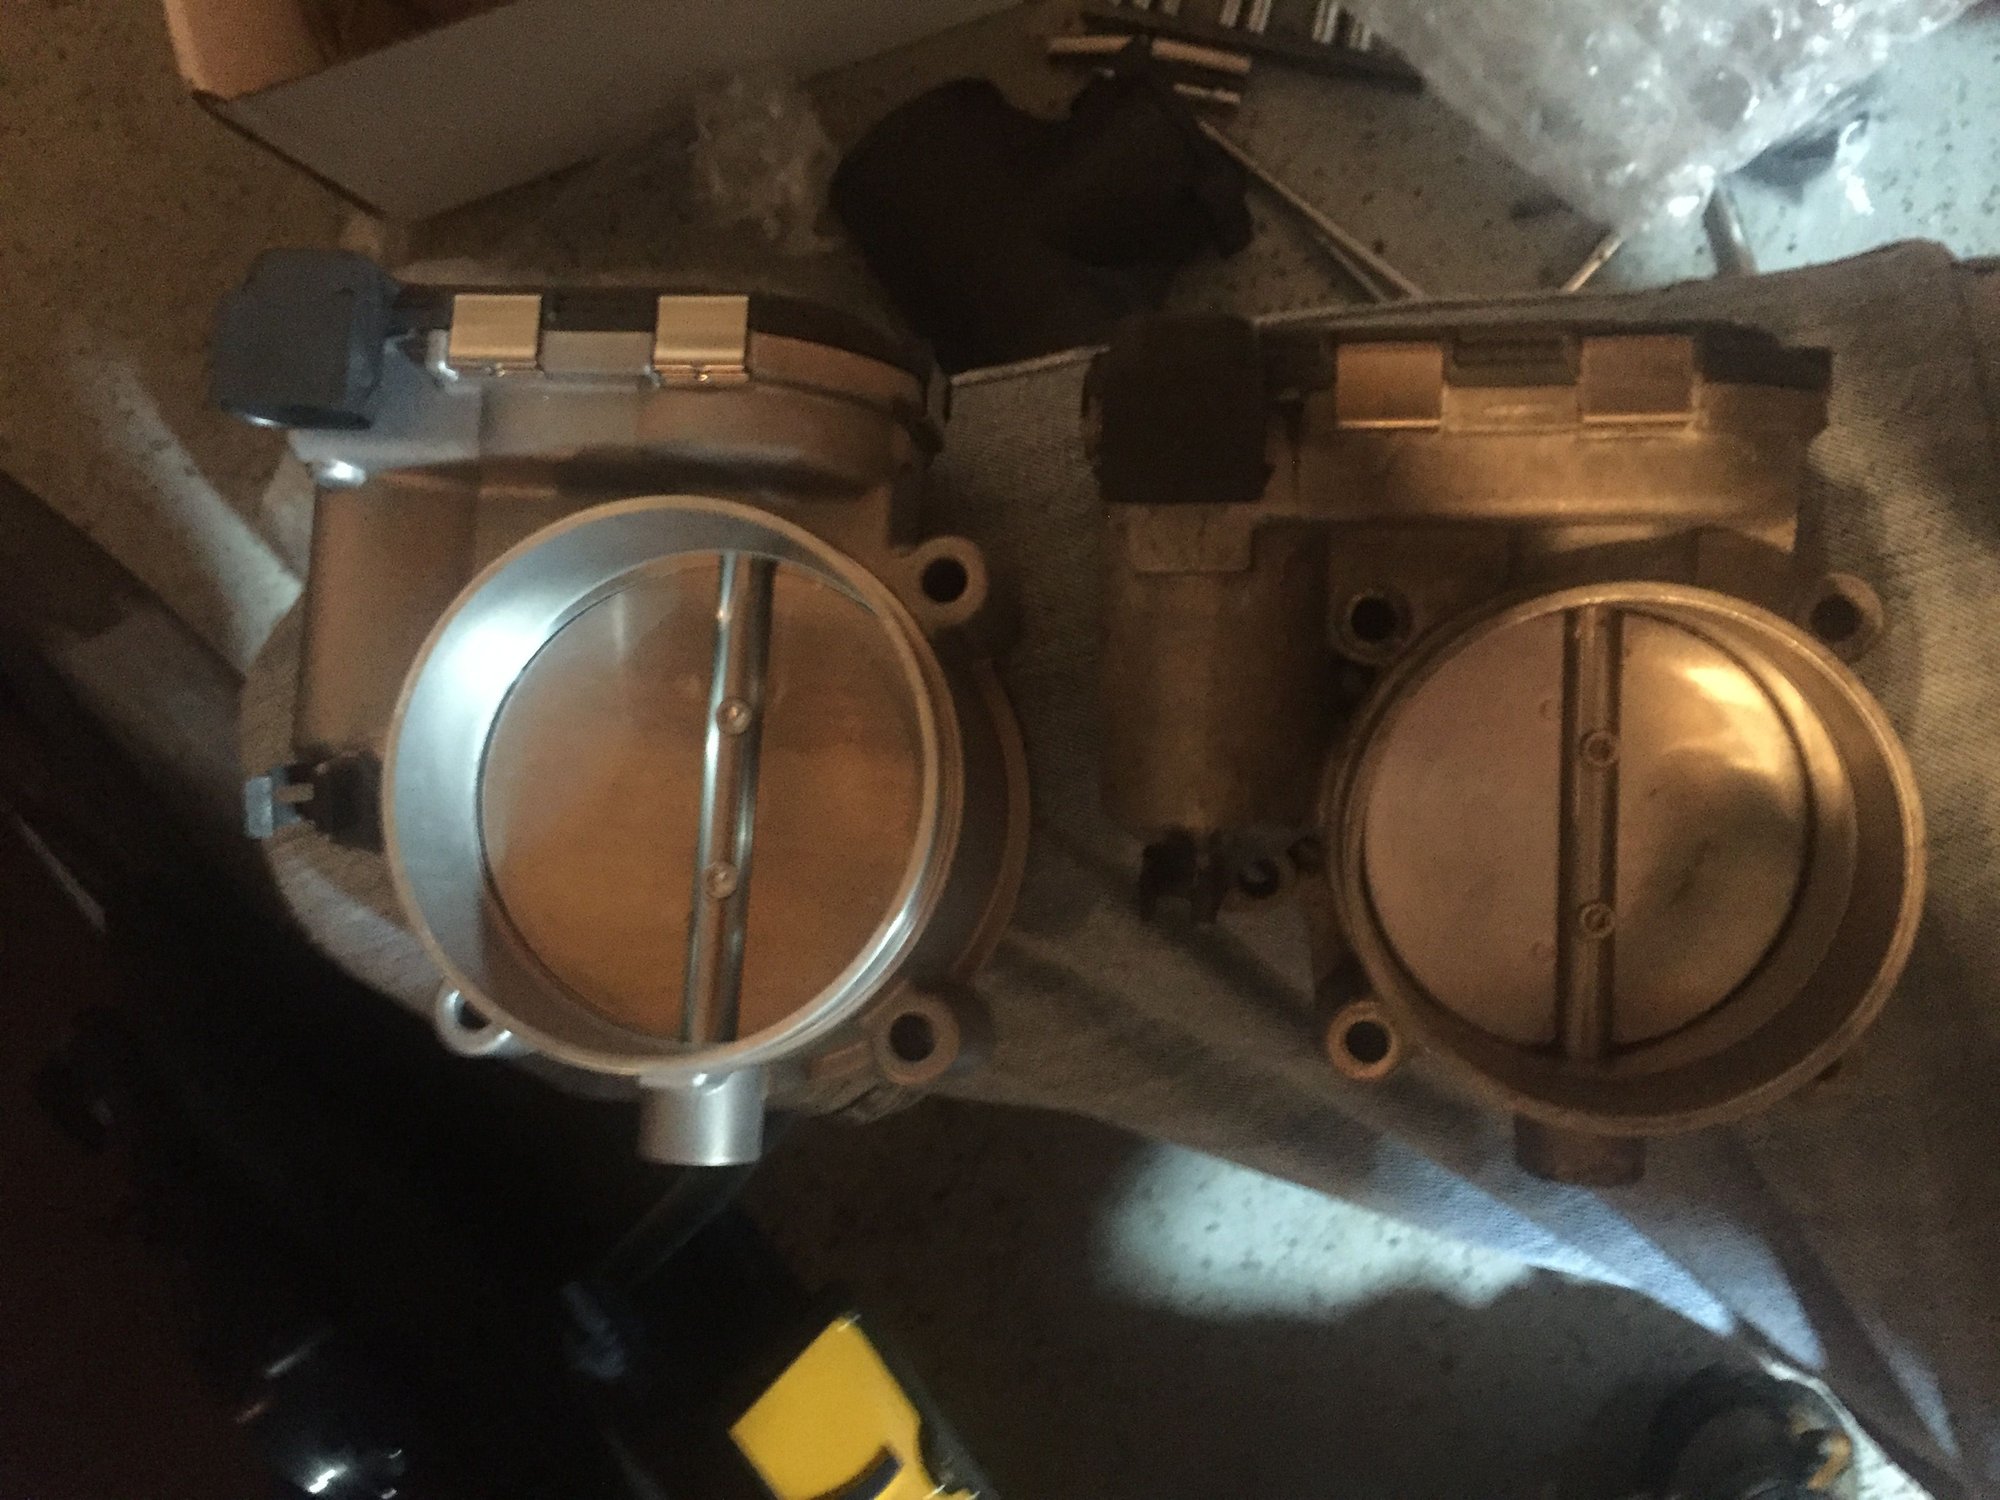
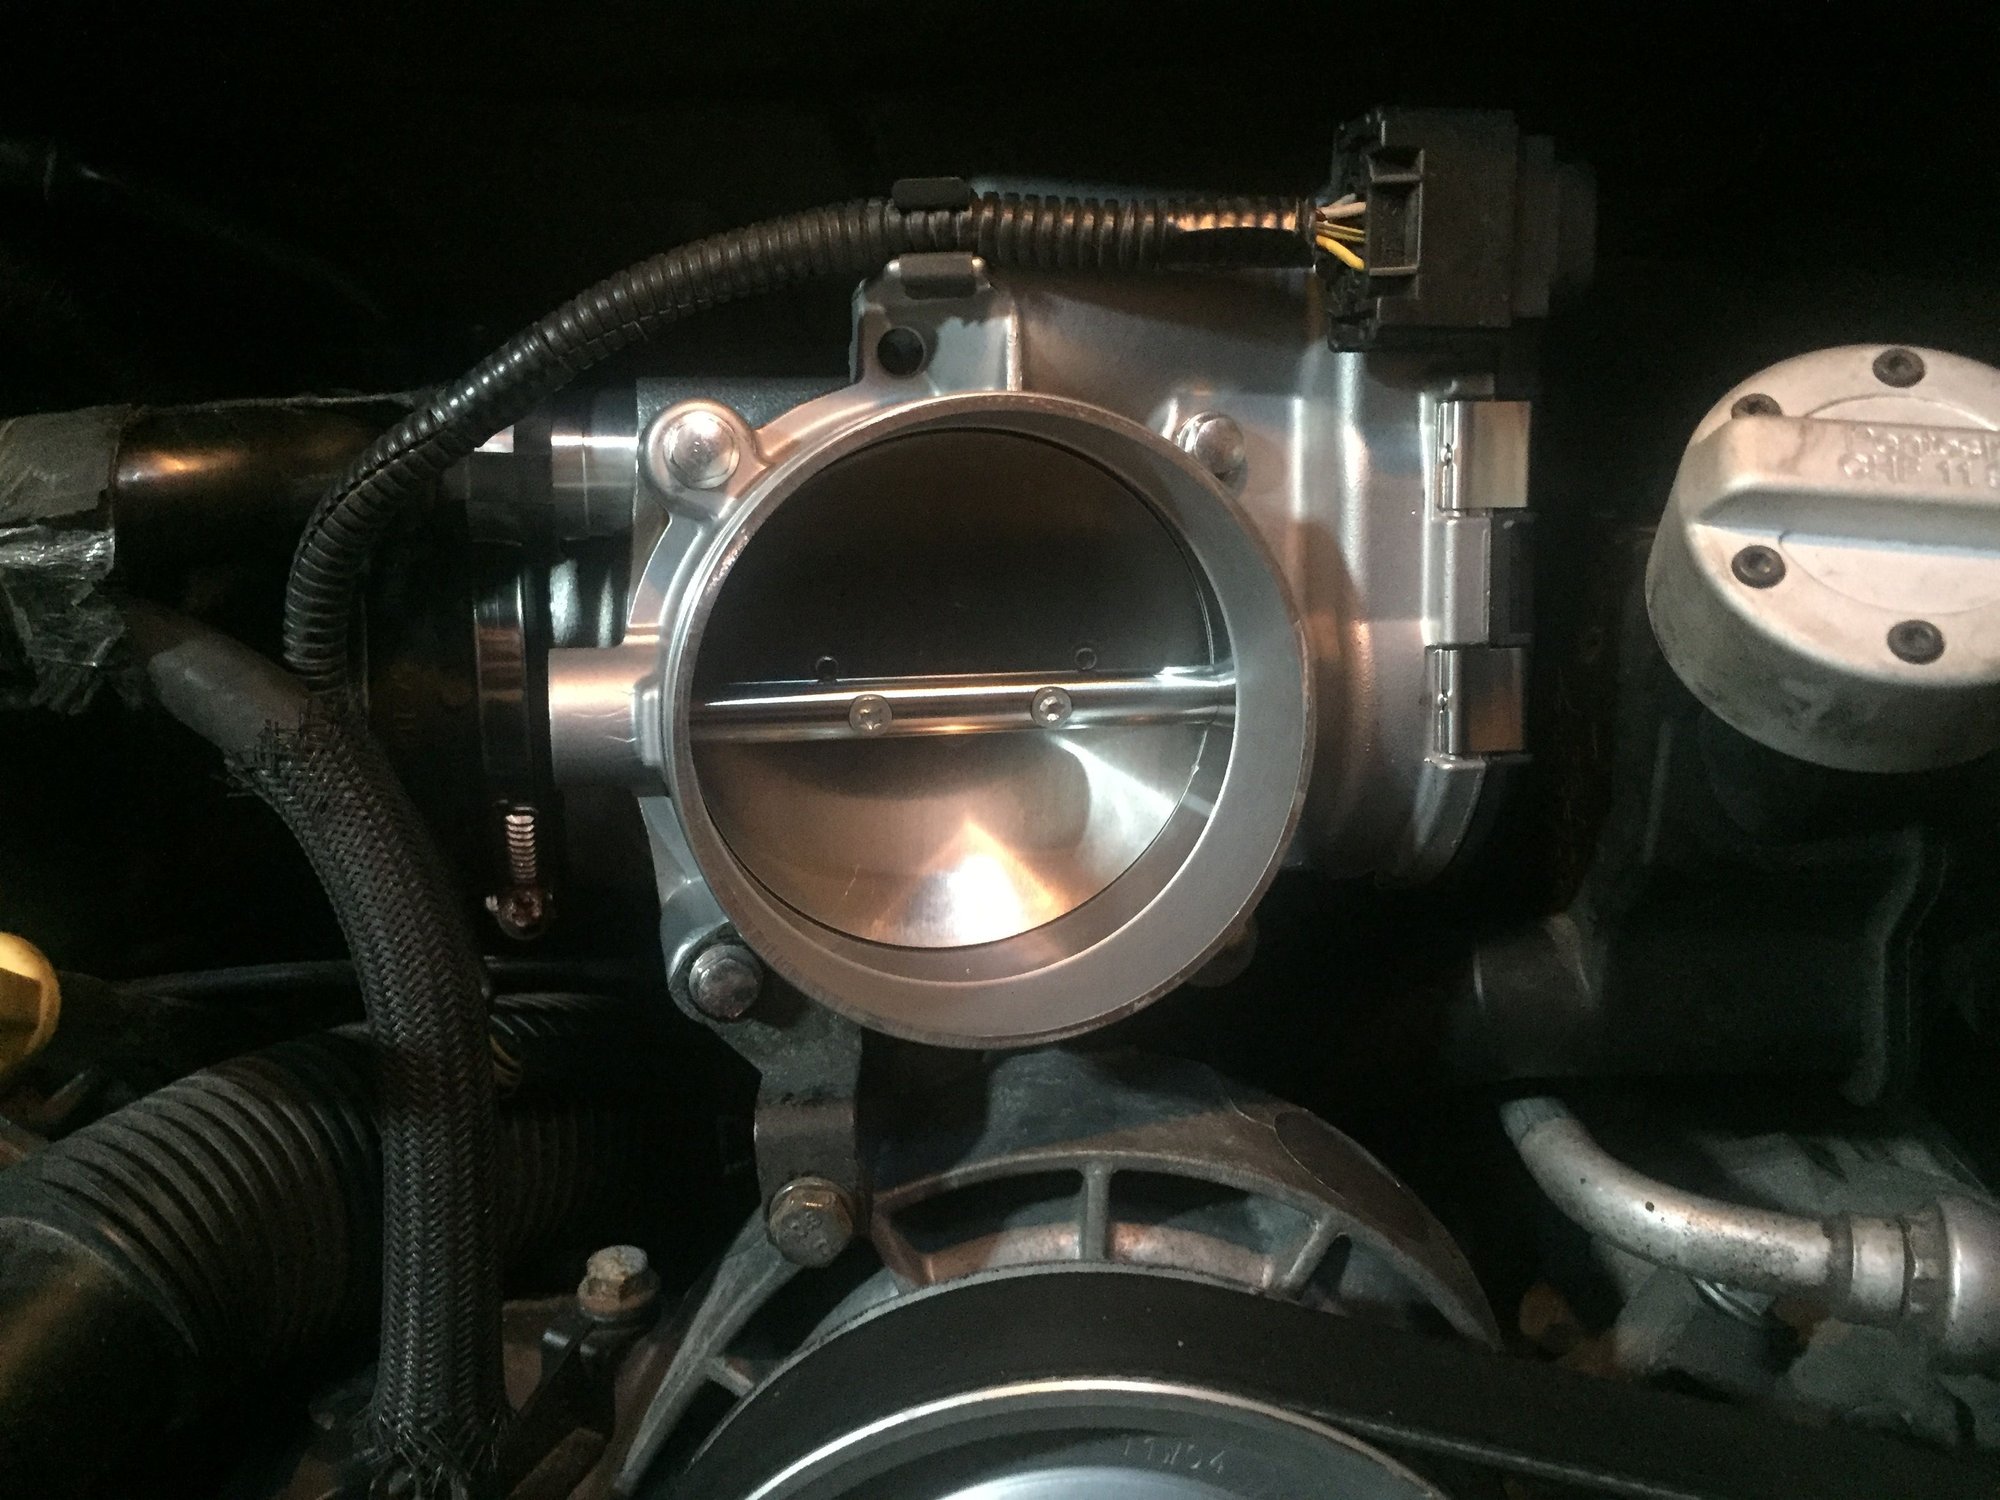
Rag over power steering pump - that thing was hot! 82mm on left, stock 74mm on right
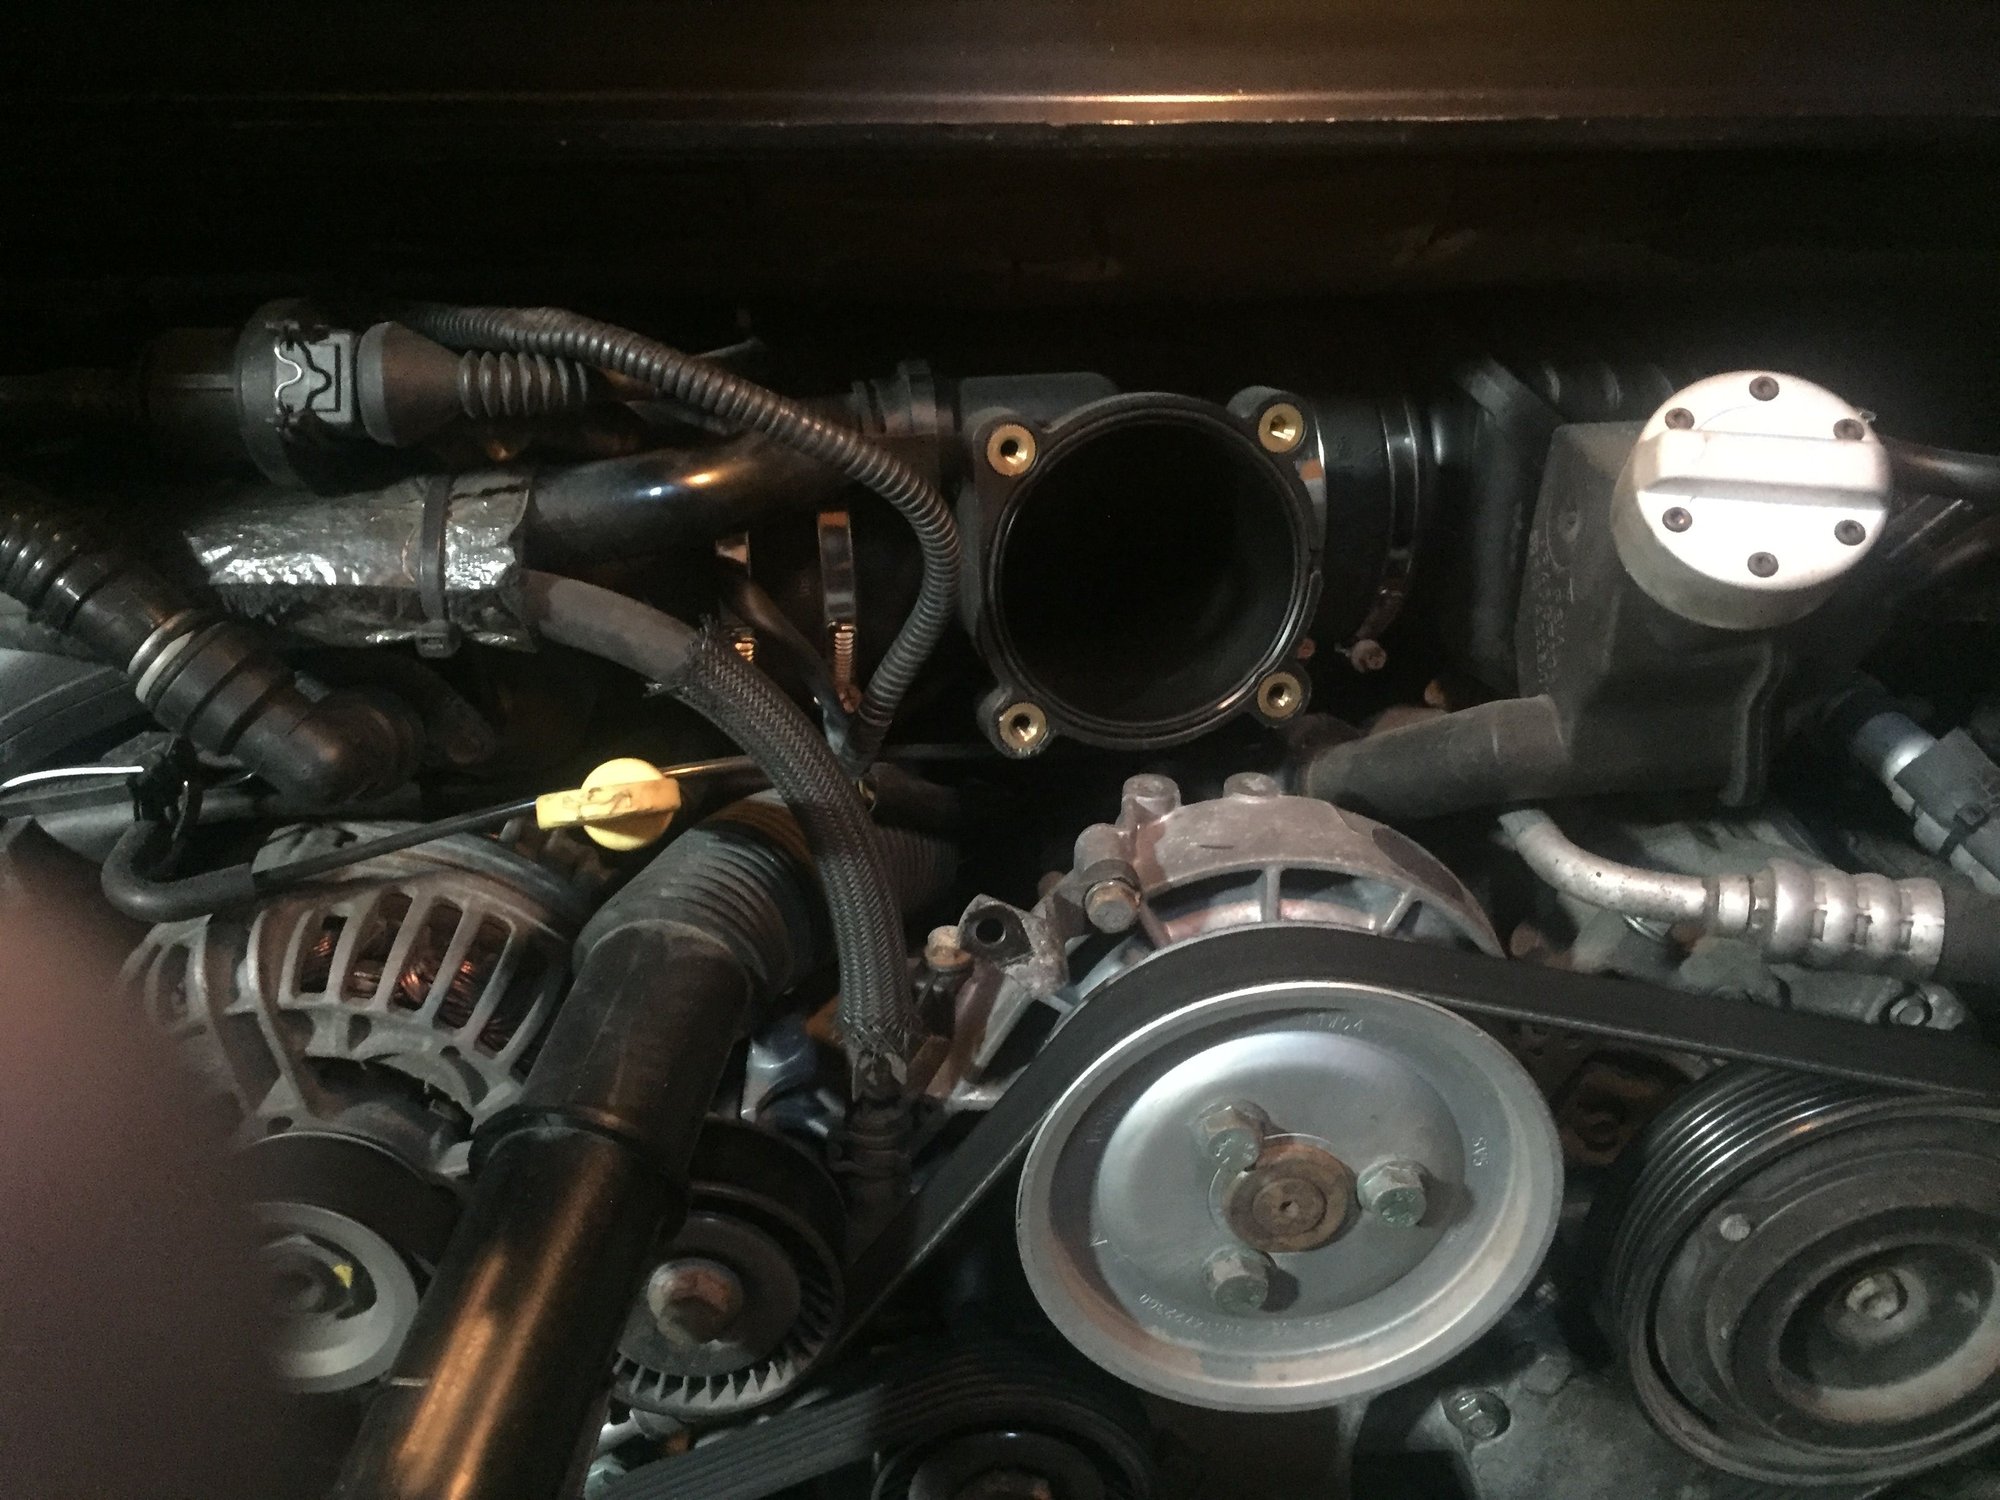
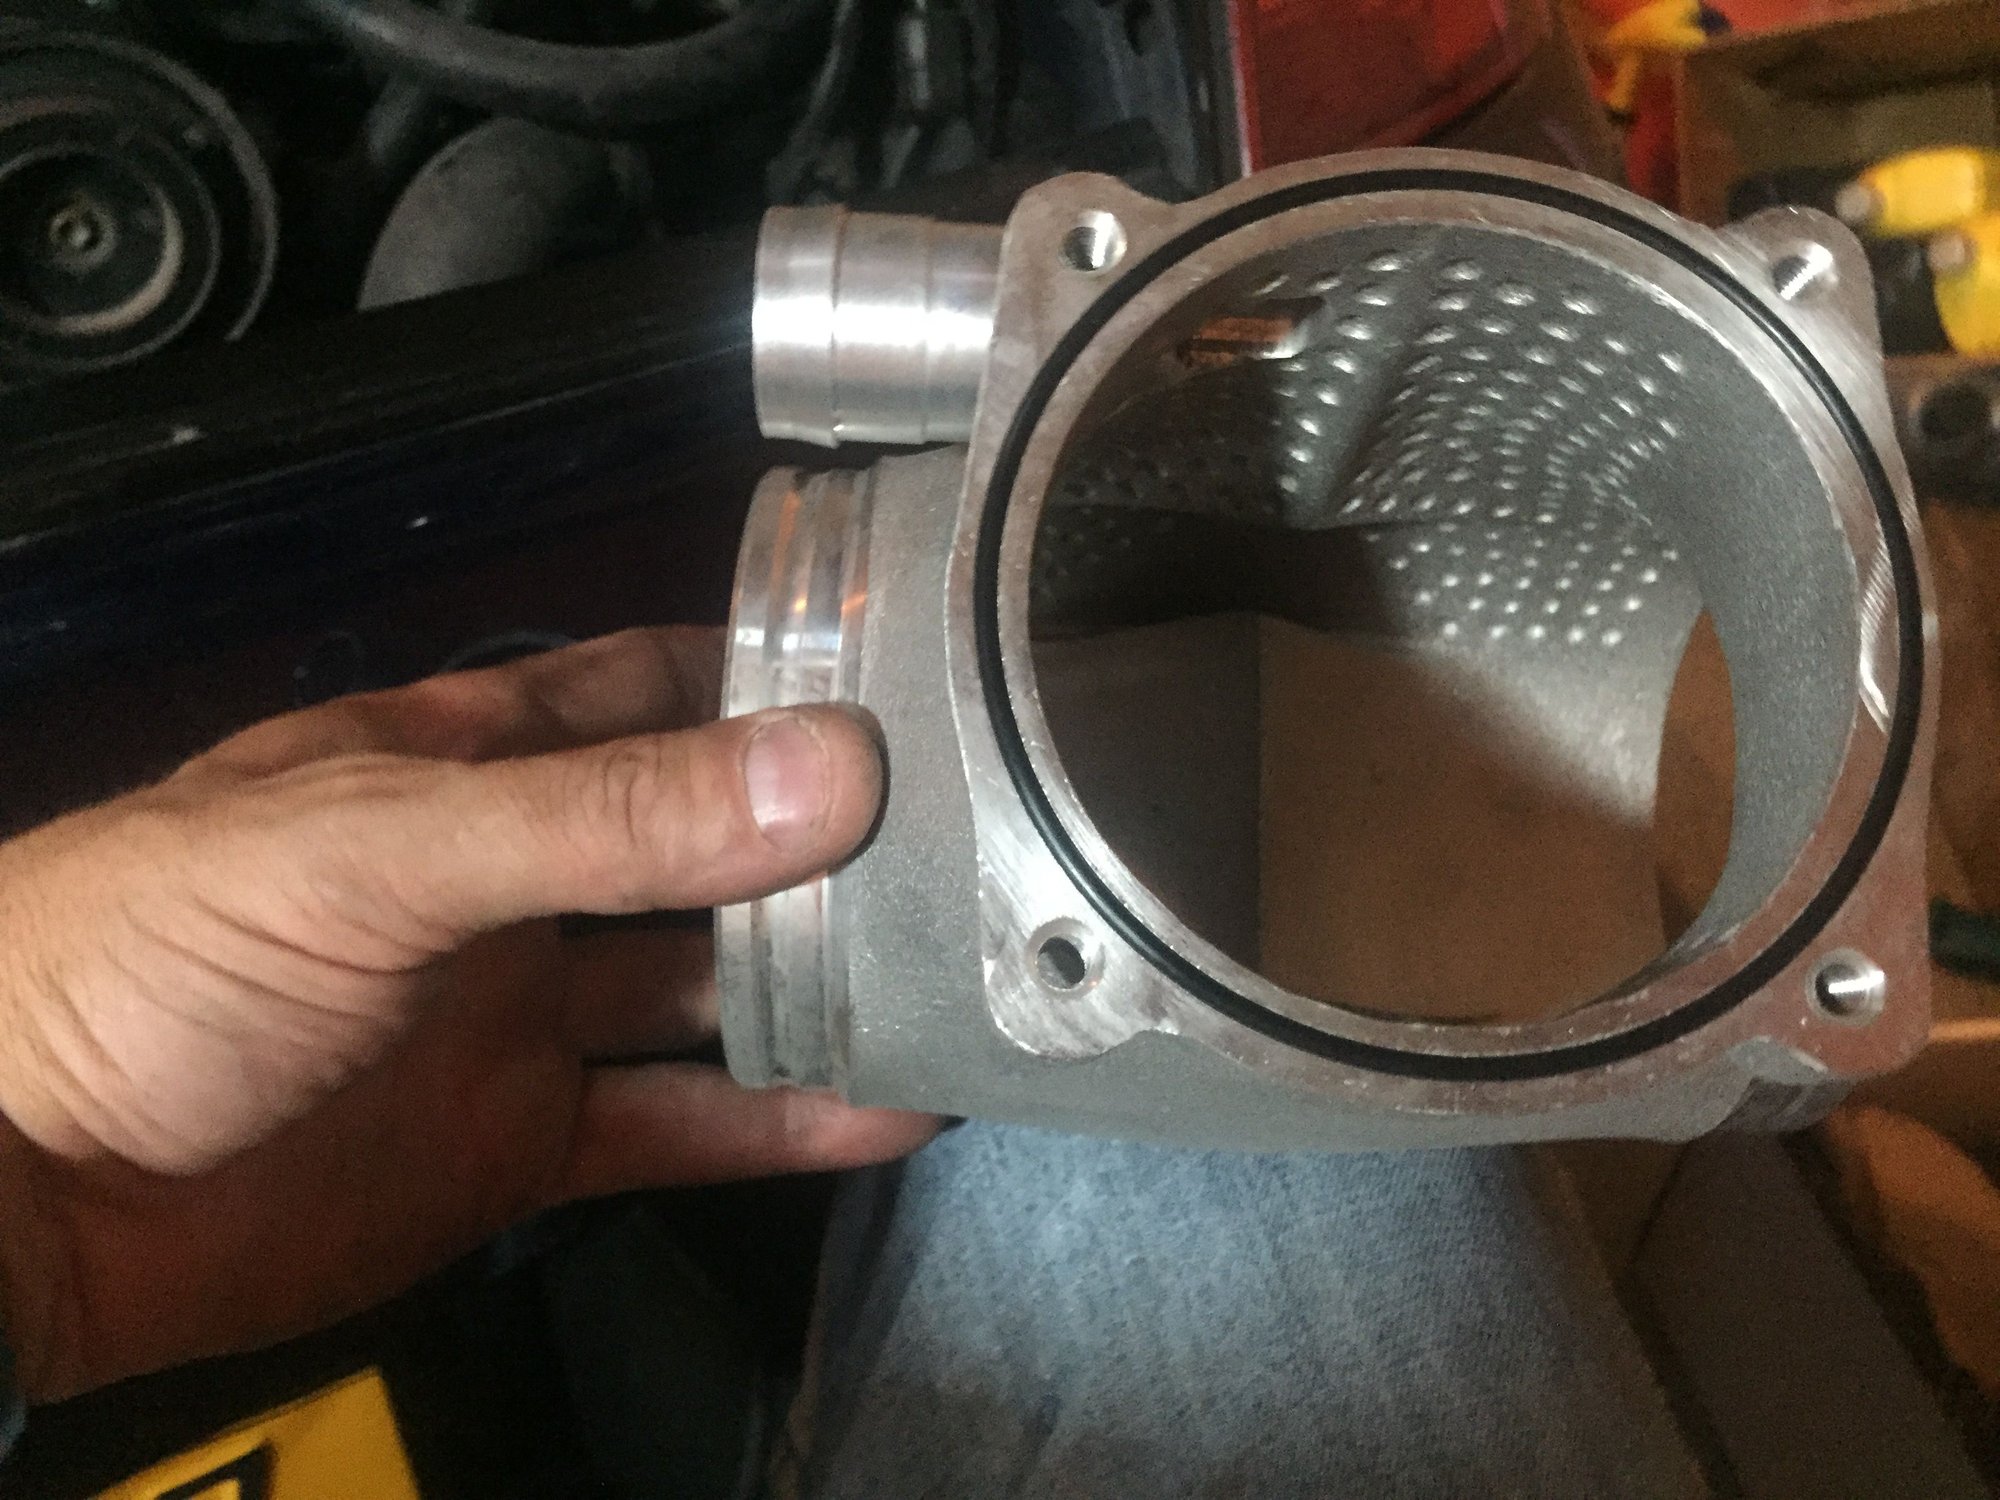
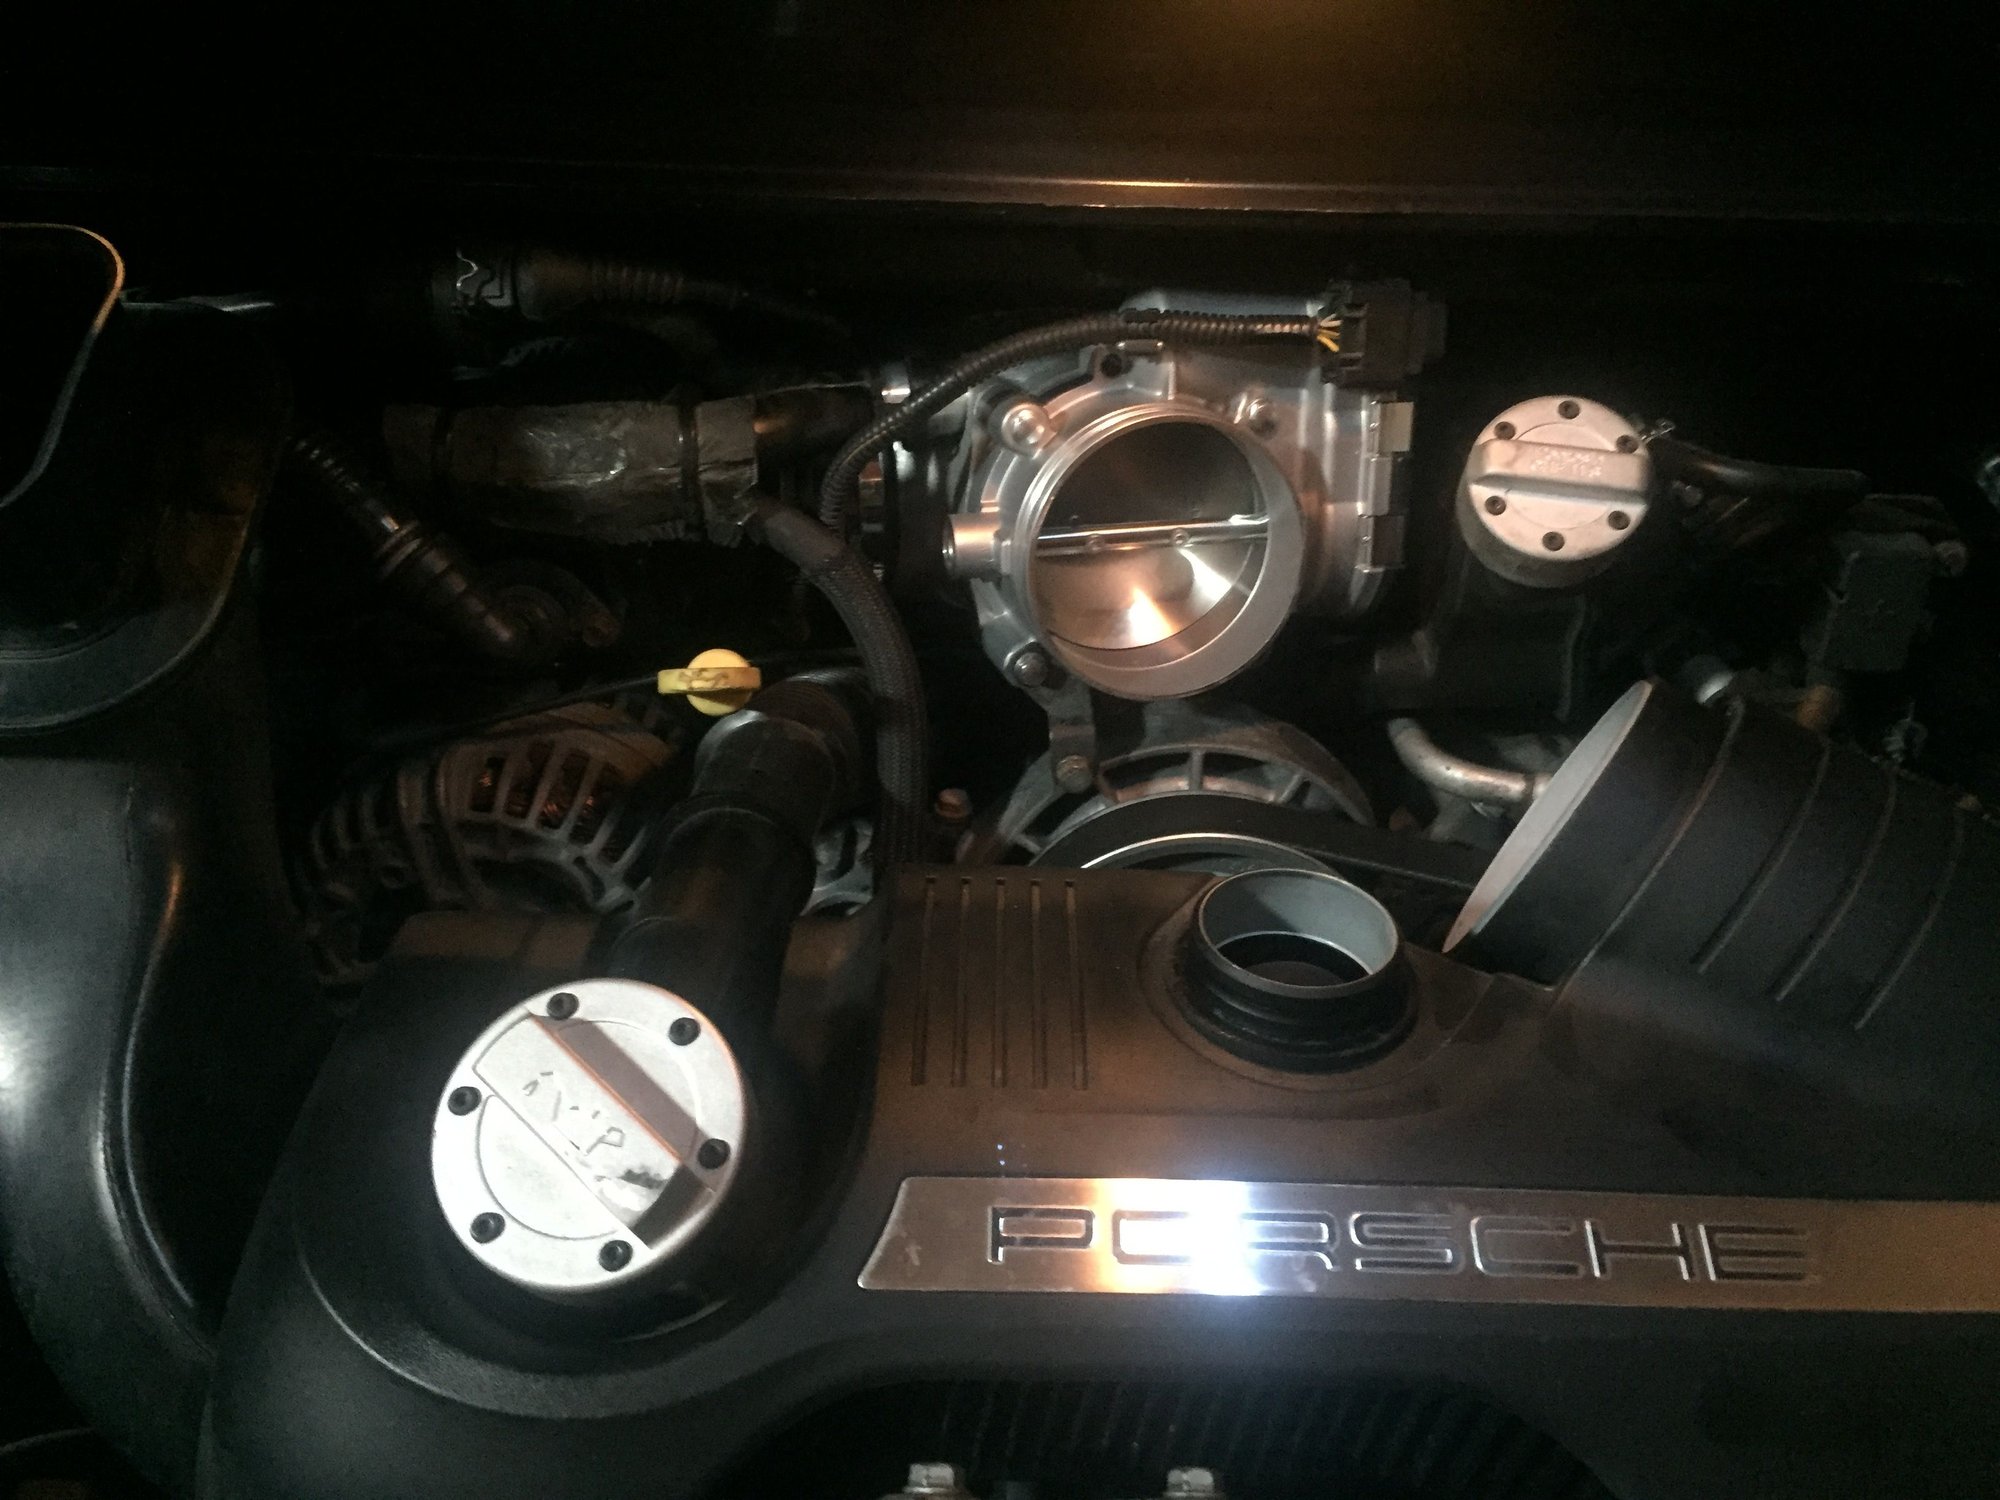
C) Time to install the new plenum. After trying to stuff the new plenum in the I removed the stock one, it became apparent that it wasn't going to work... At this point it was necessary to loosen the two hose clamps that hold the rubber collars to the intake runners. With these clamps loosened, you can push the collars onto the runners about another 1/2" on each side. This gives you enough room to insert the plenum between the two collars/runners. Once the plenum is in position, you just work the rubber collars over the flanges on the plenum. Both the flanges on the plenum and on the intake runners have grooves in them to locate the rubber collars (the collars have a corresponding ridge that locates to the groove). Once the collars are properly located, tighten to two outer clamps (collars to intake runners). One thing you have to be careful of are the two vacuum lines that are connected to the rubber collars - don't break them...if you do, the job gets more complicated! It’s in
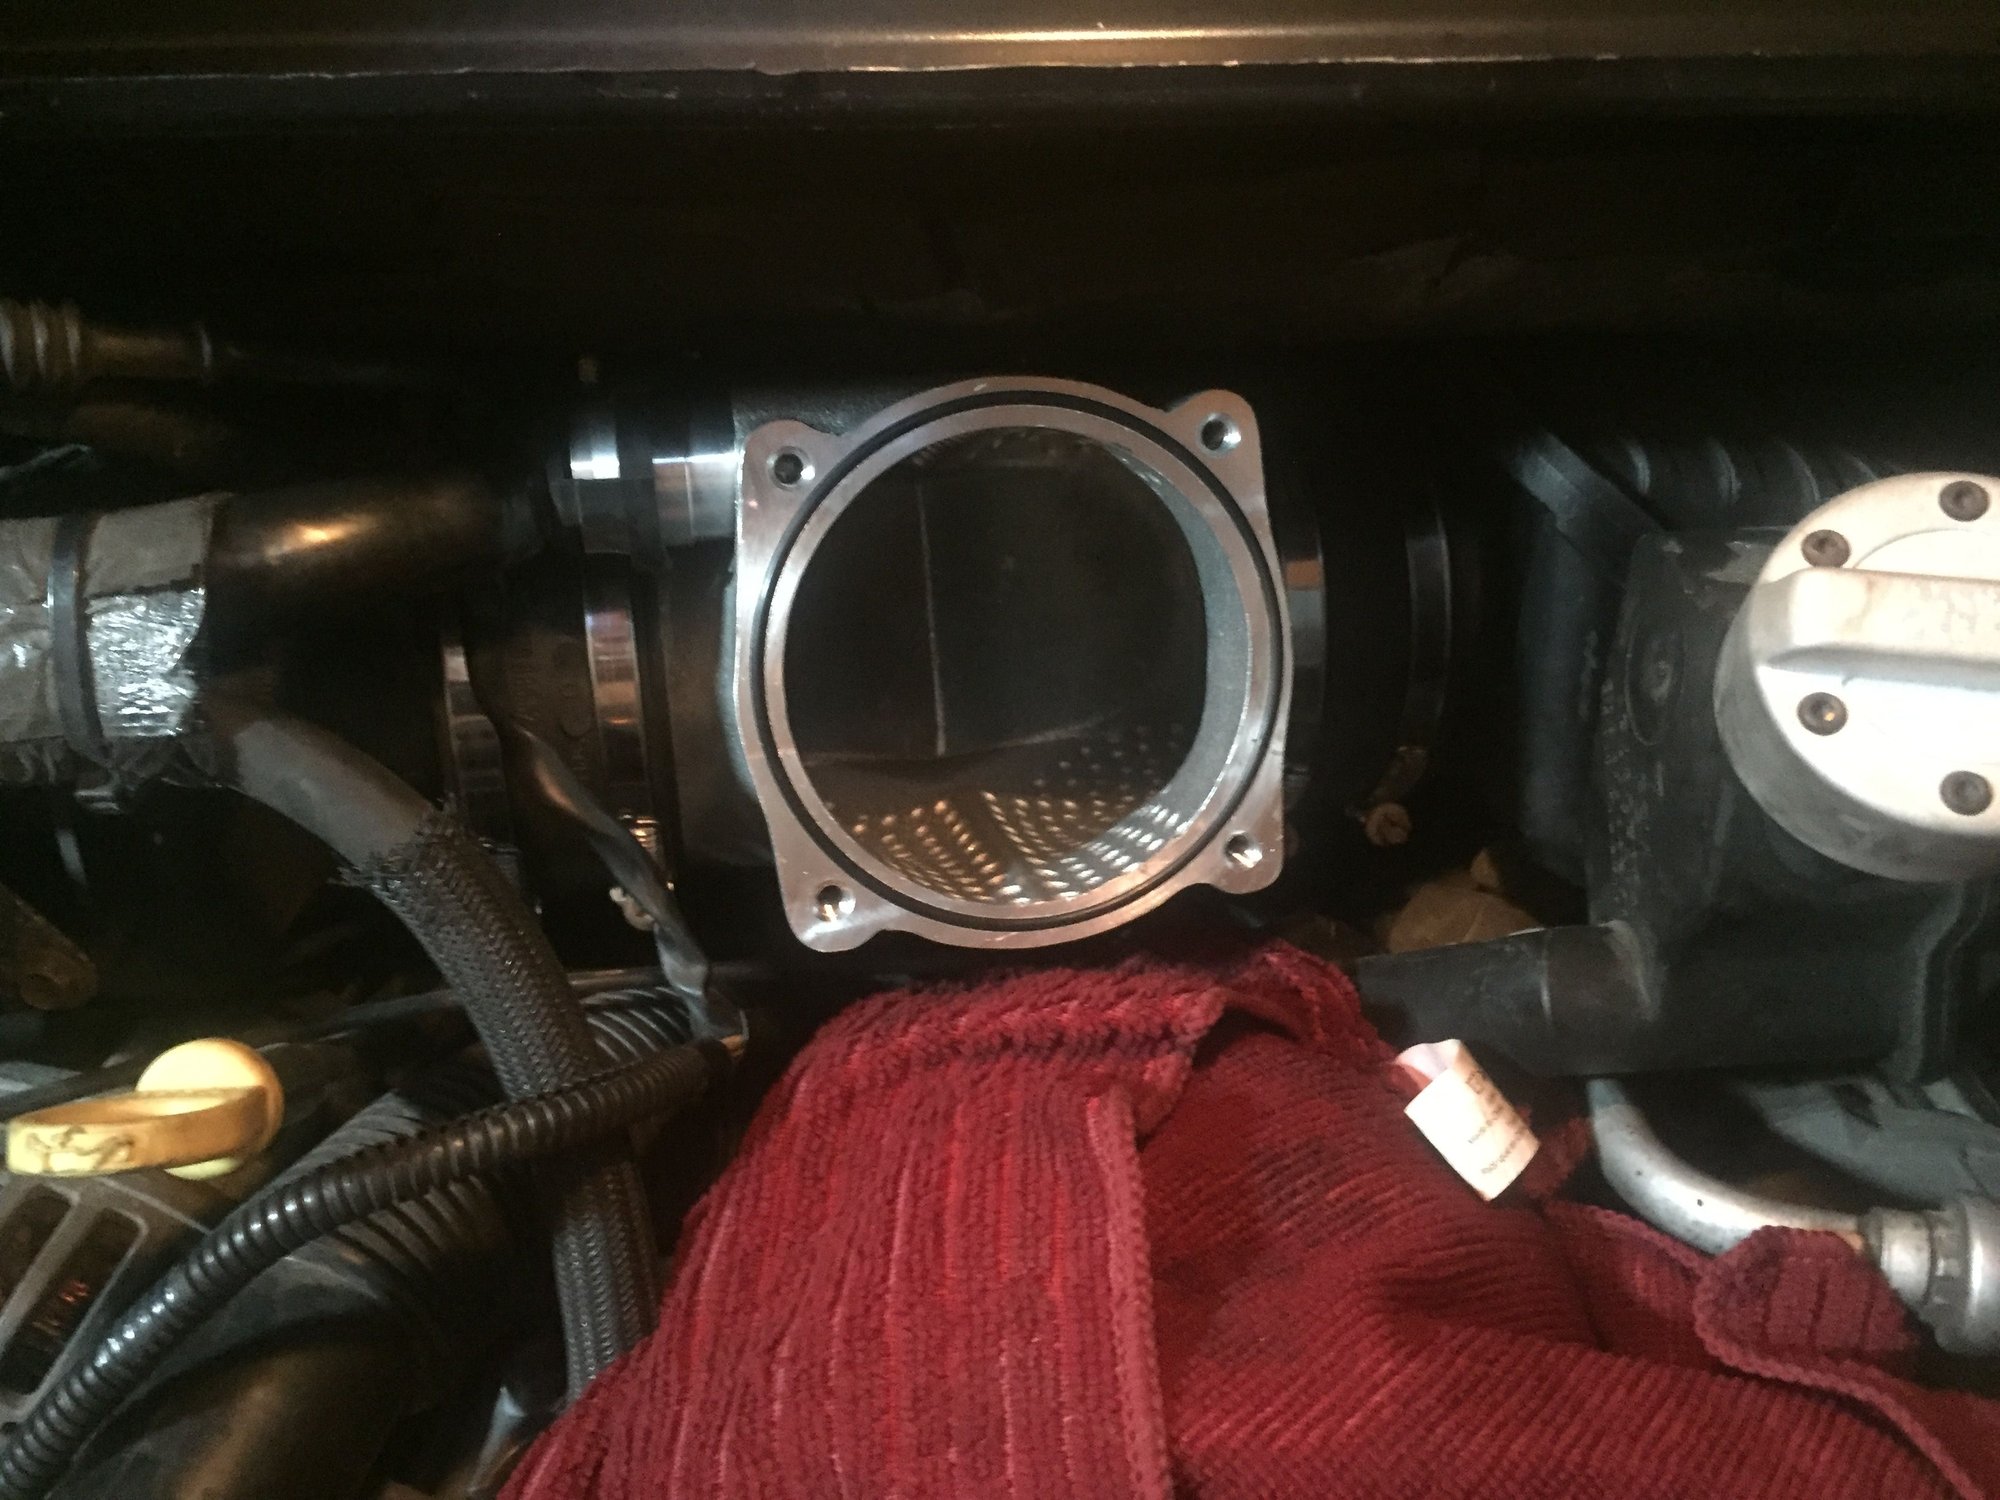
D) At this point, the plenum is installed, but it's able to rotate up and down in the collars - tighten the two hose clamps on the collars just enough to hold the plenum firmly in place but still allow it to rotate with mild force. Now, do a test fit with the throttle body to make sure you've got clearance top and bottom so the throttle body seats flatly against the plenum O ring/seal. Once it's positioned properly you can tighten the two clamps.
C) Install throttle body. The IPD plenum comes with 4 new screws to fasten the TB to the plenum - the stock screws will work, but they're a little short - use the the longer ones. Torque to 8nm. re-connect electrical connection.
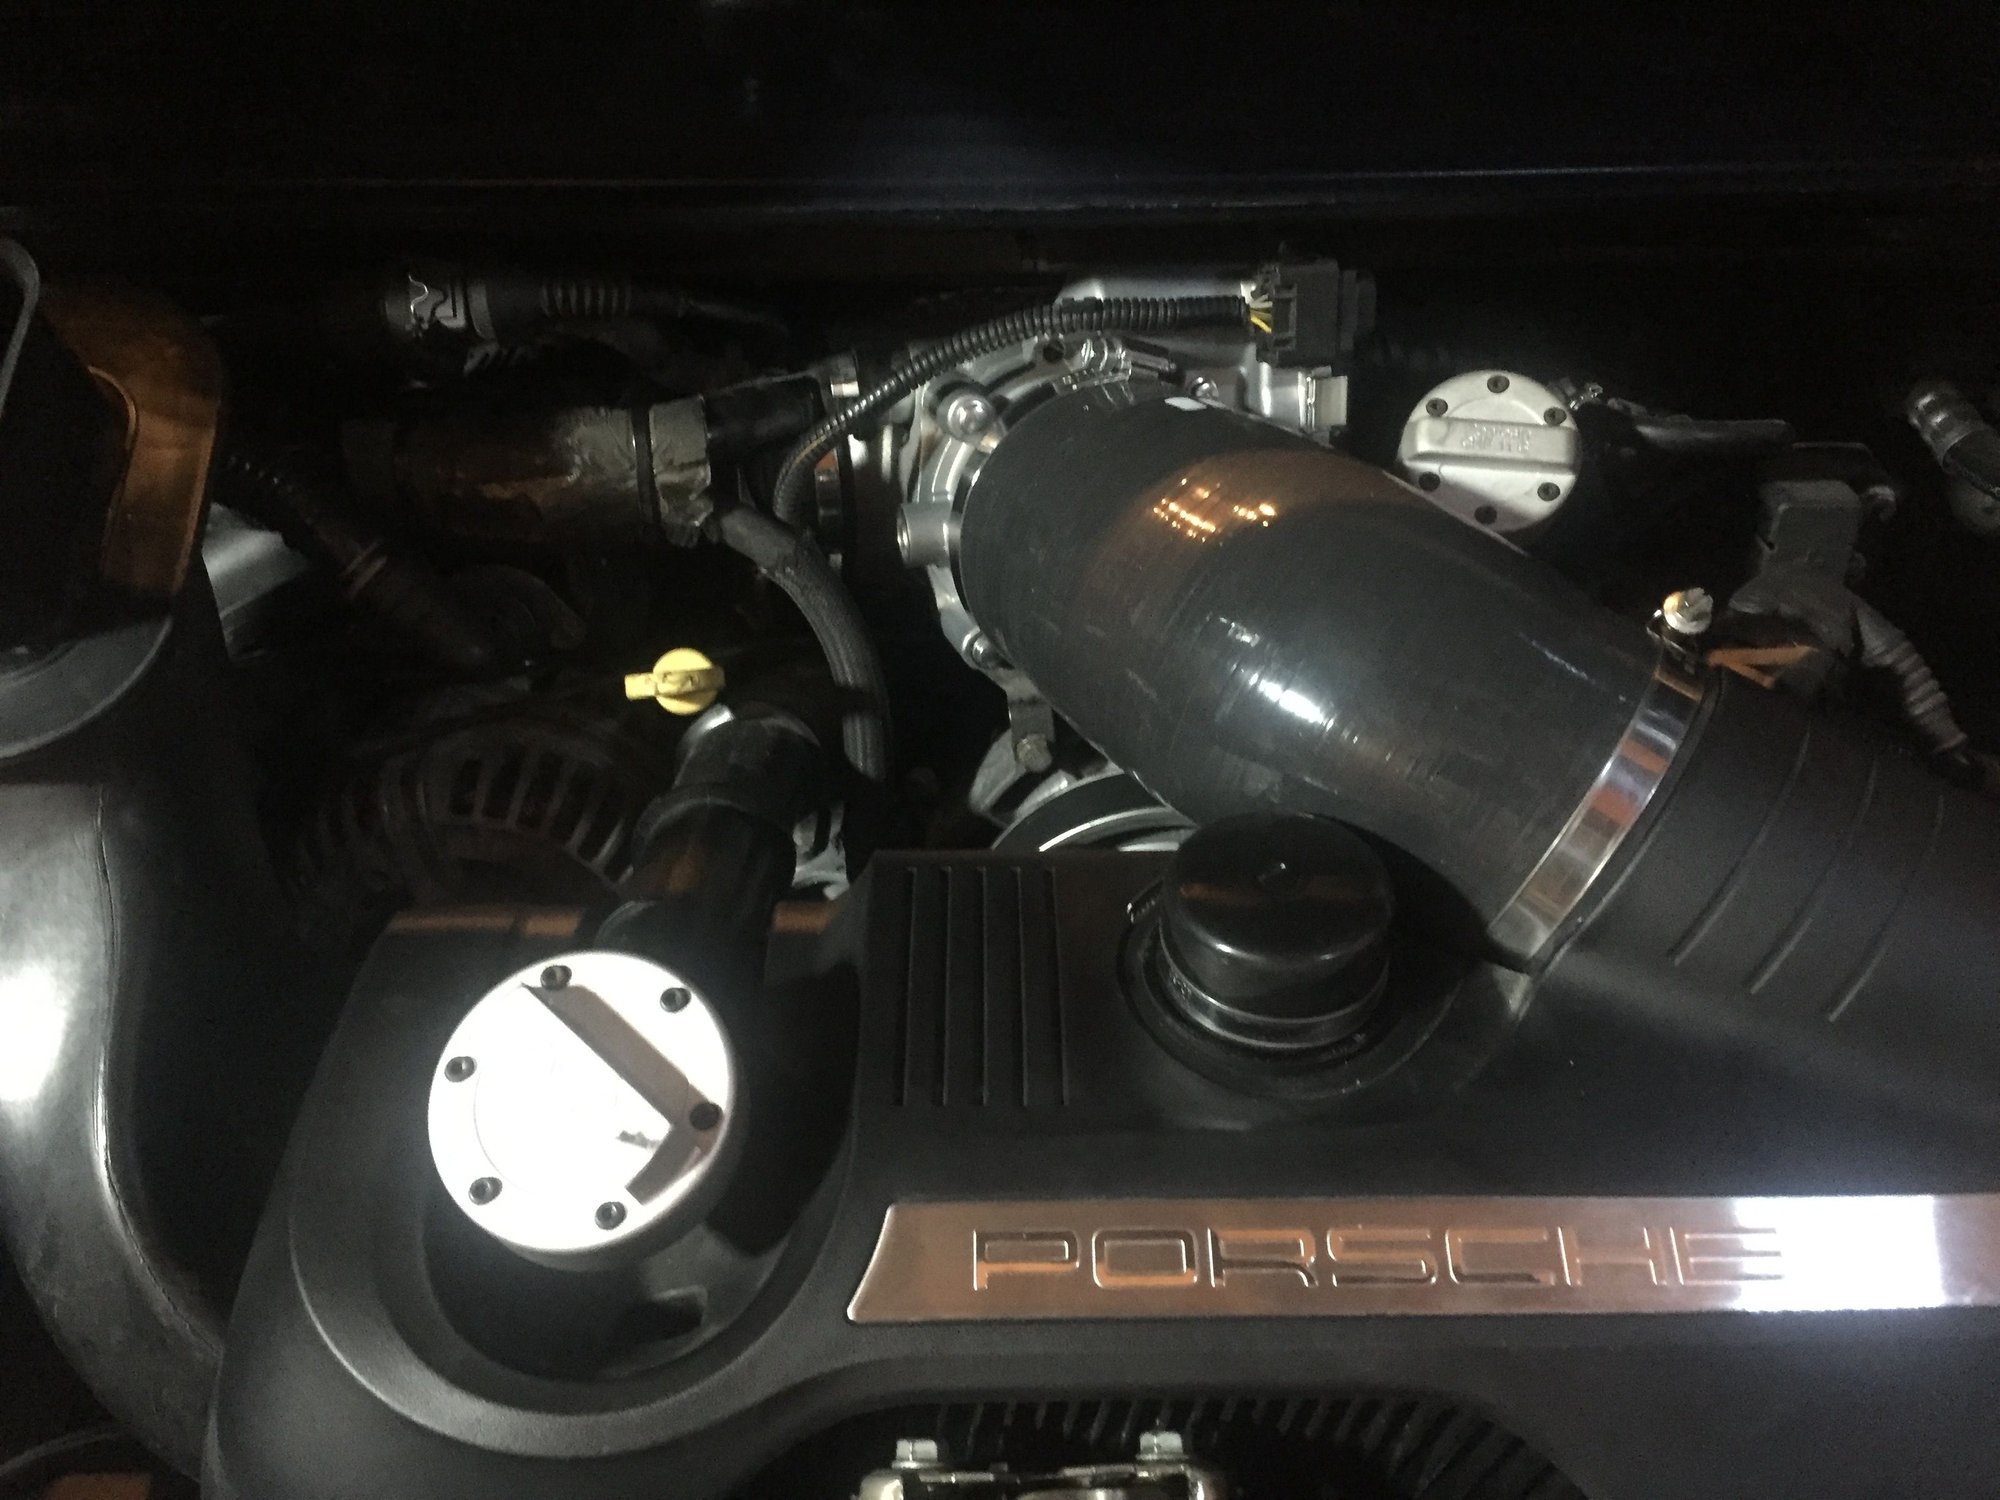
D) Reinstall airbox, with new IPD hose, cap off resonator. IPD only gives you one clamp with the new intake hose (a cheesy one at that, with a 8mm nut - the stock ones are 7mm) so you have to use the stock clamp on the large end. The IPD intake hose is much thicker and stiffer than the stock unit and is a major PITA to install. With the stock hose, you can connect it to the airbox first and put the whole thing in together. Not so with the IPD. Put the airbox in, but leave it loose (not seated in the grommets) I put the large end on the airbox first, but don't tighten the clamp - then work the smaller end onto the throttle body. Seems like it should be easy, but it's not - take your time...it's not impossible, but it is a pain... I finally got everything together, all electrical connections remade (MAF), and I was ready to go! Just close the engine cover and...
E) Engine cover won't close...Hmmm, is it the intake hose? I think so, but can't really tell... Try to relocate the hose - Uh, no... that won't work - the thing is super thick/hard and only fits one way... Ahaaaaaaaa... raise the latch a little bit! Loosen two bolts, raise the latch a little, tighten bolts, close lid... Voila! It closes... But now it won't open ... Needless to say, this was quite a disappointment... The release cable seems to be open, but the lid won't "pop" - I think there's still pressure against it from inside. I'm thinking of loosening the engine mounts a little (1/4 -1/2" on each side) to relieve the pressure, then hopefully I'll be able to get the lid open. Any other ideas will be considered!
It's too soon to give any overall impressions, but right off the bat, I can say that acceleration feels "smoother", and believe it or not, I think it's a bit quieter than before - but I can't say for sure yet. I also didn't have a chance to do any WOT type pulls yet, so I can't comment on the 5-6k area of the power band. Hopefully I'll get there tonight. So far it feels really good, no stumbling or codes or CEL... knock wood.
My decklid on both the 2000 and the 2002 closed fine. Both have new motor mounts. I've done this with both stock airboxes and a 997 airbox. Both with a stock decklid and with a Gt3RS decklid. I think something must be off on your install.
The intake noise increases considerably (in a good way) when you get on it.
In did a throttle recalibration, then put some miles on it. Supposedly adaptation requires some drive time.
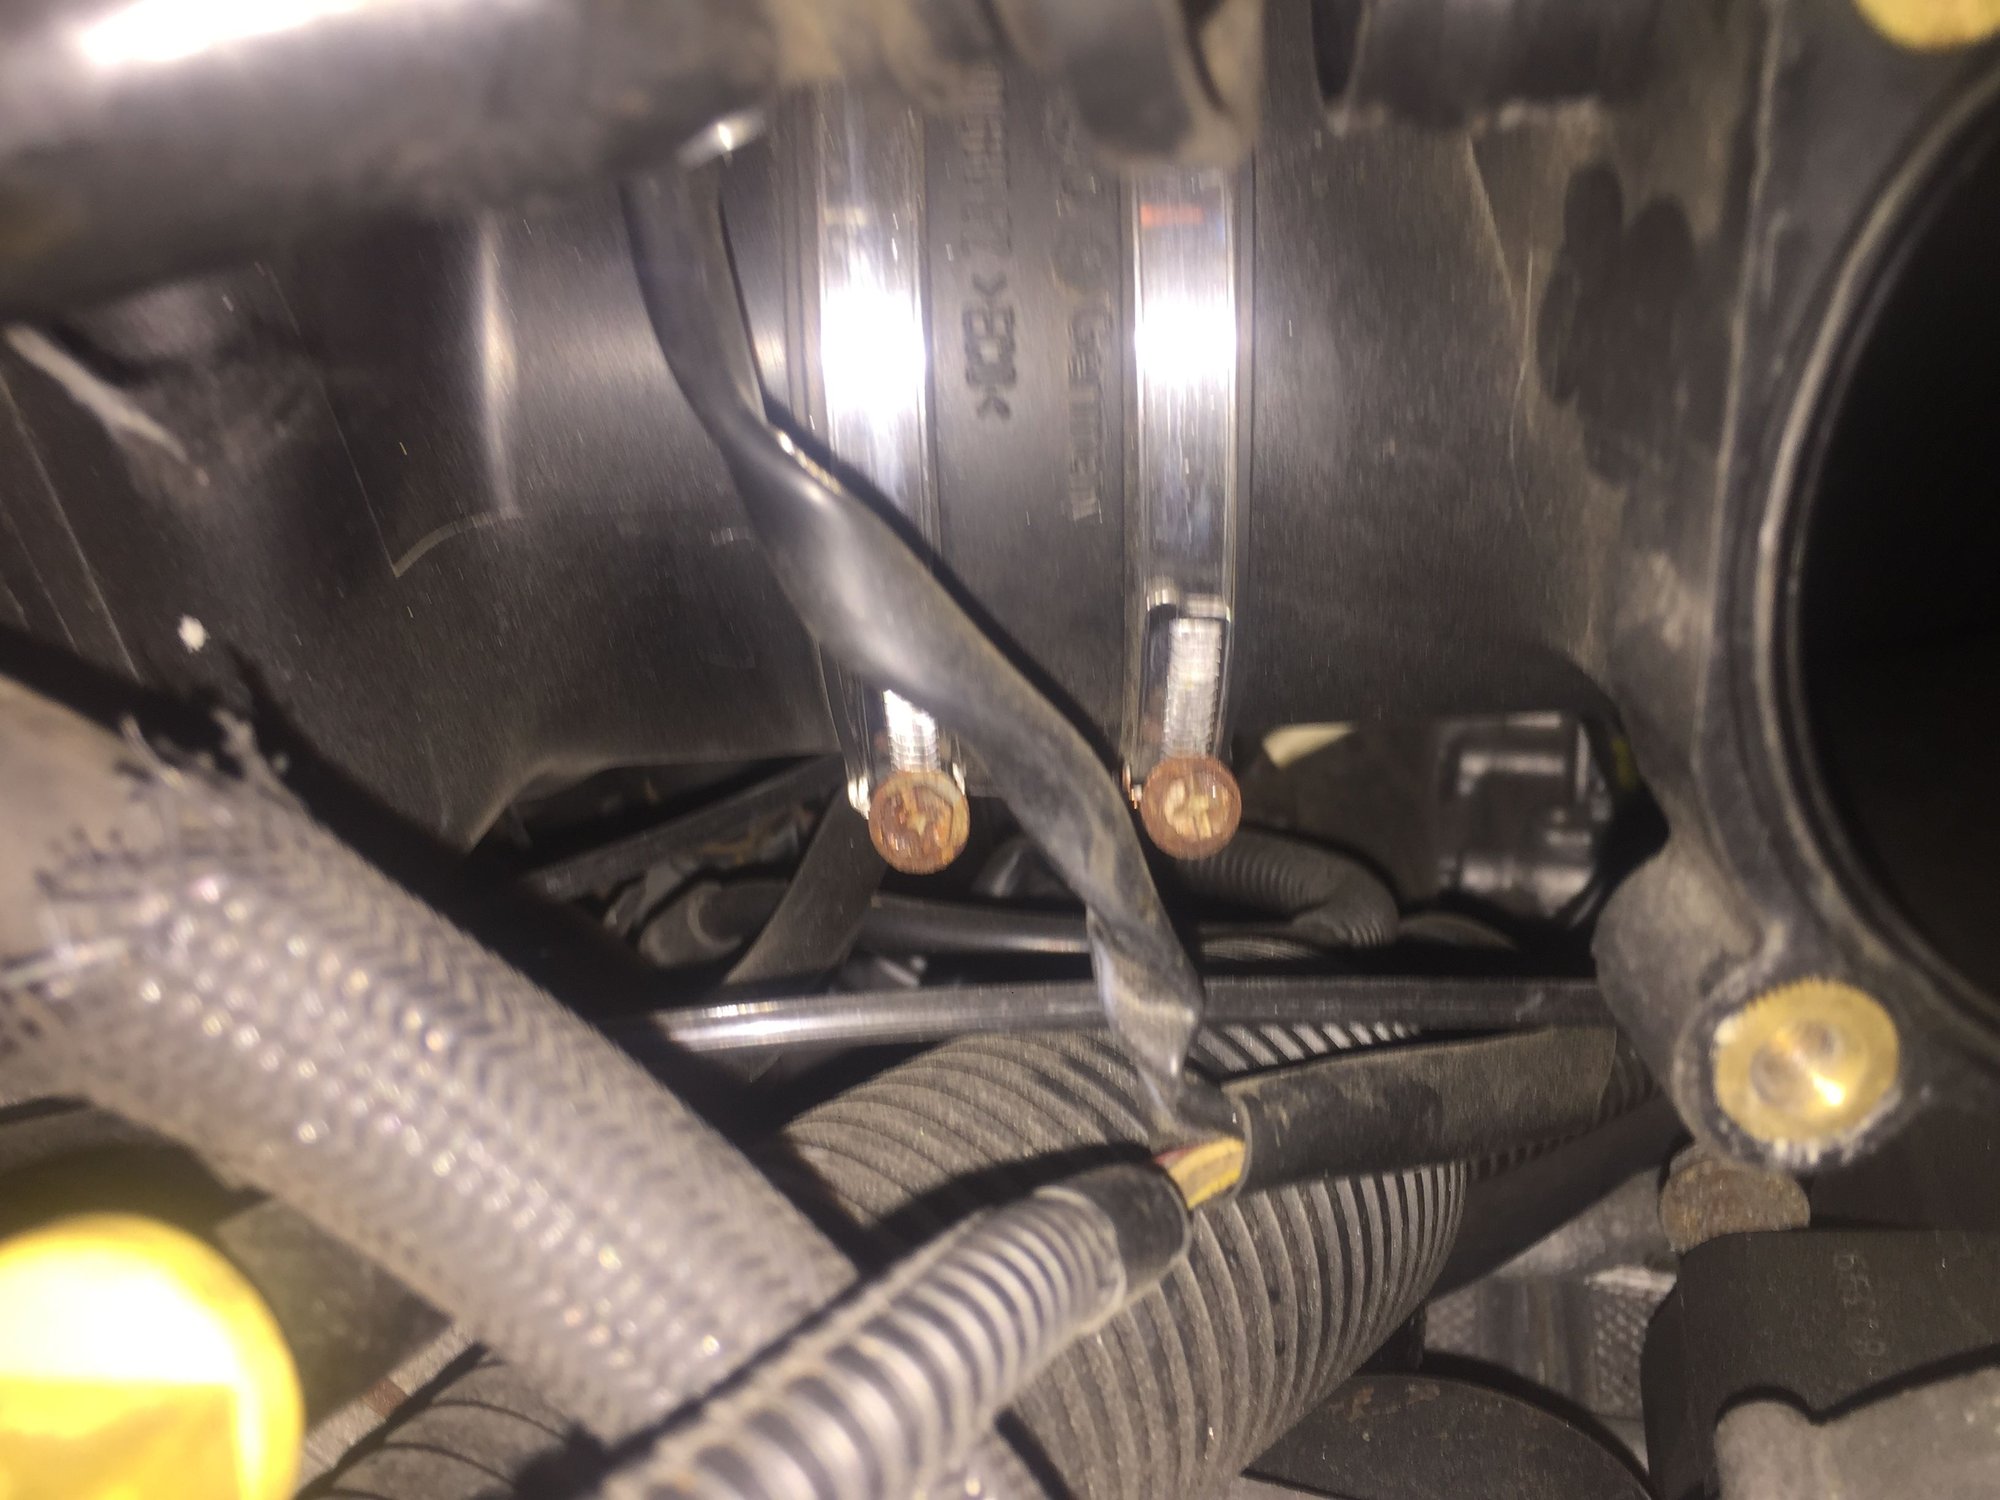
PS. I just did a clean install this week, and your directions are spot on. I did loosen all four worm drive plenum clamps though. And for anyone trying this, you can't get to the worm drive clamps once the TB is installed, so the above snug-test fit TB-remove TB - tighten clamps- reinstall TB is the best way I could find to get it right.
^^ Yeah, it's perplexing - isn't the airbox, as it's been in for a couple months with no problems. It's seems to be seated properly and the bolt near the latch is installed and tightened, I don't really see what the problem can be beside the intake hose... Hopefully, dropping the engine a little bit will relieve the pressure on the latch and allow me to open it. I'll remove the intake hose and see if it works then...
Put some tinfoil around the areas that you think it's making contact. You'll see...
The two rubber grommets on the airbox might not be seated correctly.
I think it is your intake hose. I am running the same 3.8 box as you and if you look at the Fabspeed hose picture, you can see how it tapers between the airbox and the throttle body. Not by much but may be the difference. I am currently running the stock intake boot that comes with the 3.8 airbox and you can see how much more flexible that hose is.
I think it is your intake hose. I am running the same 3.8 box as you and if you look at the Fabspeed hose picture, you can see how it tapers between the airbox and the throttle body. Not by much but may be the difference. I am currently running the stock intake boot that comes with the 3.8 airbox and you can see how much more flexible that hose is.
My thought exactly, but per CDS (above and below) he says his fits fine...I'll figure it out I'm sure - it was just frustrating after everything else went so smooth. The whole installation took an hour hour and a half tops - then messing around with the engine lid took another hour, hour and a half with no resolution
So, I got it done last night - took about 40 min to jack the car up, put it on stands, put a jack under the engine (block area just to the rear of the oil pan) loosen the motor mounts (the two bottom nuts) lower the engine about a 1/2" and the engine lid opened up. Once inside, I re-adjusted the latch mechanism (after re-tightening the motor mounts) and the clasp (put one washer per bolt between the clasp and the engine lid). It took all of 10 minutes to get it properly adjusted. All good. The engine is running great - got to do about a 60 mi. drive with a few hard pulls through the first 4 or 5 gears (the fear of tickets is ever present in my neck of the woods - not to mention the possibility of deer jumping in front of the car) before having to back off. Hopefully the ECU is adapting well to my "driving style"...

 08-19-2019, 11:21 AM


") ...
...  Needless to say, this was quite a disappointment... The release cable seems to be open, but the lid won't "pop" - I think there's still pressure against it from inside. I'm thinking of loosening the engine mounts a little (1/4 -1/2" on each side) to relieve the pressure, then hopefully I'll be able to get the lid open. Any other ideas will be considered!