When you click on links to various merchants on this site and make a purchase, this can result in this site earning a commission. Affiliate programs and affiliations include, but are not limited to, the eBay Partner Network.
On the way home from the track yesterday, it started to get stuffy in the car, so I kept turning the heat down, then down some more, then down some more. I reached over and felt the air coming out of the passenger dash vent. It was nice and cool while the driver vent was hot. Luckily, I could open the targa roof for some immediate relief from the heat.
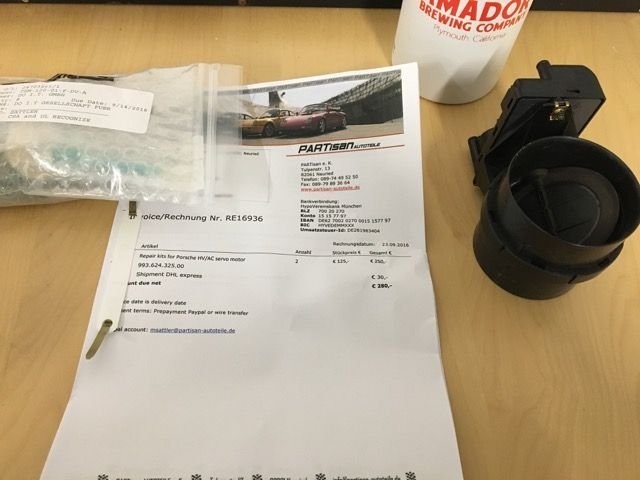
Today, I knew it was time to try out those rebuild kits from PARTisan Autoteile that I ordered a month or so ago.
My car has just over 140k miles and has service records going back 15 years or so. There was no record of any service to this component, so I think it was just time.
Here's the process I followed to rebuild the left hand mixer servo. Spoiler alert - I don't go into detail on how to do the actual rebuild, as it's well documented in the instructions in the kit.
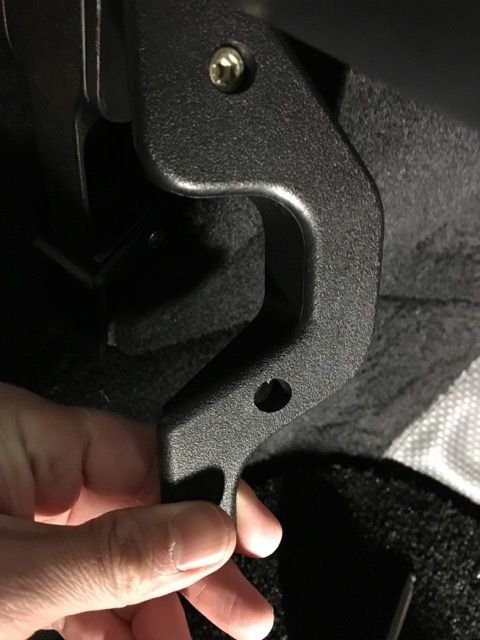
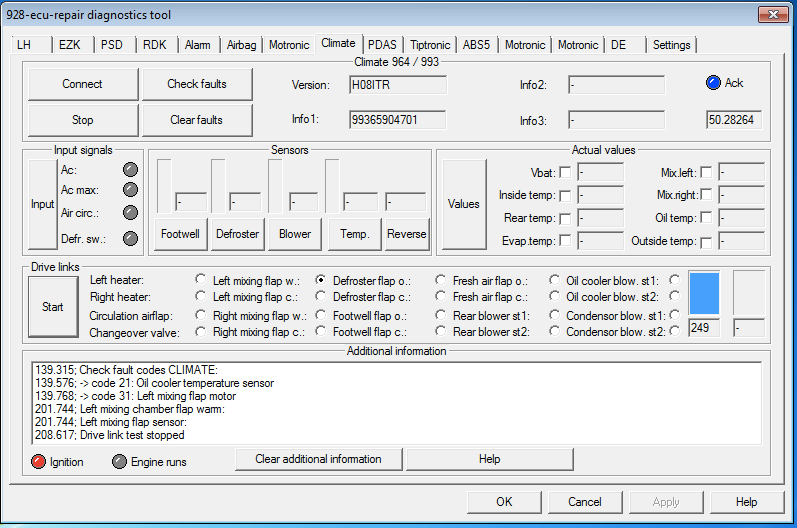
First, I removed the frunk handle cover.
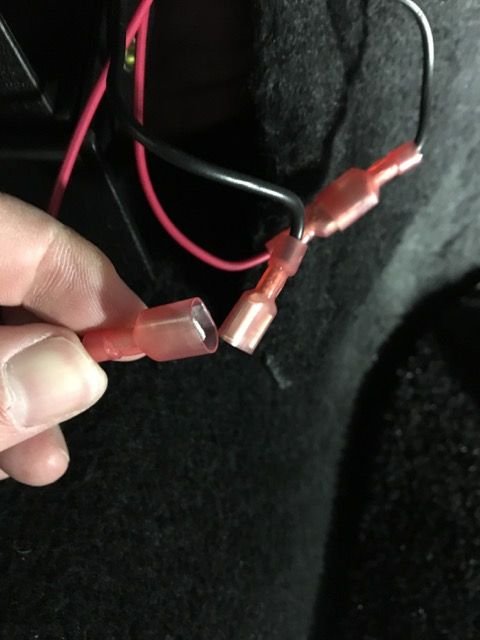
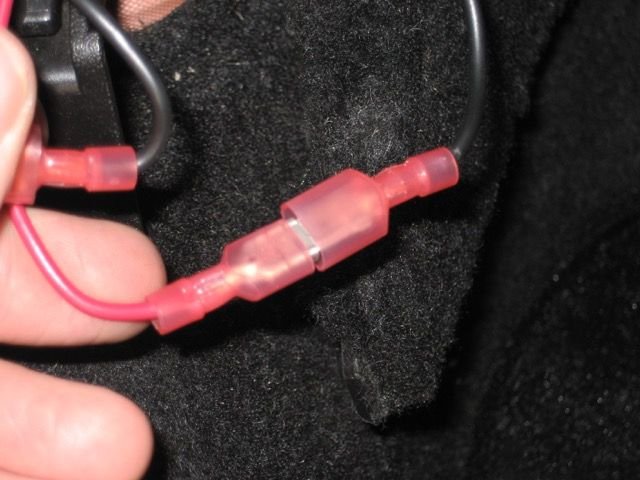
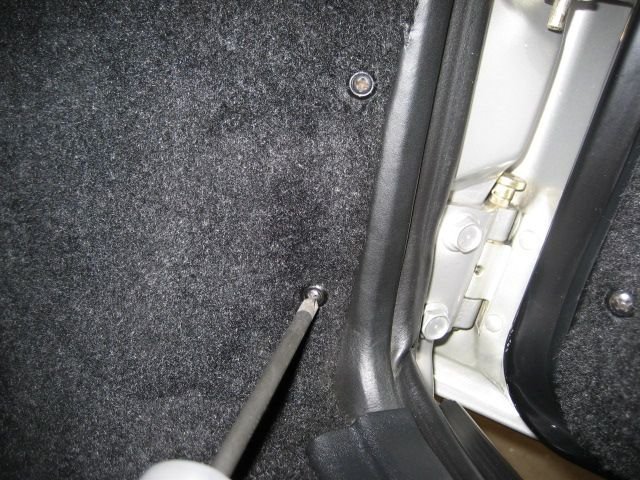
Then remove the carpeted cover starting in the bottom corner closest to you. I also disconnected one of my car's few modifications --an oil cooler override switch, installed in the same carpeted cover totally hidden from view. In a rare demonstration of wisdom, I placed some plugs between the switch and the wires back when I installed this thing a few years ago.
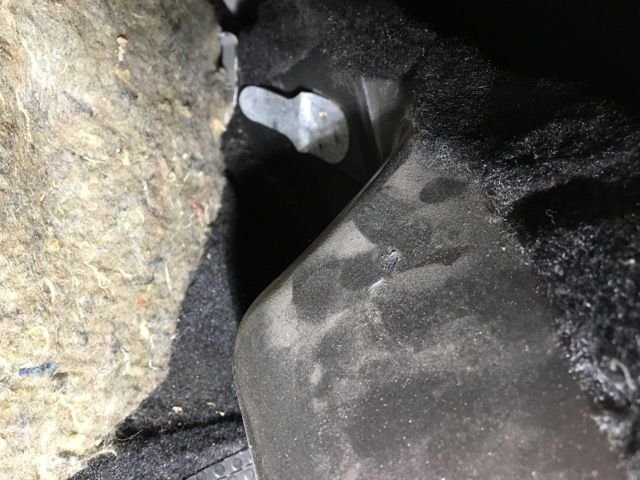
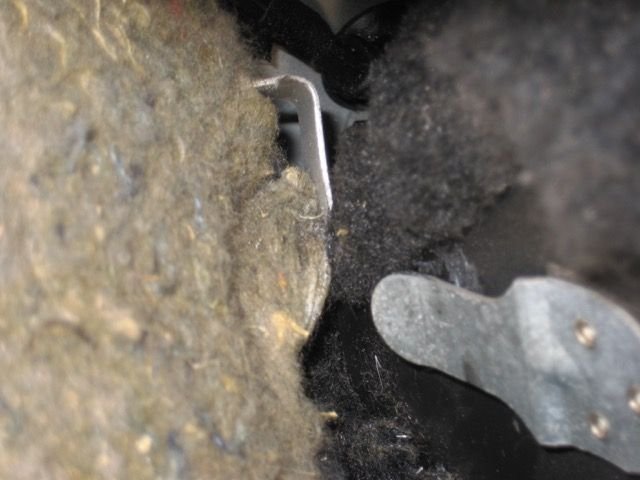
Upon removing the corner, you can push down on the cover then pull it toward you. Notice the clip way in the front. It just slides out.
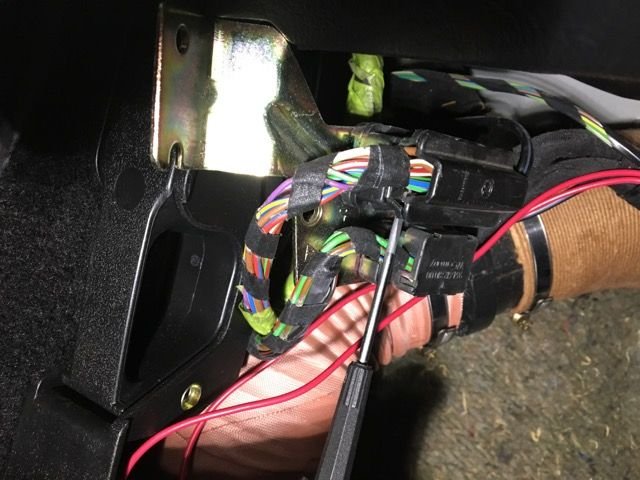
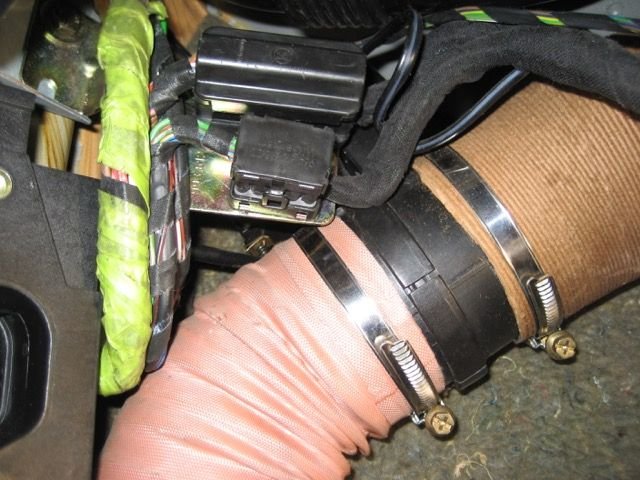
Now you can see the servo hidden behind a wiring junction bracket and some wiring.
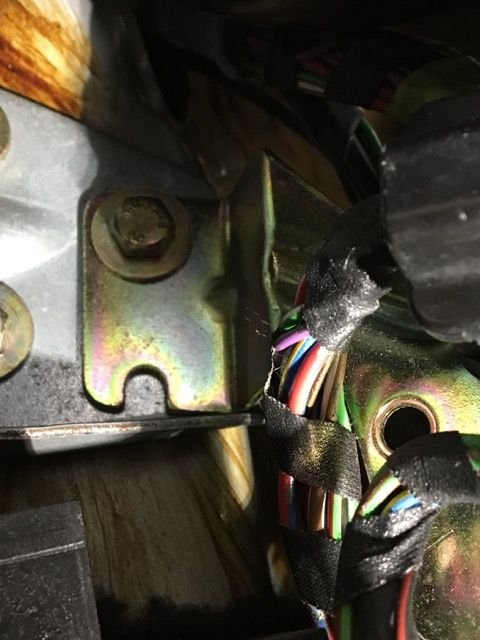
I decided to remove the bracket. Not sure if this is necessary, but I didn't want to take any chances with those well used heater hoses.
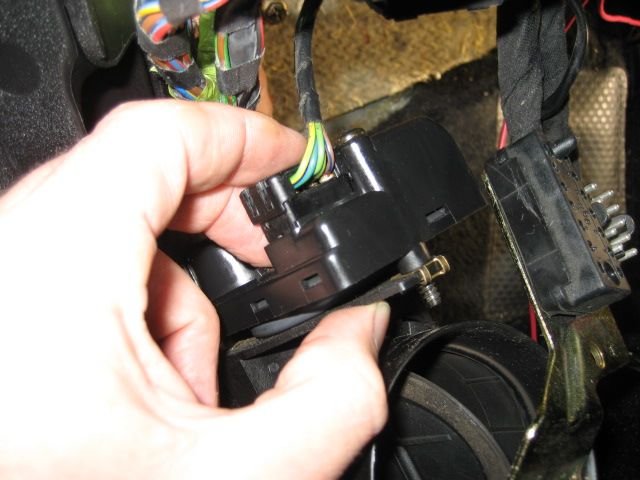
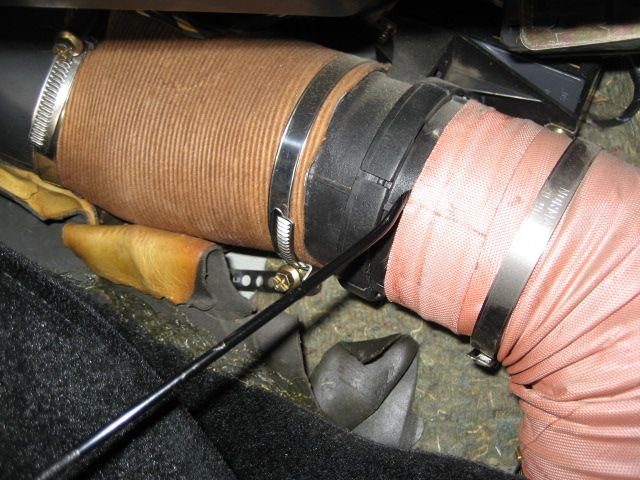
After detaching the bracket, I separated the electrical connectors.
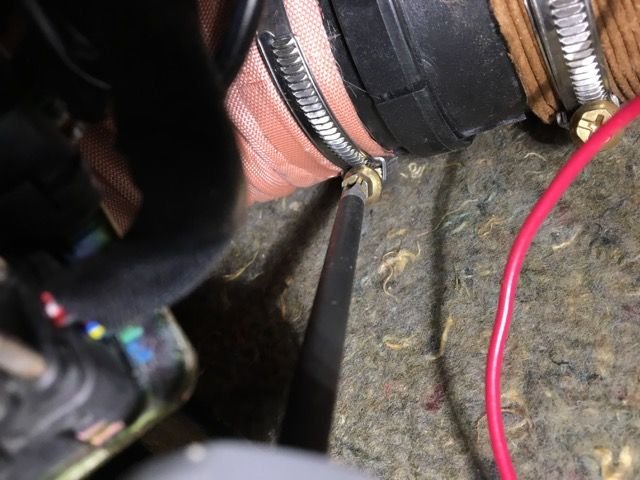
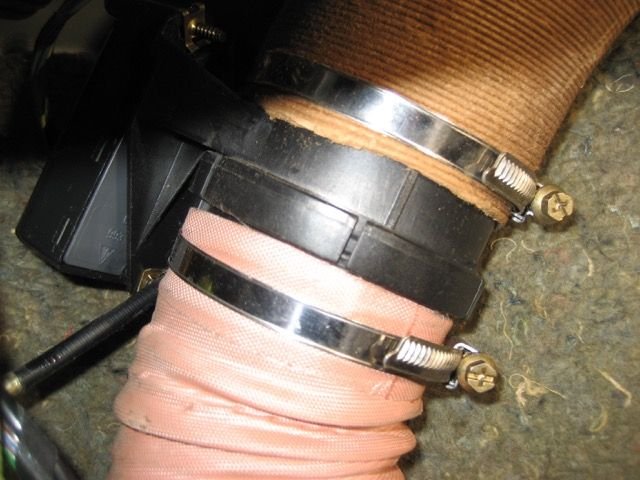
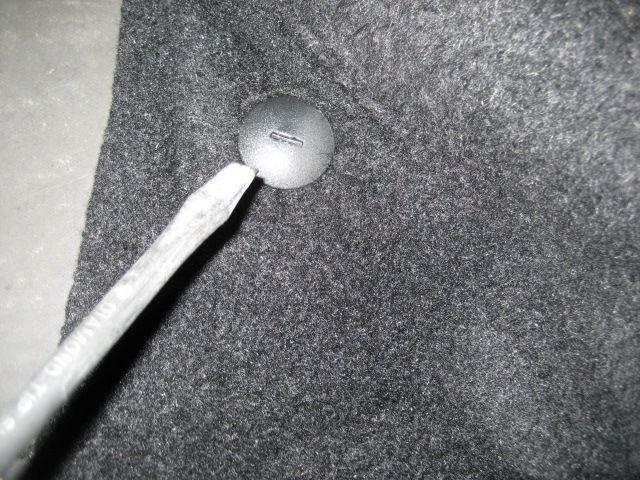
With the wiring out of the way, I started on the clamps. The top clamp was tight, although I could wiggle the servo assembly in the paper hose freely. I took this as a warning to be very careful with that one, and started with the lower hose first.
After loosening the clamp, I noticed the hose was fused to the plastic of the flap. I grabbed a pic and carefully separated the hose from the plastic, much like if I were trying to separate a stuck radiator hose.
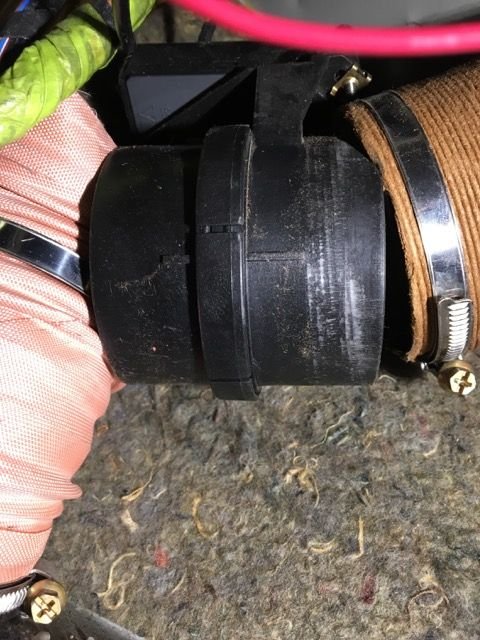
Next, I loosened the other clamp and wiggled the servo assembly out of the hoses.
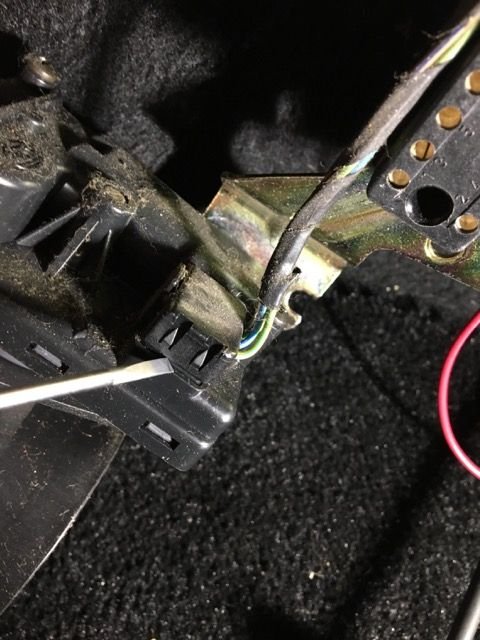
Before I could fully extract it, I had to undo one last plug.
With that plug removed, I moved the assembly to the bench and separated the servo from the flap.
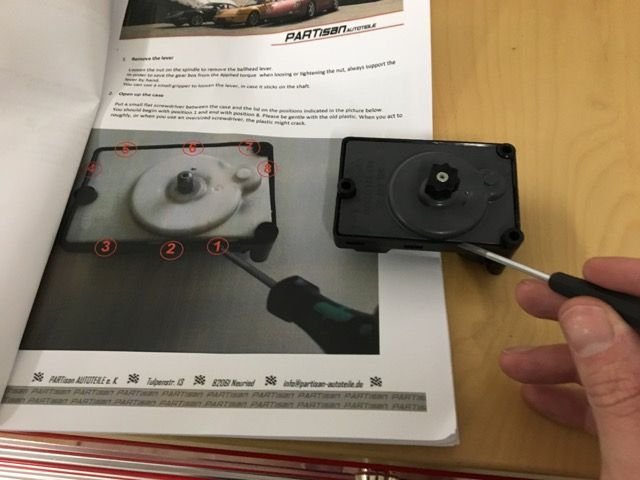
I started to follow the directions, but realized they were written for one of the other servos in the system, not the mixer servos. The mixer servos have this star gear on them that needed to come off before I could begin with the instructions. I used a punch to keep pressure on the metal shaft while I pried off the star gear.
That's all for now. I'll post the rest of the left side mixer servo a little later today.
After following the instructions included in the kit, it was time to reattach the servo to the flap.
Then, plug in the servo the harness. and insert it into the heater hoses. Note that I used an inspection mirror to make sure the hoses were properly placed over the servo assembly and not pinched or folded.
I then had to reattach that wiring bracket. I used the old trick of using a piece of paper towel between the fastener and the socket to hold it in place. It's an awkward enough location on the car that I didn't want to take any chances dropping it.
I then made a mistake while plugging in the wiring harnesses. Notice how the first picture has the wires running over the bracket. While this routing would probably work just fine, it's not the way the factory routed the harness, so I fished the wires back behind the bracket like they were originally routed.
With that little mistake corrected, I reinserted front of the carpeted cover and reconnected my hidden oil cooler fan override switch.
The last thing to do was to reattach the frunk handle.
Very nice DIY photos. I always appreciate people like you who take the time to take good photos and add good notes to help others who may wish to do the same thing some day. Thank you!
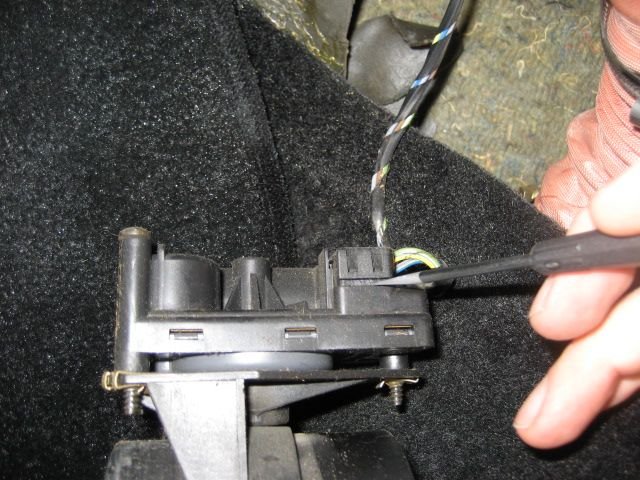
As a quick test to make sure the servo was working as expected, I hooked up the UDT999 software.
First, I made sure the CCU was actually showing a fault. I probably should have checked this before tearing into the car, and thankfully I saw a "left mixing flap motor" code as expected. The "Oil cooler temperature sensor" code also made an appearance as expected thanks to the perviously mention override switch.
Next, I instructed the software to run the left mixing flap from warm to cold. The CCU detected the movement as expected.
I have to think that the software test proves that the rebuild was successful and the problem is solved.
Thanks for a great DIY. I found a good trick for opening the case without stressing the housing too much is to lodge a series of toothpicks around the edge of the case to hold the case closure catches open. In this way, there is no need to apply twisting forces to remove the cover.
Thanks for a great DIY. I found a good trick for opening the case without stressing the housing too much is to lodge a series of toothpicks around the edge of the case to hold the case closure catches open. In this way, there is no need to apply twisting forces to remove the cover.
Thanks Andy. Your previous thread was the catalyst for this little project. Good call on the toothpicks.
Although removing the mixer flaps is straightforward, I couldn't find an existing thread on it and bet many owners will eventually have this problem. It seemed like a good candidate for a new DIY thread.
Th I couldn't find an existing thread on it and bet many owners will eventually have this problem. It seemed like a good candidate for a new DIY thread.
Yes, and failed foot well servos seem to come up on the boards quite a bit lately.
Our cars have five of these bad boy servos. The two in the footwells you address above that are relatively easy to get to. The fresh air one near the top of the front cowl and the two under it behind the dash seems to be a big job just to get to them.
In our twenty-year-old cars, they all will fail sometime sooner than later. If one is replacing the AC evaporator behind the firewall I would just refurbish all three of the ones behind the dash as they become accessible in the process anyway.
User instructions ??? We have a user manual for almost all modules... And the way of using is quite strait forward.. Easy to understand and of course questions will be answered... don't worry...
Price of the tool:
Inside Europe: 299E, excluding 16E shipment, excluding 21% VAT
Outside Europe: 299E, excluding 25E shipment, excluding 15E paypal fee...
993: two versions of diagnose: the 19P round connector and the 16P OBDII connector.. The UDT supports both connectors...
Yesterday, I removed and rebuilt the right side mixer servo. Removal and installation is even easier than the left side, because there was no wiring harness junction in the way. It's a 5 min job.
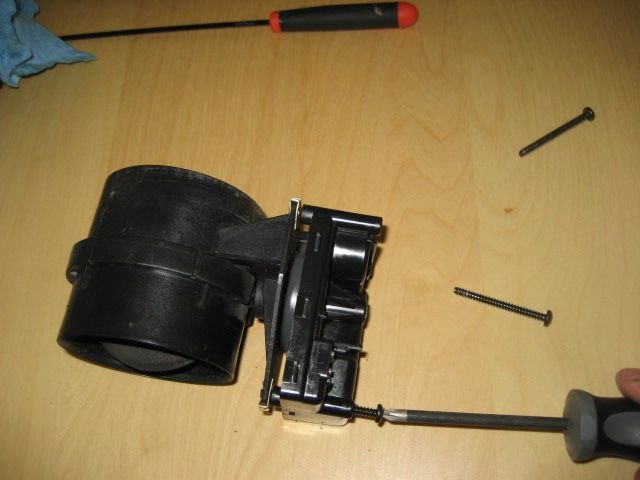
I started by removing the cover. One plastic fastener and two screws held it in.
Next, the assembly had to come out. Like the left side, the paper hose was already loose enough, so I didn't have to mess with its clamp. I just loosened the lower clamp and then used my pick as before to separate the hose from the flap assembly.
Next, I disconnected the wiring as before.
[insert magic rebuild step here - following the instructions in the kit]
Installation is reverse of removal. I did snug up the paper wrapped hose just to lessen the chances of heated air leaking from that joint.
9 Vehicles Porsche Helped Engineer that Aren't Porsches
Slideshow: Long before engineering consulting became trendy, Porsche was quietly helping other automakers build everything from supercars to economy hatchbacks.
9 Features and Characteristics That Only Porsche People Understand
Slideshow: Some brands build cars. Porsche builds traditions, obsessions, and a few habits that stopped making sense decades ago but somehow became part of the charm.
This Builder Is Turning Heads With Its Slantnose 911 Creation
Slideshow: A small Polish tuner has reimagined the Porsche 911 Slantnose for the modern era, blending 1980s nostalgia with widebody tuning culture and serious performance upgrades.
Porsche 911 GT3 Artisan Edition Pays Homage to Japanese Culture
Slideshow: Porsche has created a Japan-only 911 GT3 Artisan Edition that blends track-ready hardware with design cues inspired by traditional Japanese craftsmanship.
Porsche Reveals Coupe Variant of the Electric Cayenne With a Fresh Look
Slideshow: Porsche's latest electric Cayenne Coupe blends dramatic styling with supercar acceleration, turning the brand's midsize SUV into a 1,139-horsepower flagship.