When you click on links to various merchants on this site and make a purchase, this can result in this site earning a commission. Affiliate programs and affiliations include, but are not limited to, the eBay Partner Network.
I current have the GPS and microphone wires running through the antenna grommet (option 4) and not sure it is a good idea. My radio reception seems to have gotten worst. Previously I had the two wires running under the dash and that seems to have less interference with radio reception.
I also replaced the antenna amplifier with a new one (factory) and that did not seem to help. As I am planning on going with LED lights for the instruments, I will be back in the dash and plan to redo the GPS and microphone wires. I might first wrap them in aluminum tape to see if the interference goes away. Otherwise I plan to move them from the antenna grommet -- still on the top side of the dash.
As for the GPS antenna, I just have it "hidden" on the dash. Driver side, corner of the dash. You cannot see it when you are driving and from the outside it is hardly noticeable.
I am curious from others about radio reception and the location of the GPS and microphone wires in relation to the antenna wire.
For those that want to keep the wires in back "original" you can buy the connectors and pins online (eBay) and with the right crimpers and patience can get a factory look. I did it for both the A, B and C (hi-fi system with amplifier) connectors. I did a write-up for it and posted it -- search using my name.
Last edited by will007; 04-14-2017 at 03:07 AM.
Reason: Typo
I'm thinking of installing the media box in the driver side door pocket. Is the cable long enough for that? I plan to pass the microphone and GPS antenna through the radio antenna grommet (option 4 in Bret's). Would that require removing the glove compartment to install the head unit or thread the cables?
Finally, has anyone had any reception issues installing the GPS antenna under the dash (Schnell's approach)?
Proj993 - I can't give you an exact length of the media box cable. However, mine is installed under the dash just to the right of the center console and all the excess cable is stuffed inside the center console. When I pull all of that out and estimating the remaining length going up to the head unit, I'm guessing there is around 3 feet of cable (probably 1 meter). Trying to run it all the way to the driver side door pocket will be a stretch. Also, the cable is roughly a 1/4" in diameter and not extremely flexible. I'd be concerned how it would hold up to repeated bending with the door opening and closing.
You don't have to remove the glove box to run the wires or install the head unit unless you decide to put the media box inside the glove box.
With regard to GPS reception, I tried both ways and I definitely get better reception with the antenna on top of the dash. Mine just sits on the passenger side of the dash in the corner where the door frame and windshield meet. It is pretty unobtrusive and doesn't bother me. When I put mine under the dash I didn't build a frame to hold it like Schnell did. I just mounted it on a piece of the dash structure (the antenna has a magnet to hold it in place). This may be the difference in our two experiences with GPS reception.
I am curious from others about radio reception and the location of the GPS and microphone wires in relation to the antenna wire.
Will007 - I haven't notice any degradation in radio reception between the old unit and the PCRN with the microphone and GPS cables going through the antenna grommet. Not sure what to tell you.
Will007 - I haven't notice any degradation in radio reception between the old unit and the PCRN with the microphone and GPS cables going through the antenna grommet. Not sure what to tell you.
Thanks Bret -- I'm going to have to do more troubleshooting. I could just be in a bad reception area so nothing I do will really make a difference.
My PCRNS does not play from the SD Card or a USB Stick. I'm trying to play .m4a files and they are copied to the SD card or memory stick with an iMac. PCRNS just displays the names of the files that are in the directory nonstop and does not play them. It plays from an iPhone hardwired or bluetooth without any problems. Has anyone come across this issue and resolved it?
I did more experimenting. It turns out while PCRNS can play lossy .m4a files, it does not play lossless .m4a files. Hopefully they can fix this with a update.
just wanted to bump this up and say THANKS for the detailed explanation and photos. I just finished installing the PCR with your help and it sounds so much better than the factory cr210.
I have the local installer put in the PCRNS and he accidentally broke the connector of the antenna cable that connects to the back of the HU. Does anyone know the part number for this?
Completed the installation of PCCM. Thanks to Bret DIY, best article I found on this topic!
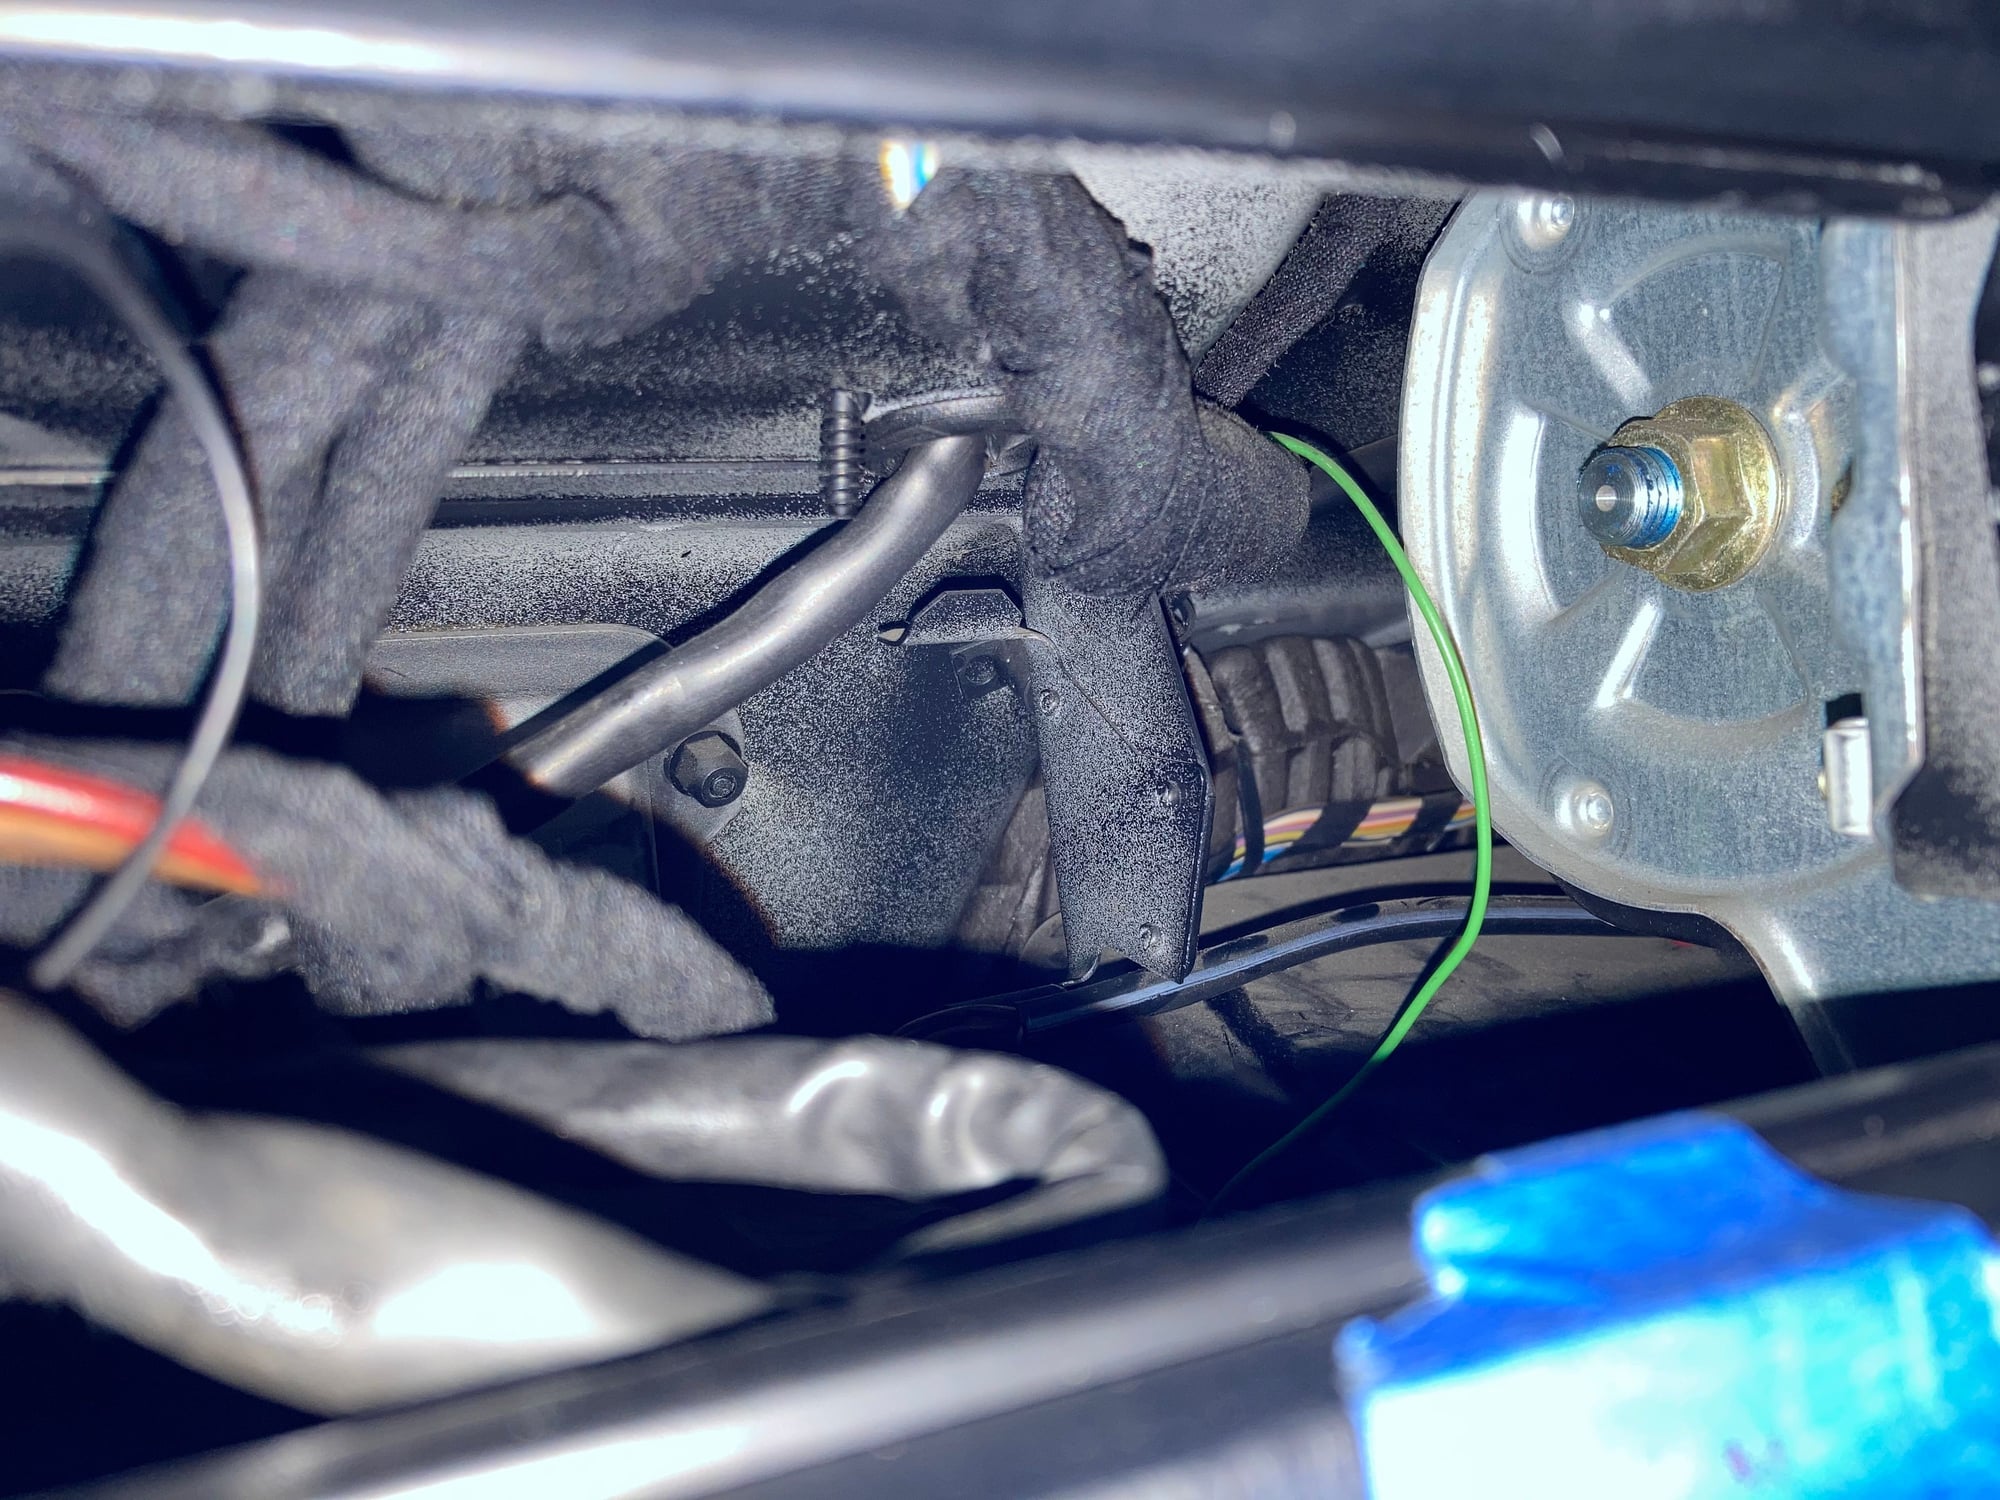
Took me 6 hours, it was the first time for me to remove the upper dash.
Main things I learnt :
- pry the clock out (could not remove the center vents, was afraid to break it) is a bit difficult at the beginning - it will come out eventually, just be patient and work your way around the clock.
- the 10mm nut behind the clock : it is not that small so don't worry about losing it but still be careful.
- GPS antenna put on the center metal vent (thanks to magnet) is a very good location for installation - will need to buy SD maps to check it though.
- planned to put the media box inside ashtray but will likely put it on top of center console (above hazard lights button console). the wire from media box to PCCM is not that long.
- the plastic tabs on each side of the dashboards are quite hard to remove.
- put tape or towels on the lower part of the dashboard to avoid damage, it did save me.
- when inserting the head unit into the slot, pull down wires to help make it flush. I also found that the antenna wire is quite thick so it also helps to pull it up to help the head unit go fully into its slot (do not zip tie the antenna cable too early).
The rubber grommet.
Install completed!
The PCCM worked right away so that was a relief. I did not play much with the settings nor discovered all the functions.
Applecarplay works fine, tuner works fine, BT music streaming is good.
My mic is located between sunvisors and call quality was good. The quality of the sound is really average (to be polite), the old Becker I had inside (with CD though) was better than MP3 with the PCCM.
The screen seems really responsive to the touch of the finger but the screen size is too small to look at Maps indications so this is dangerous because you need to look down.
I'll probably have to change my speakers.
I am becoming more comfortable with working on the 993 so I get to know her a little bit in more details which is a good thing.
thanks again to Bret and all others who gave feedback - you made this install possible for all DIYers!
Hopefully, with the info above the installation will go quicker and smoother for everyone who decides to install this on their own. Best of Luck!
Super post with extremely helpful pictures - and not only for those considering PCCM - there simply aren't enough detailed pics otherwise of what lurks behind the upper dash .

 04-13-2017, 11:56 PM


 .
.