When you click on links to various merchants on this site and make a purchase, this can result in this site earning a commission. Affiliate programs and affiliations include, but are not limited to, the eBay Partner Network.
The other photo being referenced was with Dunlops in 265's. i only had those on temporarily while inwas waiting for the ho ho's and my other wheels were being tidied up.
The other photo being referenced was with Dunlops in 265's. i only had those on temporarily while inwas waiting for the ho ho's and my other wheels were being tidied up.
Thanks!, amazing that they fit there, rear height is 98mm in that pic?
I get 3.66" of front space and 8.34" of back space for the tire envelope w/ that setup, I believe that it is a record for the front space, the record for backspace is 8.38" w/ BBS R-GT wheels 10ET65 and 285/30 x18 R6
So the original plan was to drop the engine for some minor well overdue maintenance.
RS Flywheel, 997.1 GT3 pressure plate and disk.
Replace PS belt
Replace RMS (weeping)
Replace Ignition wires
LSD Install
Clean both Engine and Transmission
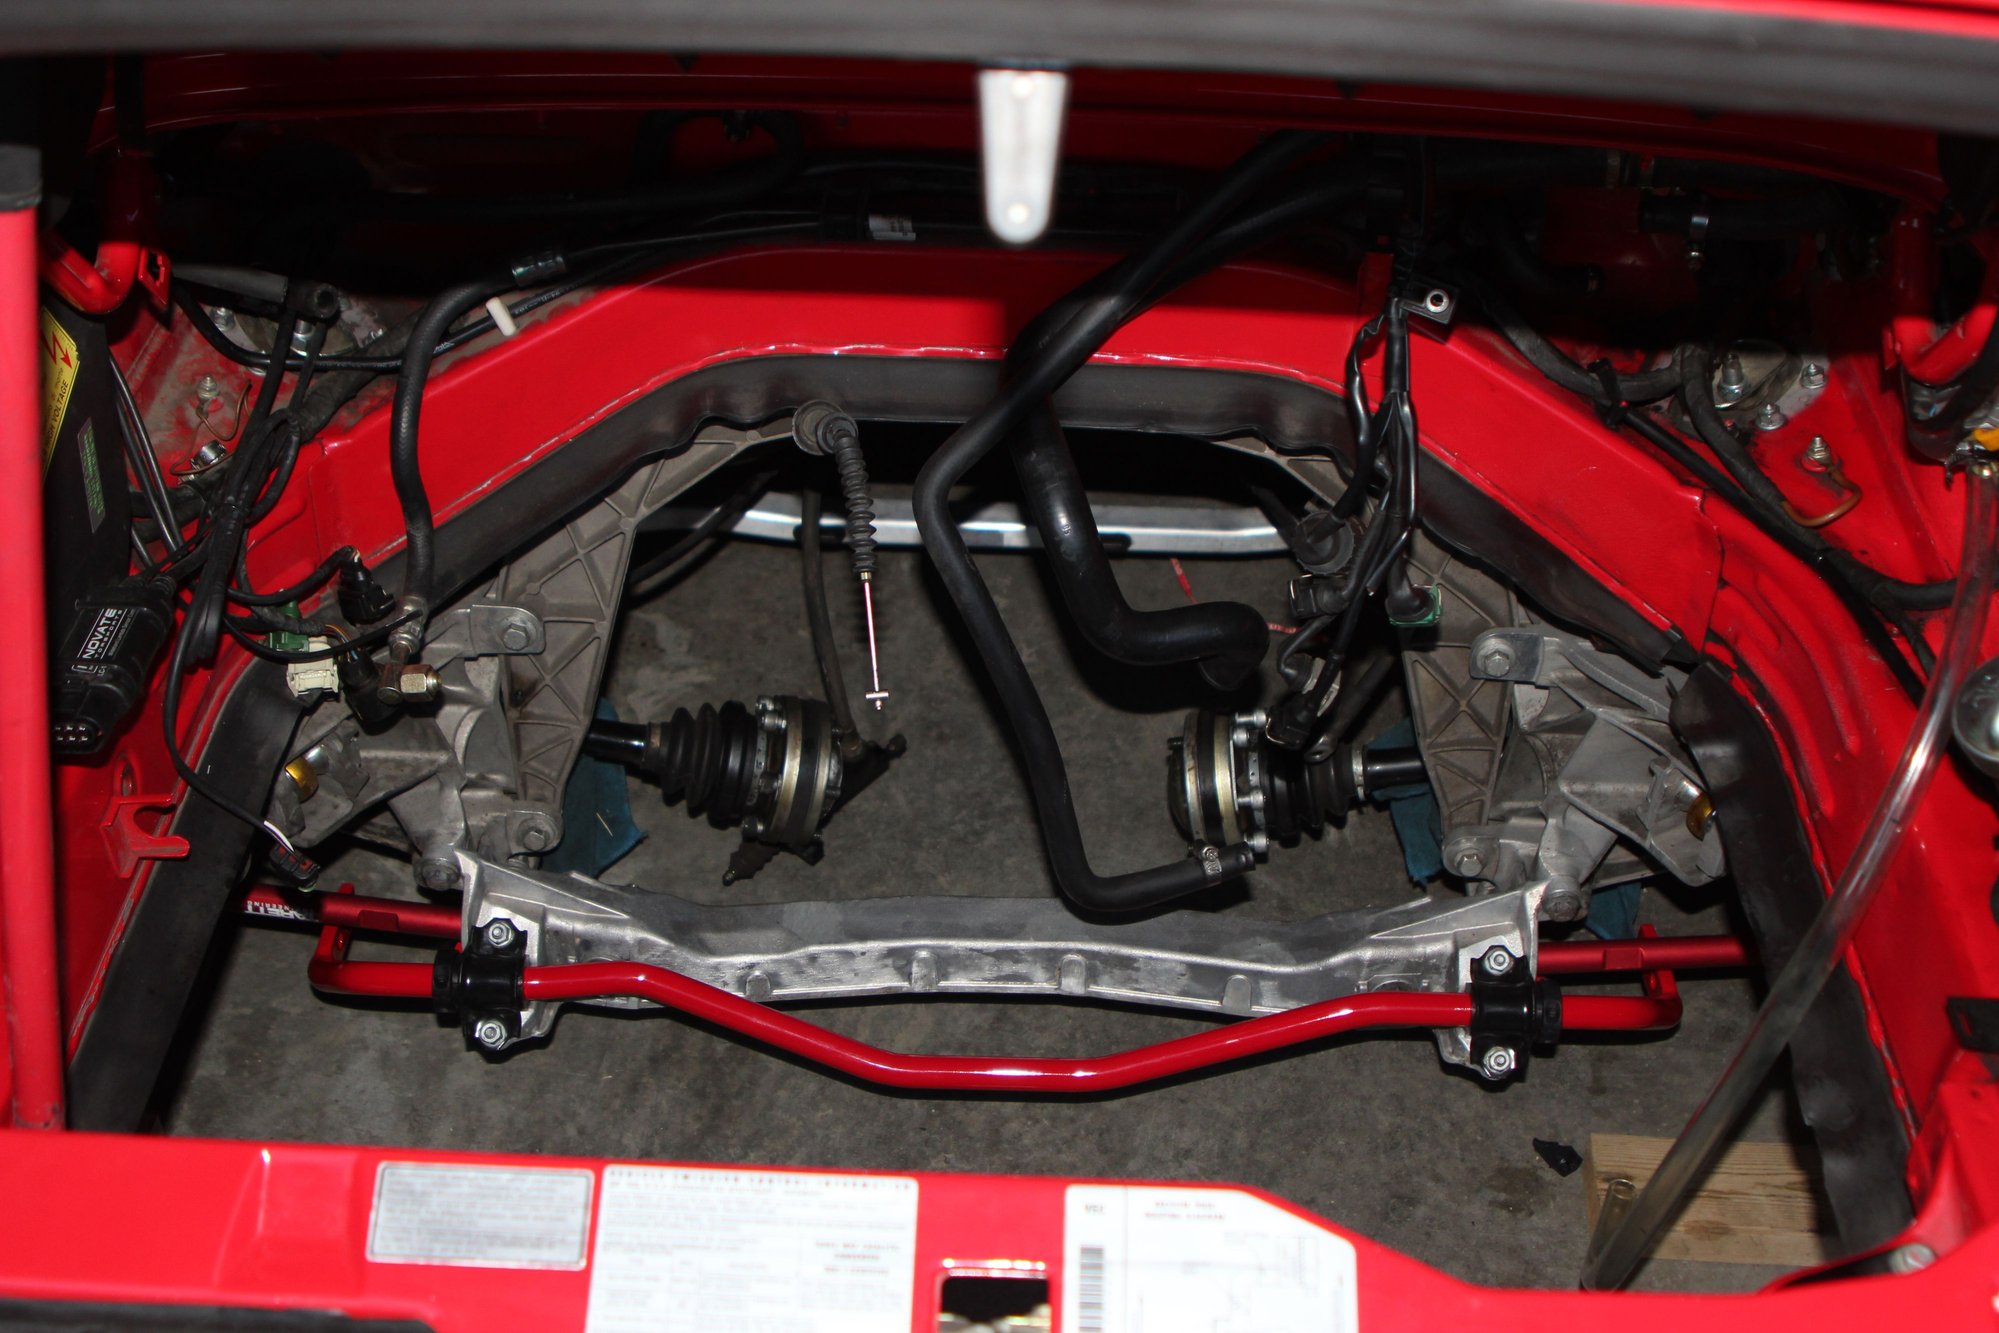
Clean and Tidy Suspension
Install ERP Rear links, a-arm monoball, solid side member mounts
So in the process of dropping the engine this is what I found on the Oil drain plug in the case. Yippee I said
The next time this is filled it will be much more special. Also installed here are the ERP Links, Tarrett Toe Link, Solid sides and the freshly powdercoated TRG Swaybars. Suspension was put back in so the car could be moved around.
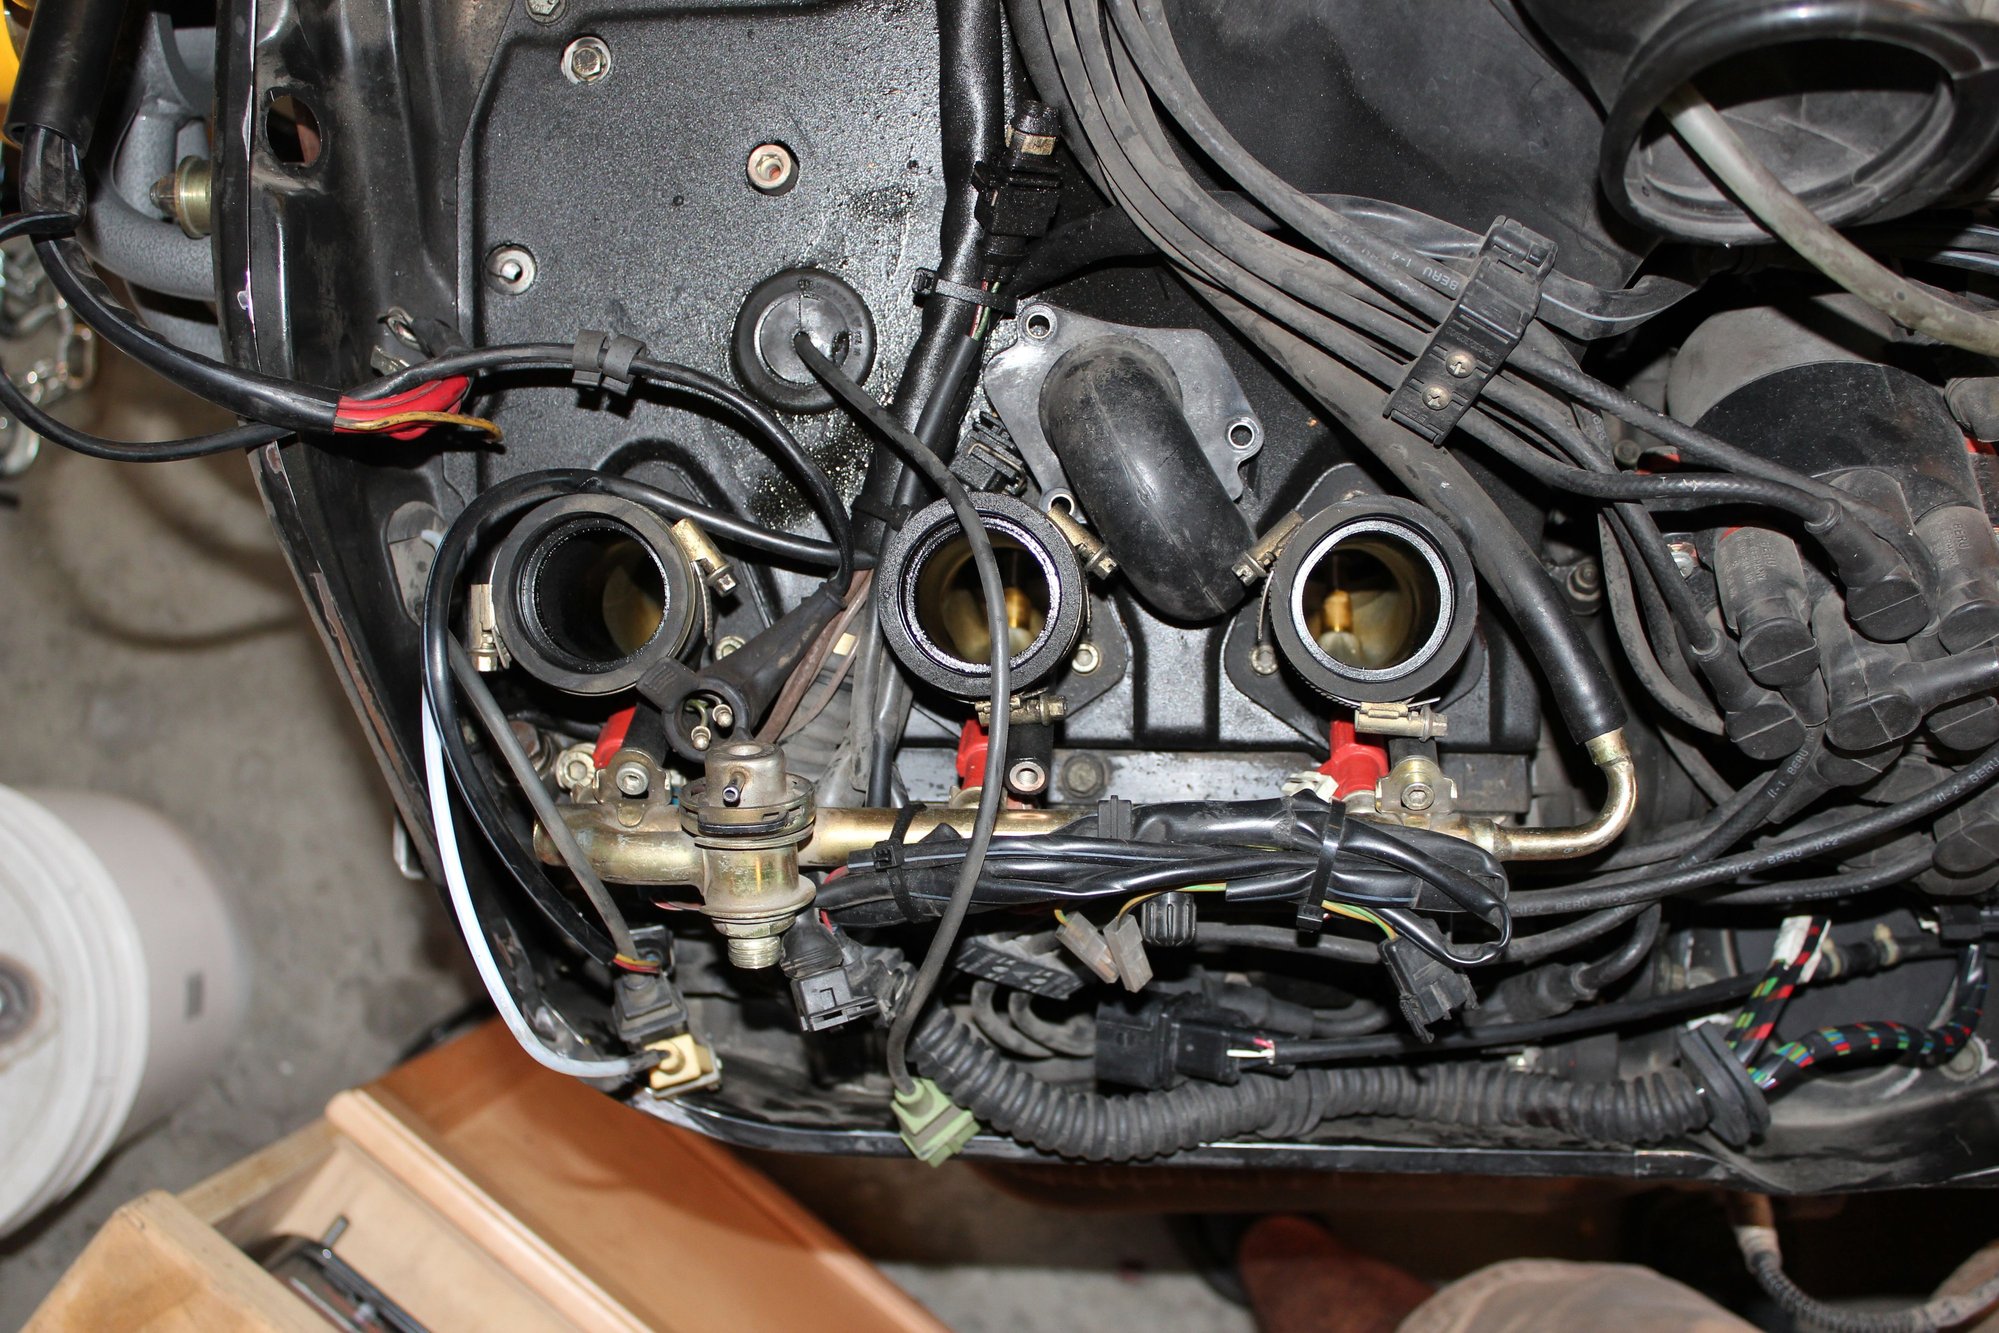
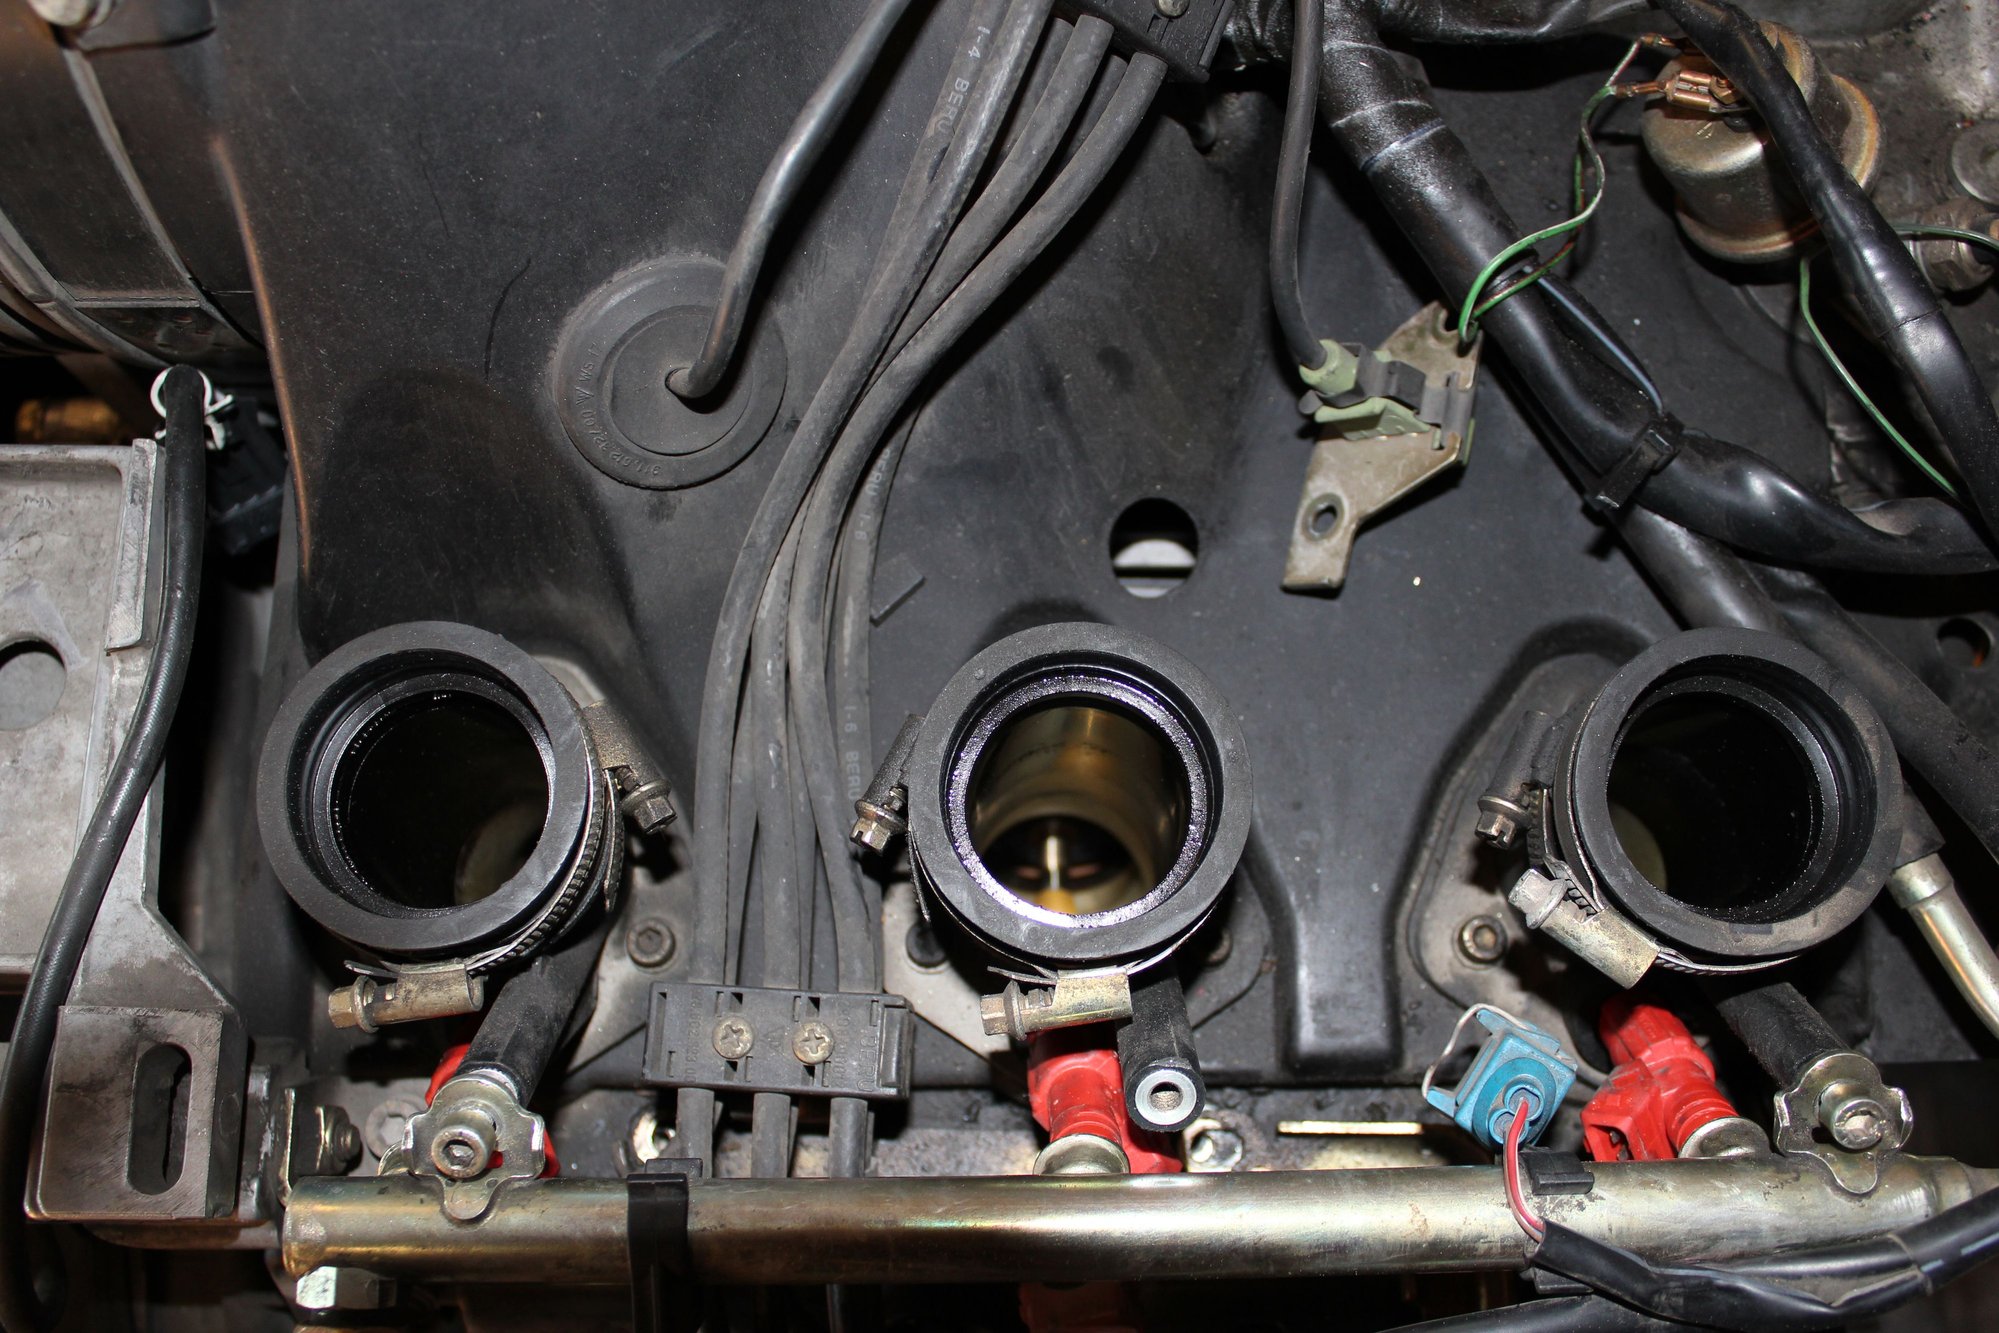
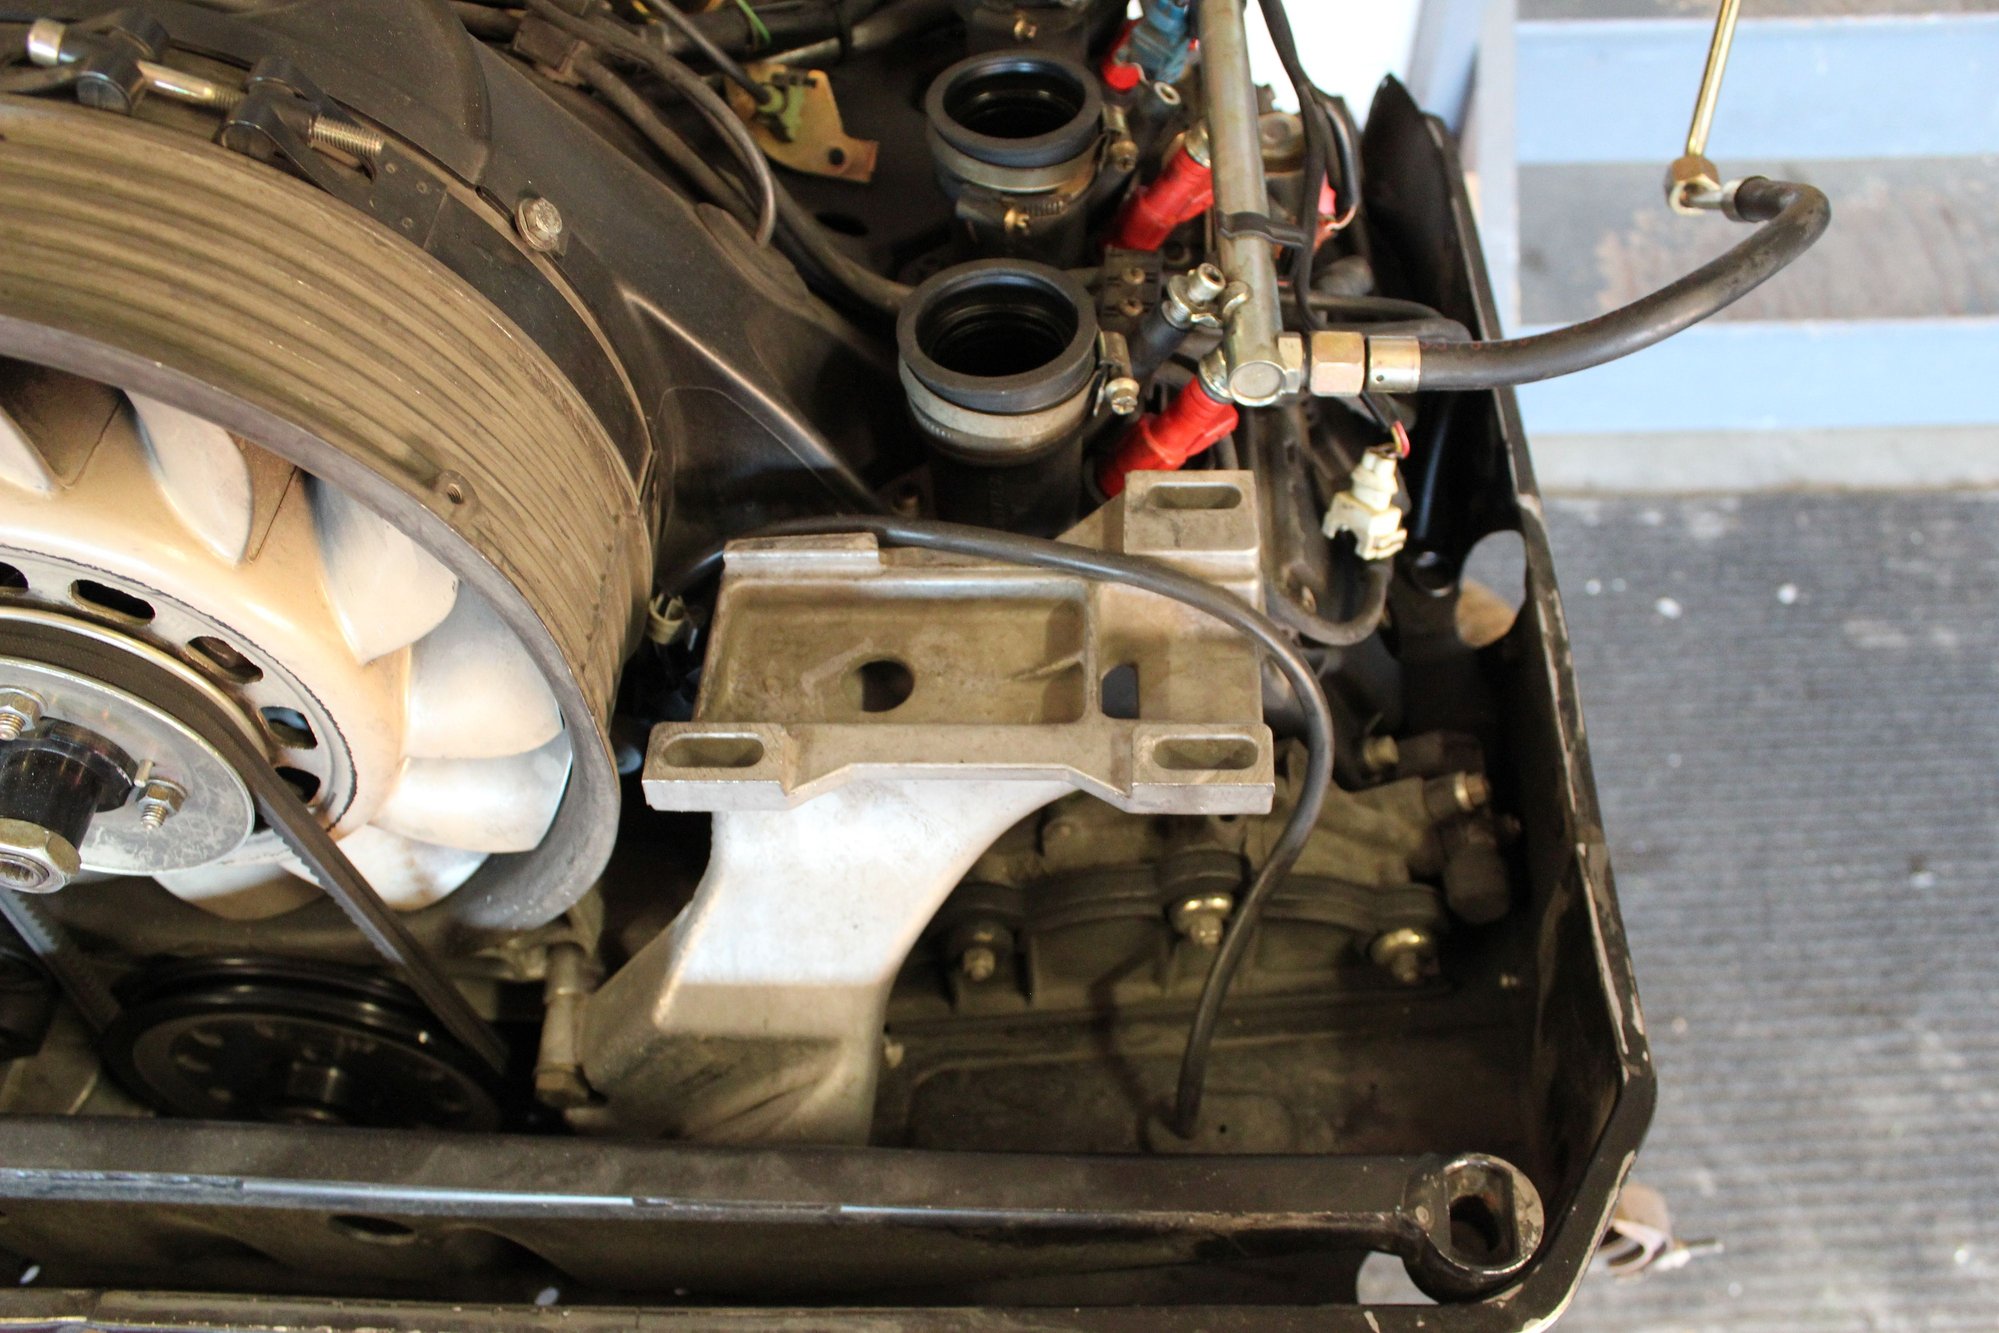
Engine on stand with Intake off.... Lots of pics were taken here so I could keep track of where things are supposed to go. In reality I never actually went back to these photos to see where stuff went. Even though it was almost 18 months between tear down and reinstall. SO bear with me
You will notice in these the non stock injectors, these were installed when I installed the ViPec system in 2011. These are Bosch "Red Devils" around 310cc.
Looks complicated!
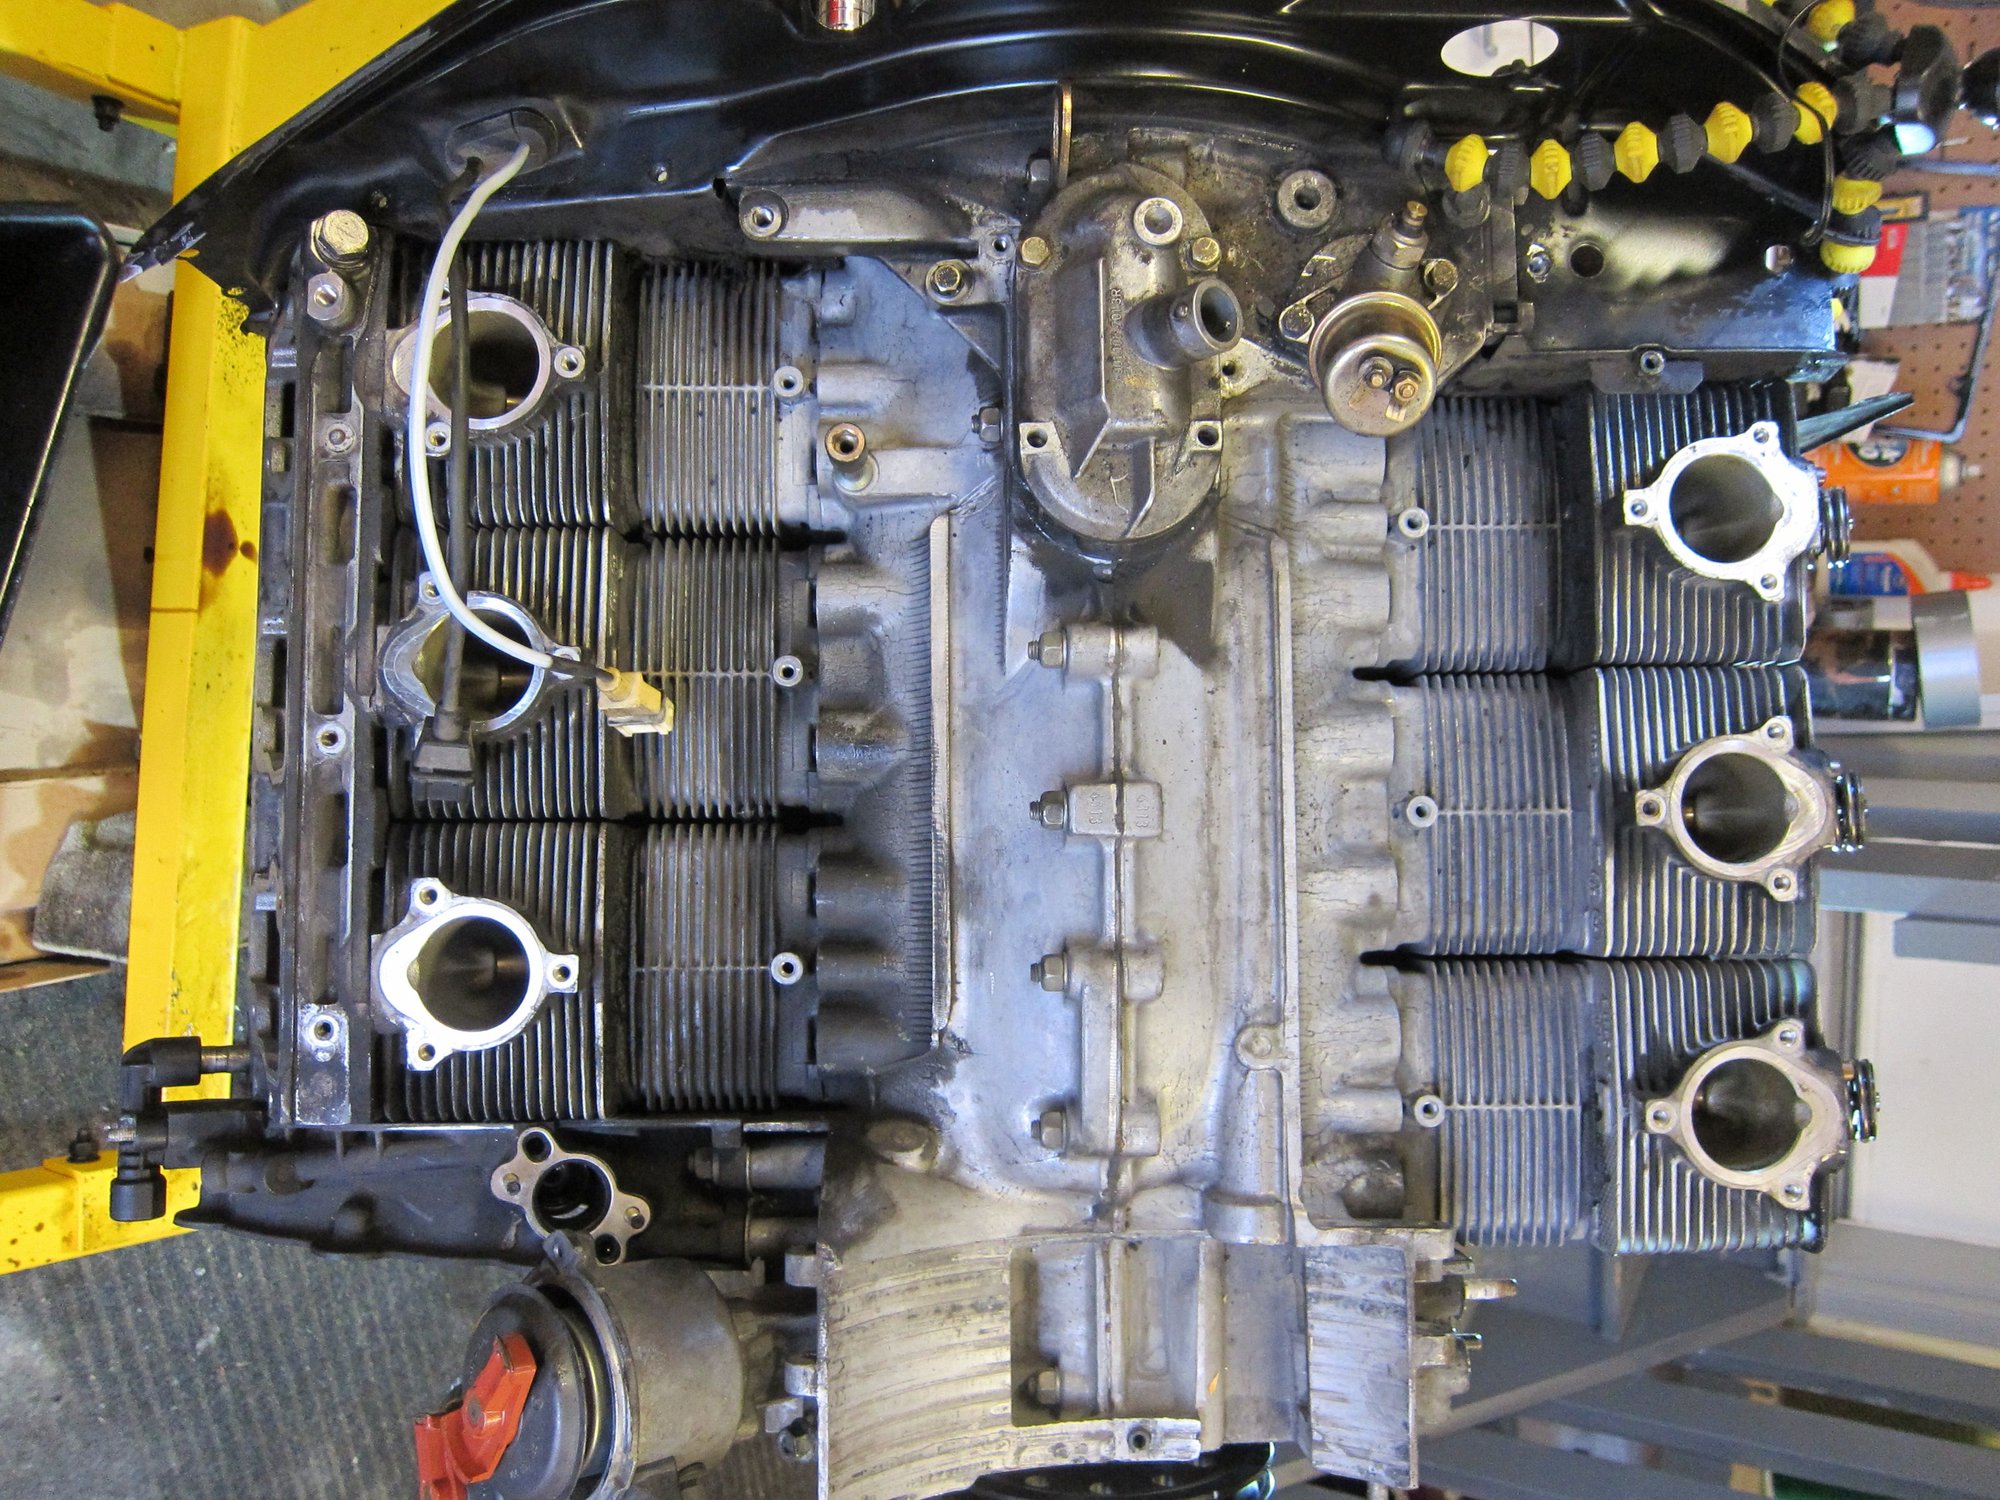
Looking at cylinder 1 to 3, and 16 years of oil, dirt and crap. Notice how clean the valve guides are.. I was surprised.... (Part between intake 1 and 2 is from the transmission )
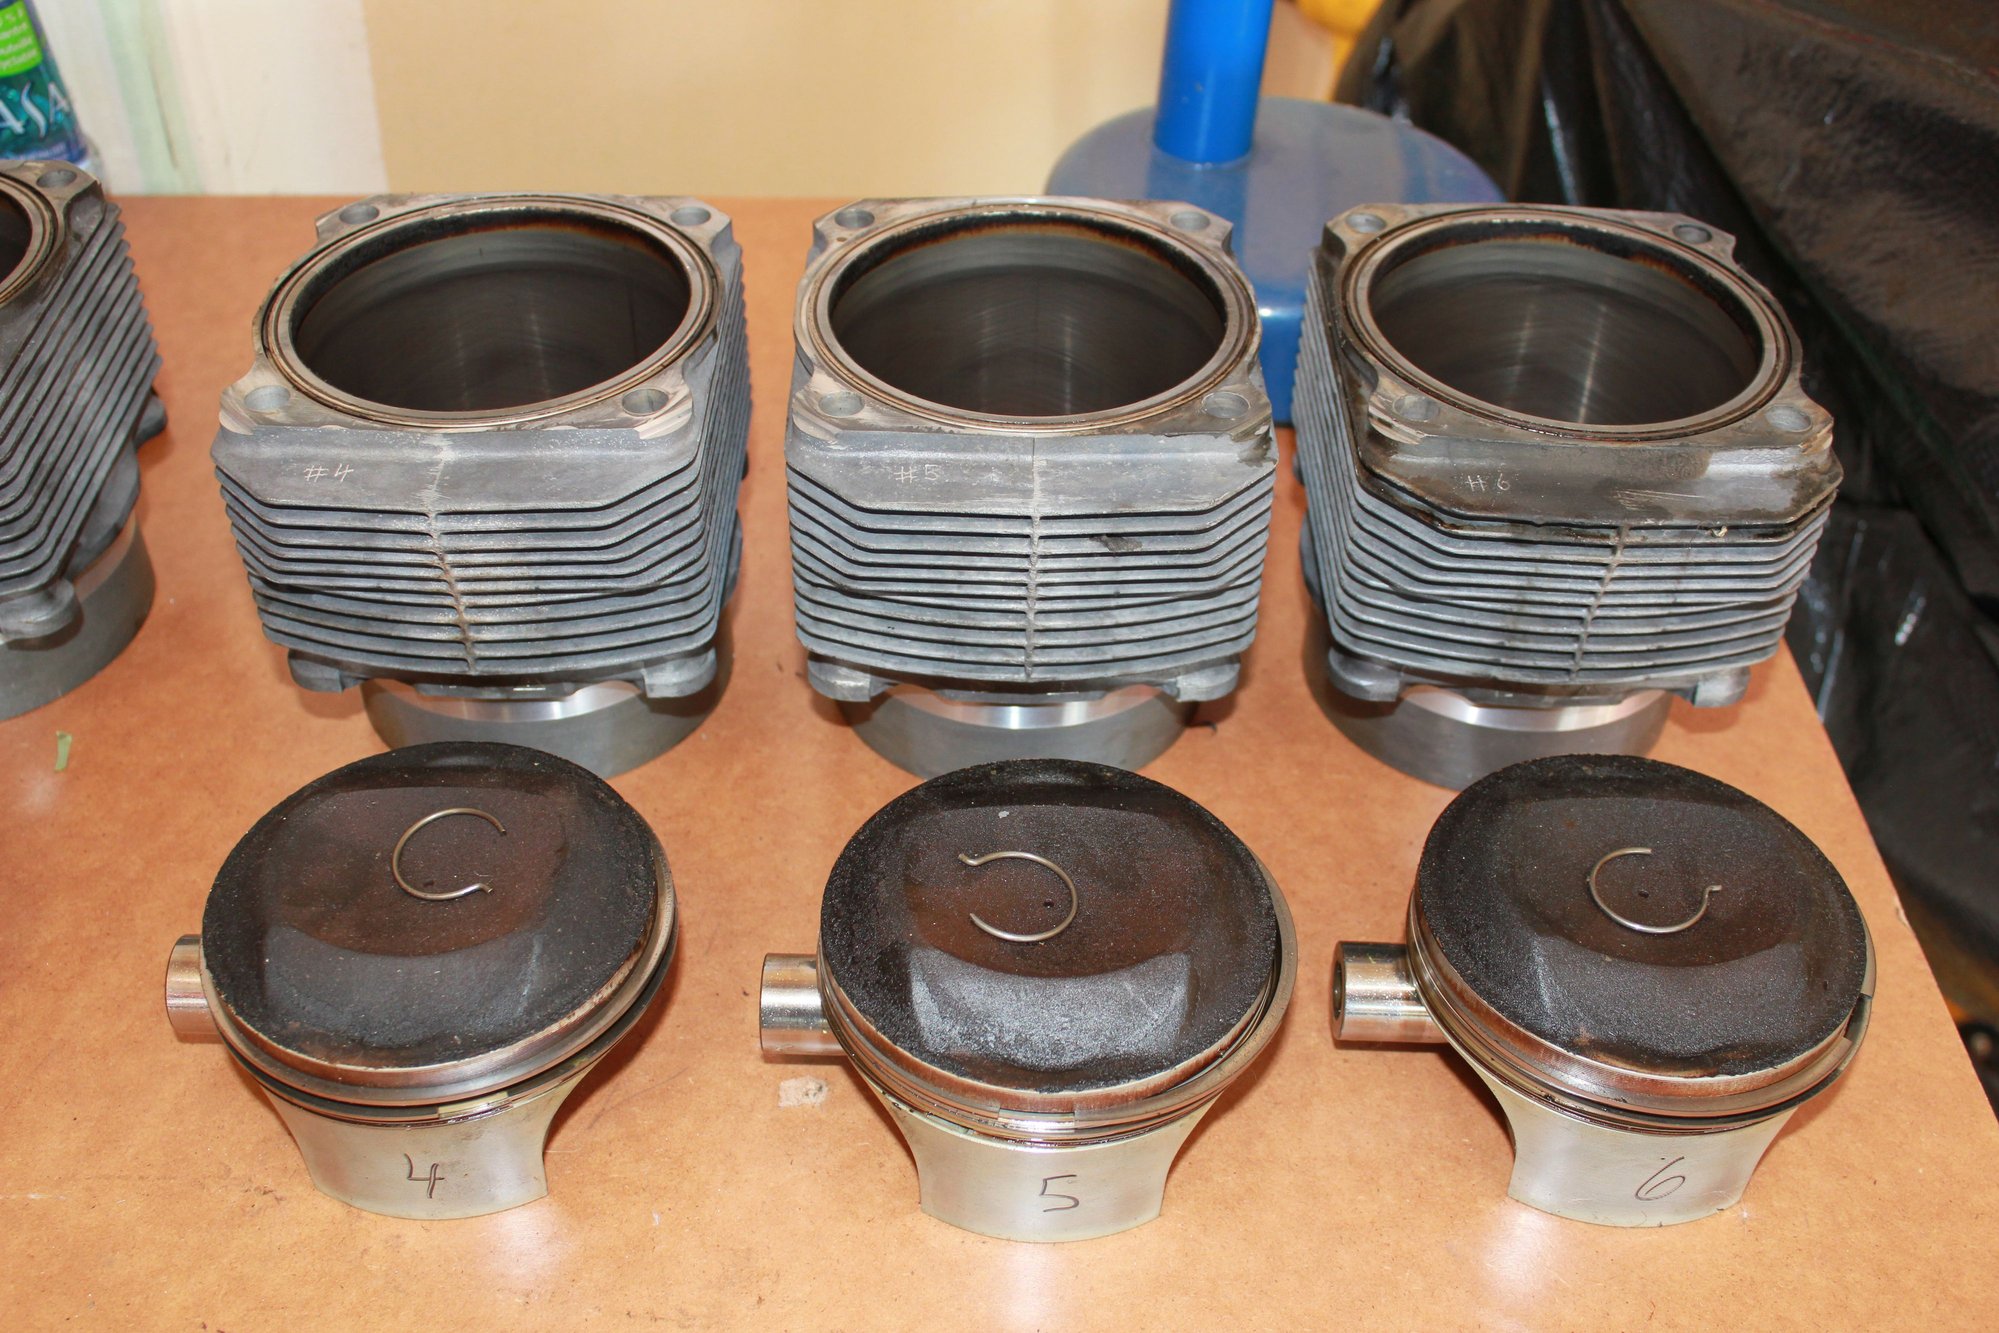
Cylinders 4, 5 and 6.
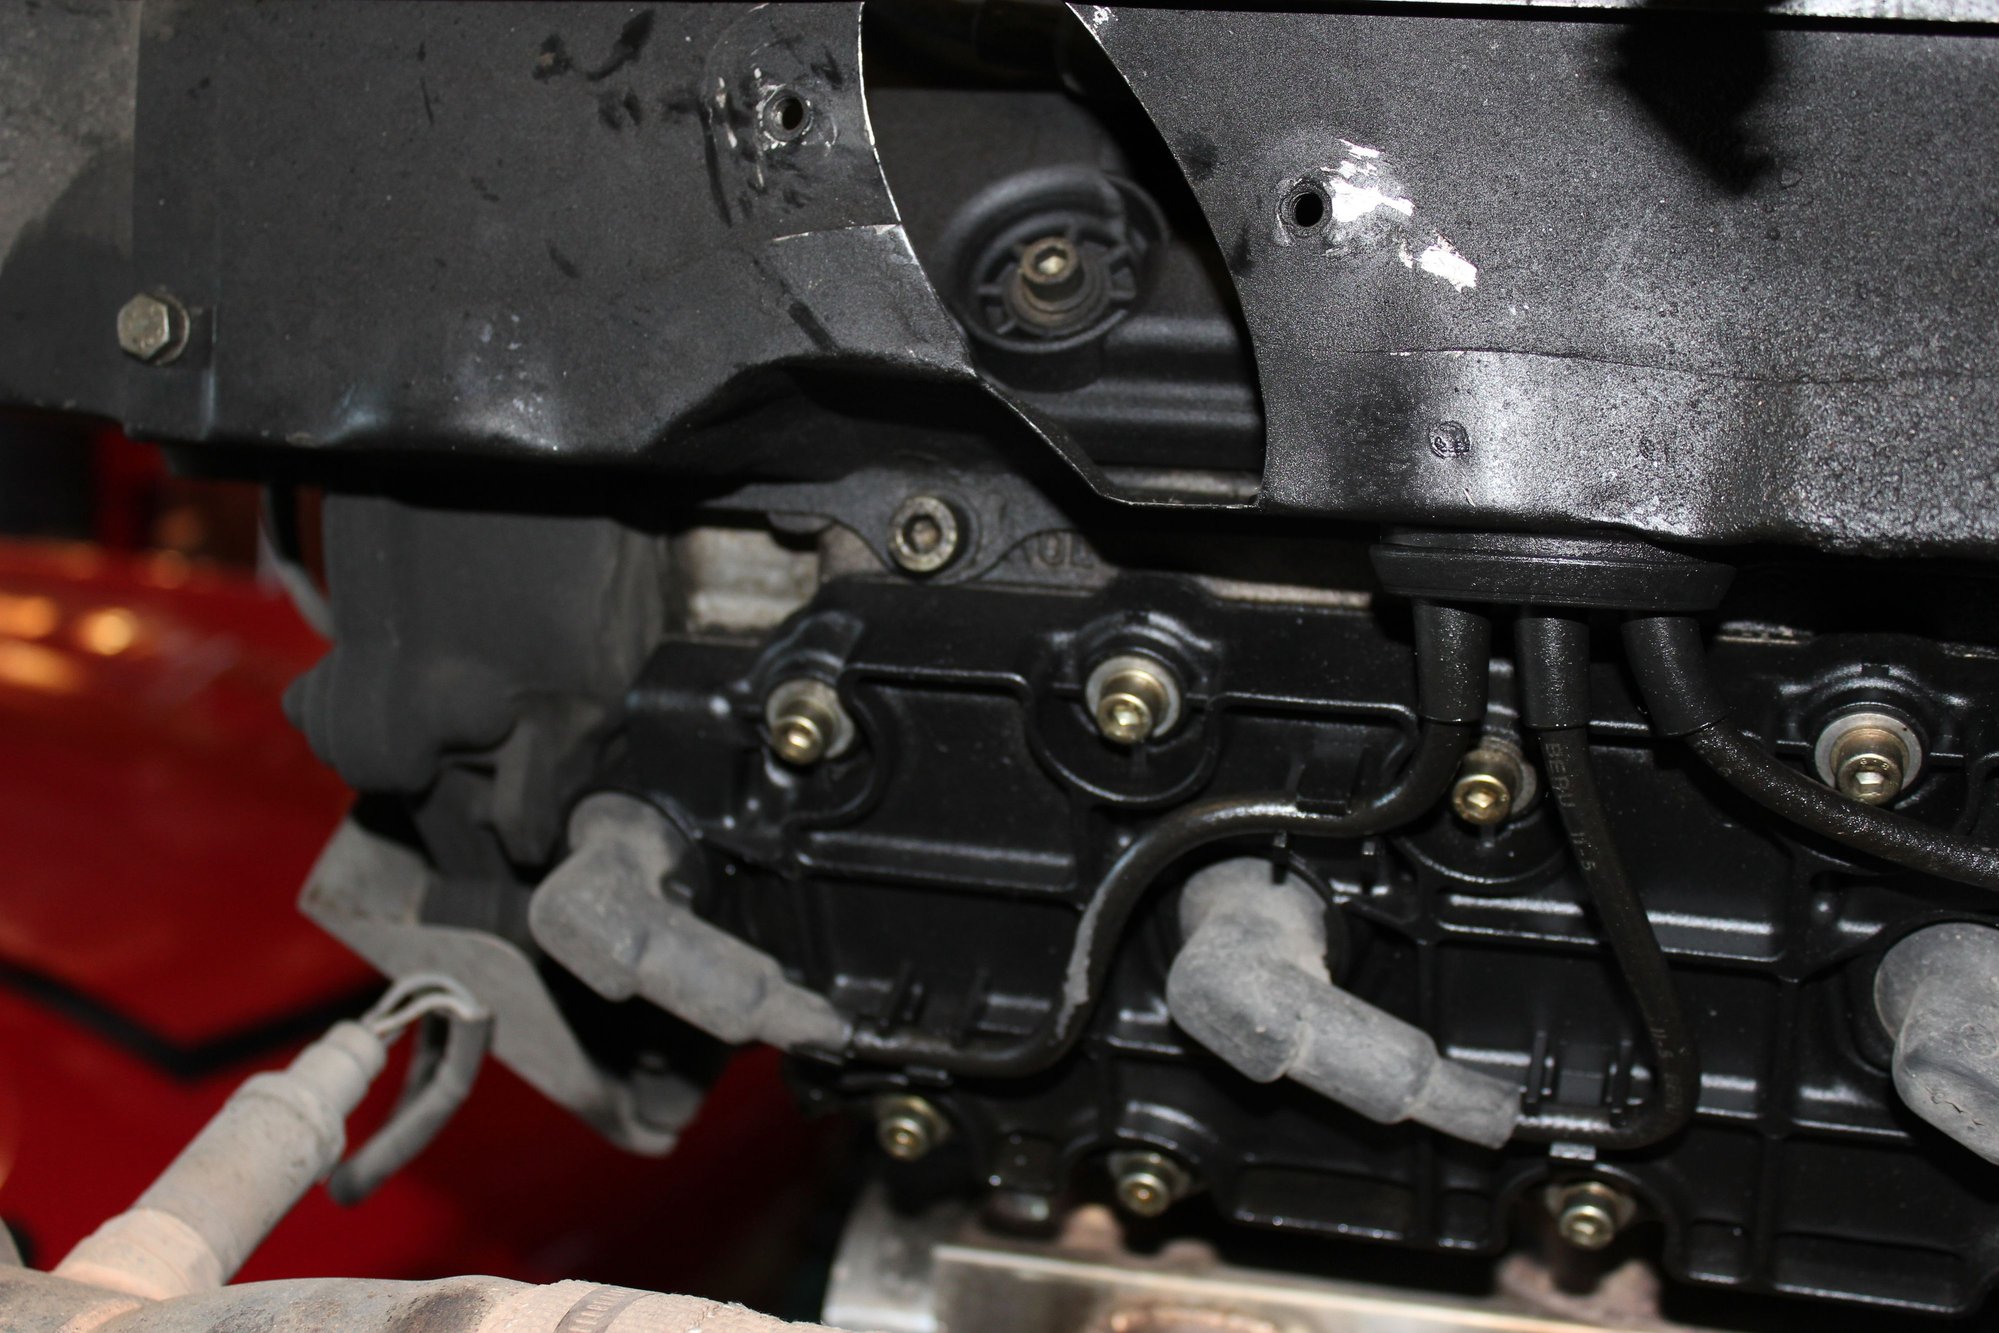
Sensors and crank case vent. Also plug for knock sensor (Green plug on bracket)
A/C Bracket that will be 'Edited"
Distributors and wires.... Boy, everything looks filthy..Mr Clean would be disgusted (Sorry Andreas )
Its amazing how wide the assembly iss with the aftermarket (Fabspeed) headers in place.
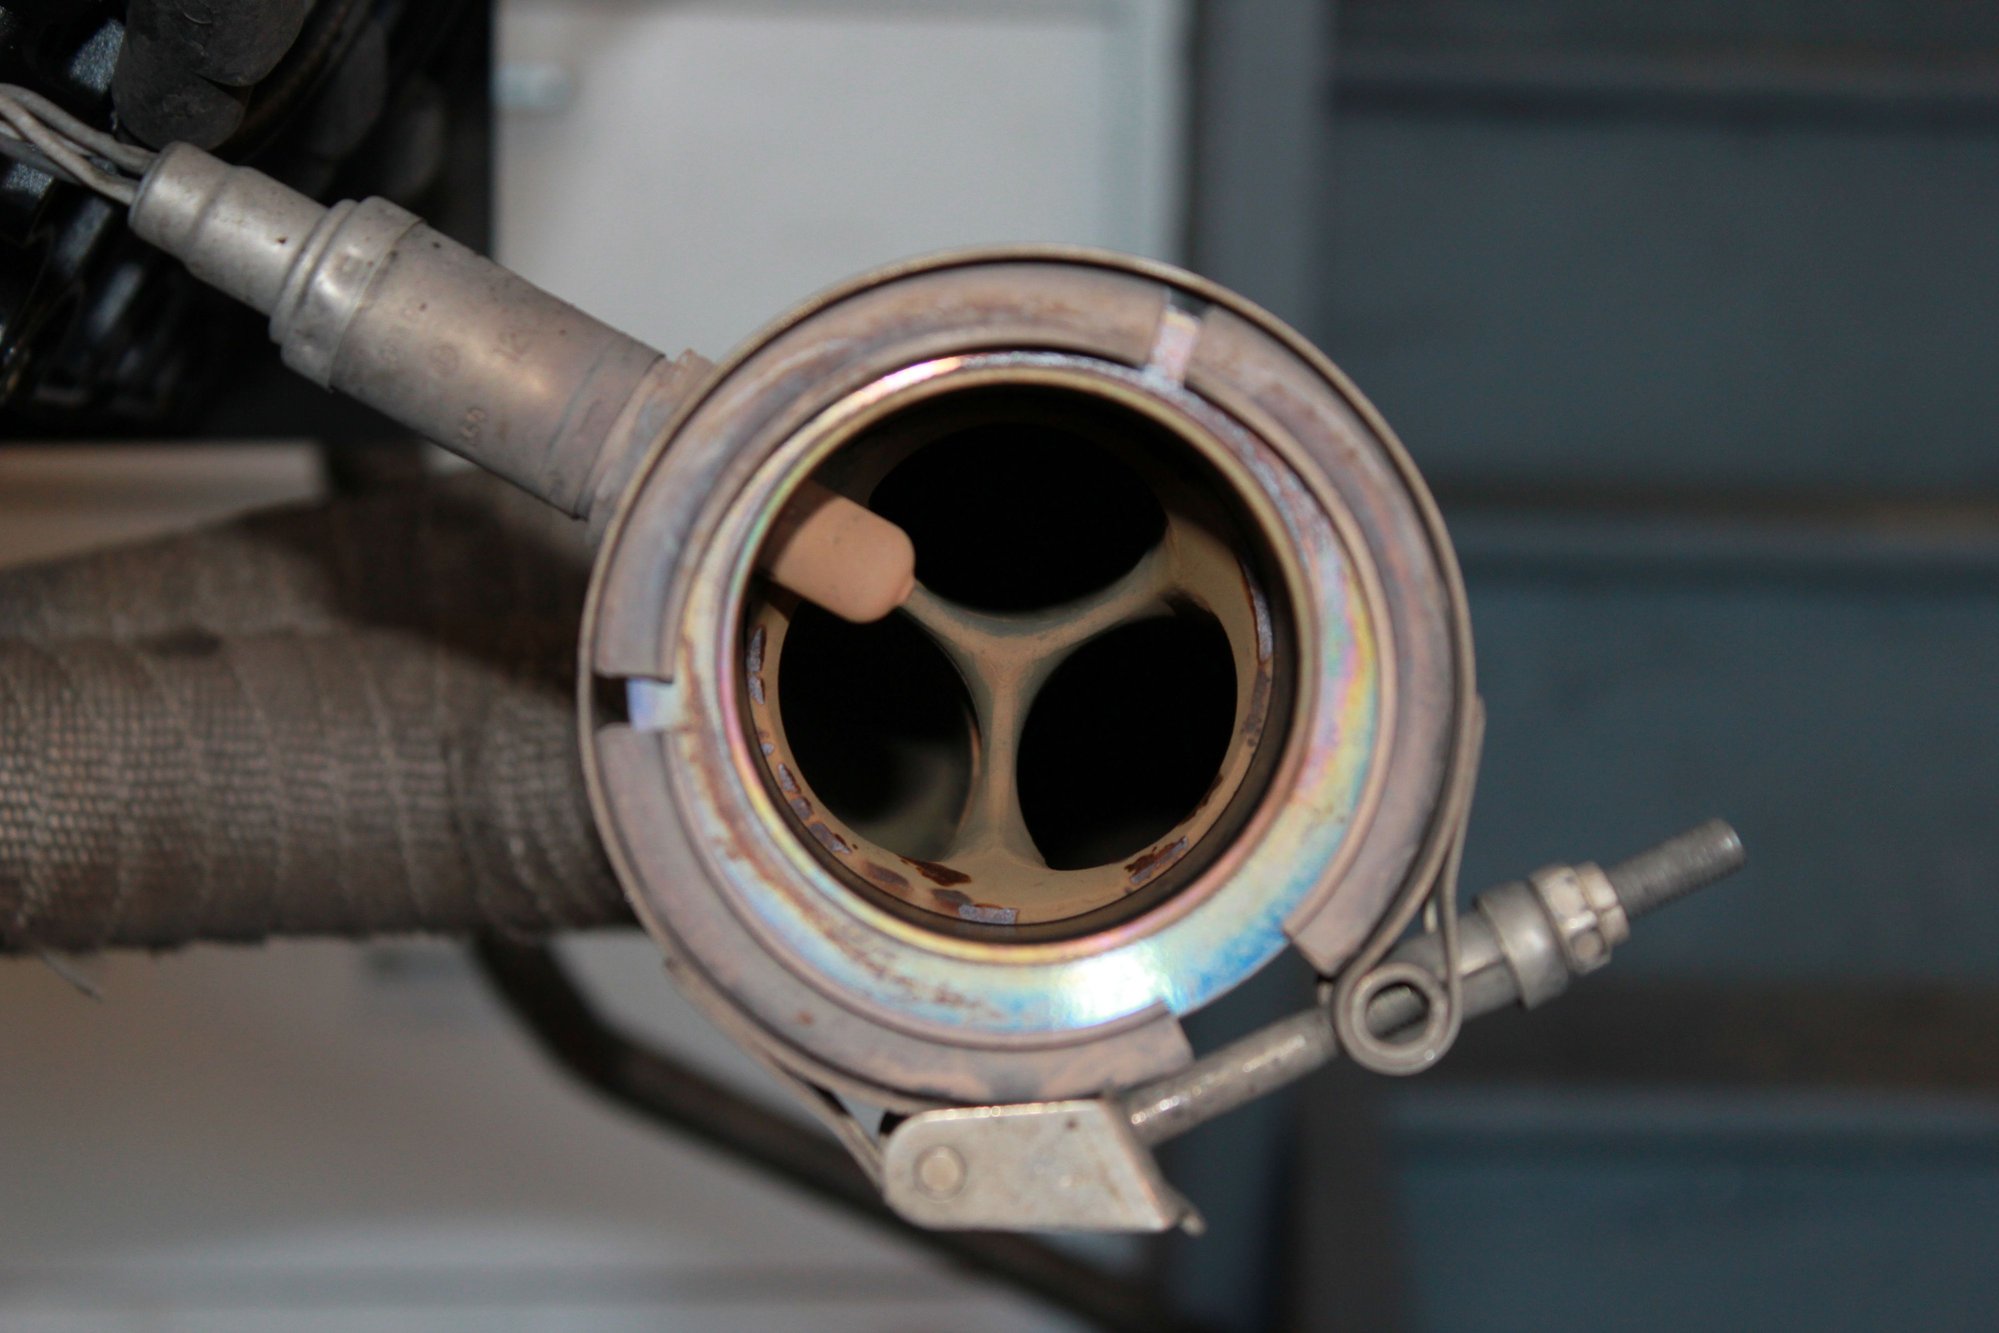
I just think this looked cool, looking into the collector of the header. Here you also see the V-Band clamp that I had installed so I could make quick muffler changes.
Back of the engine showing the Cylinder head temp (White) and flywheel reference sensor.
The rest of the ancillary items being removed, leaving the wonderful looking block.
Alternator and fan assembly removed. This little cubby has been known to house rodents and other small woodland creatures and their associated bedding.
Cosmoline.... The bane of our existence.
Cam housing for 4,5,6 removed some weeping has been going on over time here.
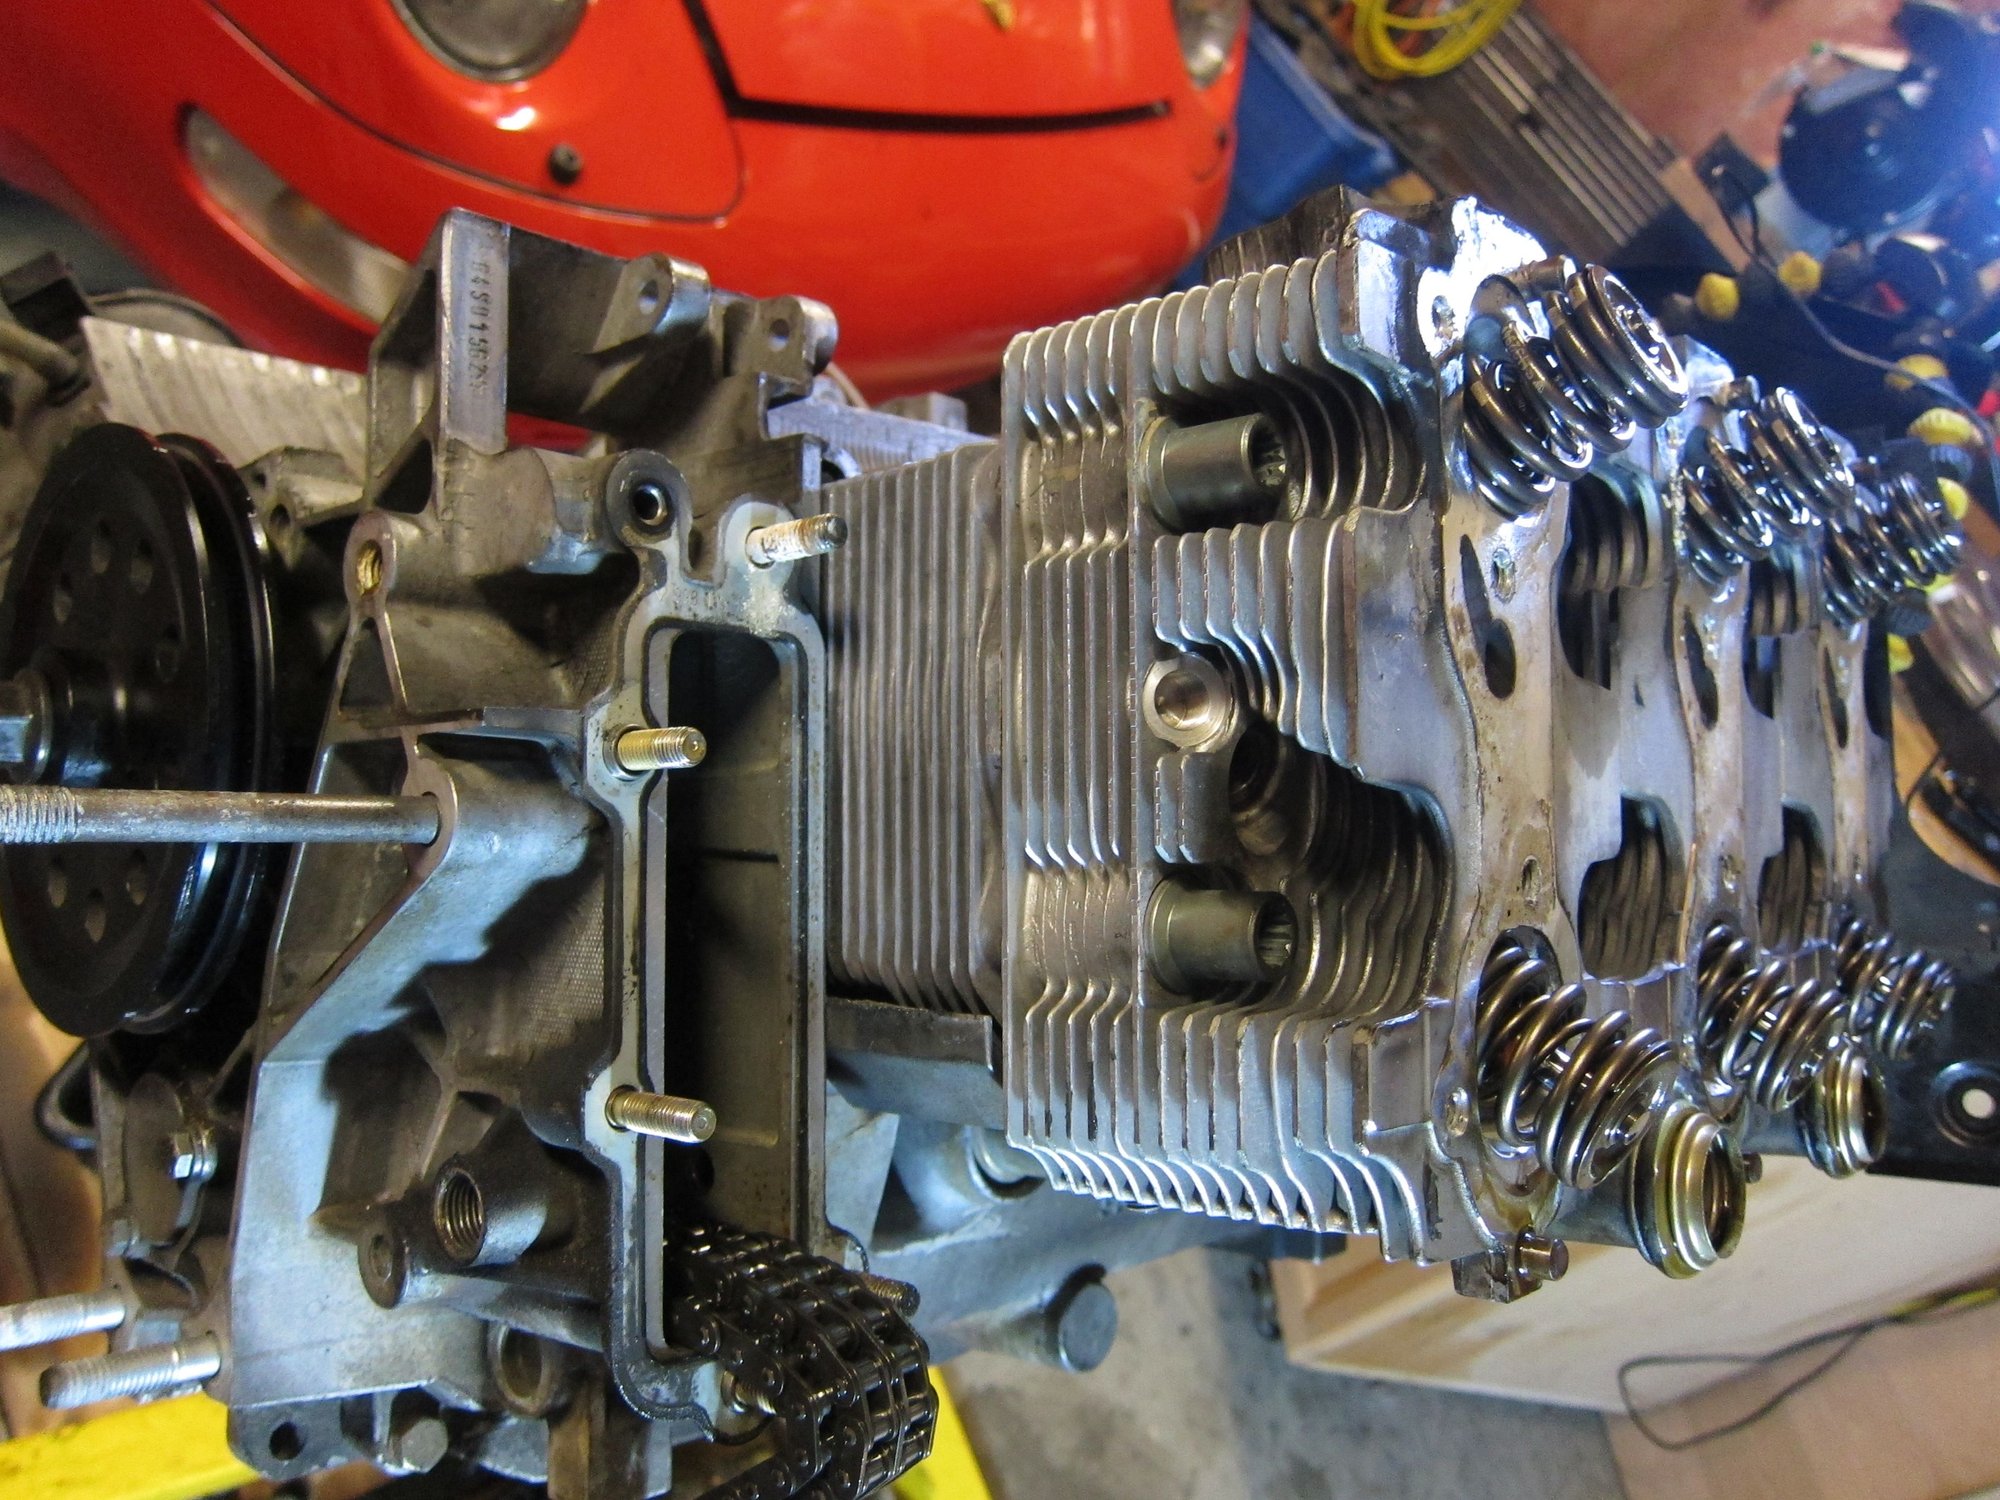
Close up of chain housing removed and Head number 4.
Great shot of the SAI port... THis is the nasty little bugger that causes all those issues for 96 and later cars.
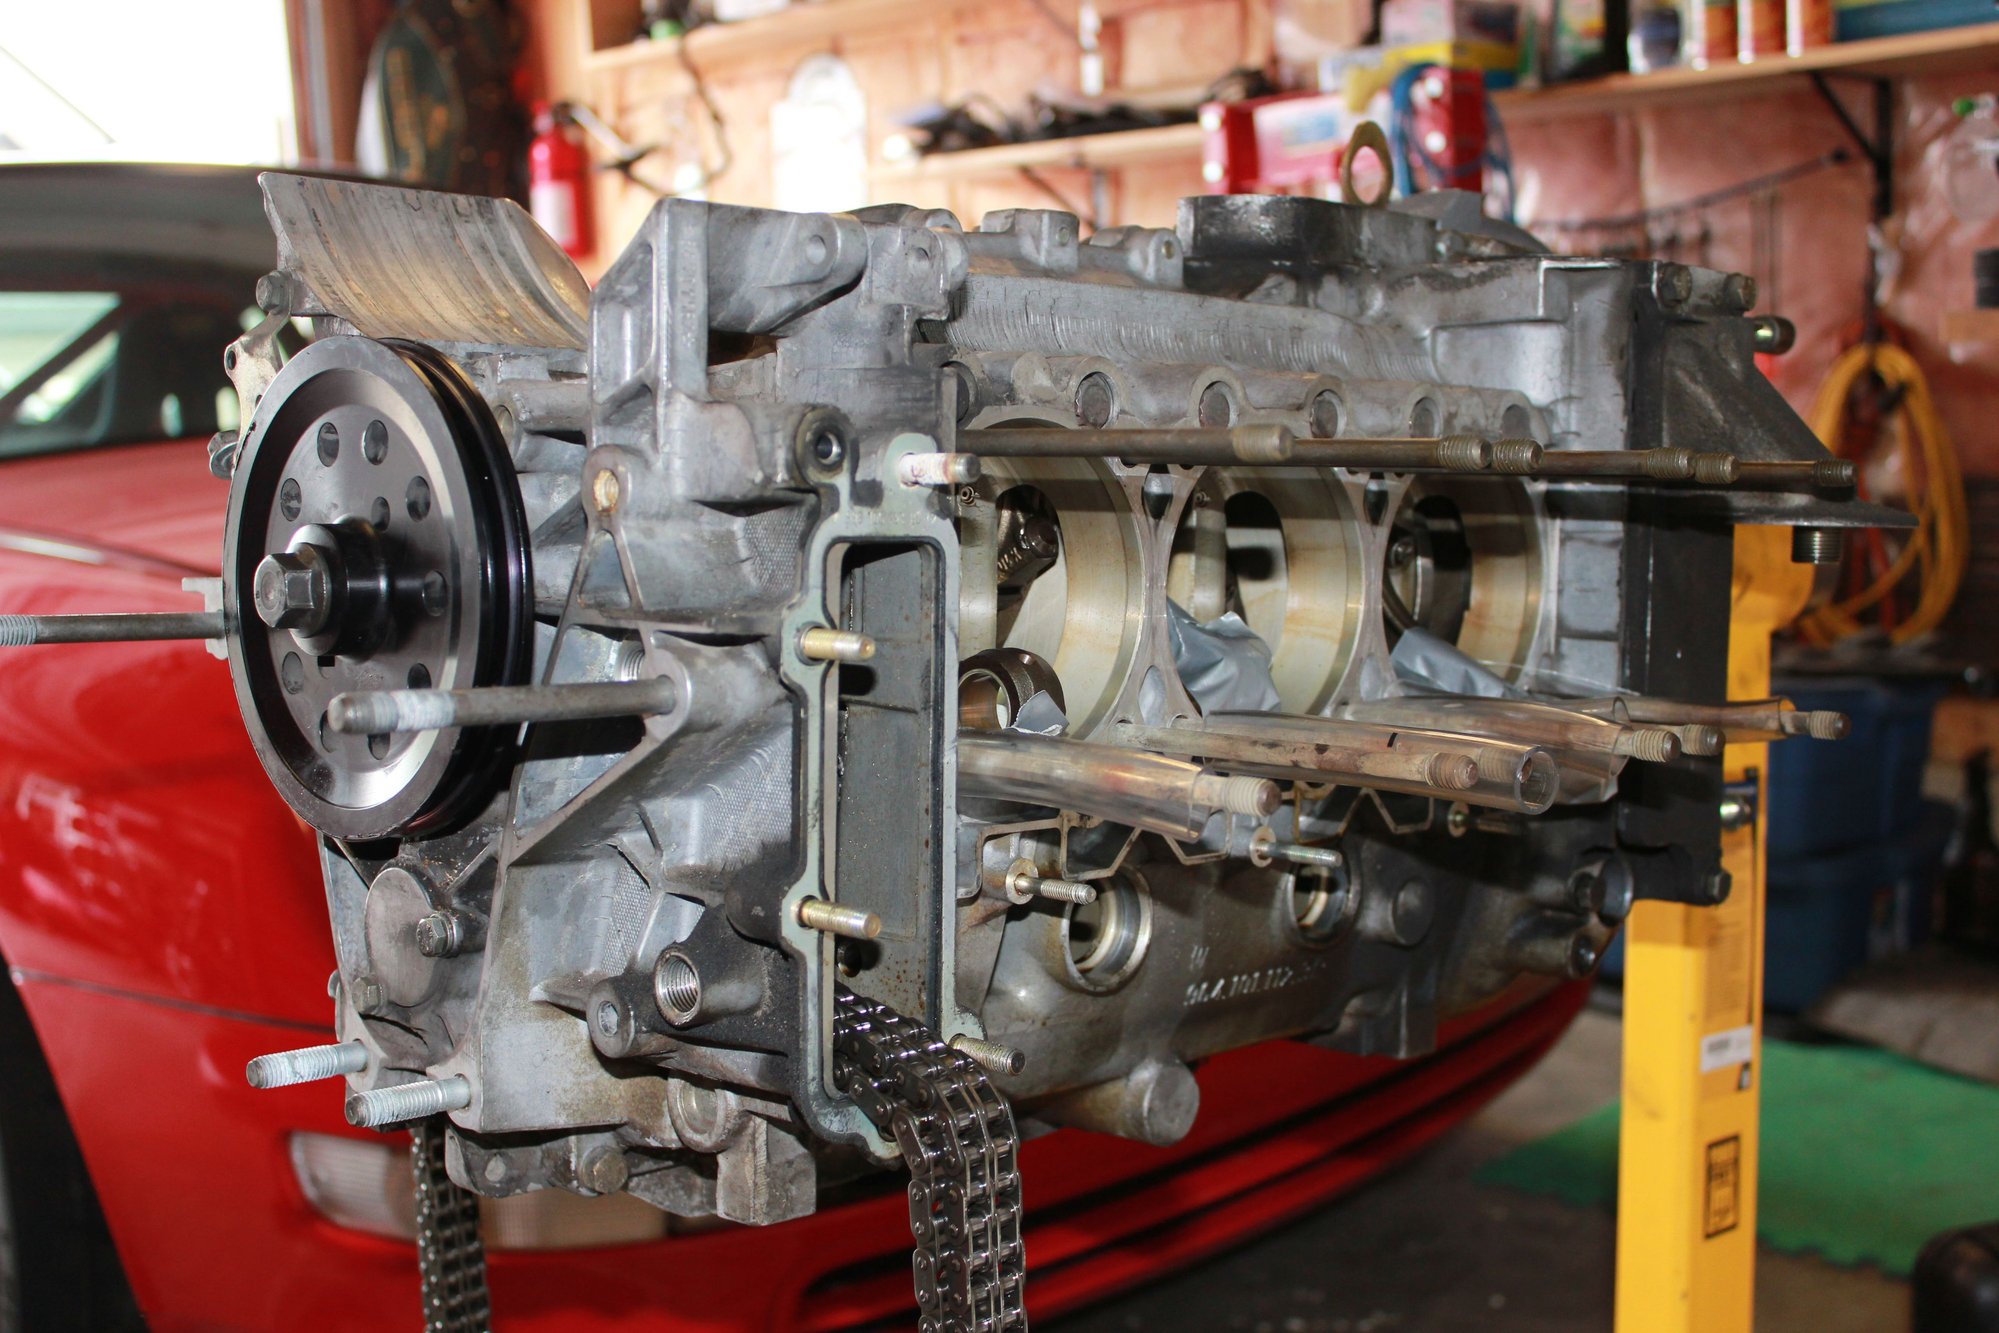
Cylinders and Pistons now off....
Closeup of the piston squirter, very important part of an aircooled engines cooling strategy.
Heads and barrels lined up neatly. All the parts were numbered for later reinstall (of course the P&C's were not going back in (
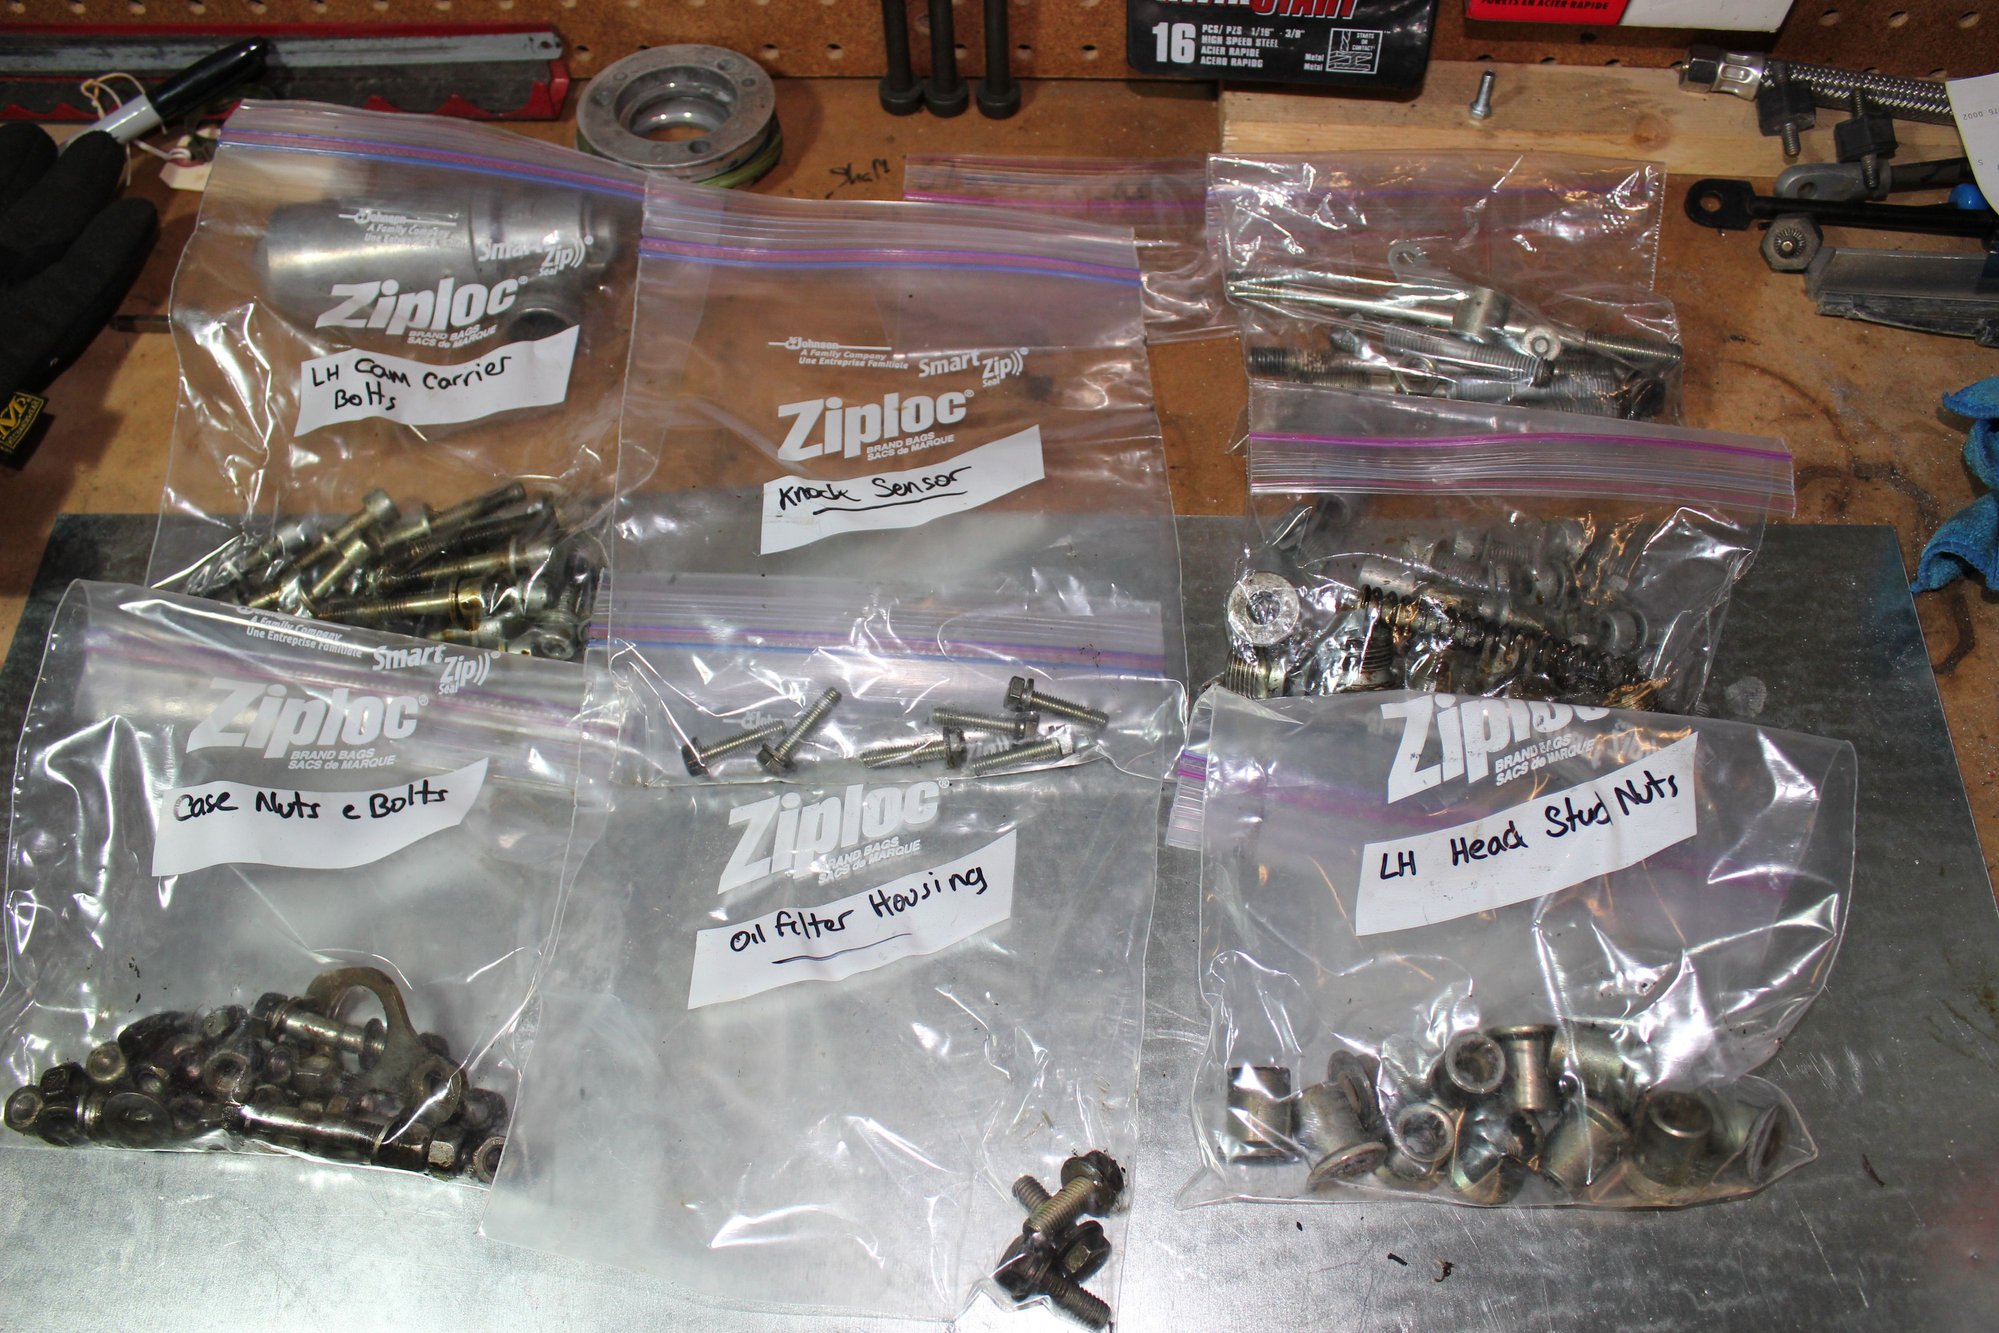
Keeping everything organized was the biggest challenge, I was luck to be given some rolling cabinets from a dental office that served well as storage for all the bits and pieces. I had one cabinet for the Left bank and one for the right, the drawers mirrored each other which made it difficult to mess stuff up
Also a couple of boxes of freezer ziplock bags came in handy for storing all the little items with labels.
Cam and Cam chain securing items (Ramps were thrown out as they were replaced)
Pistons and Cams, none of this will be reinstalled.
Here is what a ~60k mile piston looks like. Not too bad at all.
These rockers were also not reused as I installed solid rockers to allow the use of very aggressive cams. (Cylinders 1 to 3)
Mmmmm open case
Cams as they came out of the engine the lobes and the bearing surfaces look fantastic... This is what Motul 300v does.
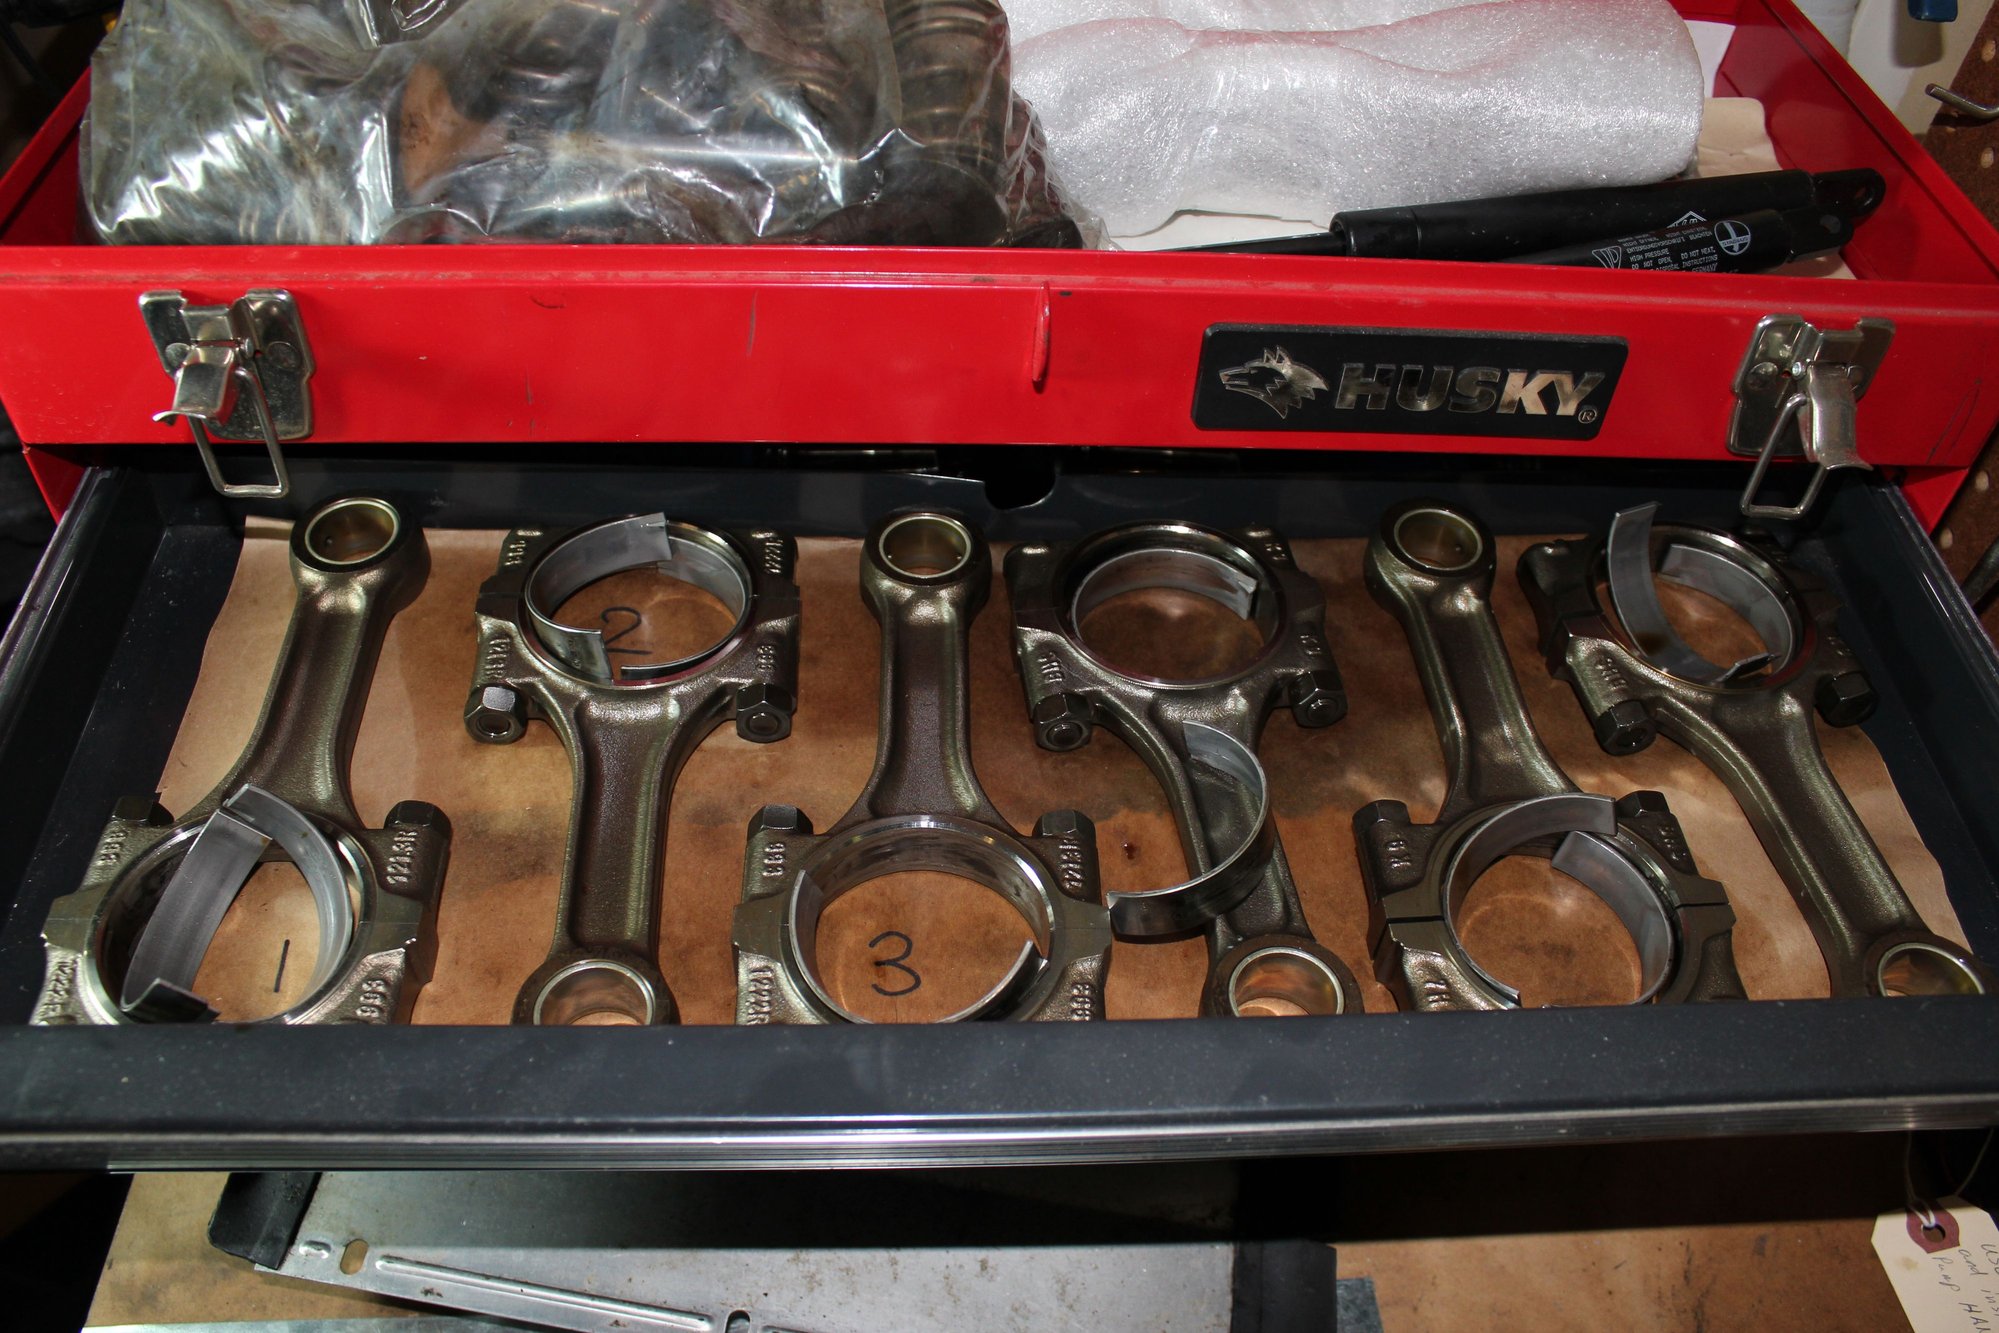
Rods, Also being replaced...
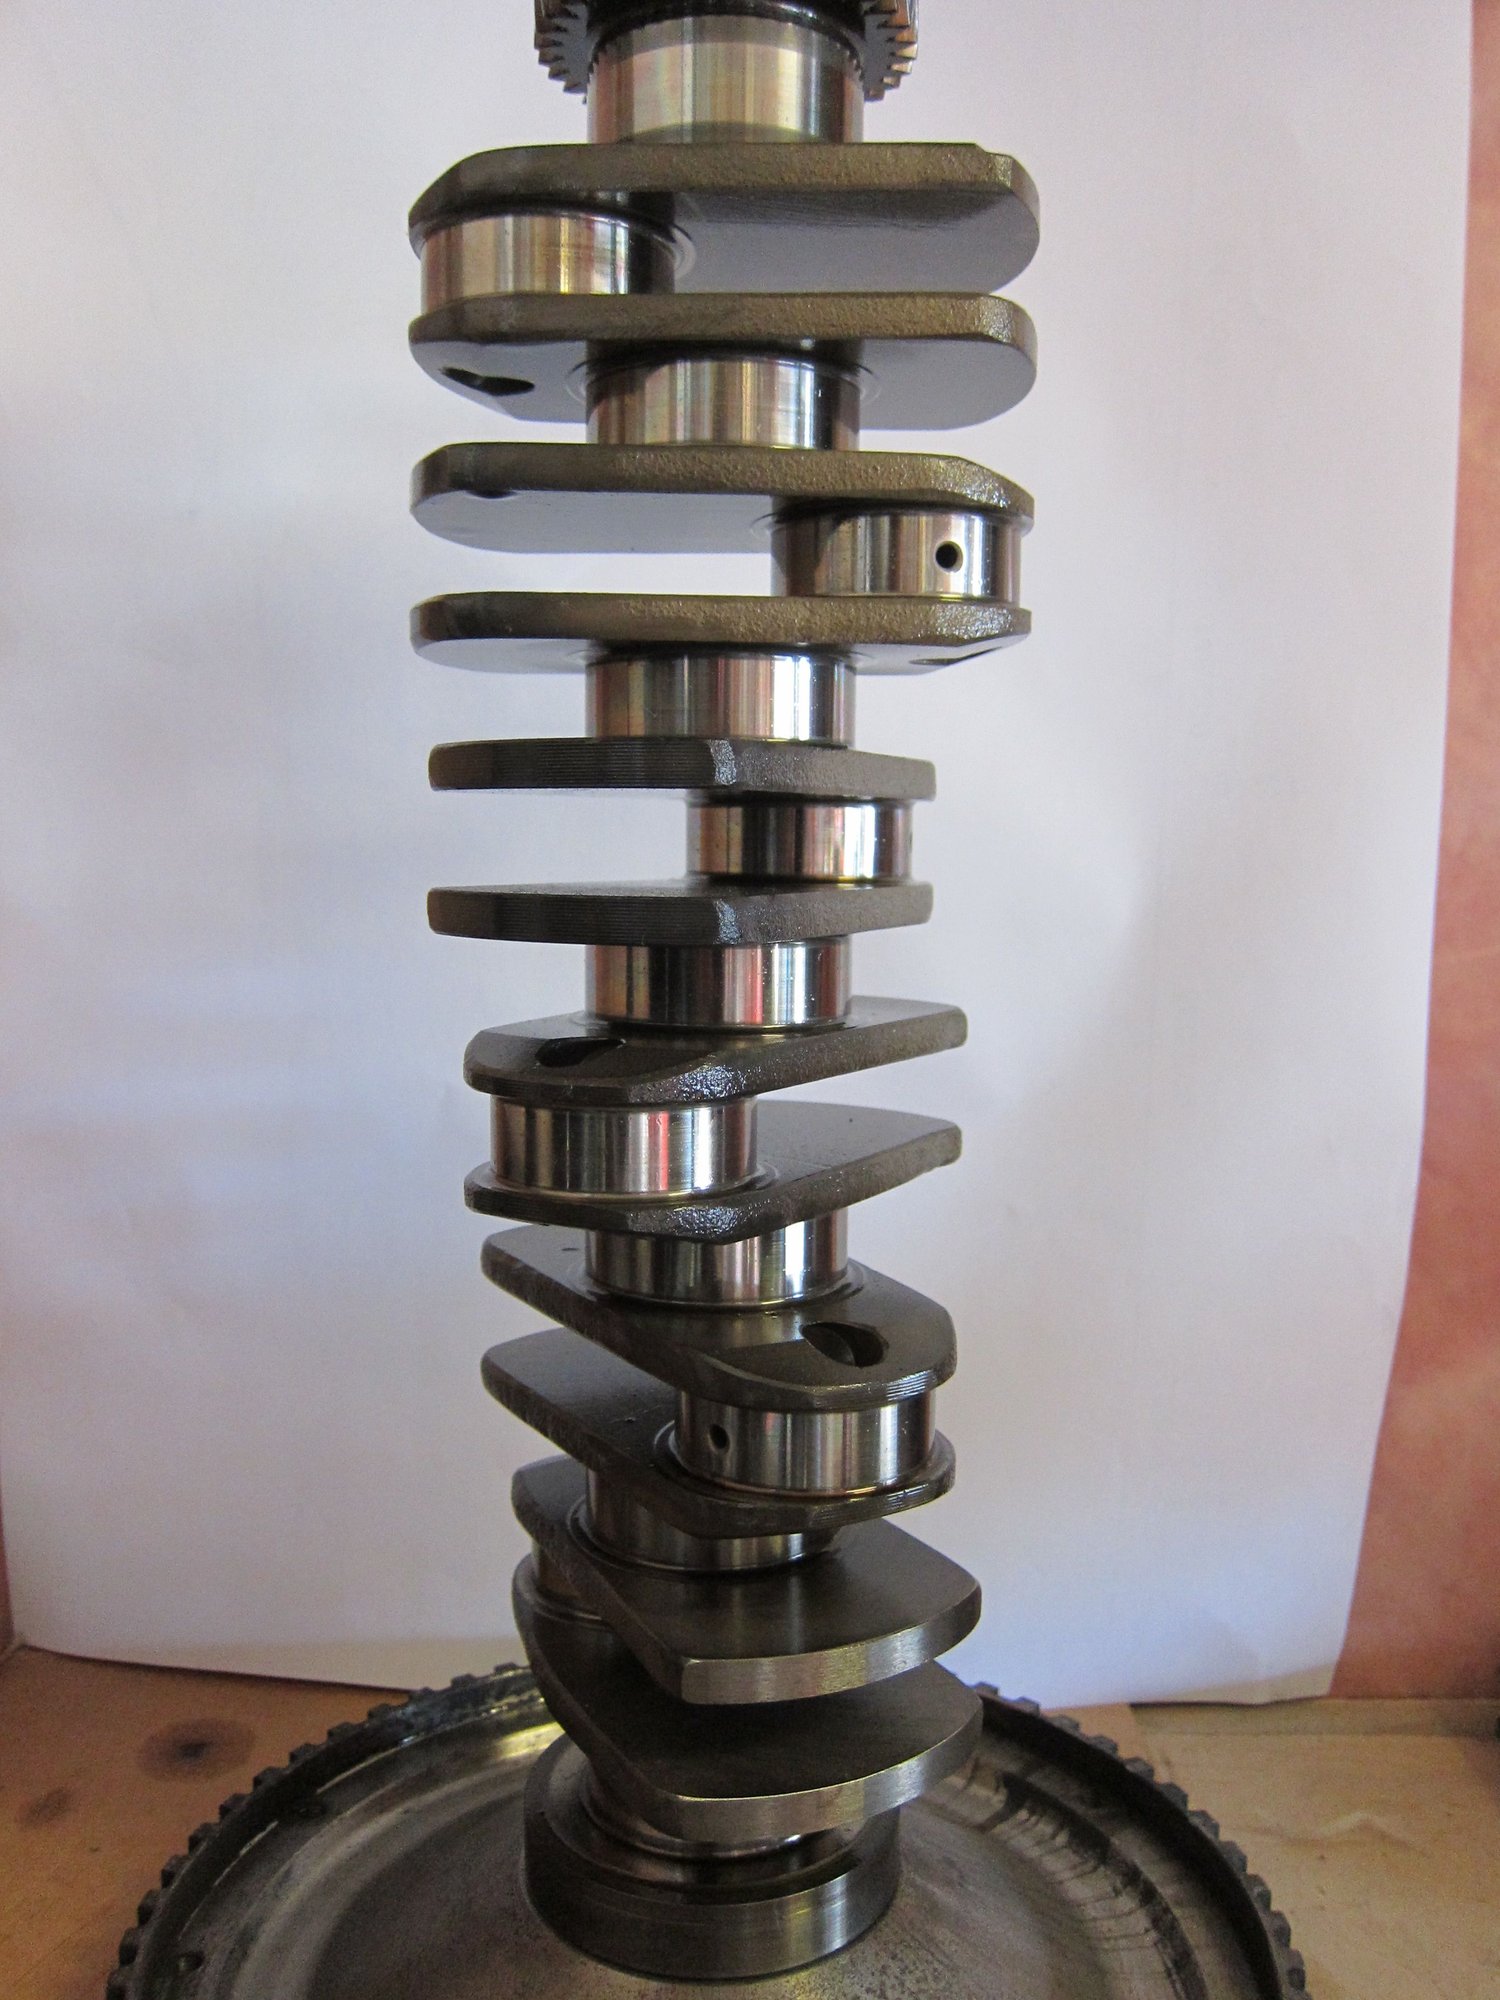
993 Crankshaft on stand (RS Lightweight flywheel)
Closeup of the journals, looking great again thankyou 300v
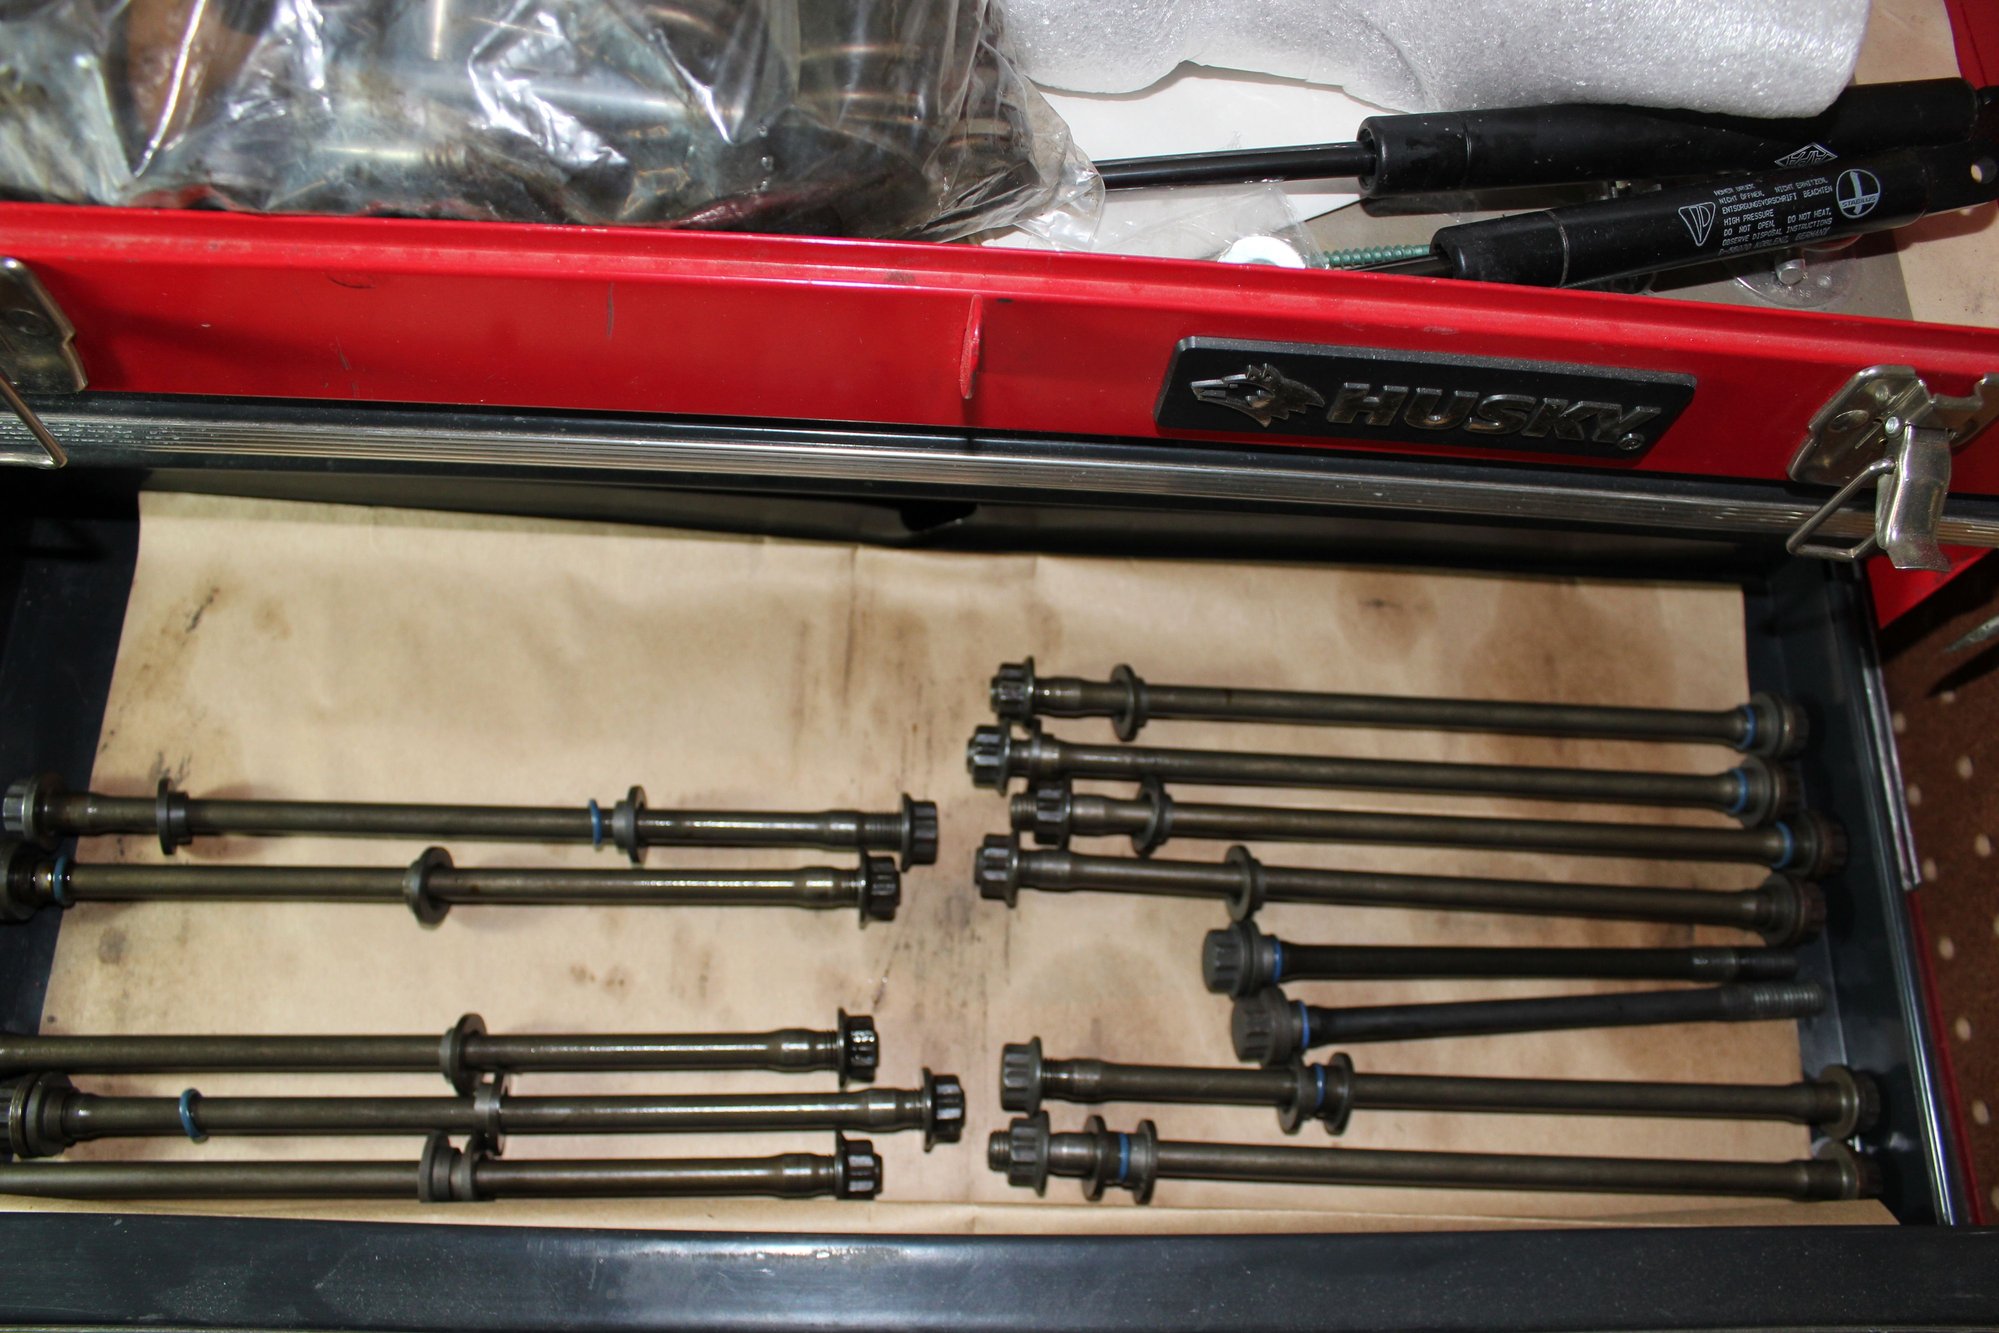
Head studs, these will be replaced with special ones...
Some of the last few photo's from the tear down...
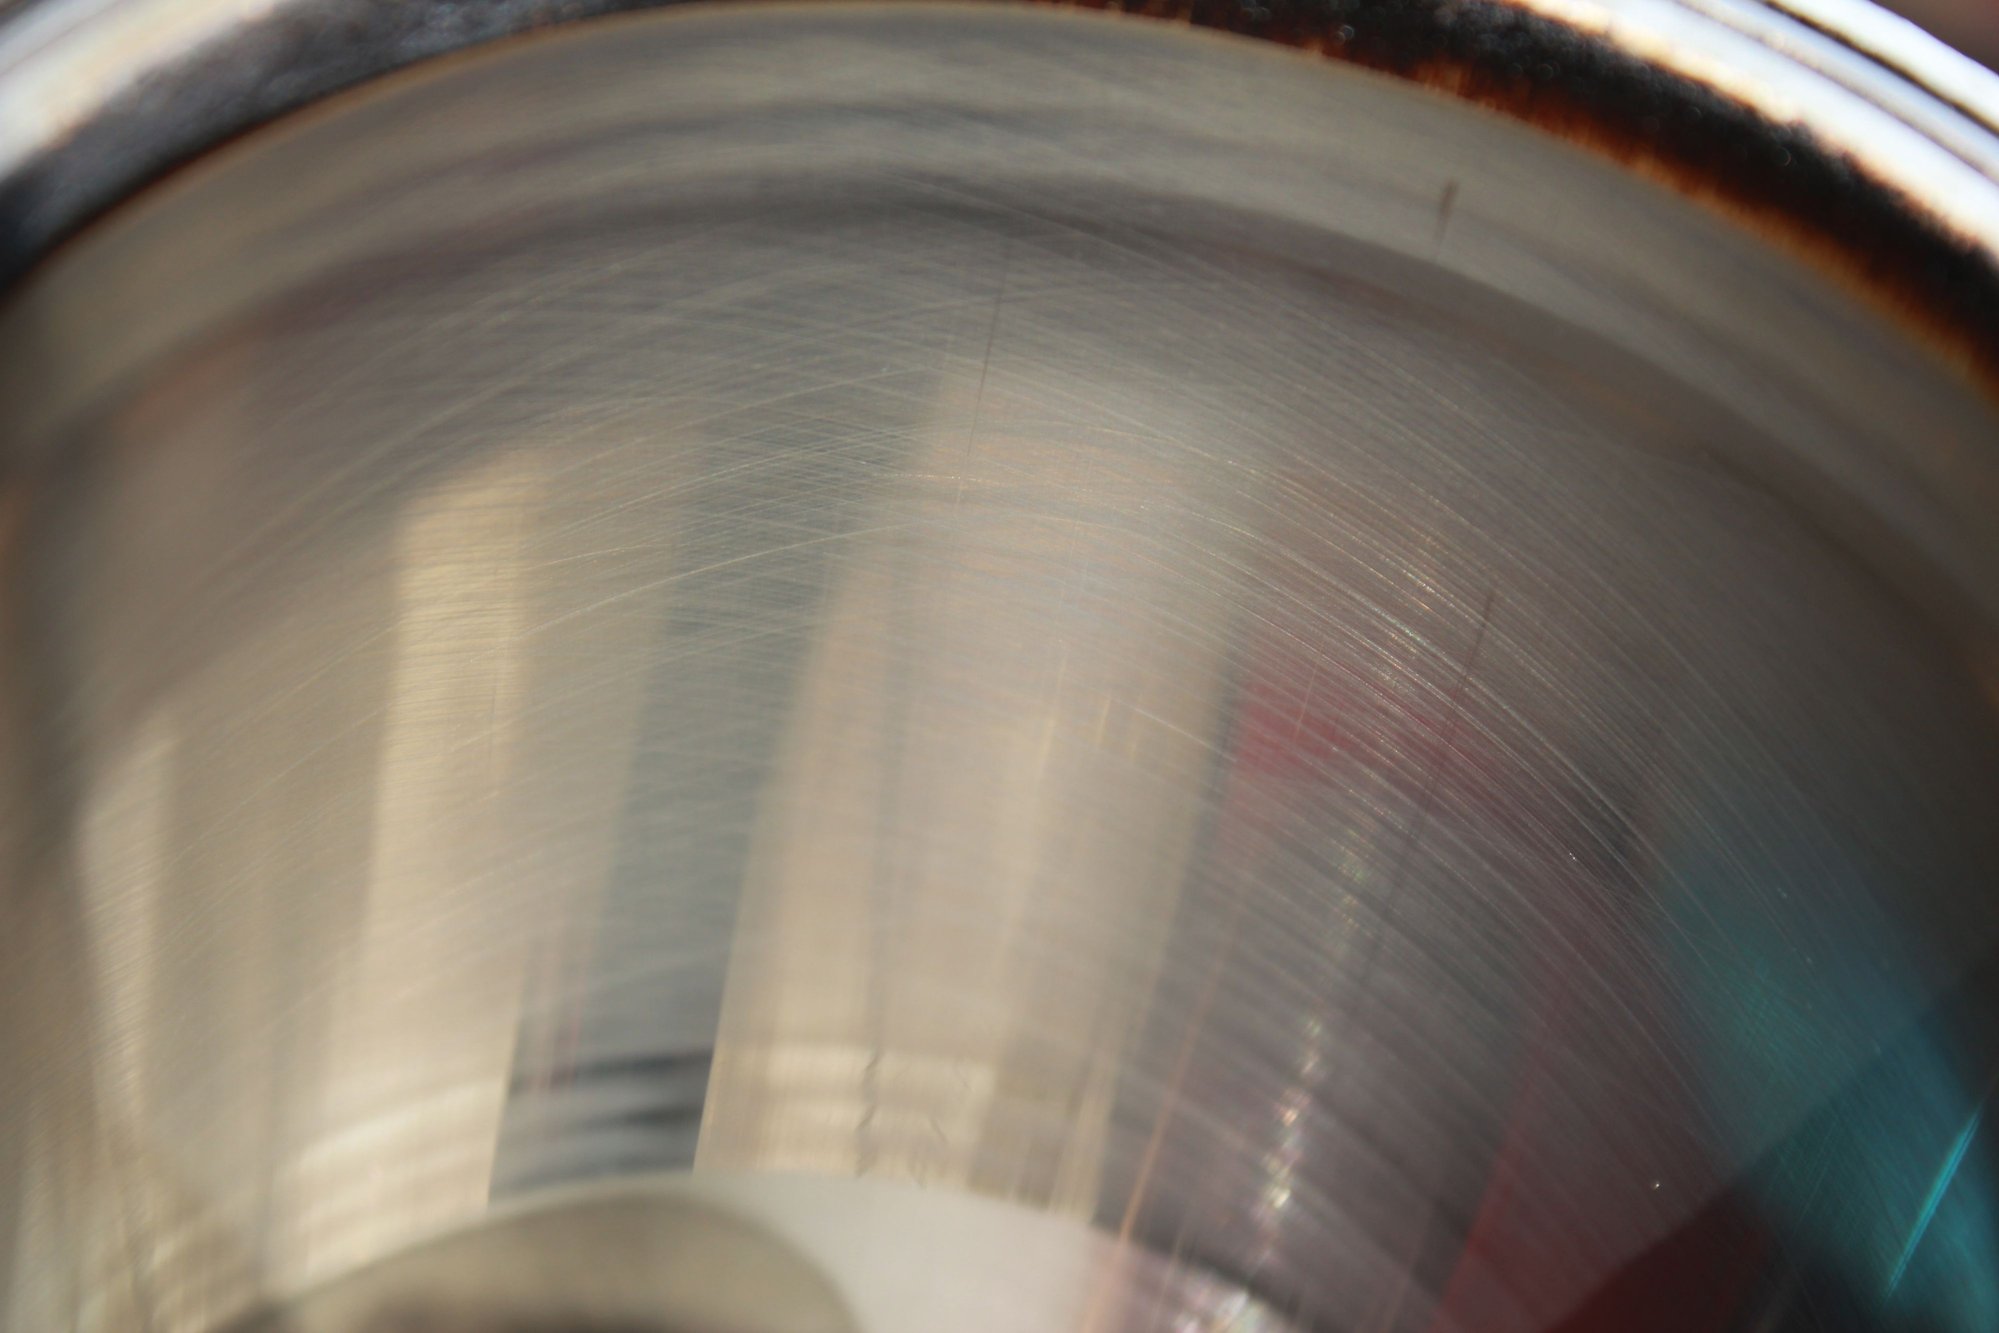
One of the removed cylinders, you can still see the cross hatch from the honing process in these cylinders. This is with ~60k miles on the engine.
This was the only damage I found (Other than the failed IMS Bearing) Some very slight scoring of this cylinder. You could only feel it with a fingernail.
P&C's lined up like good little soldiers.
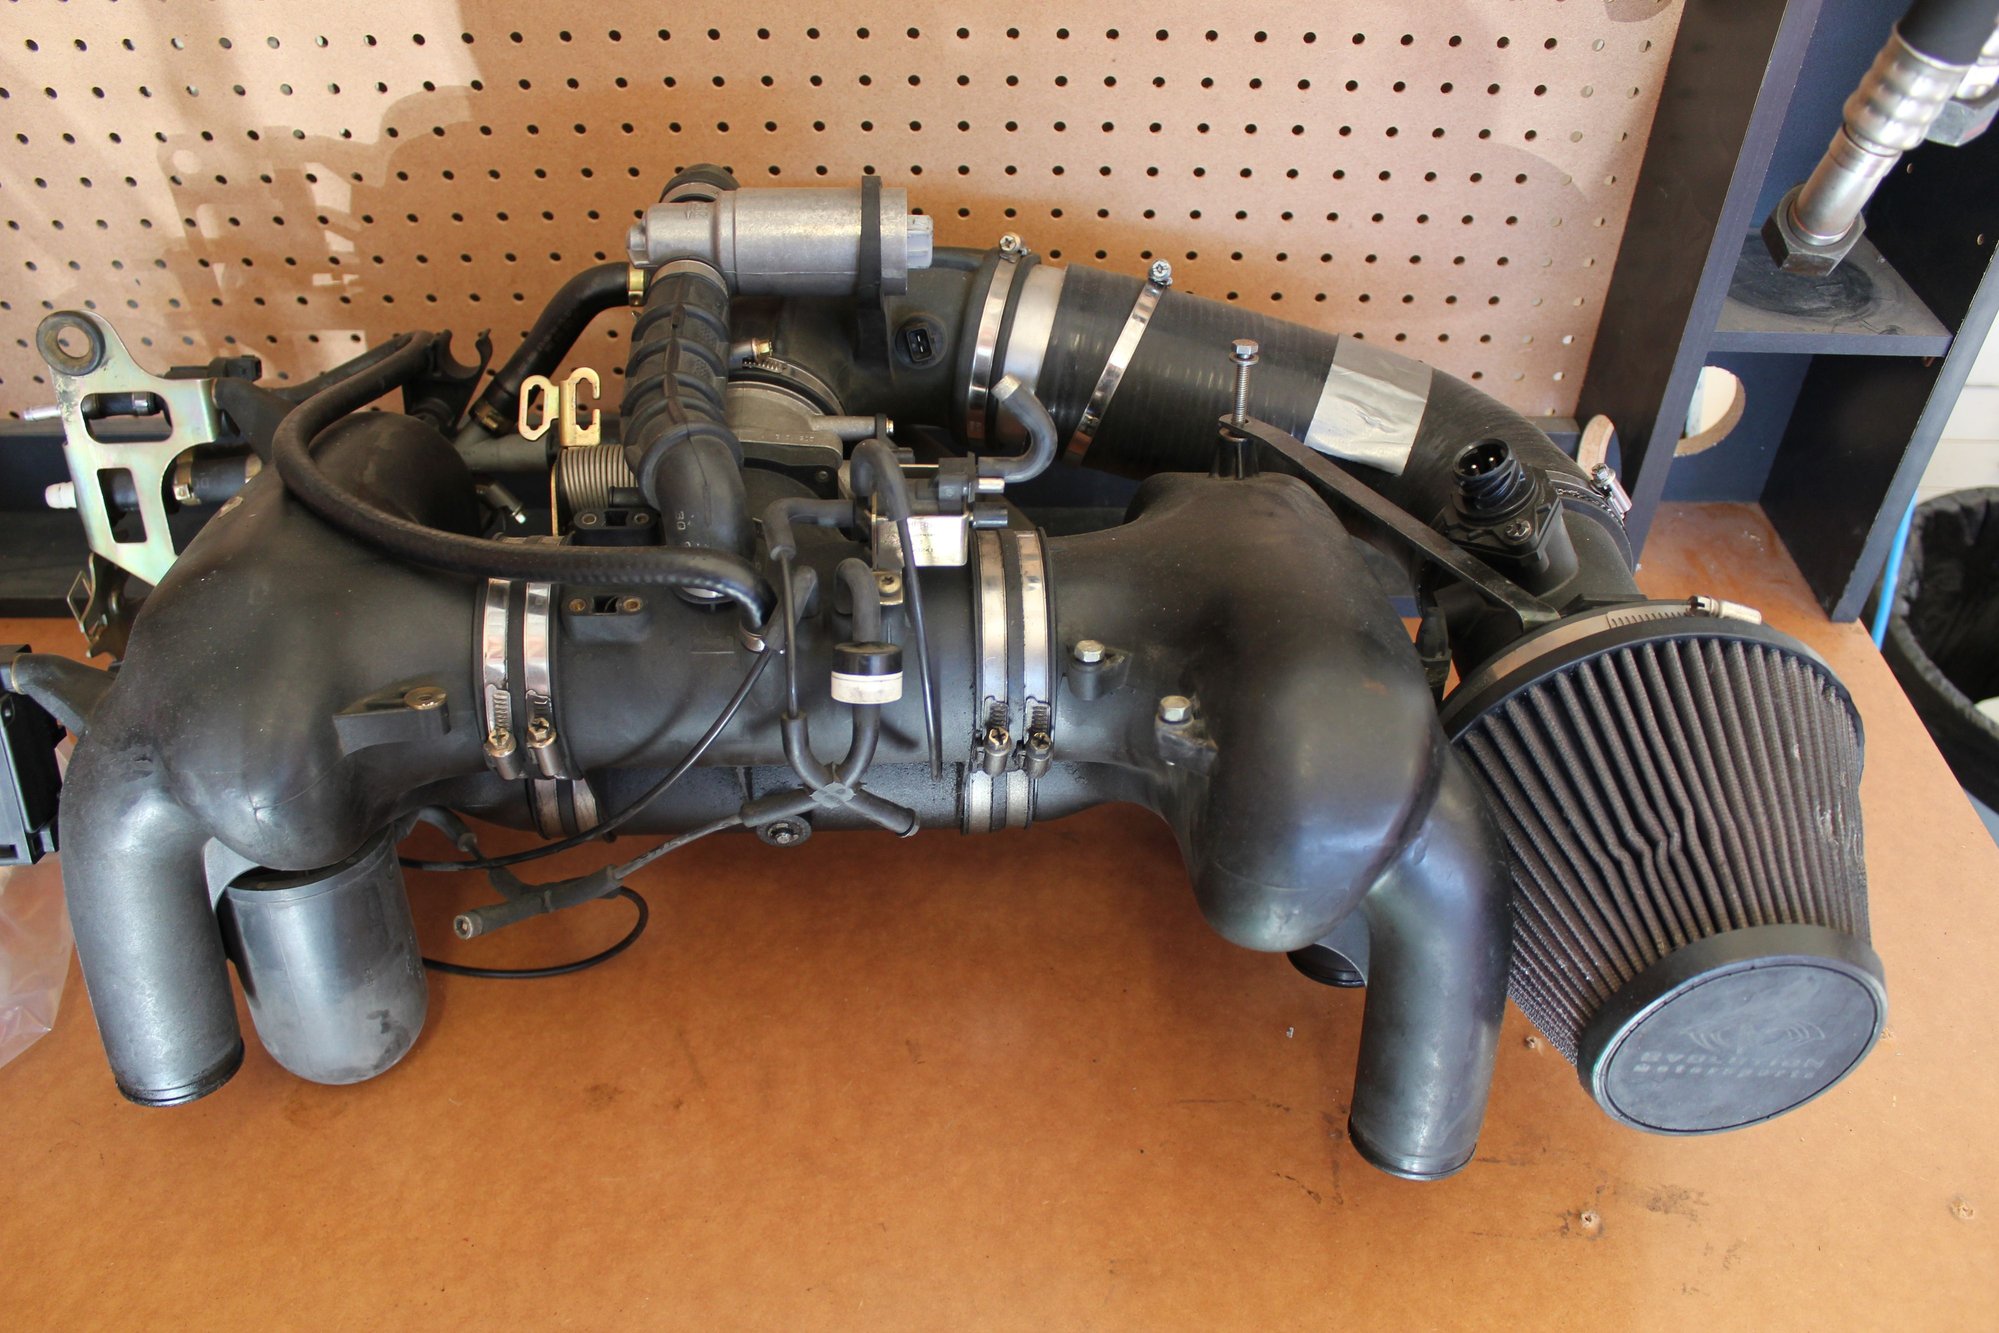
Intake sitting out waiting for it's new home. U ended up taking this completely apart and cleaning it thoroughly. I also got a little **** and lined up all the clamps when I put it back together.
As I had a bearing failure and found bits of metal on the case drain plug, a thorough cleaning was required of the complete oil system. Everything was removed, tank, oil lines, oil cooler etc. The oil cooler was sent to an FAA certified facility for cleaning and checking. The tank was cleaned and rinsed many times. Throughout this entire process I did not find one piece of the bearing anywhere than the case and on the case plug.....
Here is a pic of the oil thermostat. This was dismantled and cleaned


 12-27-2014 | 10:45 PM


 Keep the photos and narrative coming!