When you click on links to various merchants on this site and make a purchase, this can result in this site earning a commission. Affiliate programs and affiliations include, but are not limited to, the eBay Partner Network.
Done a search but cannot find any info for a coupe.
Does anyone know/ have a guide perhaps with pictures on how to remove the rear seat backs (the ones that fold down when you lift the little ****) on a 993 coupe? Trying to remove them to see if my baby seat fits better with them off!
there are two large flat screwdriver screws that the seats pivot on. once removed you can then slide them off the center pins that are on the half moon bracket in the middle.
fairly simple , behind the seats are a number of Phillips head screws that hold the carpet into the rear parcel shelf wall area.
As for the bottom of the seat it is just glued on and will require heat gun and shoulder strength to pull them off, there is crazy Germany glue like nothing ive ever seen underneath.
Hope this helps.
The large screws are very tight. I was unable to get enough leverage on my large flat-head screw driver to loosen them so I ended up getting a drag link socket (see here: https://rennlist.com/forums/993-foru...oval-help.html) and it made it easy to loosen the screws. Good luck.
Potential solution with your existing tools: I was easily able to remove these slotted seat back retention bolts with #6 hex socket, the small OE socket used to manually position your sunroof, and a 3/8 ratchet�..
results may vary depending on whether there�s corrosion on the threads.
In my case, much better solution than having to track down a drag link socket�
Honestly, I didn�t know what the sunroof socket was. Just always saw it in a bag with an extra DME relay and the wheel lock socket� Lol.
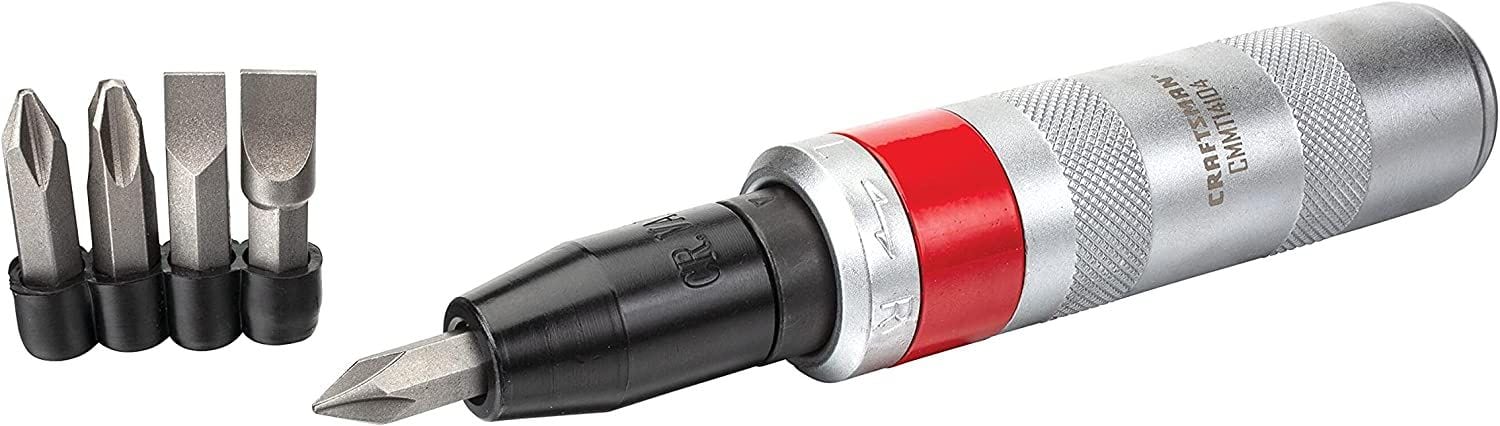
I cant believe that between these two threads (the linked one as well), no one mentioned a "hand impact driver". The proper way here and everyone should have one in their tool box.
Set the driver on the screw, wack it with a hammer, done!
I cant believe that between these two threads (the linked one as well), no one mentioned a "hand impact driver". The proper way here and everyone should have one in their tool box.
Set the driver on the screw, wack it with a hammer, done!
The large screws are very tight. I was unable to get enough leverage on my large flat-head screw driver to loosen them so I ended up getting a drag link socket (see here: https://rennlist.com/forums/993-foru...oval-help.html) and it made it easy to loosen the screws. Good luck.
Busta Rib does refer to it above in this thread, with link, calling it a drag link socket.
I cant believe that between these two threads (the linked one as well), no one mentioned a "hand impact driver". The proper way here and everyone should have one in their tool box.
Set the driver on the screw, wack it with a hammer, done!
I like it, but pictured above has a really narrow flat blade and this is a very wide sloted bolt, not to mention matching the thickness of the bit. I�d be concerned that if you went to town with this it would strip the �slot� if it wasn�t wide or thick enough. The socket I pictured above was perfect thickness and wide enough to motivate the bolt�.


 07-13-2014, 01:36 PM