When you click on links to various merchants on this site and make a purchase, this can result in this site earning a commission. Affiliate programs and affiliations include, but are not limited to, the eBay Partner Network.
Vern, I got my adhesive off today. Adding these comments for others who undoubtedly will read your thread in the future.
I rec the 3M adhesive remover as others have above.
I did it in two parts. First I used a plastic scraper to get all the plastic off and expose the adhesive and then used the 3M on the adhesive. I continued to use the scraper on the adhesive, in conjunction with the 3M trying to almost never let it dry out. It seemed more effective and almost fun compared with rubbing with rags. This part I did in the garage (shade) the initial plastic removal I did in the sun and I think it helped. One can of 3M did both sides.
Time wise it was;
Blackside: (my PO had replaced only one guard so I had one black, one clear) 1 hr plastic in sun, 30 minutes for adhesive in shade.
Clear side: 2 minutes plastic in sun (yeah baby!), 30 minutes adhesive in shade.
Now I get to install my new ones I bought from FD months ago!
I know some have left them off, but the paint under mine is too new you can see the difference. My paint in general is very good, but under where the stoneguards are it is just gorgeous. I can't imagine how pretty the car was on the showroom floor...
I feel you pain. I researched on youtube before starting on the passenger side, in about a hundred postage stamp sized pieces later it came off with about 50% of the adhesive using a hairdryer. I used gasoline and a spray bottle of alcohol to remove the adhesive and eventually some goo gone. Turned out the best way for me was to alternate chemicals. The finish was not harmed, but the cracks in the decayed stone guards etched into the clear. That was the good side.
Having come halfway and about 2.5 hours into it I decided to push my luck on the driver side. I parked it in the sun which softened, but instead of one hundred there were 1000 pieces and 95% of the adhesive left. I was relatively confident that it would come out alright since the other side came out with clear coat intact. About 5 hours later, using the exact same chemicals I lost about 20% of the clear.
It is over with now. My suspicion is that the guards were different manufacturers. The adhesive softened the clear or it was not cured before this one was put on. It is ashamed because the quarter looks so good otherwise.
1. If you have cracks change it out.
2. Buy the thick 14mil guards to help prevent the 1000 tiny deaths.
3. Don't believe that is easy.
BTW, I have a steamer too and I don't believe it would make a difference.
Man that stinks. Sorry to hear that. Are you going to have to paint or do you think new guards will 'mask' the missing clear?
It does seem that almost every poster gets a different experience. In regards to your trouble shooting,
different manufacture > did they appear of different thickness or color before you started?
paint not cured before application > was there ever any paint respray history on the drivers side (that lost the clear)?
It seems that from the factory, the paint would be equally cured before they applied guards, no?
SUn> did you park . in the sun for the passenger side too? Or only the drivers side? It's not 100% clear above. I'm thinking you can eliminate sun if you did both outside but wanted to be sure. It seems if only the second side was in the sun, you would have pulled into the shade as it was going much slower.
Chemicals> did you think you used more on drivers side?
Lots of questions but they could help future readers decide if they are brave enough to tackle this diy.
Interesting your drivers side was the problem. I have heard other posters say the passenger side was harder.
I was lucky I guess, very lucky.
I put my new guards on last night. That's a little nerve racking in it self. But a whole different kind of nerve racking since they are max $90 error if you have to start over. FD was nice and included a practice piece. Which helped. My added rec would be wet the hell out of the car and the new guard. Second side was smoother. First side couldn't get bubbles out, ended up removing rewetting and installing much better. Hope it doesn't blow off on a spirited drive!
I don't think these have been replaced before, so after 18 years they were a challenge to remove.
Ended up with a heat gun, scrapper and 3M cleaner By the time the right side was totally cleaned up it took about 4 hours. untouched paint underneath looked wonderful.
Left side is coming off easier but is still a challenge.
I thought I'd relate my experience to this older thread ---
I removed my own rock guards --- Jan 1996 production means that my OE rock guards were 20.5 years old at this point. My car has spent its entire life in one of two places prior to my own ownership -- the southern bay of the SF Bay area (dry heat) and Phoenix, Arizona (hotter dry heat).
+ Ambient temperature - 65-70F
+ Both sides broke into 1000000 little pieces
+ 5 hours spent on the passenger's side where the hot oil tank is. 3 hours spent on the driver's side.
+ I have a steamer - the yellow Mculloch one. Perhaps my technique was off but I found the steamer to be unwieldy and I didn't find that it did much.
+ I used a hair dryer and a 1.5" plastic scraper. I would heat the leading edge of the guard for 15 seconds and then would use the scraper to lift off a 1/8" "line" of rock guard at a time. This produced optimal results in that I would then go back over that 1/8" exposed "line" with 3M specialty adhesive remover and remove all the sticky goo from the paint.
+ I found that if I didn't remove the 1/8" of sticky goo IMMEDIATELY before trying to lift off the next 1/8" line of rock guard that my job would be much more difficult --- because the sticky good would interfere with the smooth operation of the plastic scraper.
+ I also found that if I used to hair dryer for too long, like 30 seconds, then when it came time to use the plastic scraper, I would scrape off the top layer of plastic rock guard and leave a huge honking layered hot mess of adhesive good all over the paint, which would then require repeated soaking applications of 3M speciality adhesive remover and scraping to eliminate. This iterative adhesive scraping/removal approach has been documented many times in this thread is super laborious.
Now my fingers hurt. I'll install FDM's 14 mil guards. I hope not to have to do this again, at least until my memory forgets about how frustrating this experience was. :-)
Tough job; this one's on my list. I wonder if a few applications of 303 aerospace protectant or similar in the weeks preceding the removal would make the guards less brittle.
I've not tried them so don't shoot the messenger. He said they worked great and didn't scratch the surface. Seems hard to believe but that's what he said. Anyone tried them?
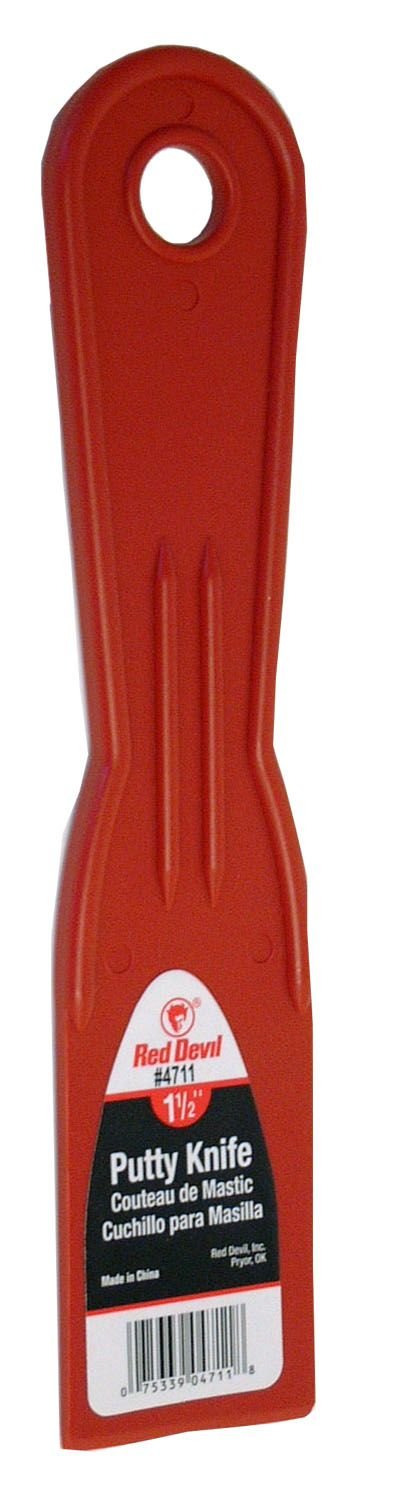
Those look pretty much like the same thing I used --- I used 1.5" plastic putty knife that's used for applying spackle/mud on drywall. Not esoteric and costs ninety eight cents.
BTW, I don't think applying 303 in preparation is going to do anything at all. :-)
Jlaa, just a suggestion. I had my detail guy buff and polish the fenders before I installed my FDM guards. This ensured there were no scuff marks or minor scratches beneath the new guards which will show once they are in place and there will be no way to get rid of them.
I highly recommend the FDM guards. In fact everything I have purchased from FDM (Darrin) has been outstanding quality. SSK, Golden Rod, and headlight protectors.
Hi, yes thanks - I am polishing the area by hand before applying the FDM guards. Indeed I have a similar set of kit from Darin and I likewise agree with your sentiment on the quality of their kit - I have their GR, SSK, Mufflers (stage 2), the technafit brakelines, "Walrod" front lower control arm bushings, and, um, Lloyds Floormats from them.
After pulling off the old stone guard I was left with a layer of adhesive stuck to the paint..I used 3M adhesive remover and plastic razor blades to get that off..a tedious job but doable. I finished up with McGuires Swirl Mark Remover to clean up the area and get rid of any scratches.
I'm fortunate to have a close friend who owns a tint and vinyl shop. We wound up using some hard rubber squeegees and some sort of mild adhesive remover. If there's interest, I can ask him exactly what items were employed. Not that it matters a great deal, since the job wound up being just as long / tedious as others who have posted.
It was almost funny how he did the 'stand back and watch a professional at work' right up to the point where he had removed the plastic from each side and started working on removing the goo left behind. At which point, he handed me a squeegee and pointed to the other side of the car. Gotta hand it to him though; had the new ones on in less than 10 minutes.
Talos Takes Your 991 Porsche 911 GT3 to the Next Level for a Cool $1.13 Million
Slideshow: Talos Vehicles has transformed the Porsche 911 GT3 RS into a carbon-bodied, race-inspired machine that costs well over $1 million before the donor car is even included.
9 Vehicles Porsche Helped Engineer that Aren't Porsches
Slideshow: Long before engineering consulting became trendy, Porsche was quietly helping other automakers build everything from supercars to economy hatchbacks.
9 Features and Characteristics That Only Porsche People Understand
Slideshow: Some brands build cars. Porsche builds traditions, obsessions, and a few habits that stopped making sense decades ago but somehow became part of the charm.
This Builder Is Turning Heads With Its Slantnose 911 Creation
Slideshow: A small Polish tuner has reimagined the Porsche 911 Slantnose for the modern era, blending 1980s nostalgia with widebody tuning culture and serious performance upgrades.
Porsche 911 GT3 Artisan Edition Pays Homage to Japanese Culture
Slideshow: Porsche has created a Japan-only 911 GT3 Artisan Edition that blends track-ready hardware with design cues inspired by traditional Japanese craftsmanship.
Porsche Reveals Coupe Variant of the Electric Cayenne With a Fresh Look
Slideshow: Porsche's latest electric Cayenne Coupe blends dramatic styling with supercar acceleration, turning the brand's midsize SUV into a 1,139-horsepower flagship.