When you click on links to various merchants on this site and make a purchase, this can result in this site earning a commission. Affiliate programs and affiliations include, but are not limited to, the eBay Partner Network.
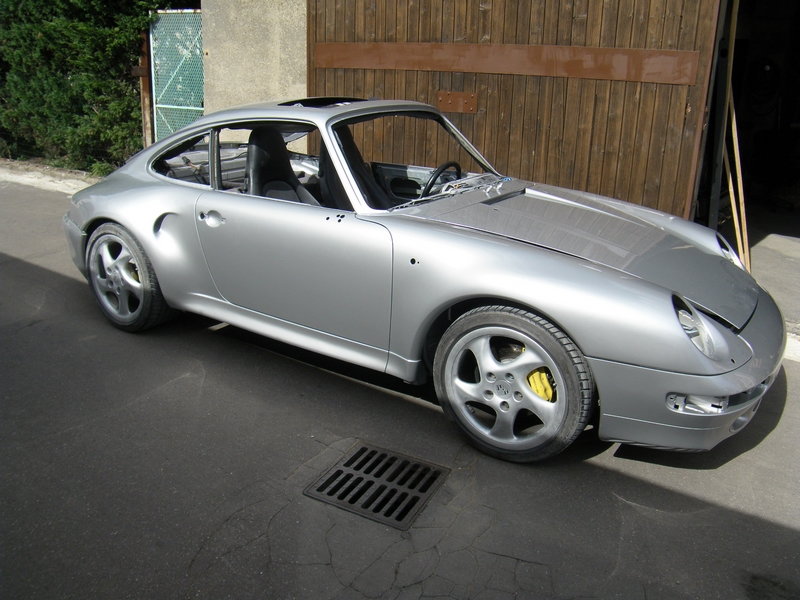
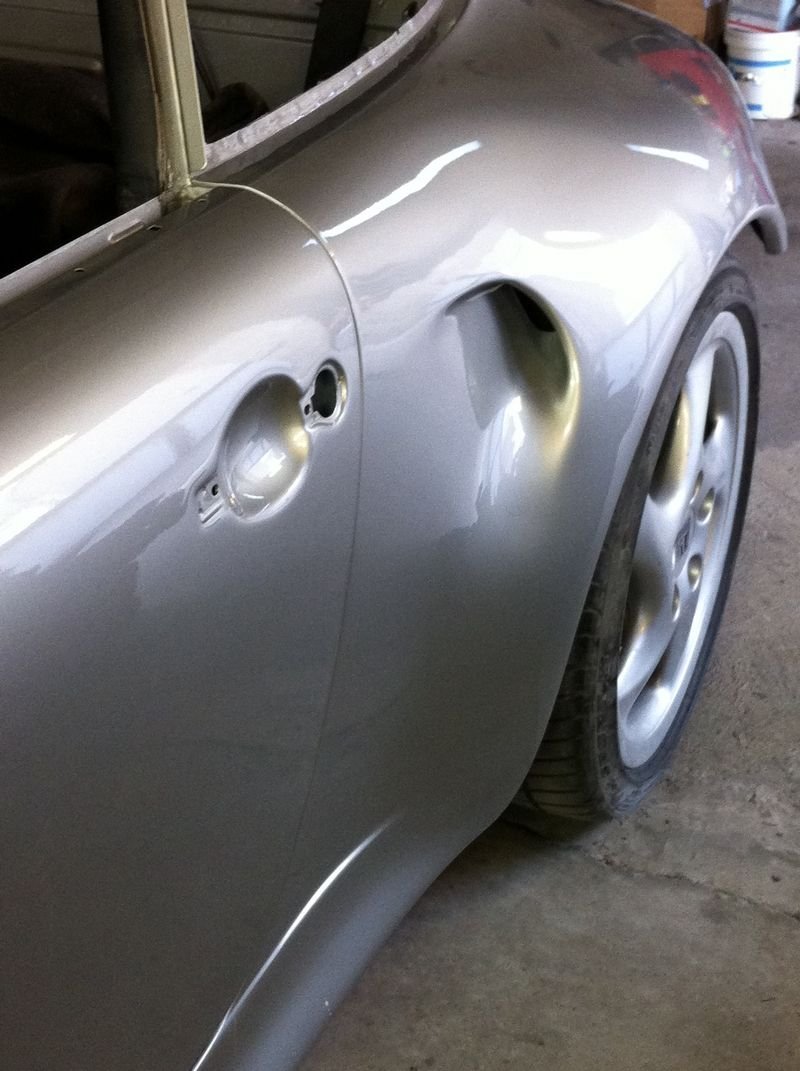
DIY Video Total repaint and rear fenders 'Turbo S' X79 air inlet ducts scoops
The 1001 unfinished projects will unite.
This is where all the bits and pieces will join, to result in a specific setup I always wanted.
Fortunately, I have discovered this forum years ago and somewhat changed my perception of this hobby.
This forum has brought me countless days of pleasure, in better exploiting this hobby, and correspond with great people of whom a lot became friends.
But there is a hick-up.
I had 1001 unfinished projects with my car, as most rennlisters, and wanted to realize them, at my pace.
Today in 2012, this is only possible with an exploding budget on a per day basis.
Some call it inflation, I call it 993 madness.
In other words, 993 parts business exploded since 4 - 5 years, and unfinished projects cost folds more.
I used to enjoy strolling on ebay for 993 parts, now there are full 200 item pages with the same spark-plug or led bulb or whatever.
I remember times when I had bought 5 of the 3 spoke steering wheels at around $50 from 5 different sellers.
One late example last JUNE, was a guy who wanted the rear shock absorber top mounts for his car, and decided he wanted them the next day.
He posted on forums all over, he must have called like 10 suppliers and sources. He claimed the part will no longer be made, all in all in capital letters
I called a contact at the factory to inquire for info, and they told me they had a bubble of phone calls for part. They gave me a date of June 15 for the part delivery. (ie: 2 weeks later)
Result ? ....the part here was at 87 euros in May, and as of june 15th ??? it is at 178 euros...go figure.
Anyway, I think I should finish all the unfinished projects very quickly, and at this pace of price hike, I think it would be the reason for my soon to be deterred hobby.
On this project, I have worked extensively with PPG products
Hi Geolab,
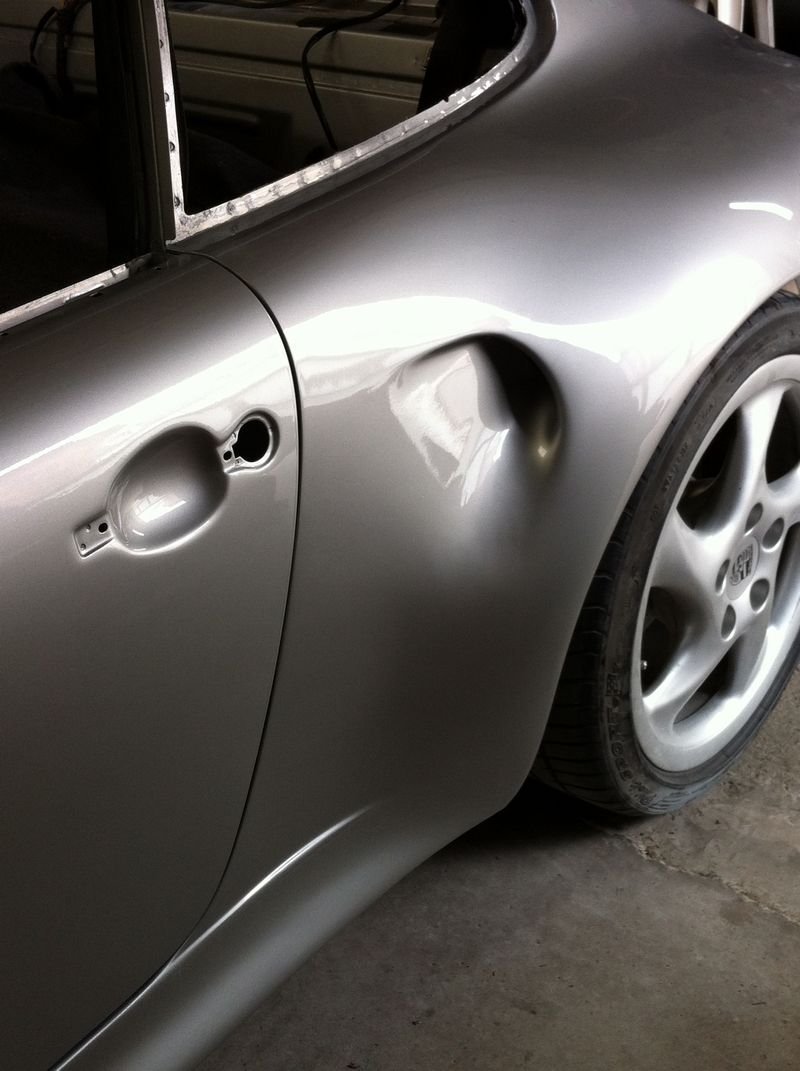
The installation of the "S" dusts looks perfect, great job
Did you install the "S" ducts yourself?
Was there a template to install the S ducts?
Did you do the paint work?
Are you installing a rear Turbo S wing as well?
I now understand why you required the front and rear window templates......
I do like the look of the 993 Turbo S, that would be my pick of a modern Porsche.
Neil
Last edited by Neil Perry; 08-07-2012 at 05:57 AM.
Reason: Update
Hi Geolab,
The installation of the "S" dusts looks perfect, great job
Did you install the "S" ducts yourself?
Was there a template to install the S ducts?
Did you do the paint work?
Are you installing a rear Turbo S wing as well?
I now understand why you required the front and rear window templates......
I do like the look of the 993 Turbo S, that would be my pick of a modern Porsche.
Neil
Hi Neil,
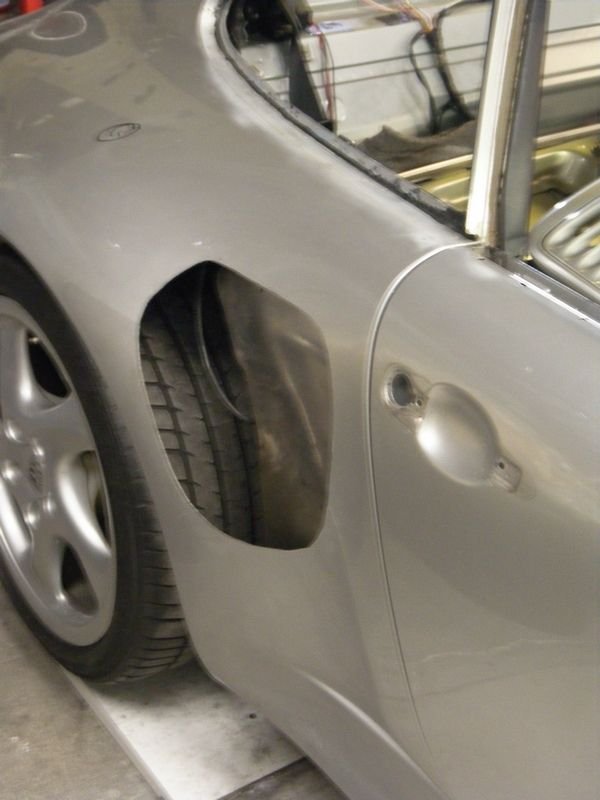
I did the air ducts, measuring, tracing, cutting and welding
There are no after sales templates from the factory.
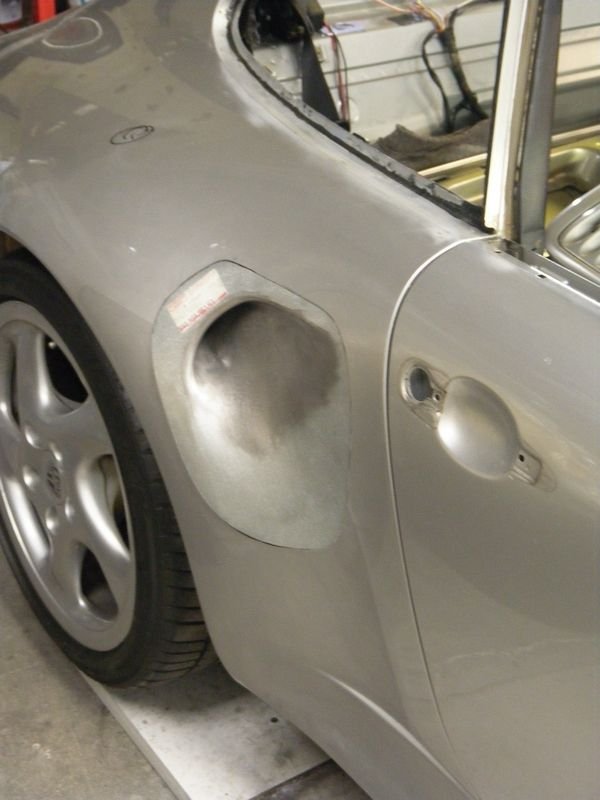
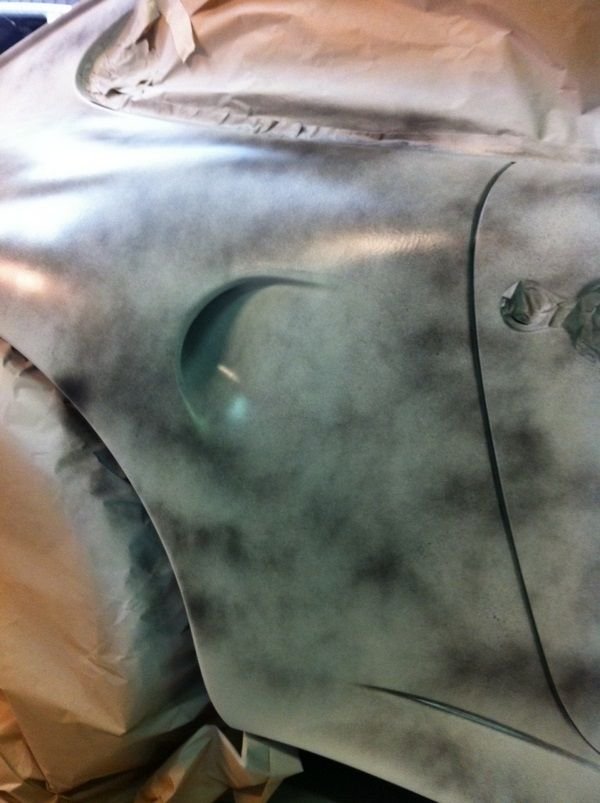
I have stripped the whole car down to bare metal, etch primed, seal primed
and delivered the car to the body shop prepped photo here-under.
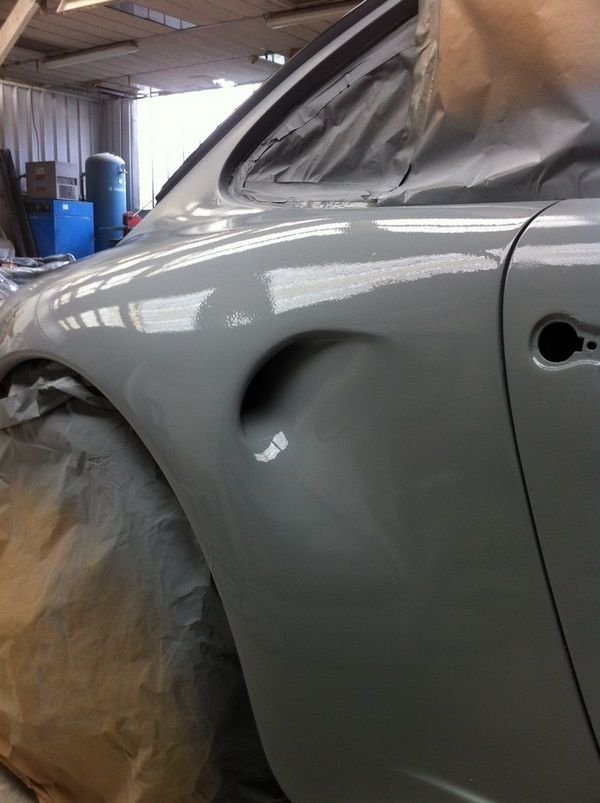
The primer sanding, leveling, and paint was done by a PPG technician instructor.
I rented a paint booth for two days (weekend)
George,
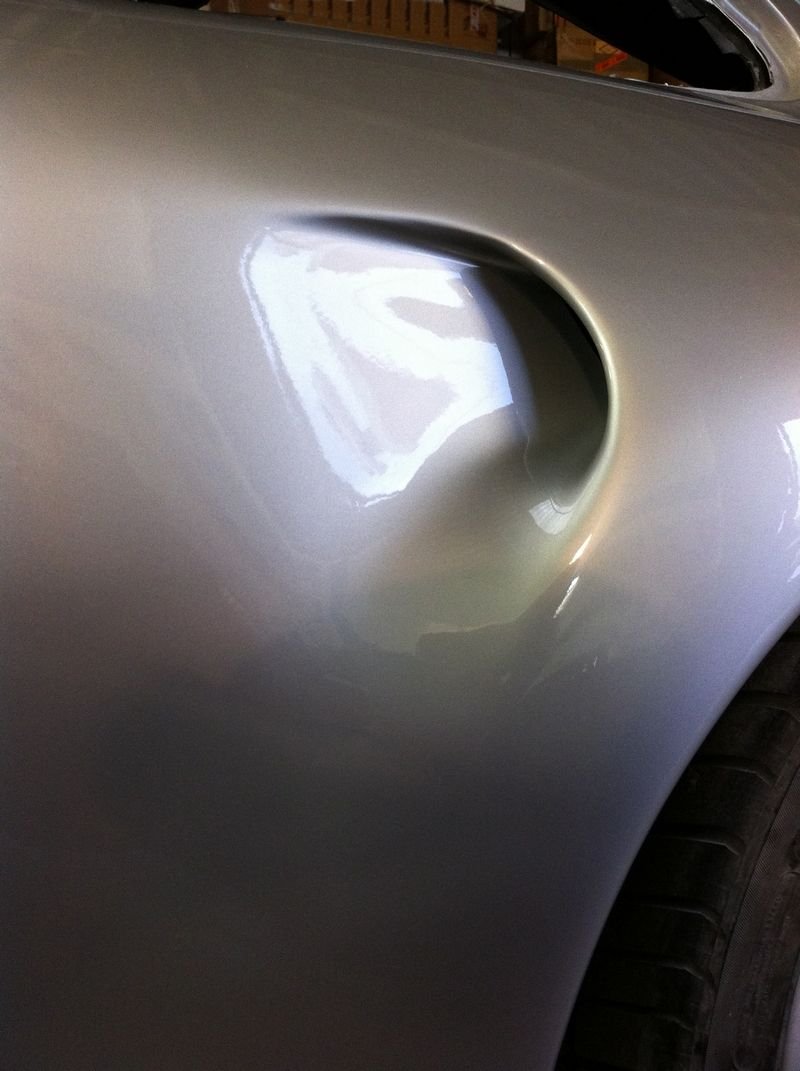
You have done an amazing job of installing the side air ducts, looks perfect.
How did you weld them in Mig or Tig?
Did you have issues with warping of the metal around the welding?
Porsche repairers use Mig, but using braising wire to weld panels on 993's, the temperature required is a lot less than steel wire.
As this almost deletes warping in the panels.
George,
You have done an amazing job of installing the side air ducts, looks perfect.
How did you weld them in Mig or Tig?
Did you have issues with warping of the metal around the welding?
Porsche repairers use Mig, but using braising wire to weld panels on 993's, the temperature required is a lot less than steel wire.
As this almost deletes warping in the panels.
Neil
Mig welding, I have followed this article to the comma and period
zero warping.
After the Mig, I have Tin welded the whole contour after, it is called 'brassure' in french,
so that should be braising . . .
My first time Mig welding was not as the link above (photo above), so I topped with braising tin to expect zero rust in the future.
I have never done this, nor something similar before, so you can do it
braising, etch primer, sealer primer
I am about to do the 3m rubbery stuff before paint next weekend on the inside
I was hesitating with the original tar , for rigidity
Once again what you've accomplished opens the way for me to think bigger with my mods...
I'm at that time thinking about windshields...are you about to release a specific post ? I'm very curious about how to cut the existing seal and dismount the windshield (dismount and not destroy ) and get all that sticky seal off the body ? i was thinking to earn some time before doing this job by using some drops of frameto on the rusty area, what do you think ? any stiffness decrease expected ?
Hello Elo,
I thought I will wait for the time I mount the windshields to post a new thread, since I intend to install all the windshields in September.
Since a few members are asking about the post, I will start it this Saturday with 'how to remove the
windshields', and how I treated the metal surrounds. For the windshield mounting, it will wait until September.
regards and thanks
Wow. I look forward to more info on how you did it - just for fun because I now know my ***** are a size too small for this kind of job - how long did you think before that first cut . Very cool and Geo, your posts are always entertaining or informative or both. Cheers.


 08-07-2012, 05:40 AM


 . . .
. . . 

 . Very cool and Geo, your posts are always entertaining or informative or both. Cheers.