
removing rear suspension
 09-05-2011, 10:20 AM
#16
If this is going to be a tracked car I'd recommend adding either Rennline of Tarret rear toe links

You can epoxy clear coat(or even color coat) the aluminum pieces after cleaning.
You can epoxy clear coat(or even color coat) the aluminum pieces after cleaning.
 09-05-2011, 10:46 AM
#17
Racer
Thread Starter
Join Date: Apr 2009
Location: London
Posts: 427
Likes: 0
Received 0 Likes
on
0 Posts
thanks, i have also found this product which is quite highly rated:
http://www.raceglaze.co.uk/car-care-...-paint-laquer/
http://www.raceglaze.co.uk/car-care-...-paint-laquer/
09-05-2011, 10:56 AM
#18
Rennlist Member
Good informative post and a great website you have; I've bookmarked it ages ago.
I was looking at your Wishbone Bushes and RS Quick Shift articles just the other week. The pics clarify it all in a snap.
I was looking at your Wishbone Bushes and RS Quick Shift articles just the other week. The pics clarify it all in a snap.
09-05-2011, 04:56 PM
#20
Racer
Thread Starter
Join Date: Apr 2009
Location: London
Posts: 427
Likes: 0
Received 0 Likes
on
0 Posts
a relatively gentle day today
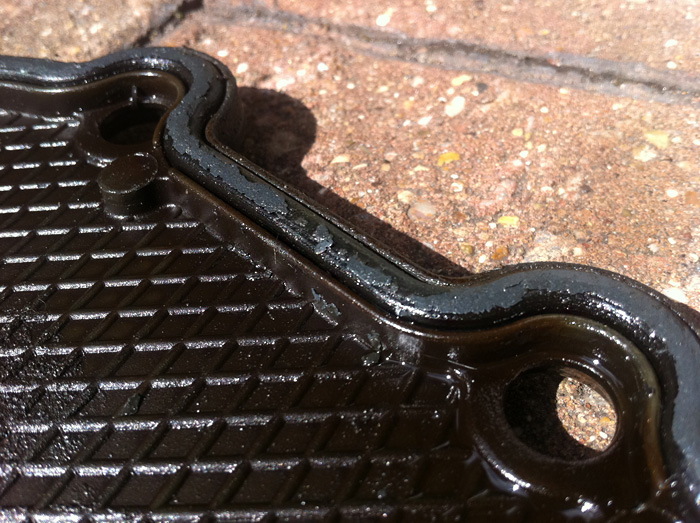
i'm guessing these have never been done so are 15 year old gaskets
the new gaskets are coming tomorrow and a few new rubber grommets but the original screws and washers are being zinc plated as the cost of new ones is so crazy. A new zinc dip minimum charge is �60 and that will get you a lot of stuff one, i.e. all the other screws and nuts that are off the car at the moment. That's less than half the cost of all teh chain guard screws alone.
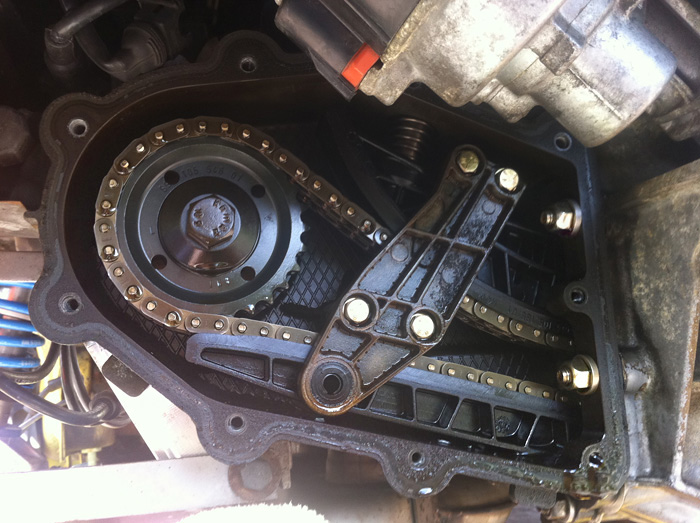
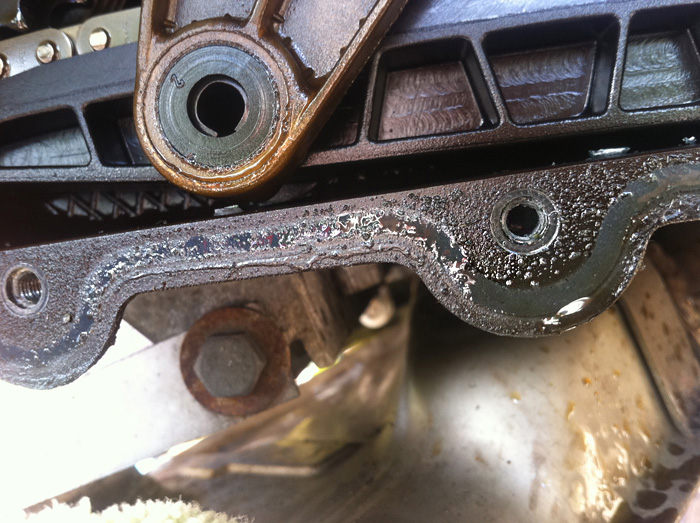
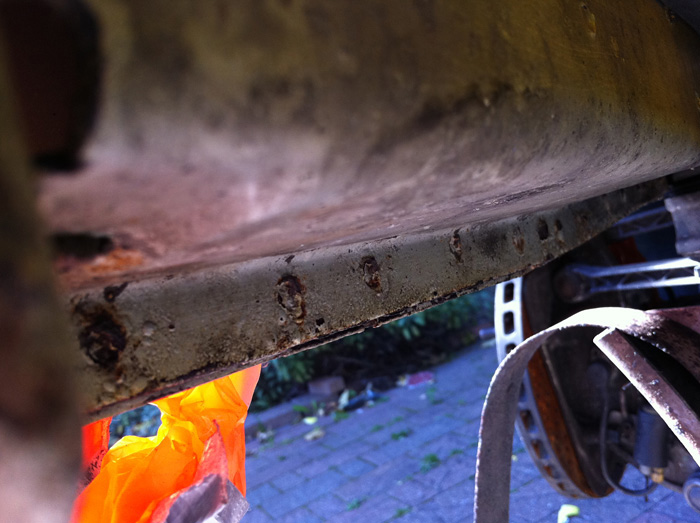
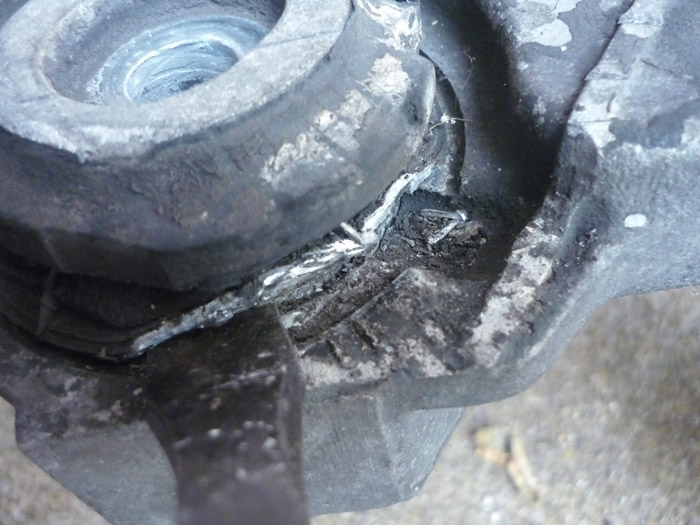
noticed a bit of rust on the backside of the lower chassis seam:

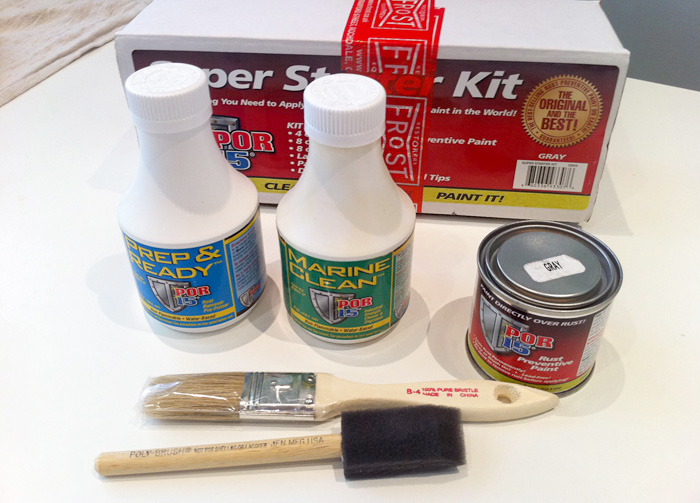
The POR kit turned up today in the post
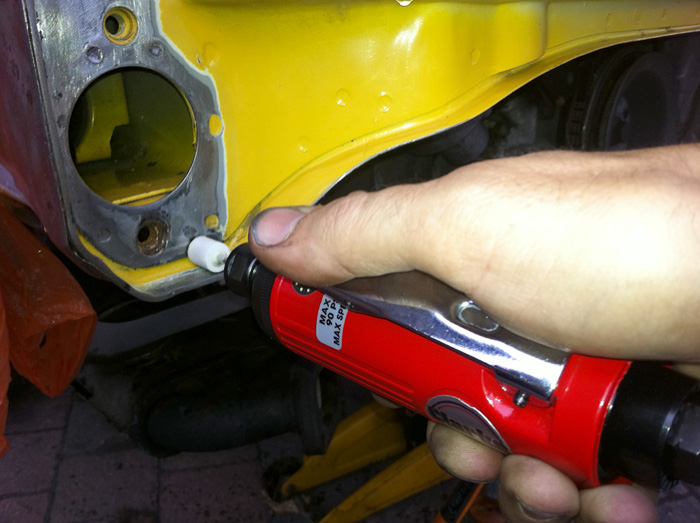
Got to work on the inner grooves in those leg ends as well
i'm guessing these have never been done so are 15 year old gaskets
the new gaskets are coming tomorrow and a few new rubber grommets but the original screws and washers are being zinc plated as the cost of new ones is so crazy. A new zinc dip minimum charge is �60 and that will get you a lot of stuff one, i.e. all the other screws and nuts that are off the car at the moment. That's less than half the cost of all teh chain guard screws alone.
noticed a bit of rust on the backside of the lower chassis seam:
The POR kit turned up today in the post
Got to work on the inner grooves in those leg ends as well
09-05-2011, 06:38 PM
#22
Racer
Thread Starter
Join Date: Apr 2009
Location: London
Posts: 427
Likes: 0
Received 0 Likes
on
0 Posts
thanks for the interest guys
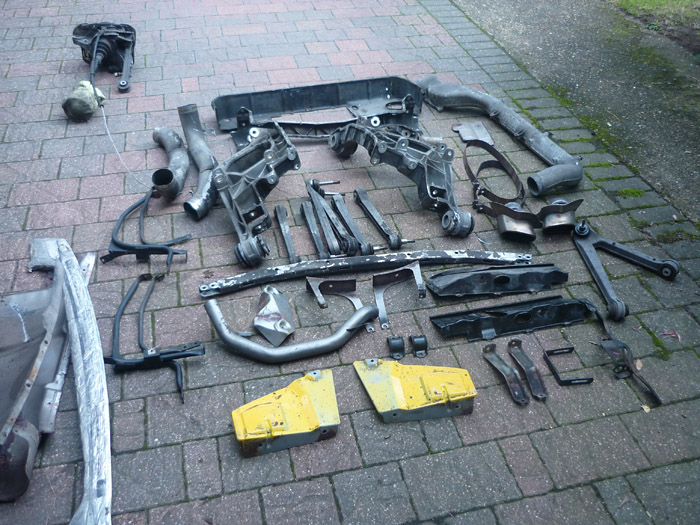
given that, i'll just give an update of where i'm up to in other areas so you know the full story so far
it all started with just wanting to fit a cat bypass and of course... things progressed from there onwards !
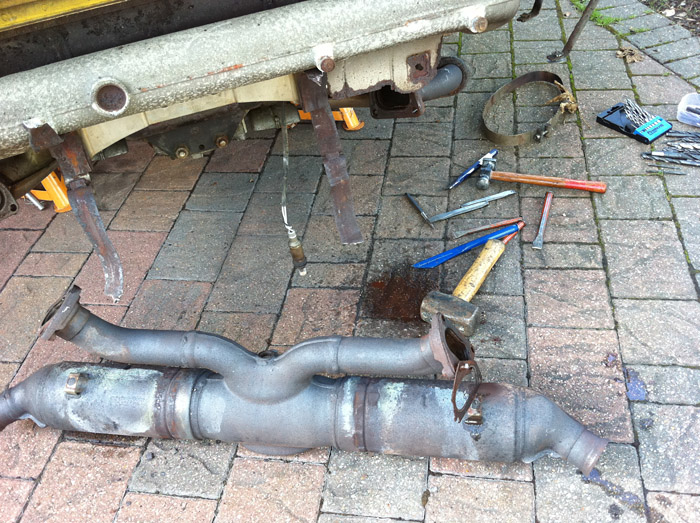
Cat removed

Cat bypass pipes at teh ready
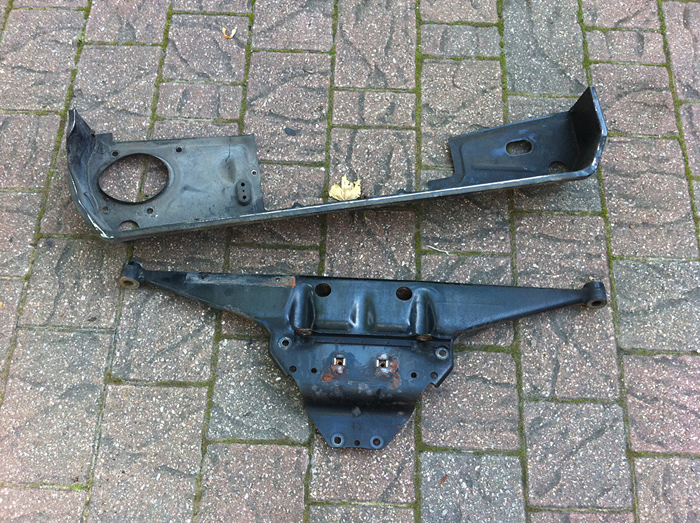
engine carrier and tin tray removed
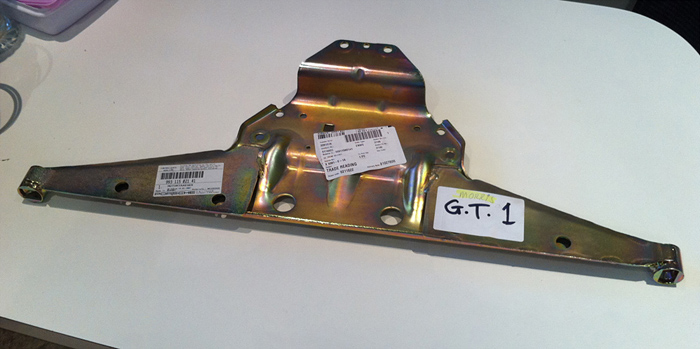
RS carrier at the ready
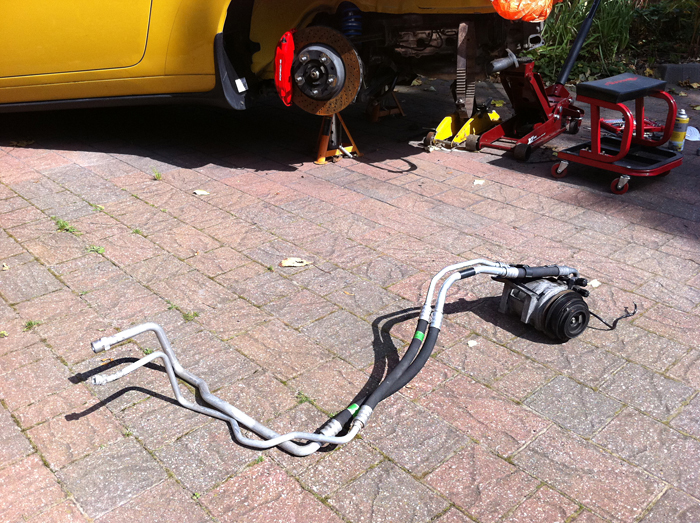
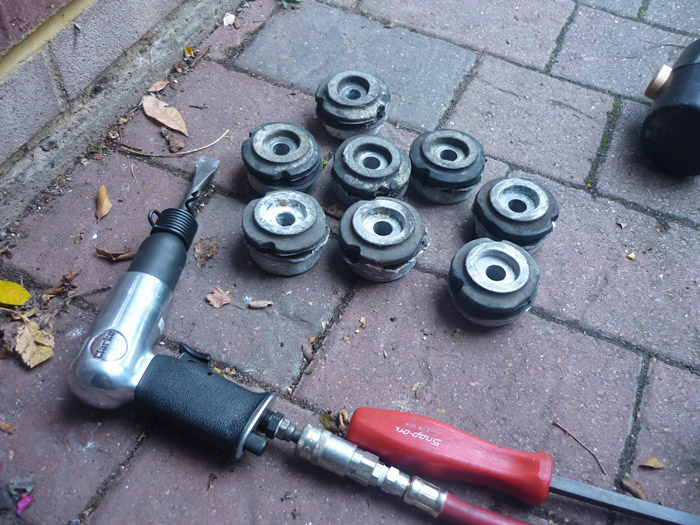
Compressor removed
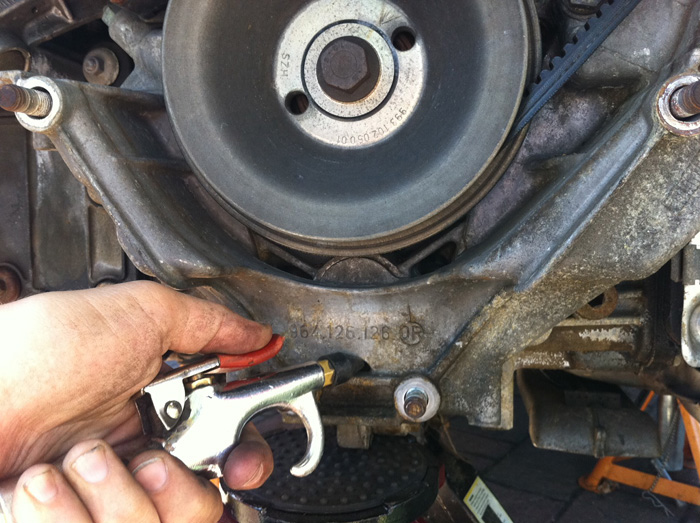
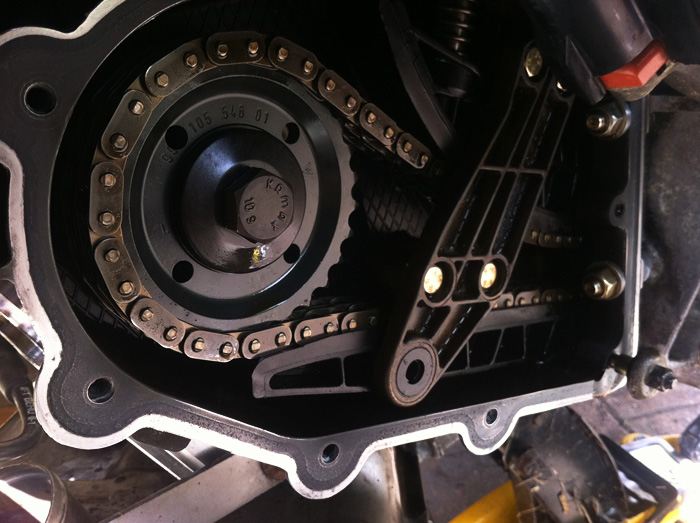
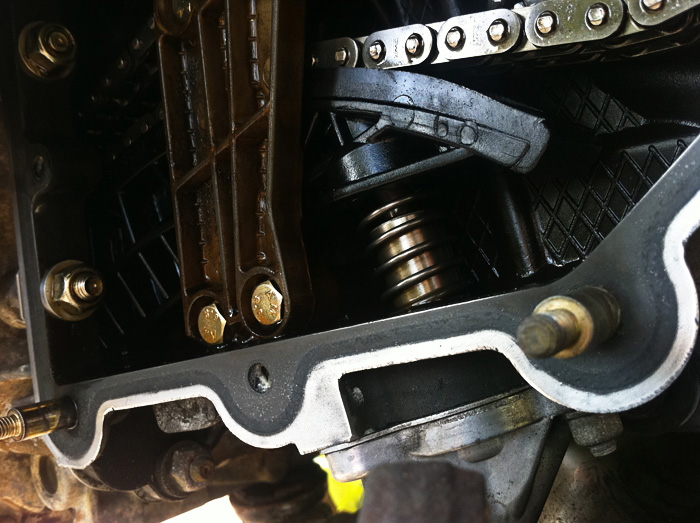
15 minutes with a compressor and a set of picks and trim hooks ...
to remove 15 years worth of crud that had fallen into the outside well of the crankcase.. a few lost nuts and washers in there too !
given that, i'll just give an update of where i'm up to in other areas so you know the full story so far
it all started with just wanting to fit a cat bypass and of course... things progressed from there onwards !
Cat removed
Cat bypass pipes at teh ready
engine carrier and tin tray removed
RS carrier at the ready
Compressor removed
15 minutes with a compressor and a set of picks and trim hooks ...
to remove 15 years worth of crud that had fallen into the outside well of the crankcase.. a few lost nuts and washers in there too !
09-07-2011, 03:48 PM
#23
Racer
Thread Starter
Join Date: Apr 2009
Location: London
Posts: 427
Likes: 0
Received 0 Likes
on
0 Posts
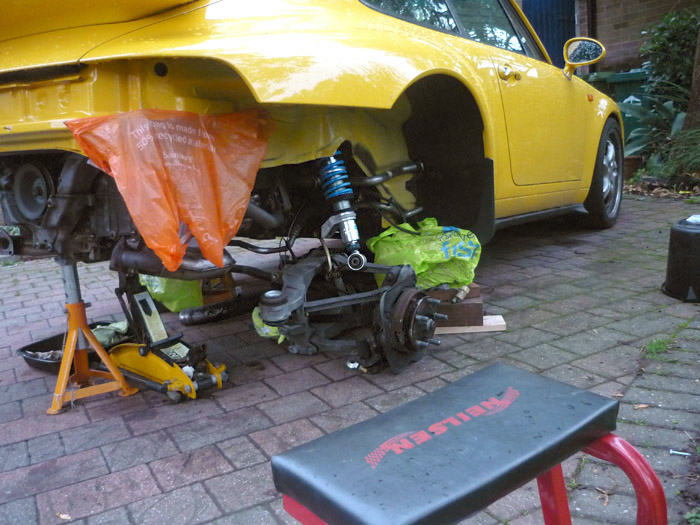
other side dropped
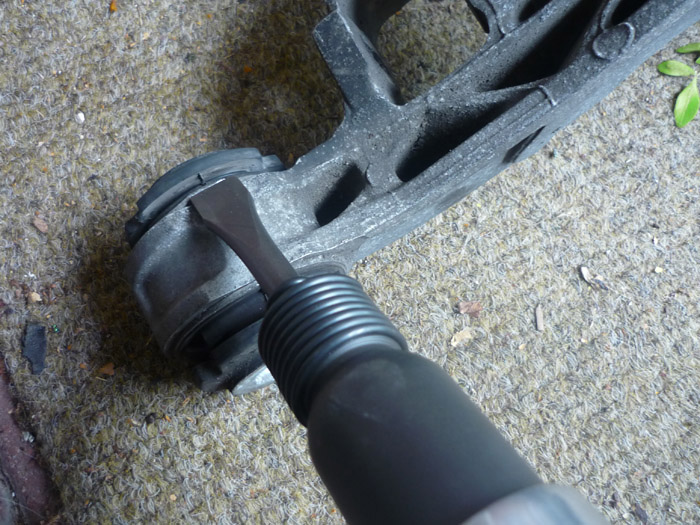
grab the air chisel
if only everything was always this easy:
http://youtu.be/6_W3hrz3gJ0
some need a bit more care with a pry bar to get them started off
job done
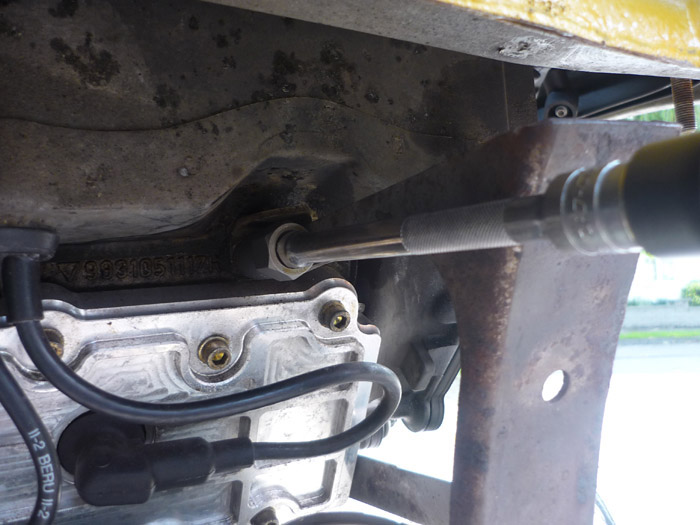
I rounded one of the side tin tray cap heads so had to use a gripping socket. I guess these haven't been removed for 15 years as its the side that doesn't come off for the spark plugs.
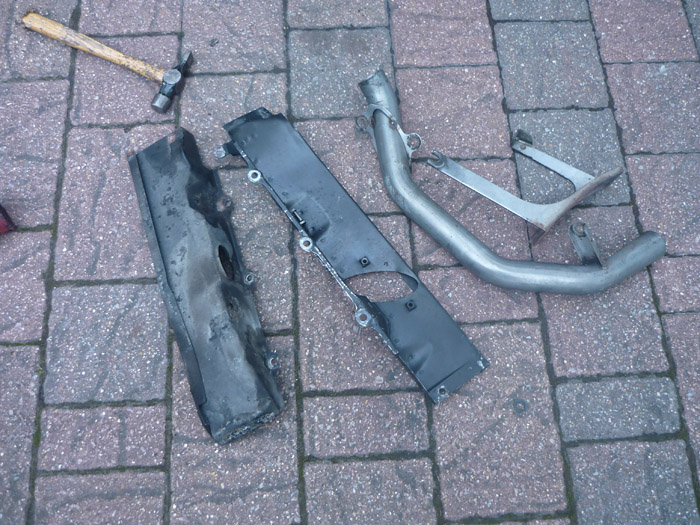
more bits for the powder coaters
and off to the blasters/powder coaters we go !


 09-09-2011, 10:48 AM
#29
Rennlist Member
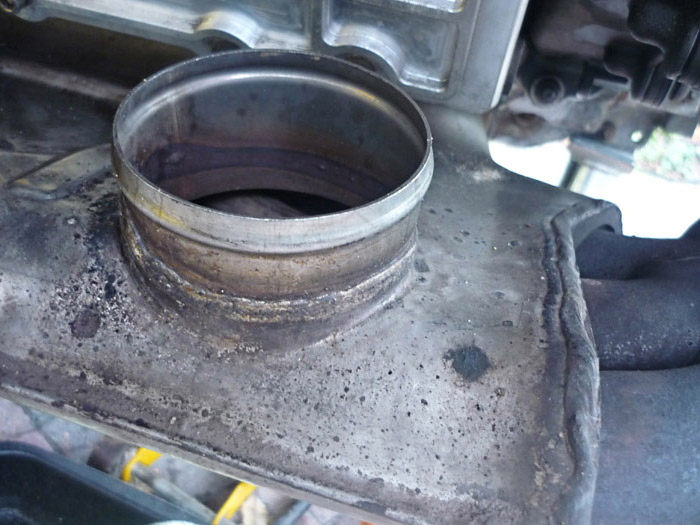
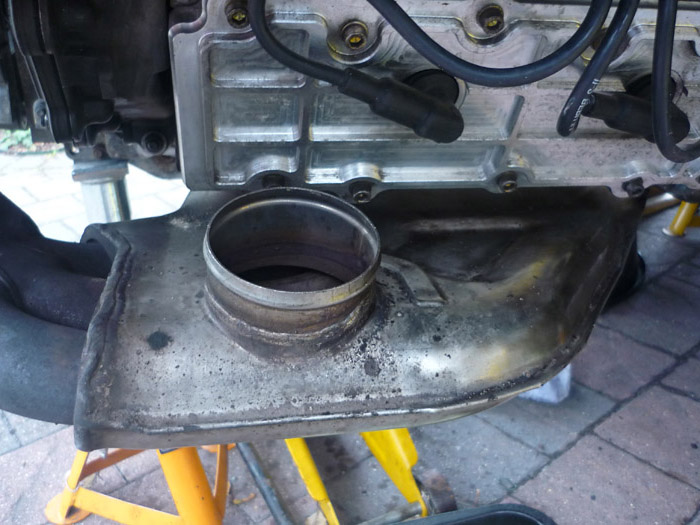
Outside and inside.
You should have seen the coating of oil and dirt on the inside of the heat exchangers before I cleaned them off the car. I didn't need to be breathing those fumes when I had the heat on. They get oily on the inside due to leaking valve cover seals.
The heat exchangers were removed so that I could replace the exhaust gaskets and exhaust stud nuts, the latter so that I would not have to worry about them seizing in the near future (anti-seize compound was applied to the new nuts and existing studs).
09-09-2011, 12:31 PM
#30
Racer
Thread Starter
Join Date: Apr 2009
Location: London
Posts: 427
Likes: 0
Received 0 Likes
on
0 Posts
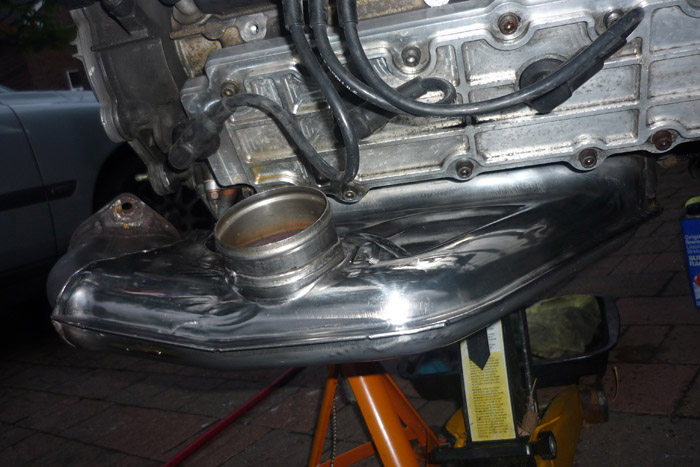
too many scratches !!!
you need a finer wire wool
wish i could get mine off though like that .... the studs look really rusty and i know it would be asking for trouble
you need a finer wire wool
wish i could get mine off though like that .... the studs look really rusty and i know it would be asking for trouble