When you click on links to various merchants on this site and make a purchase, this can result in this site earning a commission. Affiliate programs and affiliations include, but are not limited to, the eBay Partner Network.
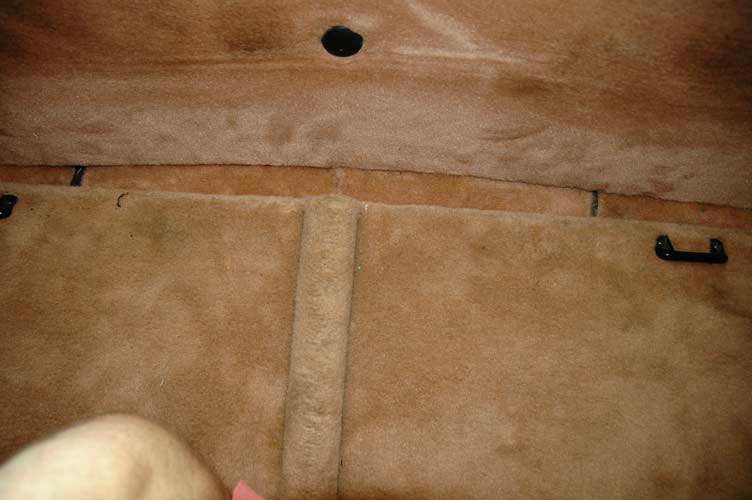
All of this area will be / is covered by the RSD deck, so I have not replaced the carpet � yet. You can buy replacement OEM carpeting by the yard from World Upholstery, etc. (no affiliation).
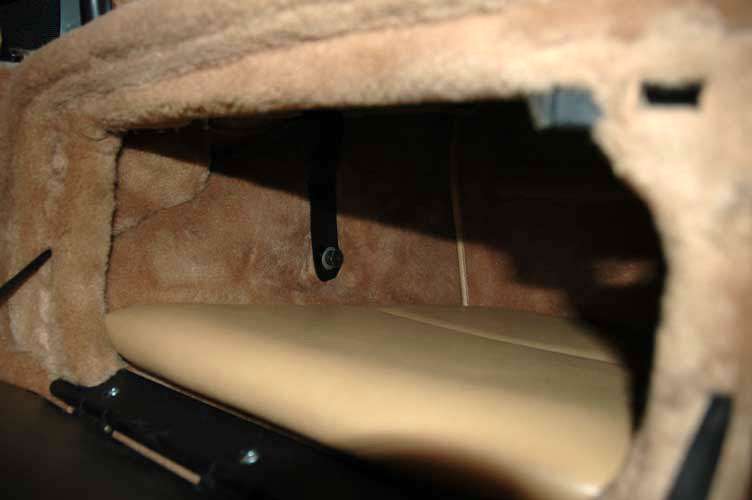
The seat bottoms are simply glued in. I did not remove mine and the cubby space is not drastically reduced � plus your stuff gets a bit of padding during transport.
Also, some RSD kits come w/ microswitches that tie into the alarm system. If the alarm is armed and the cubby doors are opened the alarm sounds. Mine did not have the switches so I don�t know how the alarm connection is made.
As stated before the RSD deck covers up most all of the cut carpeting and if you have a windstop the three small carpet cuts at the very rear will not be seen. That being said I will likely get carpet to recover the cuts underneath the deck.
At this point, put the top down, and lower your windows, it will make getting the deck in easier.
Carefully remove the LH and RH Cab. arm covers and disconnect the rear speakers. Set aside the cover / speakers.
Before attempting to install the deck, make sure the LH - RH attaching brackets are loosely bolted to the bottom of the deck.
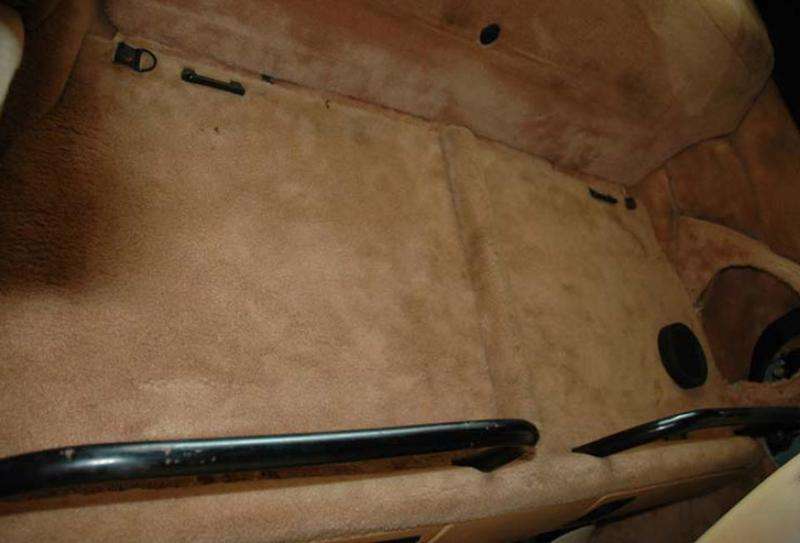
Grab the deck and place it in the rear of the car. Push it as far back as possible.
Align the RSD brackets with the seat belt attachment point and reinstall the seat belt bolts
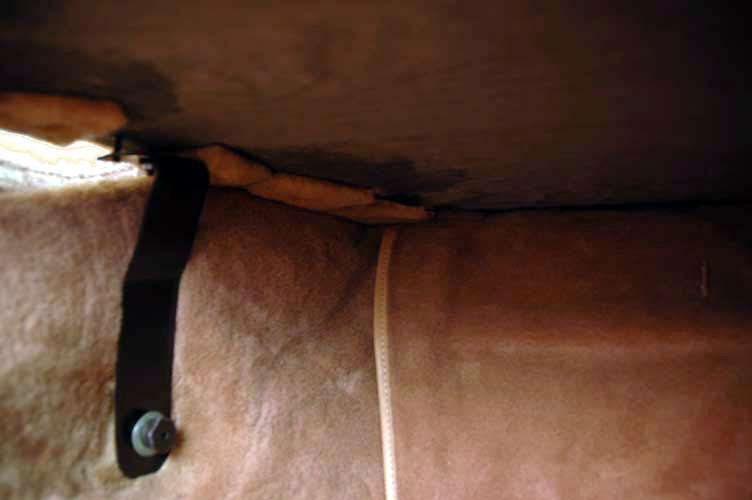
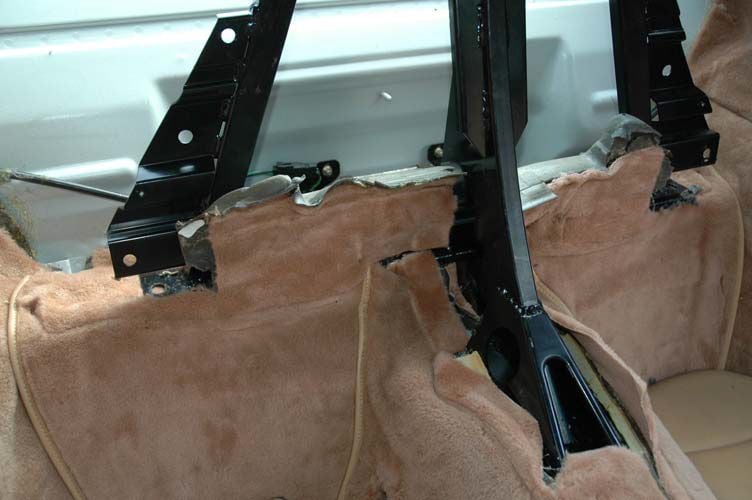
This part of the install was the most difficult for me. The problem was getting the bracket to align at the bottom so the seat belt attaching bolt could be threaded in.
As you can see in the following picture, the bracket is secured by a single nut at the top. In order to properly attach the top with two nuts, I will need to make a sub arm at the bottom to easily attach the seat belt bolt.
Once installed, you can easily place a couple of roller type carry on bags and take off for the weekend.
After fixing the huge speaker voids, my next purchase will be some nice leather straps and brass buckles for tie downs.
The whole DIY can be done in a few hours, hope this helps
Above text & photos by RLer Howdy993 (Howard). I didn't fully realize this 'til after I'd converted the info from a PDF documented & posted elsewhere; I only realized it was great info that may help others.


 01-14-2010, 10:52 PM