

Raid Steering Wheel Install - Finished ! !
 06-20-2007, 11:04 PM
#1
Burning Brakes
Thread Starter
Join Date: Oct 2003
Location: NJ
Posts: 945
Likes: 0
Received 0 Likes
on
0 Posts
I also posted in the GB for the steering wheels we got from Gert, but figured it deserved a new topic.
I got the wheel off, but now I'm confused. What I do understand and is pretty straight forward is - the yellow air bag connector goes to new air bag, 2 other connectors, connect to the 2 clips in the new hub. What I can't figure is how to connect horn.
See the 2 pics below.
The pic on the right, first thing I noticed is the tabs were broken (circled in yellow), the bottom one looks like a pc of it is the little pc on the outer perimeter of the plate also circled in yellow. The are plastic arms on the center ring, and they don't come all the way thru on the new wheel anyway. Don't think it matters.
The spring cirlced in red is the clock spring. Correct ?
What I can't figure out is how do I connect the horn. How do I connect, or what do I connect to the black connector with the red and black wires going to it from the left and right side of horn (pic on right). 2 additional wires come with the new wheel and I can't figure it out. Either it's too late, or I'm to excited.
Also, the wheel didn't go on exactly horizontal as the old one came off, it had a slight sku to it. Hopefully it isn't noticeable. Any and all help greatly appreciated.
Last edited by CarmG993; 06-21-2007 at 12:40 AM.
 06-20-2007, 11:46 PM
#2
Burning Brakes
Thread Starter
Join Date: Oct 2003
Location: NJ
Posts: 945
Likes: 0
Received 0 Likes
on
0 Posts
I guess this is the part that is confusing me - but I think I figured it out. Below are the step by step instructions that were posted, I just want to make sure of something, so bare with me.
The opening in the hub has to come over the connector of the clock spring.
Just means that the wires come thru the opening on the right side of the hub. Airbag connector and the 2 wires that were connected to the connectors on hub, which touched clock spring mechanism.
In the Raid steering wheel is a plug used to connect the left and right button inside the steering wheel.
Black connector with red and black wires going to it. Pic in my original post.
There a 2 empty spots in the middle of the connector.
2 very thin slots
In there, plugs a small and a wide female connector from the black wires that come with the Raid hub .
This is where I am confused. Since the clock spring mechanism is not used as their are buttons to push to activate horn. I don't need to use the 2 connectors on the hub.
With the 2 extra wires provided, I basically JAM as stated a the small and wide connector into the black connector, and the other ends into the 2 wires that I fed thru the hub? Does it matter, which goes where?
The other end of these wires is plugged into the original wires for the horn that come out of the clock spring.
You need to place the black isolators over the connection to avoid shorts.
06-21-2007, 12:05 AM
#3
Rennlist Member
Carmen,
You'll find that the 2 supplied wires can only fit a certain way. I would suggest plugging them into the black 'block' first - the two available spaces are different sizes. That will help sort out half the problem.
Then you'll find that one of the free ends will click into the existing stock horn wires from the clock spring.
On my wheel there was an intermediate tab that acted as a bridge/link between the two remaining wire ends (one from the clock spring, one from the block that you just plugged in). This is the location that you must use the isolator (and a healthy amount of electrical tape) on.
Hope that helps - clear as mud?
06-21-2007, 12:08 AM
#4
Rennlist Member
Oh, and re. your wheel being slightly ****-eyed, don't worry. Put it all together, go for a drive and see how it is. If necessary you can unbolt the airbag (don't unplug it - have someone hold it for you, it's a 3-handed job), loosen the 24mm nut, and adjust the steering wheel one spline at a time until things are just right.
06-21-2007, 12:31 AM
#5
Addict
Rennlist Member
Rennlist Member
I don't know to link to this thread, but there are some pictures and instructions for an FVD Steering wheel install. This might help
Search on the following thread name. Thread was posted 9-9-06.
"FVD steering wheel install help - Got it on now!"
Good Luck!
chuck
Search on the following thread name. Thread was posted 9-9-06.
"FVD steering wheel install help - Got it on now!"
Good Luck!
chuck
06-21-2007, 12:38 AM
#6
Burning Brakes
Thread Starter
Join Date: Oct 2003
Location: NJ
Posts: 945
Likes: 0
Received 0 Likes
on
0 Posts
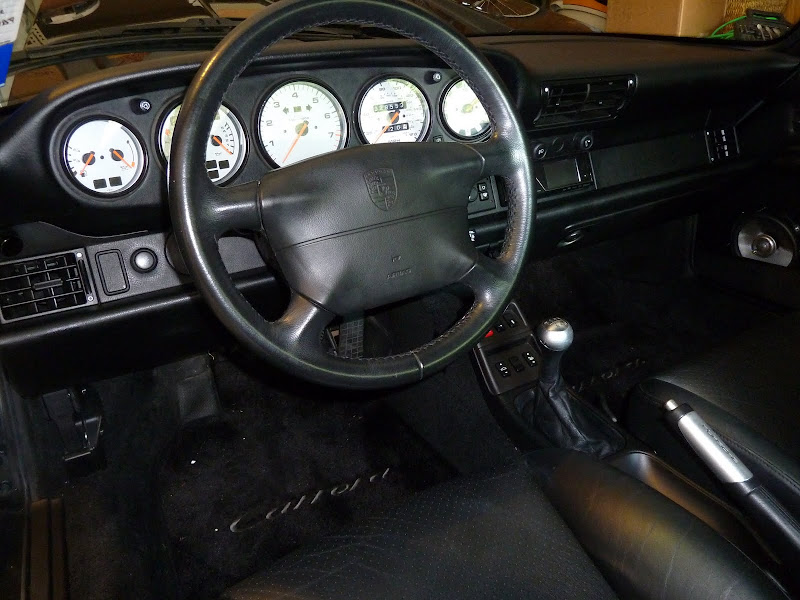
All finished. I was an idiot. I was looking at top of the connector, not the bottom where there are 2 distinct different sized connectors. It's on and looks great. Horn works, no air bag light.
It's almost 11:30 PM so I will wait until tomorrow to take it for a ride to check the alignment of wheel.
This install for those that don't get brain farts should take about 30 to 45 minutes. Getting the screws to tighten down the air bag was the last pain in the butt.
Quick pics of finished product.
Trending Topics
06-21-2007, 07:17 PM
#8
My...oh...my...that's beautiful! Congratuations!
06-21-2007, 07:34 PM
#9
Burning Brakes
Thread Starter
Join Date: Oct 2003
Location: NJ
Posts: 945
Likes: 0
Received 0 Likes
on
0 Posts
Thanks guys ! It does feel like a different car altogether.
I do need to adjust wheel, but I think that if I move it one spline over it will be off in the other direction.
I do need to adjust wheel, but I think that if I move it one spline over it will be off in the other direction.
08-14-2010, 01:43 PM
#10
Rennlist Member
Join Date: Jan 2010
Location: Chicago, IL
Posts: 120
Likes: 0
Received 0 Likes
on
0 Posts
Reviving old thread.
Just finished installing a 365mm RAID steering wheel. I got the one with shift buttons because I'm going to eventually connect it to my car stereo for up/down volume control.
Now I'm trying to decide whether to put a Porsche logo of some sort on it. I think the aluminum trim is a nice tasteful touch, but you be the judge.
Before/after below. (Note - floormats are brand new Lloyd Mats with graphite lettering, in case anyone was wondering.)
