When you click on links to various merchants on this site and make a purchase, this can result in this site earning a commission. Affiliate programs and affiliations include, but are not limited to, the eBay Partner Network.
At the moment I’m repairing the airbag.
I replaced the control unit, and ordered a new clock spring because of 1 wire connection for the steeringairbag has lost connection.
the problem I’m having now is that the new module is a 996... number and I can’t connect to it with the T-OBD from Tore.
I would like to know if the Foxwell NT530 Porsche or the icarsoft POR V1 or V2 would do the trick when I put them in 996 mode?
can anyone tell me this? and wich one is the better tool?
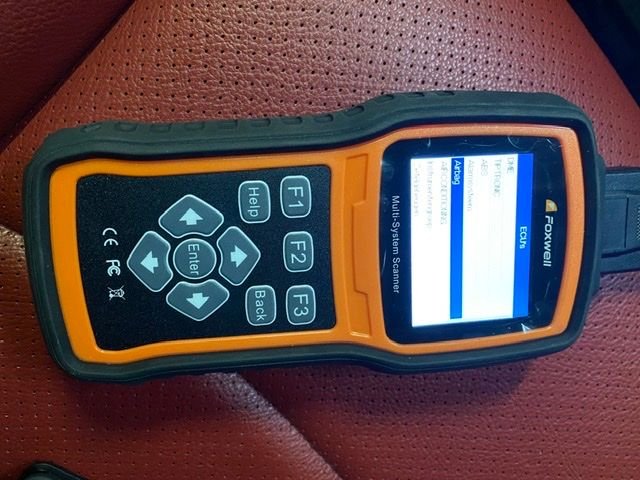
I have purchased the Foxwell NT530 with Porsche software.
When I select 996 model (instead of 993) and then I select Airbag in the list of ECU’s, I can read en erase the fault codes.
I replaced the clock spring and erased the fault codes and the warning light goes off now.
another problem fixed.
One thing on my bucketlist was my gearbox, 1st and 2nd gear was terrible, all the rest was fine.
I’m also sick of the engine stalls and the rattling sound caused by the LWF flywheel.
sometimes i can drive for hours without one stall,
but the other day i drive a long road with 5 roundabouts, and the engine stalls every time i enter the roundabout. I really hate that.
So i decide to replace the gearsynchro’s 1 & 2 and change the LWF for the DMF, and change some suspension parts while in there.
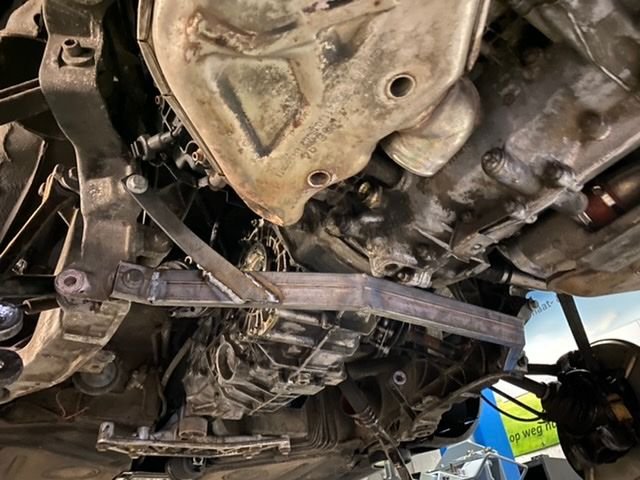
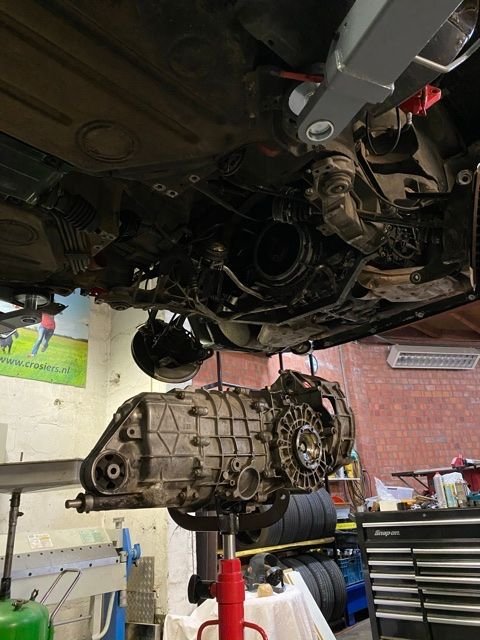
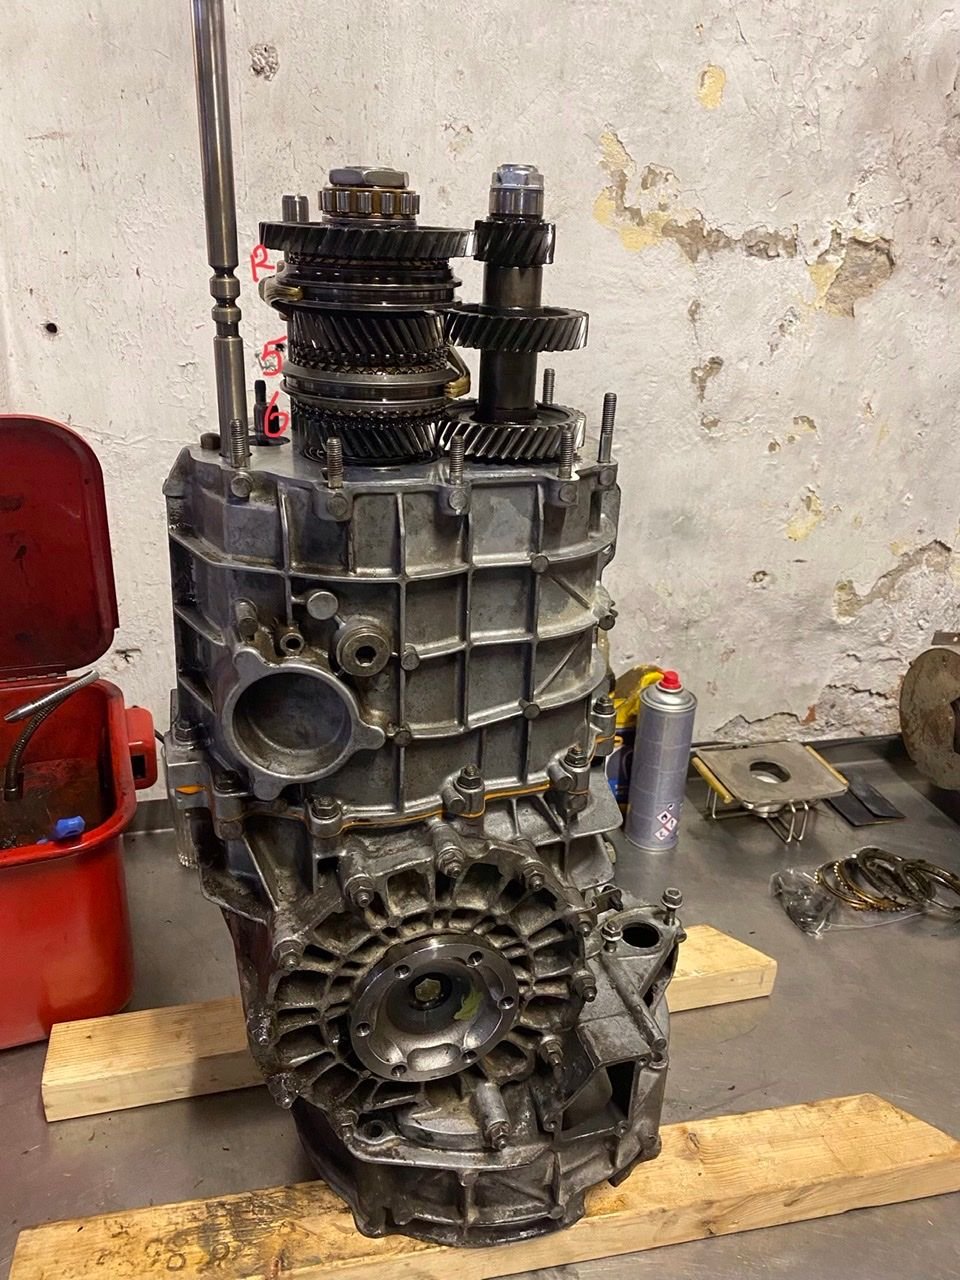
Yesterday i spended the whole day to dismantle rear suspension, the gearbox and the synchros of 1st and 2nd.
It was a one man job so i made some tools to help me to support the engine.
Except from very long pullers and a 27mm and 41mm socket, you can do the job with standard tools.
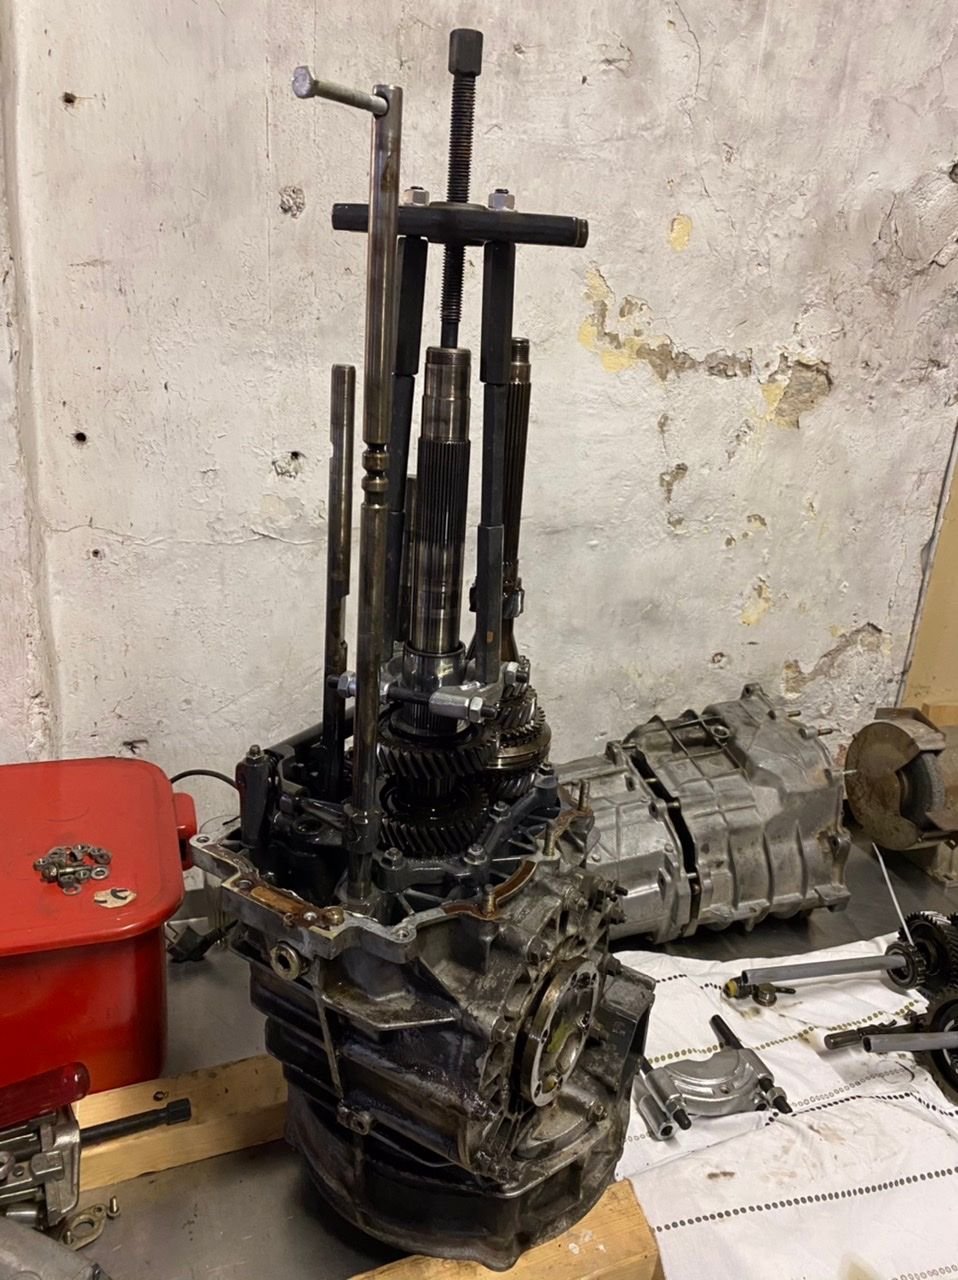
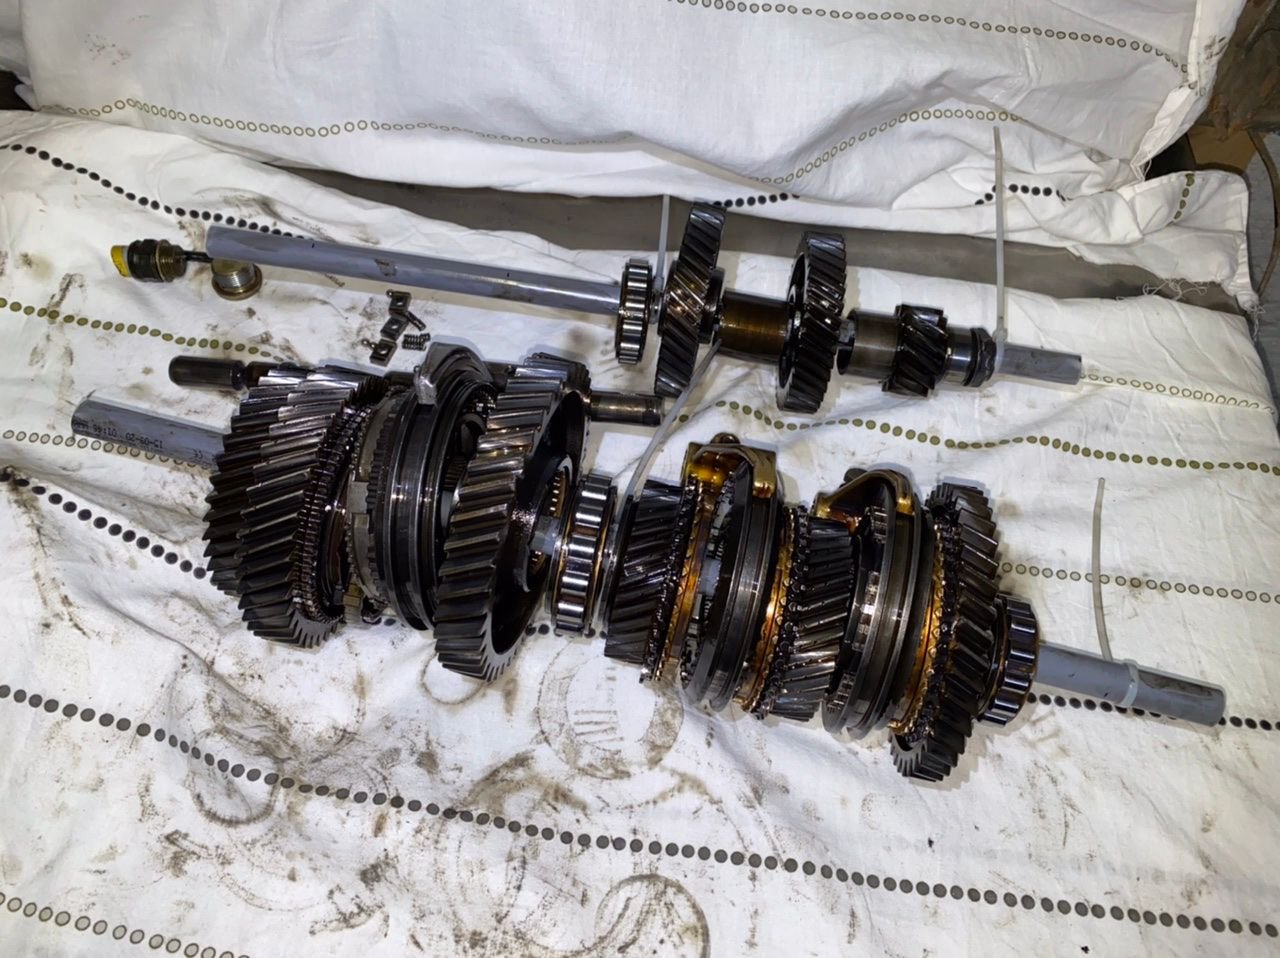
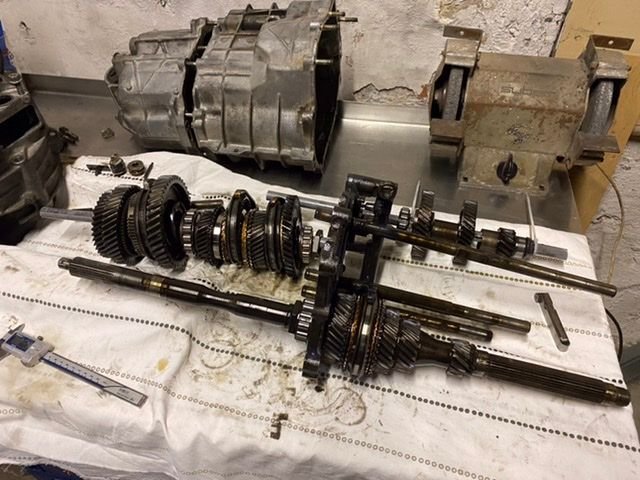
Many year ago I just stacked the gears when I dismantled a gearbox to keep everything in the correct order.
But I found out that the big stacks of gears and shims can fall easy when someone accidentally hits the bench, and then you can puzzle to get everything back in the correct place.
So what I do Is I take a few plastic pipes and collecting all gears horizontally, so nothing can fall off, and everything keeps in the right order.
The tie-wraps I use to indicate where the middle and top gear housing splits up.
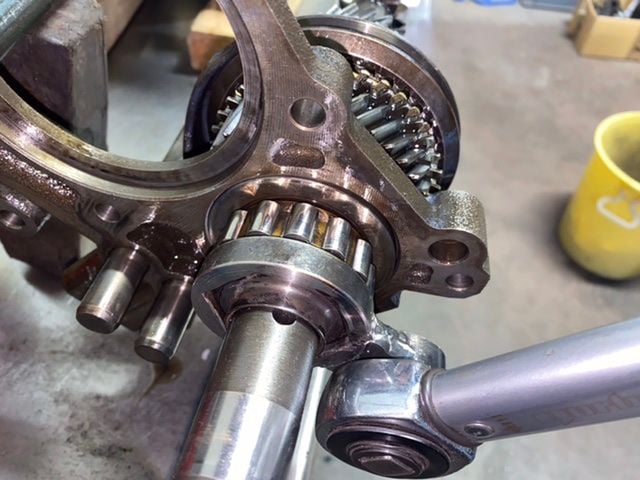
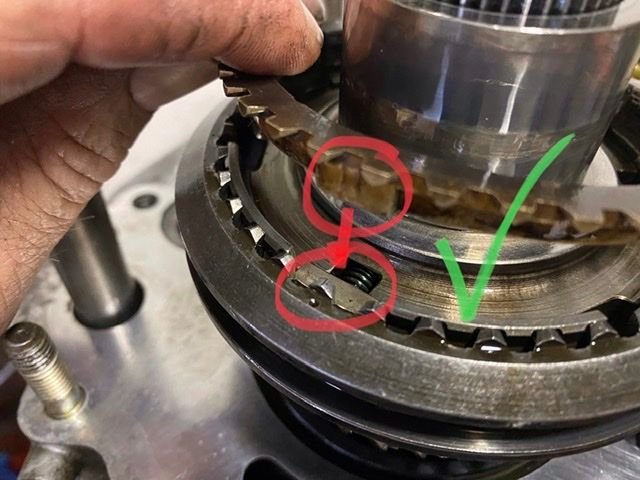
When I dismantled the 1st and 2nd gear synchro�s I found something different from what I expected, the bad shifting was not caused by bad synchros.
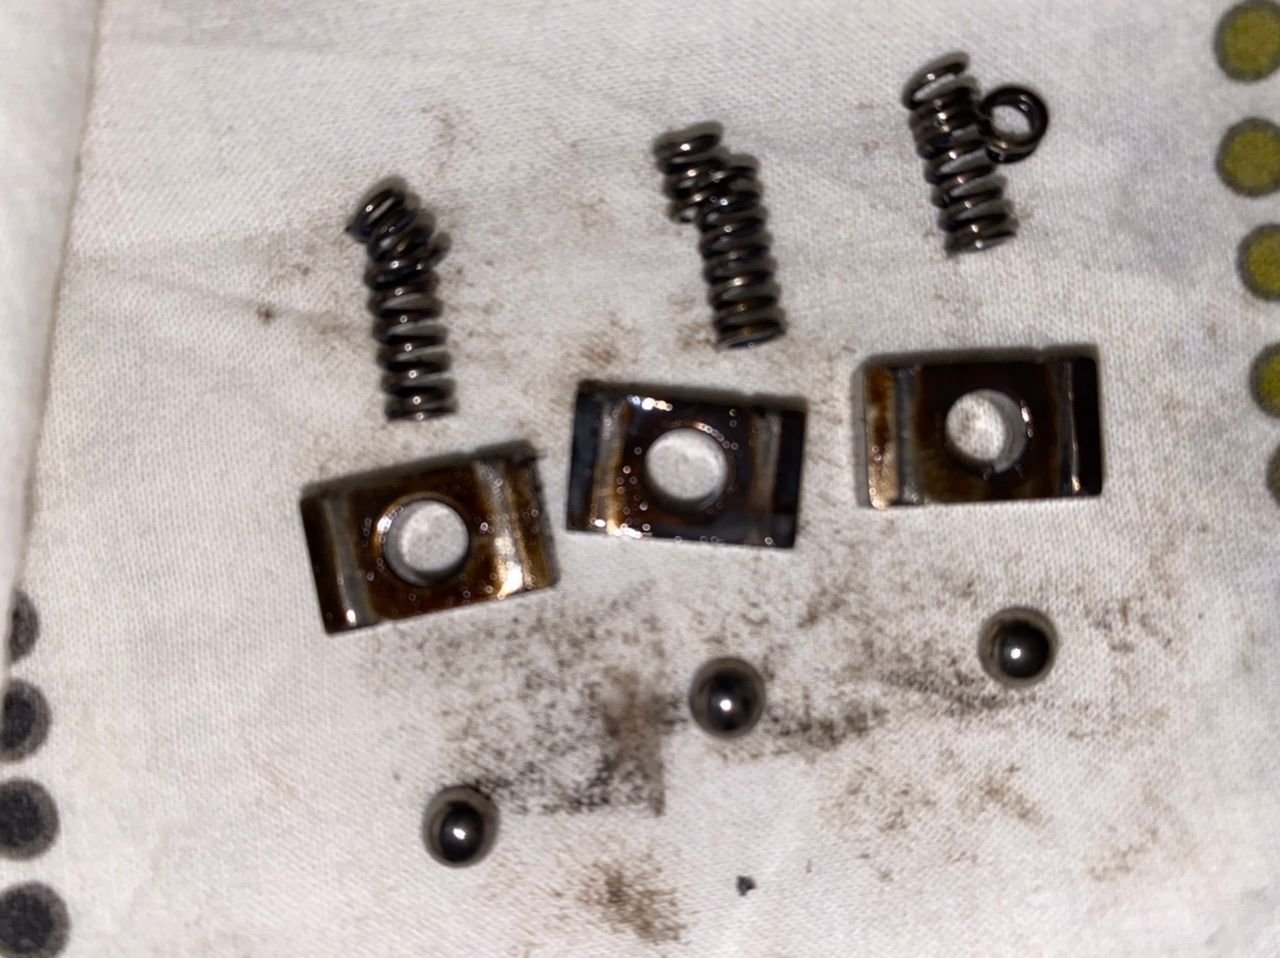
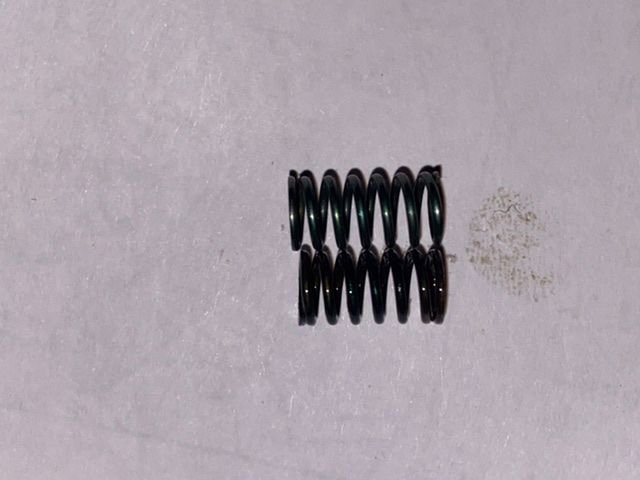
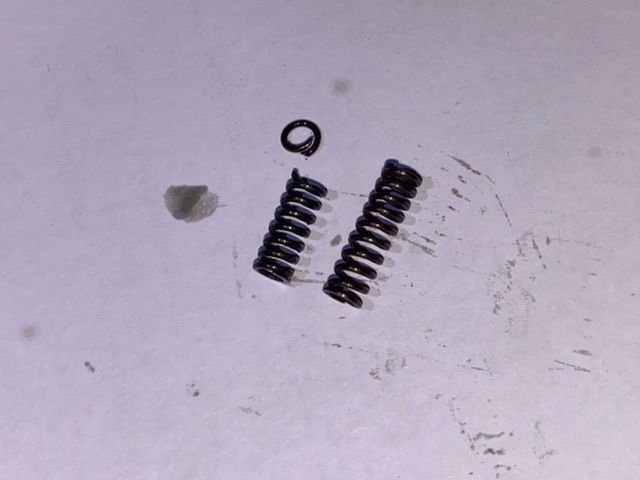
It was caused by the springs in the carrier that needs to make pressure on the ball against the slider-ring, when the slider is moved, the ball and square blok moves and pushes the synchro to the gear.
All 3 the springs are broken, and these are used for both the 1st and 2nd gear. this explained why both gears suffer from the same problem.
the synchro�s are not being pushed against the gears.
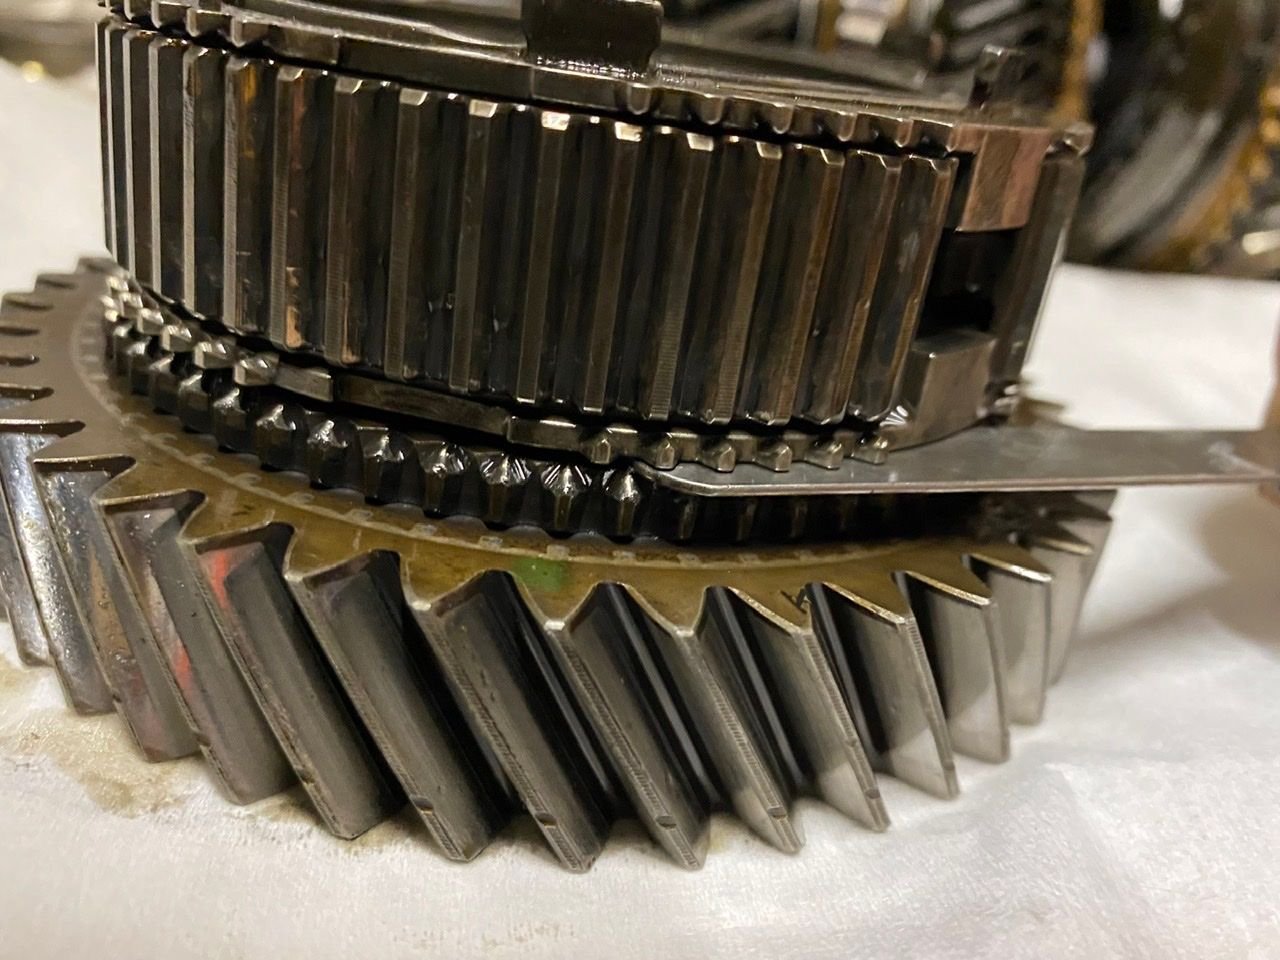
In this picture you see the springs That put pressure on the synchros
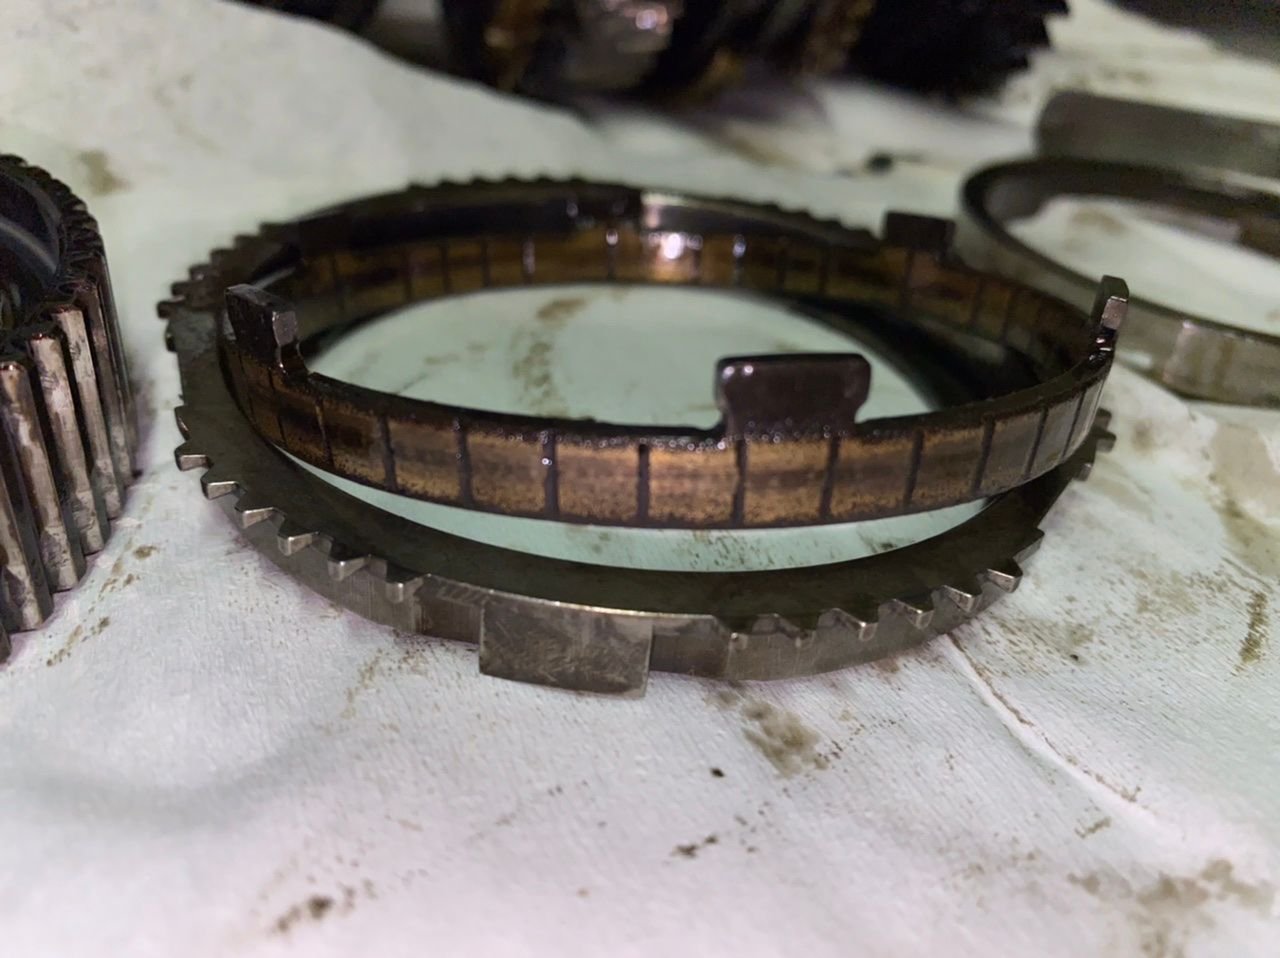
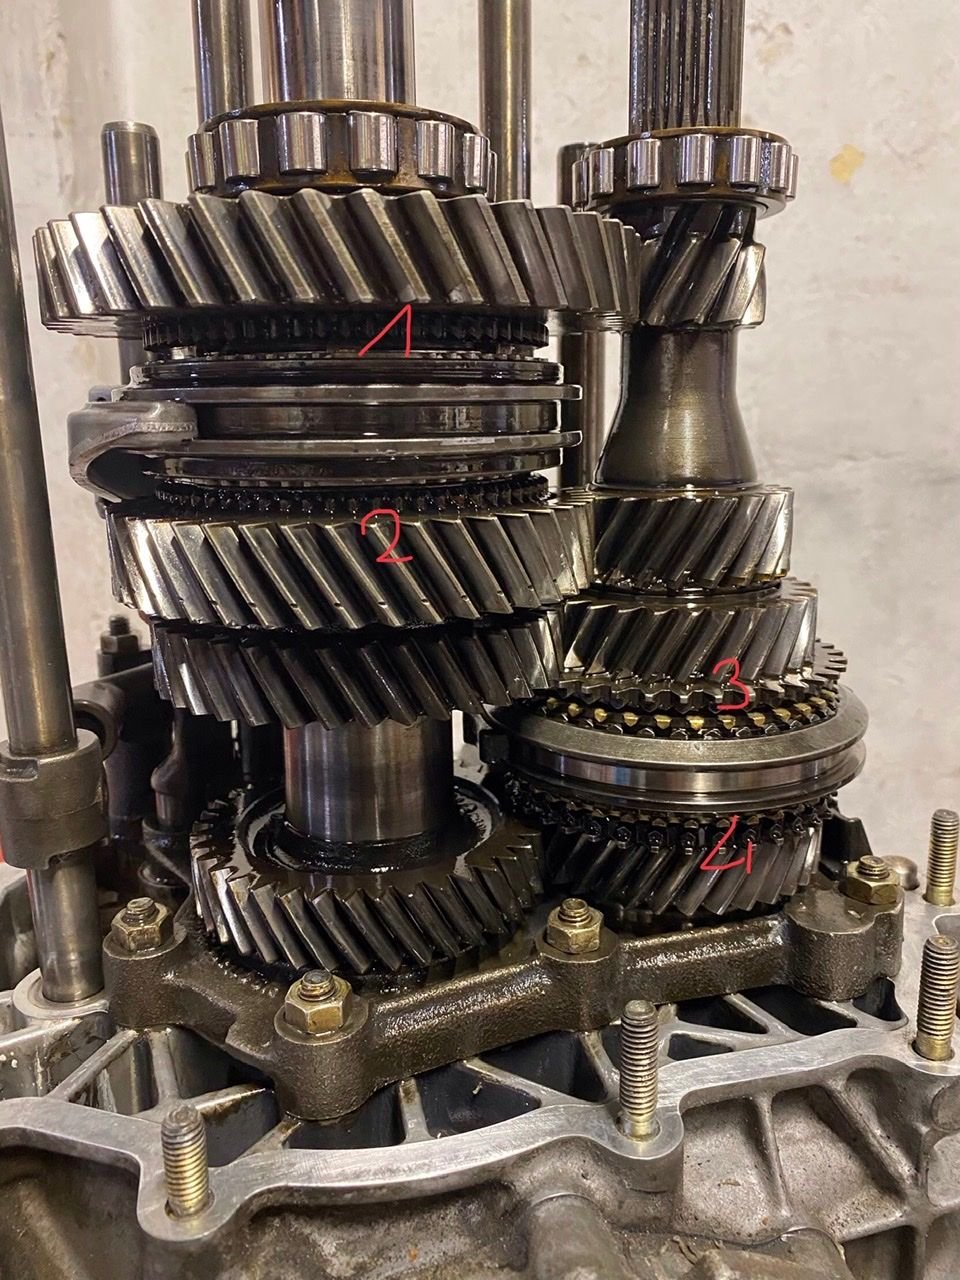
I measured all the synchros, 2nd gear and reverse are the only ones below the wear limit.
Nevertheless I will change the synchros from 1, 3th en 4th gear too,
Now the transmission is dismantled, I must take the opportunity to get the gearbox back in perfect condition.
By measuring the gap between the synchros and the gear with a feeler gauge the wear of the synchros can be determined.
I ordered all the parts, now I have to wait for them to arrive to rebuild the gearbox.
I tackled a gearbox in my '77 Alfa Spier many years ago to replace synchros ...made me feel brave. What you're doing here warrants hero status: "well done" is simply inadequate!
I tackled a gearbox in my '77 Alfa Spier many years ago to replace synchros ...made me feel brave. What you're doing here warrants hero status: "well done" is simply inadequate!
Edward
Thanks, i appreciate your compliments.
it is not the first time I repair a gearbox, but is has been a while since the last time, and i am enjoying every minute.
Yesterday Santa came by me, he was already on his way to the north-pole, and he had a package for me.
i hope i have time to get started with these tomorrow 😁
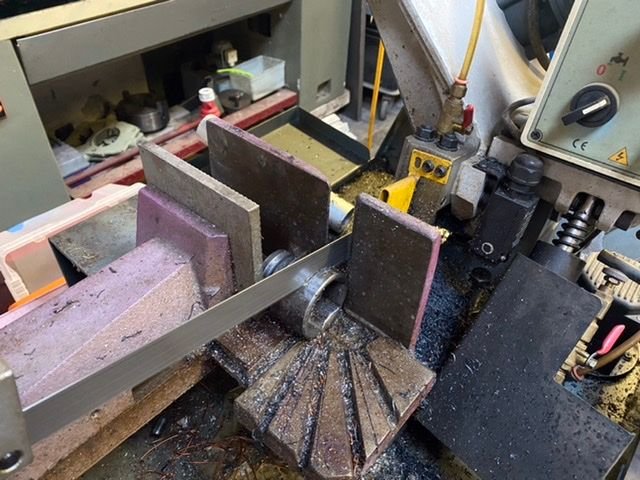
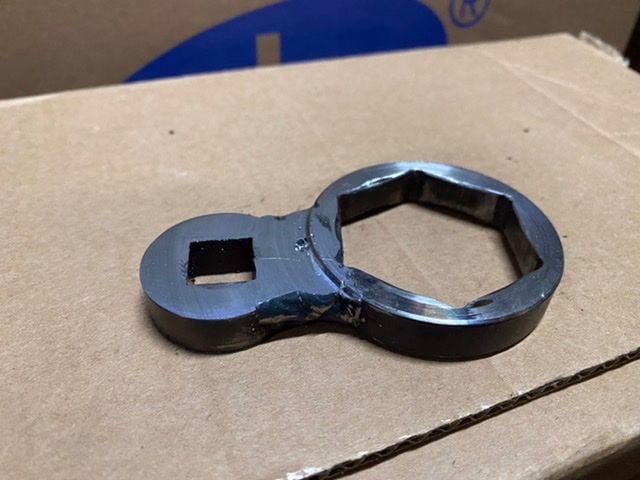
Today I started making a tool to fasten the 41mm hex nut on the primary shaft at 250Nm torque.
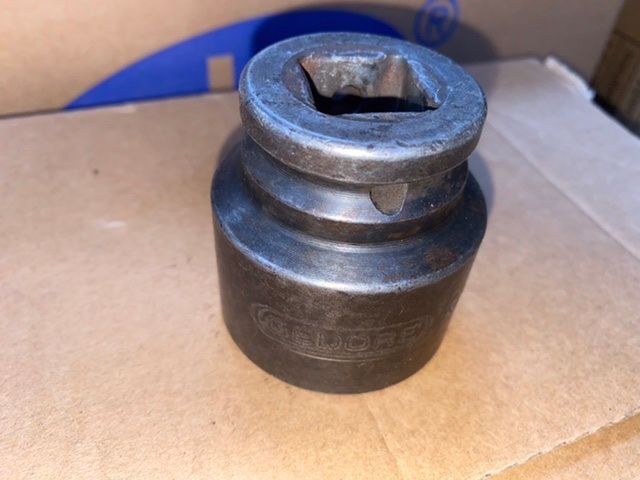
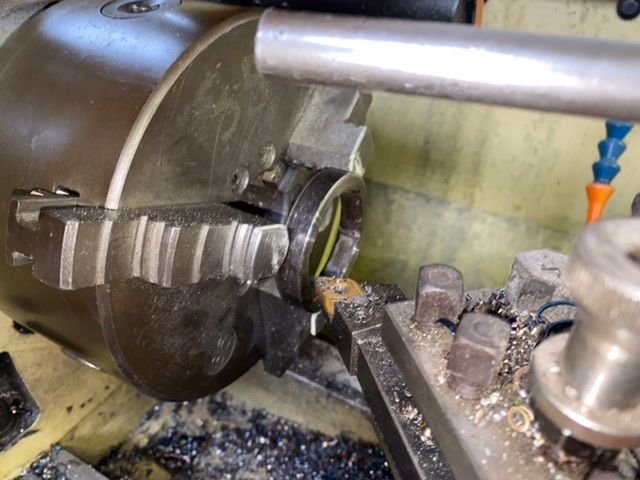
i cutted a ring from a 41mm socket, and welded a 1/2” connection to it.
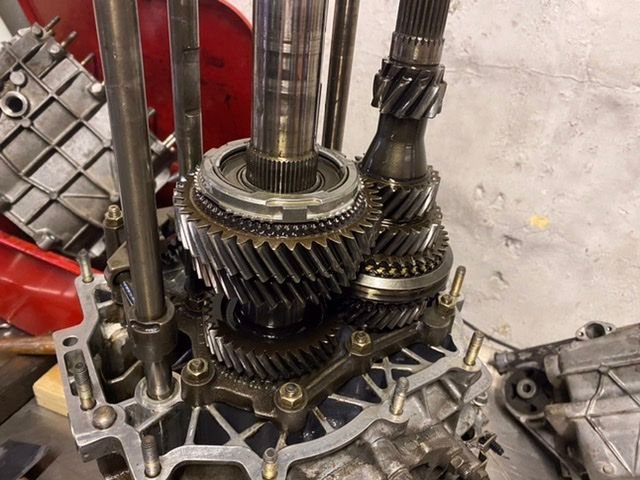
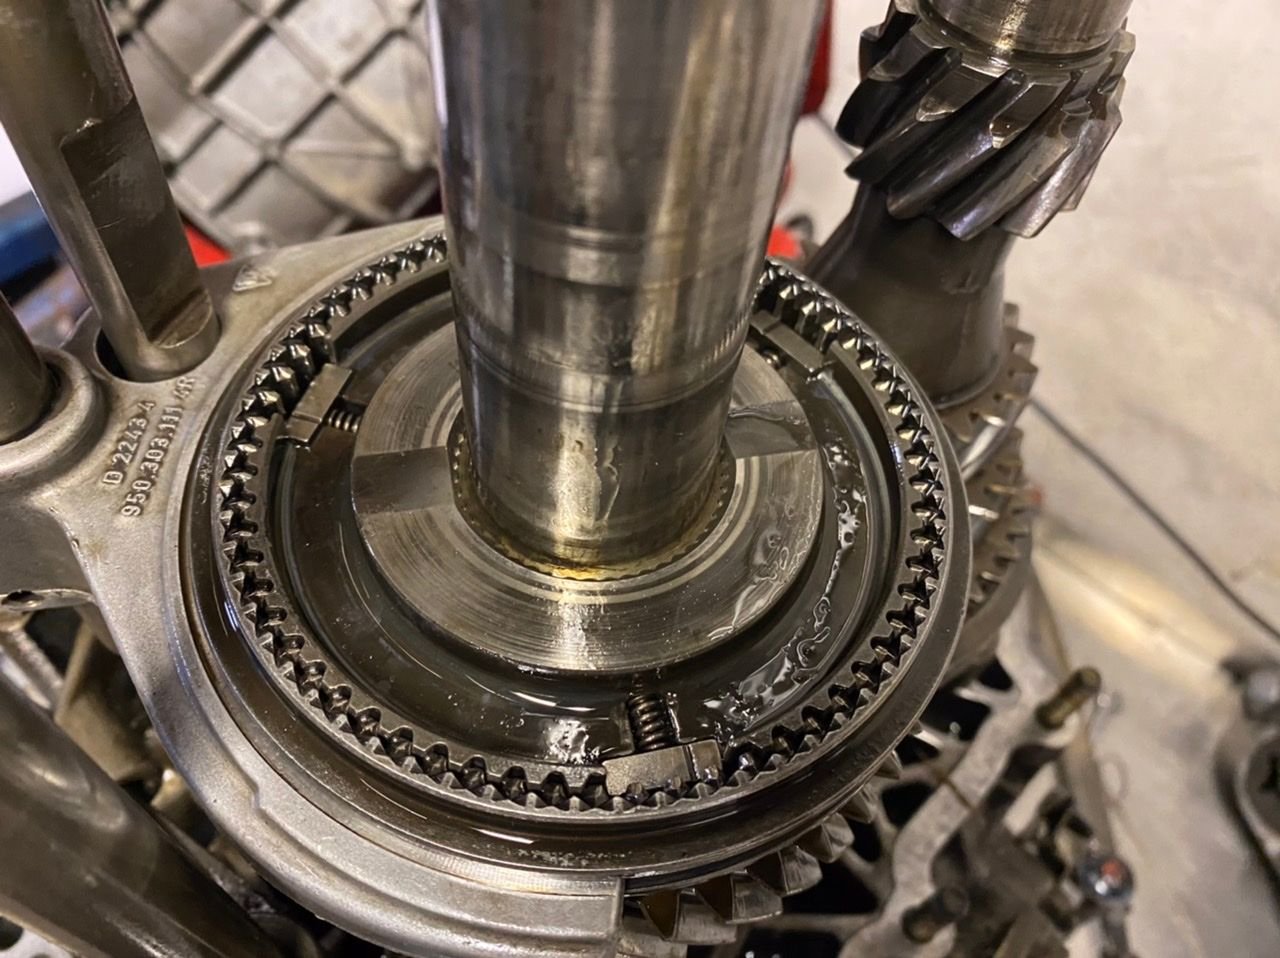
I placed new synchros on the 1st, 2nd, 3rd and 4th gear, now the middle gearhousing can be fitted.
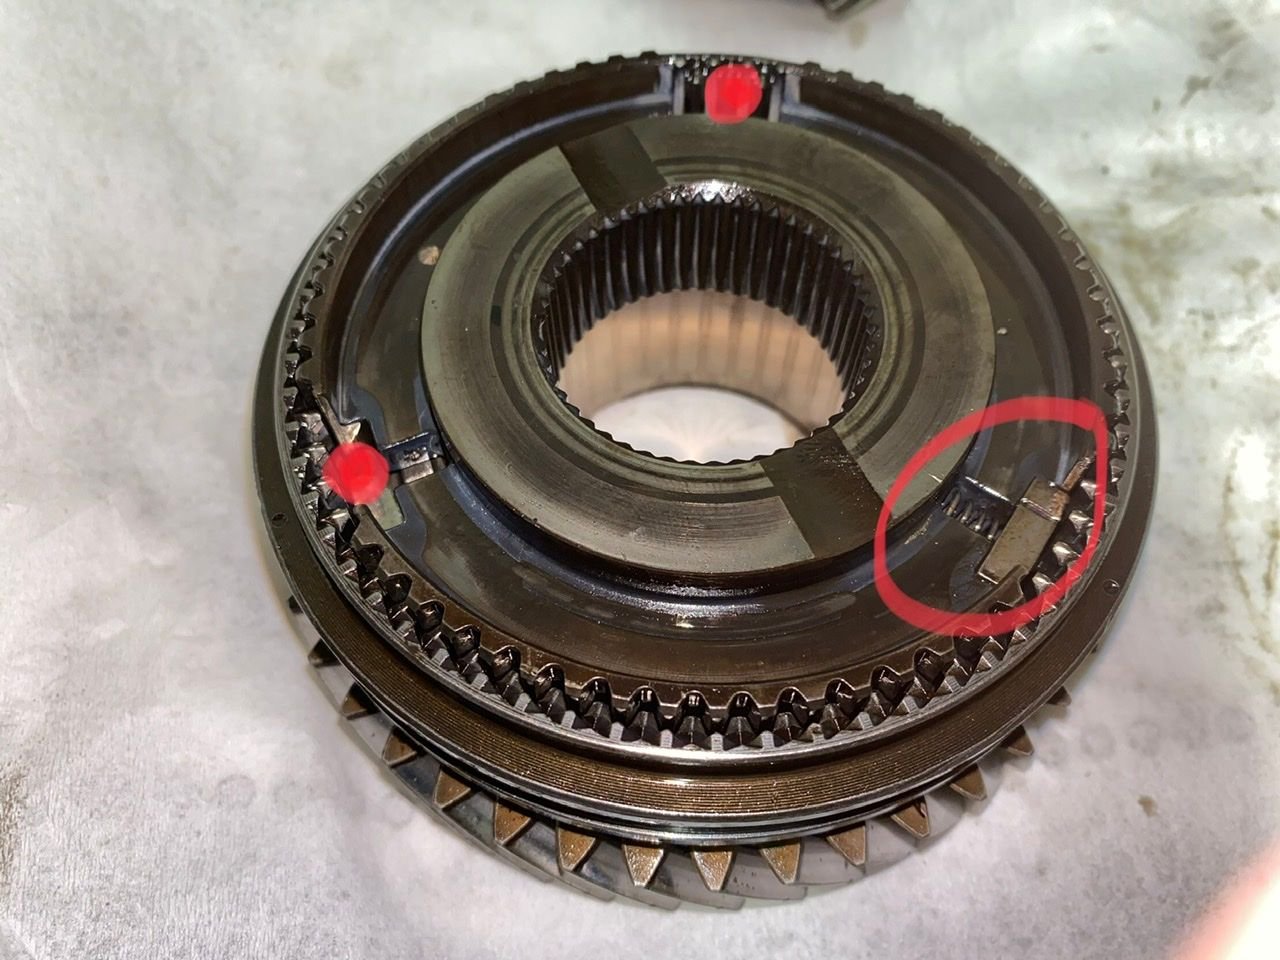
be aware of the position of the synchro, the notch has to be in the same cavity where the springs are.
do not align them with the other cavity without the springs, because this would result in the synchro of this gear is not working.
Now we call it a day, all gears are assembled again, and the gear selector and the forks are adjusted.


 11-24-2020 | 03:33 AM